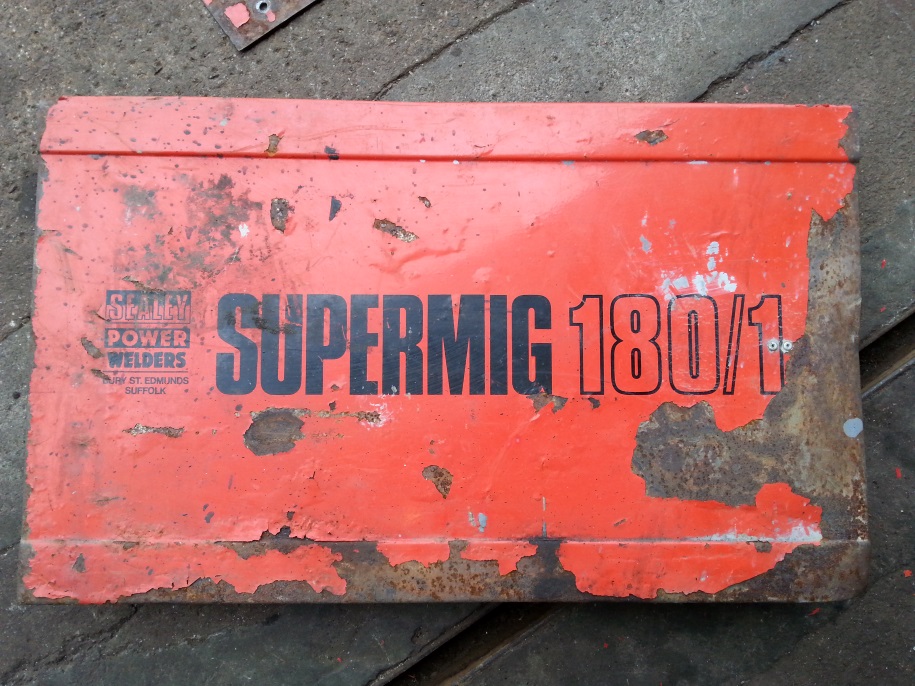
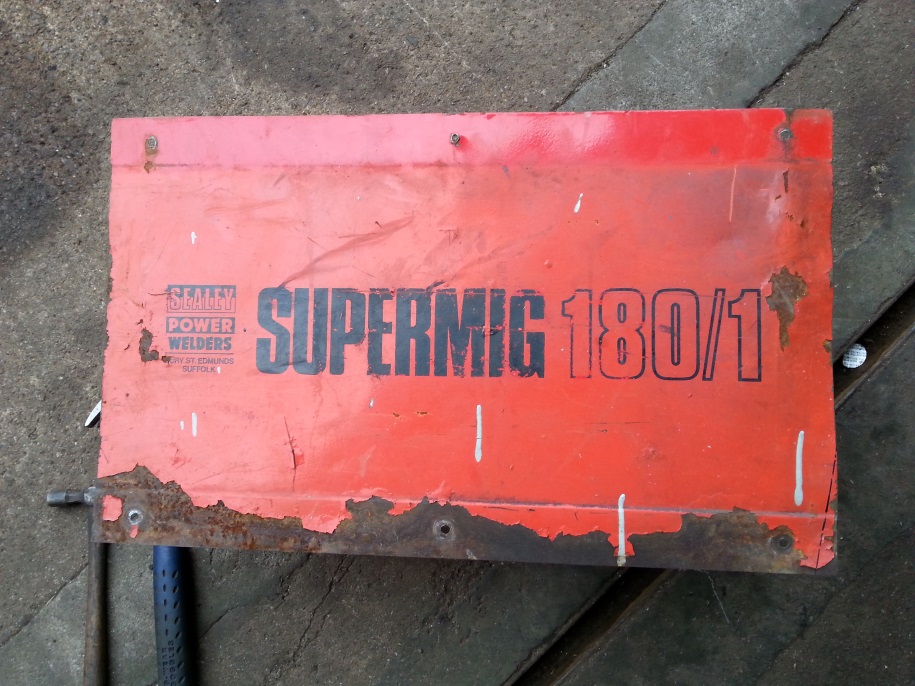
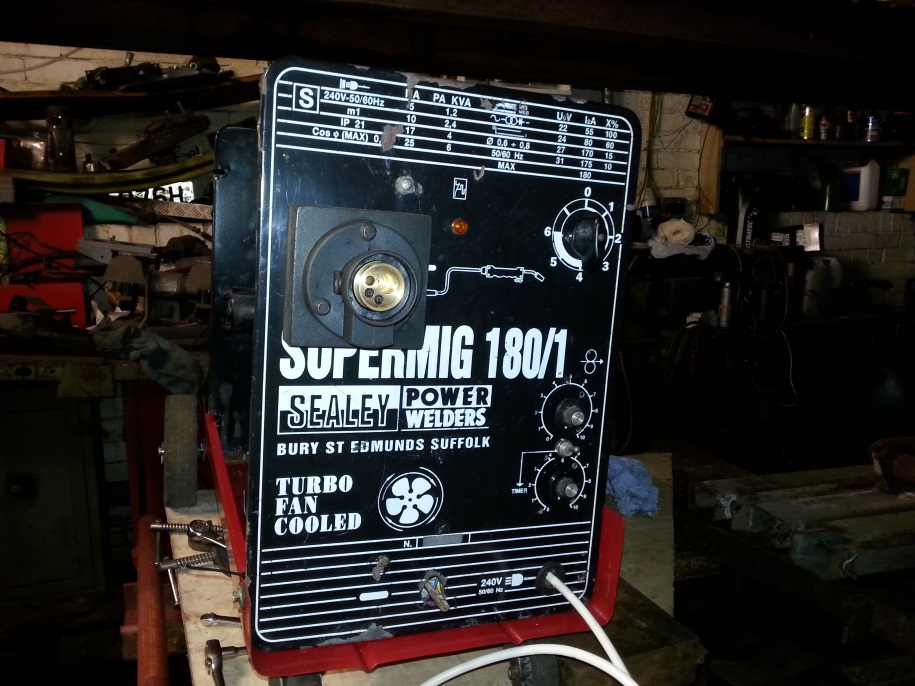
Here’s the latest addition to the workshop tools a Sealy 180/1
5 Comments
admin
11 October 2015 - 21:50
This is the eBay Sellers description
Been a good machine I have used this machine for at least ten years on and off and has been good the earth lead has come off but I clamp back on with a small pair of molegrips when in use and works fine the trigger)gun is in bad order and really could do with replacing other than that plz check photos bfor bidding this is not a new machine and far from but does work and in need of tlc any questions plz message me thanks for looking
admin
16 October 2015 - 19:47
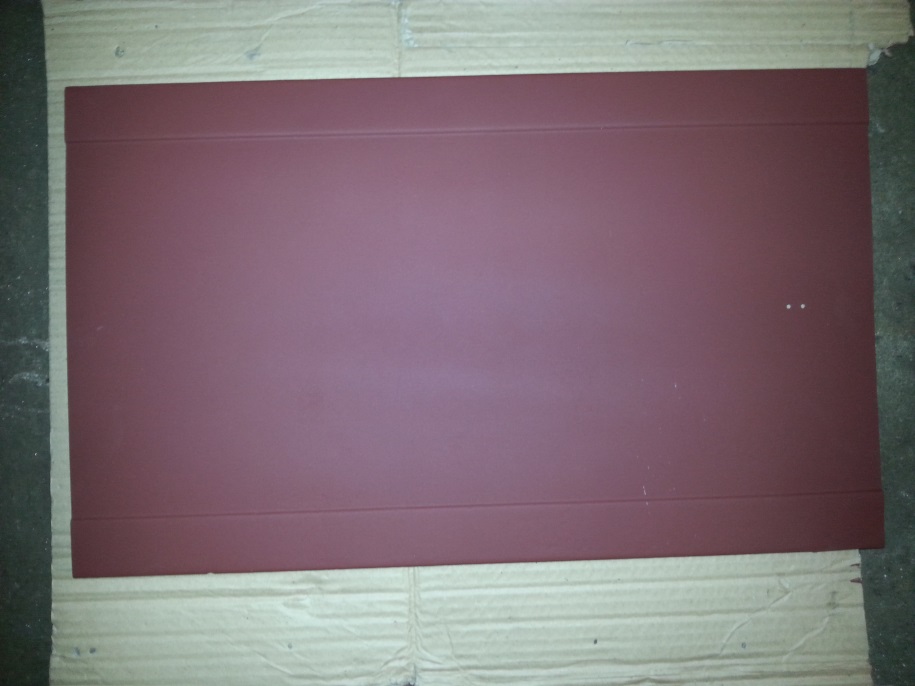
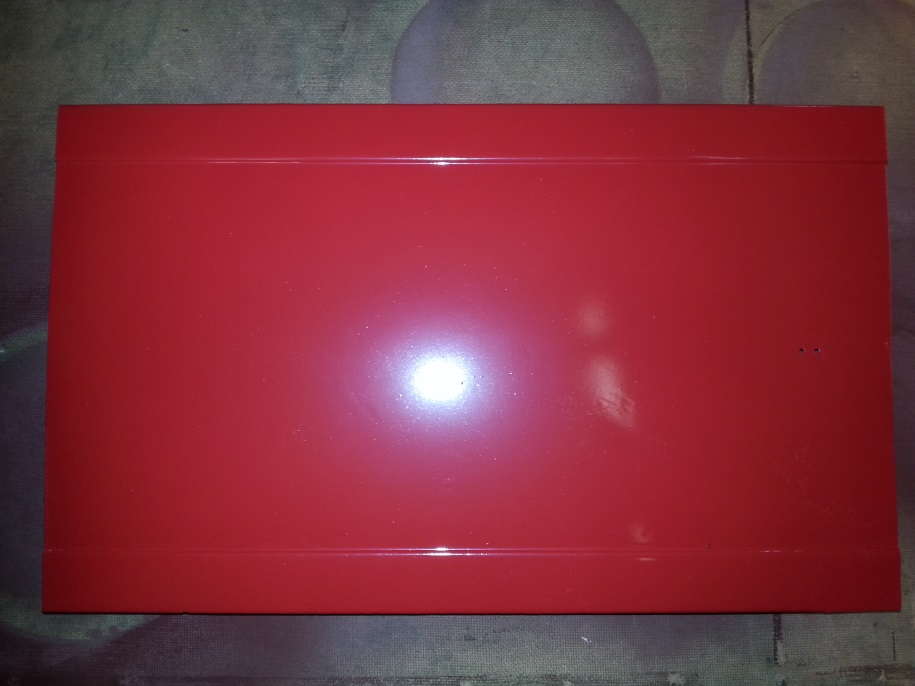
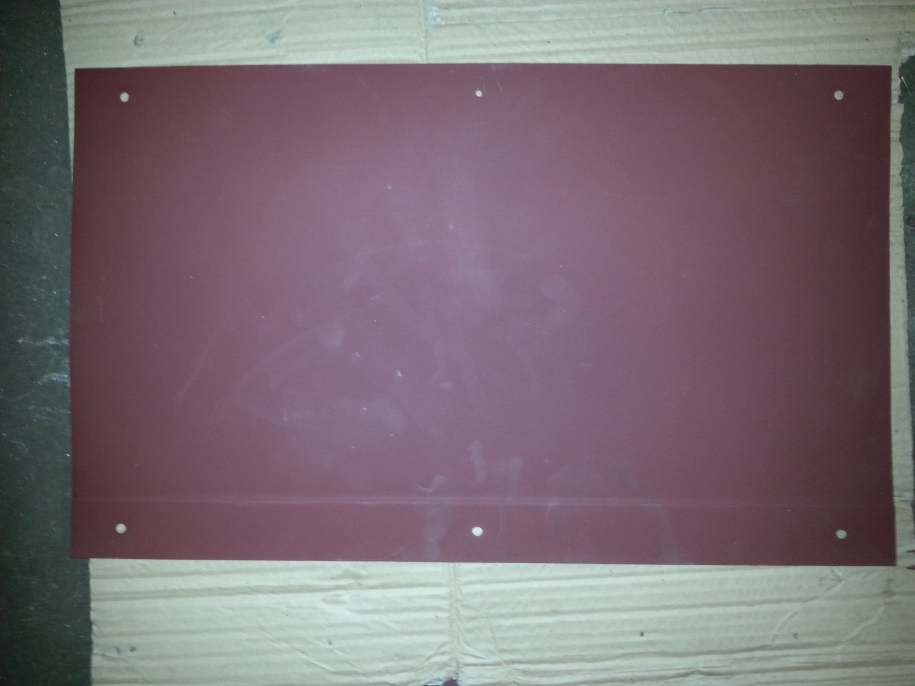
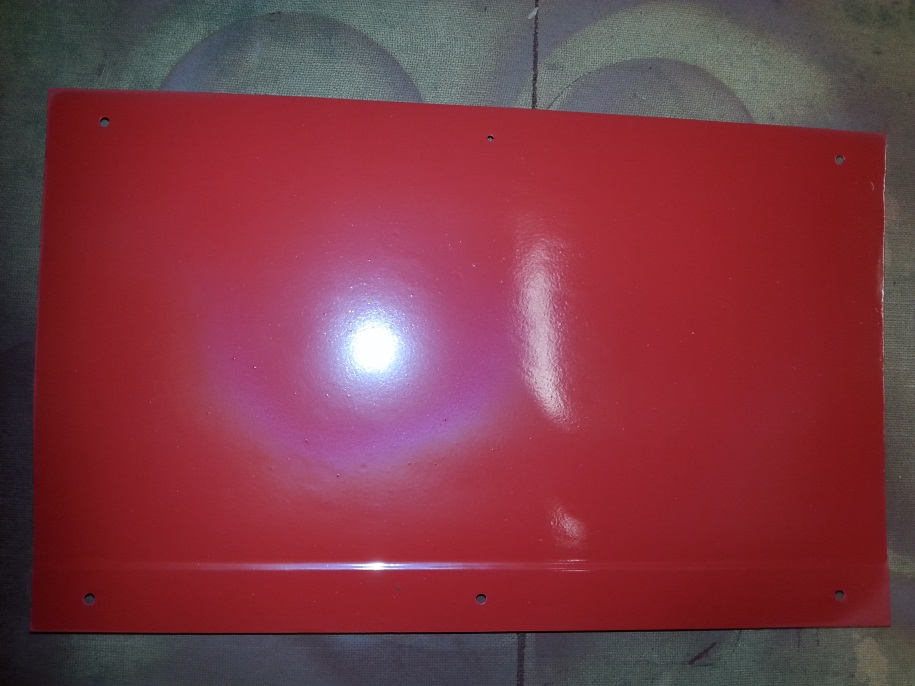
Stripped down, time to clean it all up and paint it
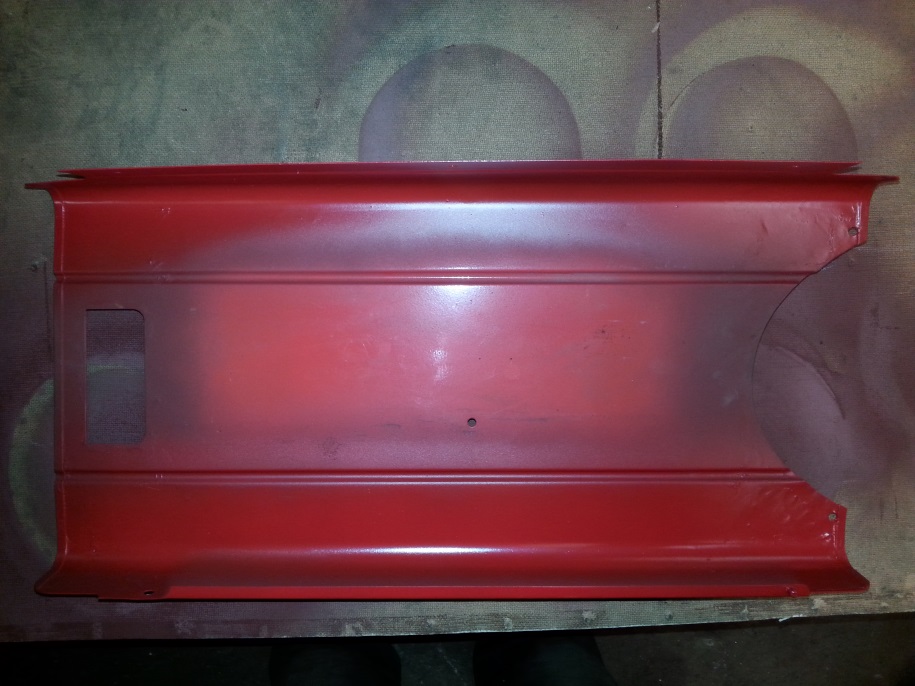
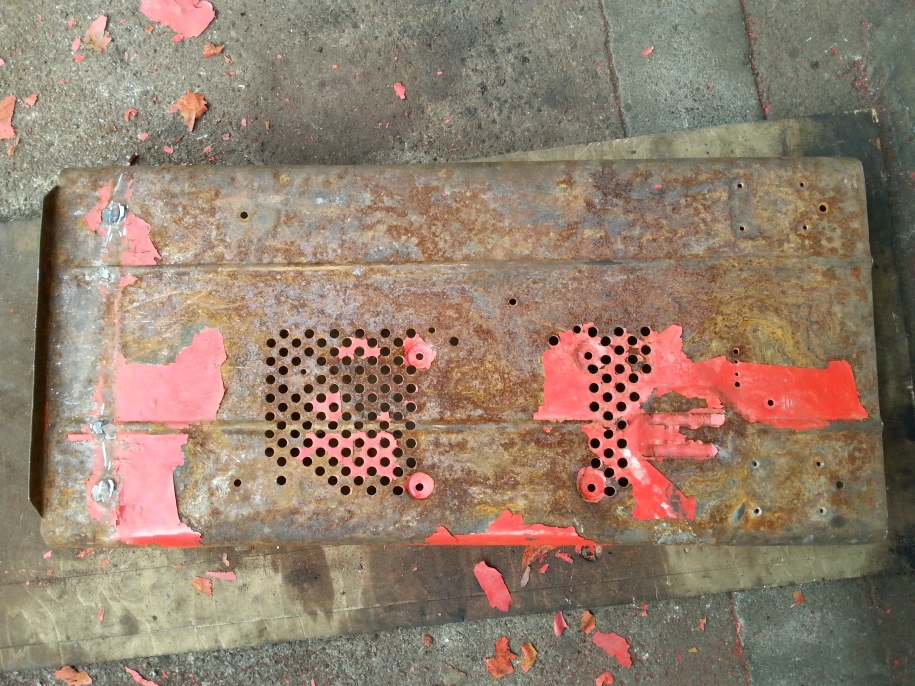
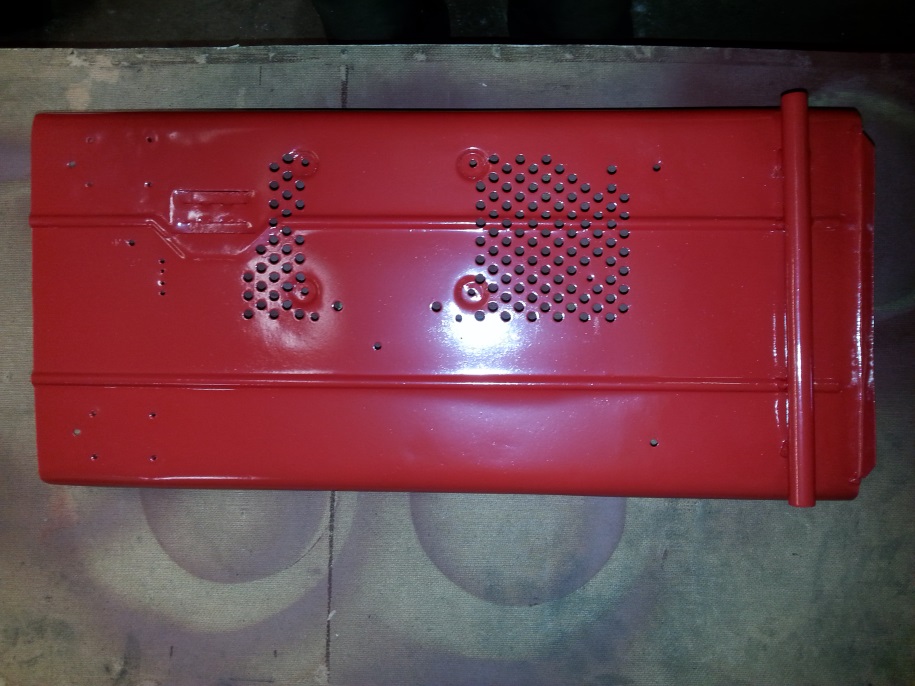
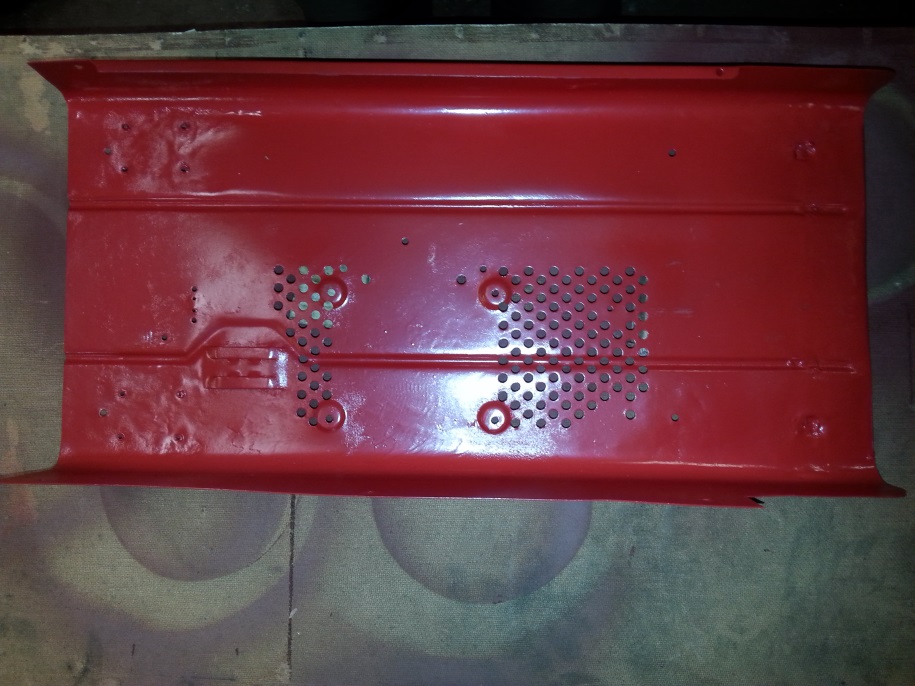
Cleaned and Primed
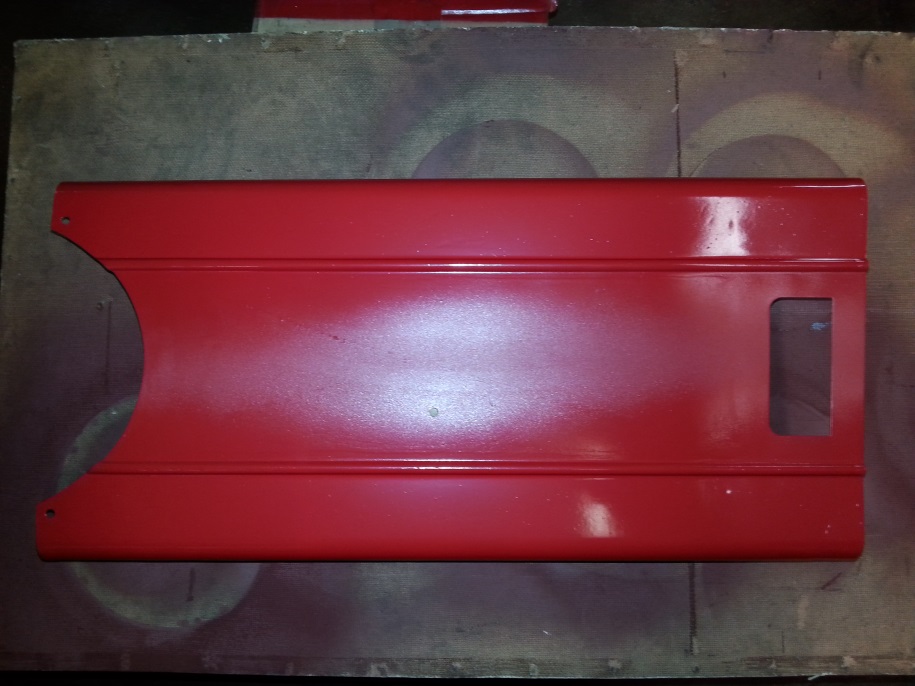
Painted
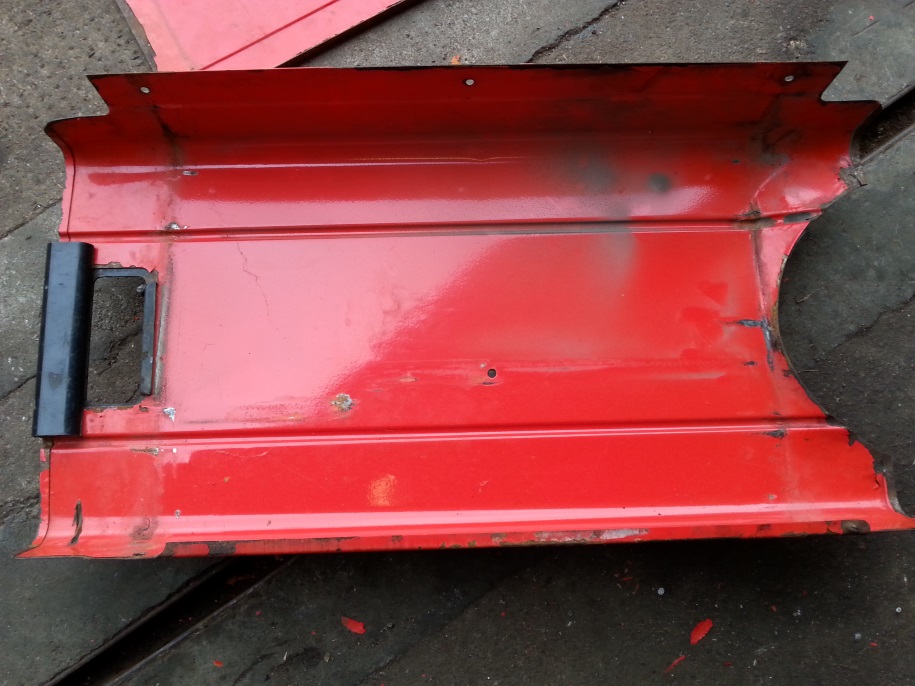
Cleaned and Primed
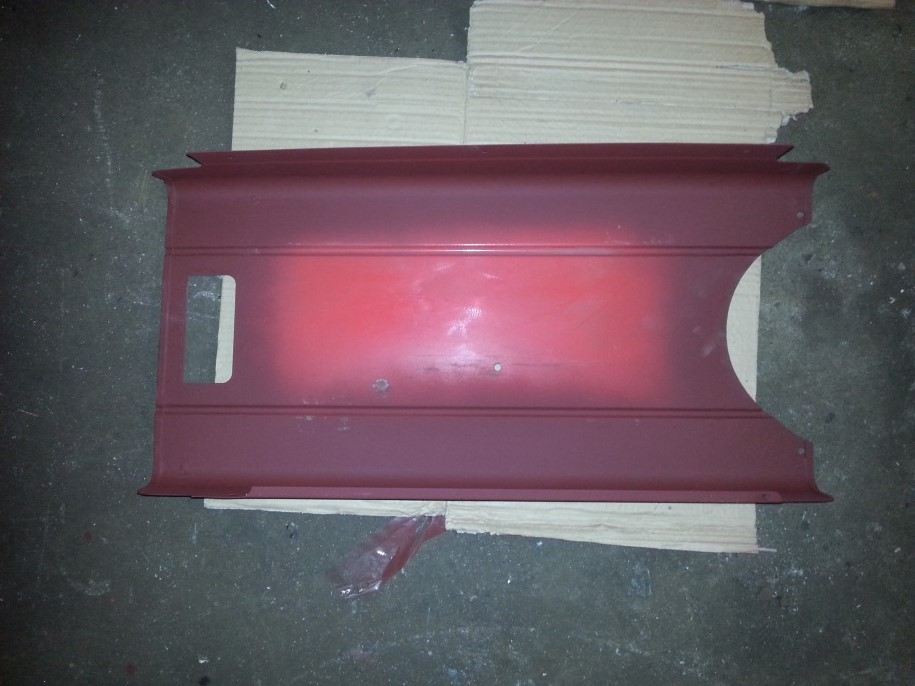
Painted
Cleaned and Primed
Painted
Cleaned and Primed
Painted
admin
17 October 2015 - 20:27
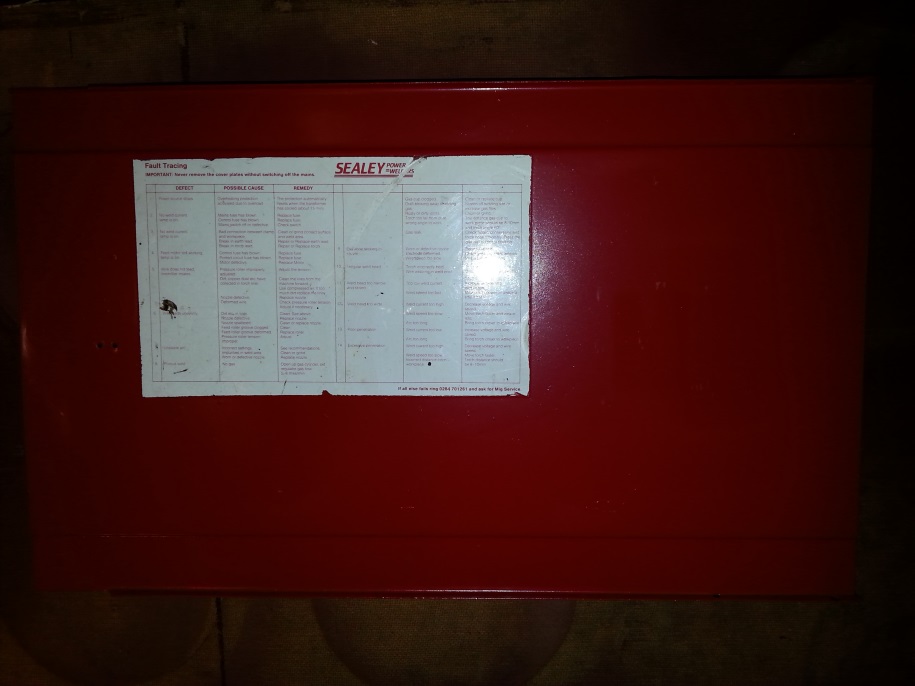
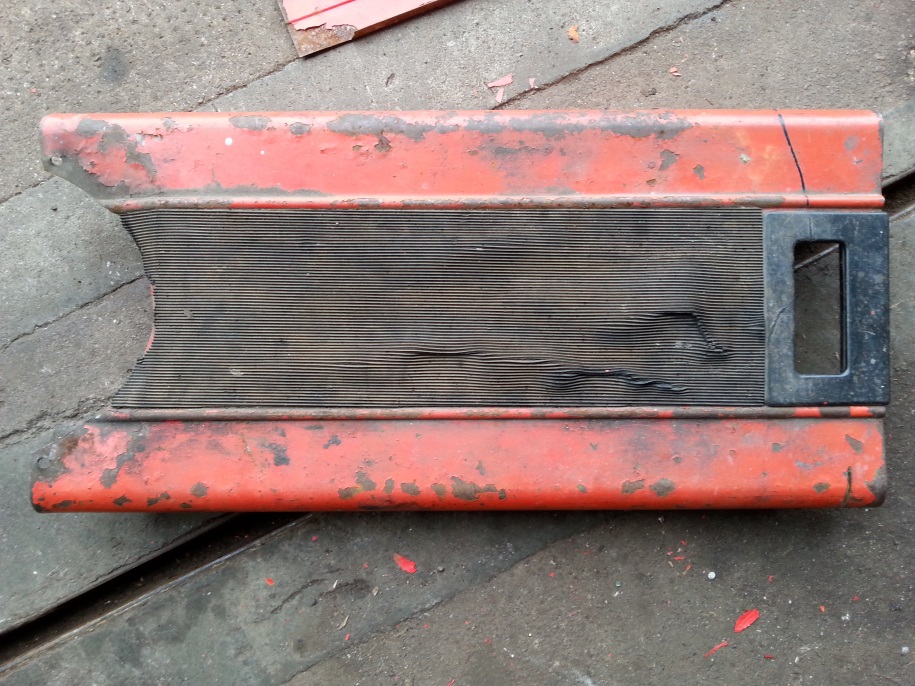
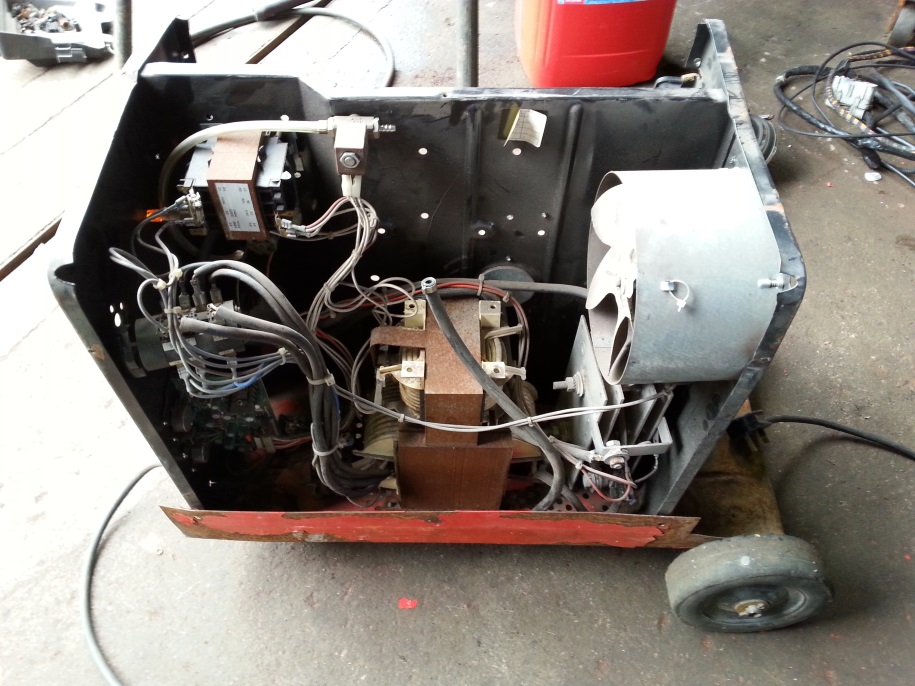
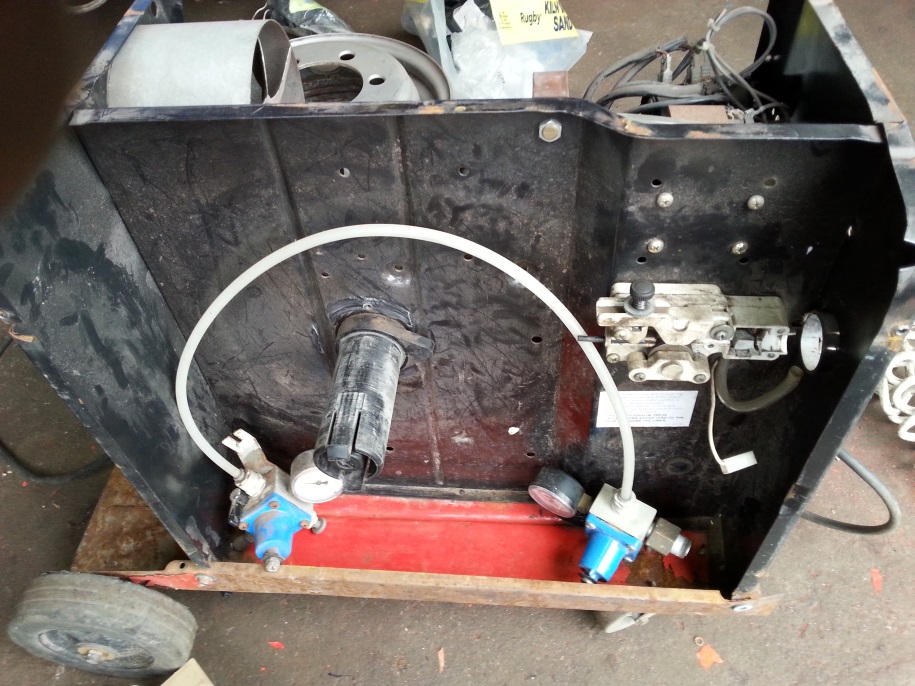
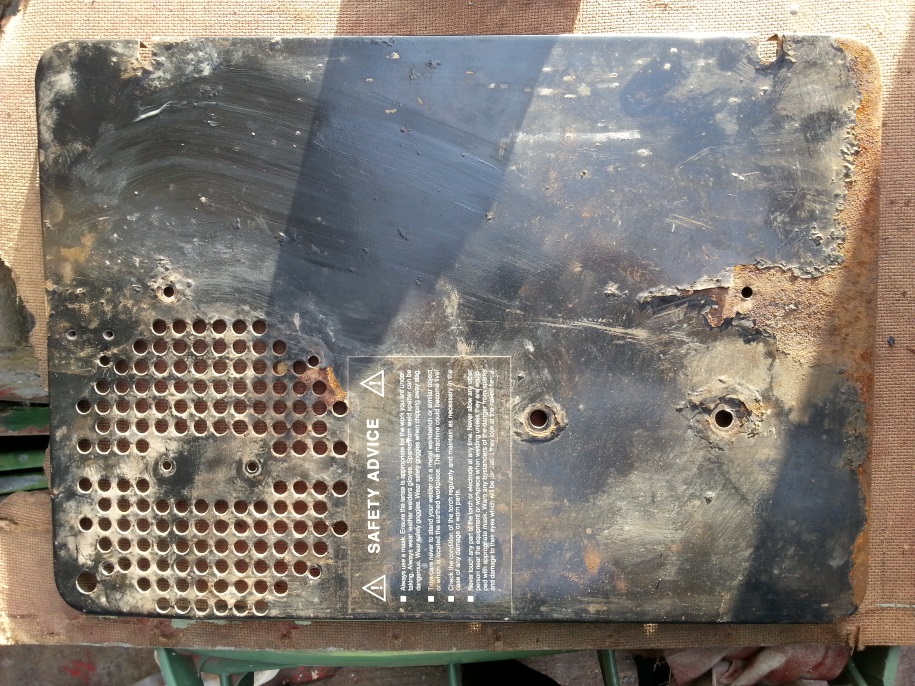
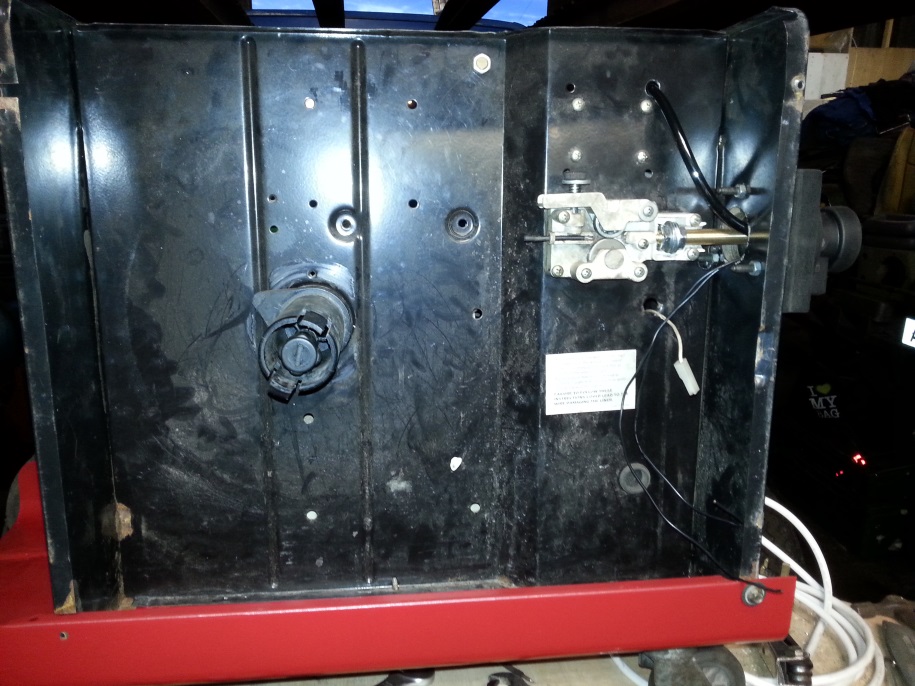
A view with Covers removed
painted and part Rebuilt
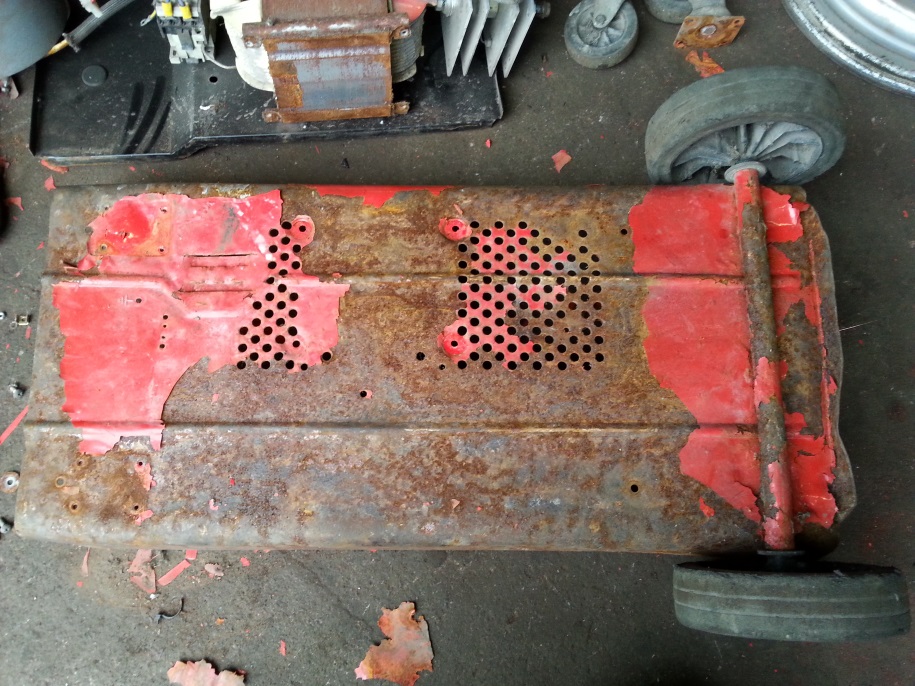
Completely stripped down
Had to cut rear axle off the base was so bent even axle was bent
Axle welded back on and painted
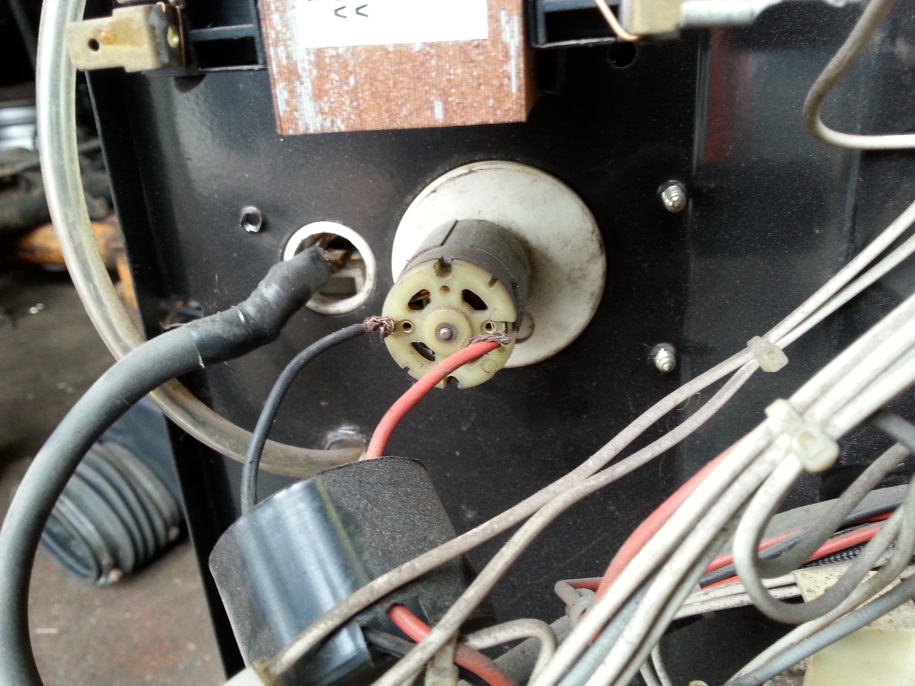
Found a bodged up repair on wire feed motor twisted wires,
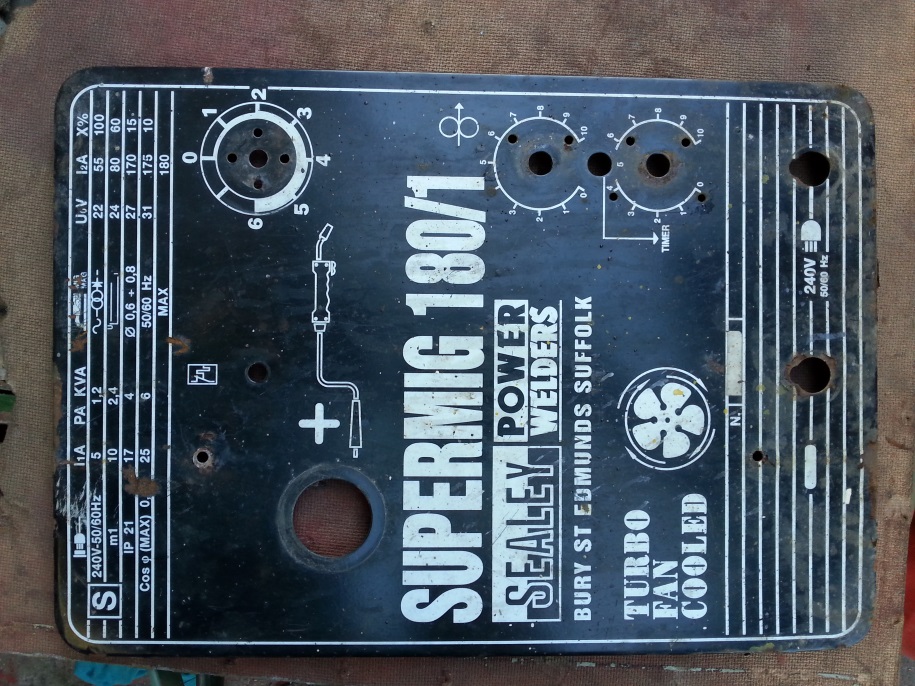
The front panel is too complicated to re-do so it will just get a clean
Cleaned with a bit of T cut
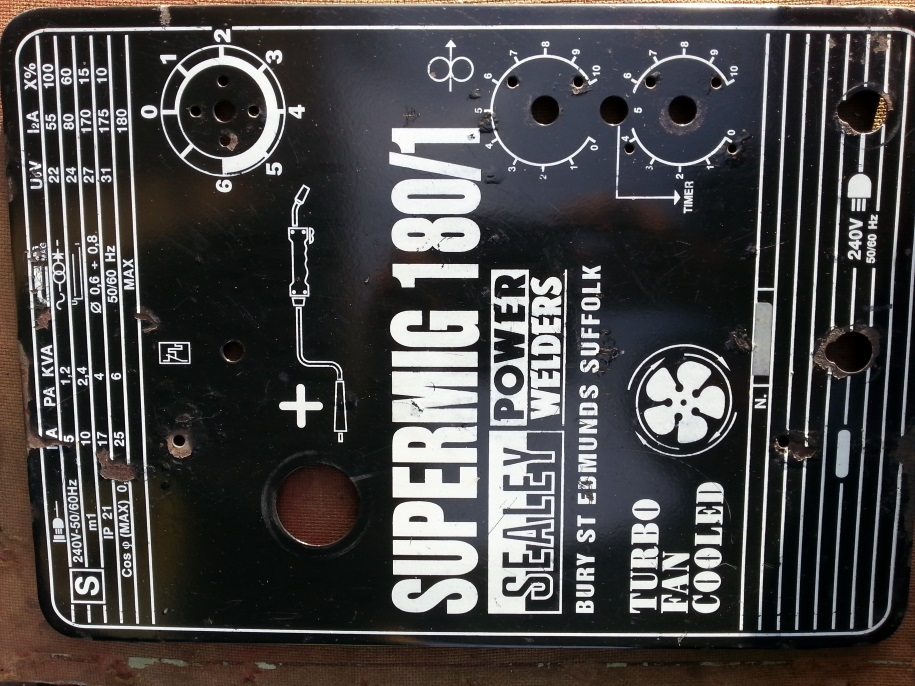
This is just going to get cleaned too
Cleaned with a bit of T cut
admin
20 October 2015 - 19:24
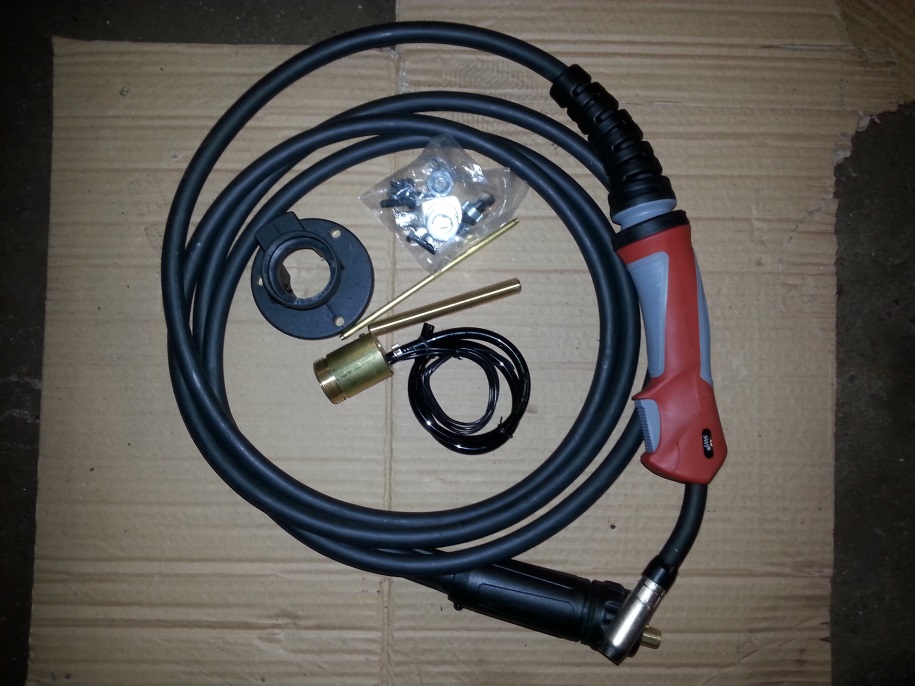
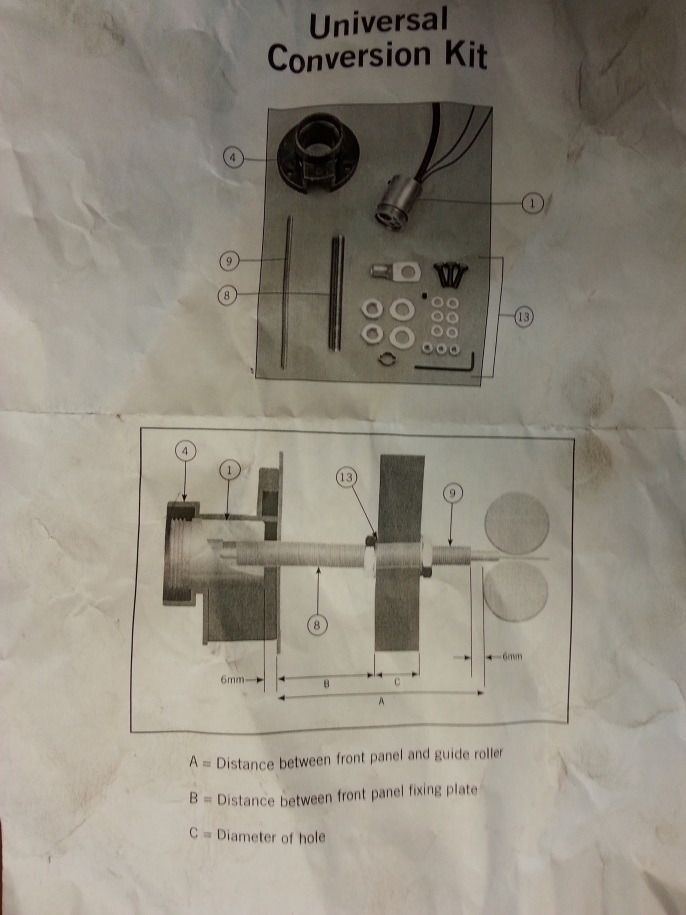
Decided to get a new lance kit and convert it to a euro plug, Don’t like having the welder so close that you can’t move without falling over it so got a 4m lance kit it came with a conversion kit to Euro plug, !!
The instructions for this Conversion kit are crap ! one page Tells you nothing ?? eBay special £53.50 including shipping what can you expect LOL nearly doubled the cost of welder though LMAO,
I’ve used 2 off 90x90x19mm pieces of MDF board screwed together and bolted through the front panel as a spacer and mounting point, it’s not the prettiest way but it does’ the job, I just had to cut the inner sleeve down by about 25mm, I drilled a 5mm hole 10mm deep into the plastic of the feed motor assembly were the wire comes through so the inner sleeve centralizes and supports euro plug inside the welder,
Wiring the euro plug to this Sealey welder It only has one wire to activate it from switch, the euro plug torch has two wires, just fasten one of the wires to the base of the lance tube with the Ve+ supply wire and the other to the original spade connector,
admin
21 October 2015 - 20:14
Finished and ready to be put to work Total cost £125
The ground wire plug and socket arrived today so it completely finished now,

5 Comments
admin
11 October 2015 - 21:50Been a good machine I have used this machine for at least ten years on and off and has been good the earth lead has come off but I clamp back on with a small pair of molegrips when in use and works fine the trigger)gun is in bad order and really could do with replacing other than that plz check photos bfor bidding this is not a new machine and far from but does work and in need of tlc any questions plz message me thanks for looking
admin
16 October 2015 - 19:47Stripped down, time to clean it all up and paint it
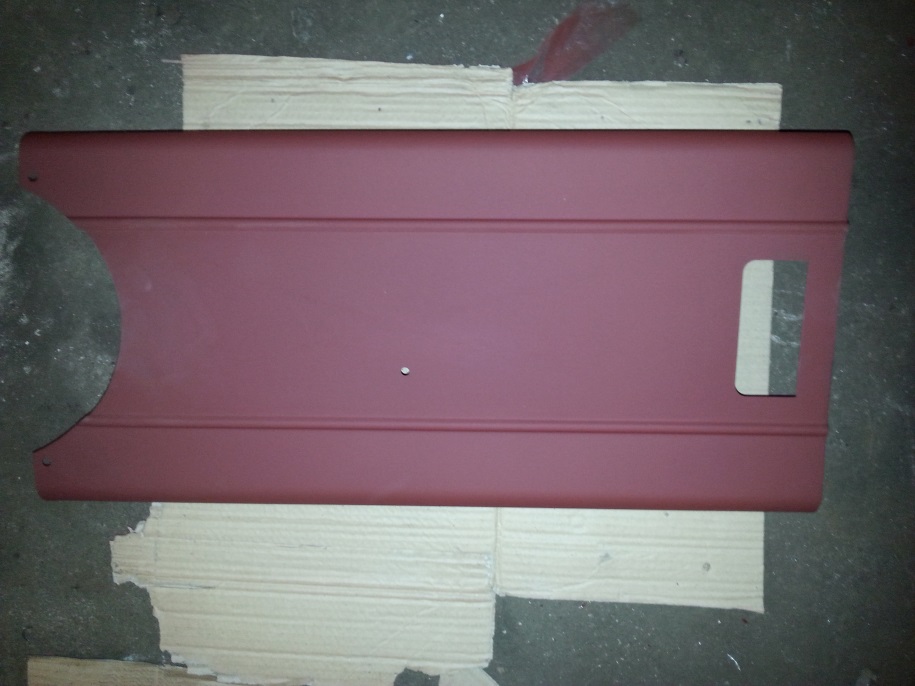
Cleaned and Primed
Painted
Cleaned and Primed
Painted
Cleaned and Primed
Painted
Cleaned and Primed
Painted
admin
17 October 2015 - 20:27A view with Covers removed


painted and part Rebuilt
Completely stripped down
Had to cut rear axle off the base was so bent even axle was bent
Axle welded back on and painted
Found a bodged up repair on wire feed motor twisted wires,
The front panel is too complicated to re-do so it will just get a clean
Cleaned with a bit of T cut
This is just going to get cleaned too
Cleaned with a bit of T cut
admin
20 October 2015 - 19:24Decided to get a new lance kit and convert it to a euro plug, Don’t like having the welder so close that you can’t move without falling over it so got a 4m lance kit it came with a conversion kit to Euro plug, !!
The instructions for this Conversion kit are crap ! one page Tells you nothing ?? eBay special £53.50 including shipping what can you expect LOL nearly doubled the cost of welder though LMAO,
I’ve used 2 off 90x90x19mm pieces of MDF board screwed together and bolted through the front panel as a spacer and mounting point, it’s not the prettiest way but it does’ the job, I just had to cut the inner sleeve down by about 25mm, I drilled a 5mm hole 10mm deep into the plastic of the feed motor assembly were the wire comes through so the inner sleeve centralizes and supports euro plug inside the welder,
Wiring the euro plug to this Sealey welder It only has one wire to activate it from switch, the euro plug torch has two wires, just fasten one of the wires to the base of the lance tube with the Ve+ supply wire and the other to the original spade connector,
admin
21 October 2015 - 20:14The ground wire plug and socket arrived today so it completely finished now,