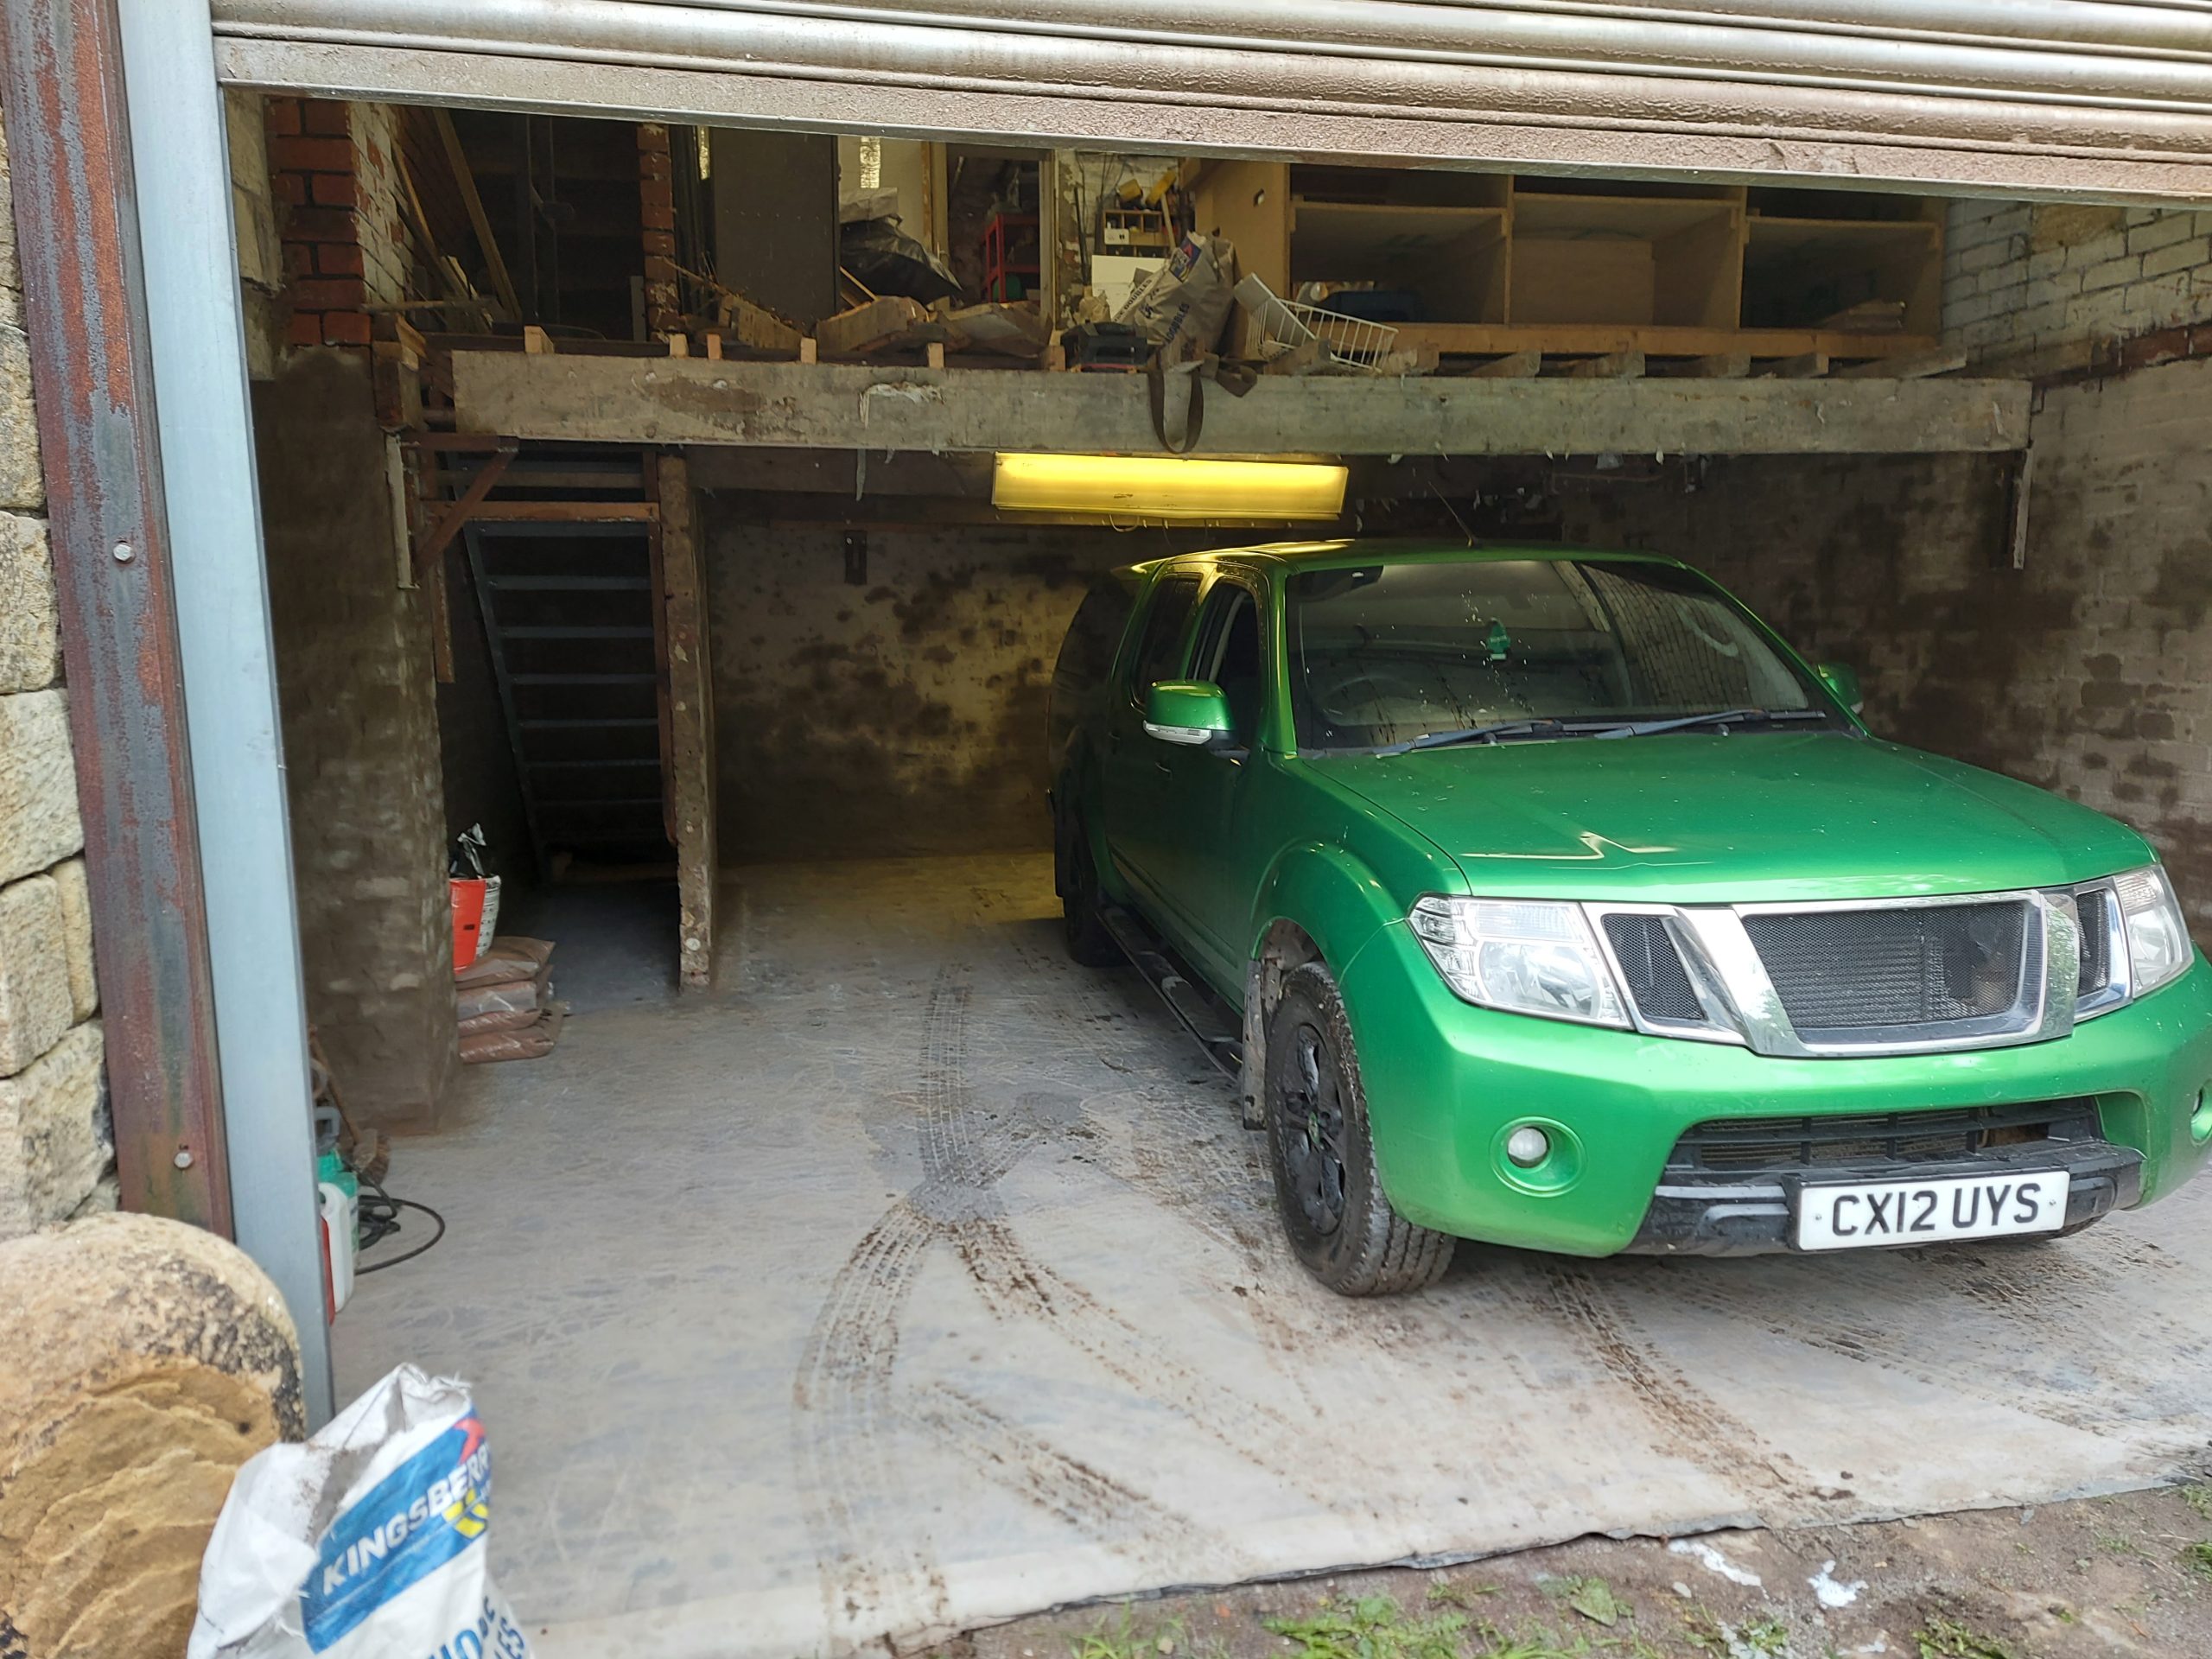
Well looking ahead to my retirement, I’ve now started planning a home workshop “Man cave” in my 2 story basement
8 Comments
admin
15 March 2021 - 19:28
First plans done with a free CAD package
admin
28 March 2021 - 17:54
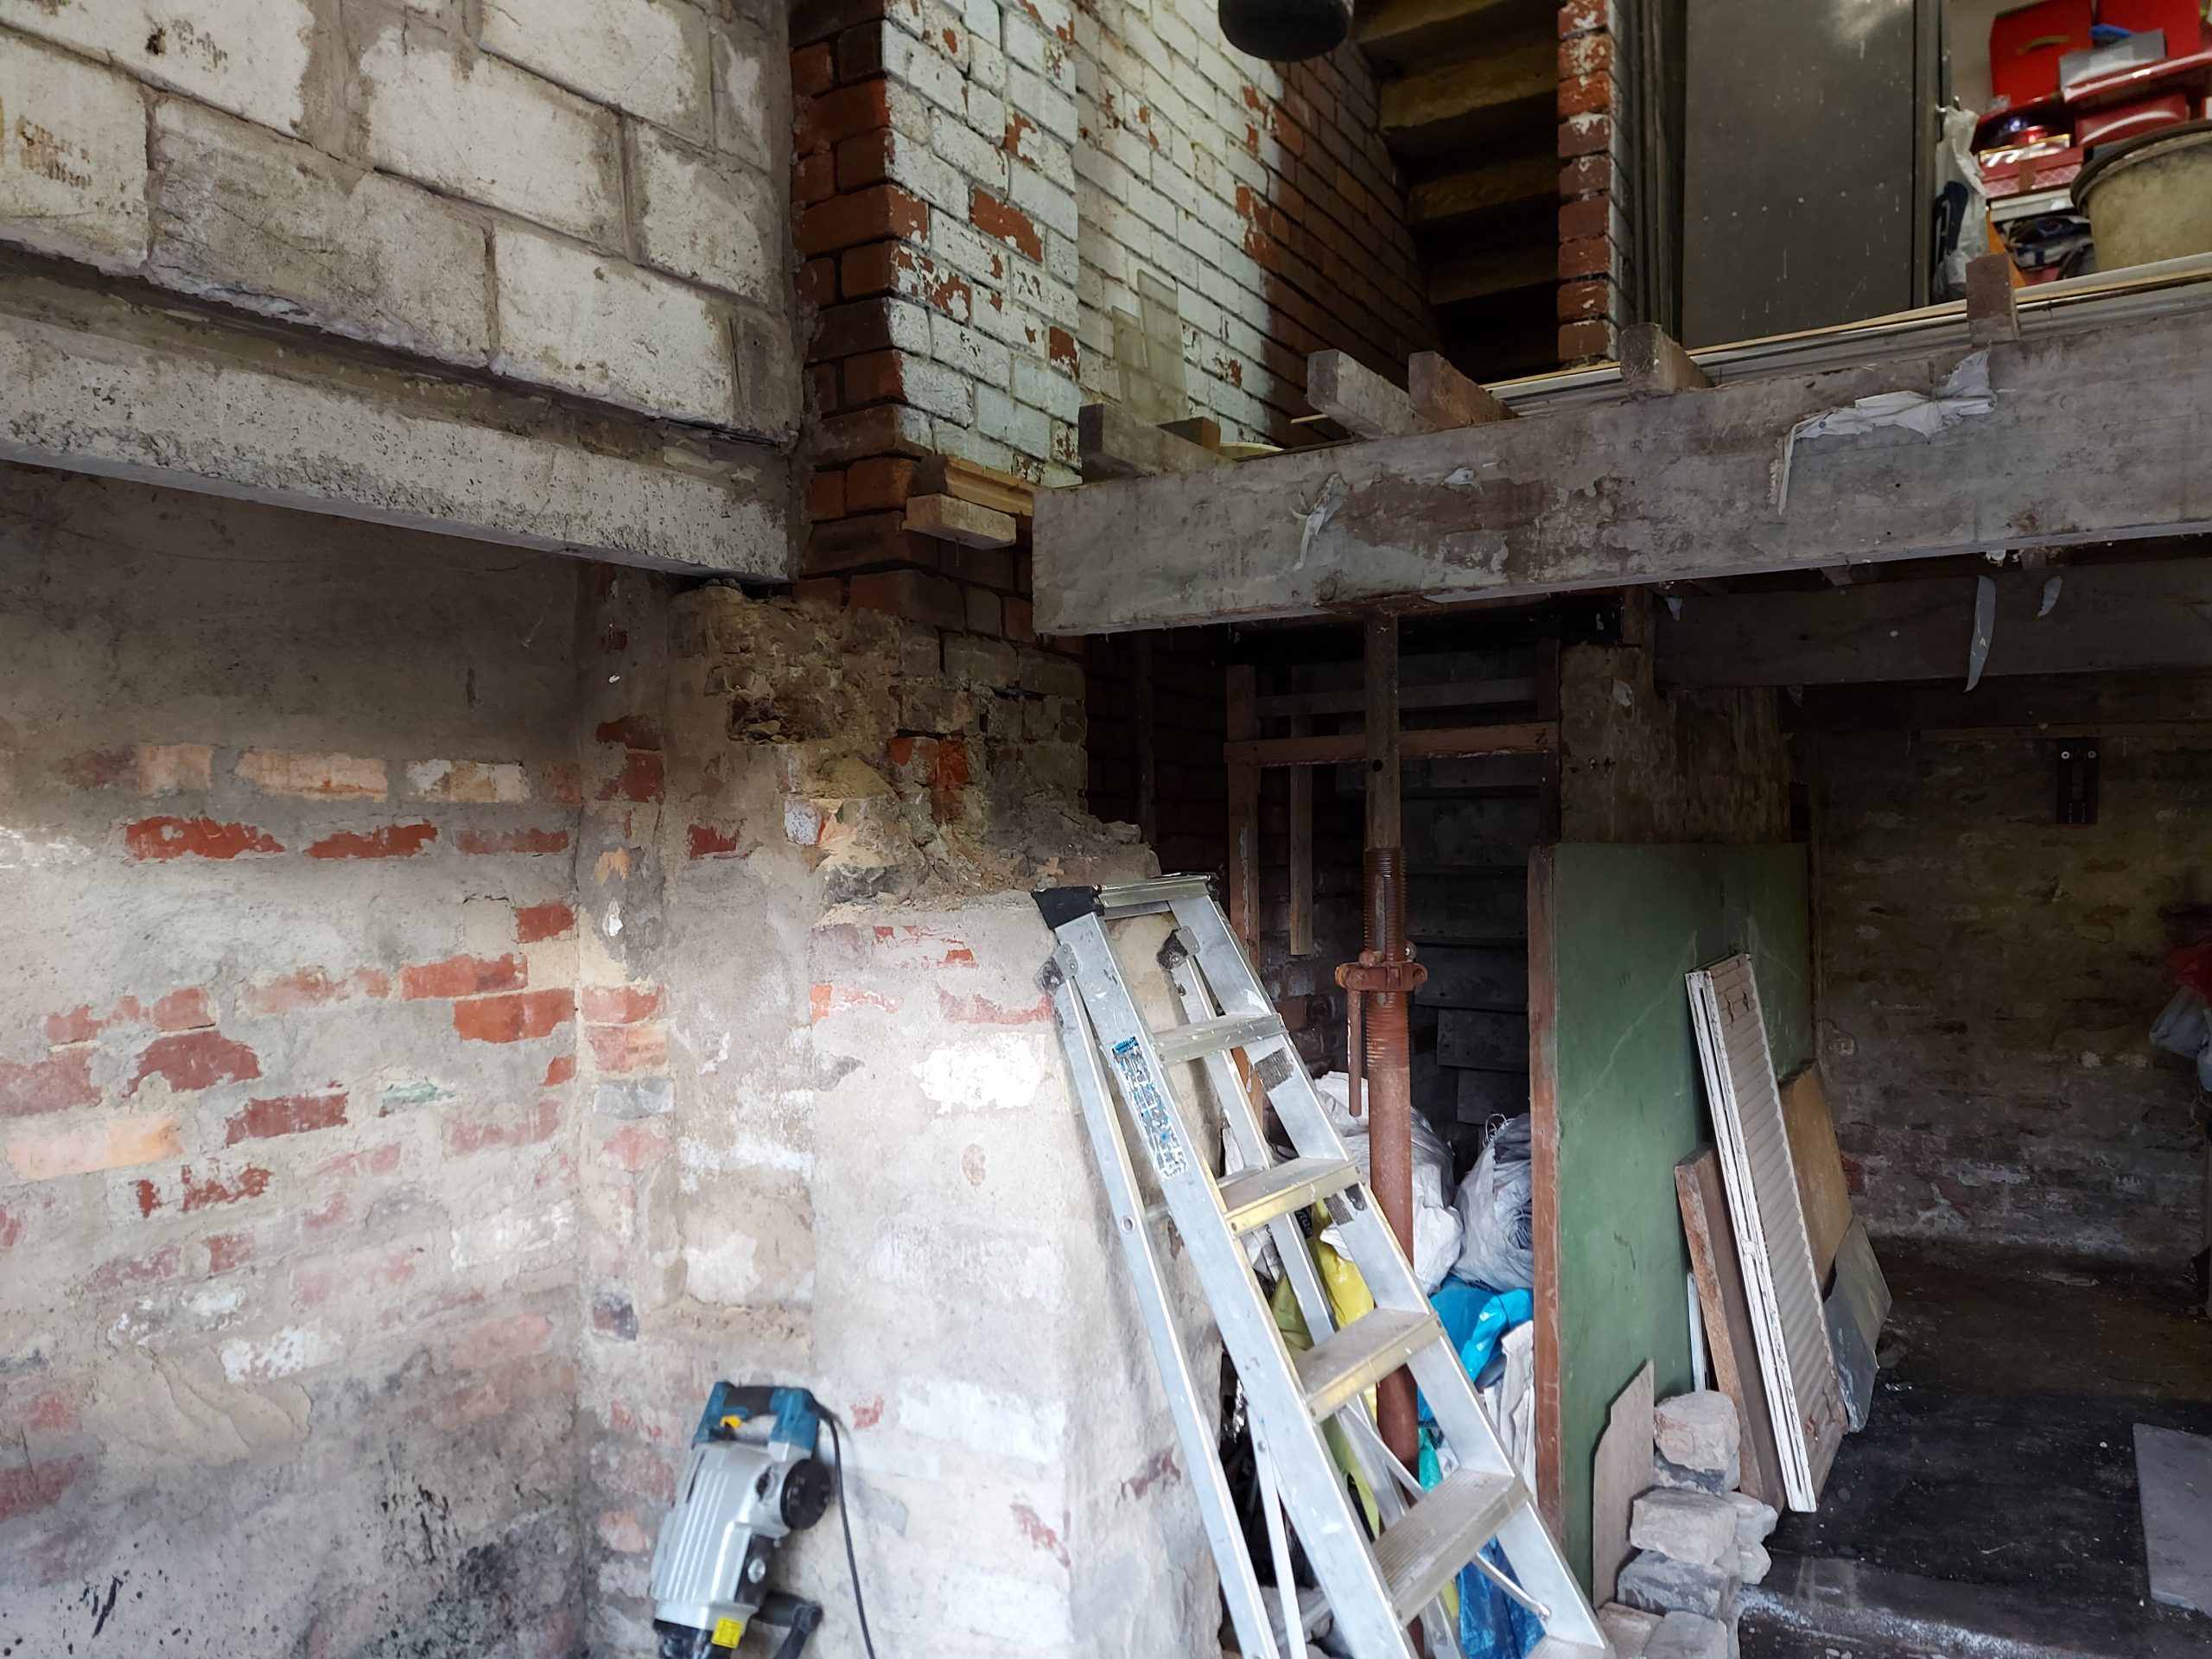
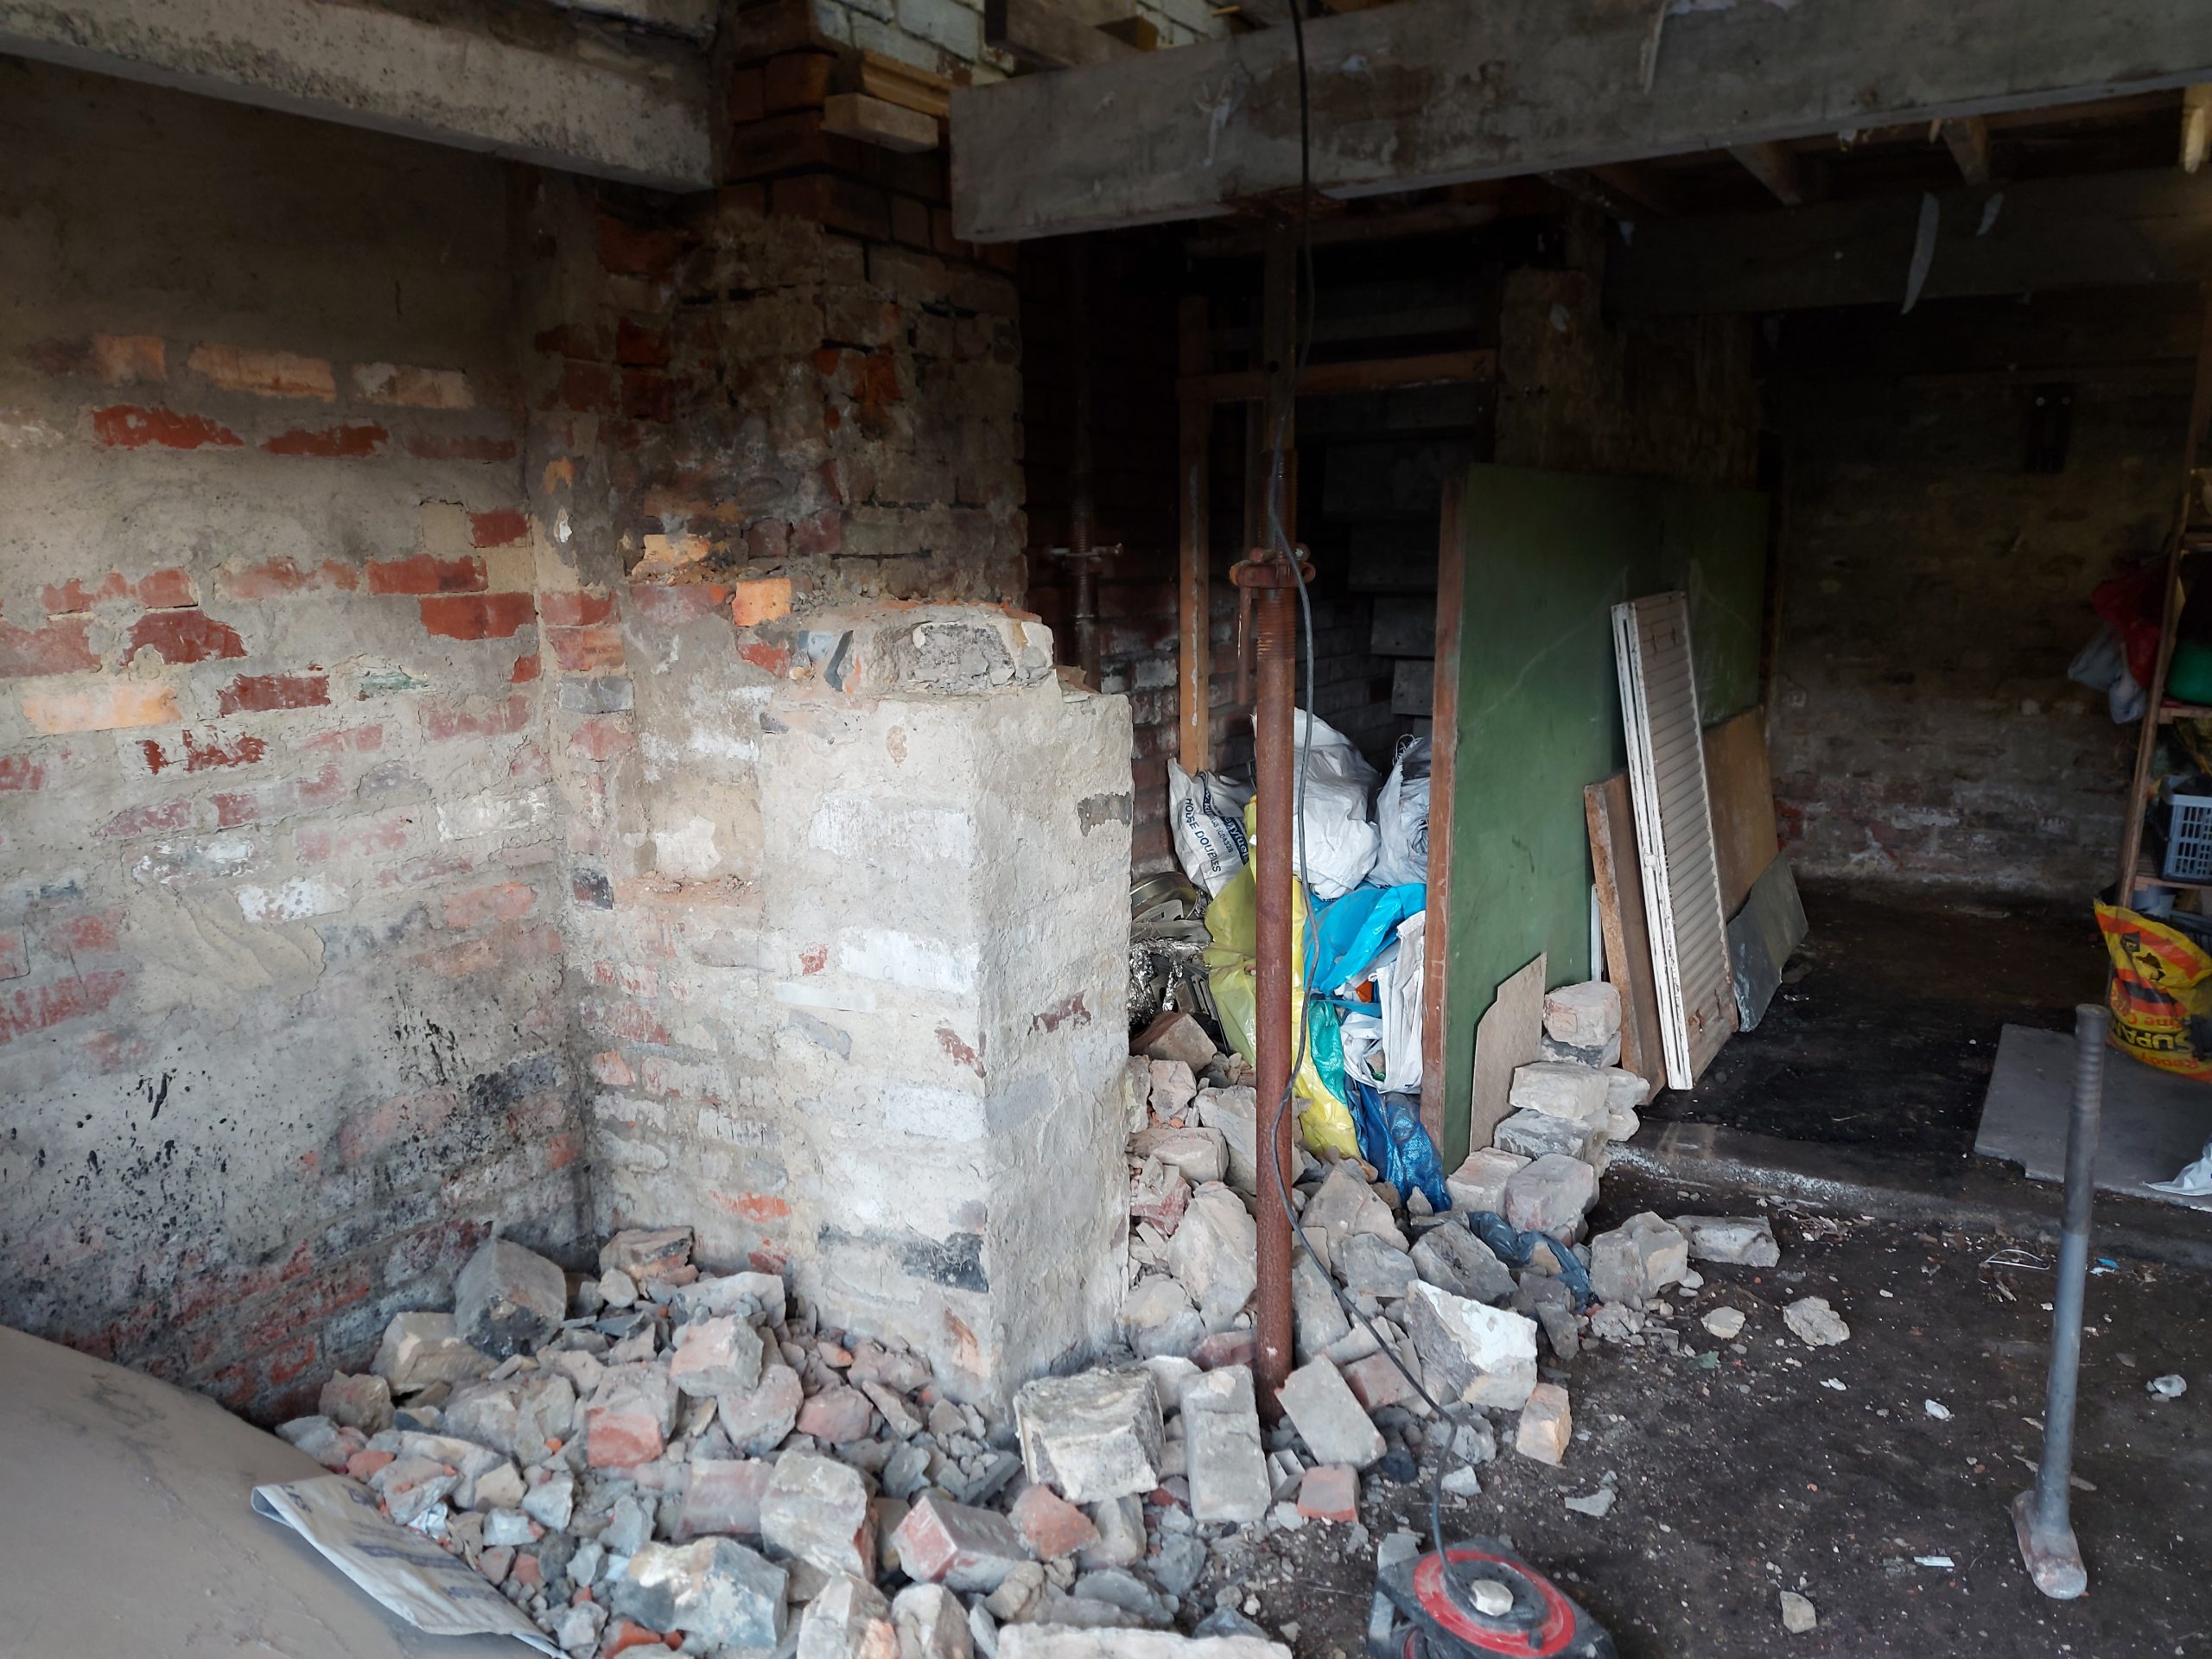
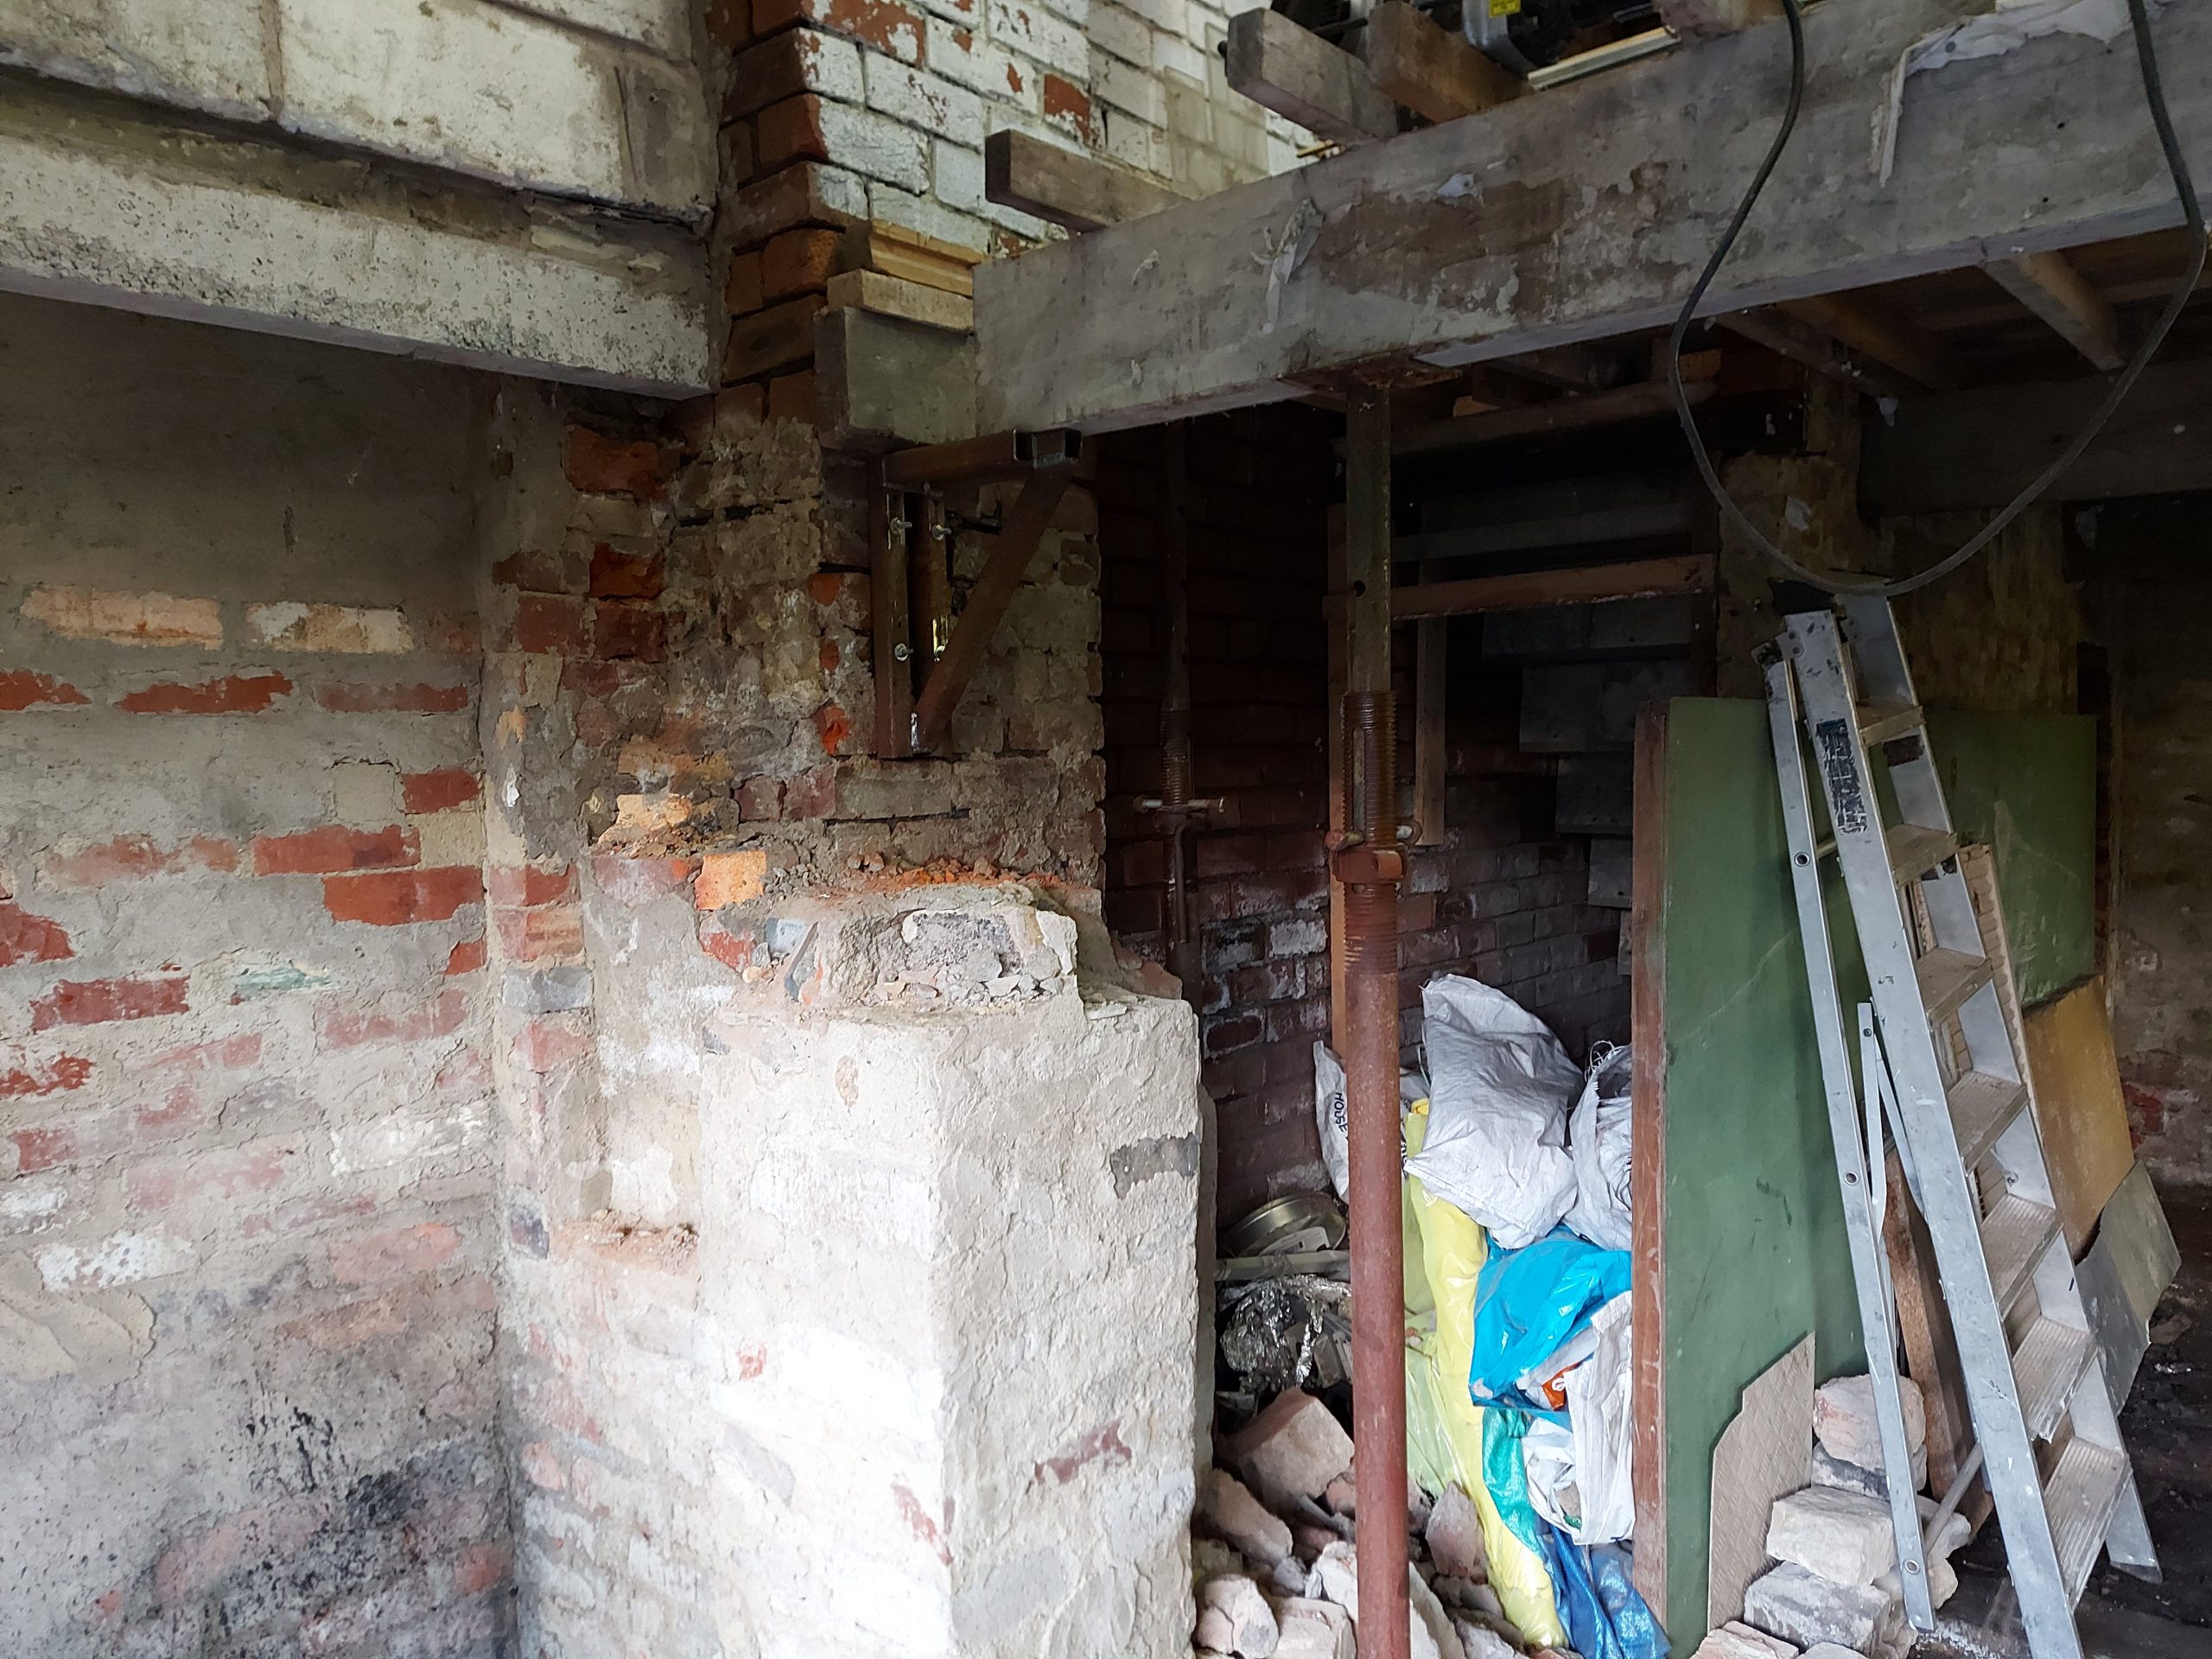
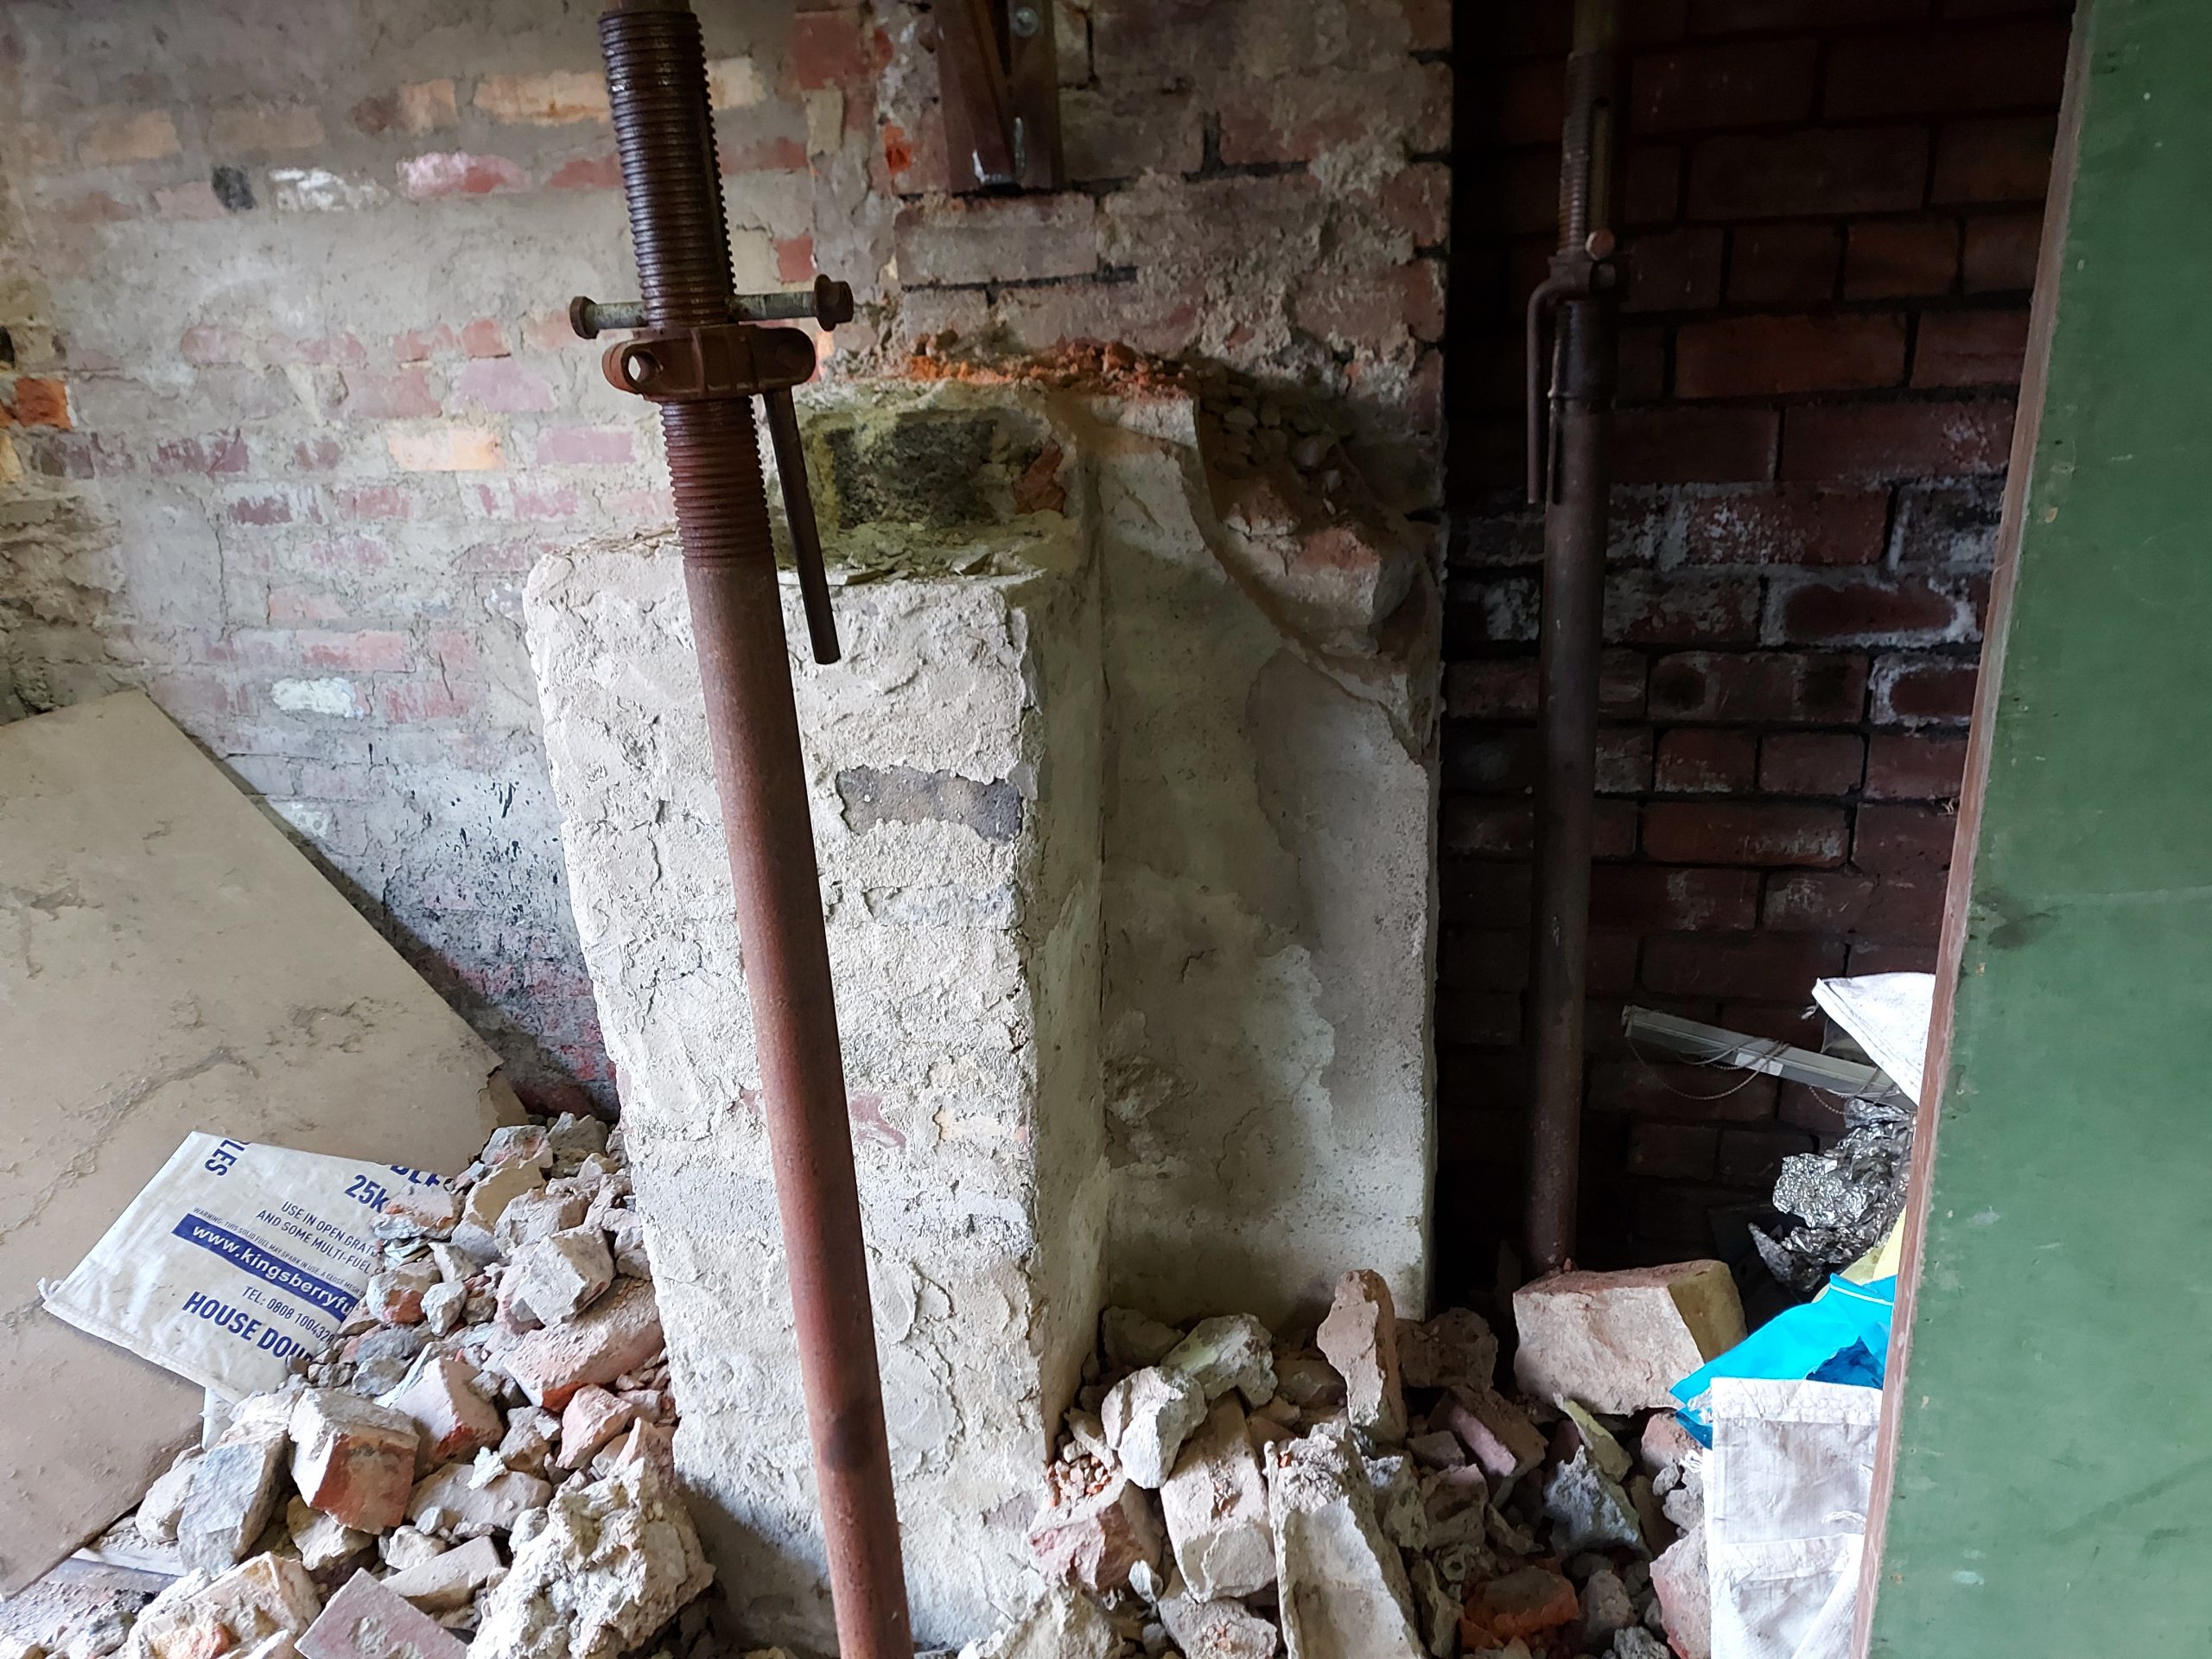
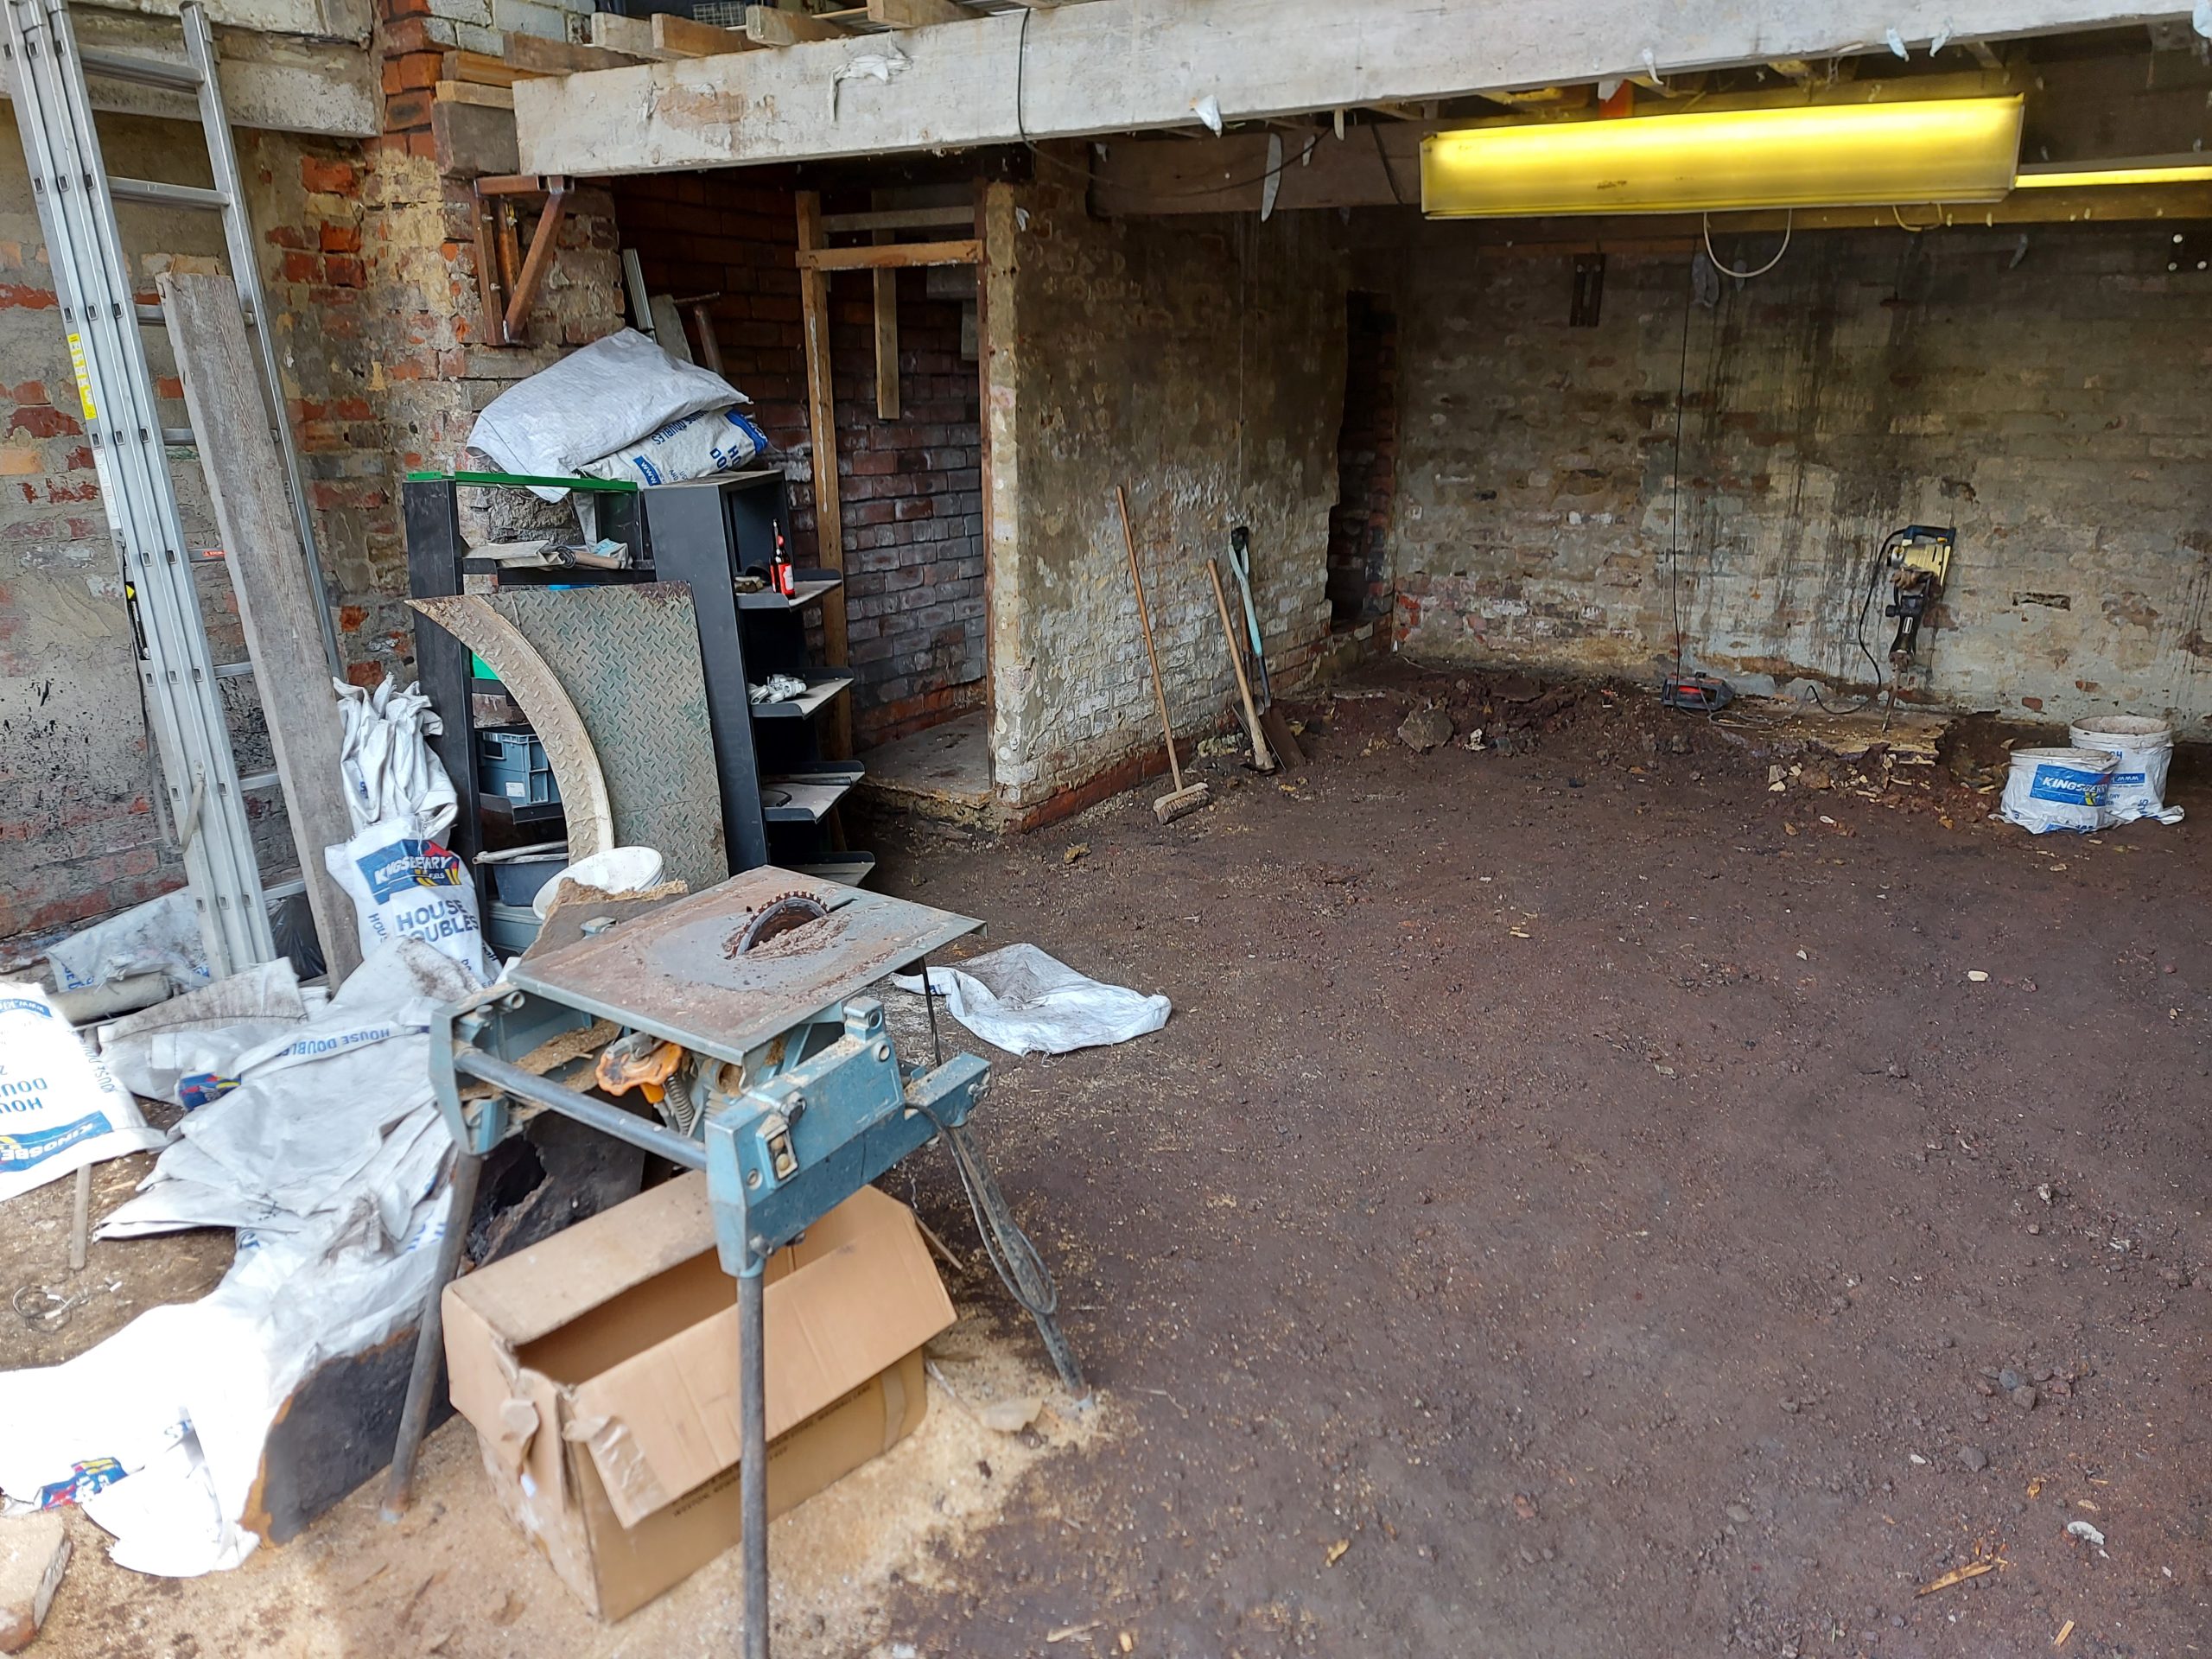
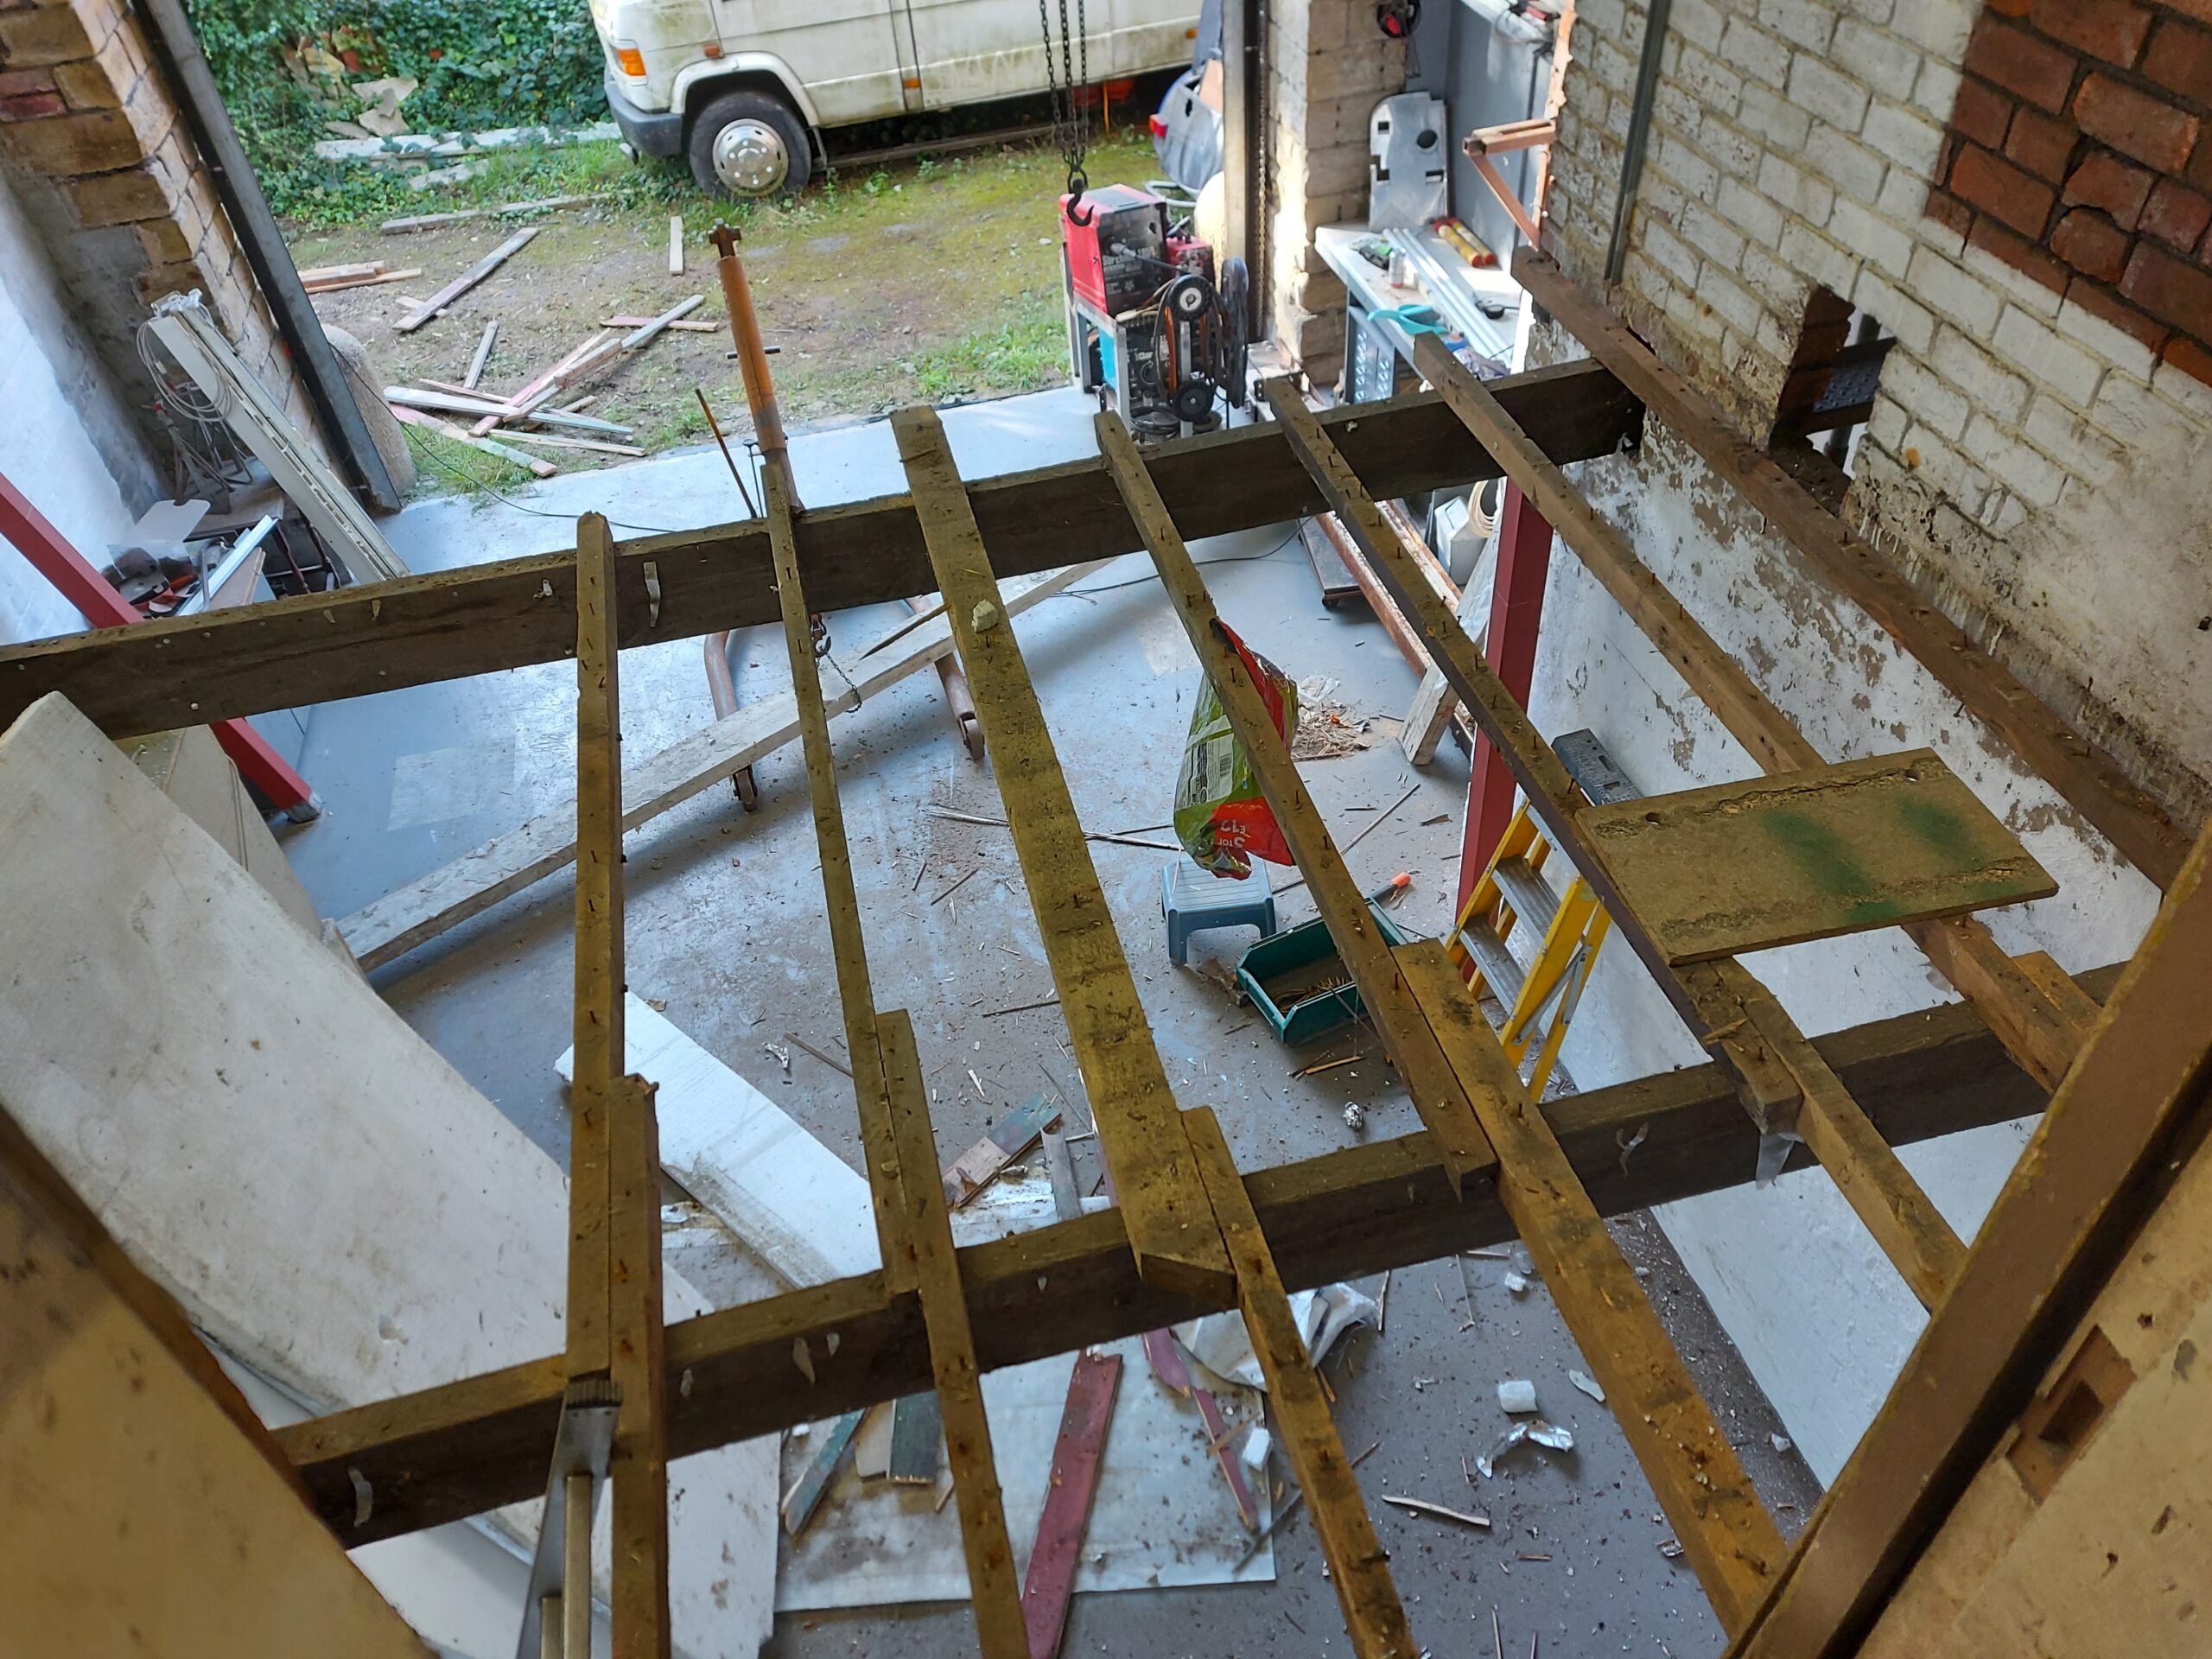
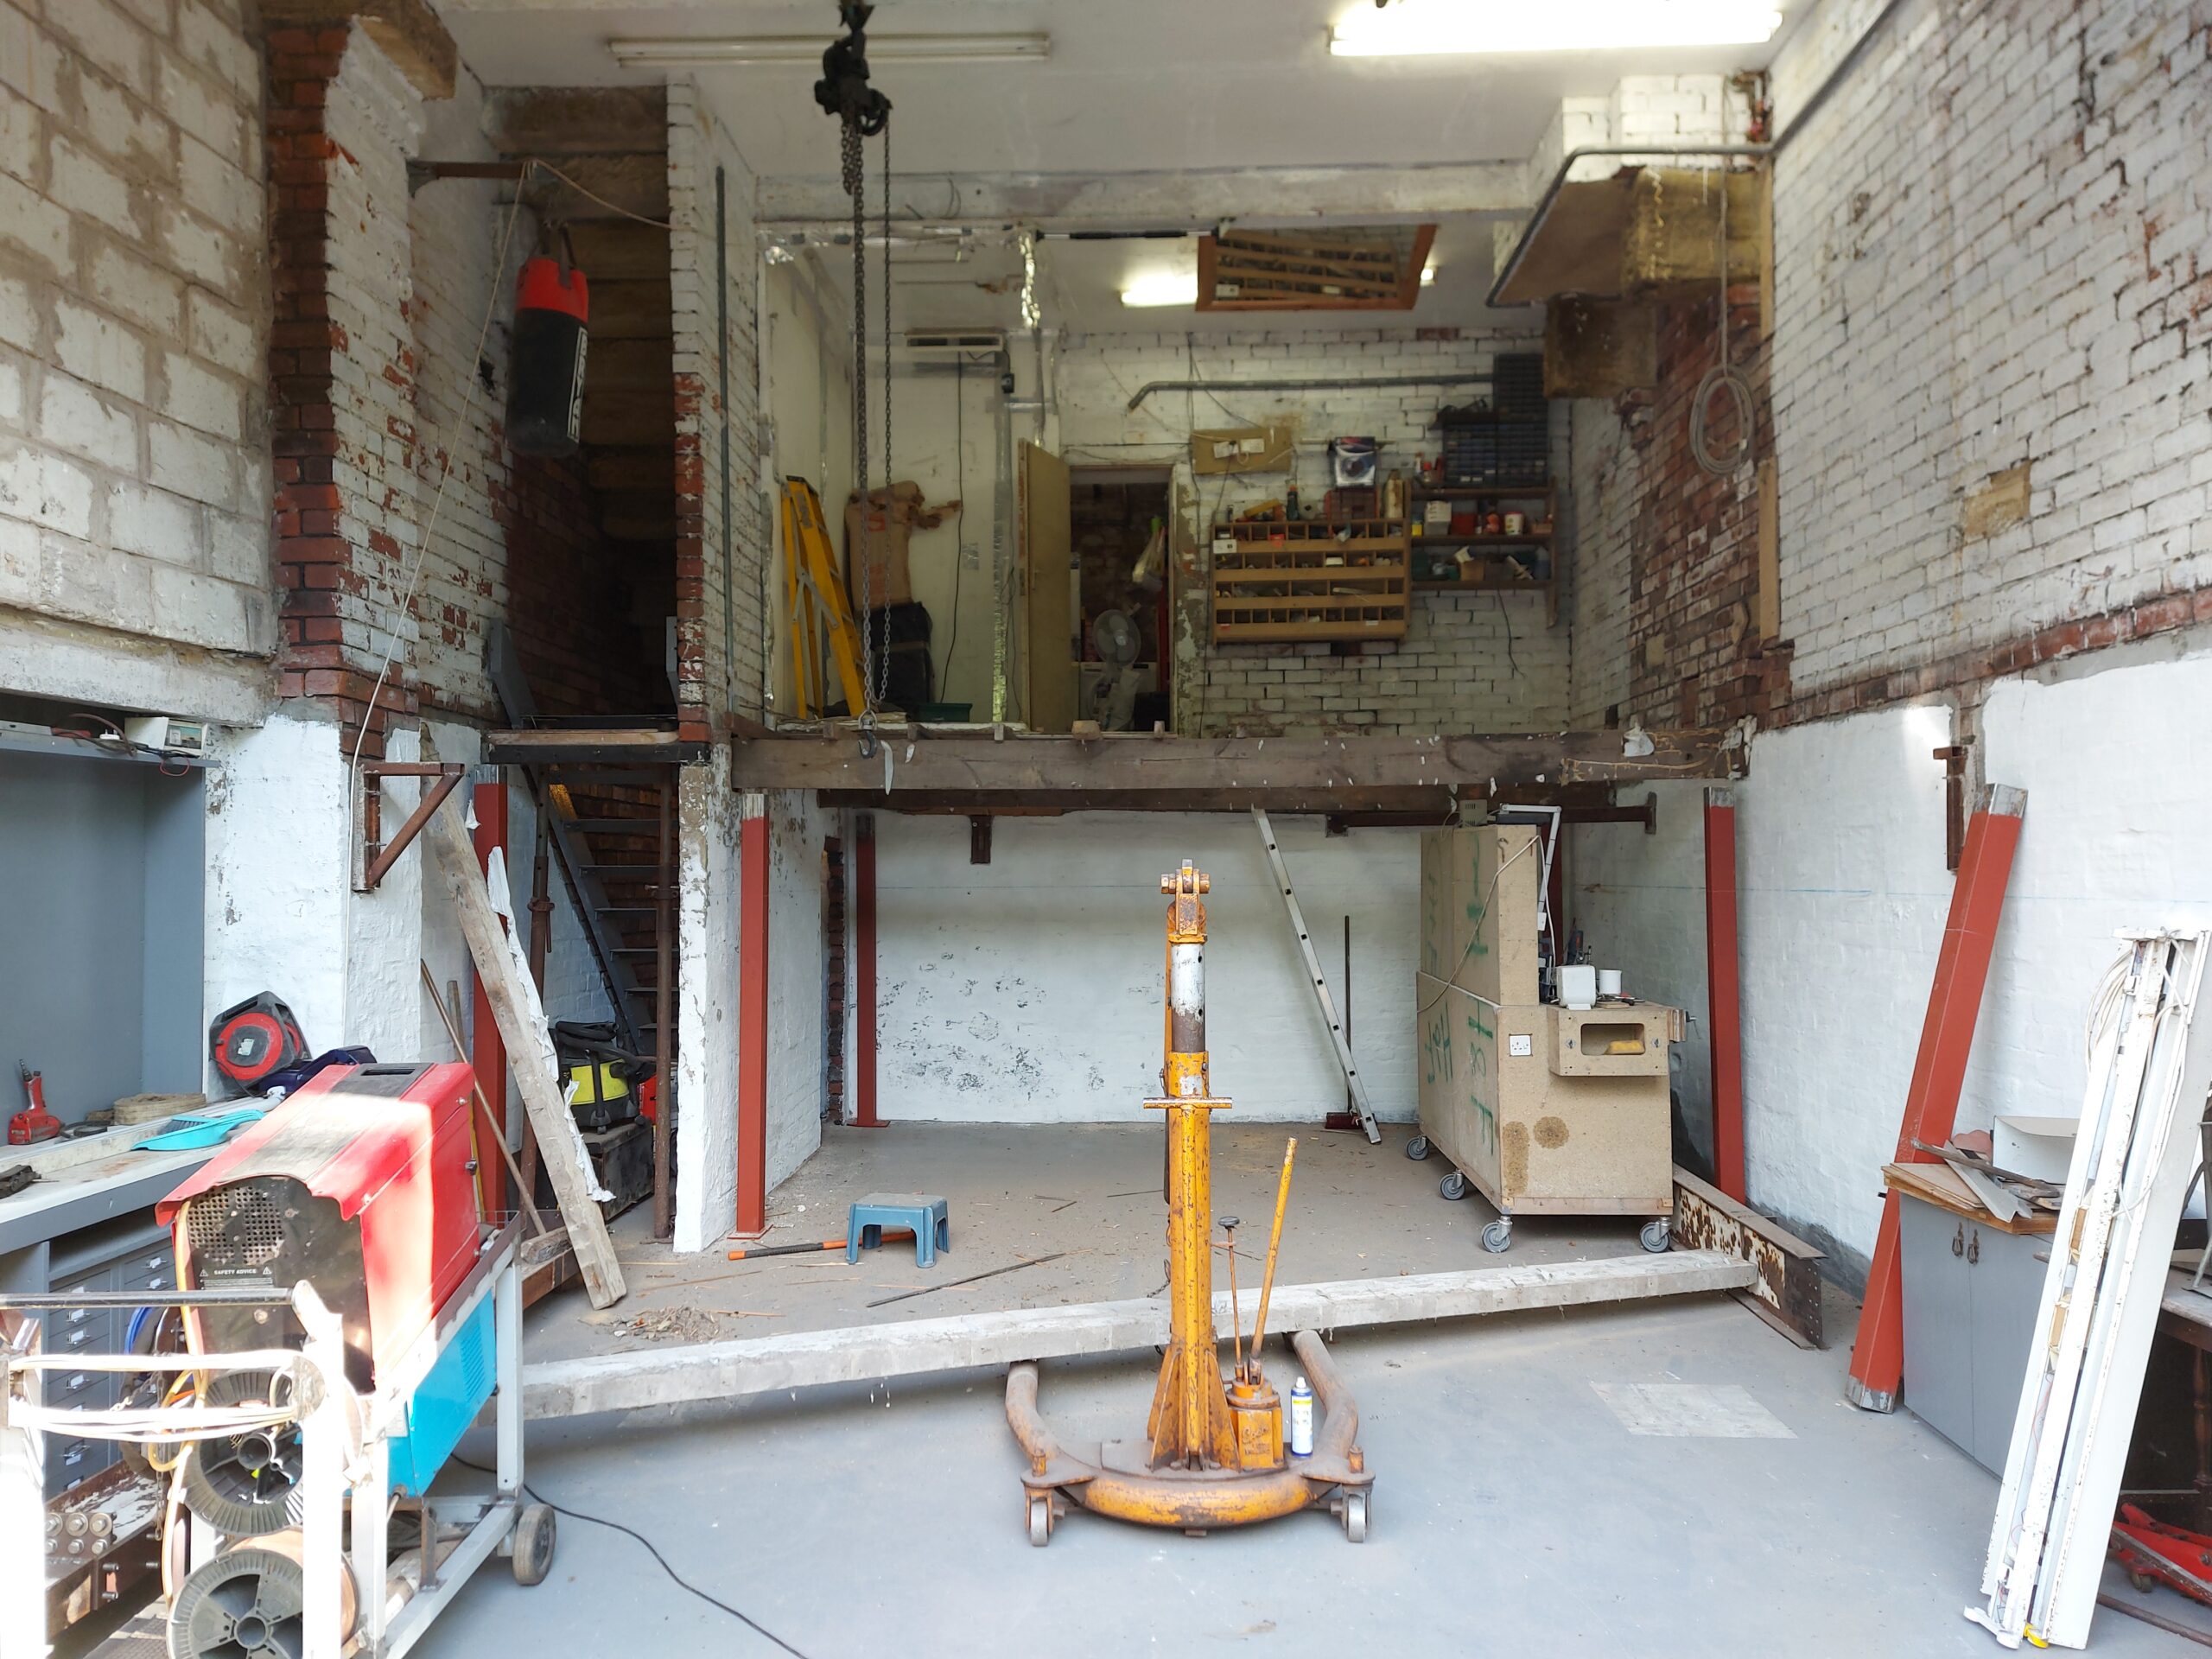
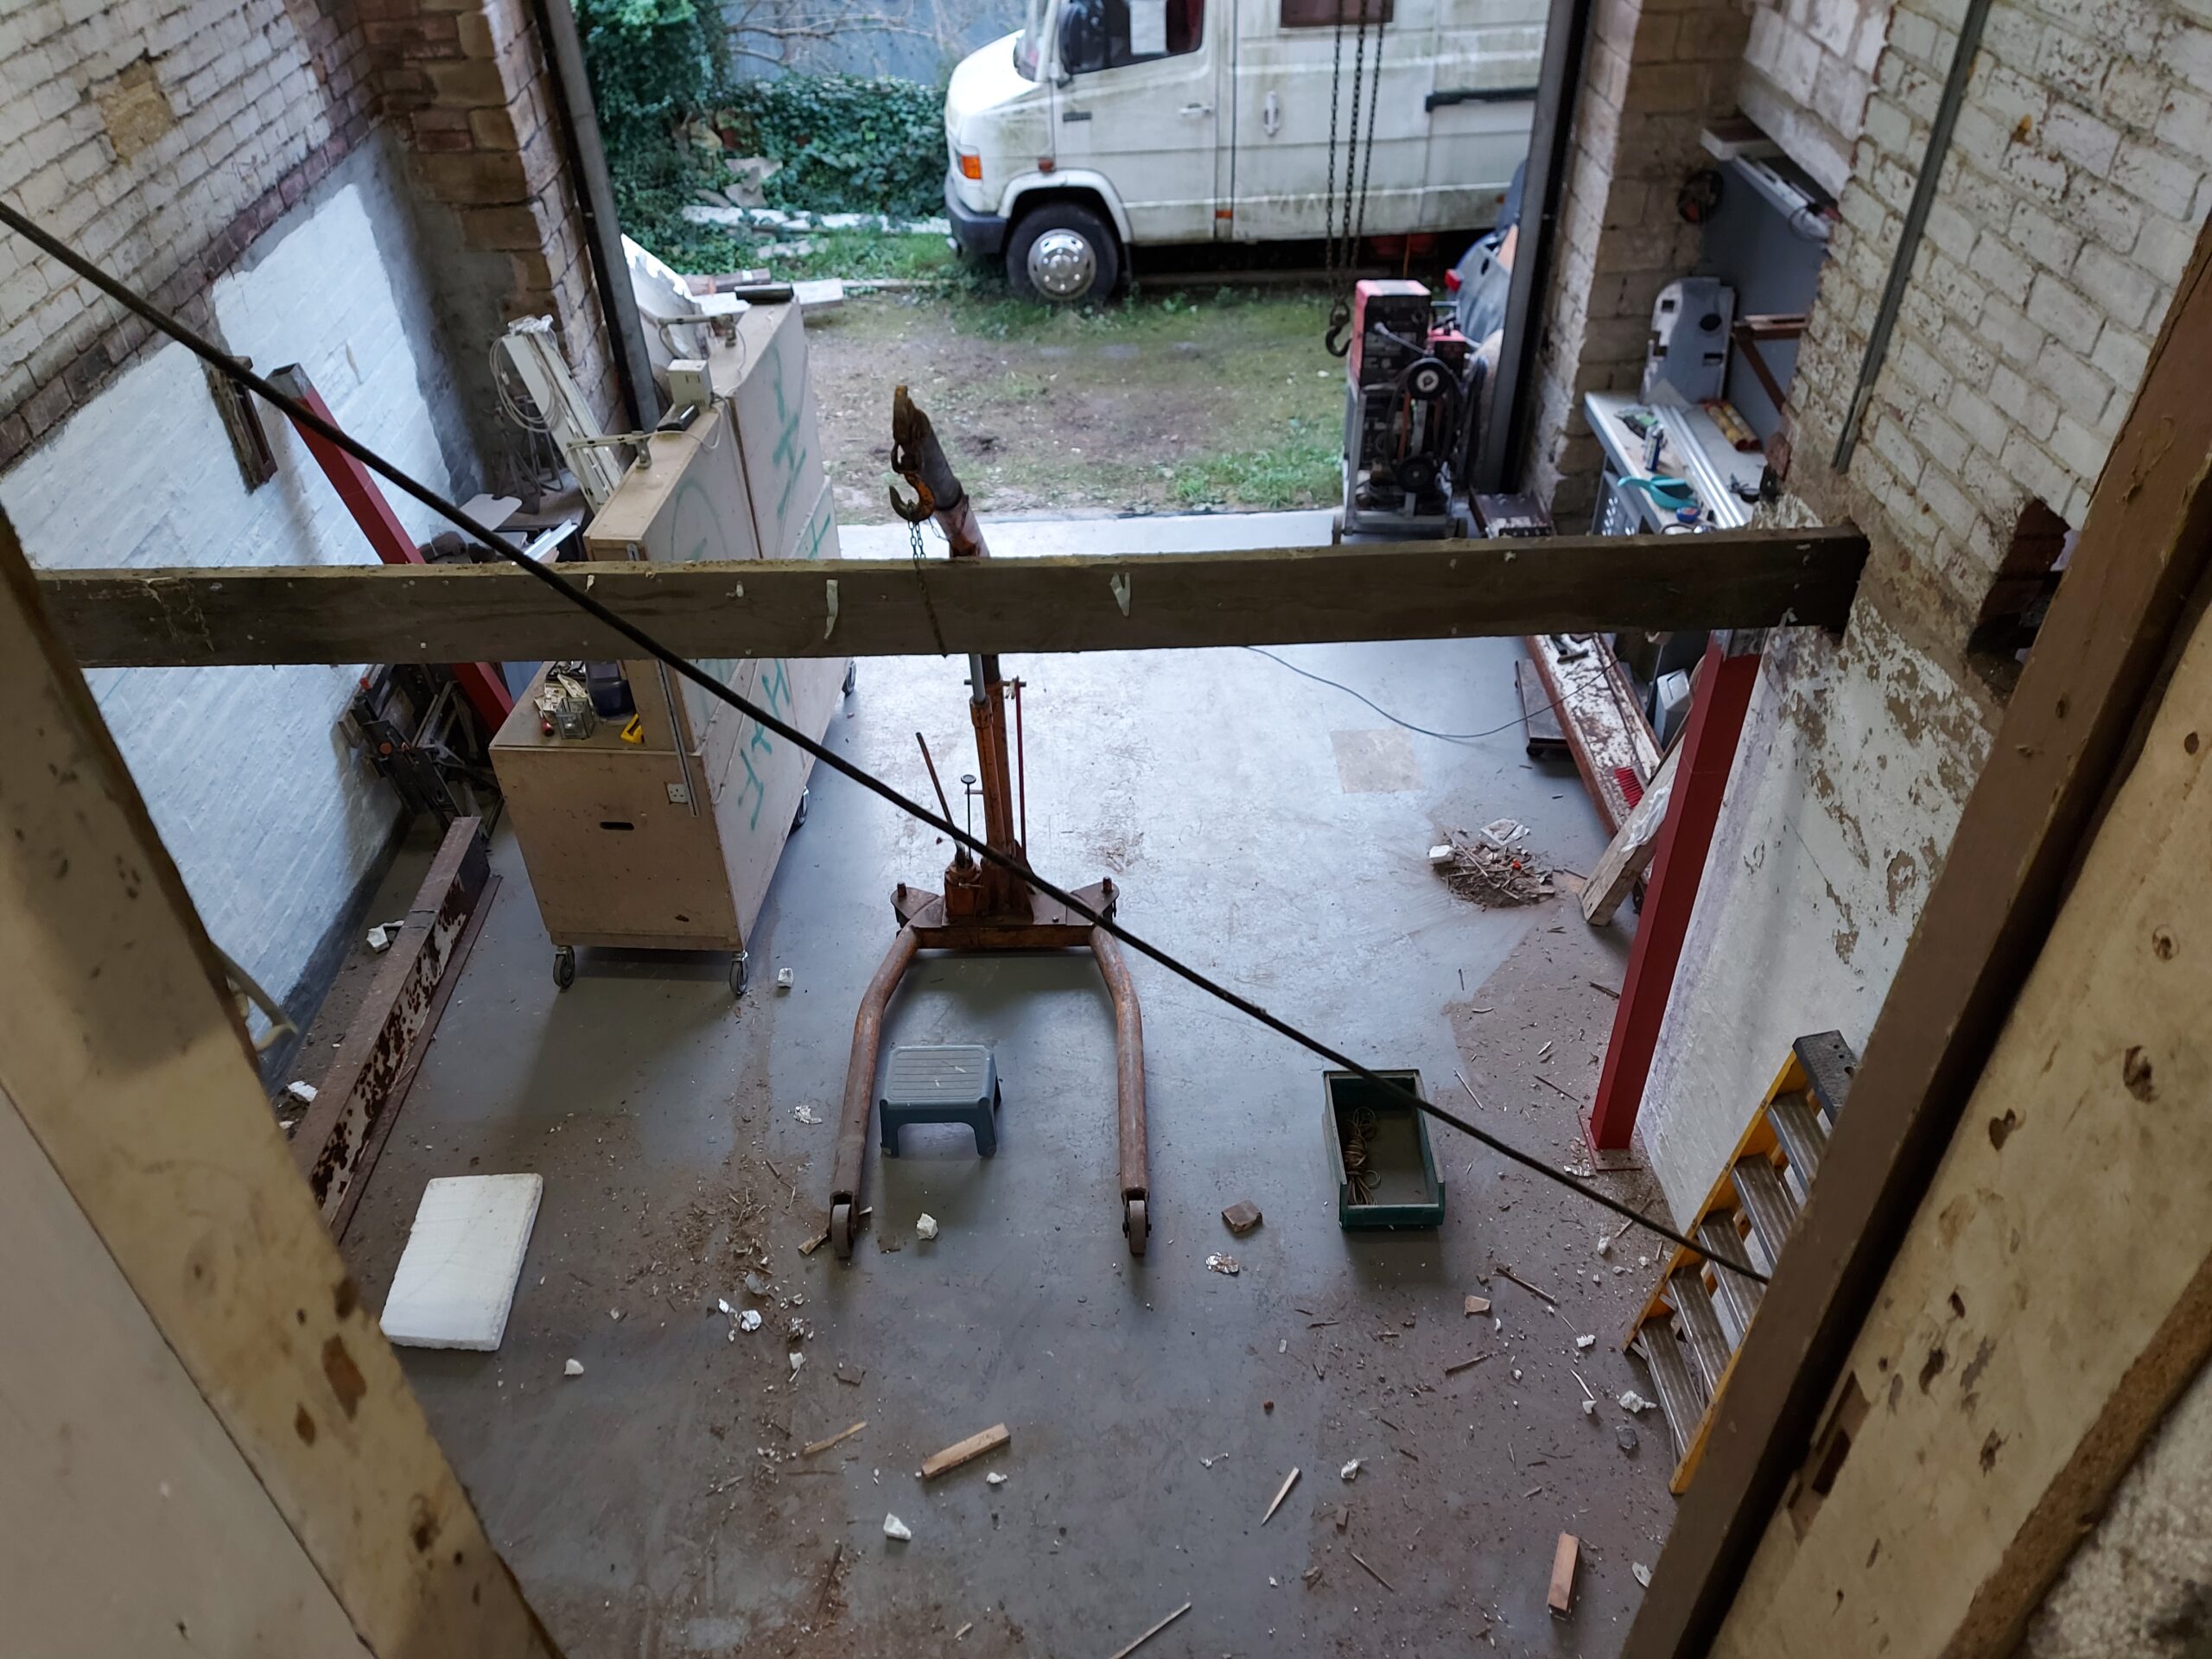
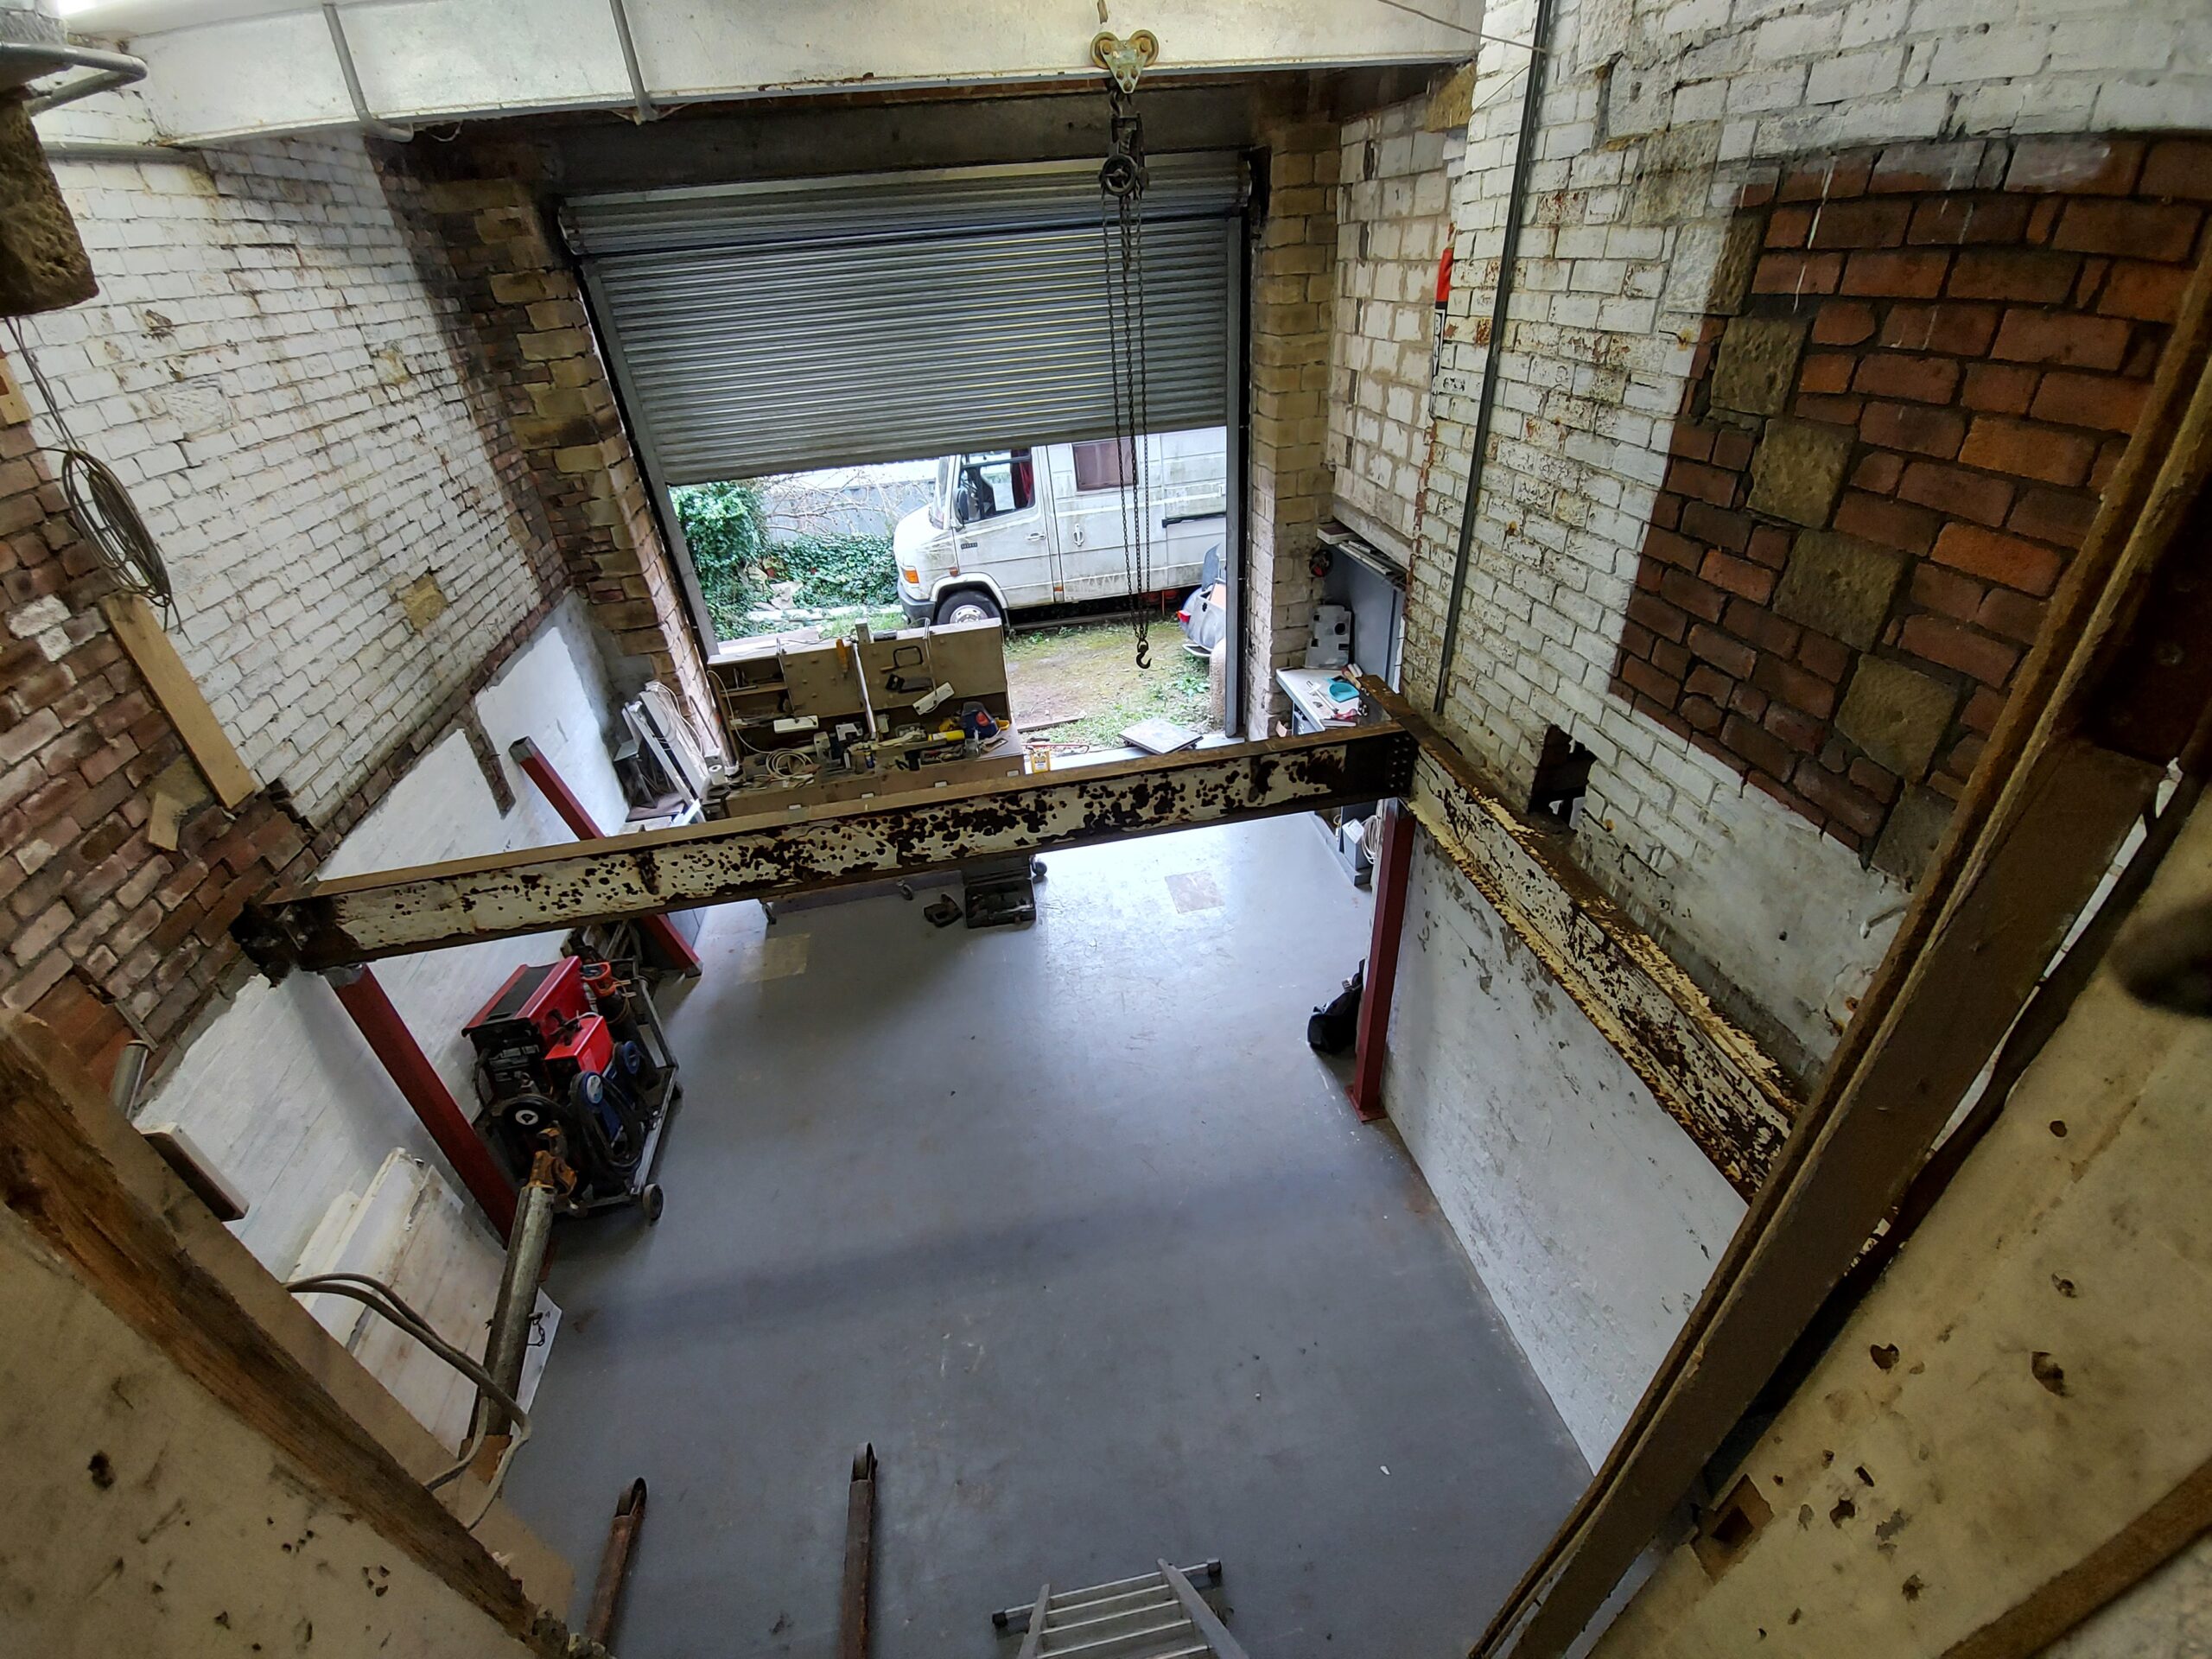
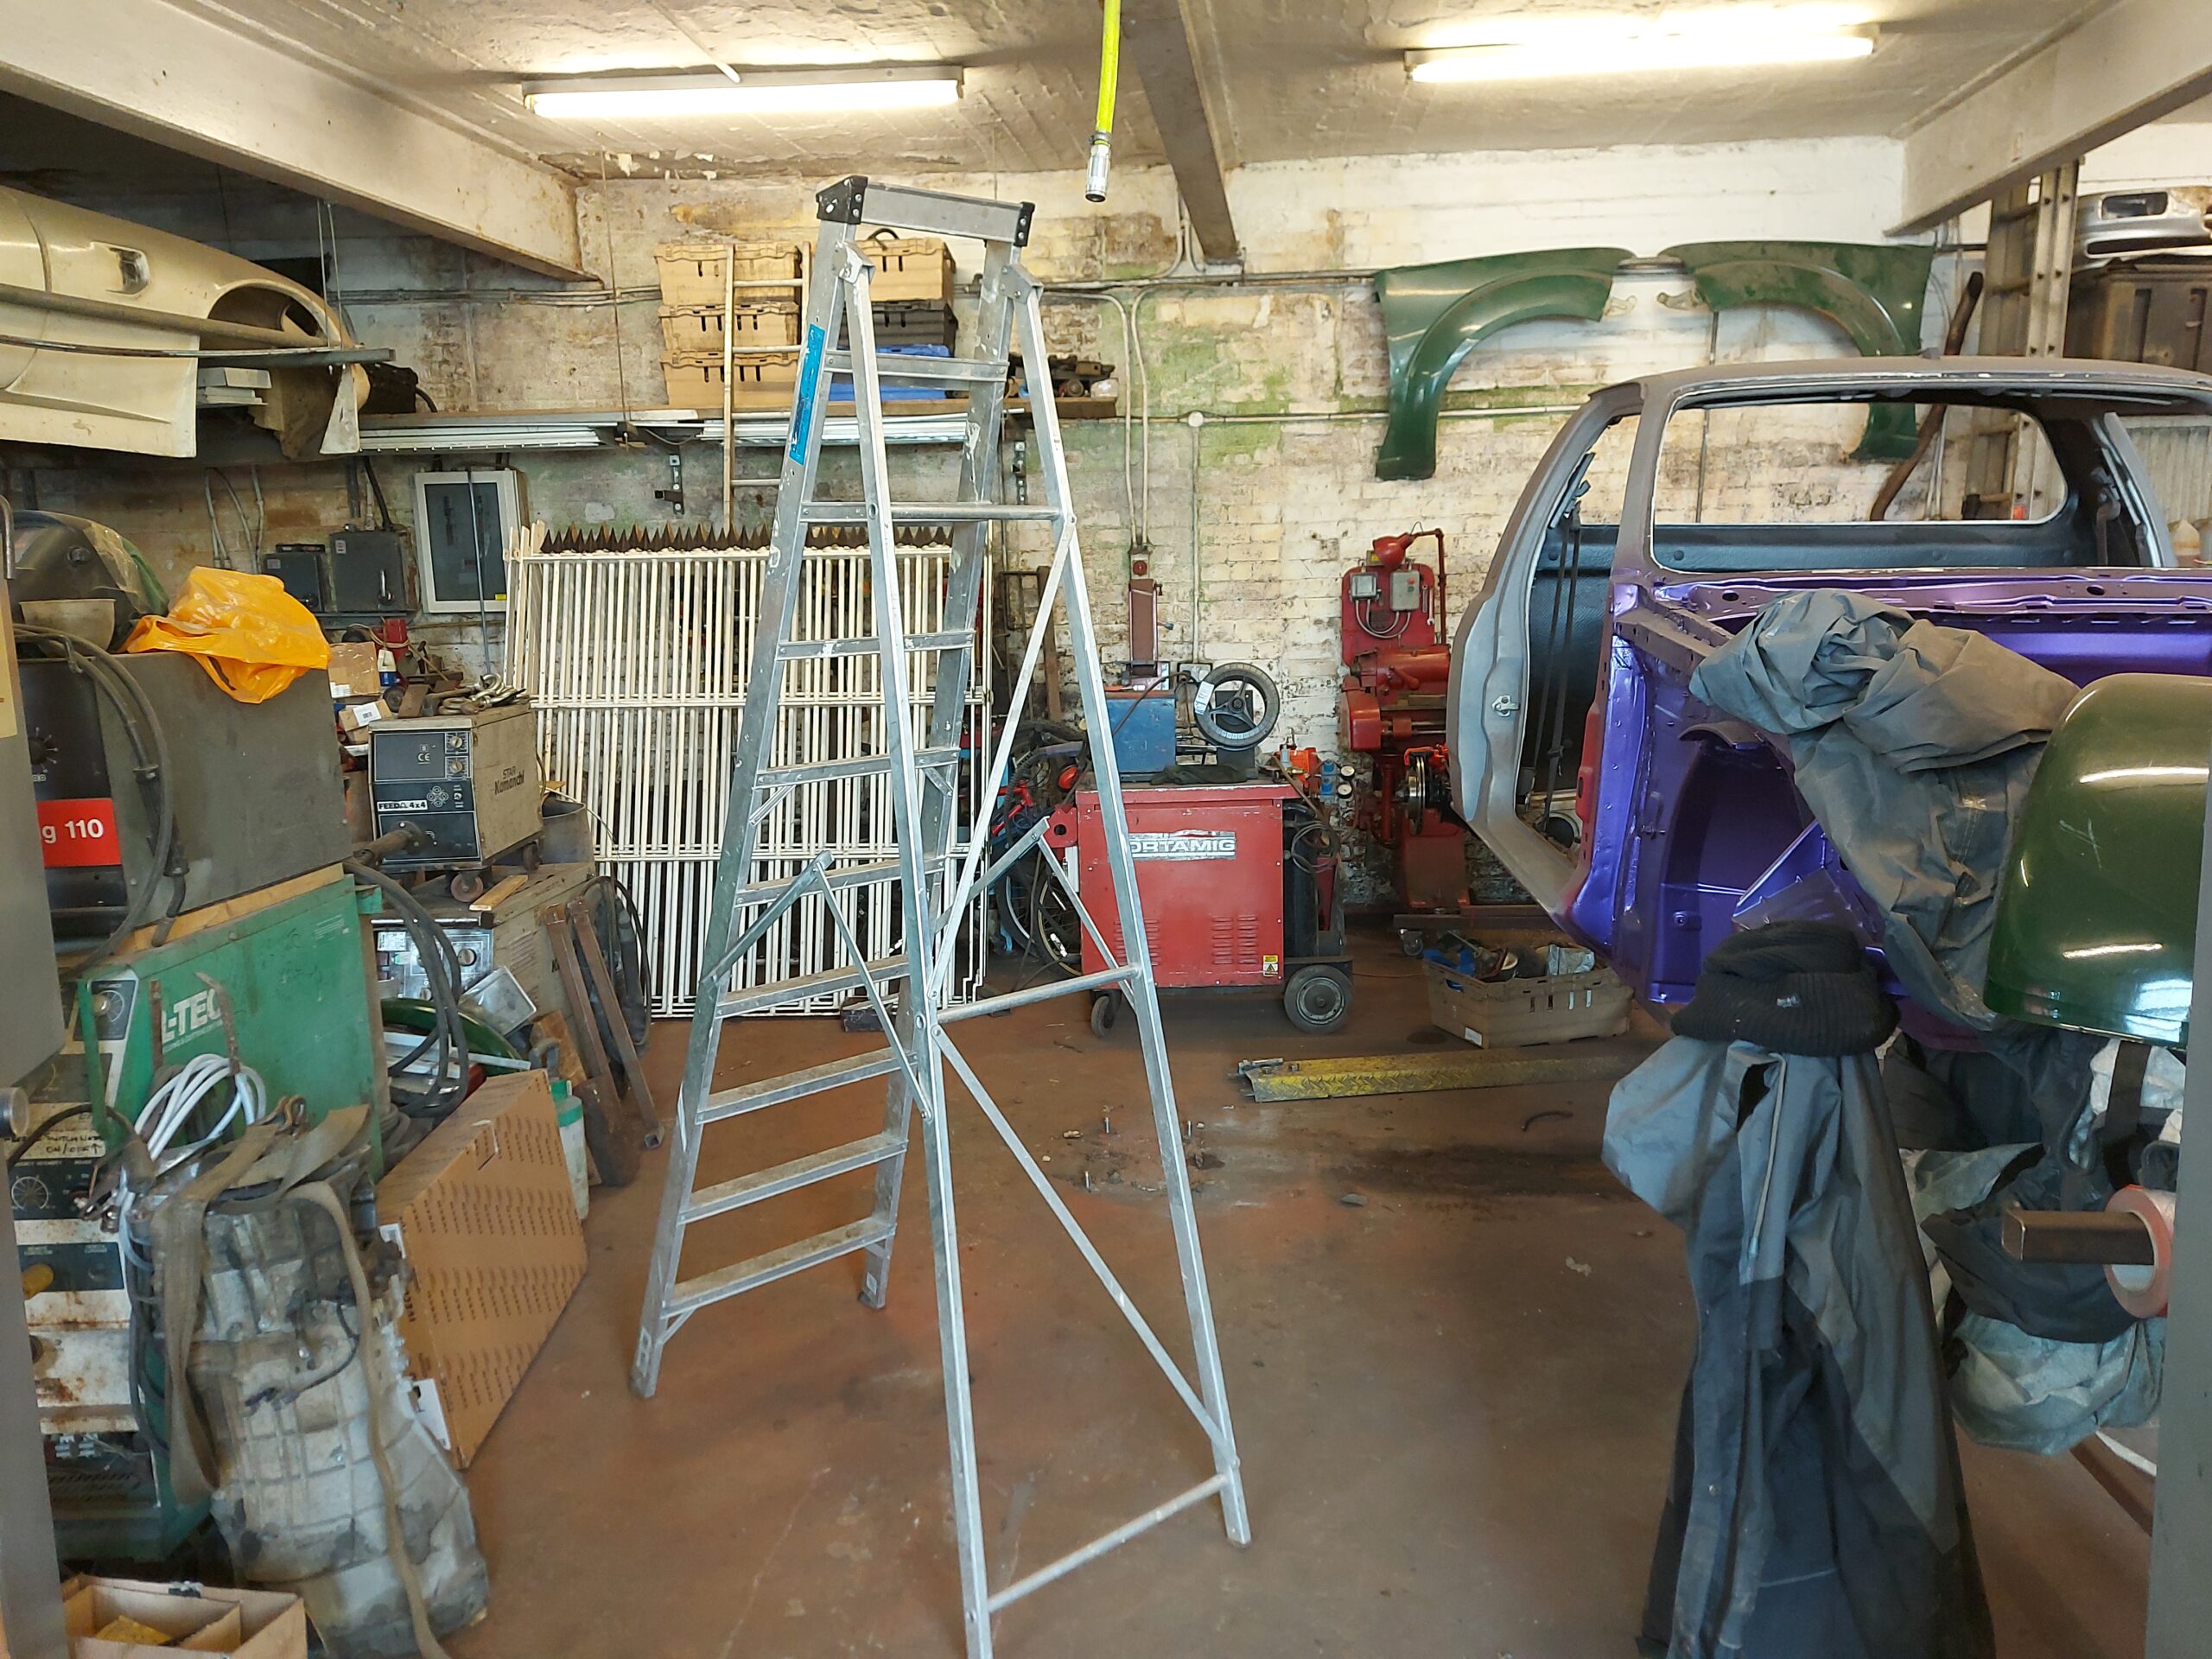
So one of the previous owners of this house put up a really Crappy mezz level floor in the cellar (A real botch job) But we used it all the same,
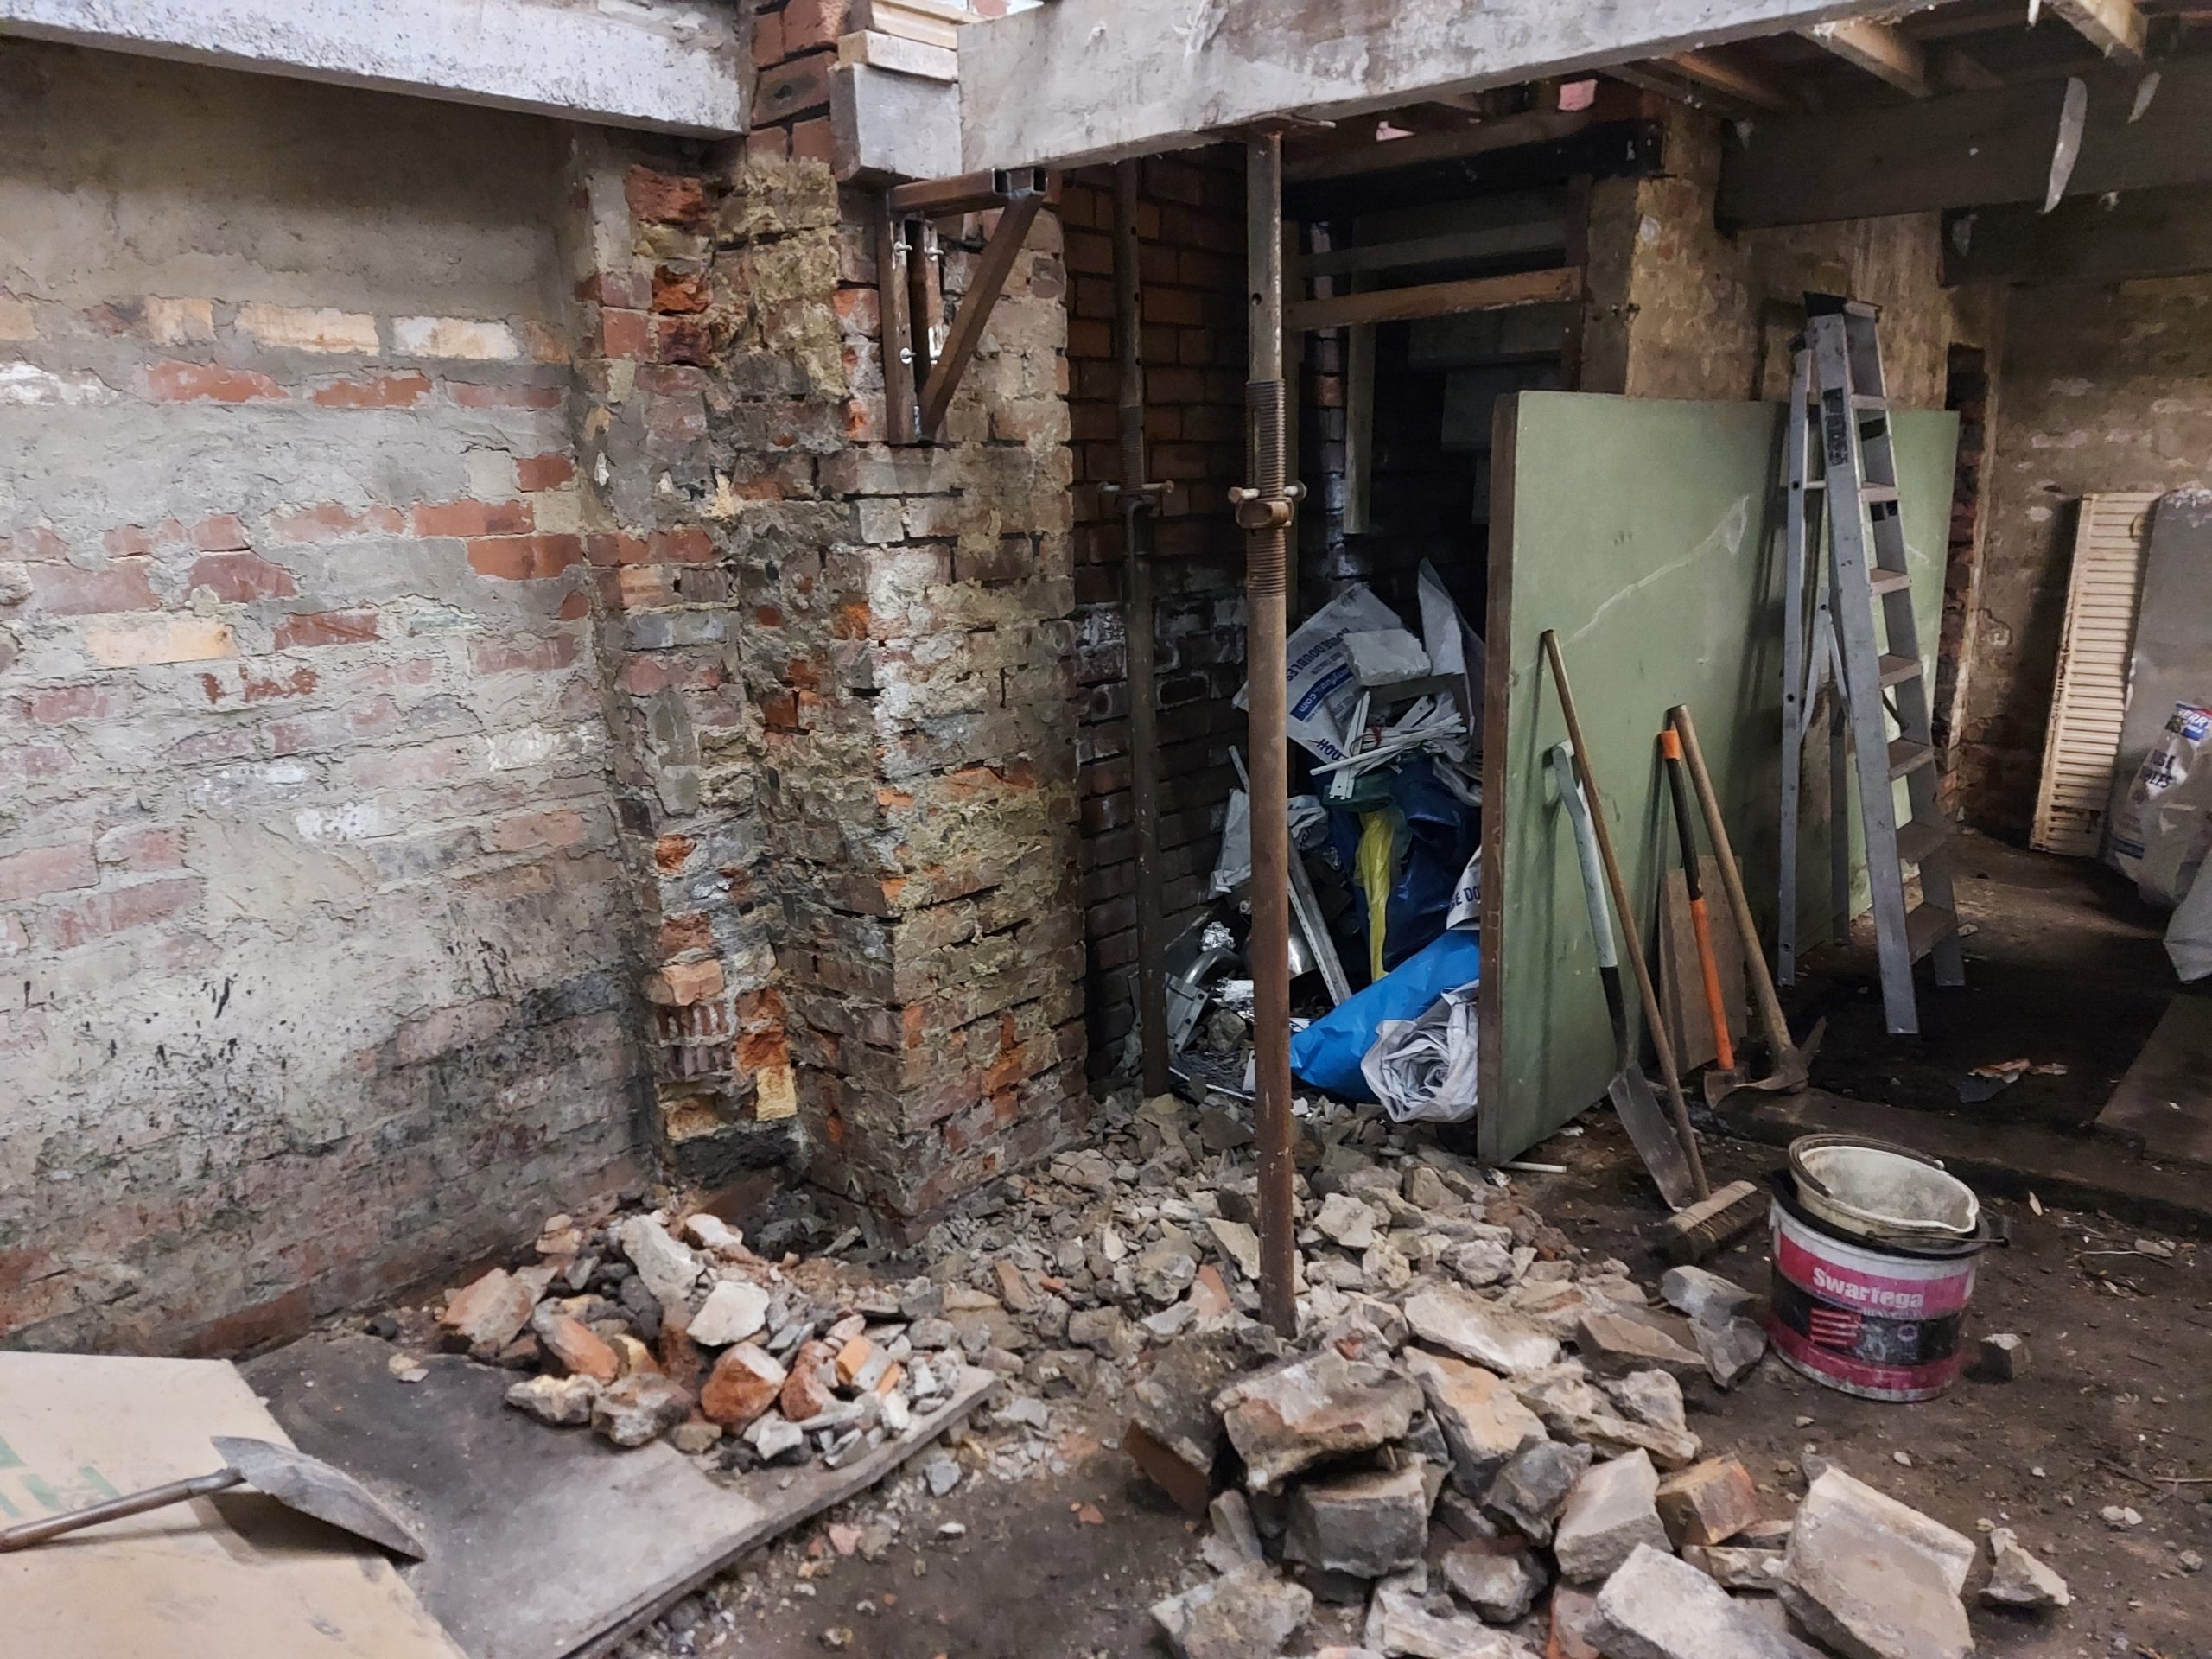
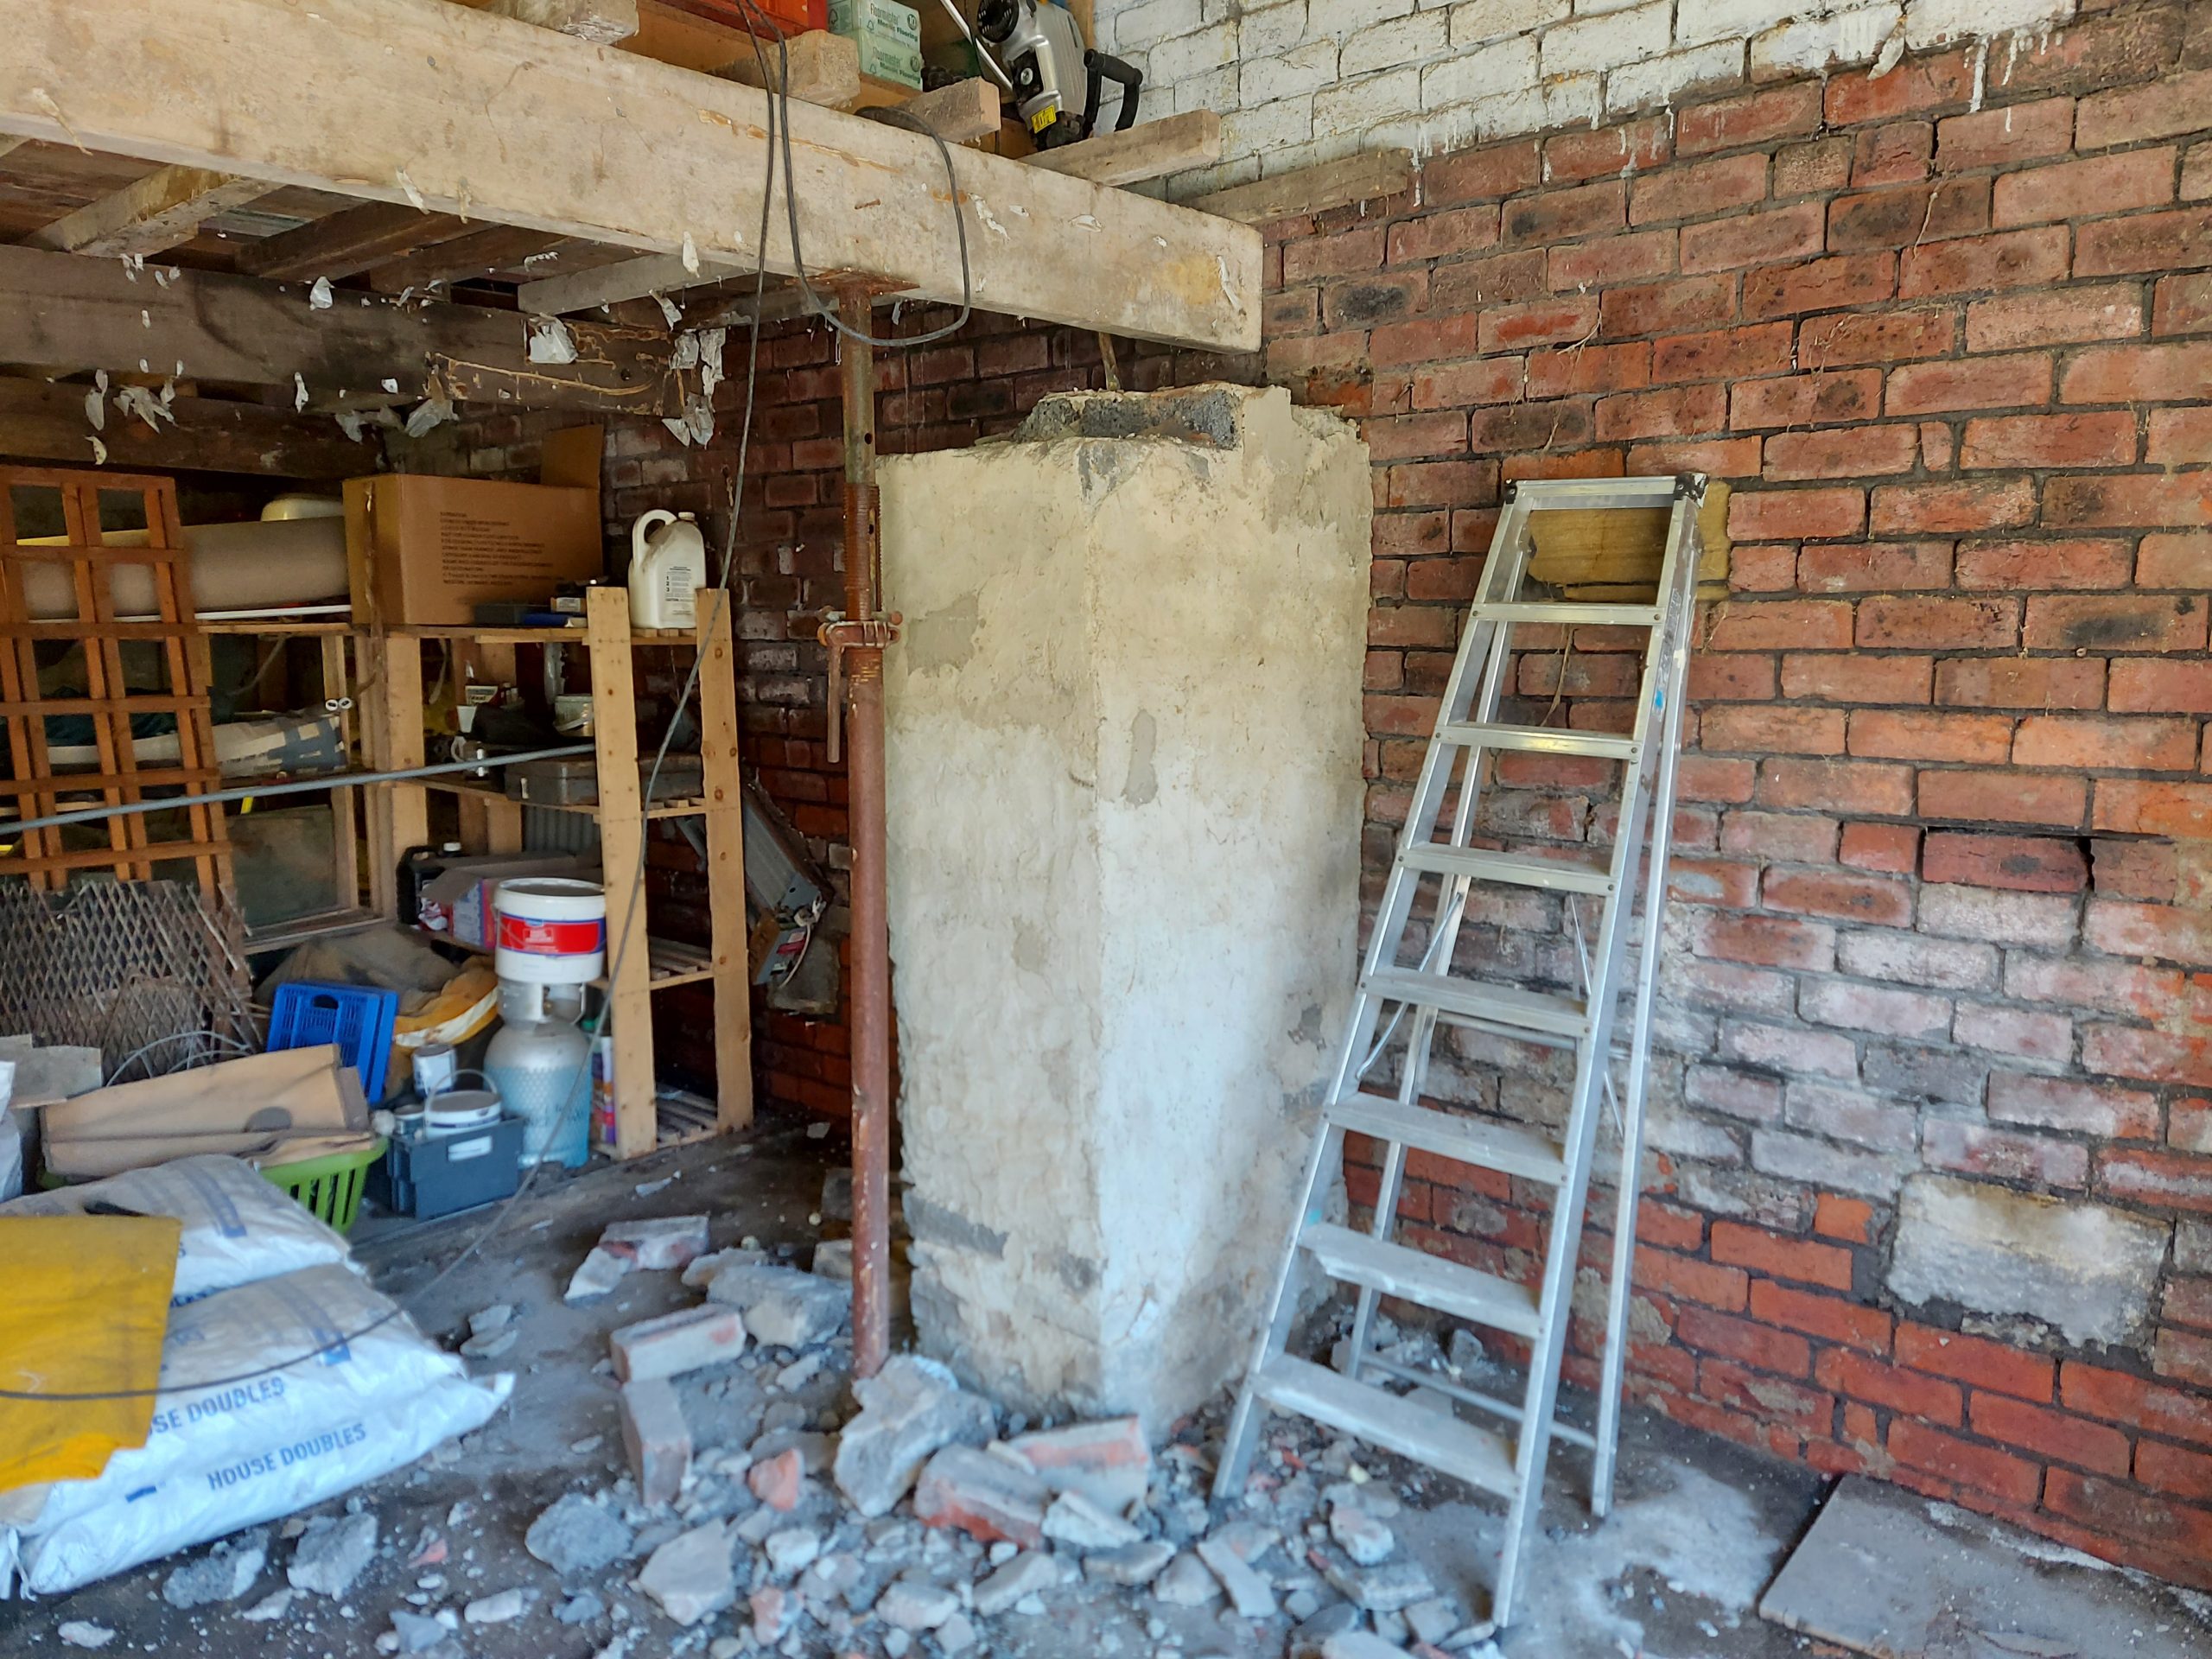
I’ve now started to remove the huge pillars they put in made from anything they could find ! All I can say is it looked crap but it was tough to break it down, Must have cost them a small fortune in sand/ cement to build these huge pillars, The beams don’t span the room so I had to make so Canter lever brackets to support the joists so I can remove everything including the original concrete floor “ Wish I’d done this 20 years back when I was younger,
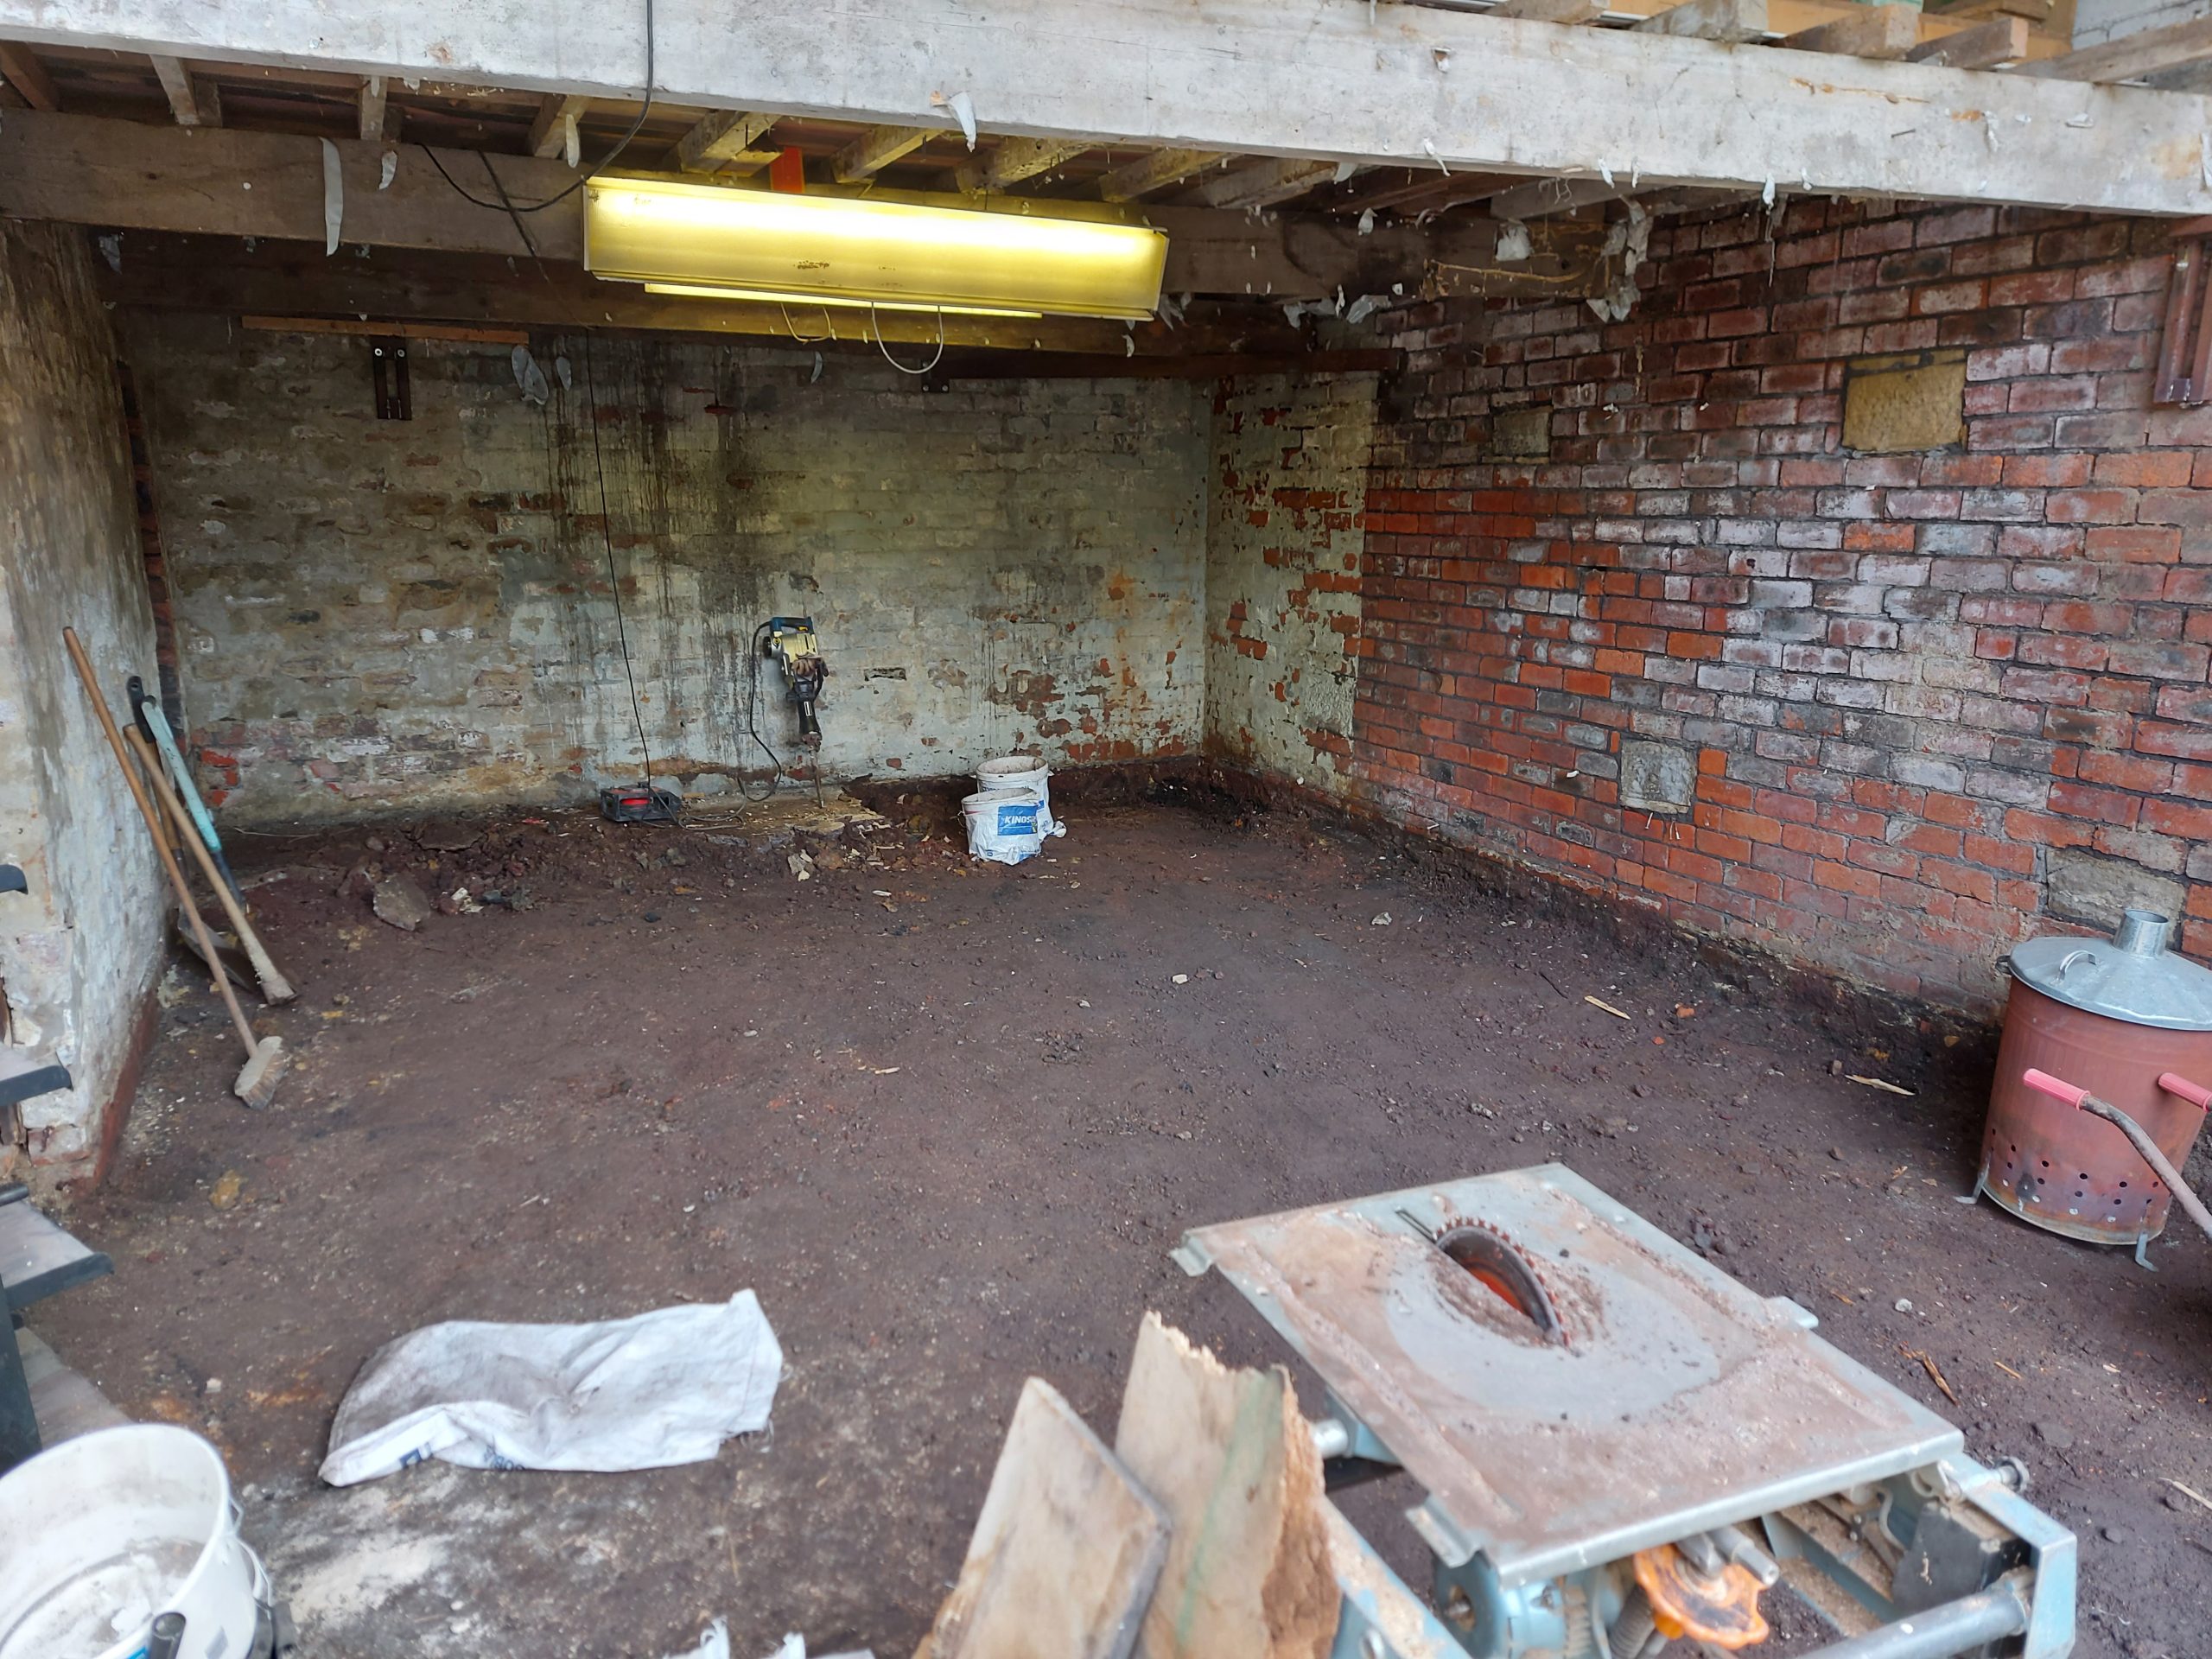
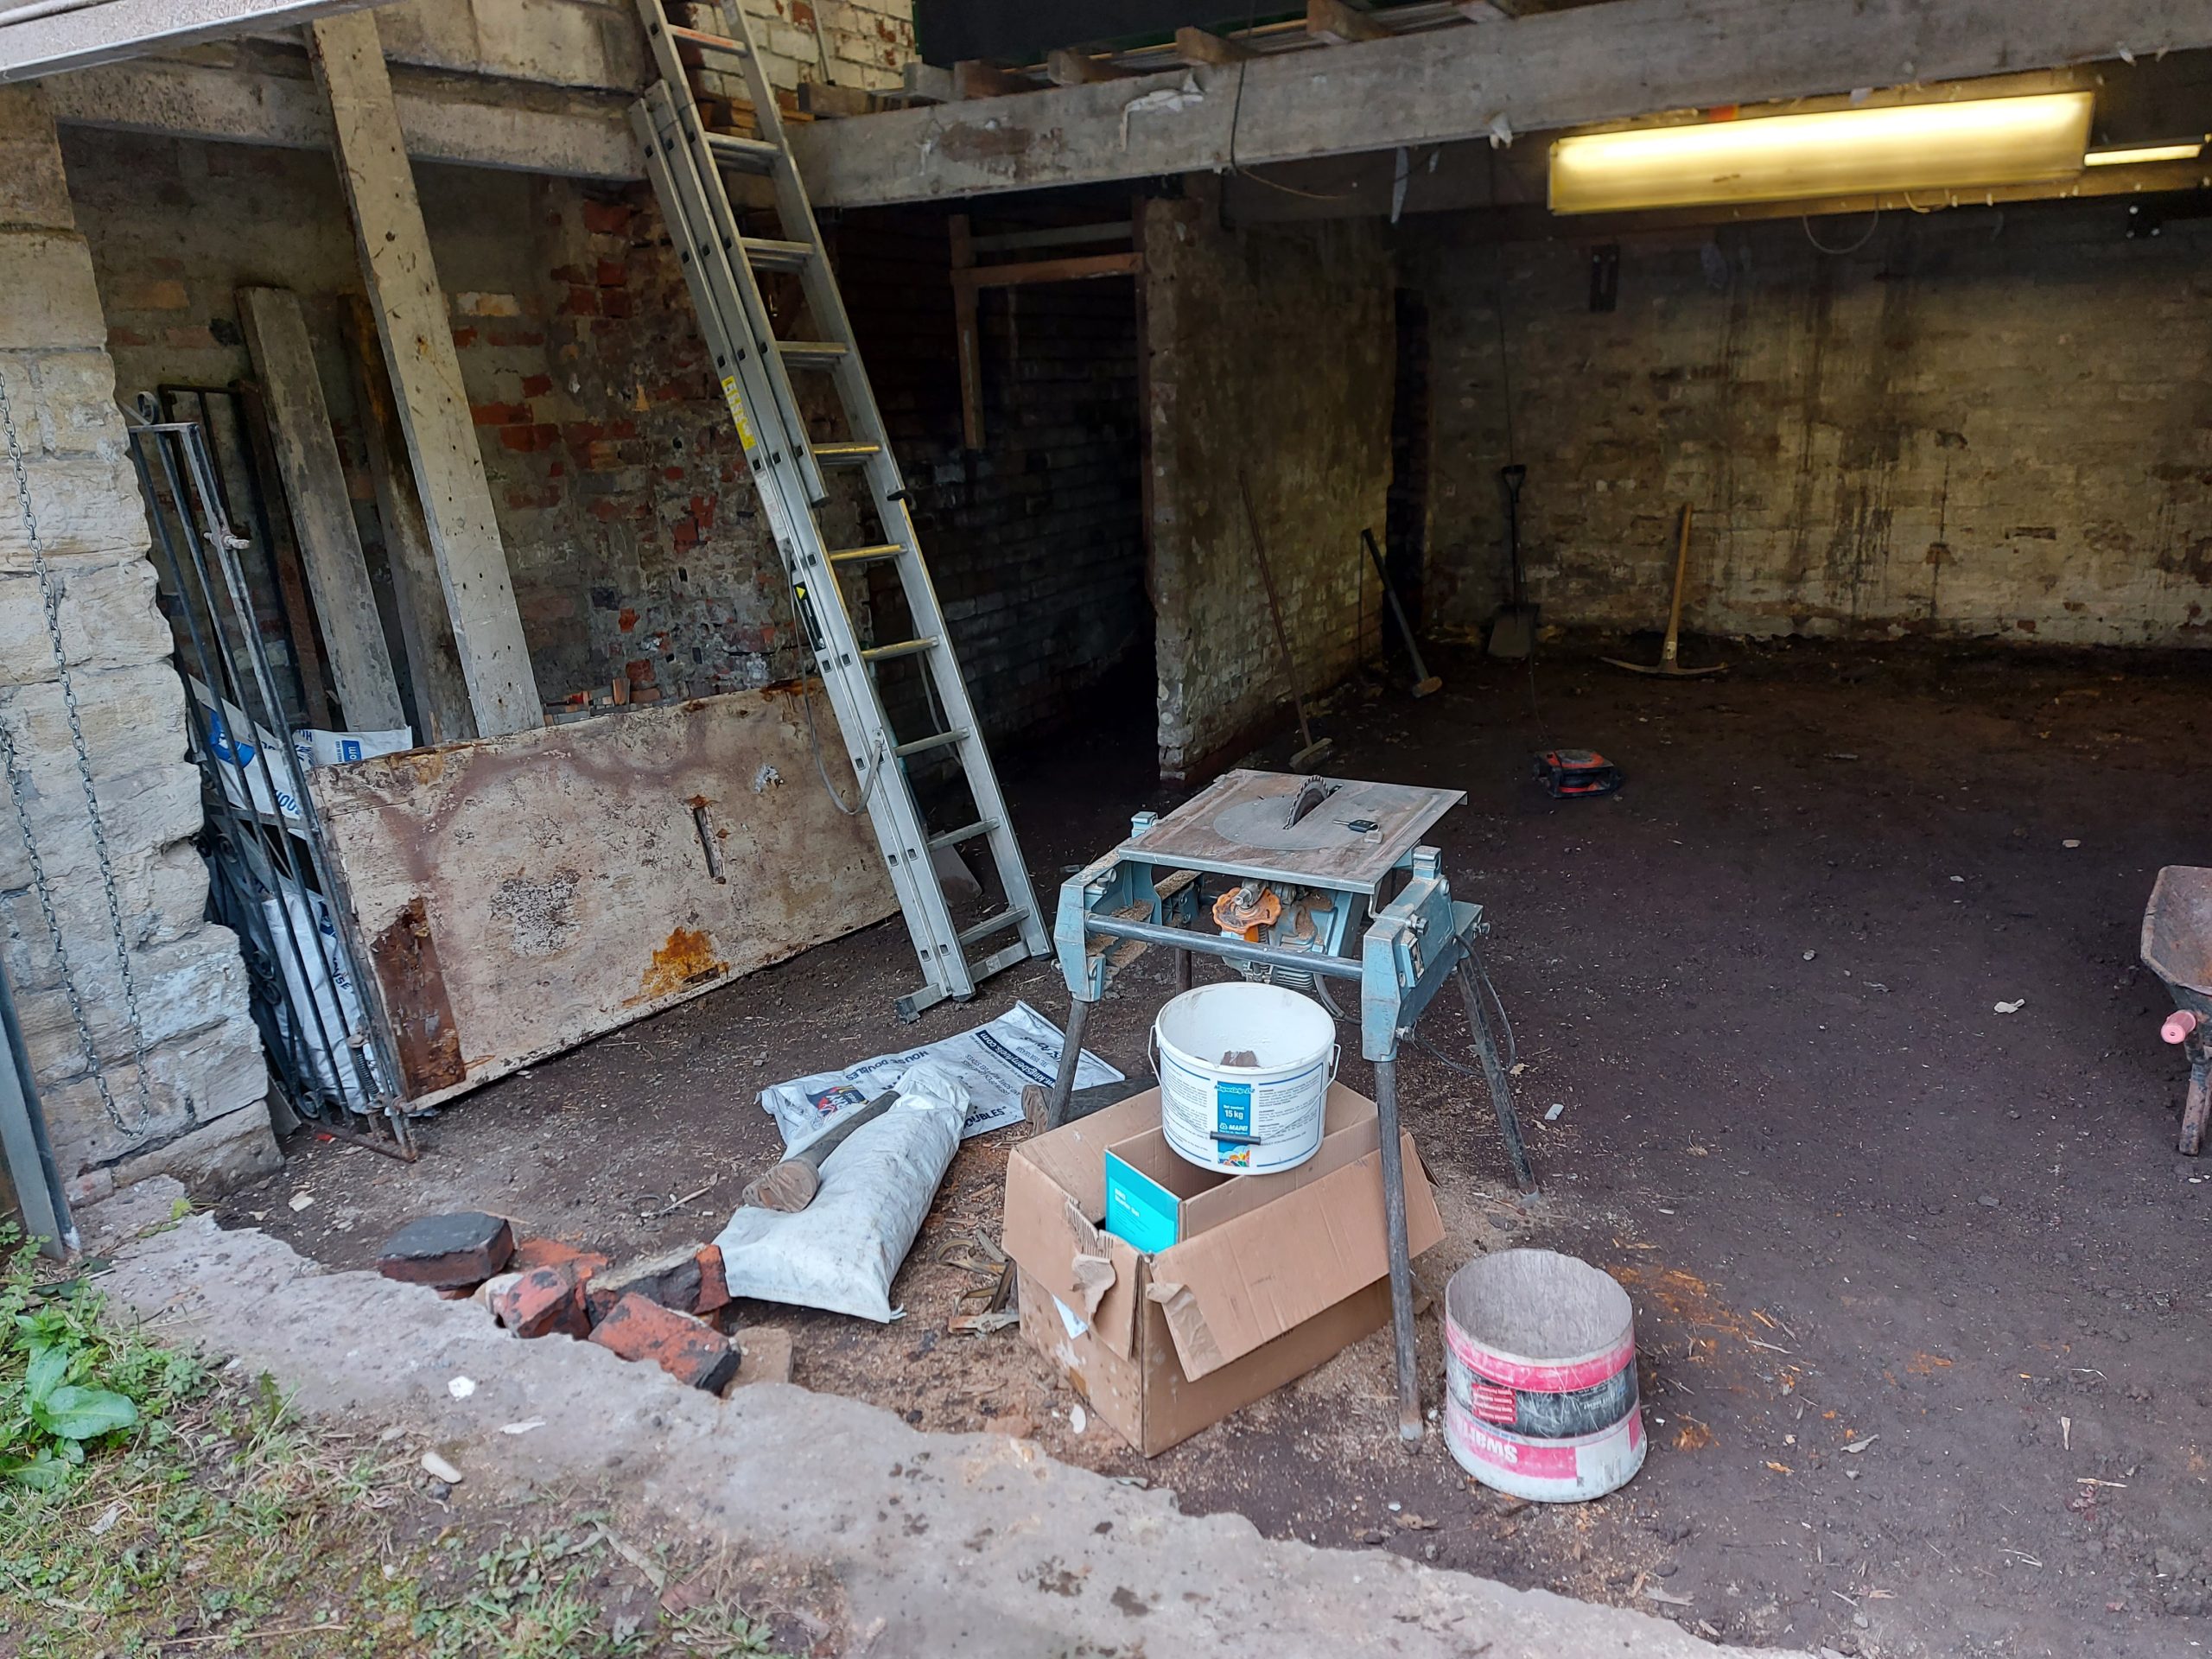
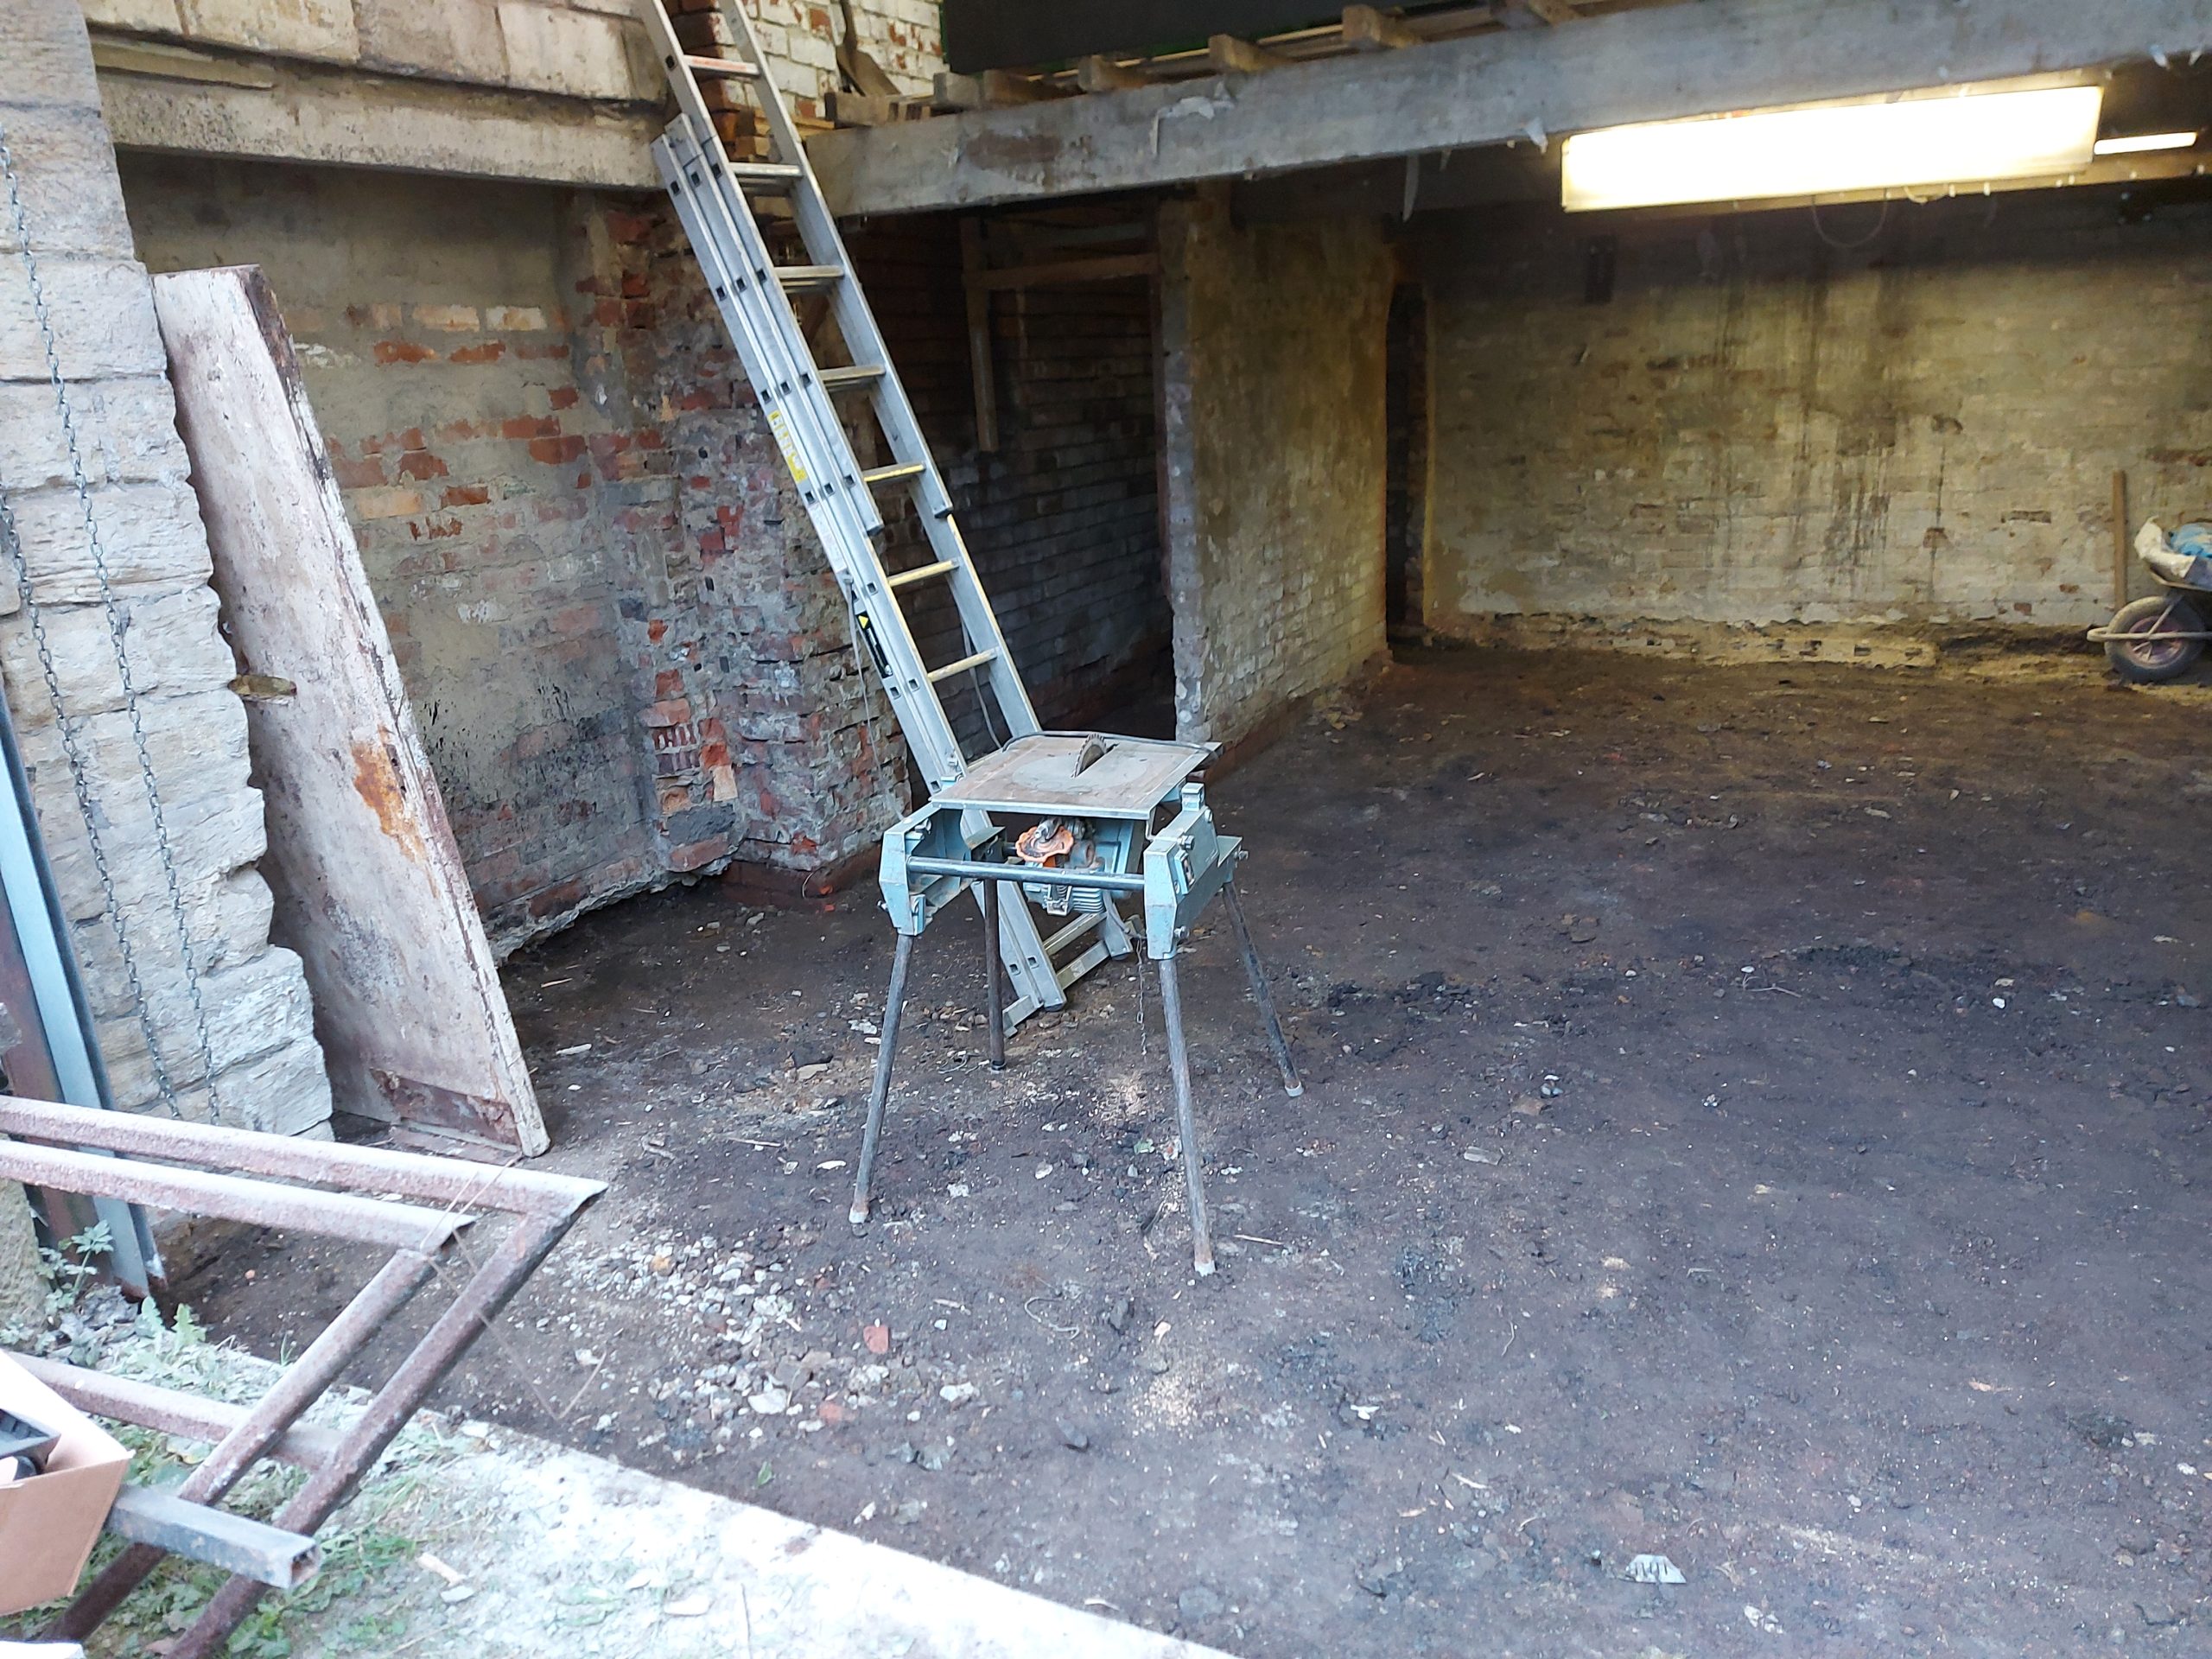
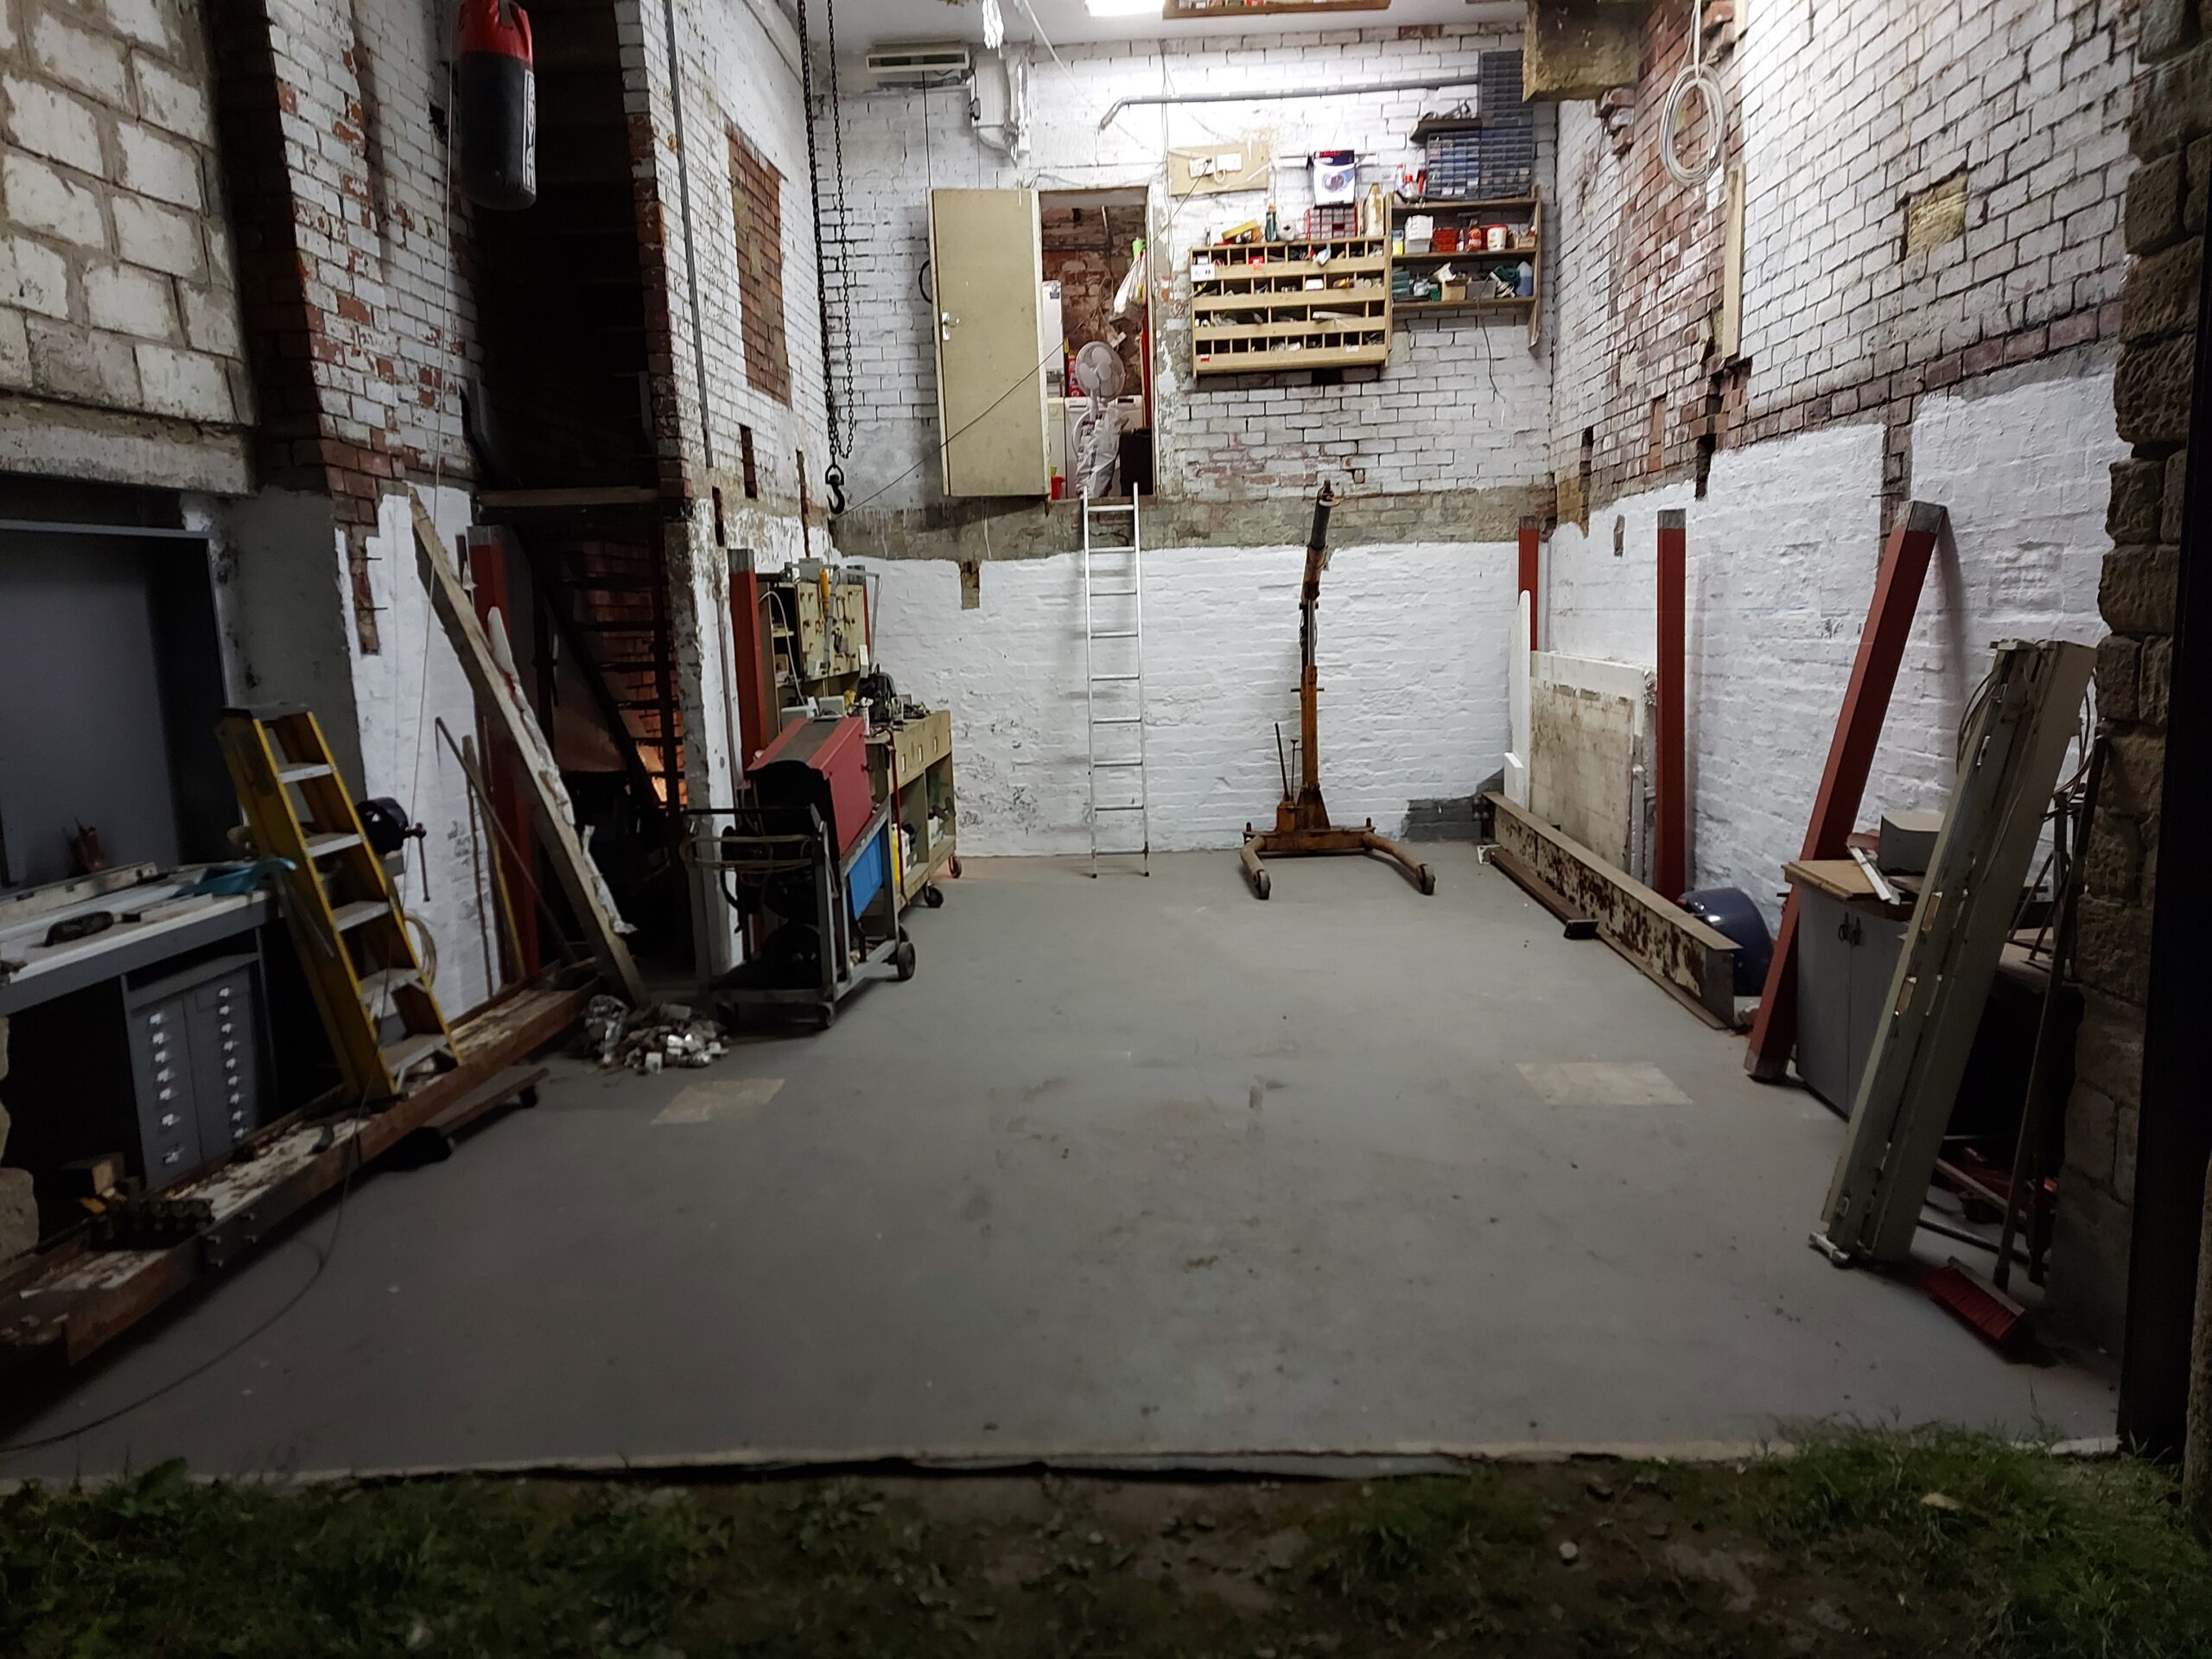
Good Friday spent demolishing in new workshop
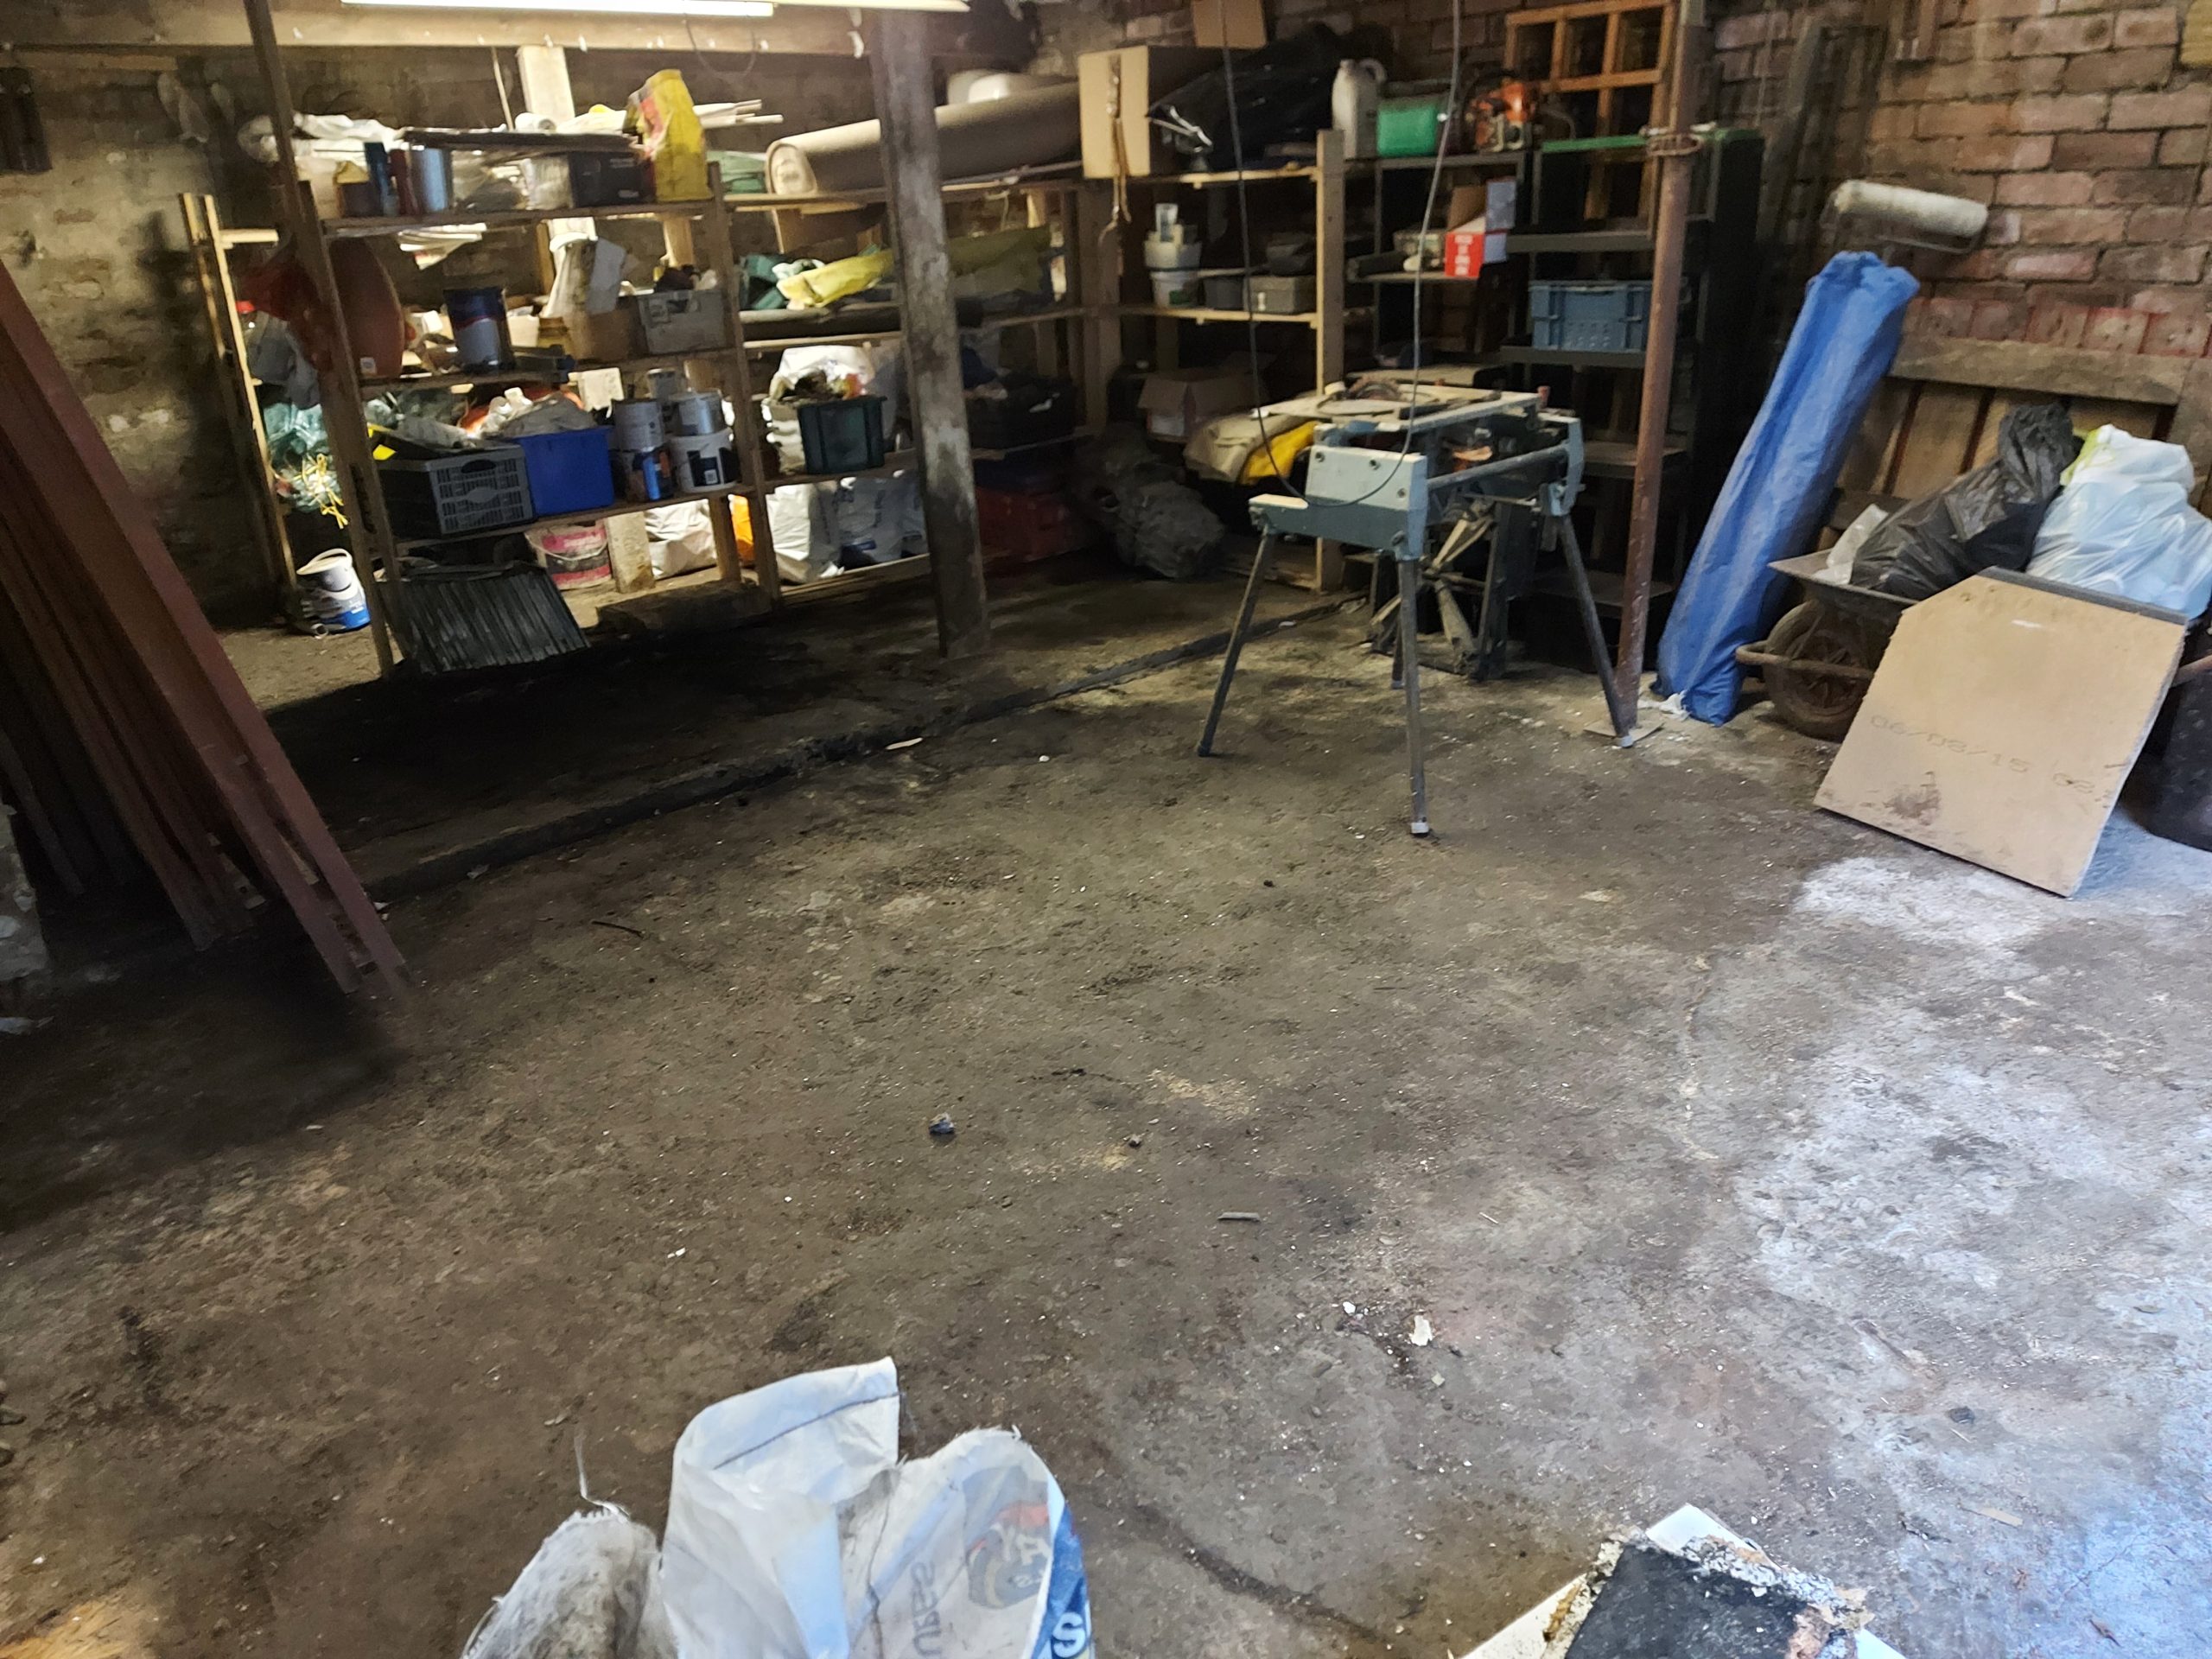
Looking tidy
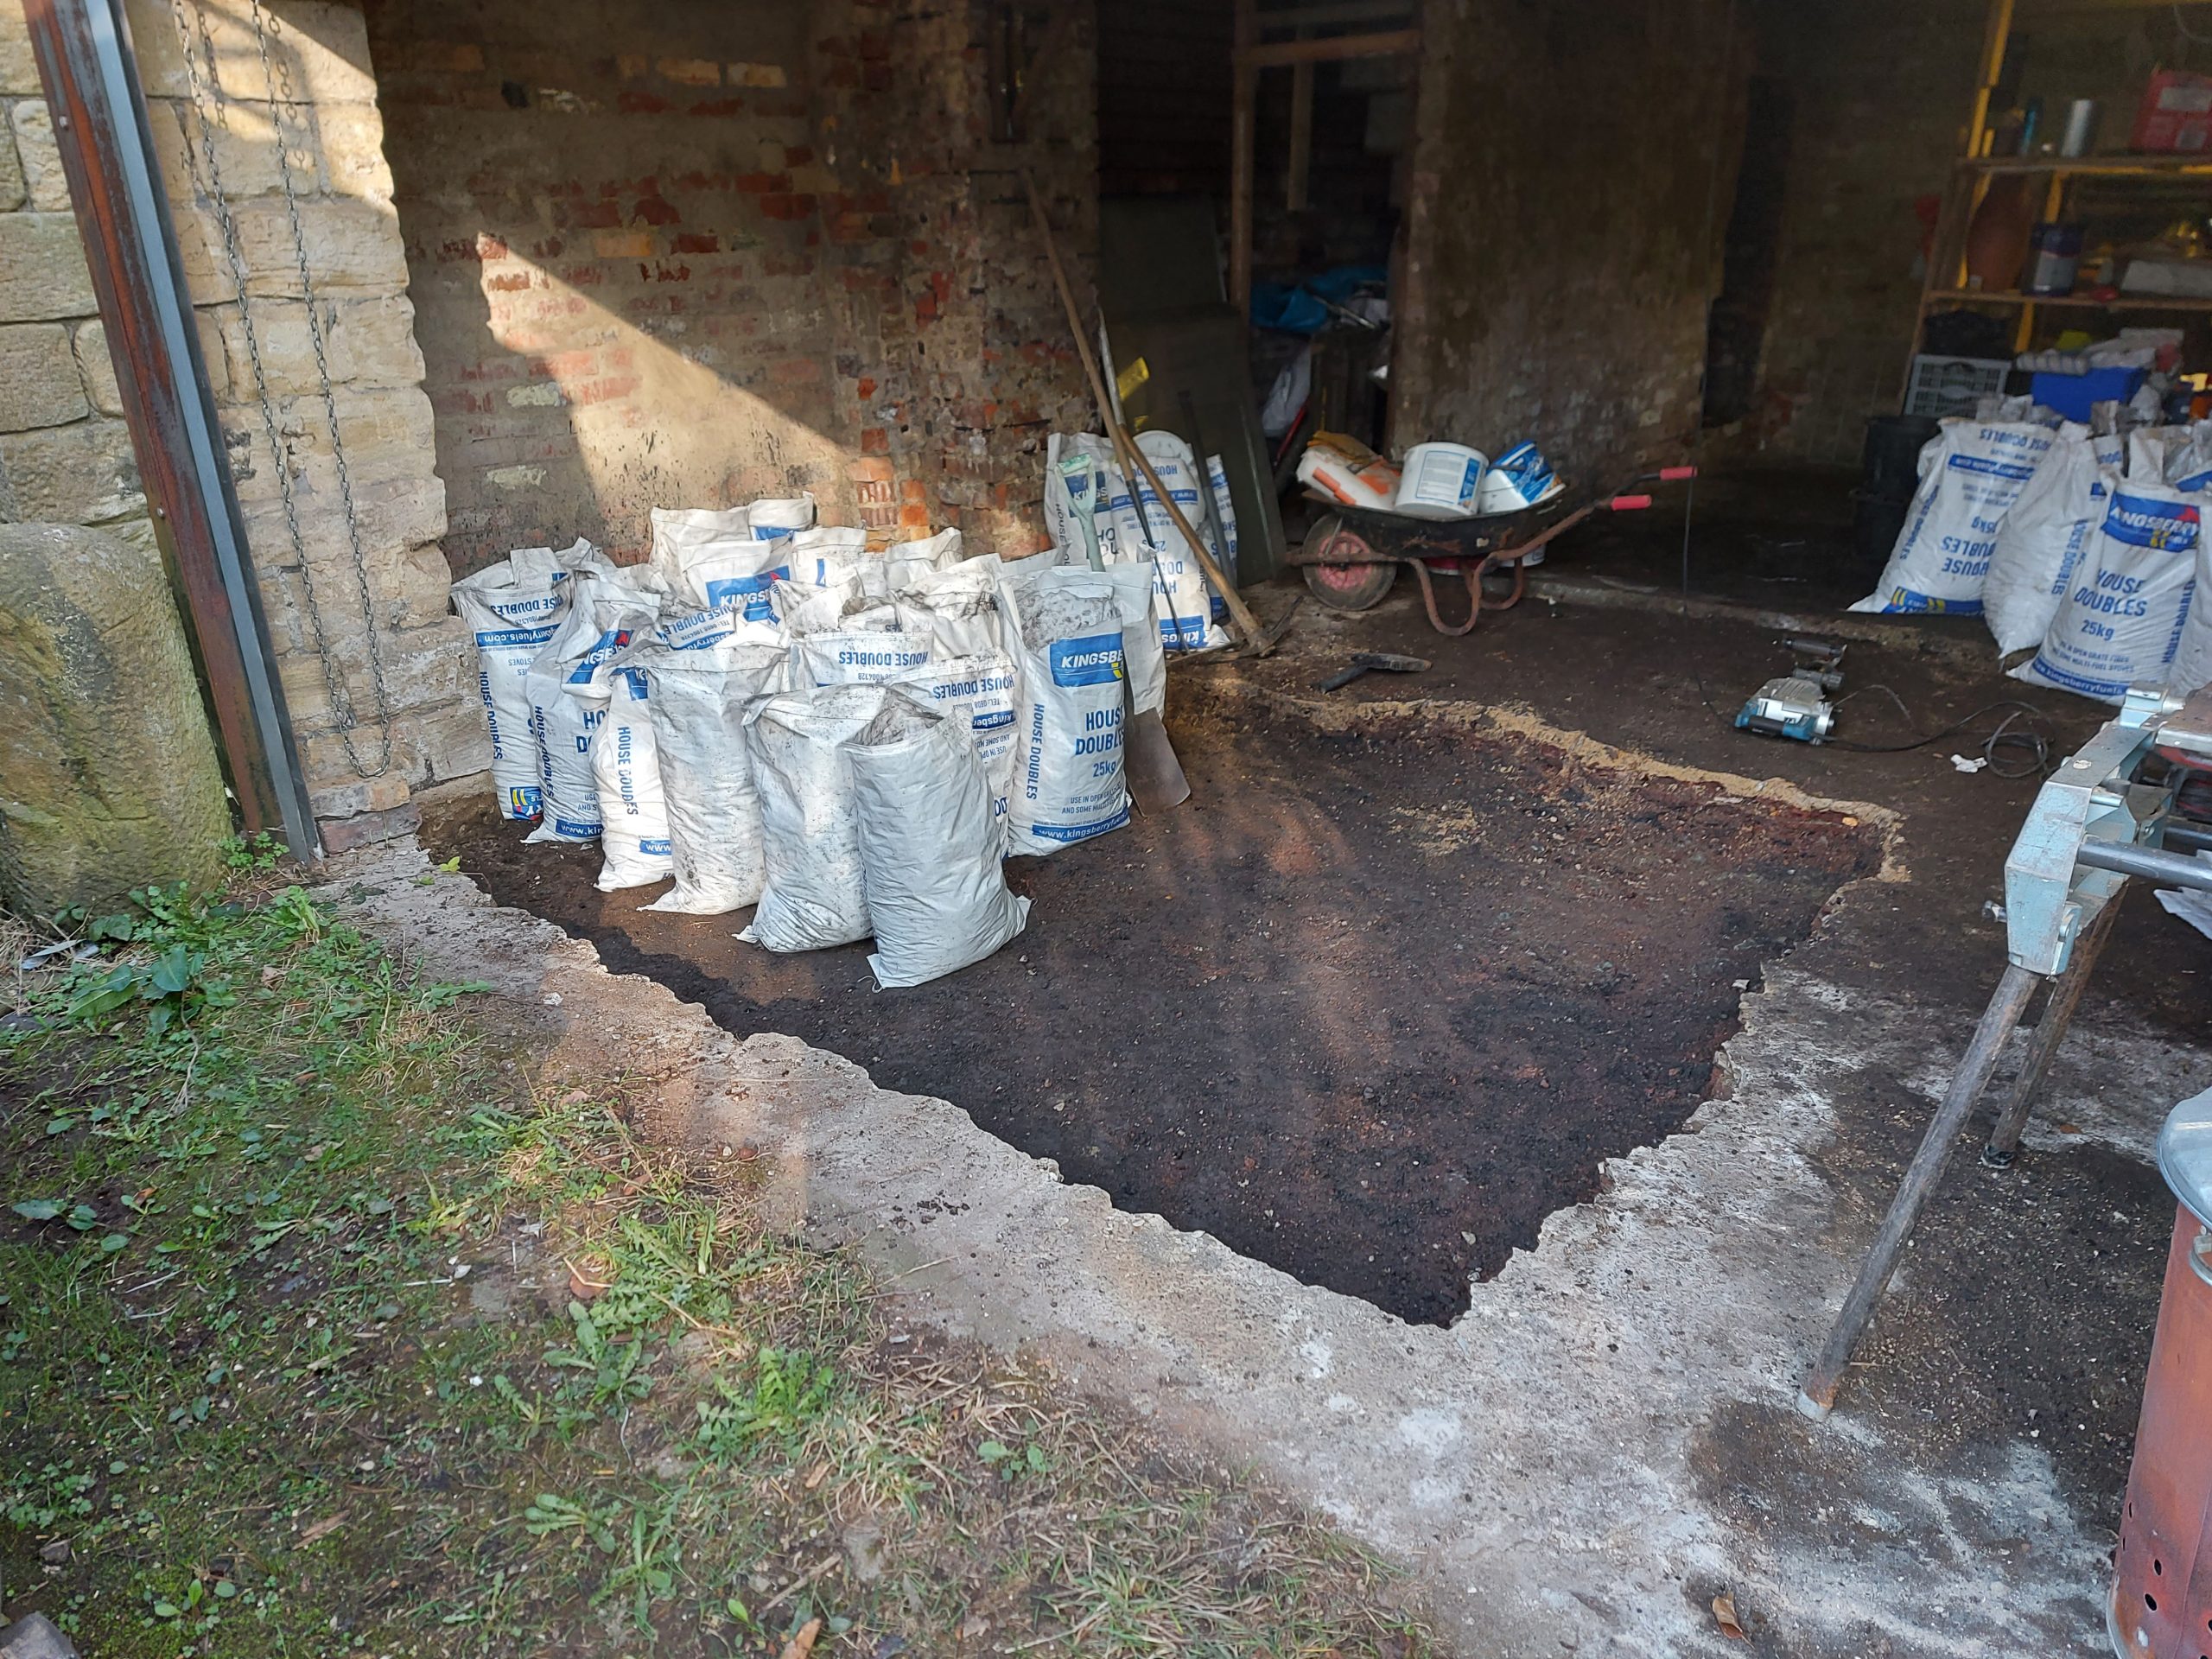
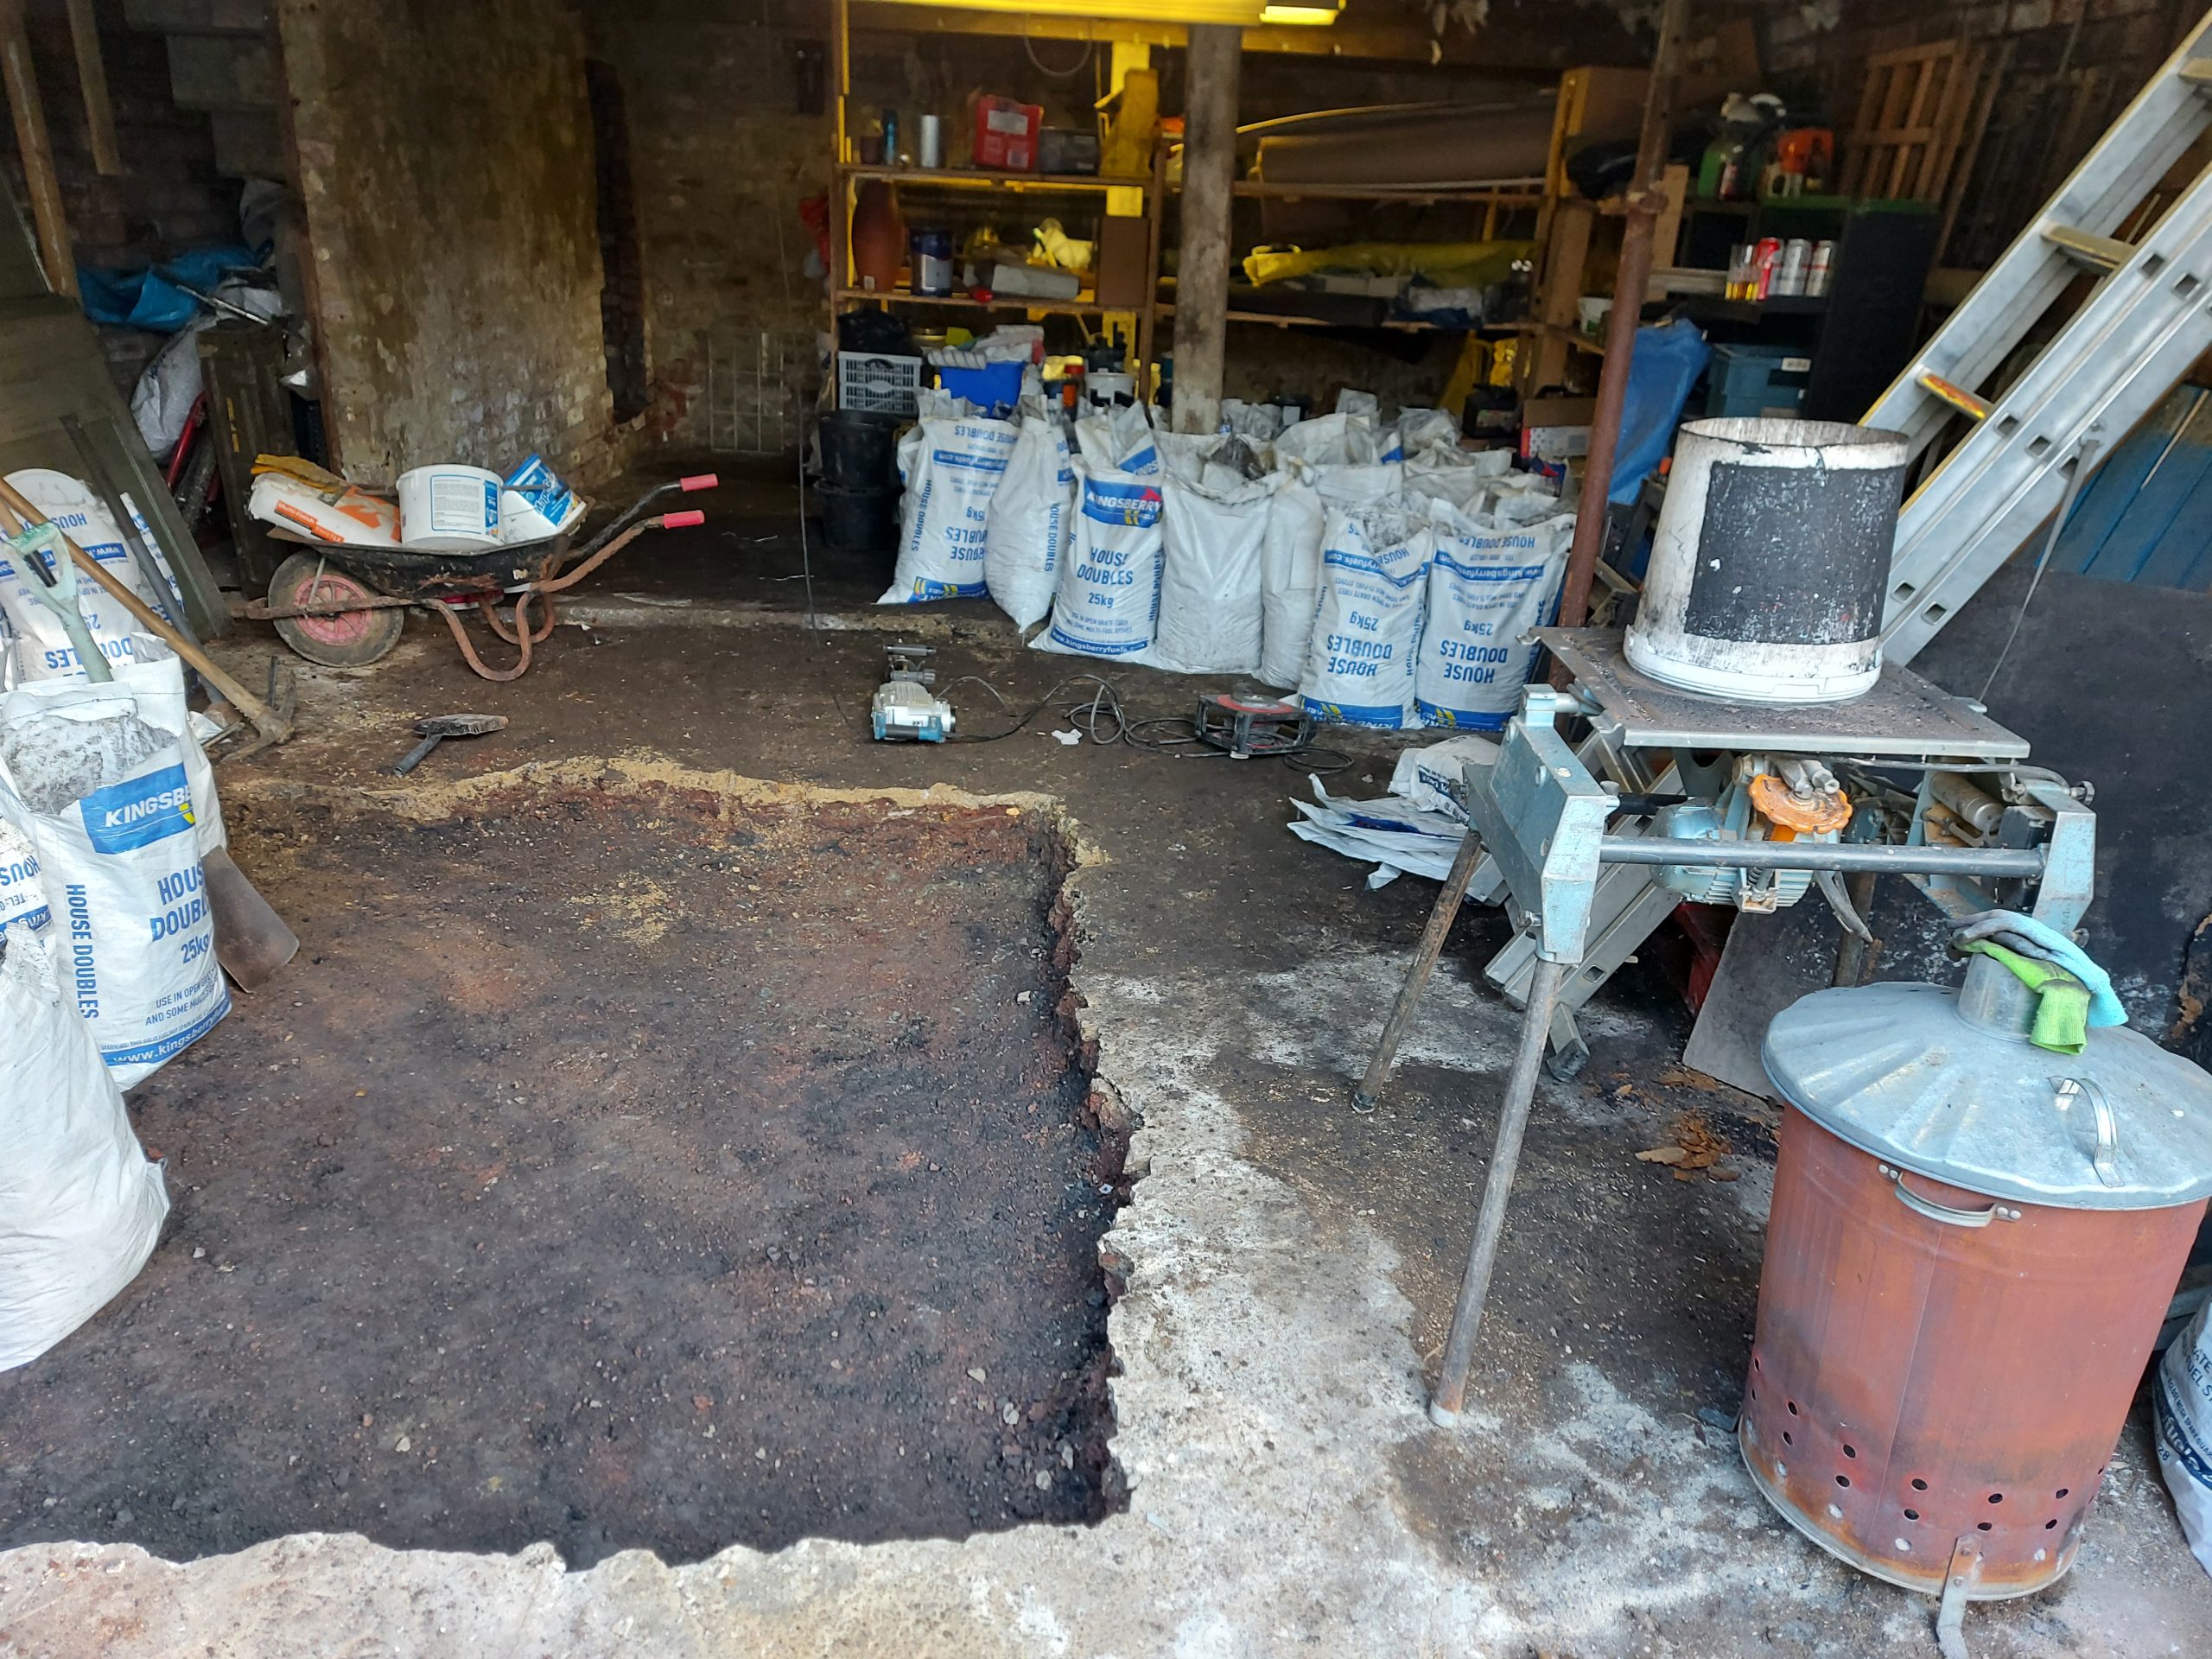
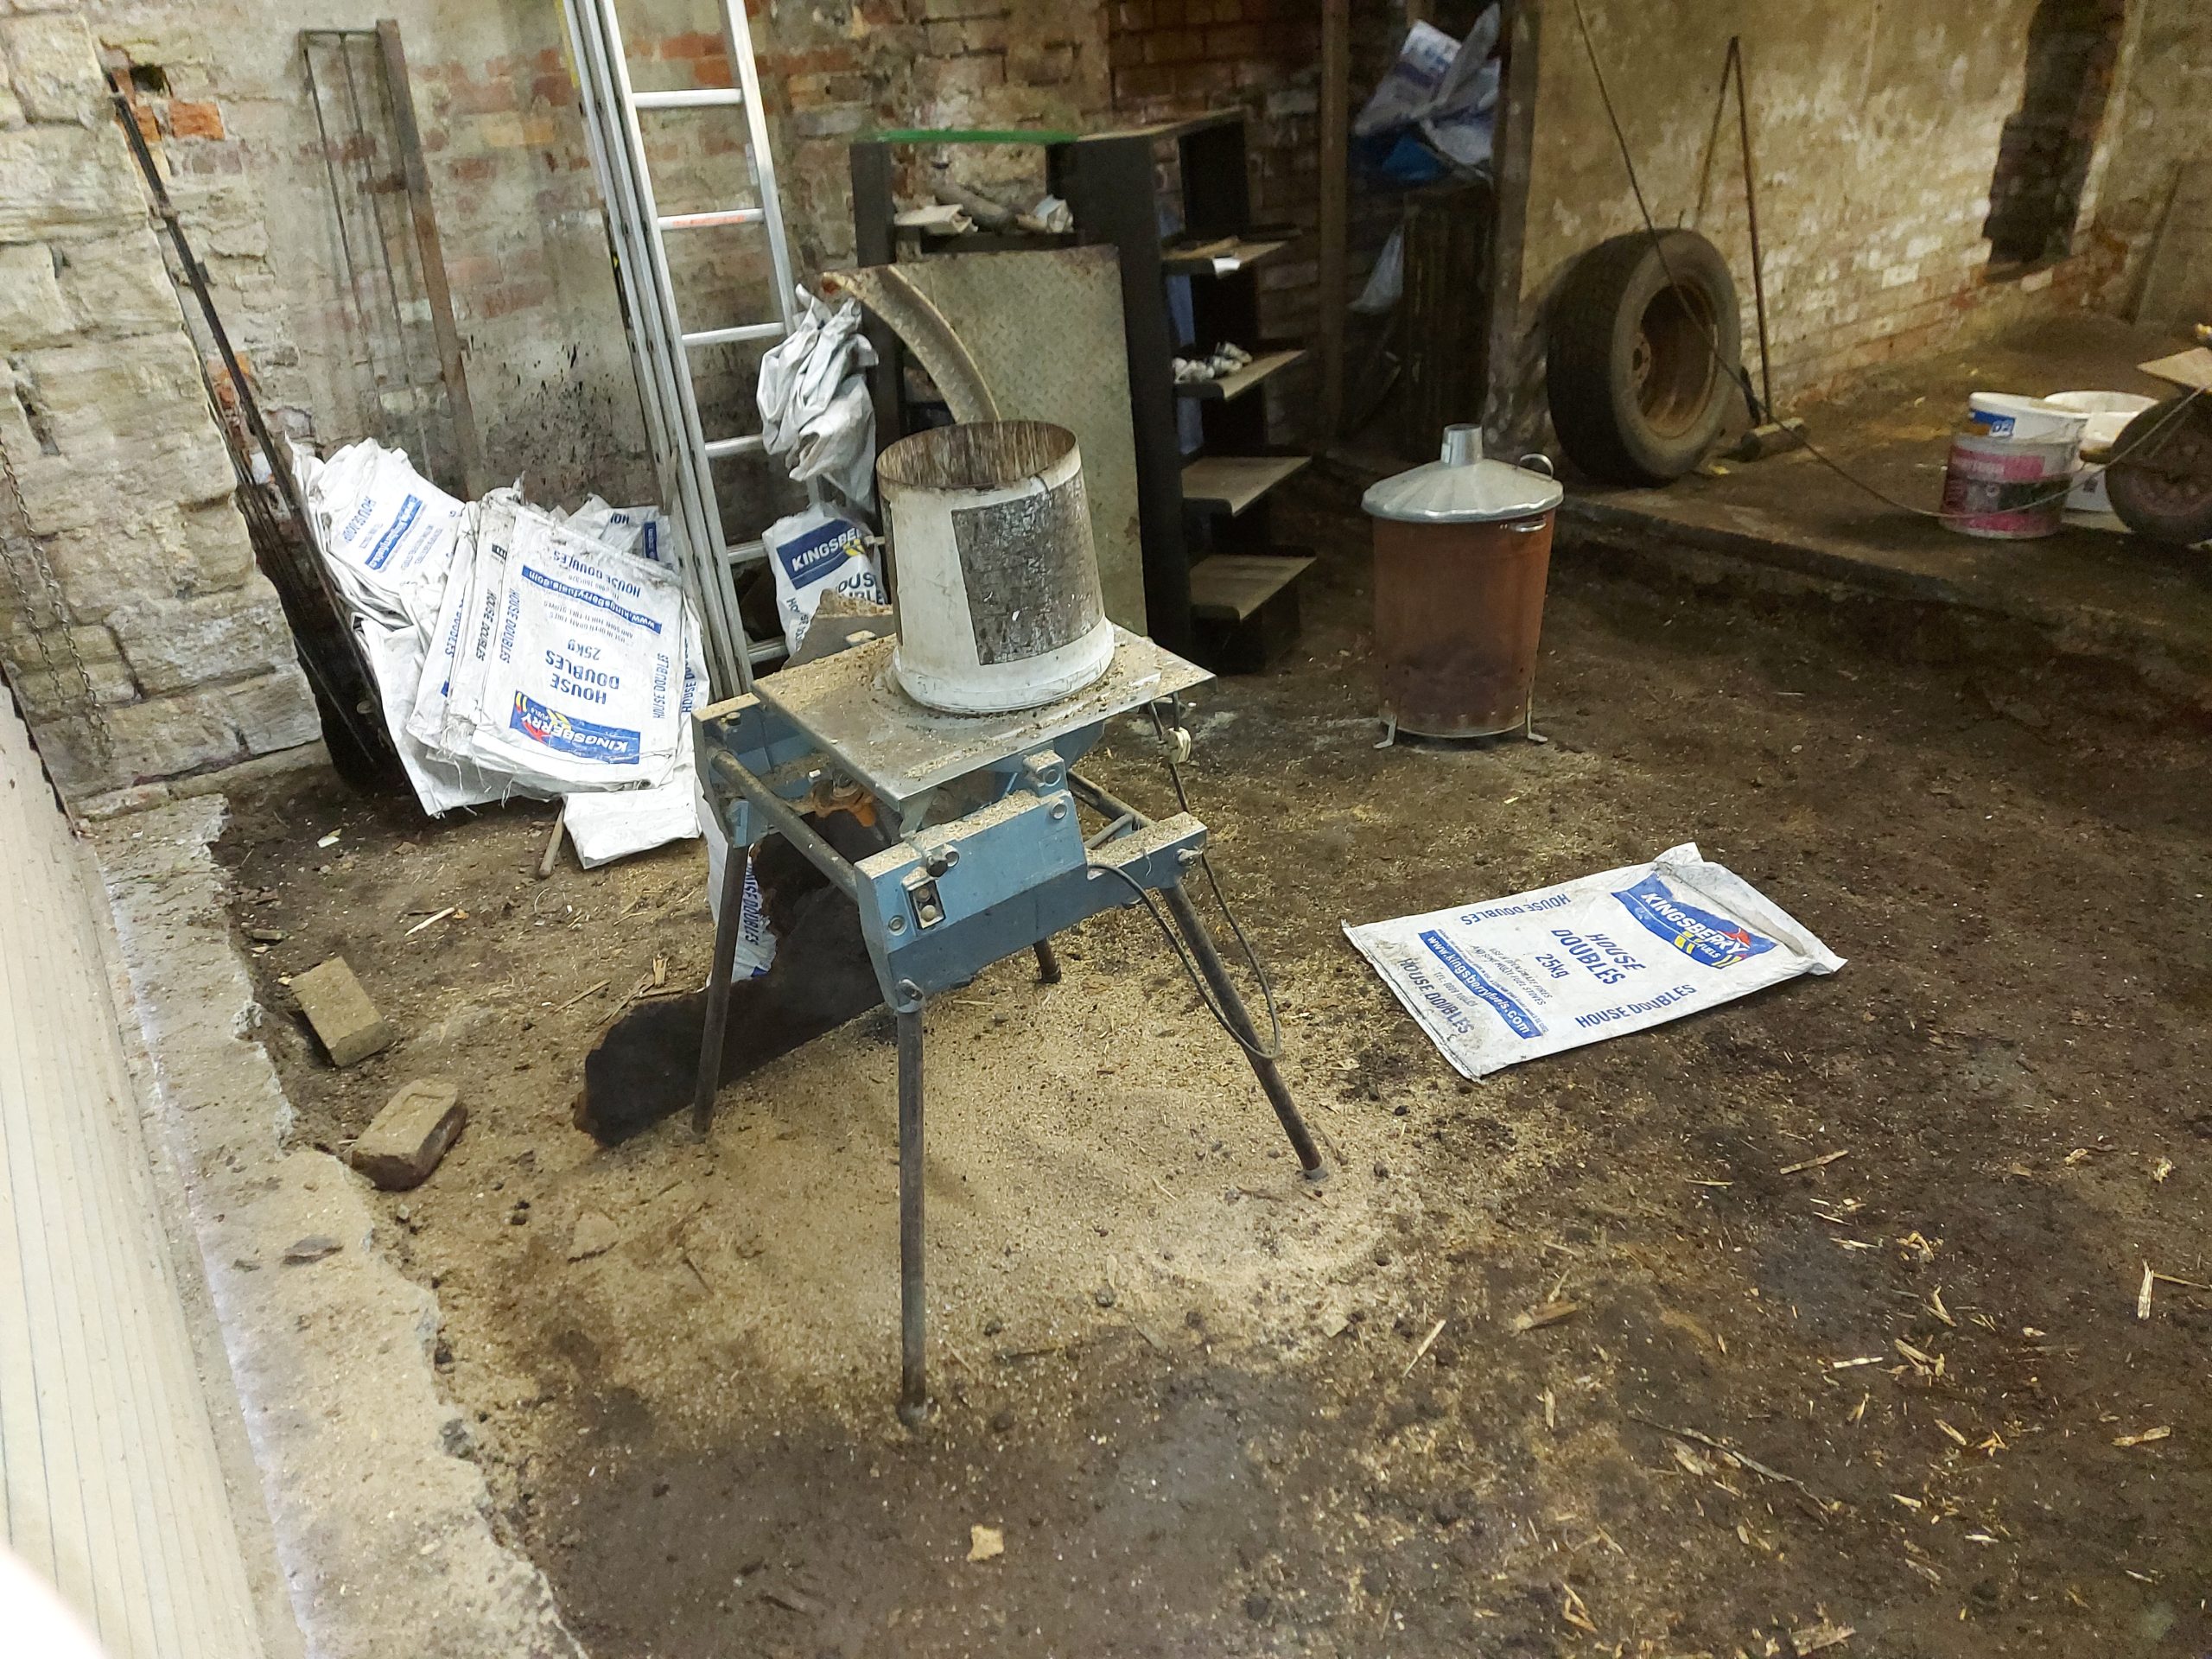
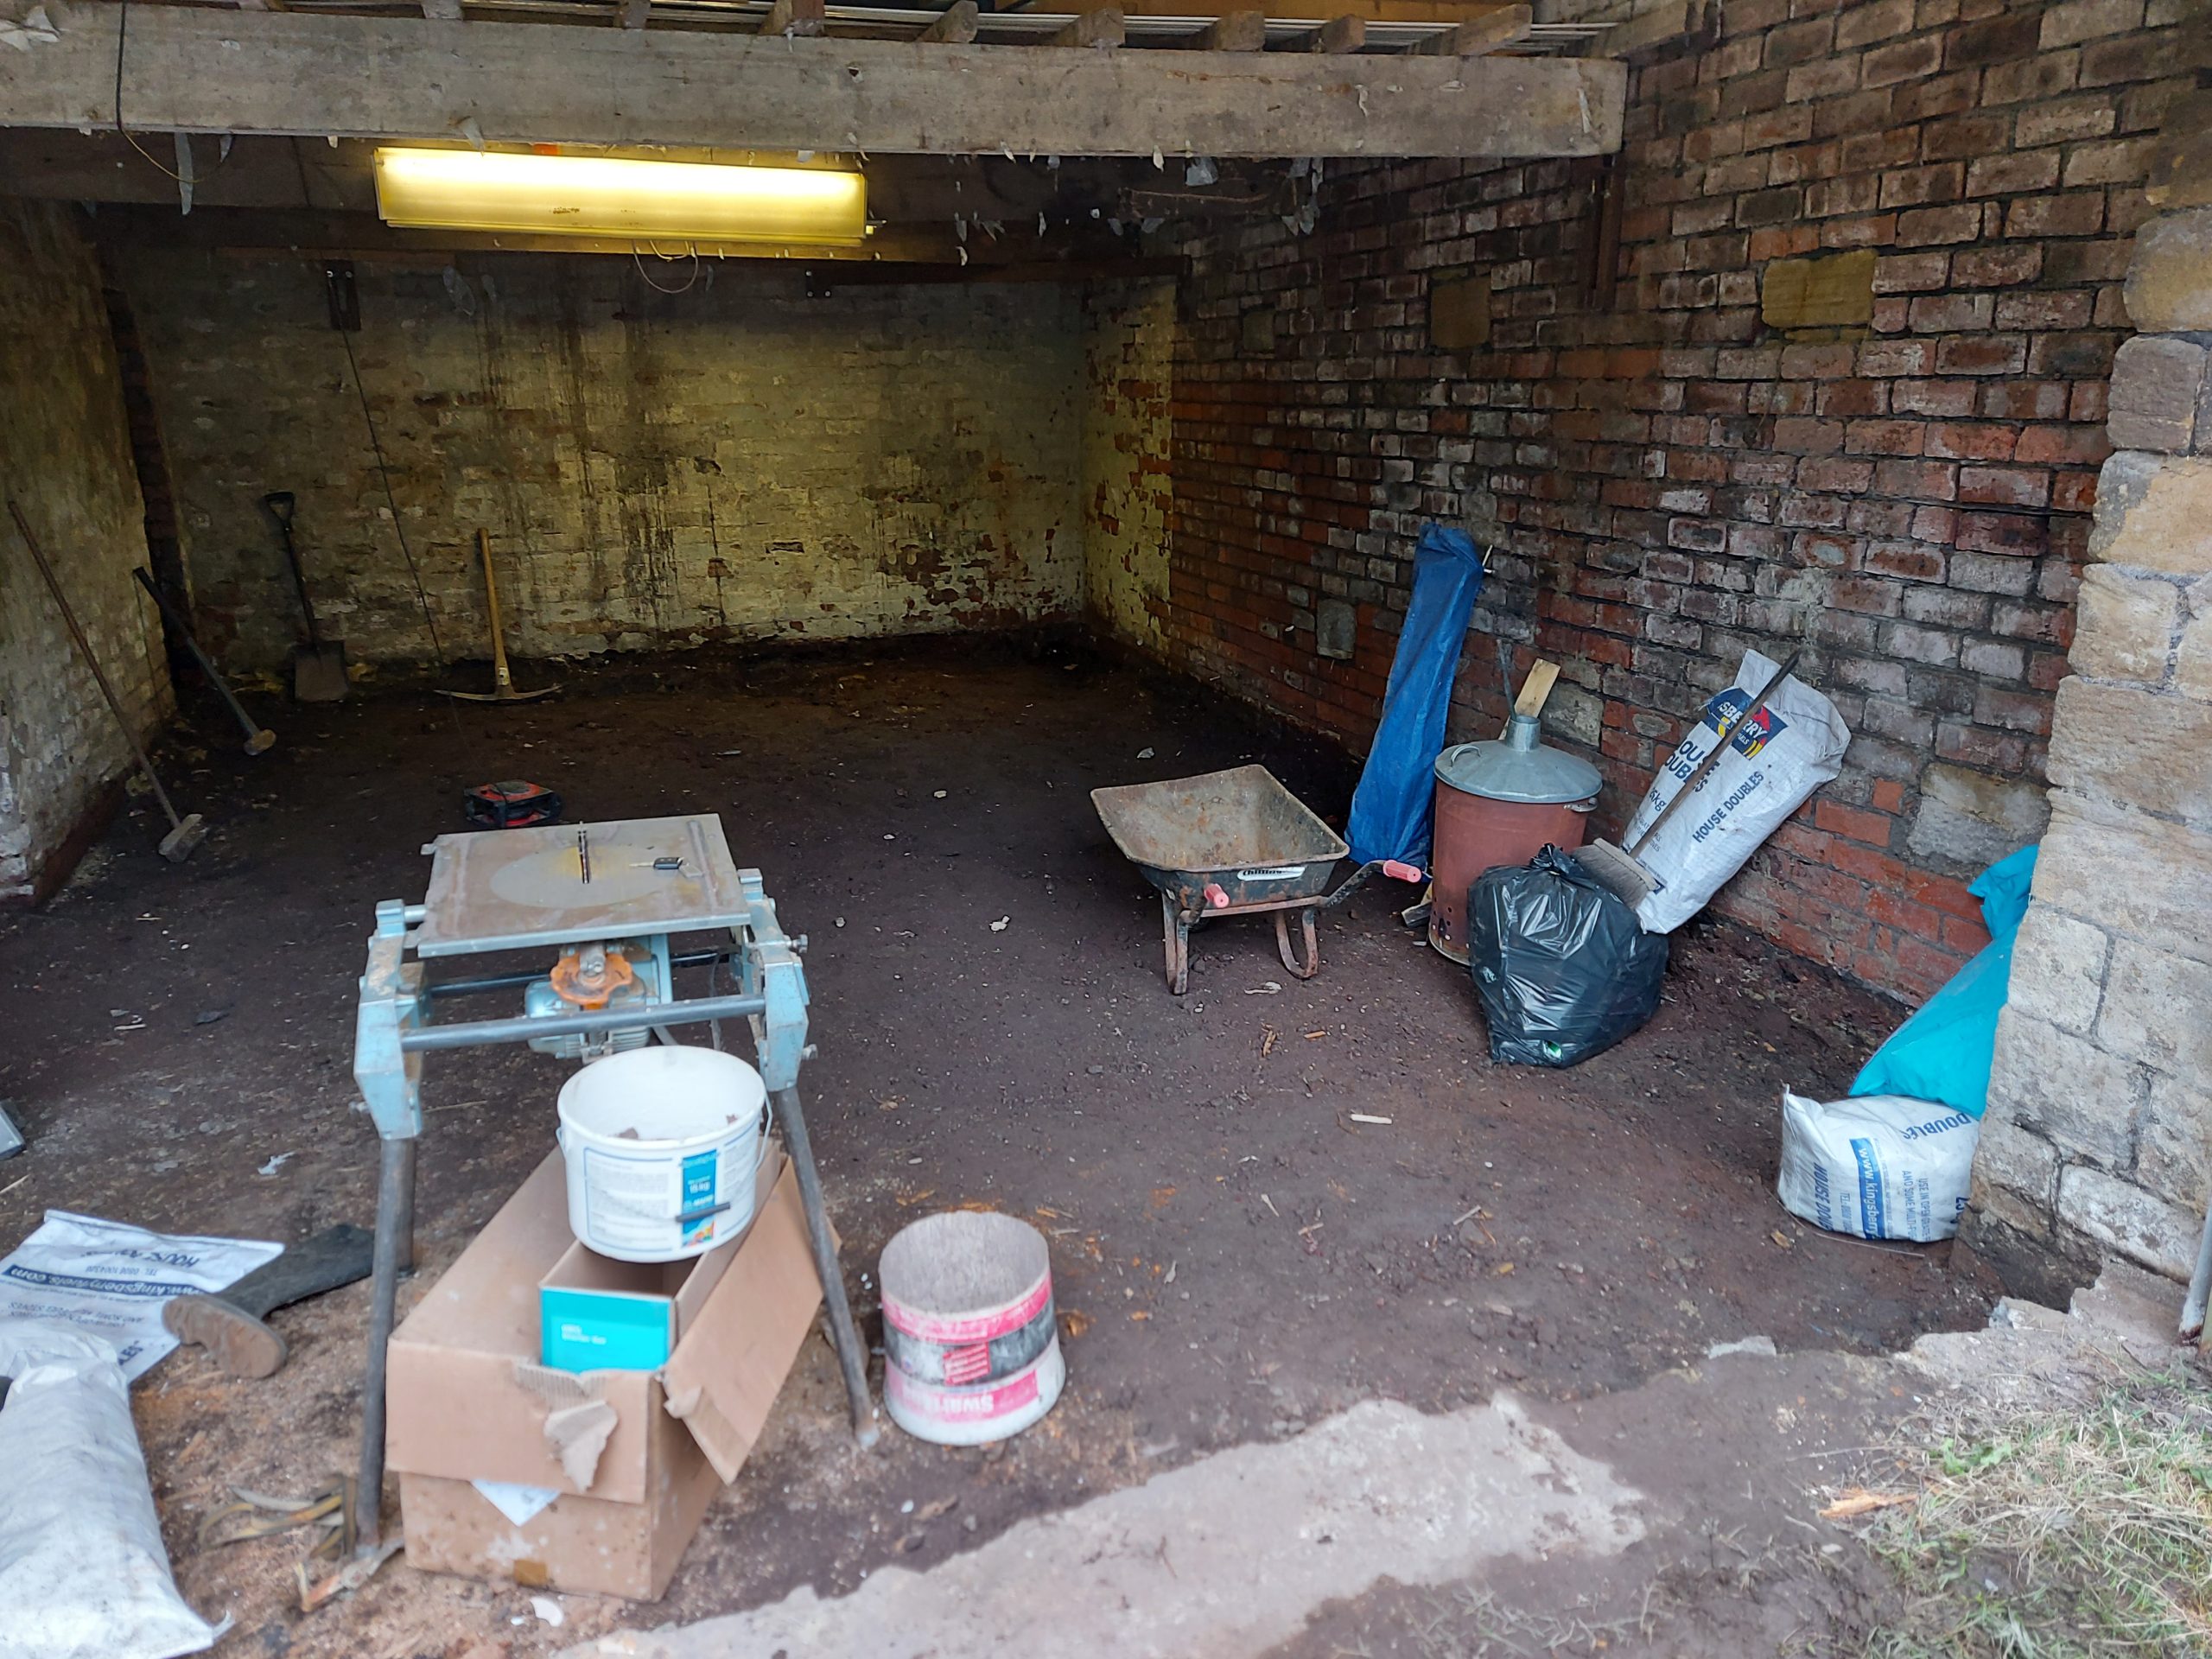
Digging it out damed hard work in your 60s
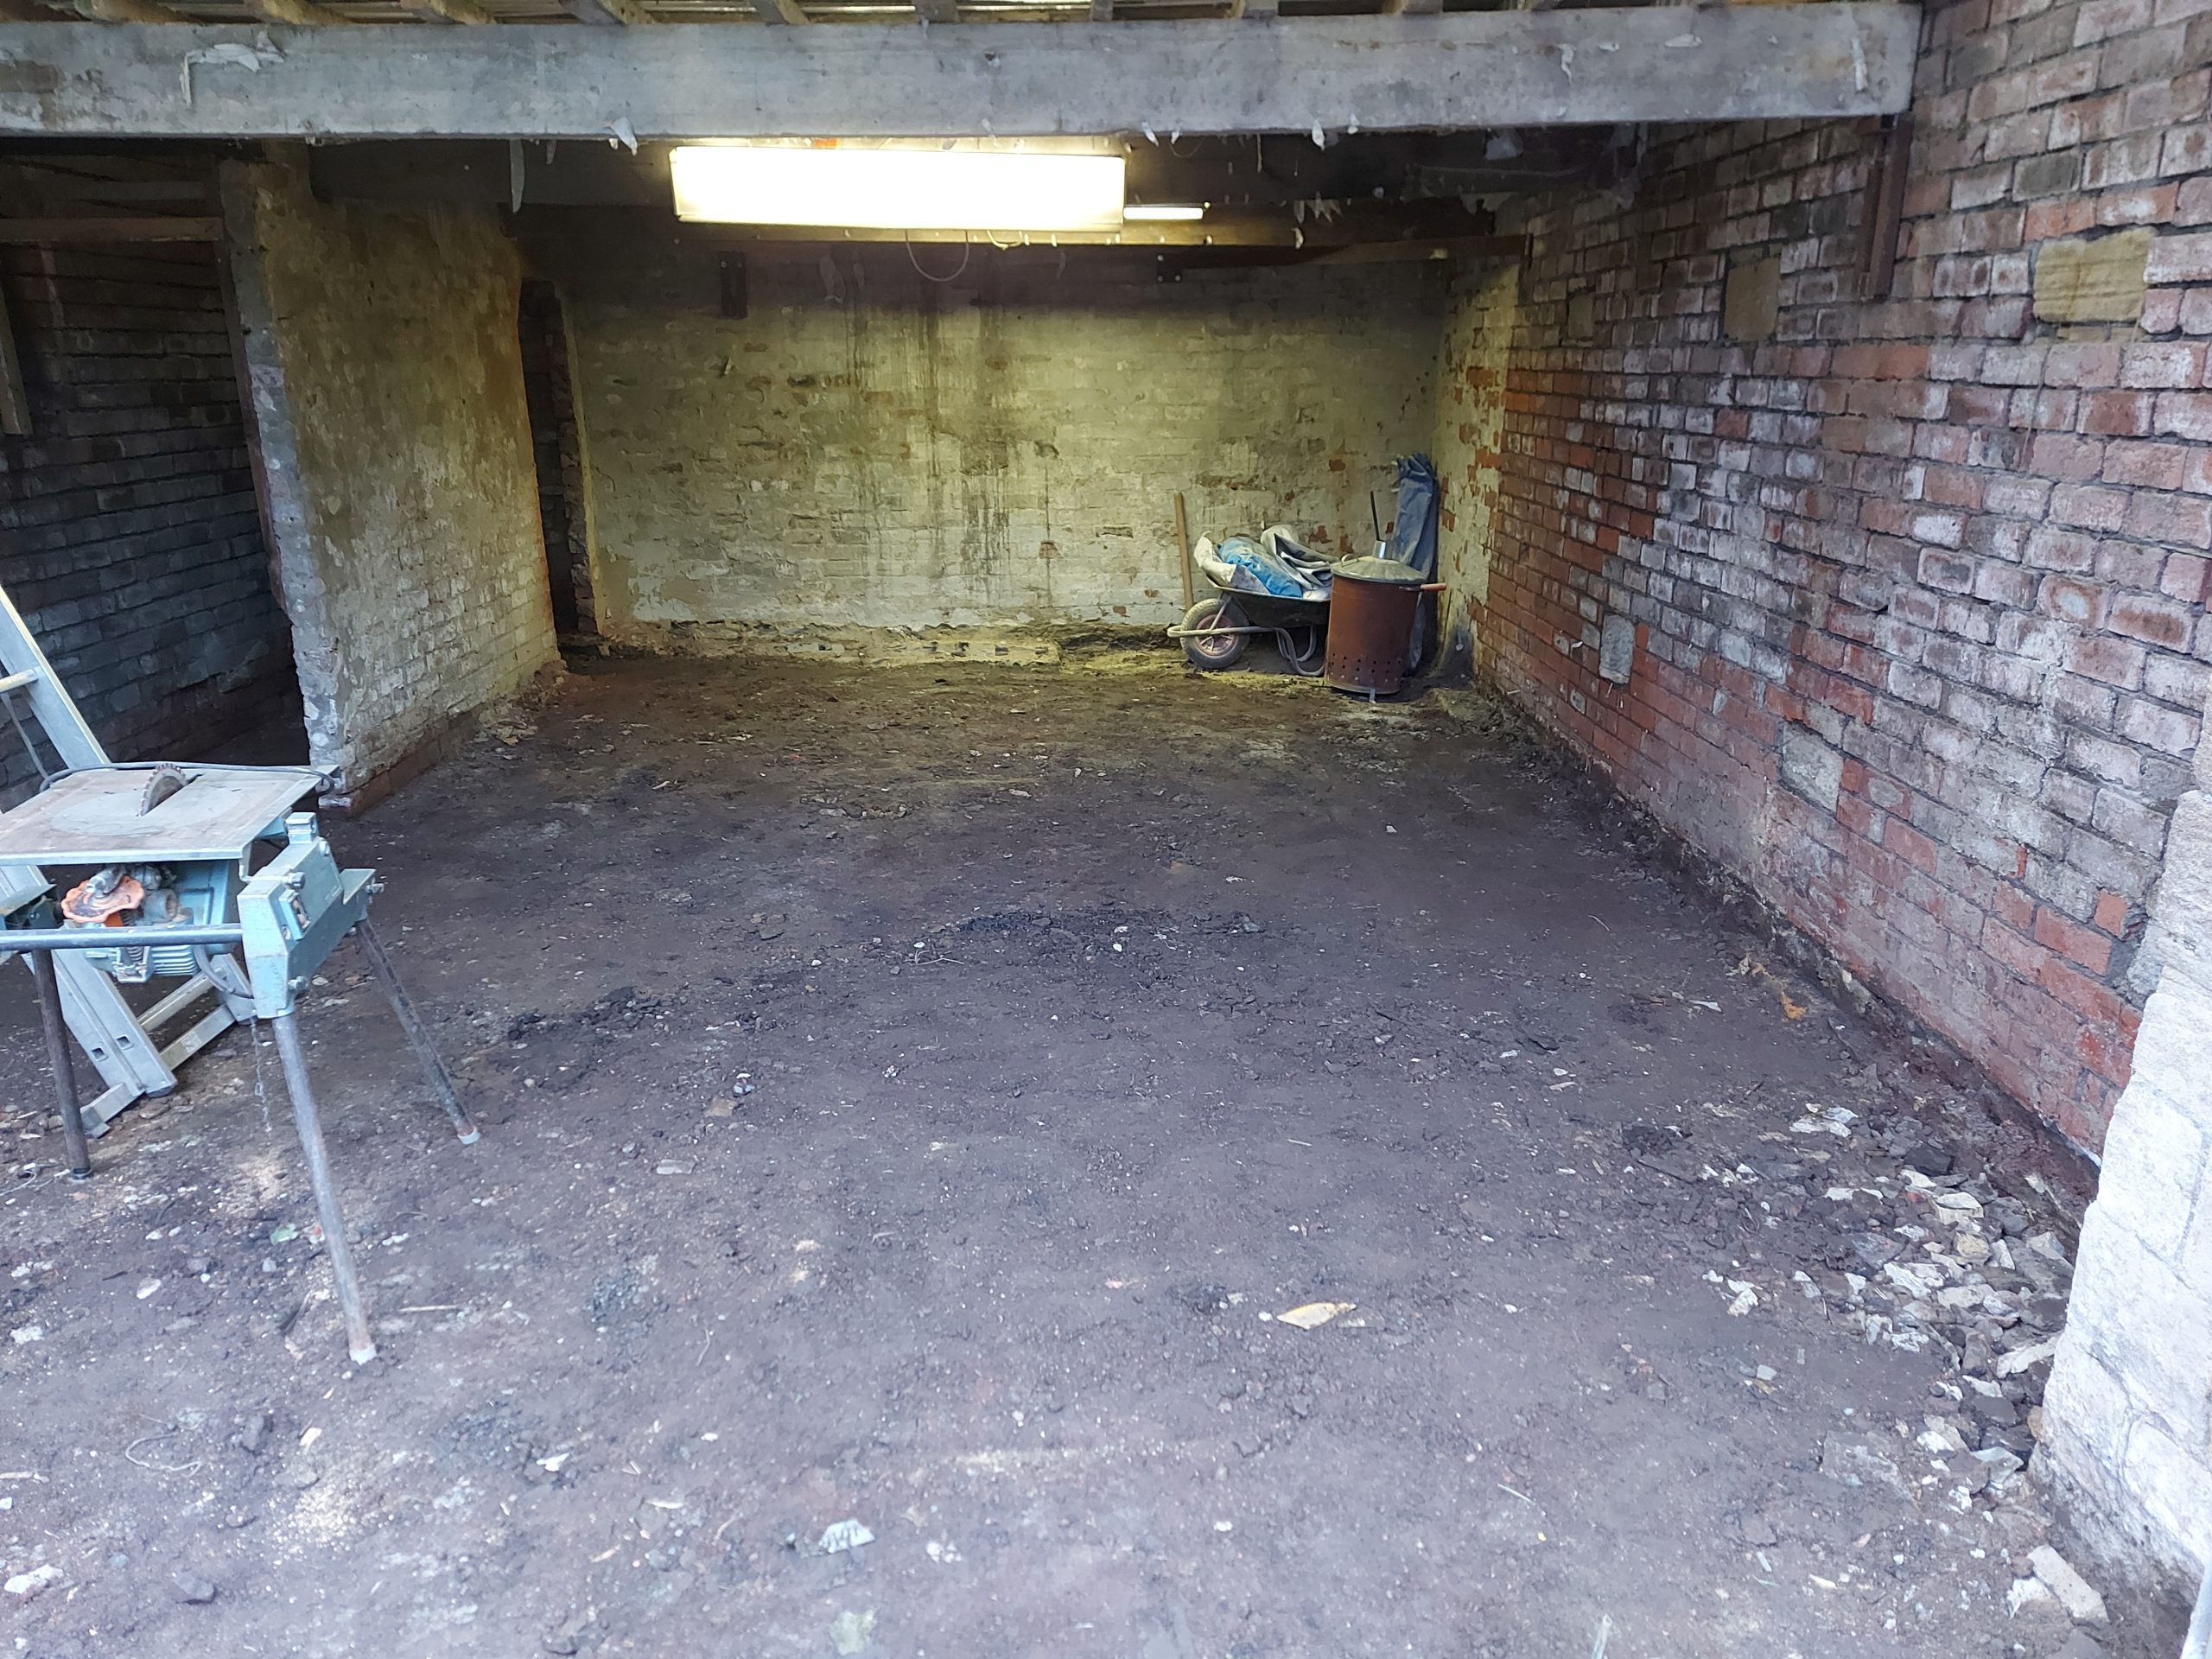
More Digging later
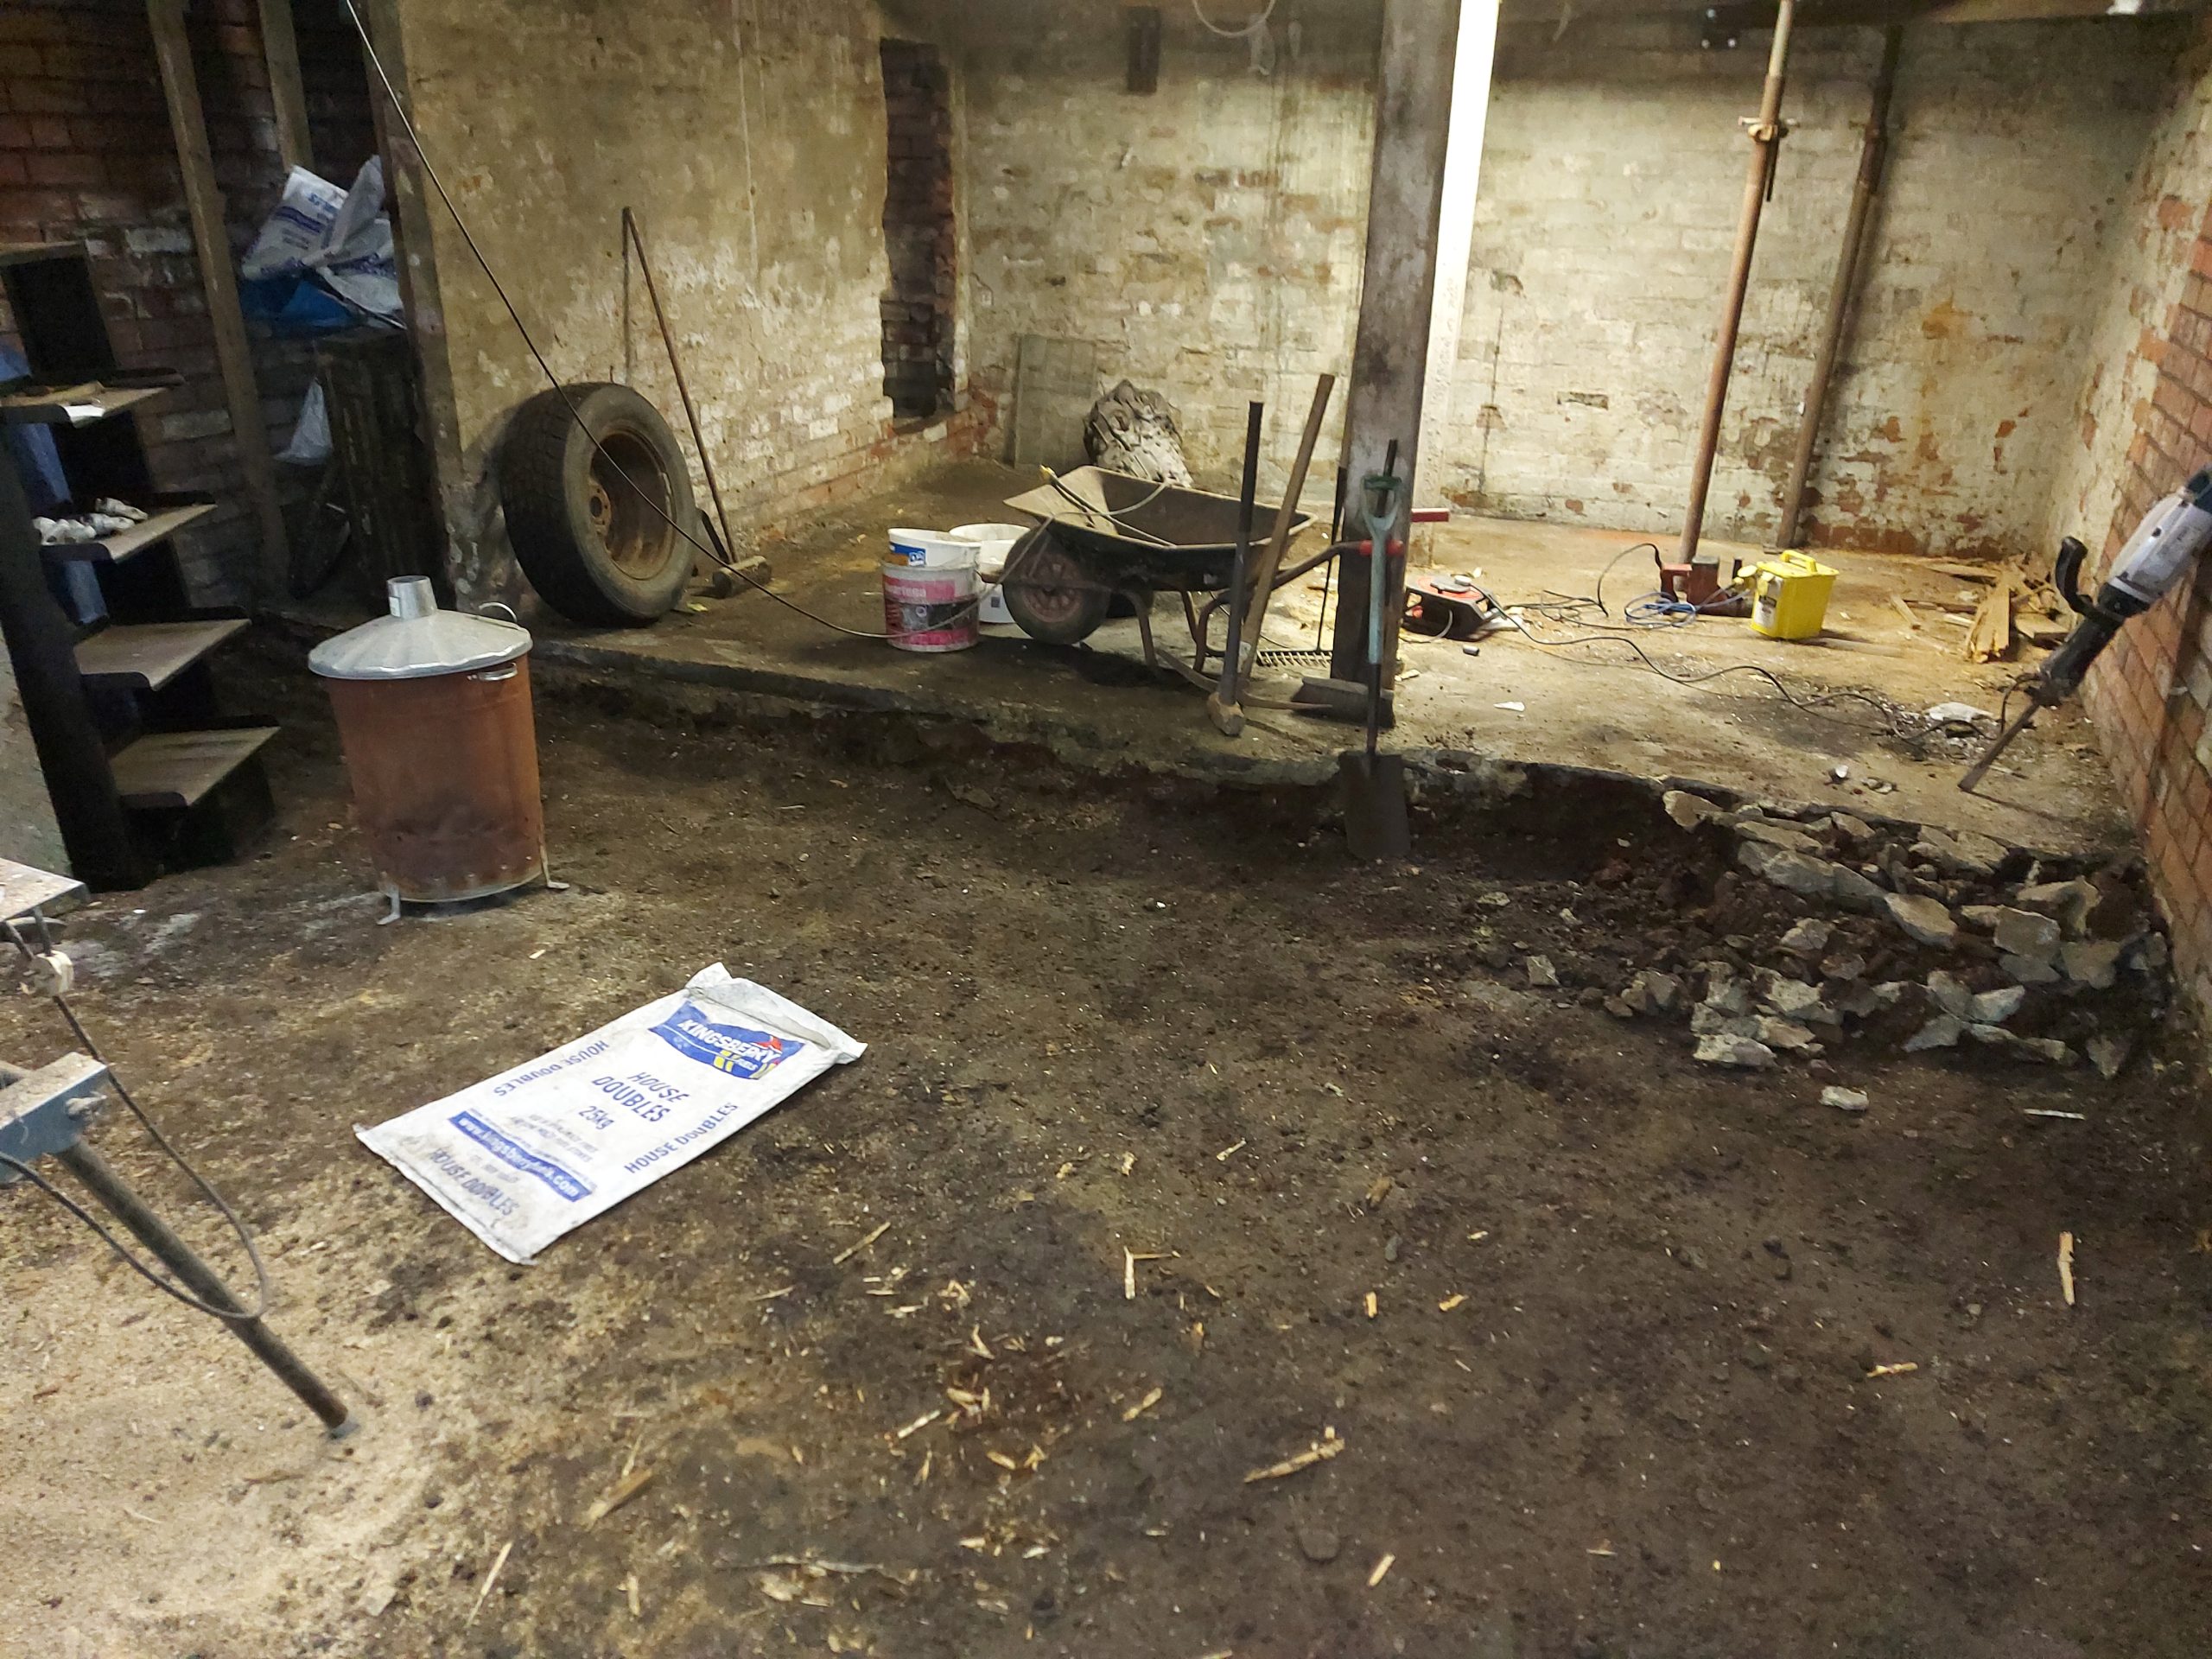
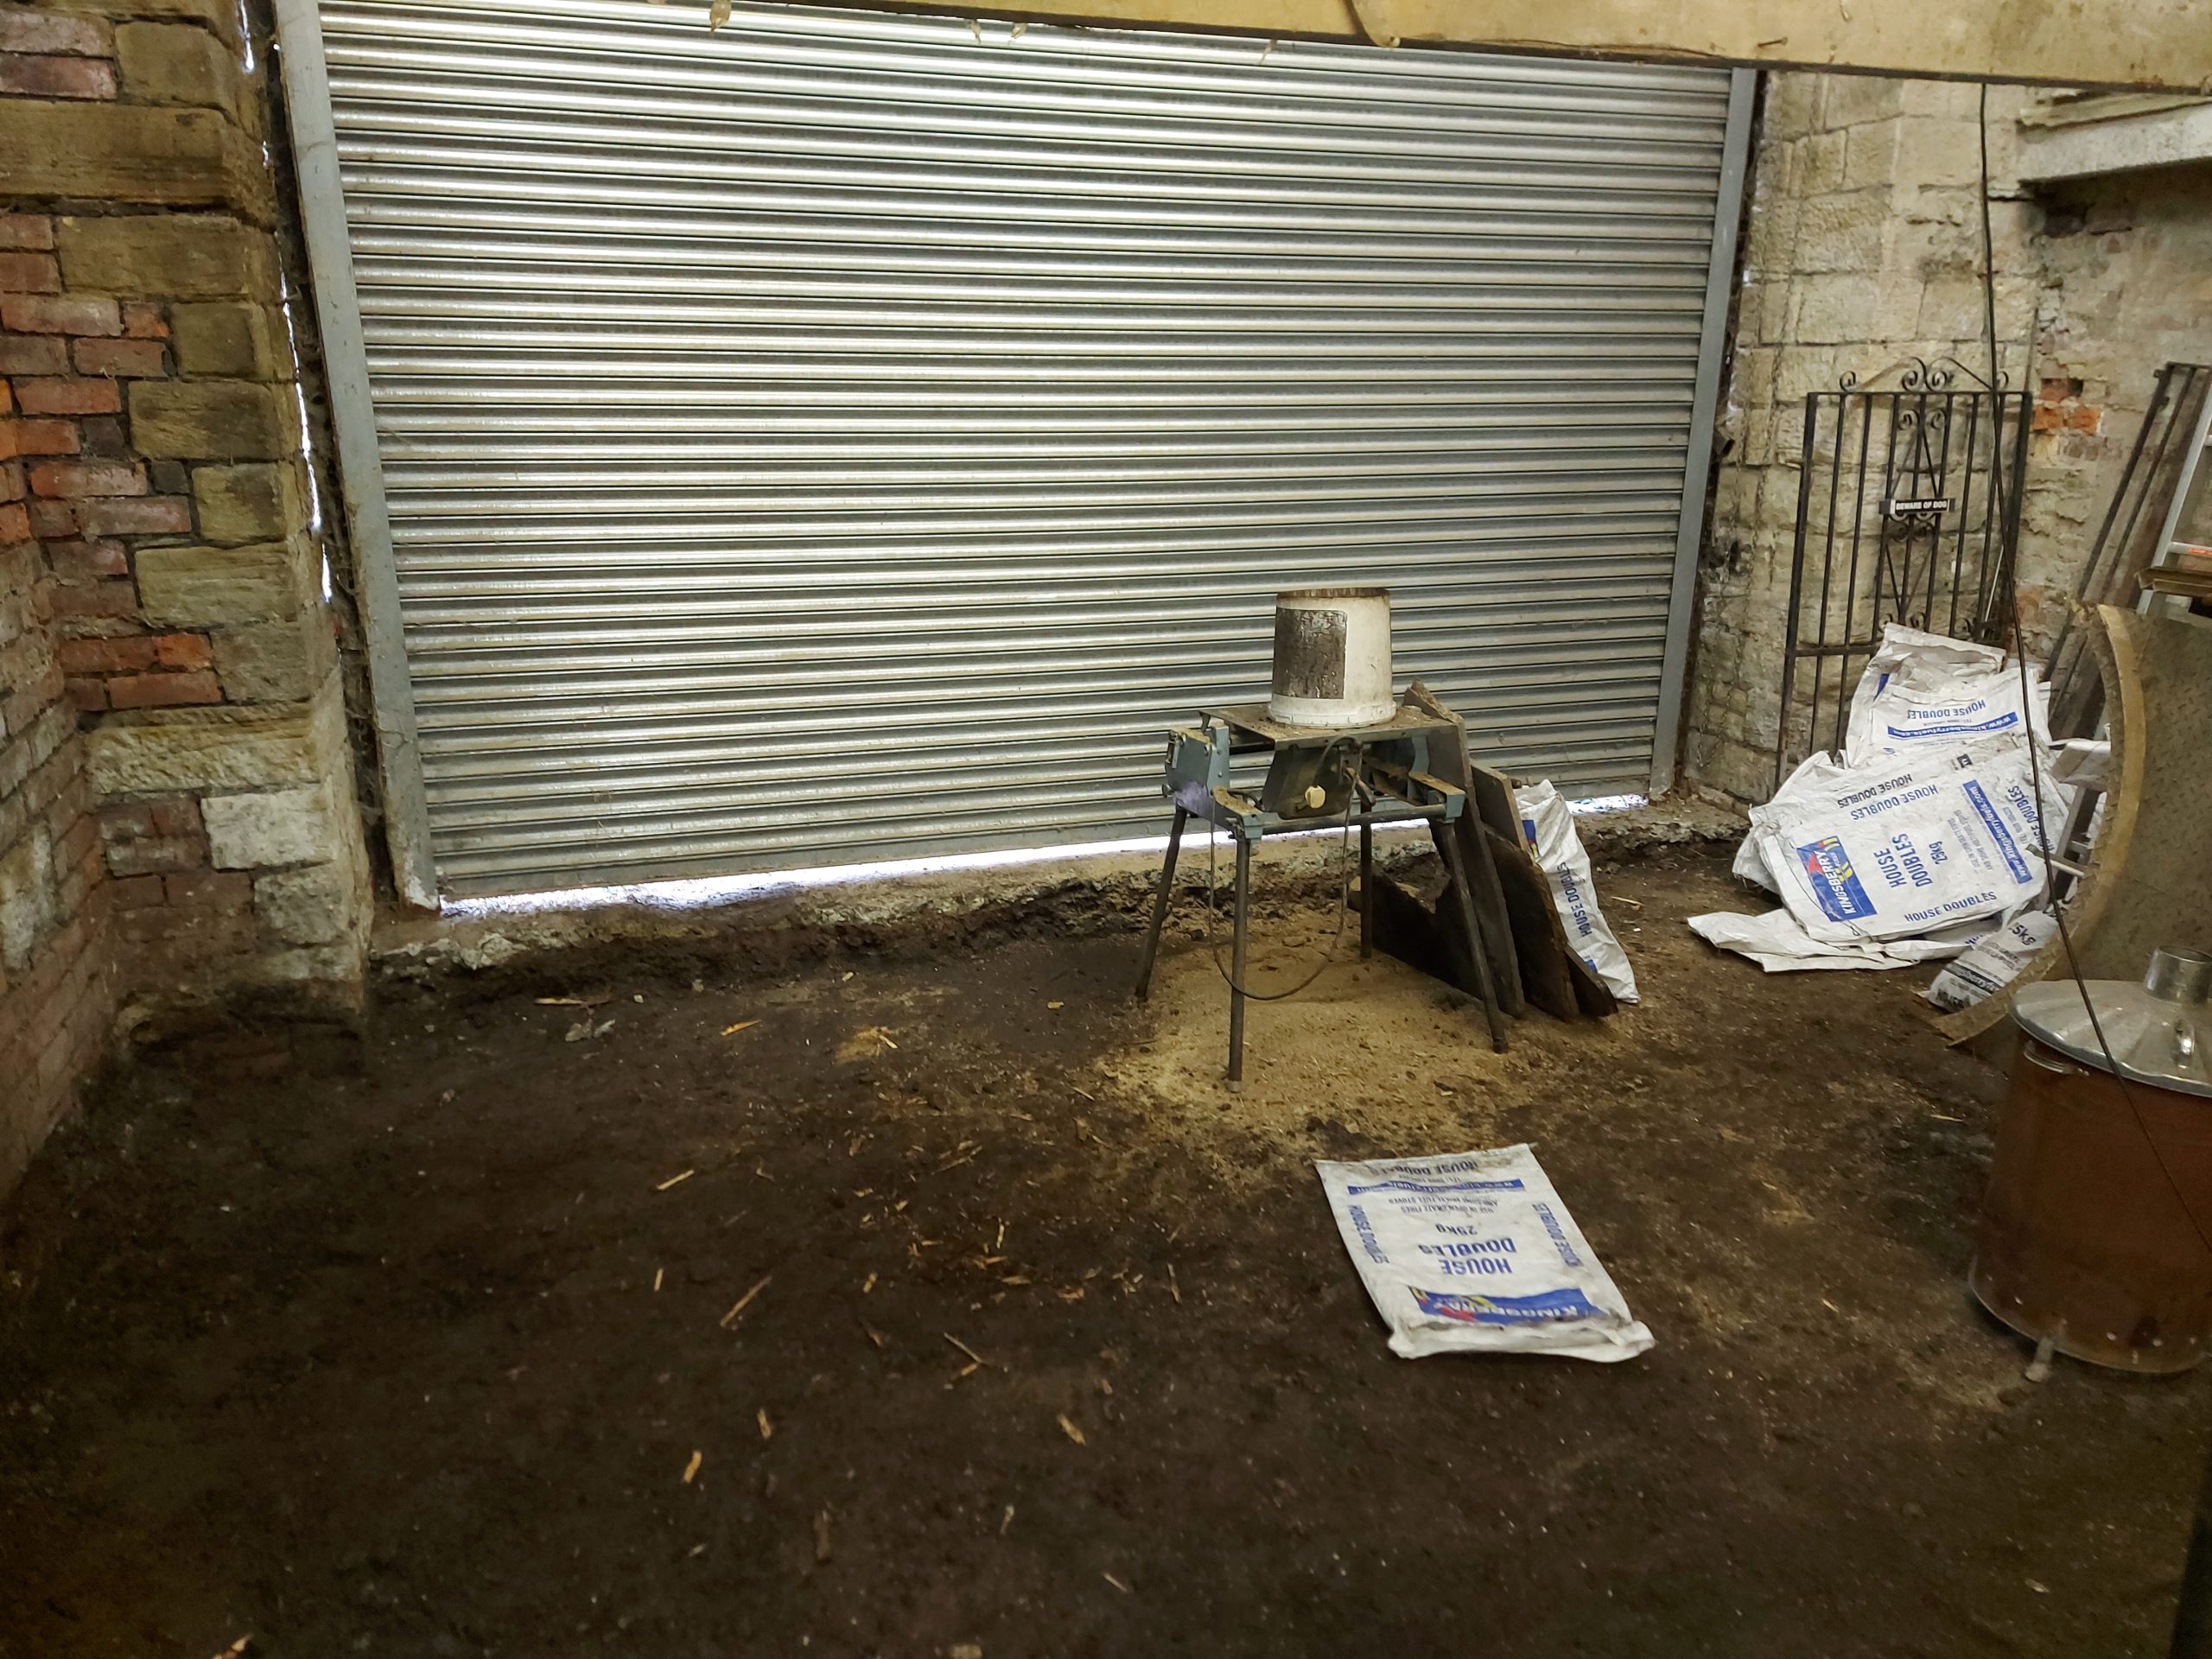
Well another long couple of days spent digging meny thanks to janet my wife for her help digging all this out, Esemated about 12 tonnes in all
With a BIG thanks to my wife Janet for her help all the digging out and staires removed too, Just need the concrete in now then I can start the steel work,
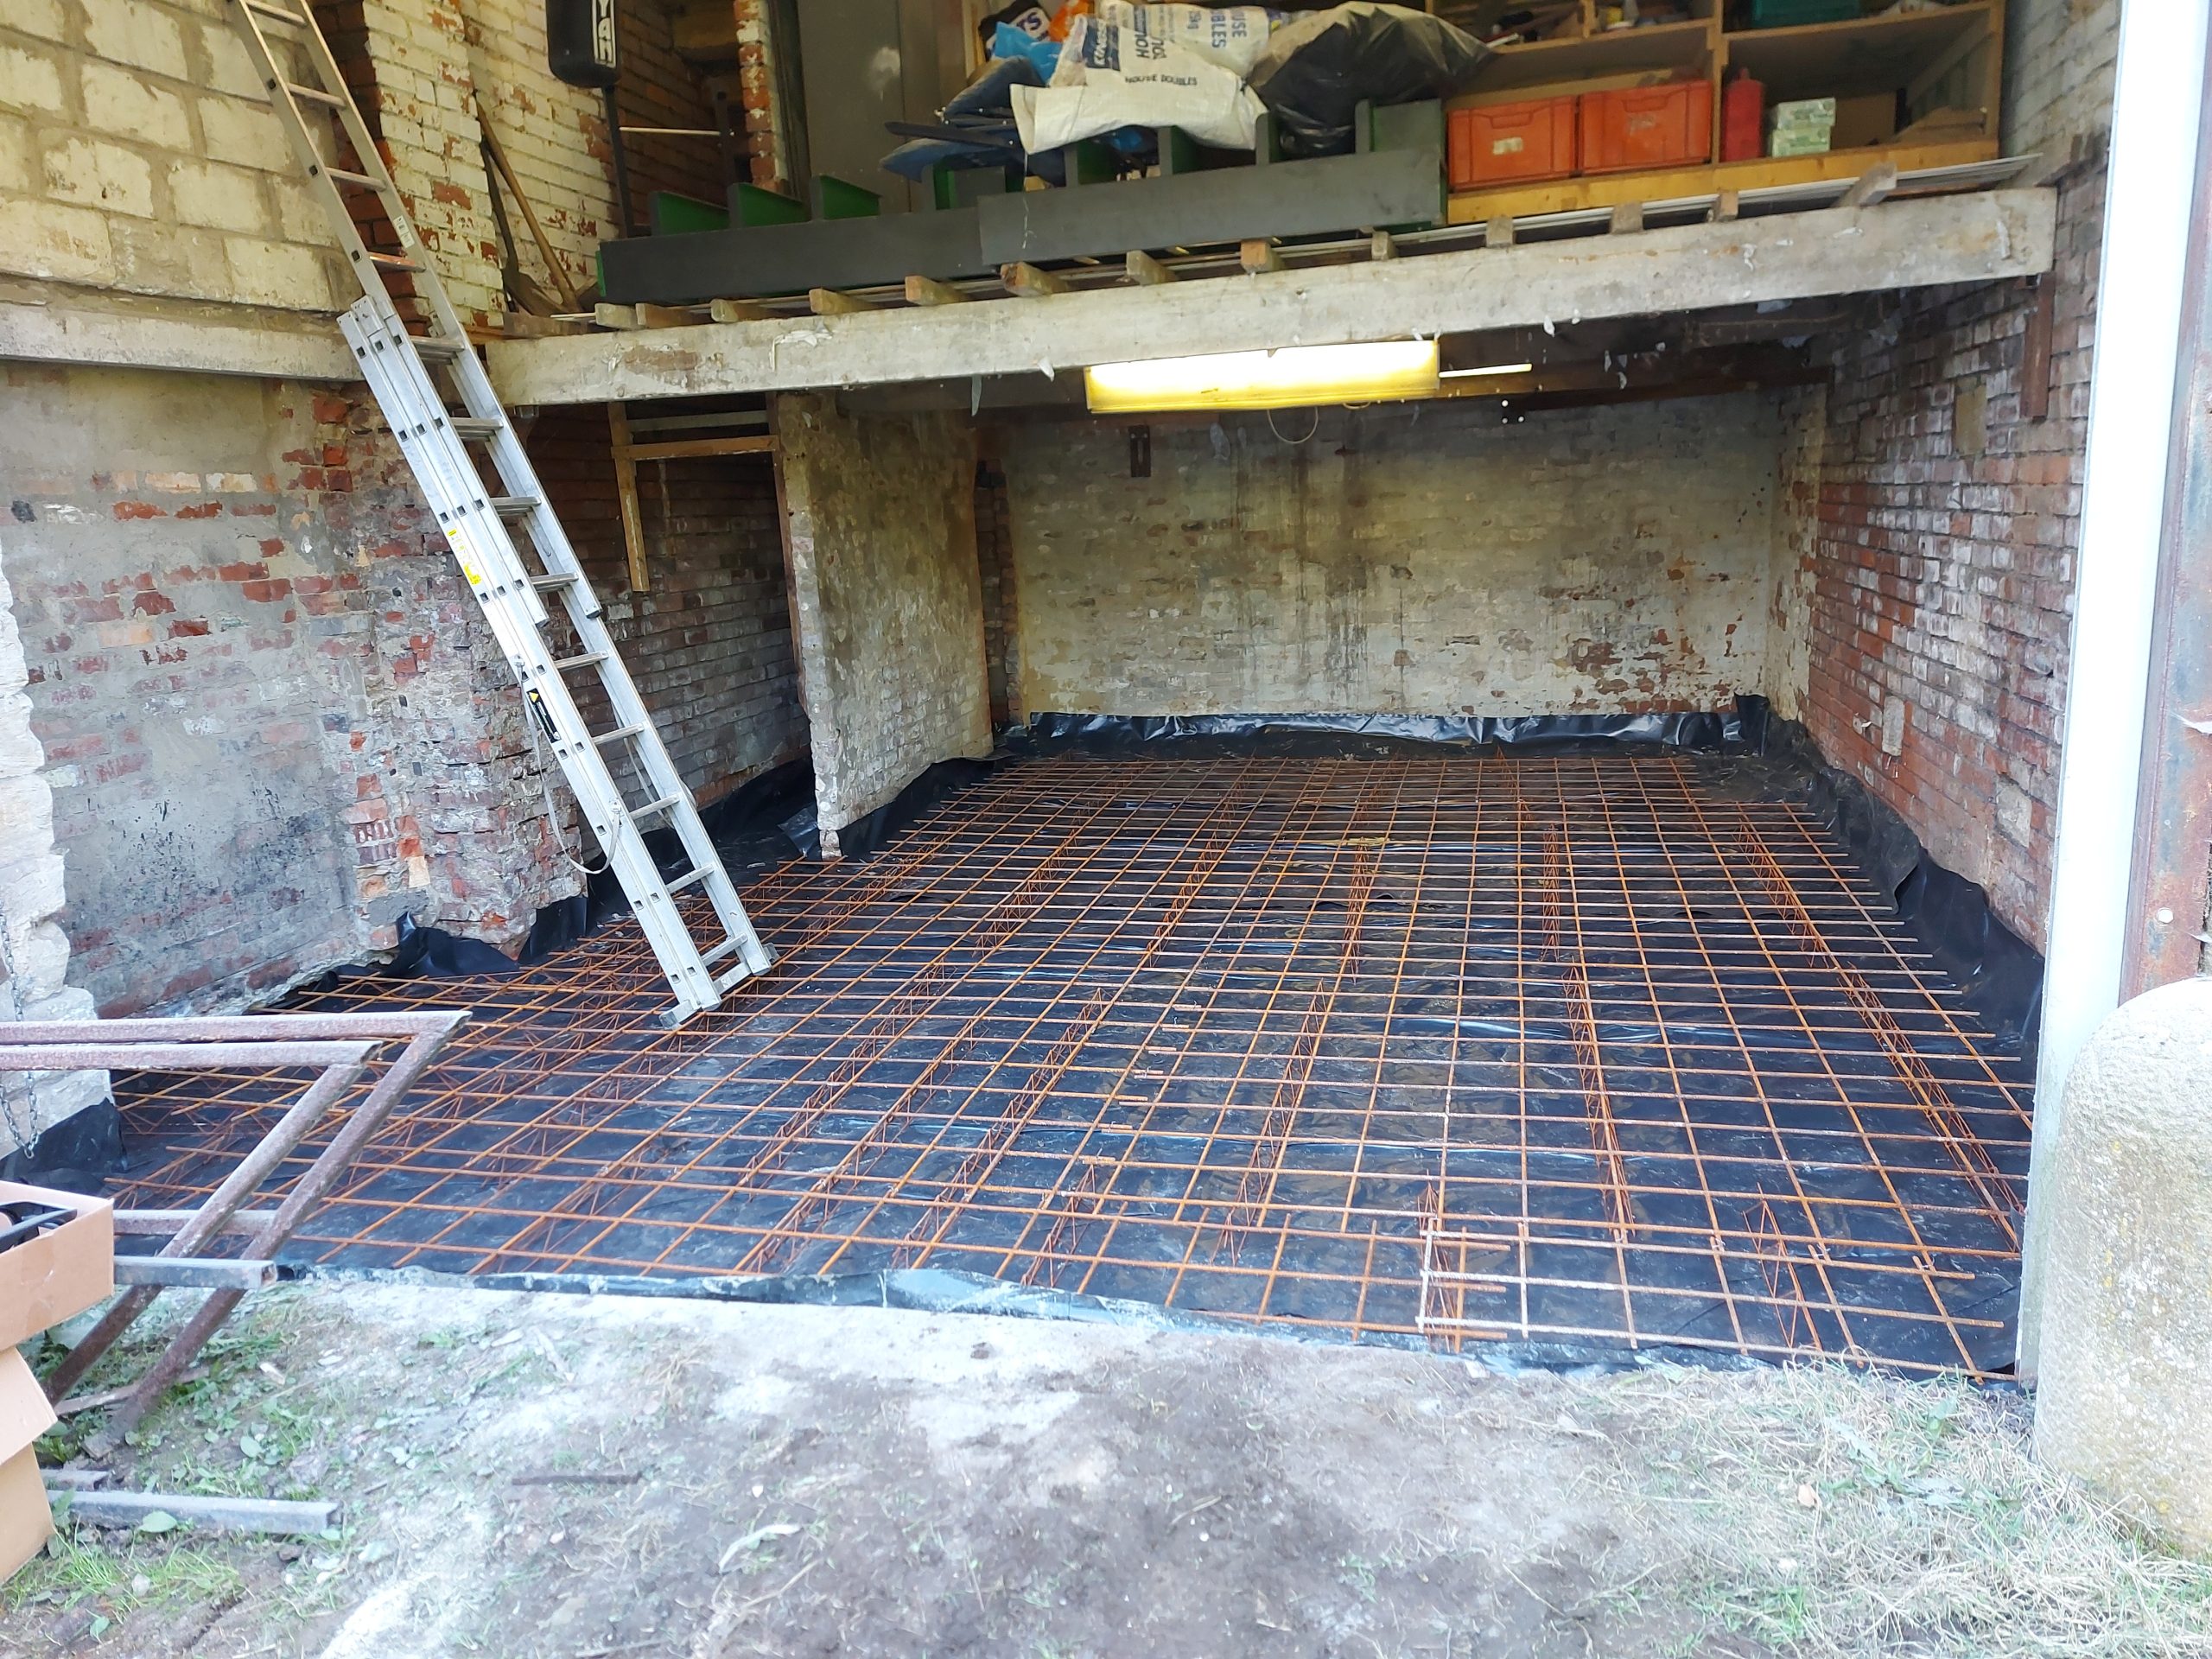
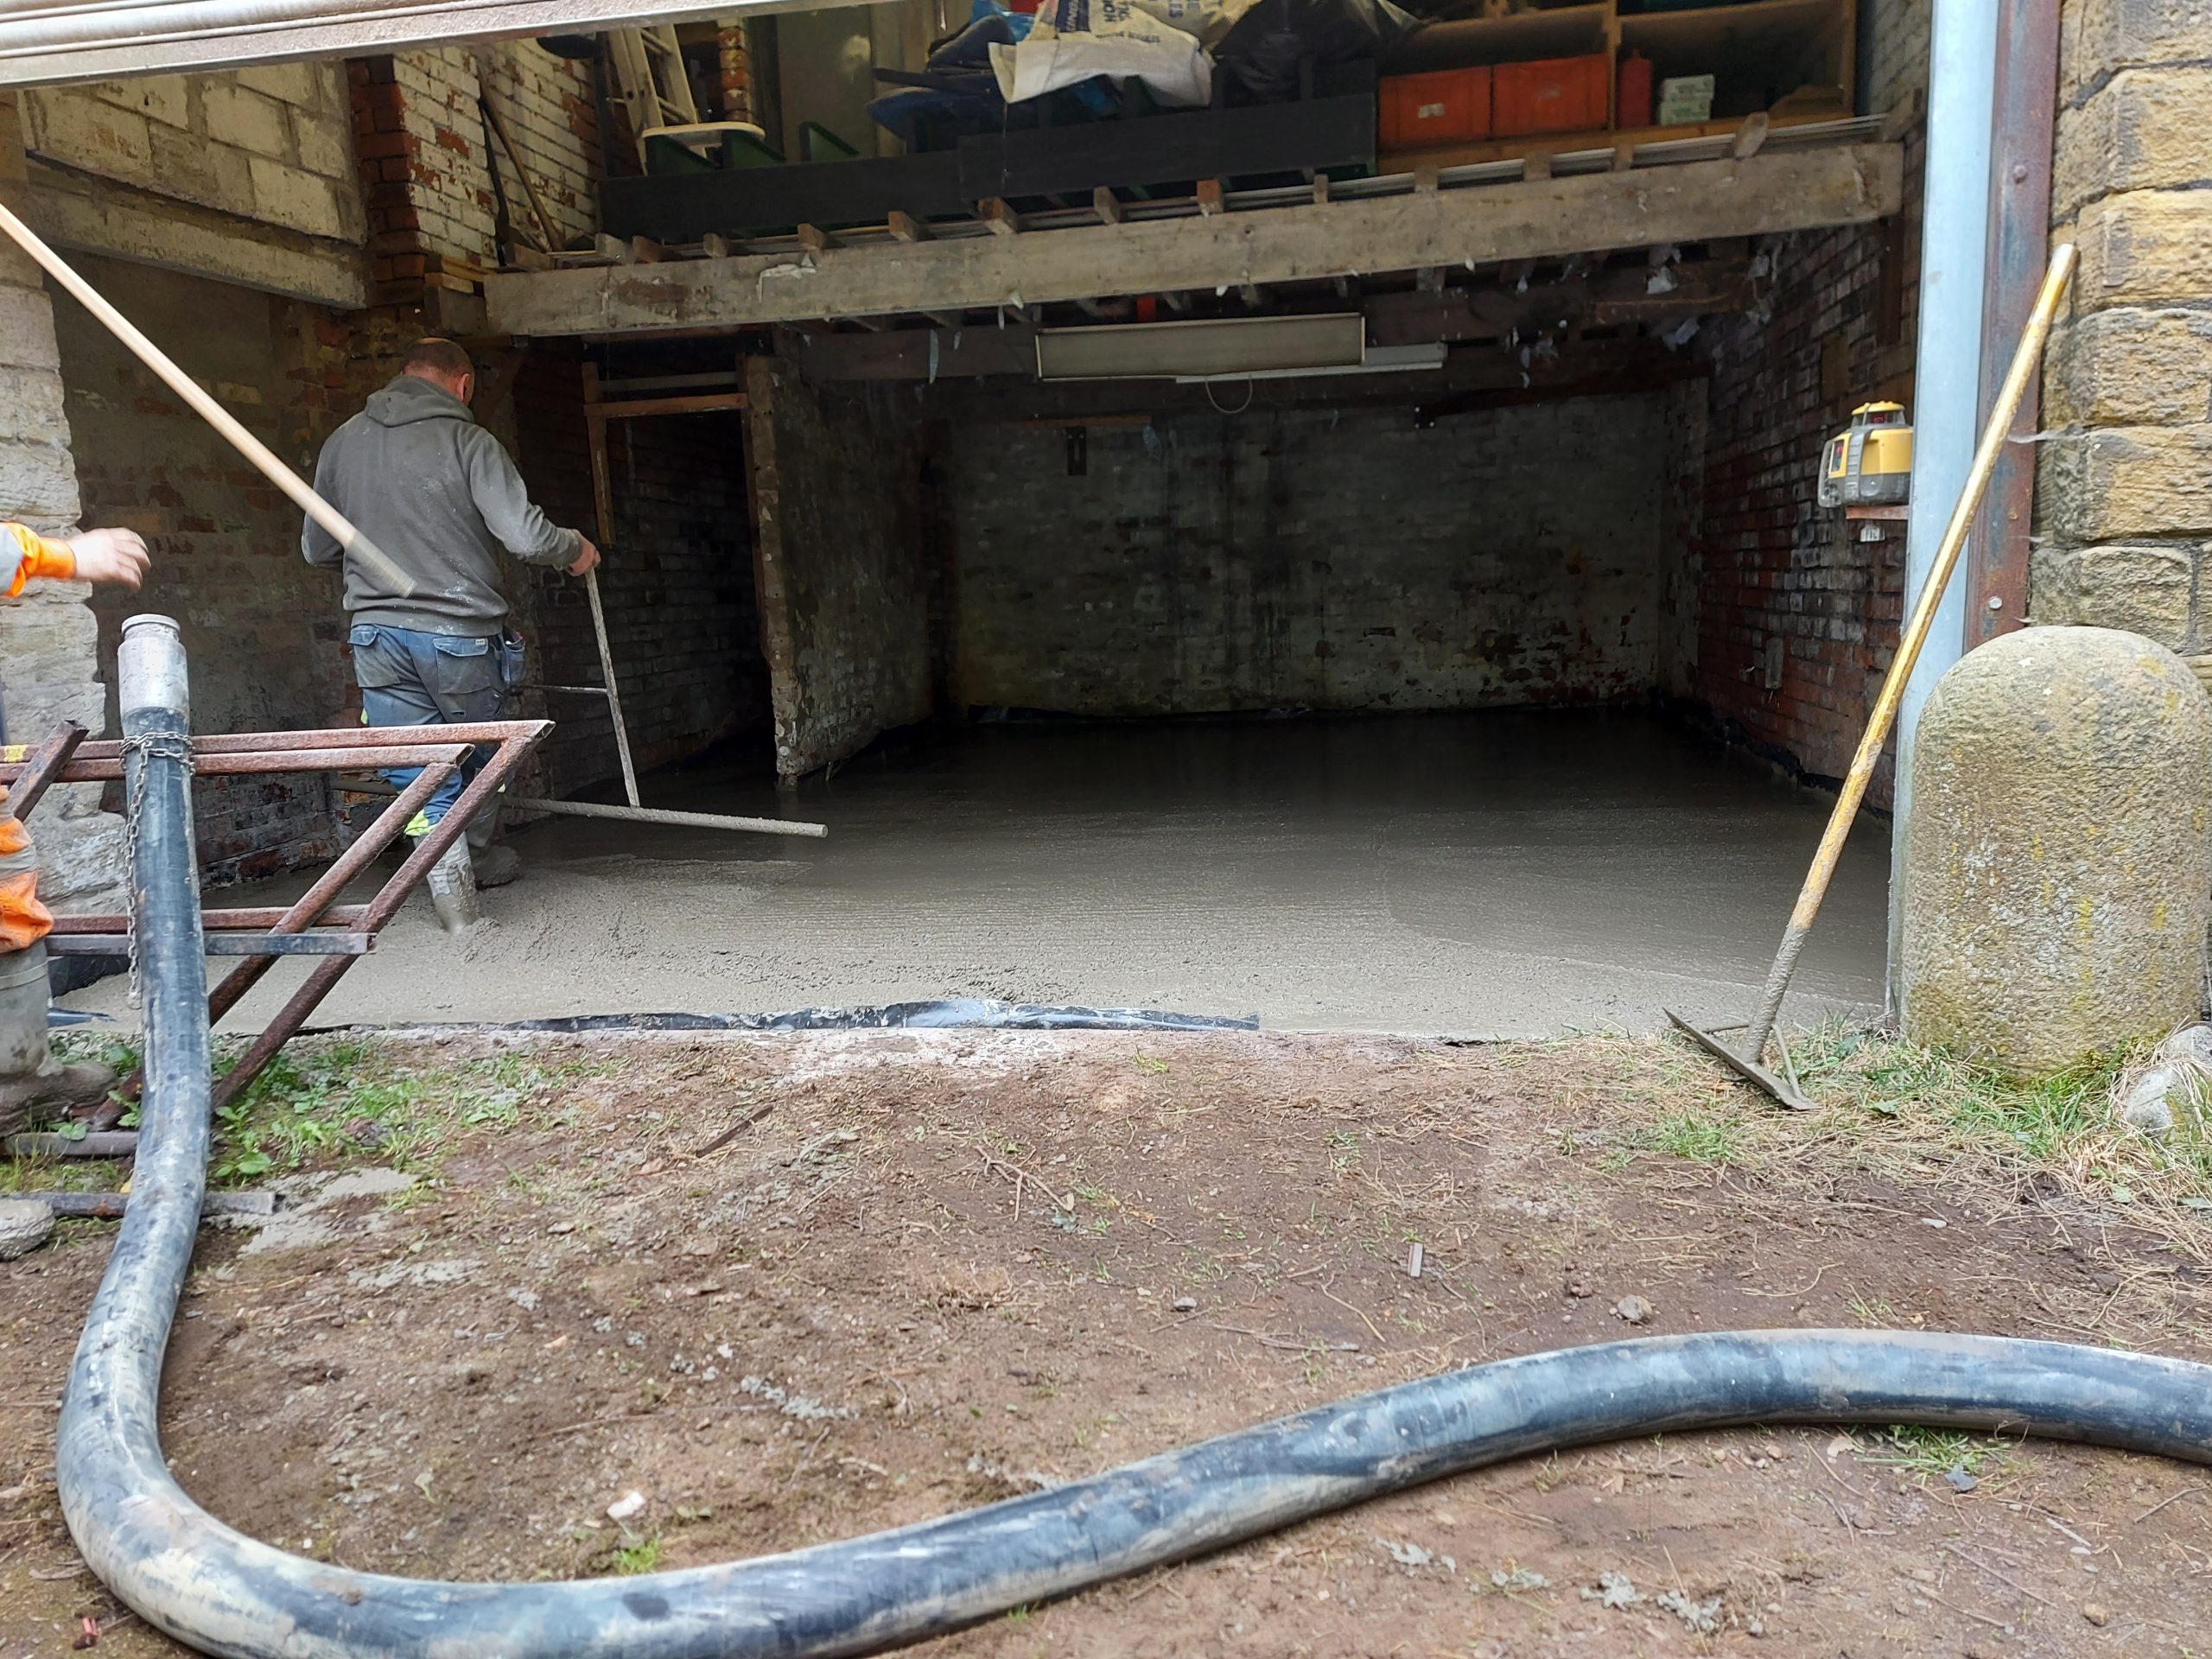
Builder wasn’t happy with level so He sorted it out
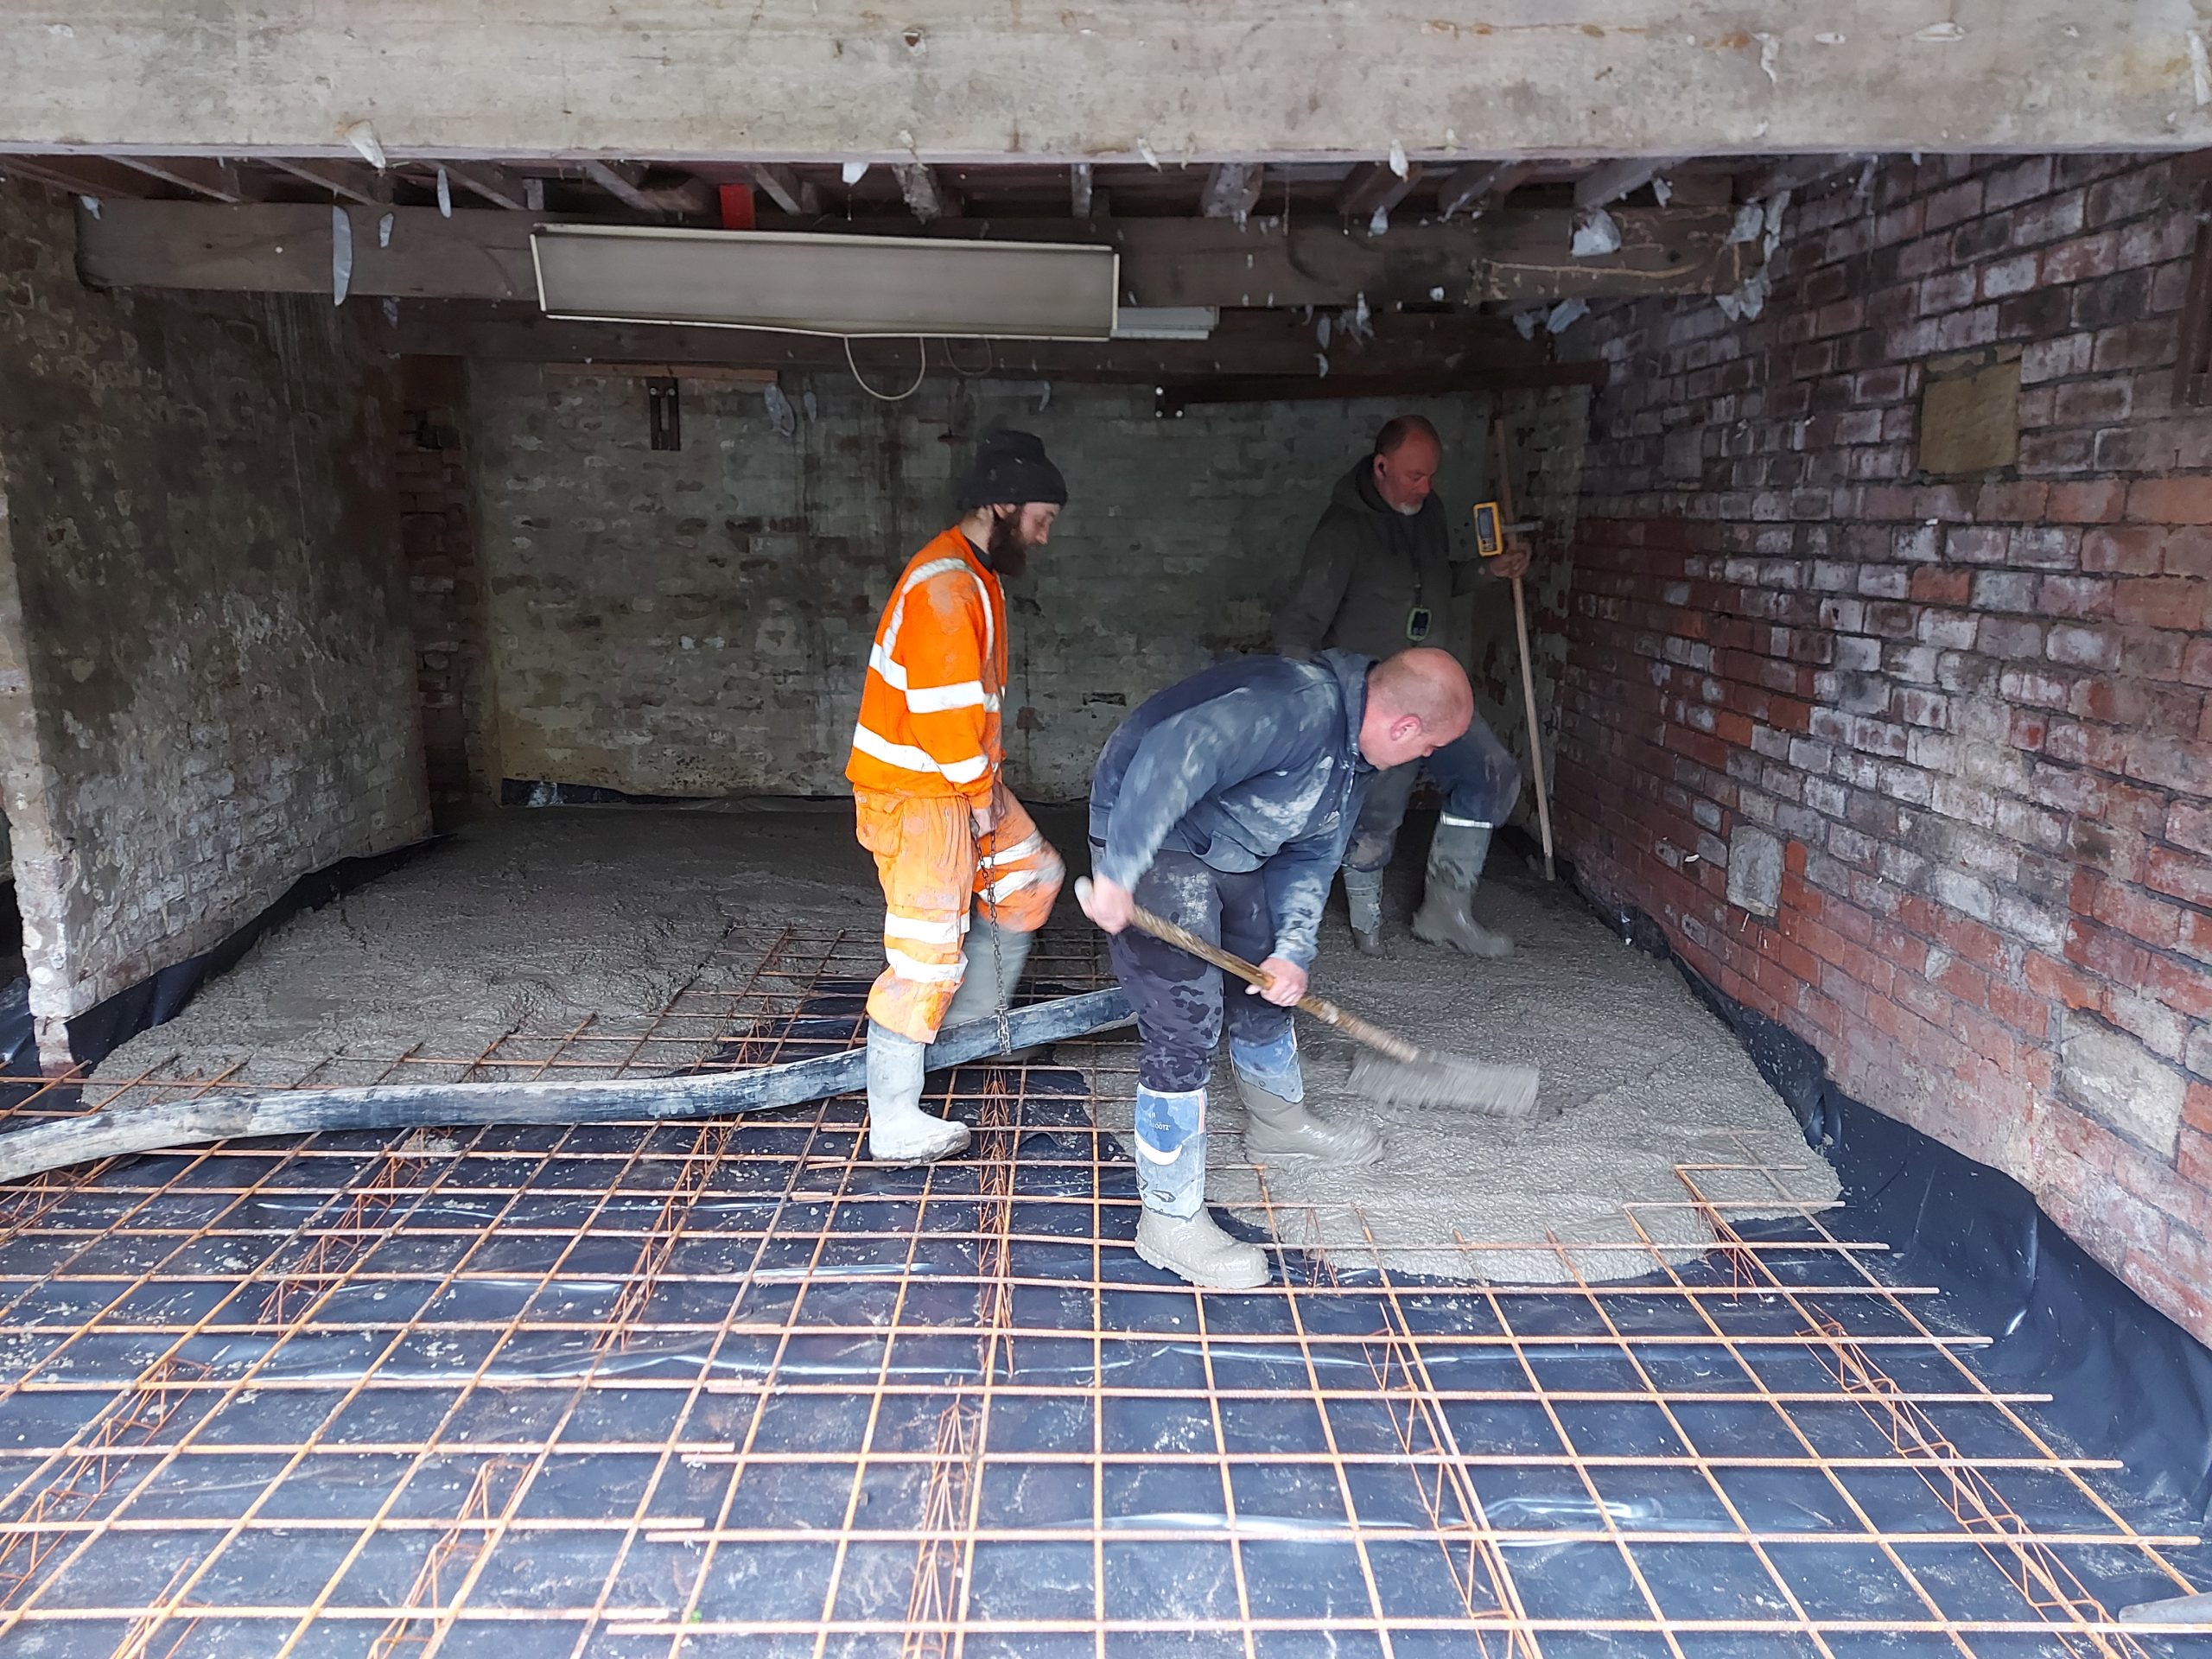
Visqueen and reinforcement bars in ready for concrete pore
My mate said can you grab a piece of timber from my place on your way back we need it for shuttering OK I said but I’m in the Smart car!! So when I arrived with the timber he said look! a smart Lolly pop
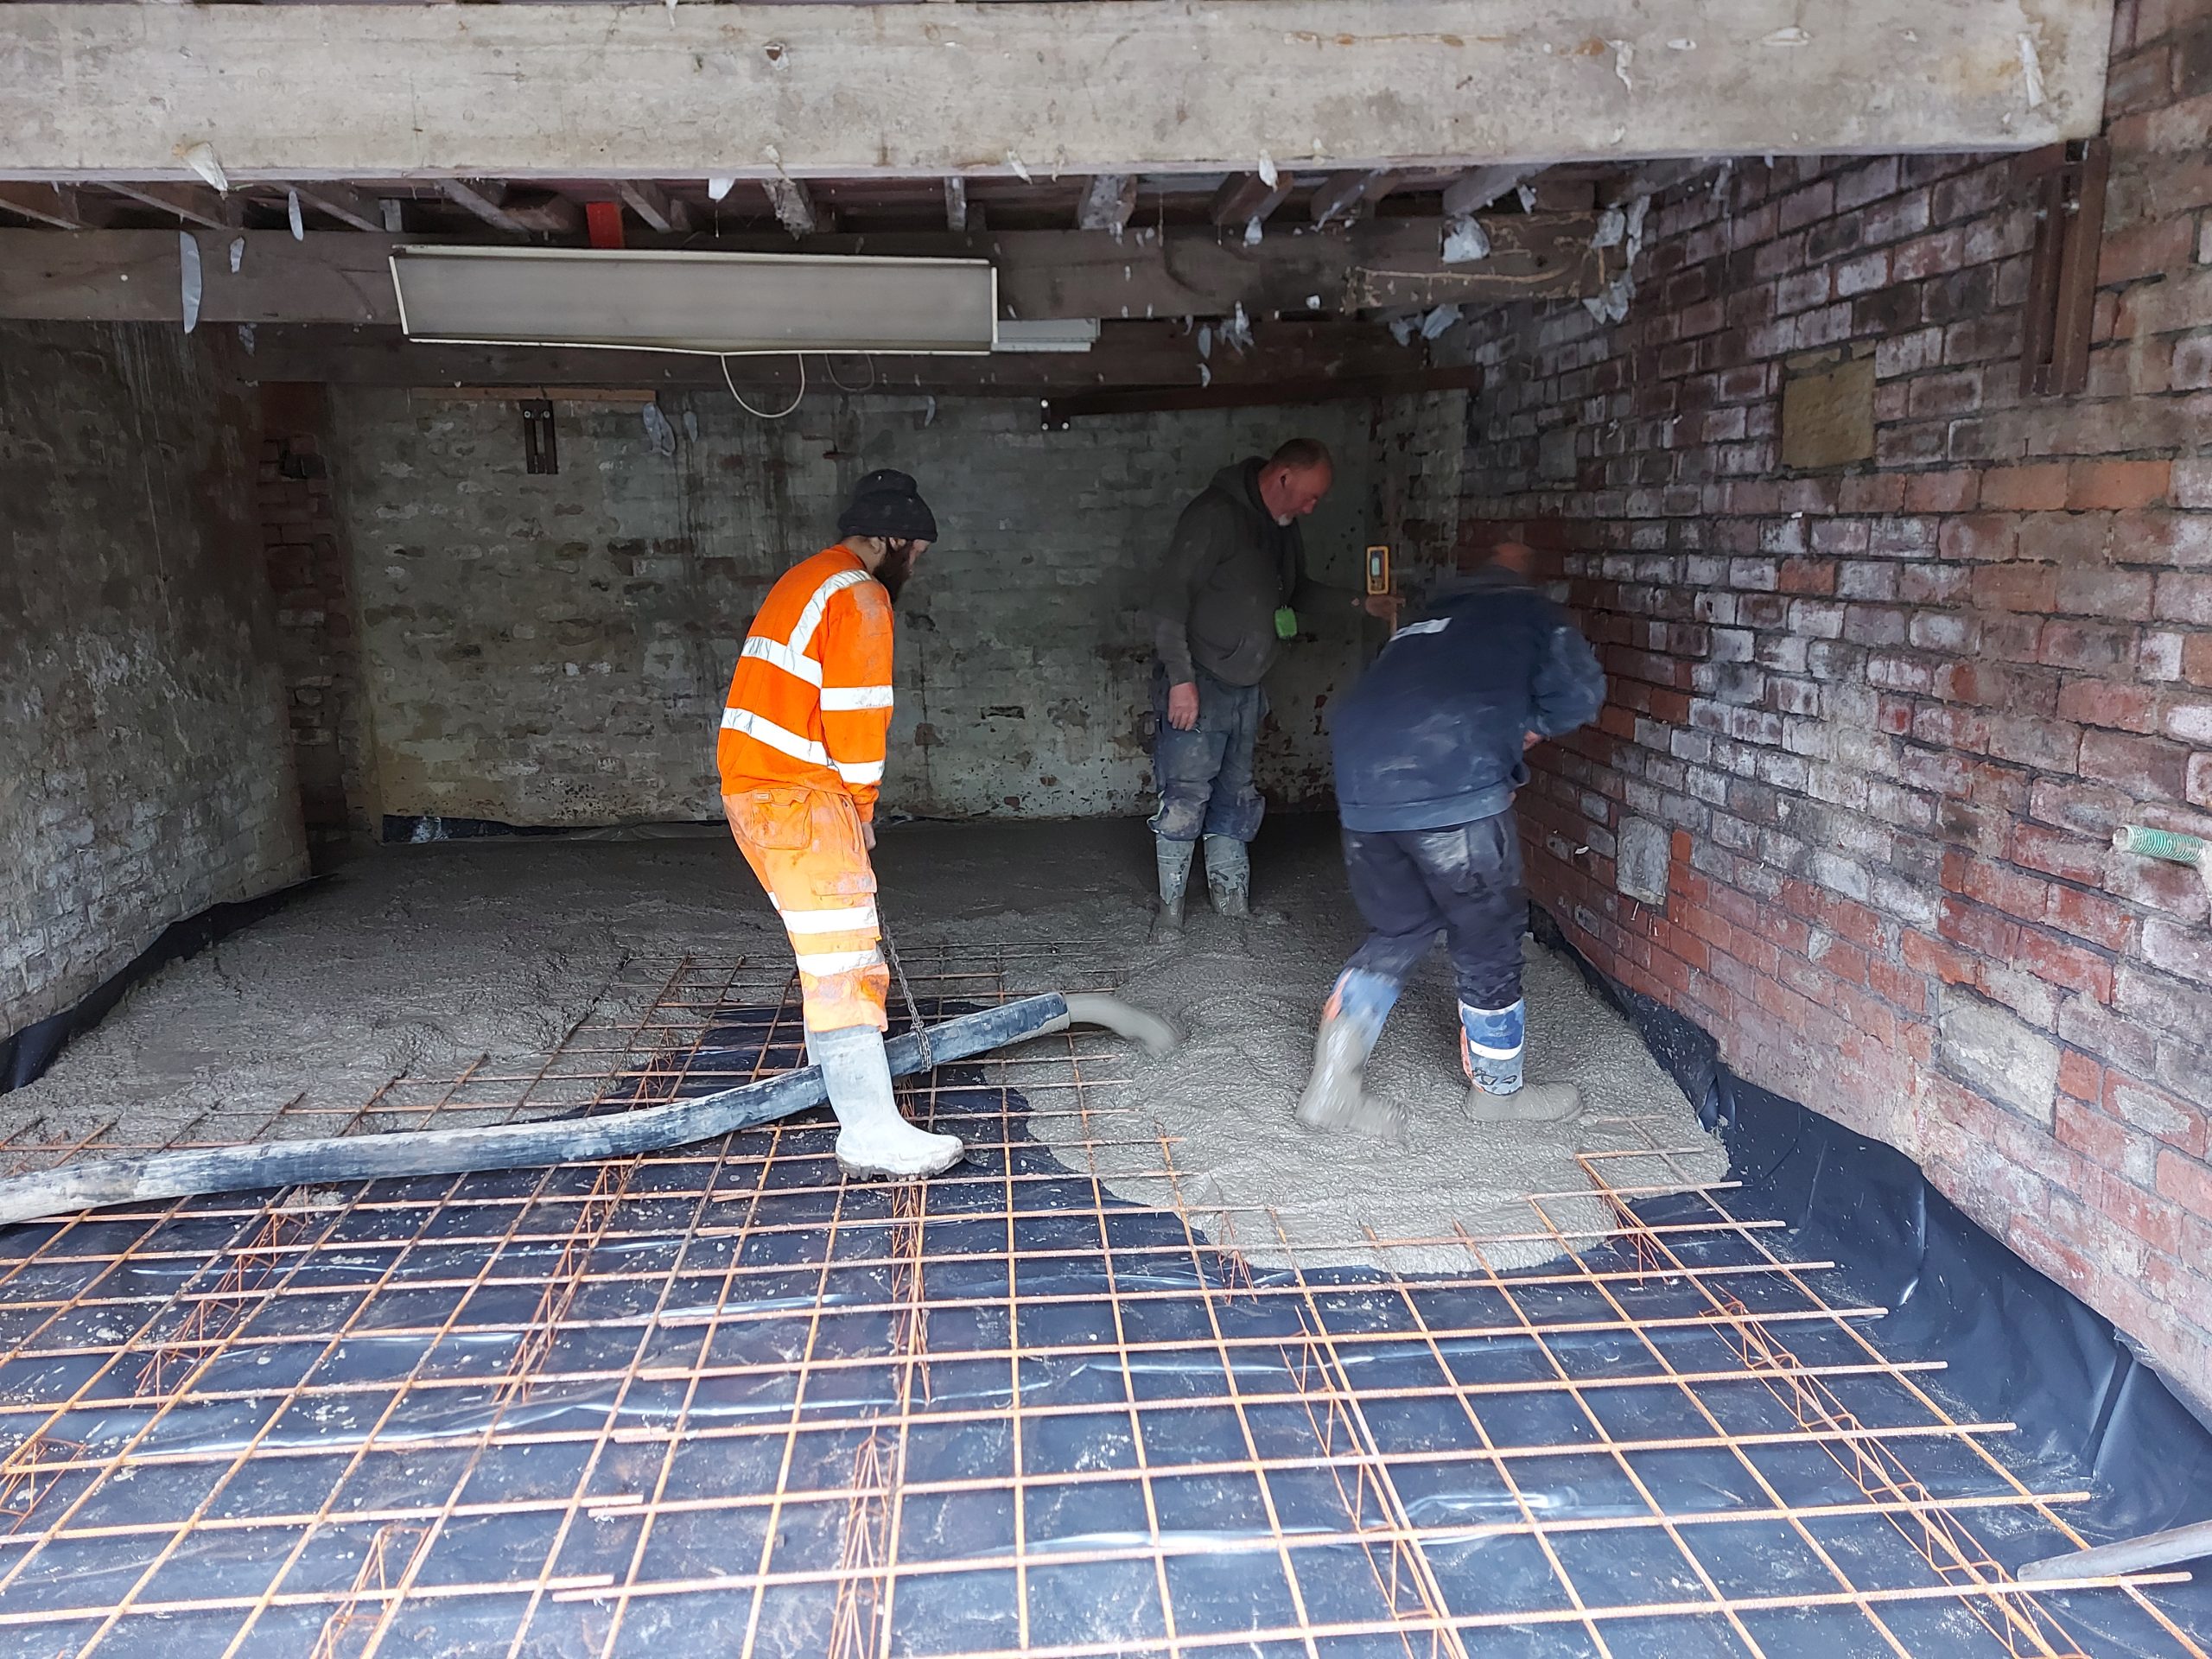
I love to sit and watch others work
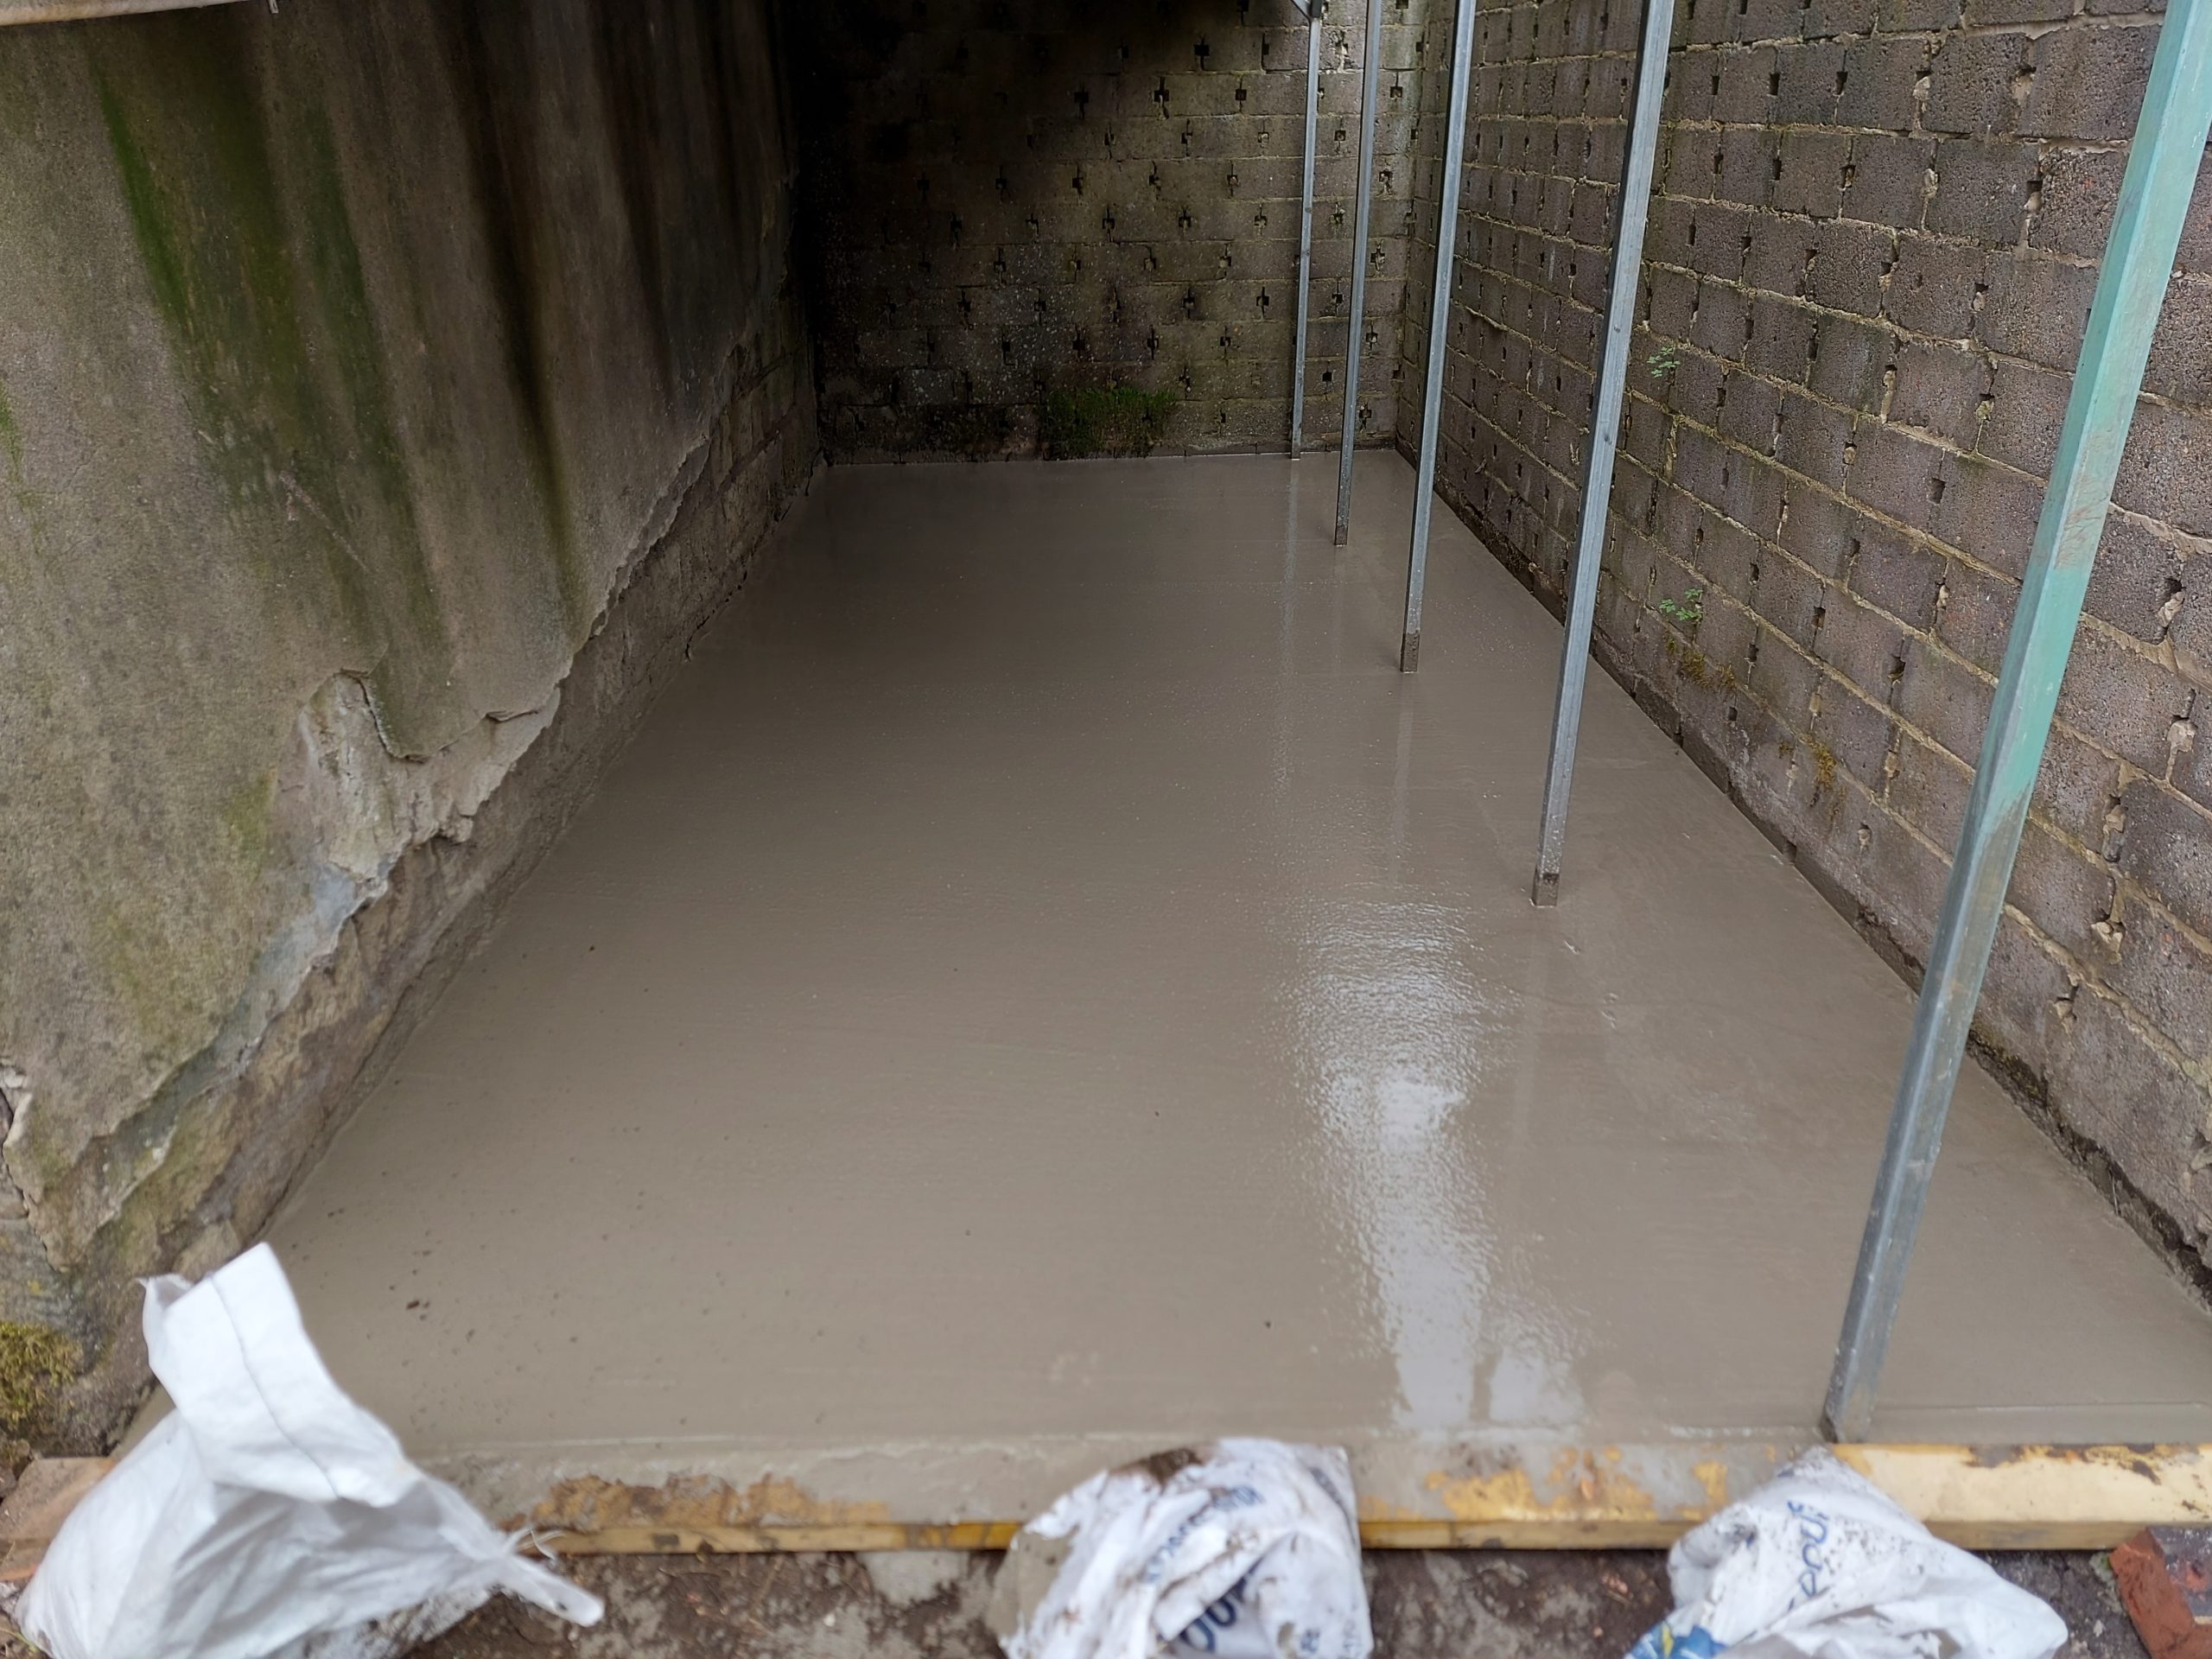
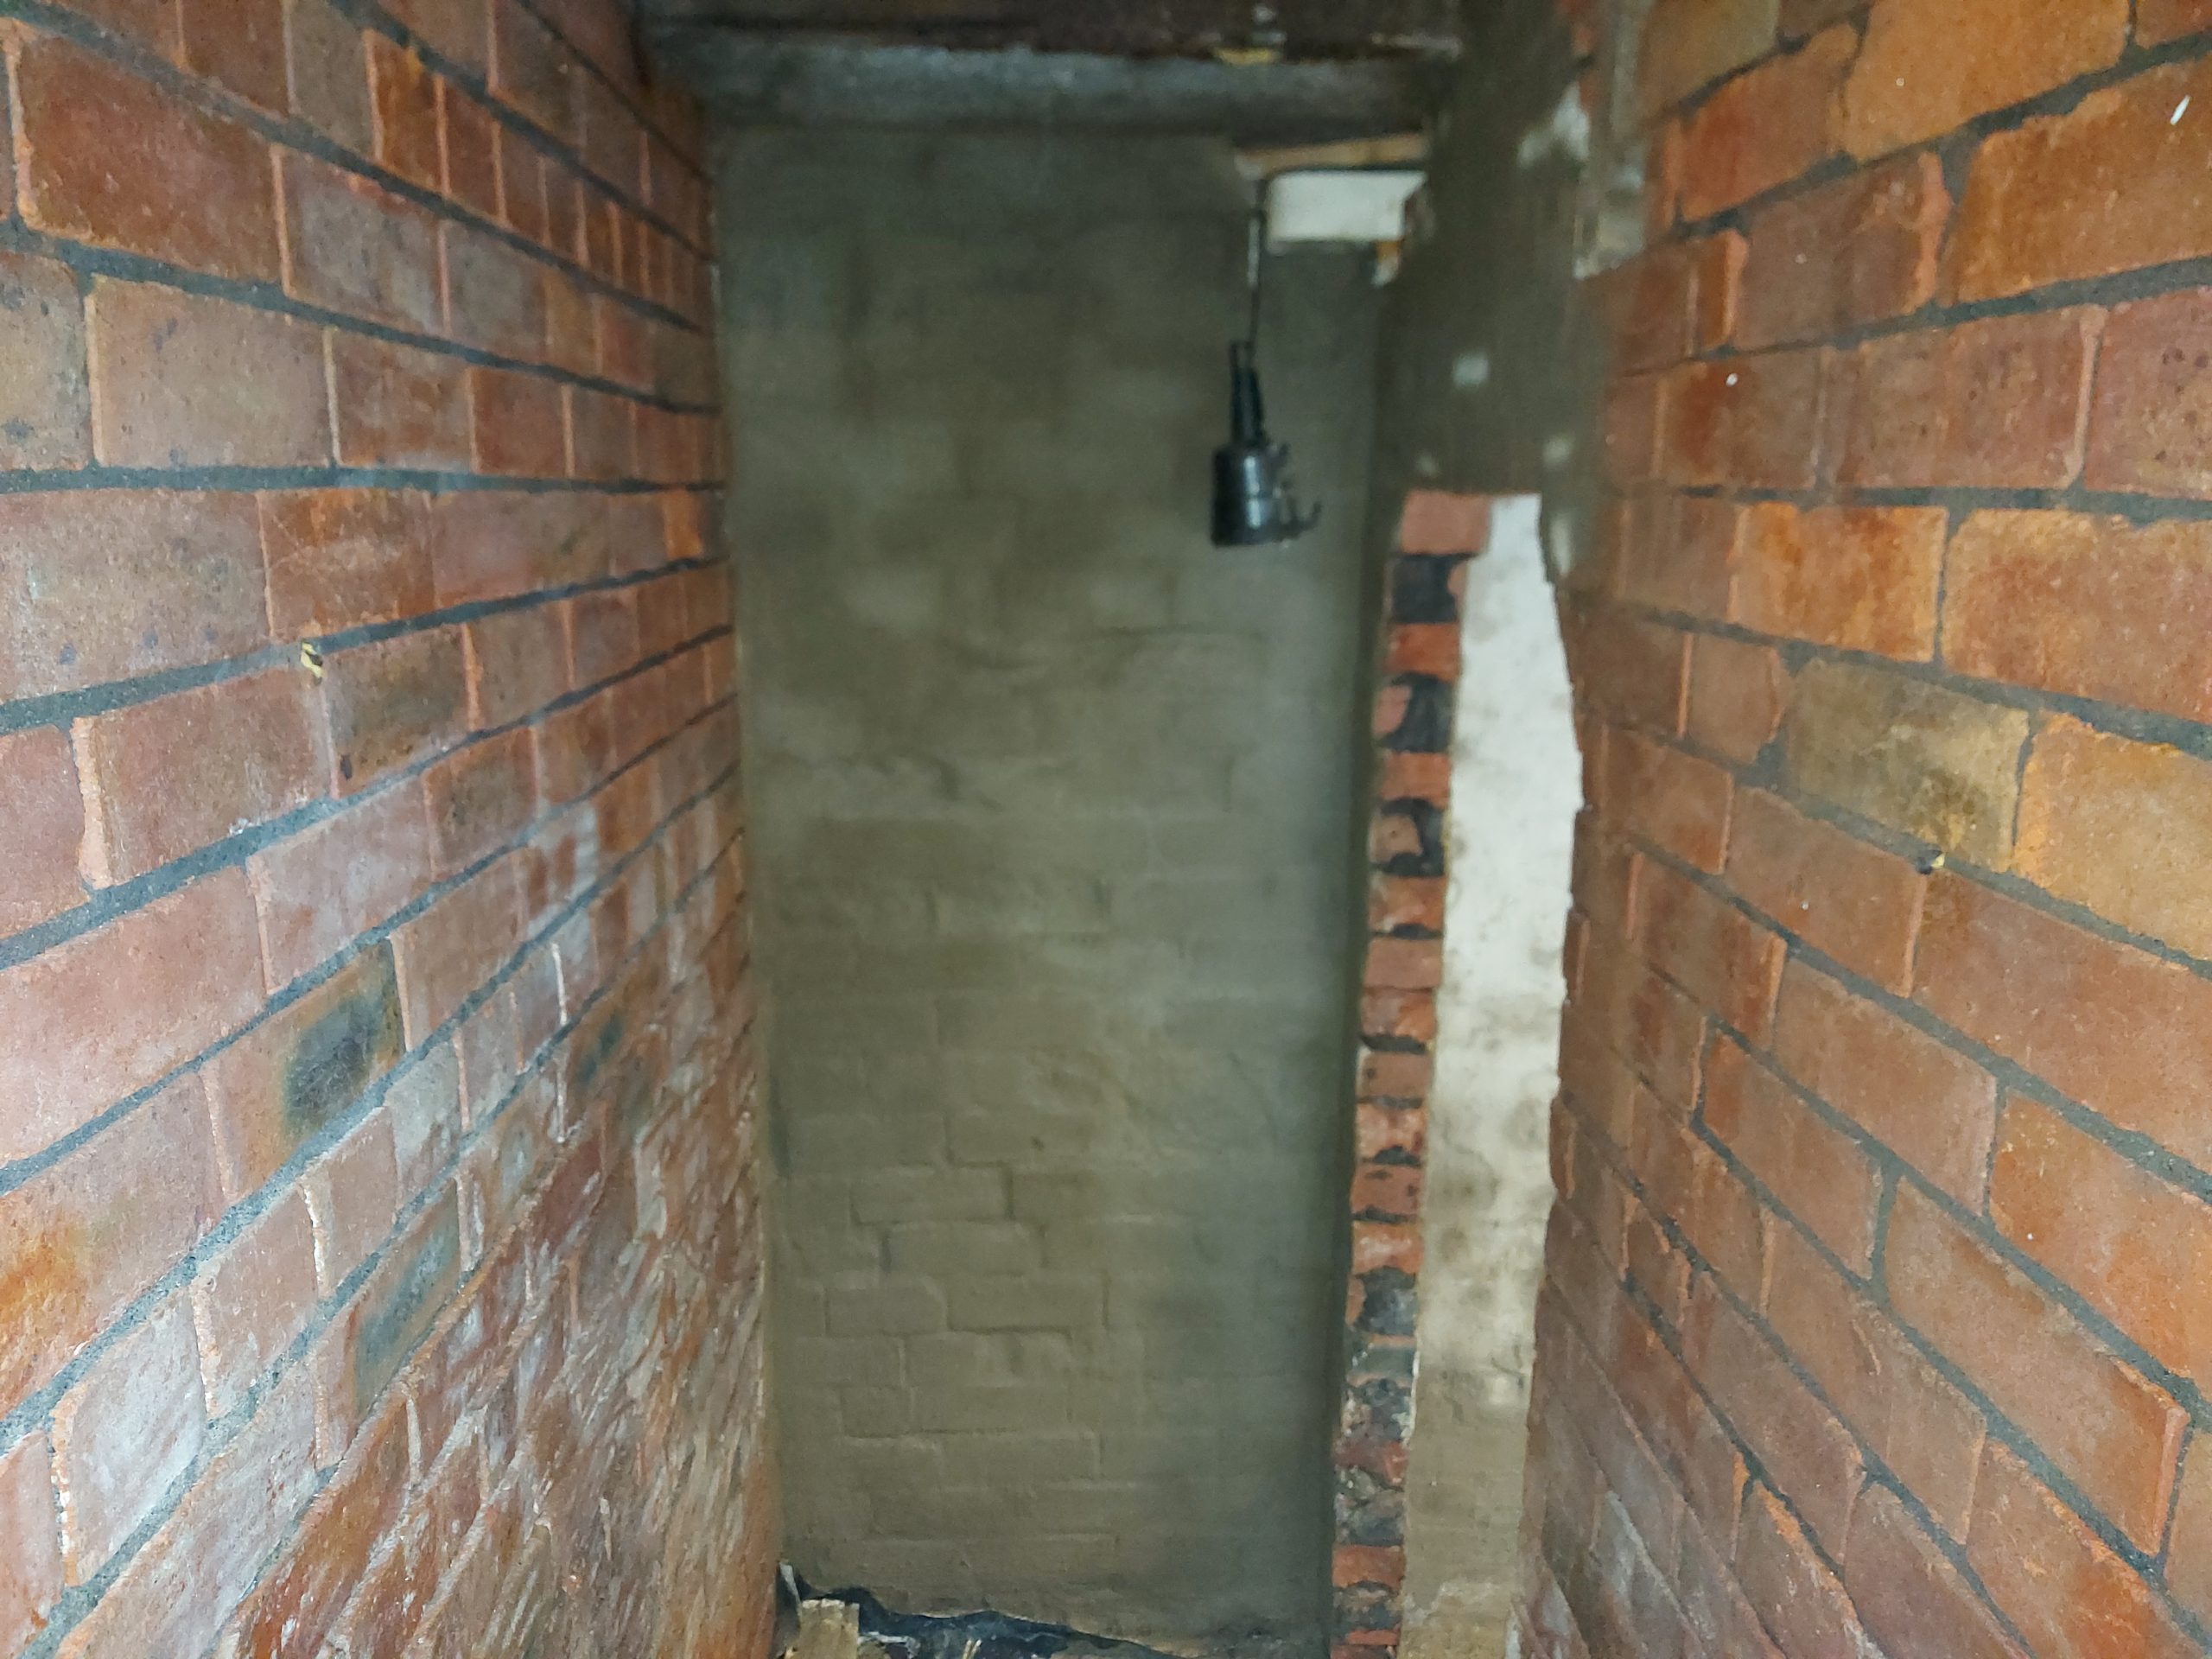
The plant room Under the greenhouse lol (this is were the compressor’s and blaster will live)
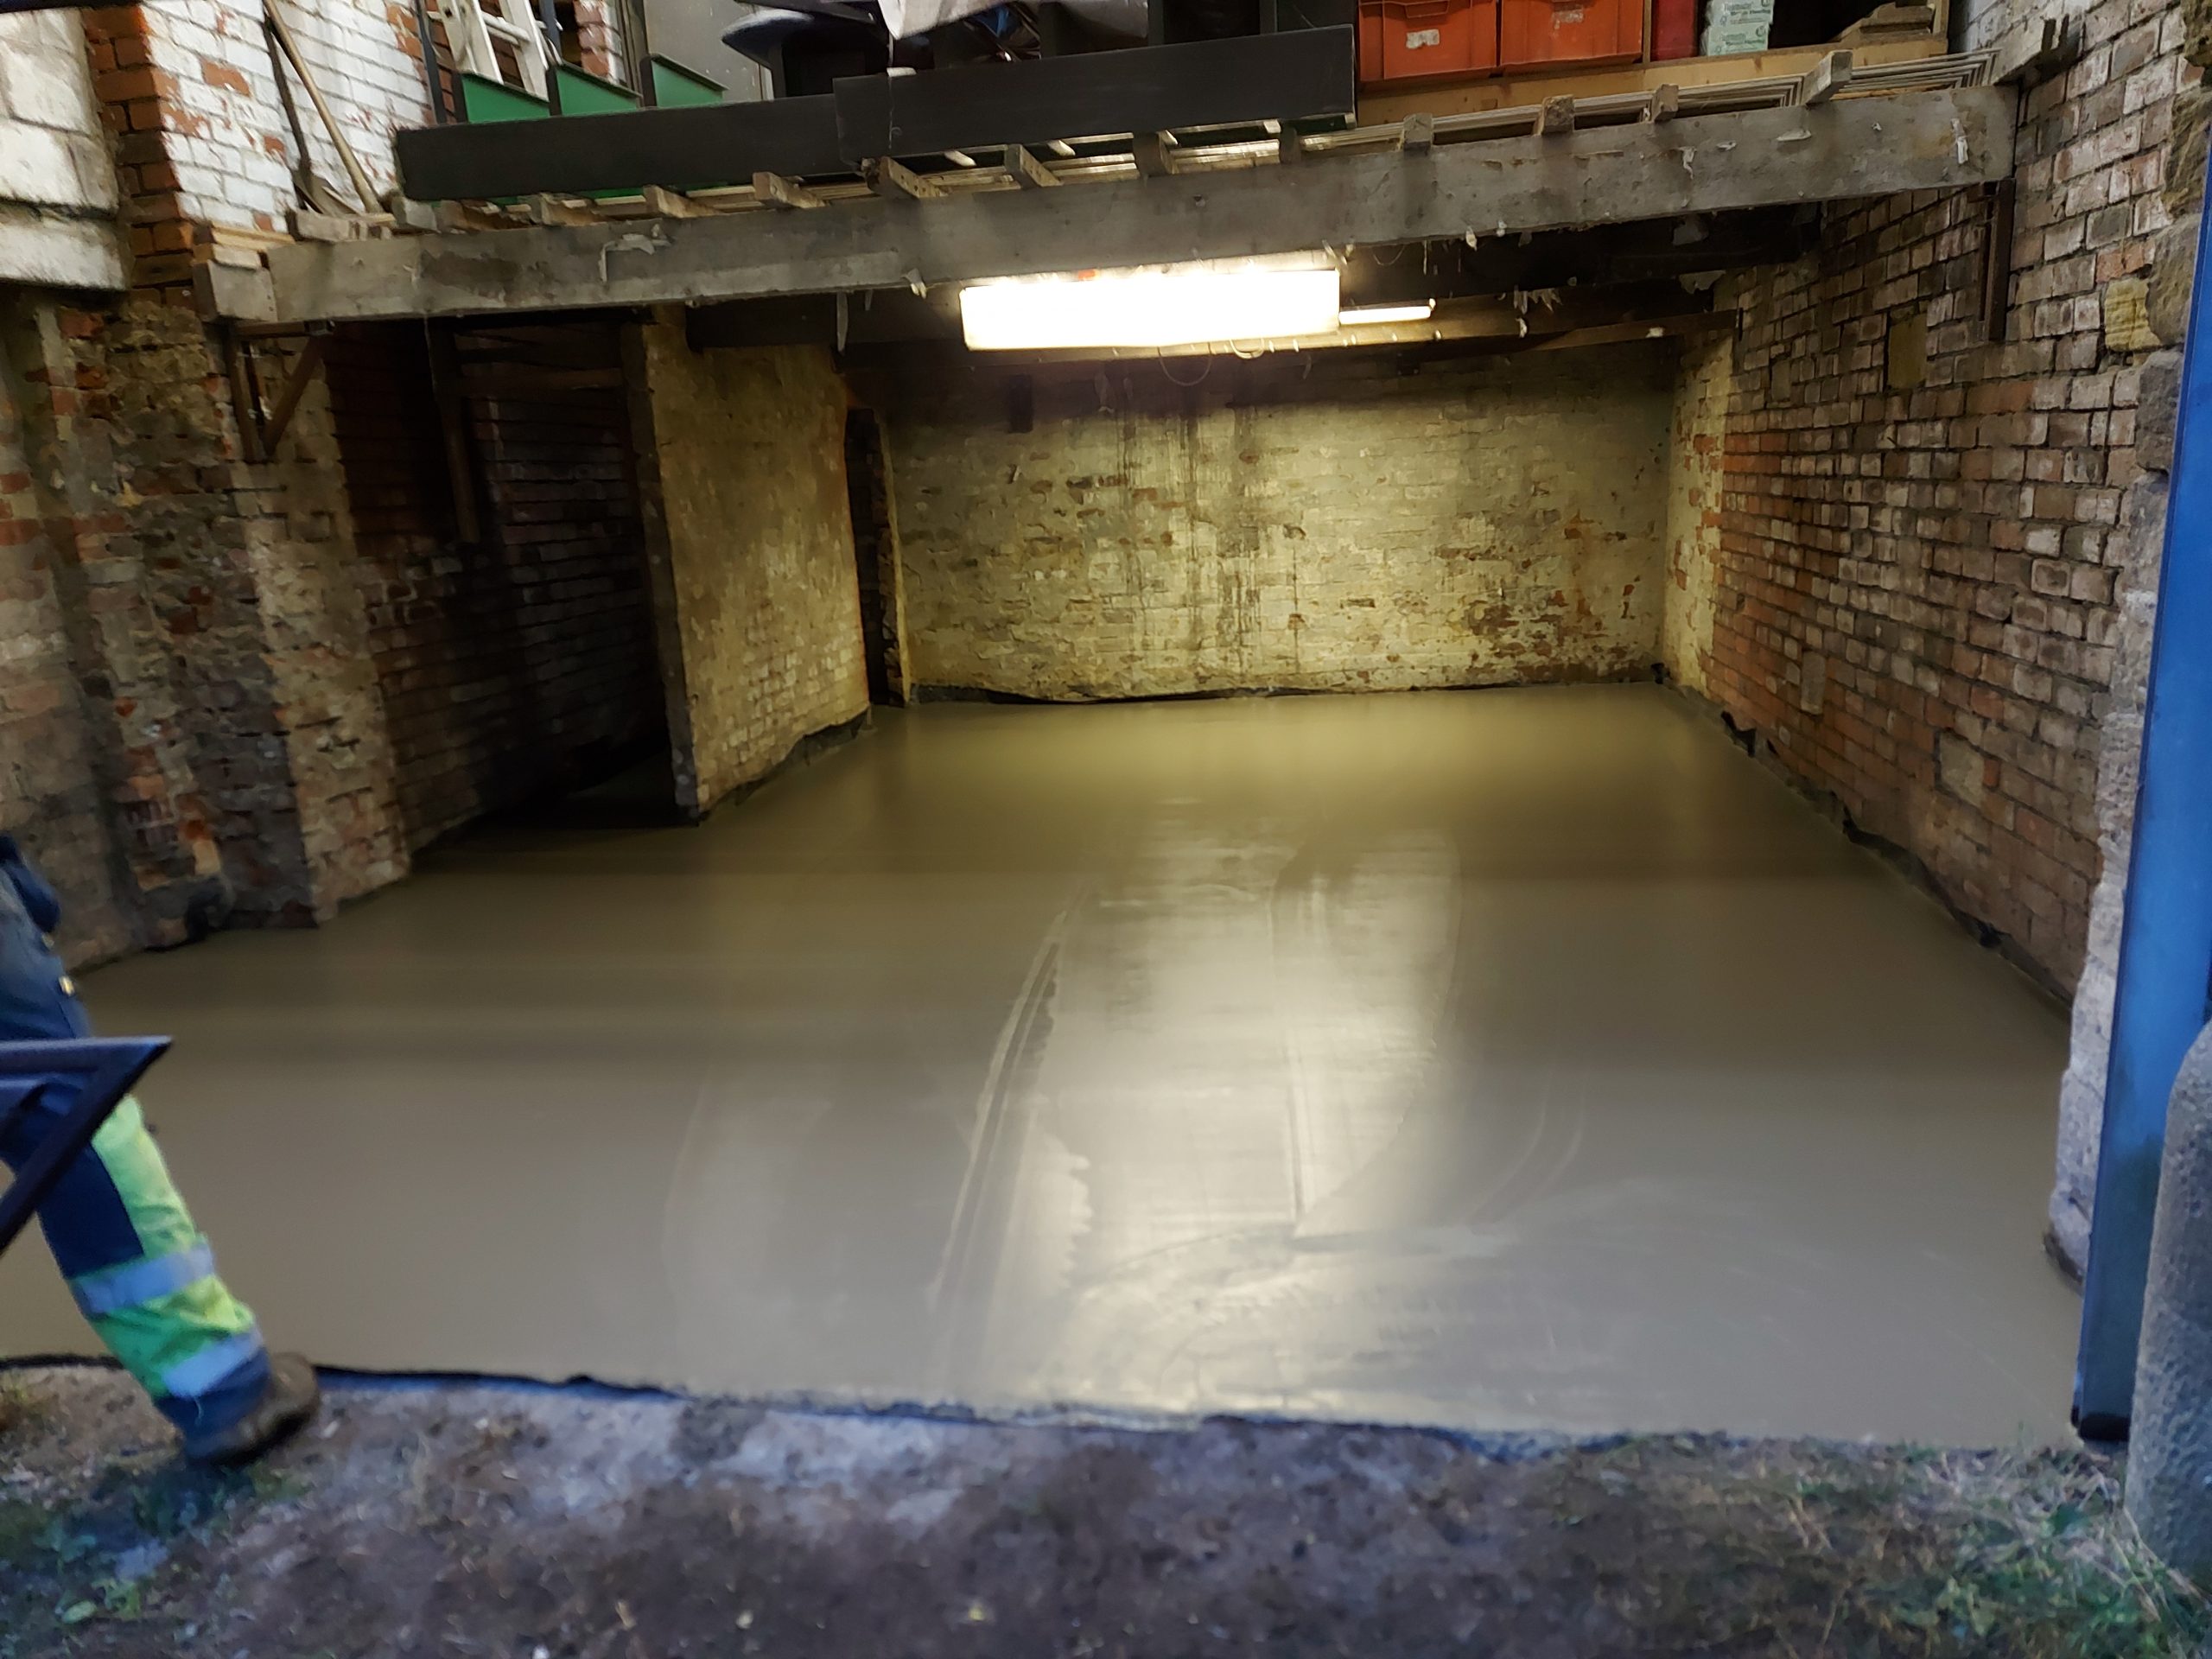
He wasen’t happy about the finish so he came back to flote it off
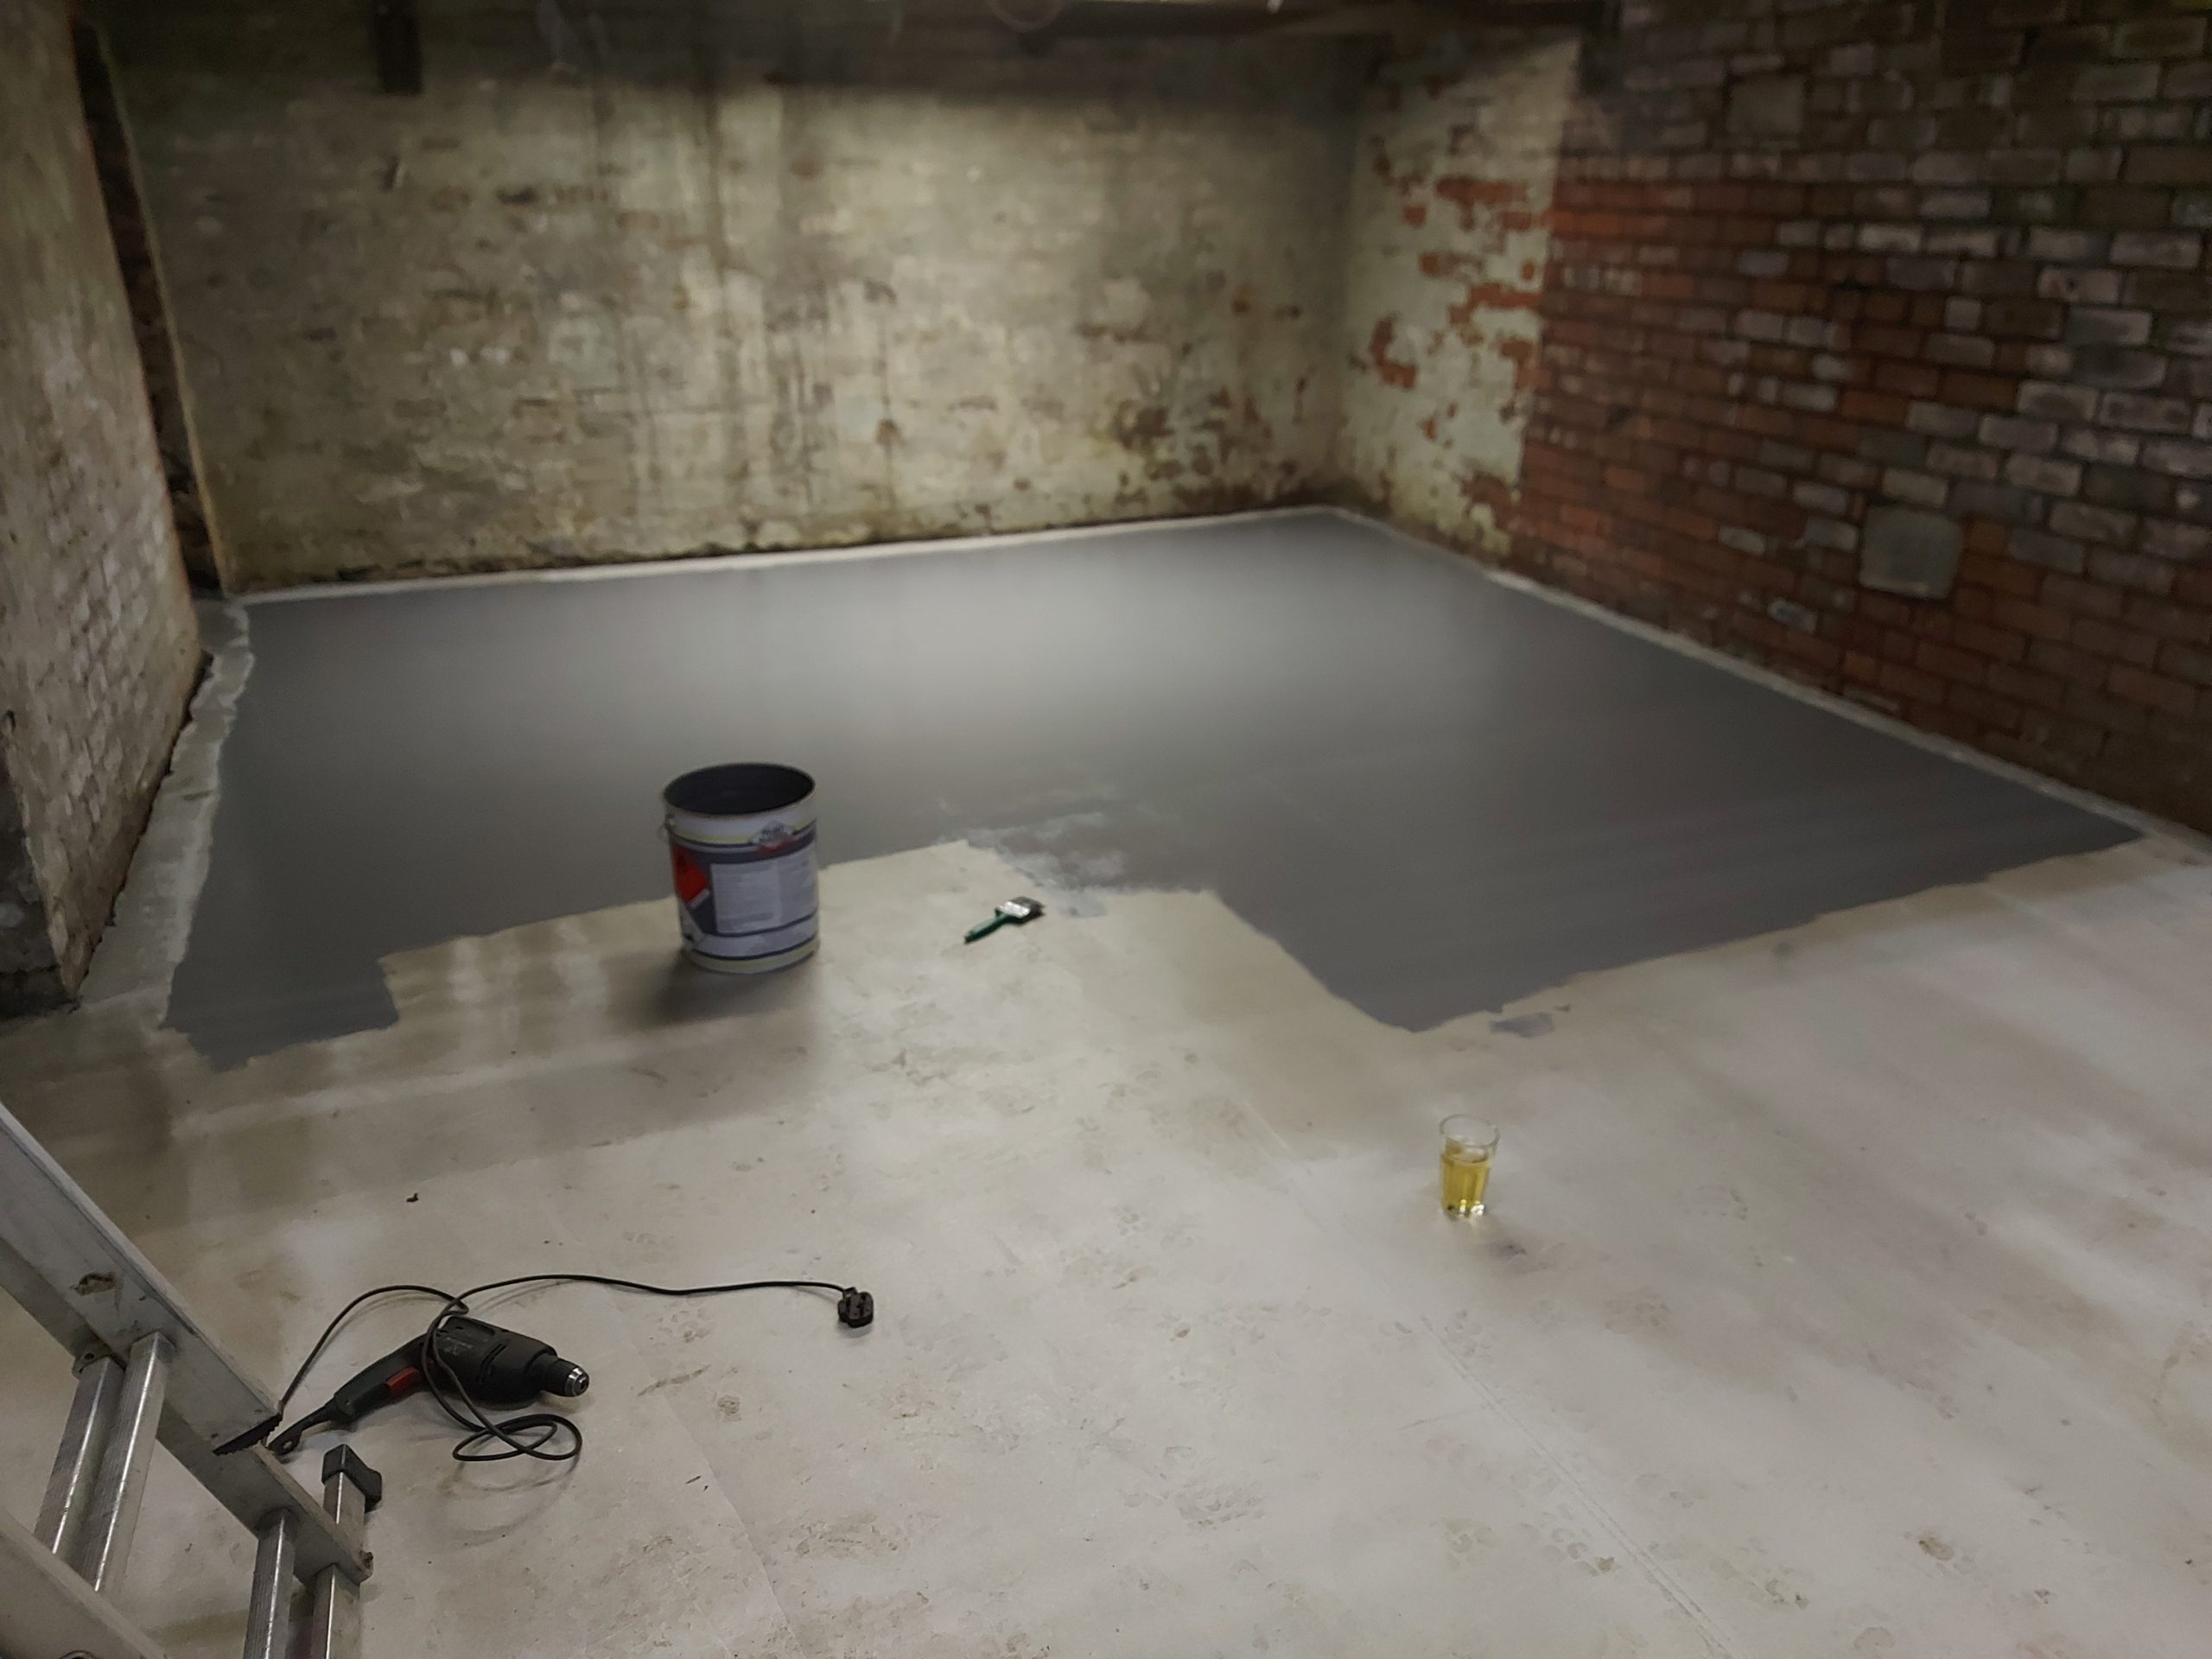
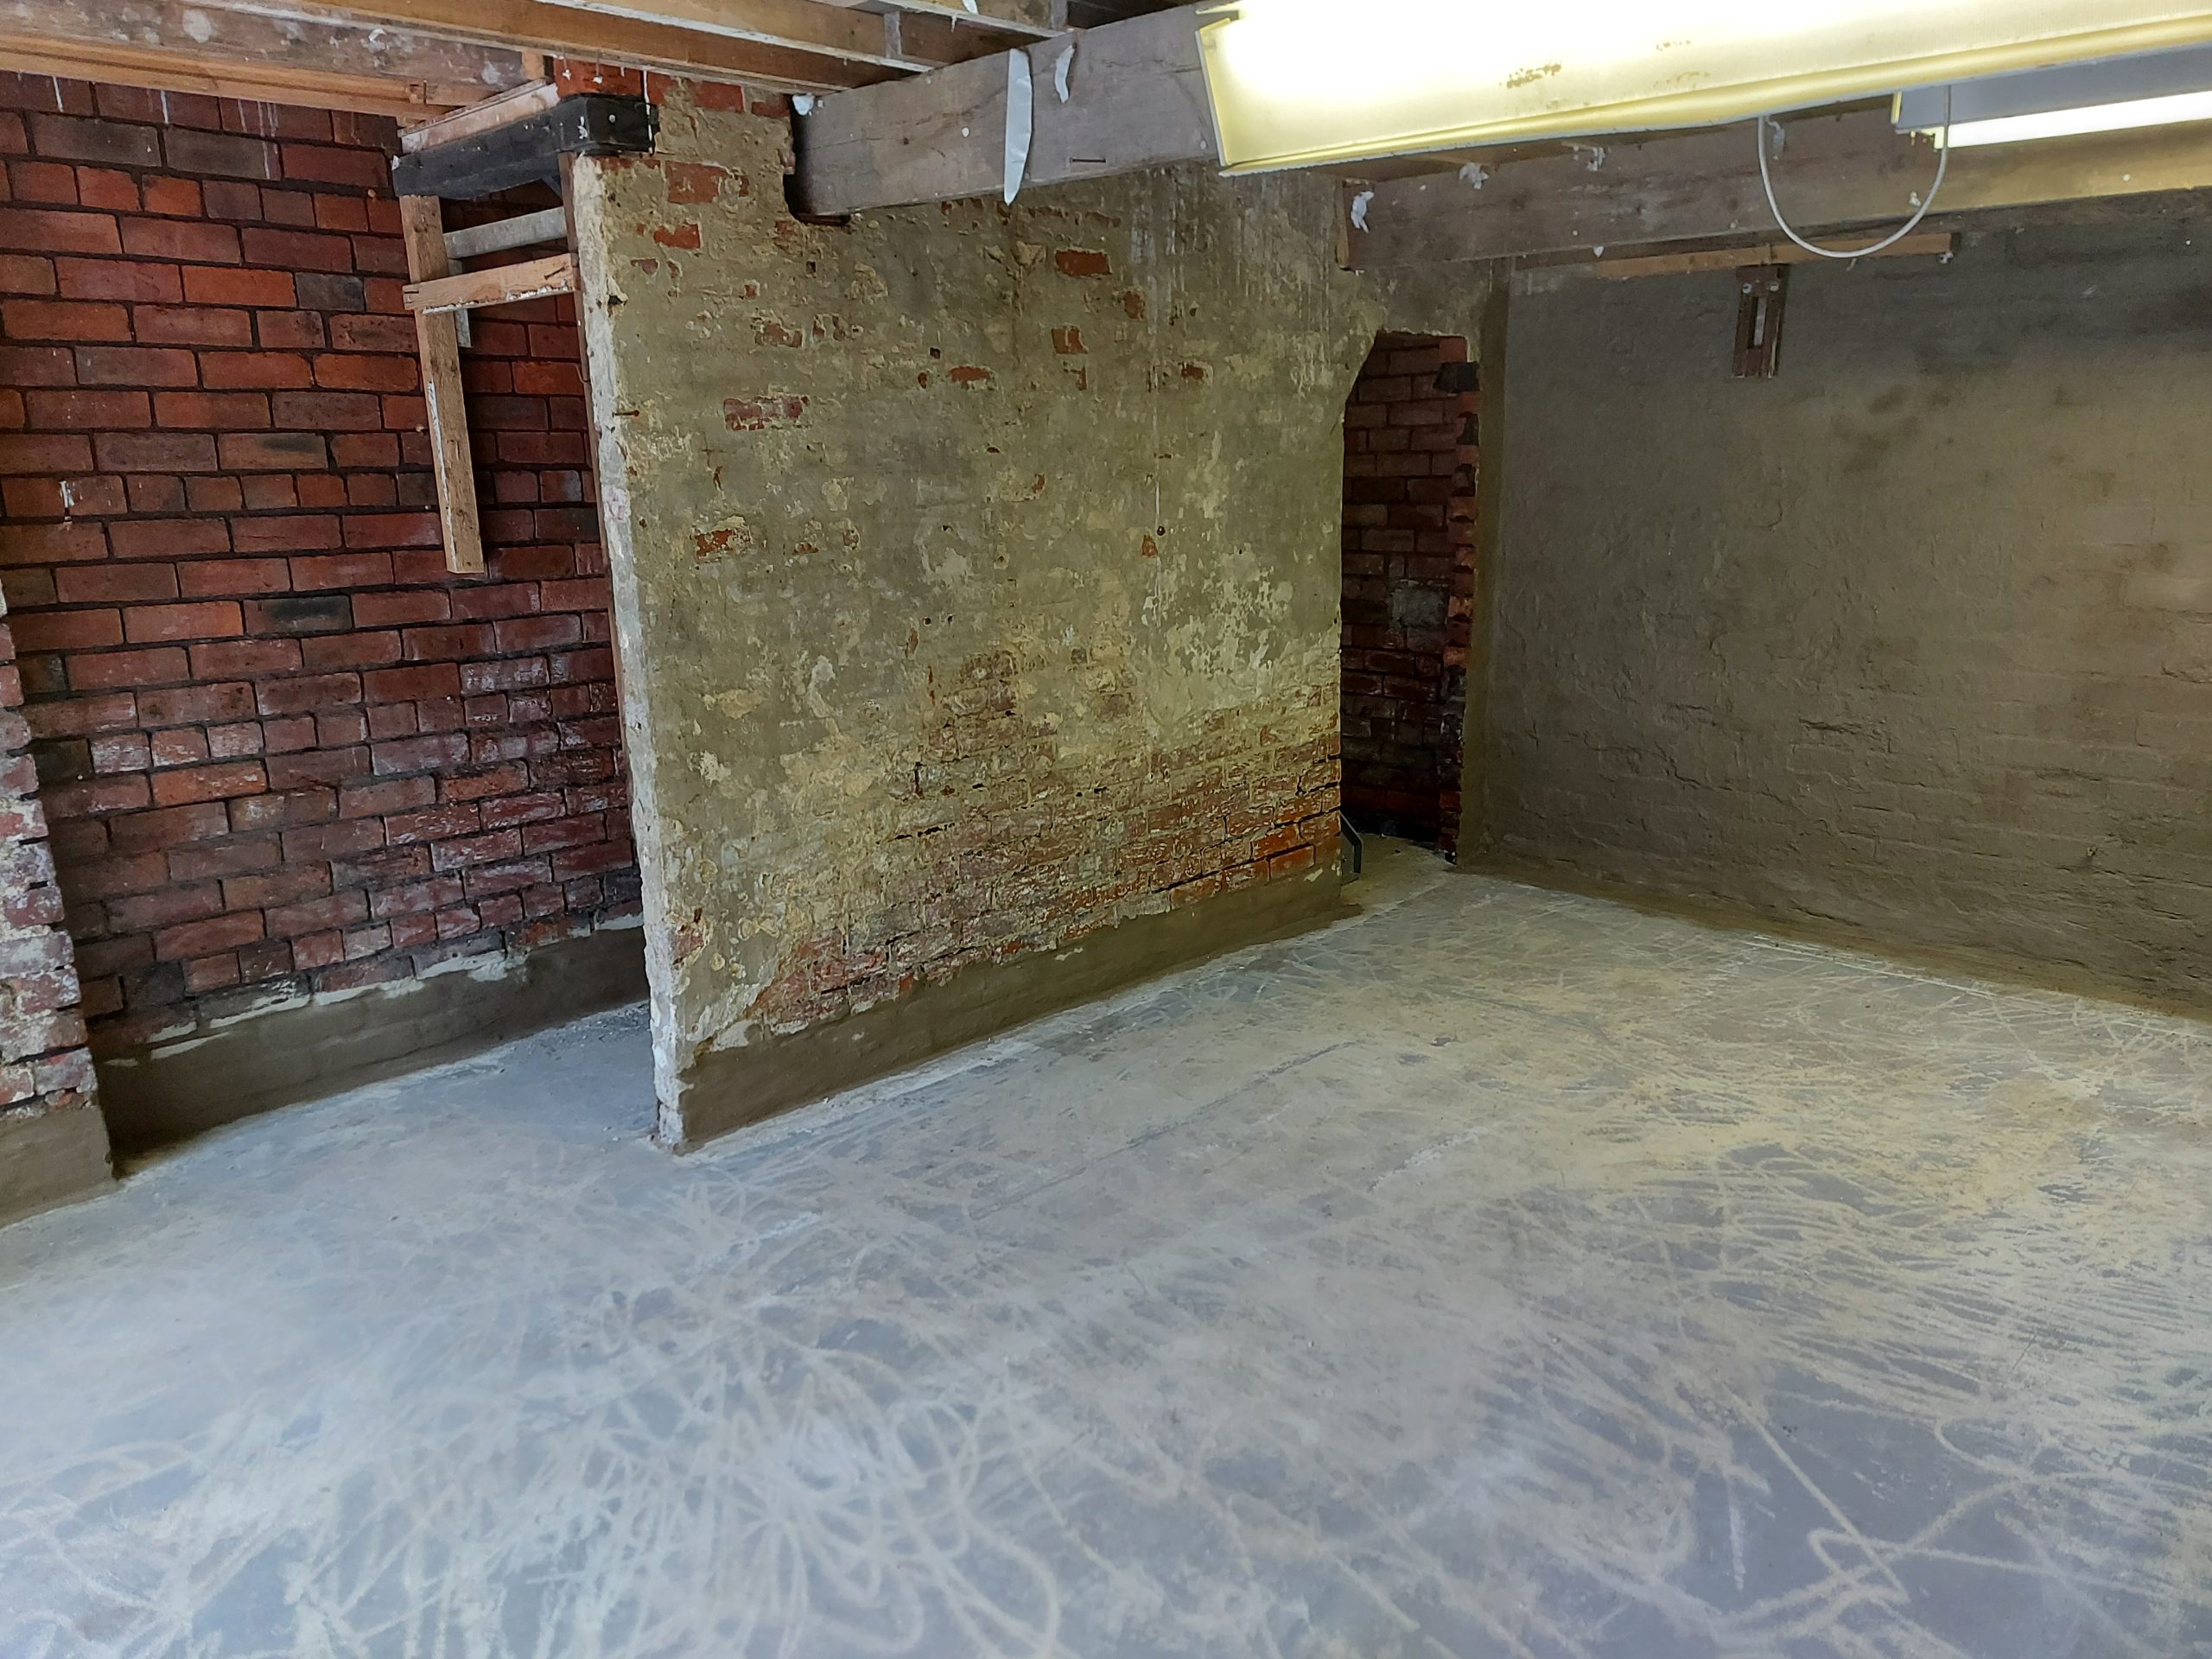
First coat of paint for main part of floor, Not done to edge as it still needs sealing to walls, But on the plus side walls be pressure washed when paint is dry, Nealy there
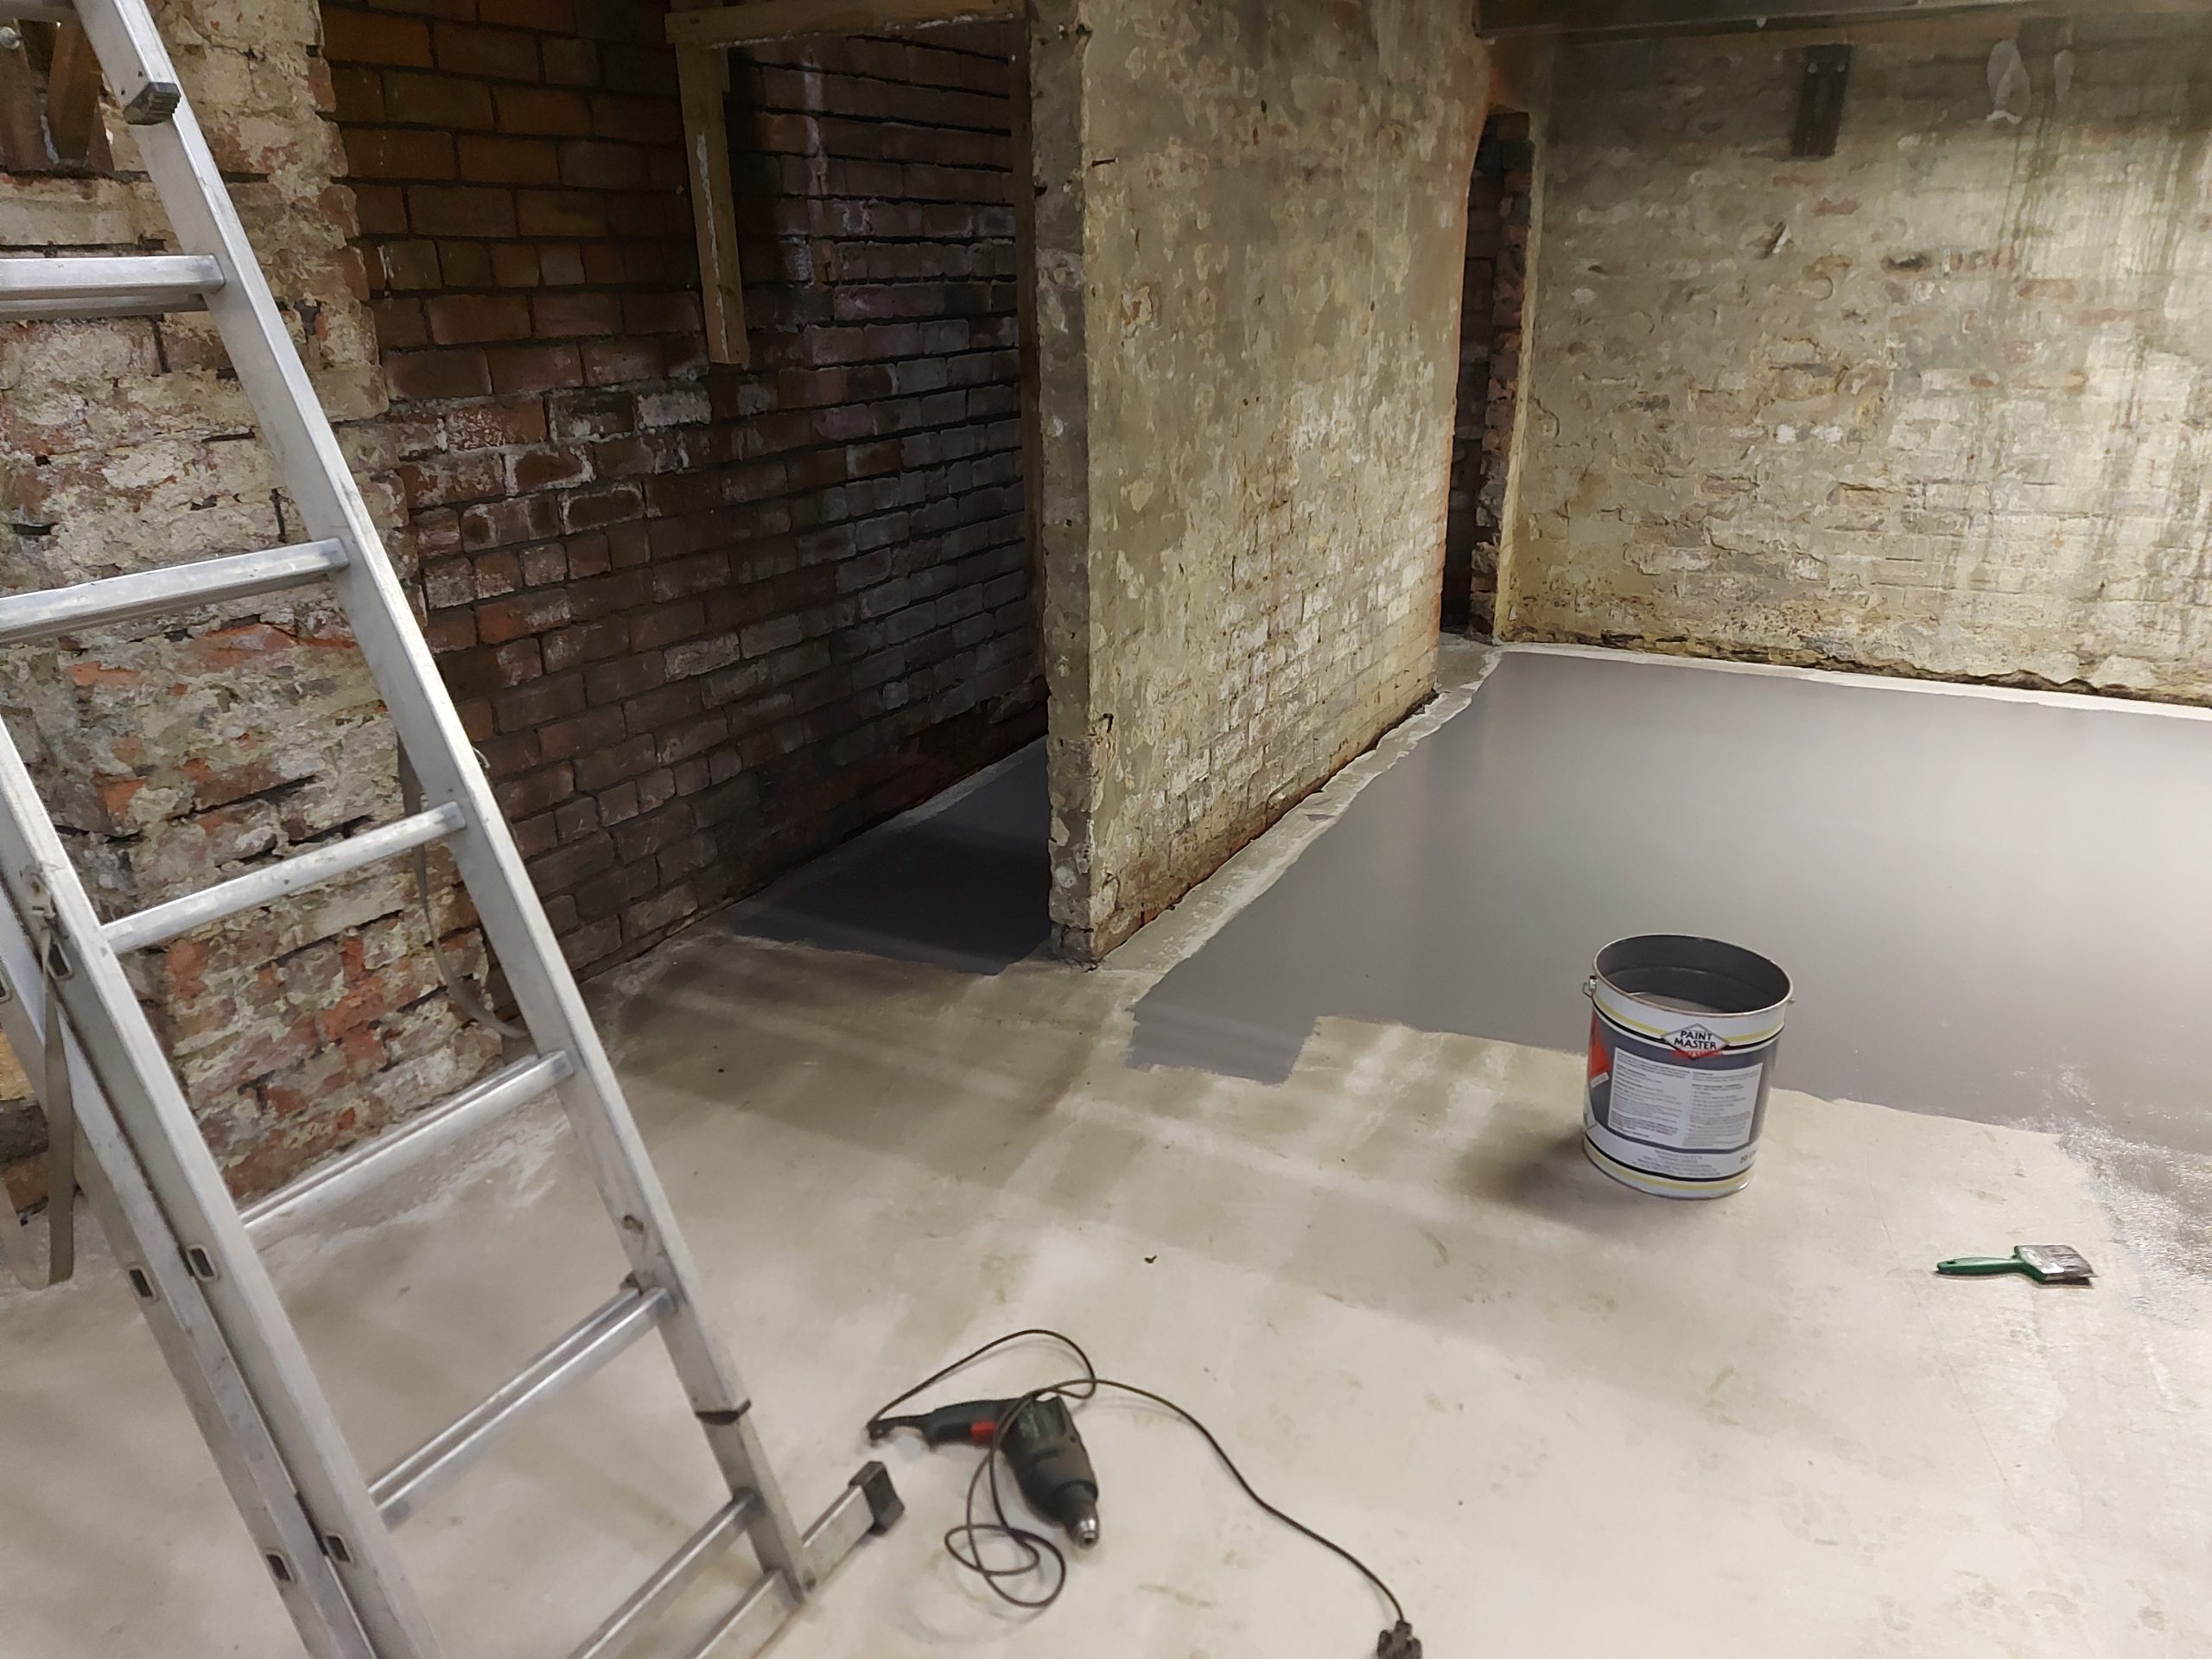
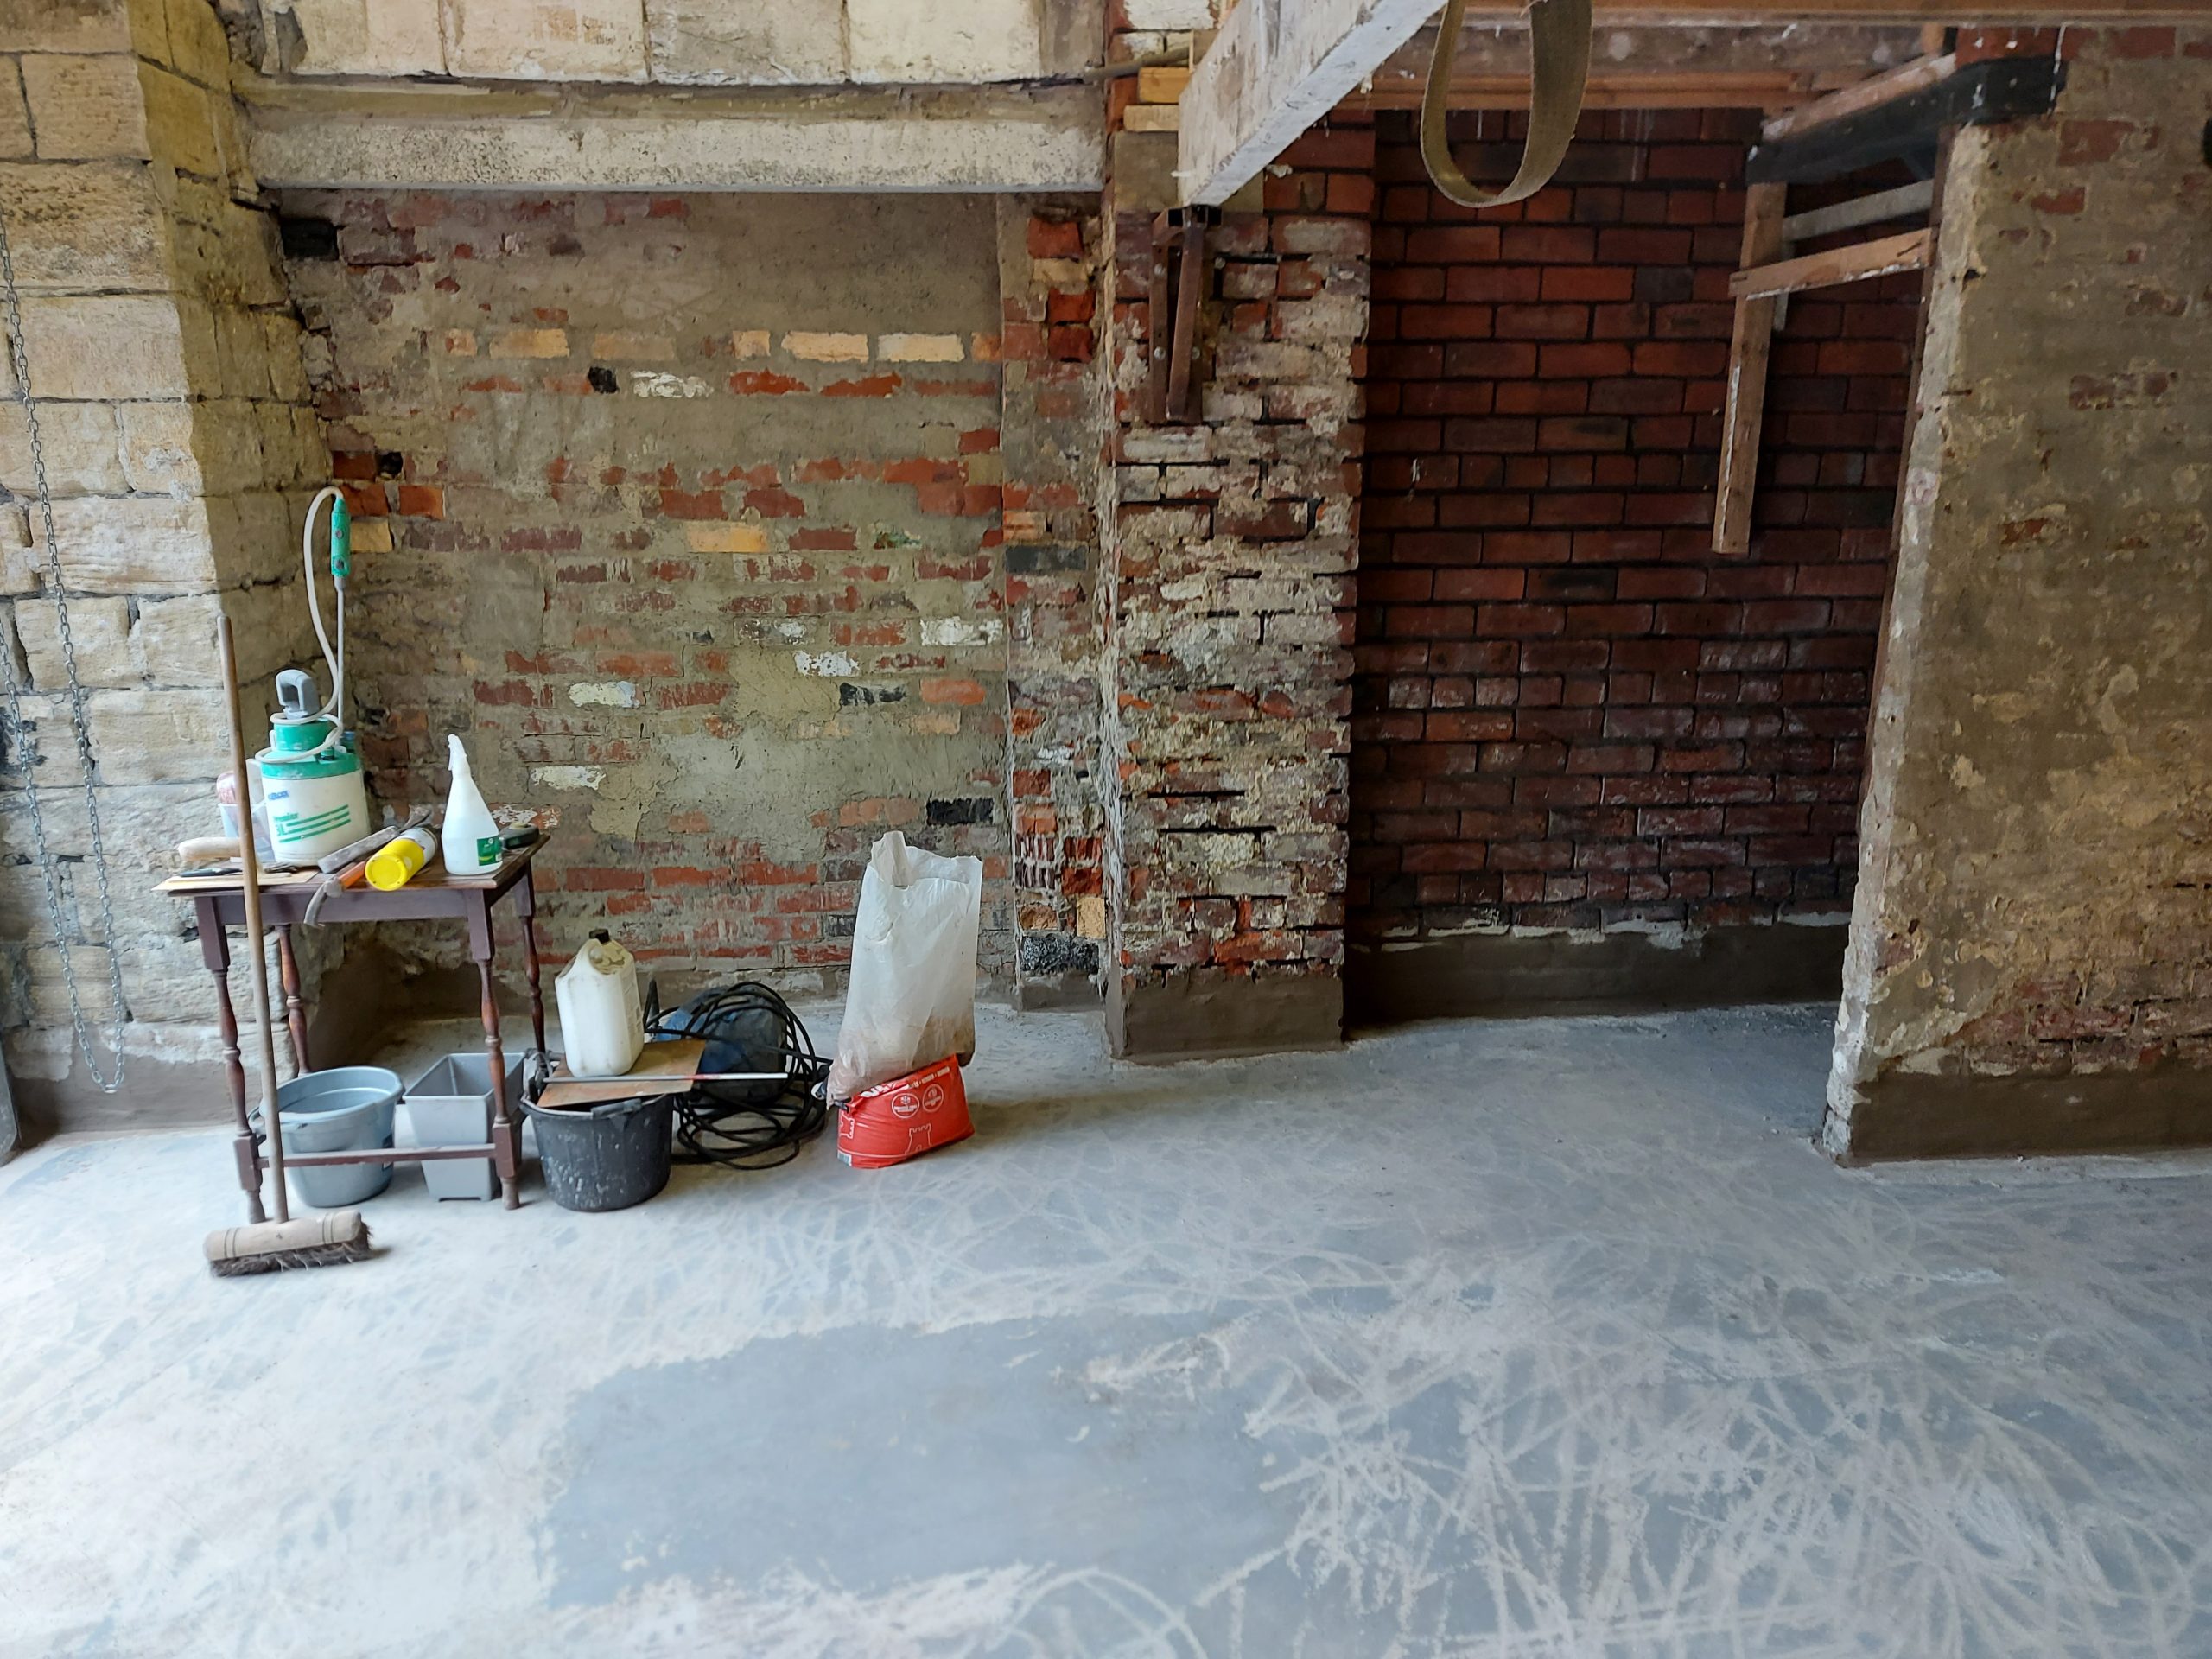
Sealing the edges of the concrete, Also had some sort of reaction with floor paint and concrete sealer?
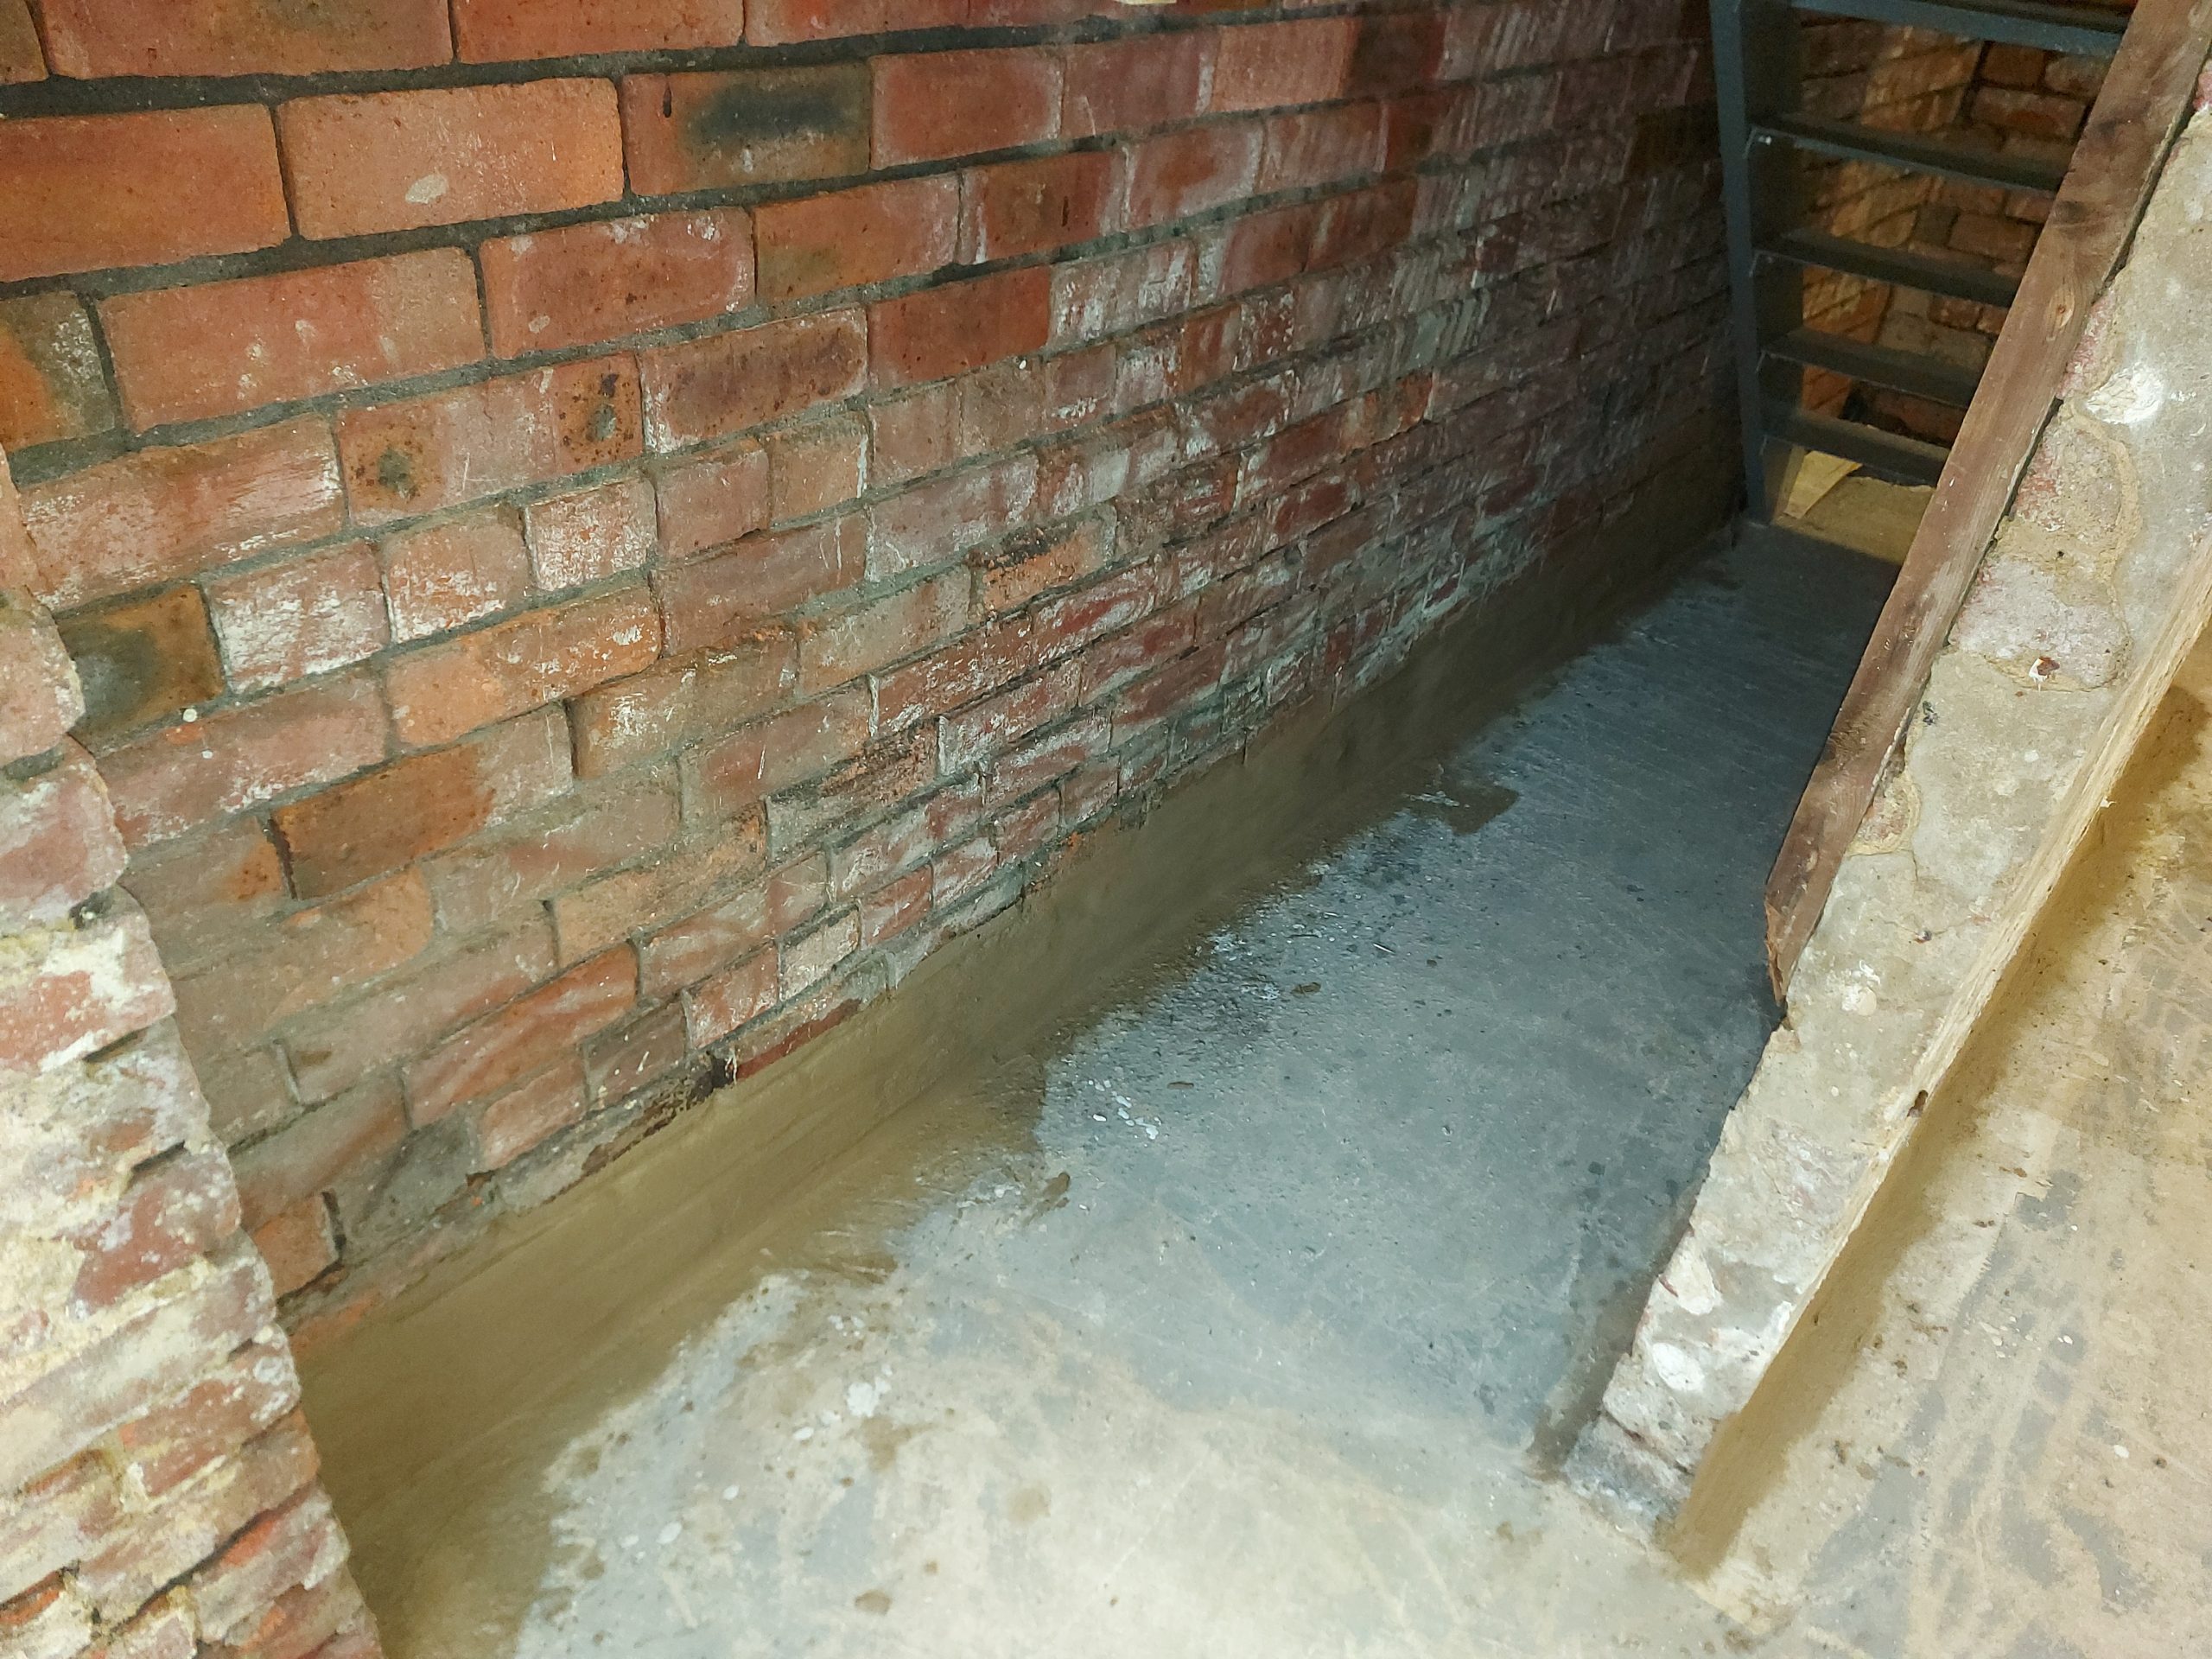
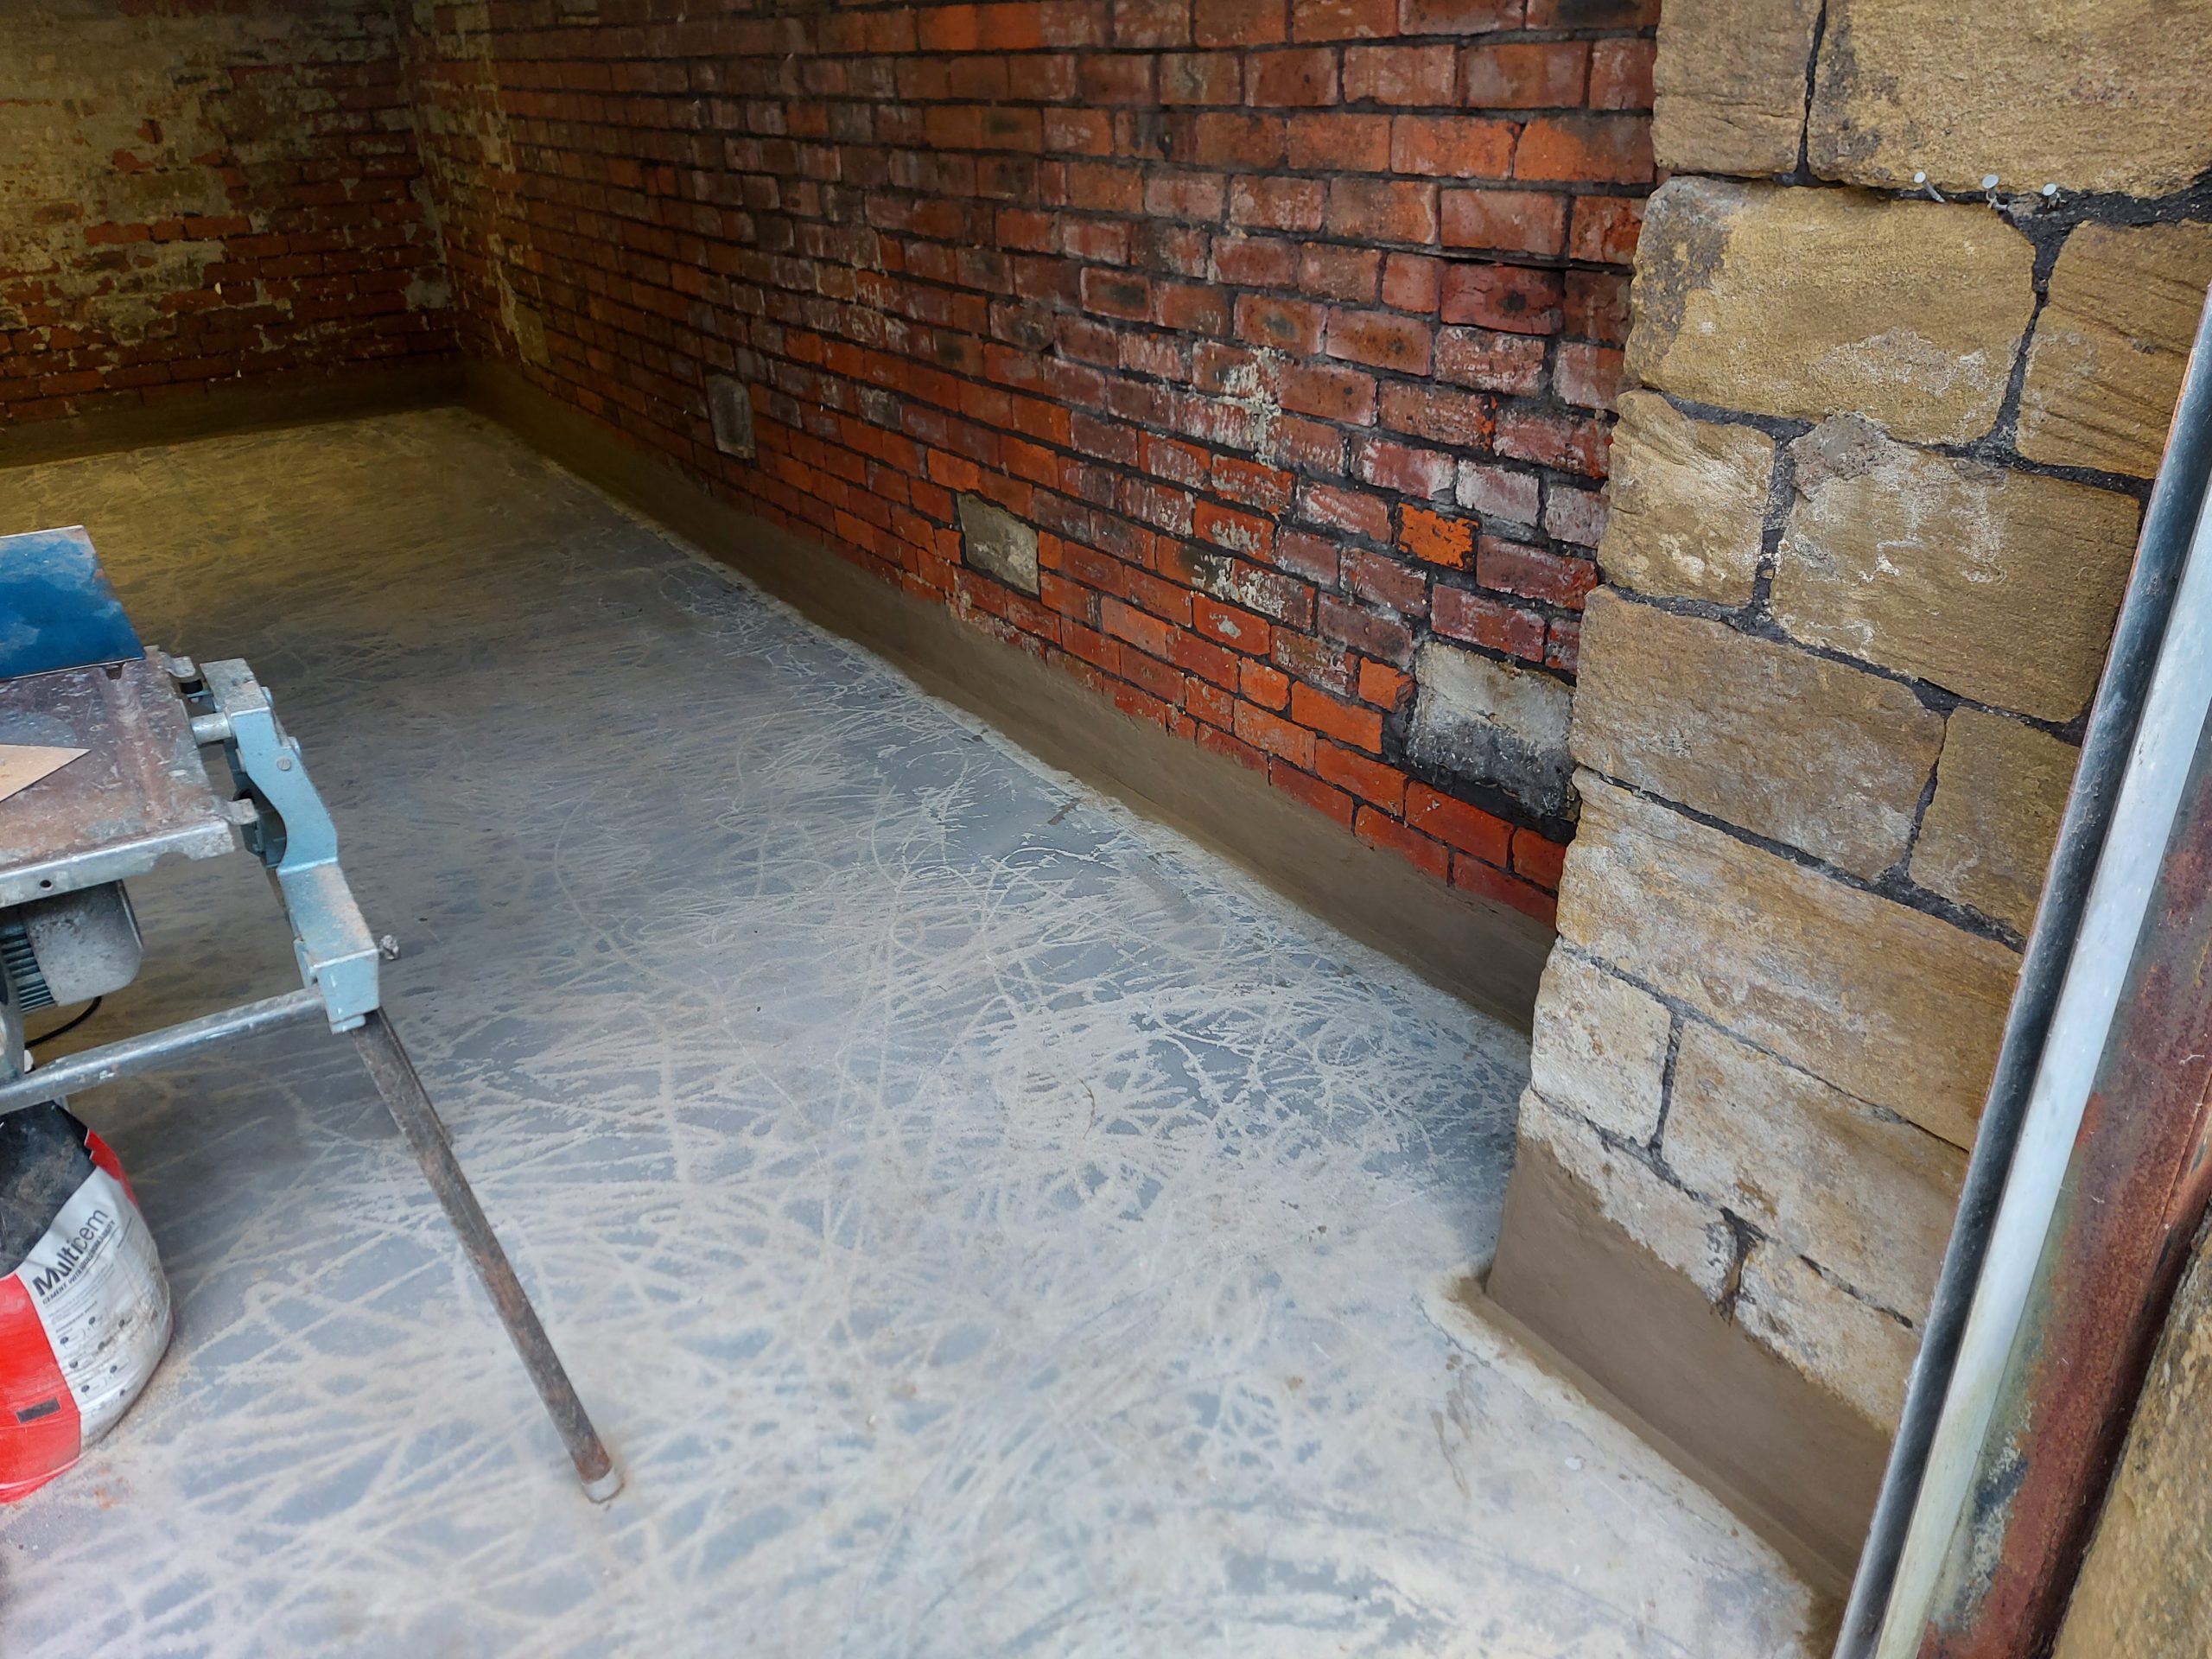
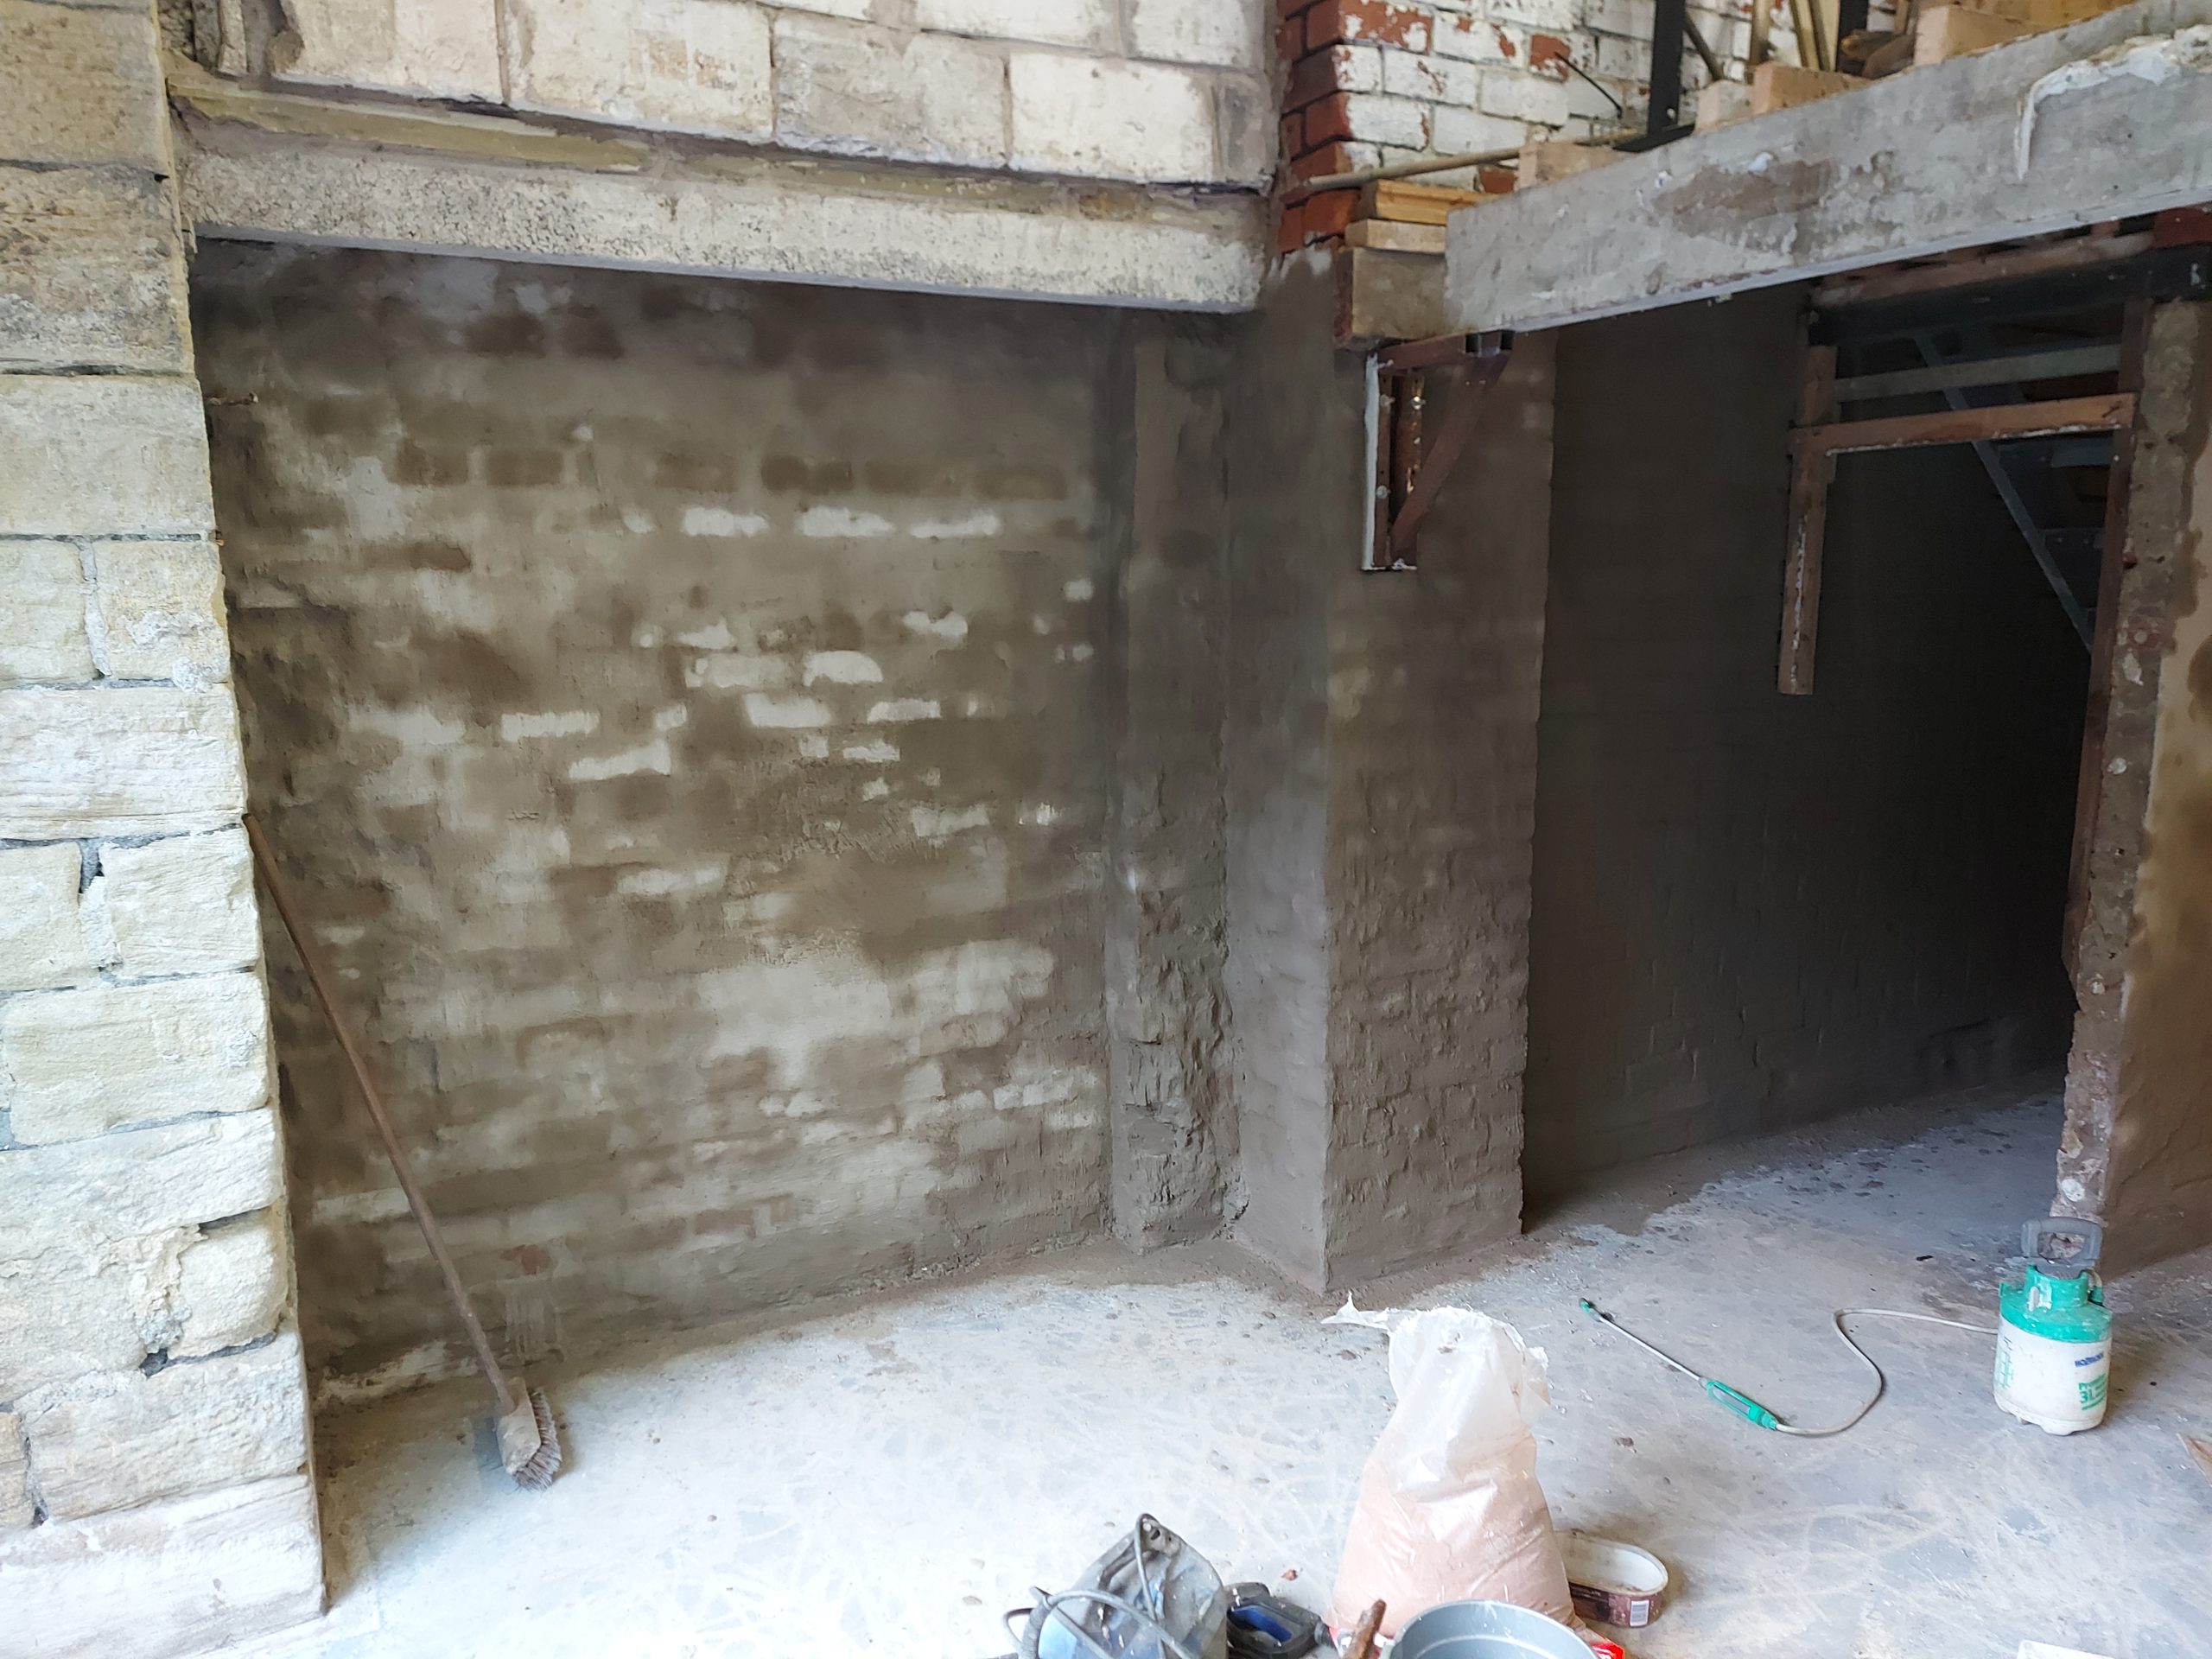
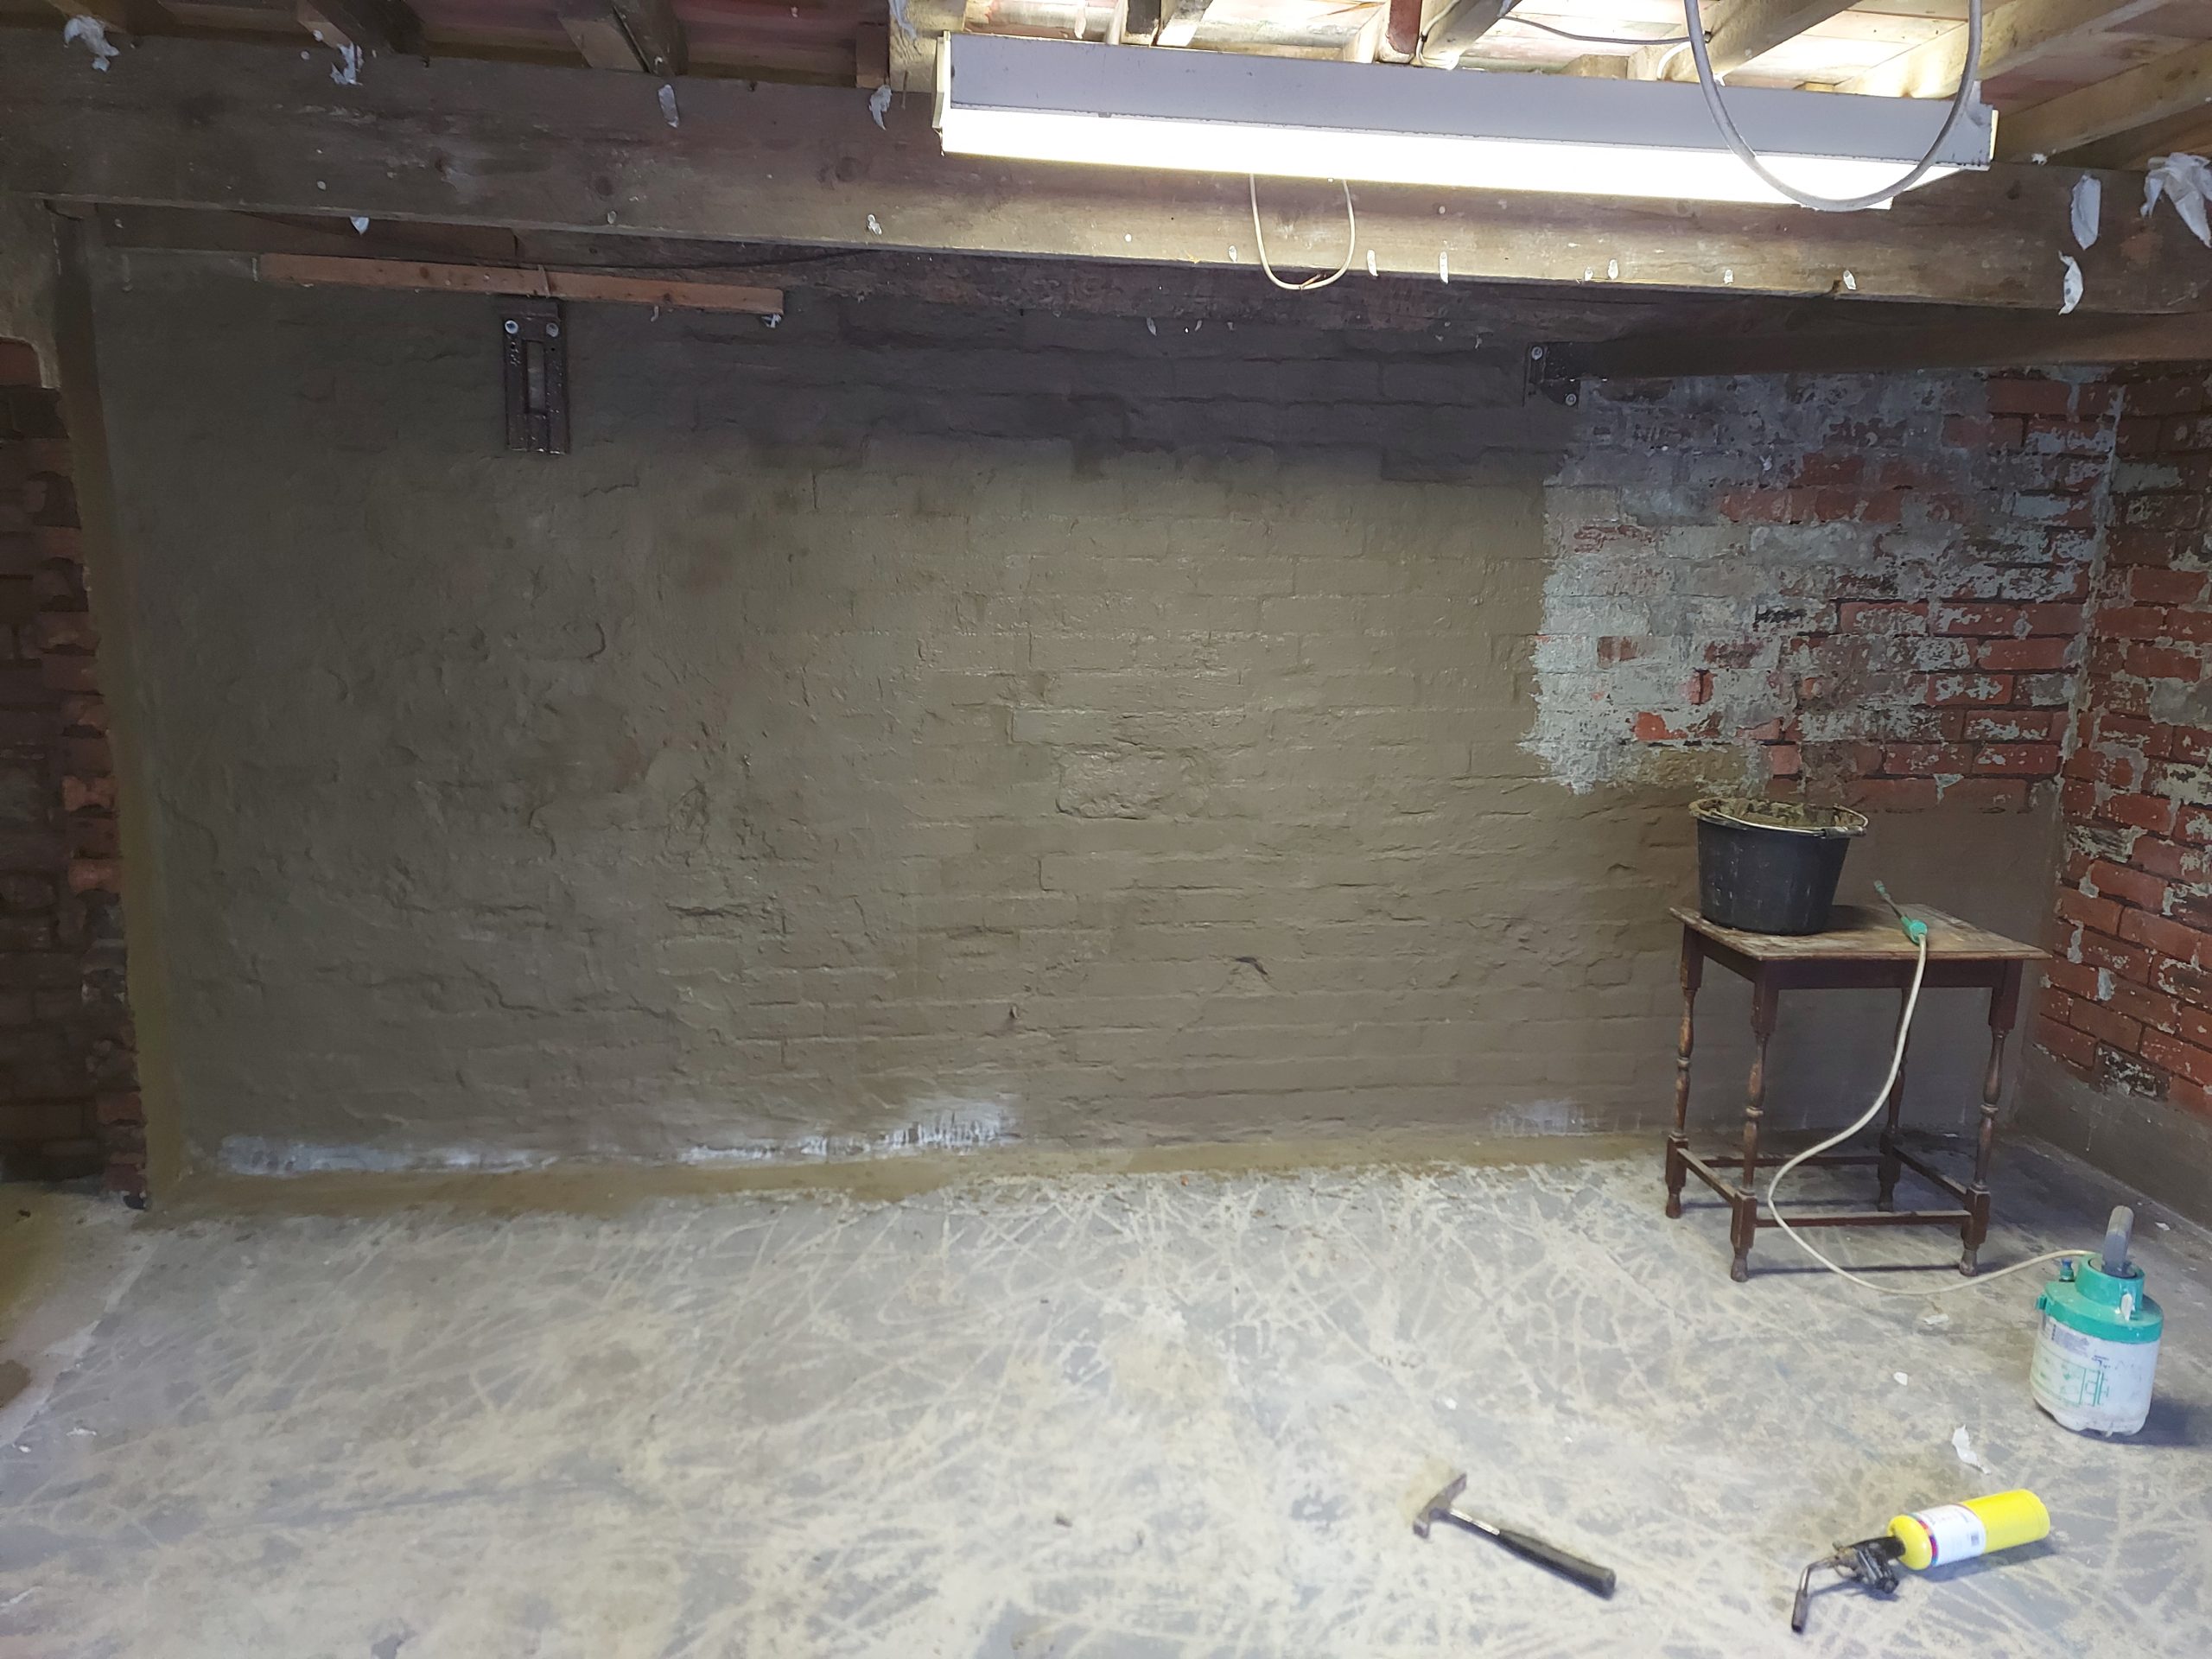
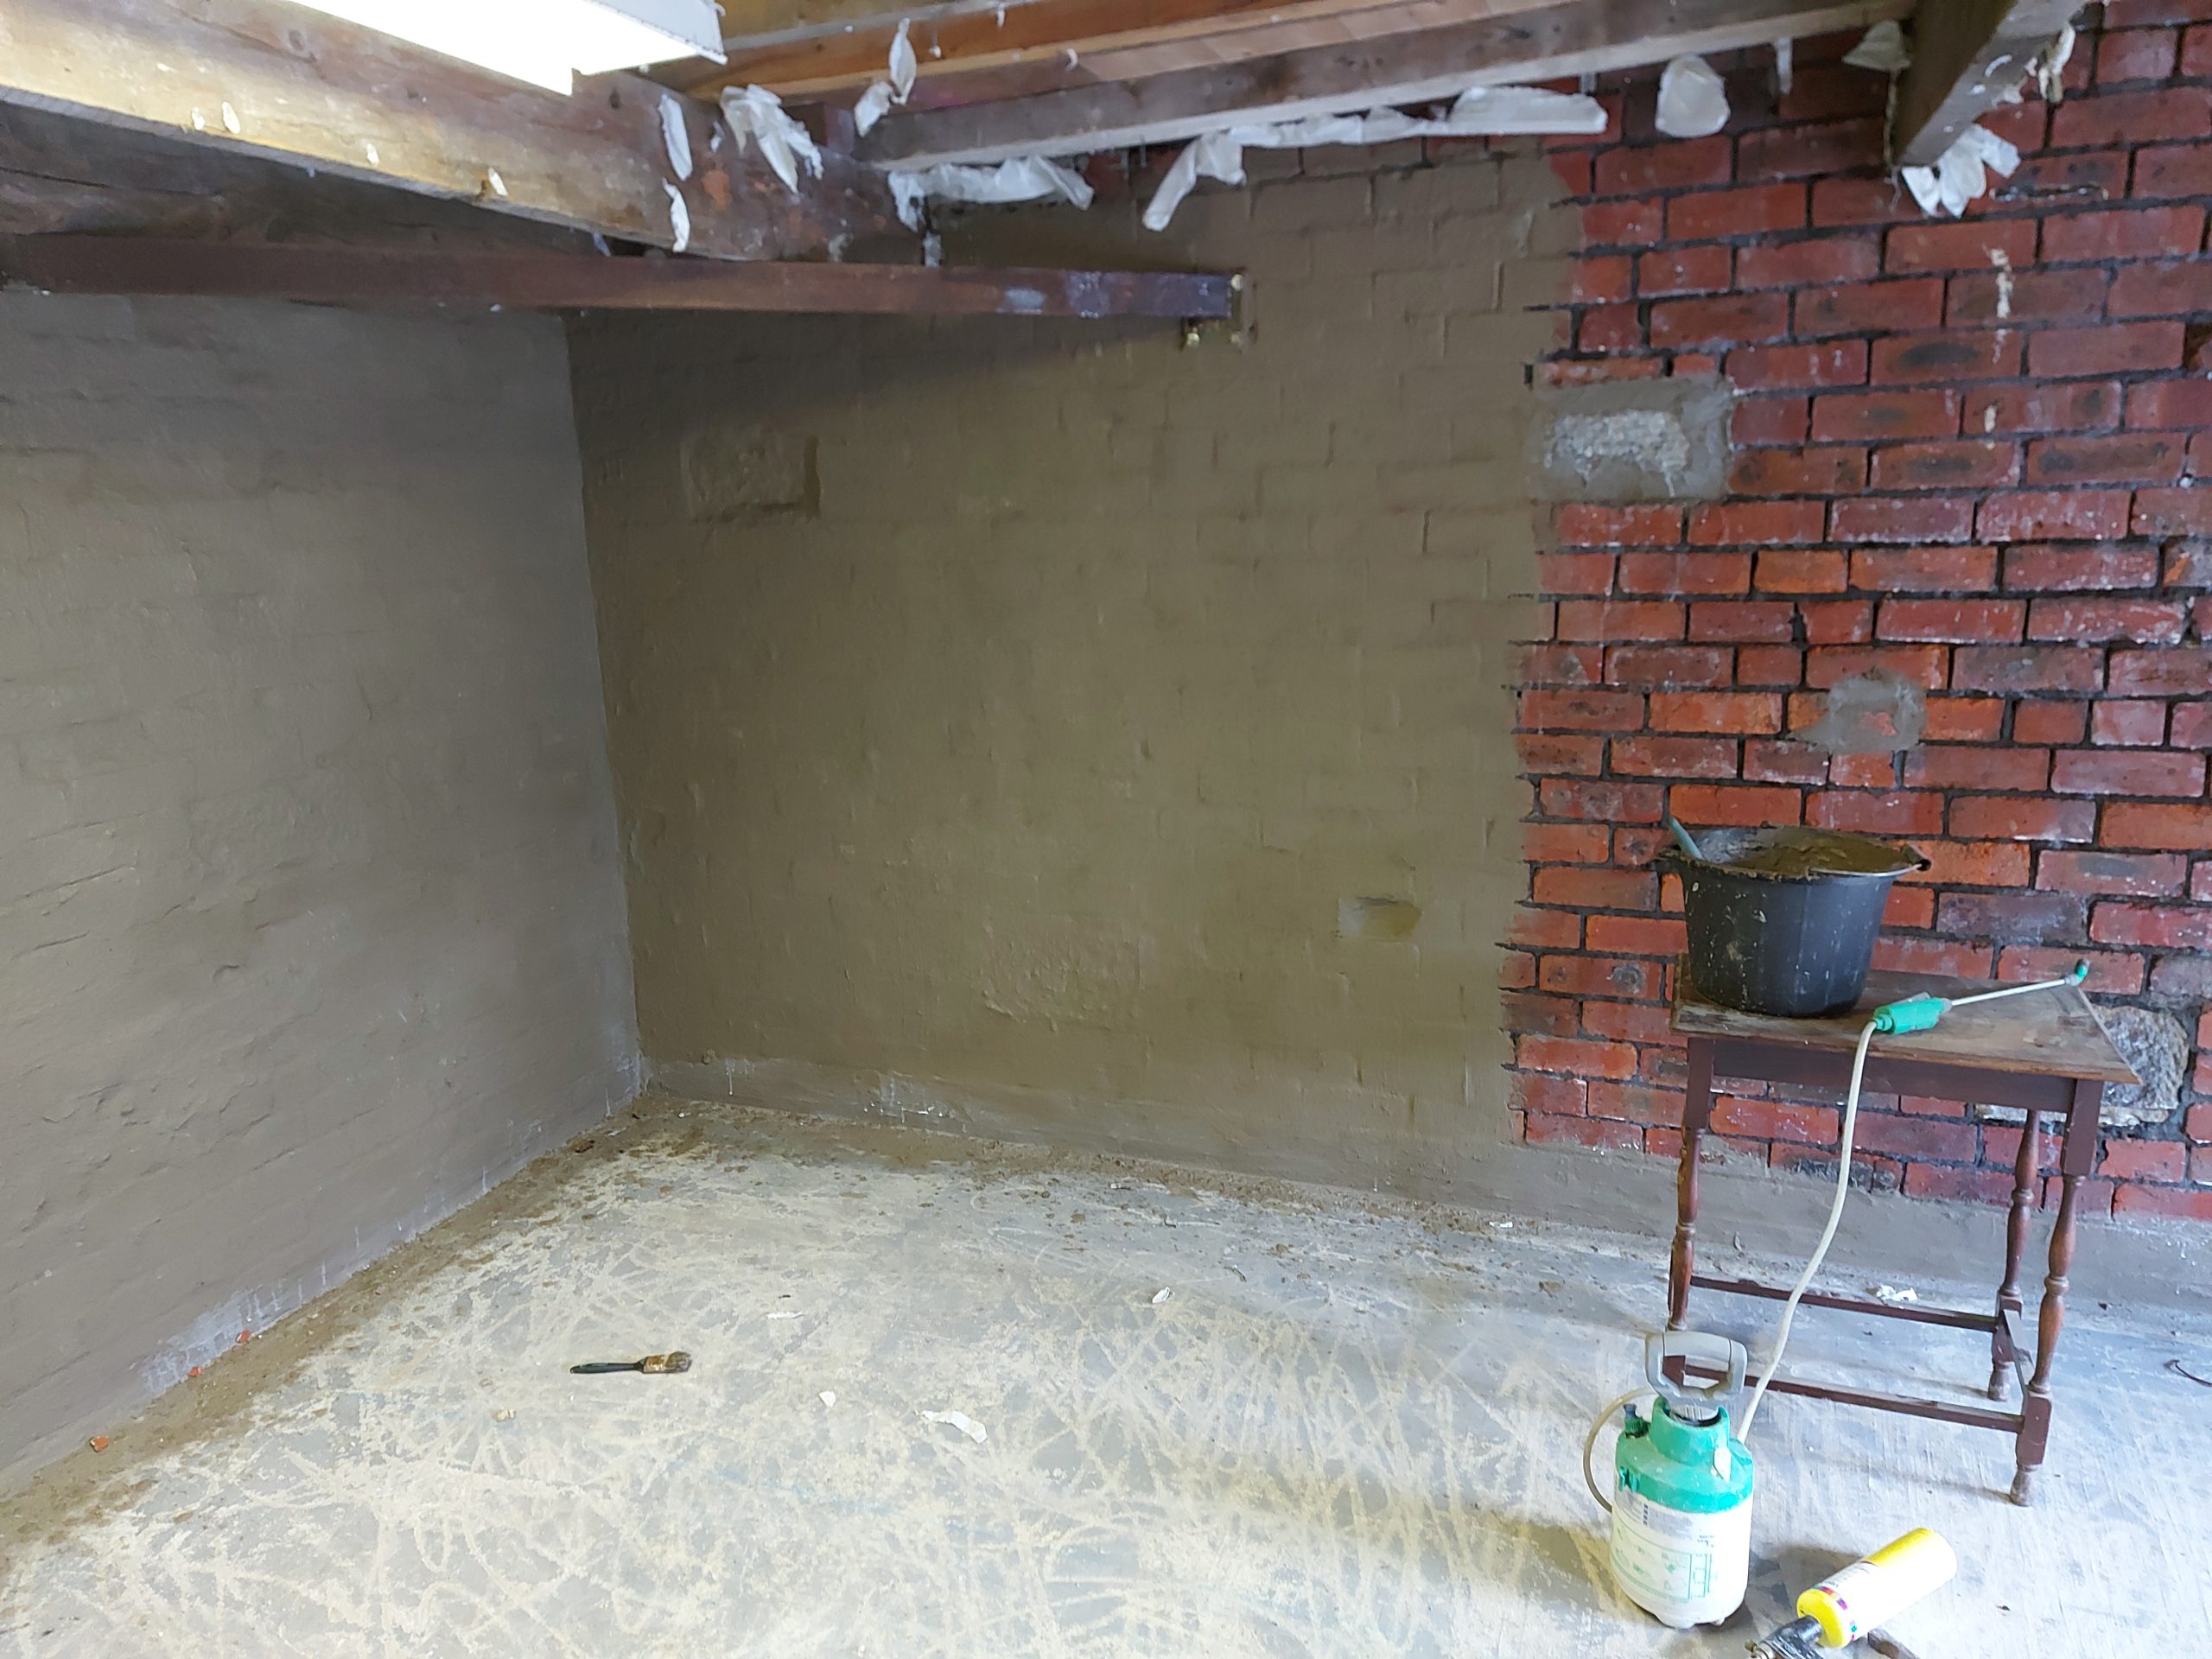
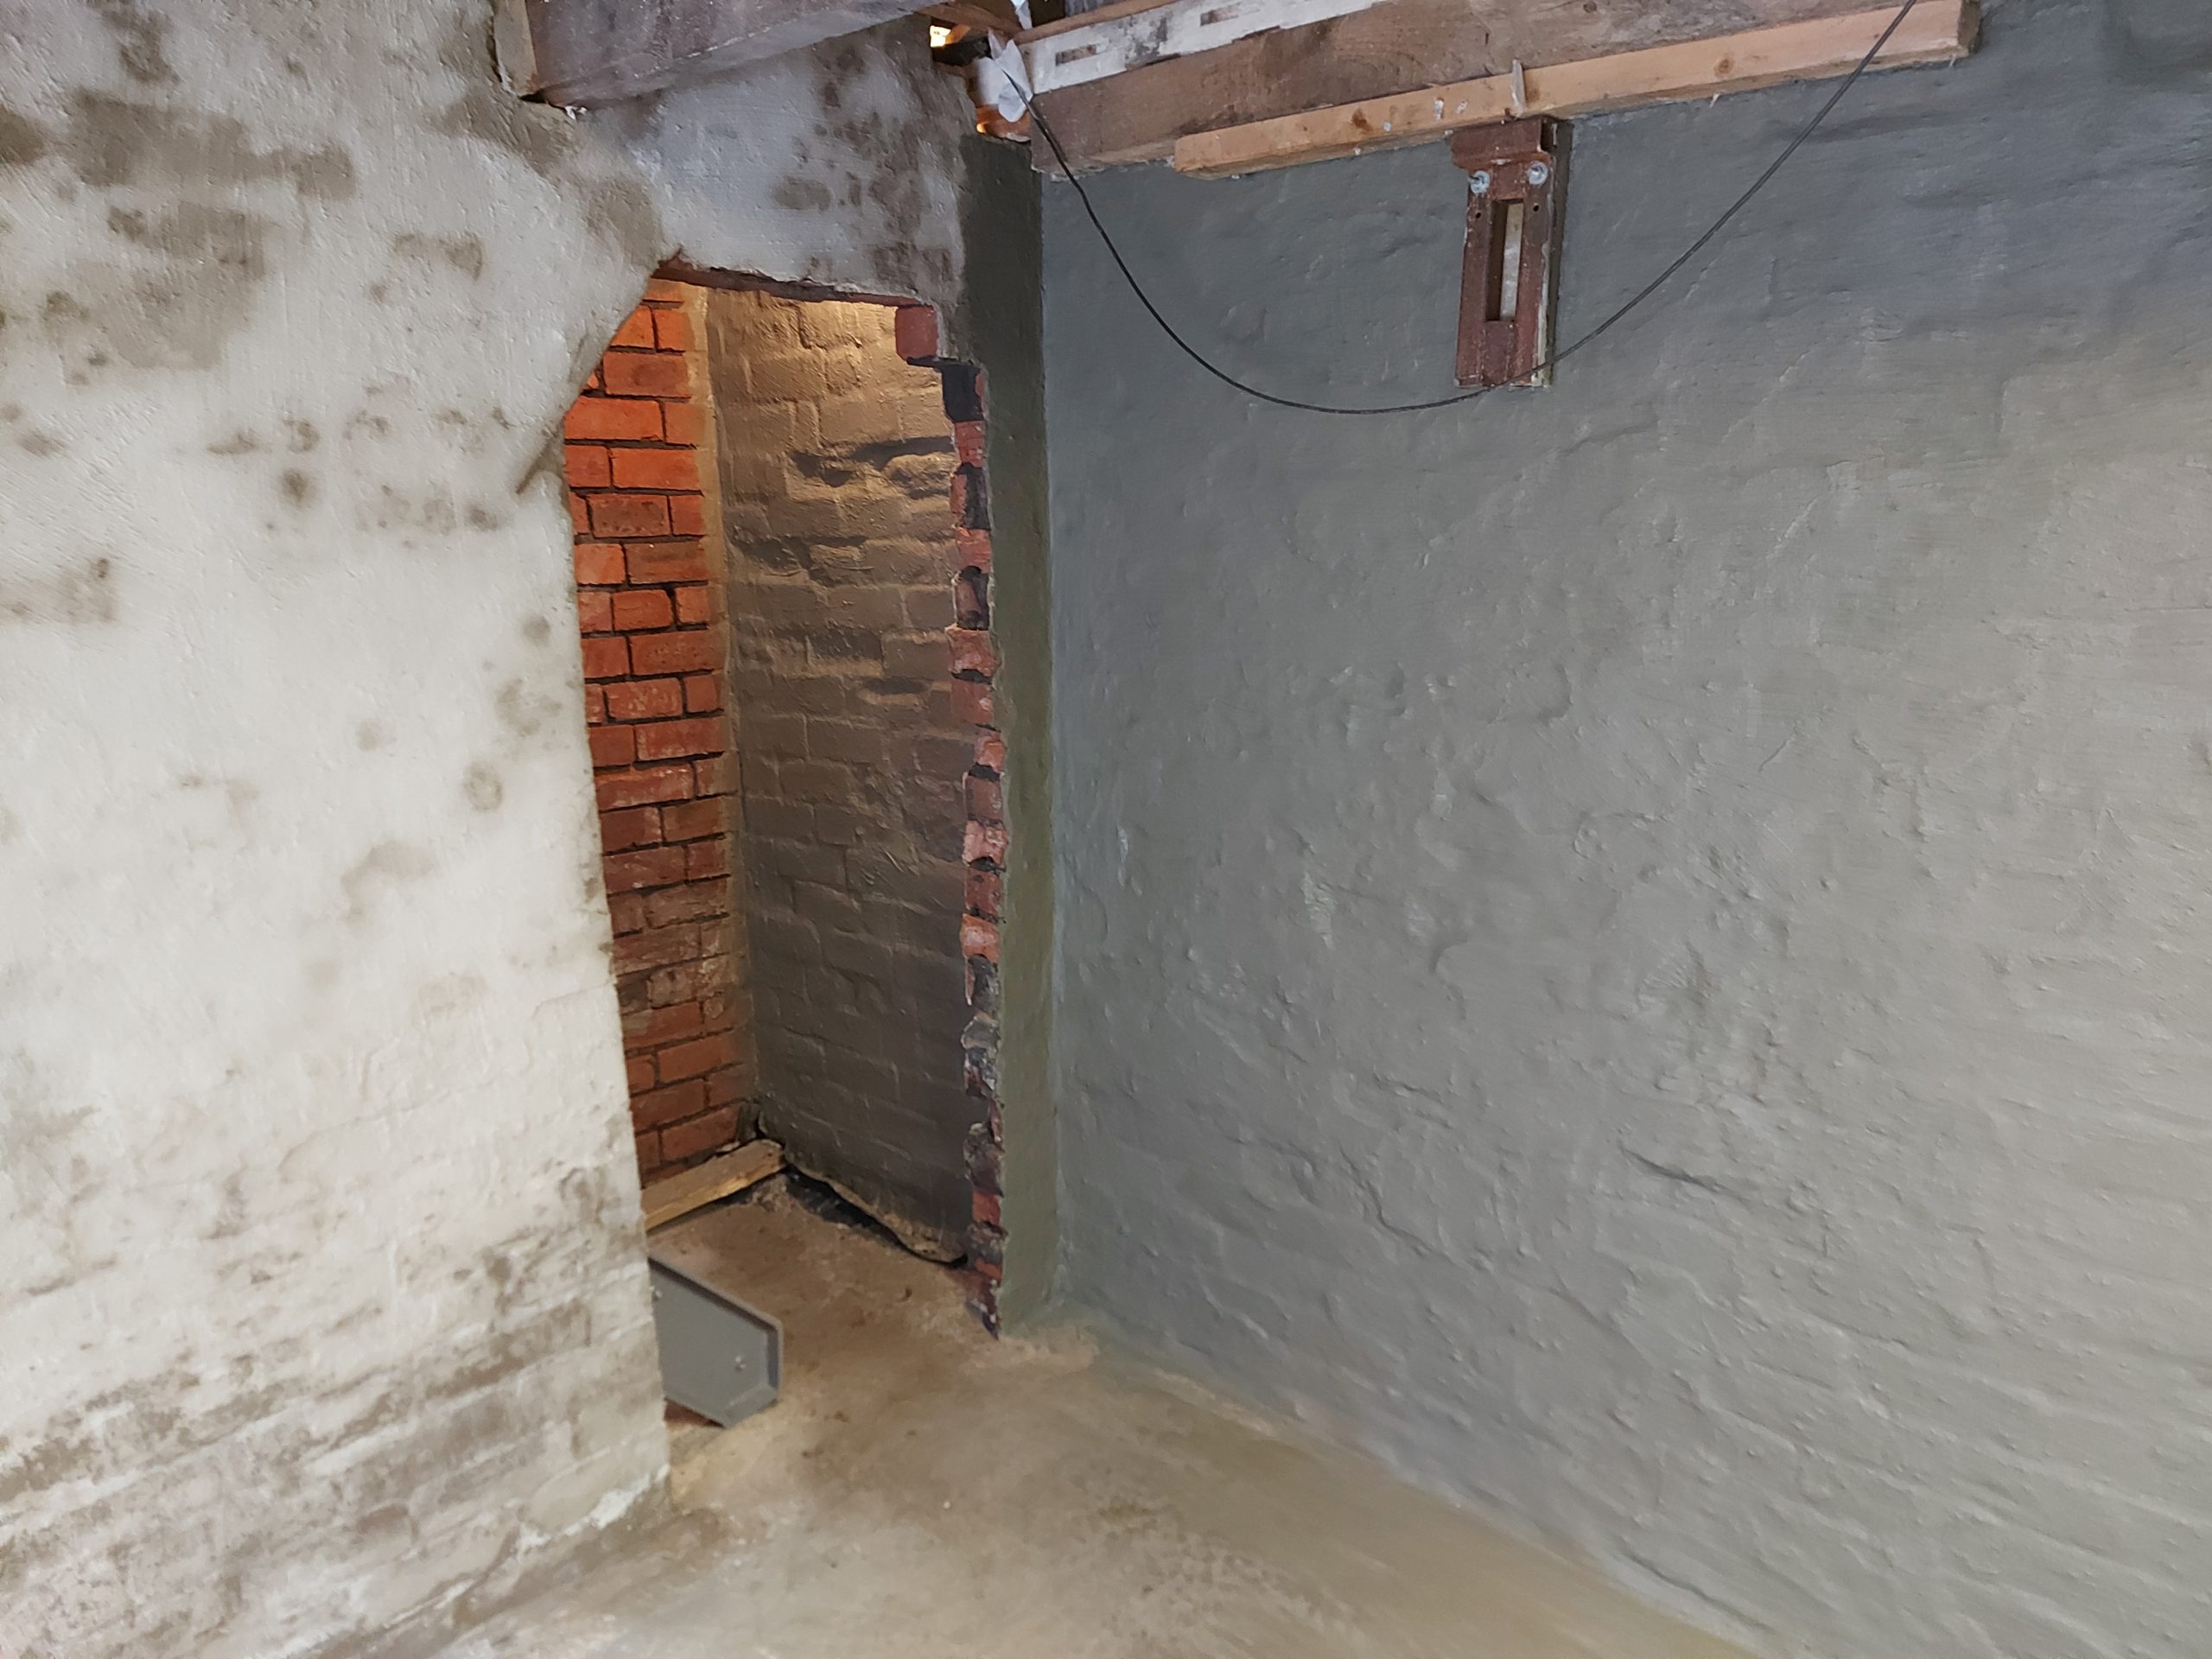
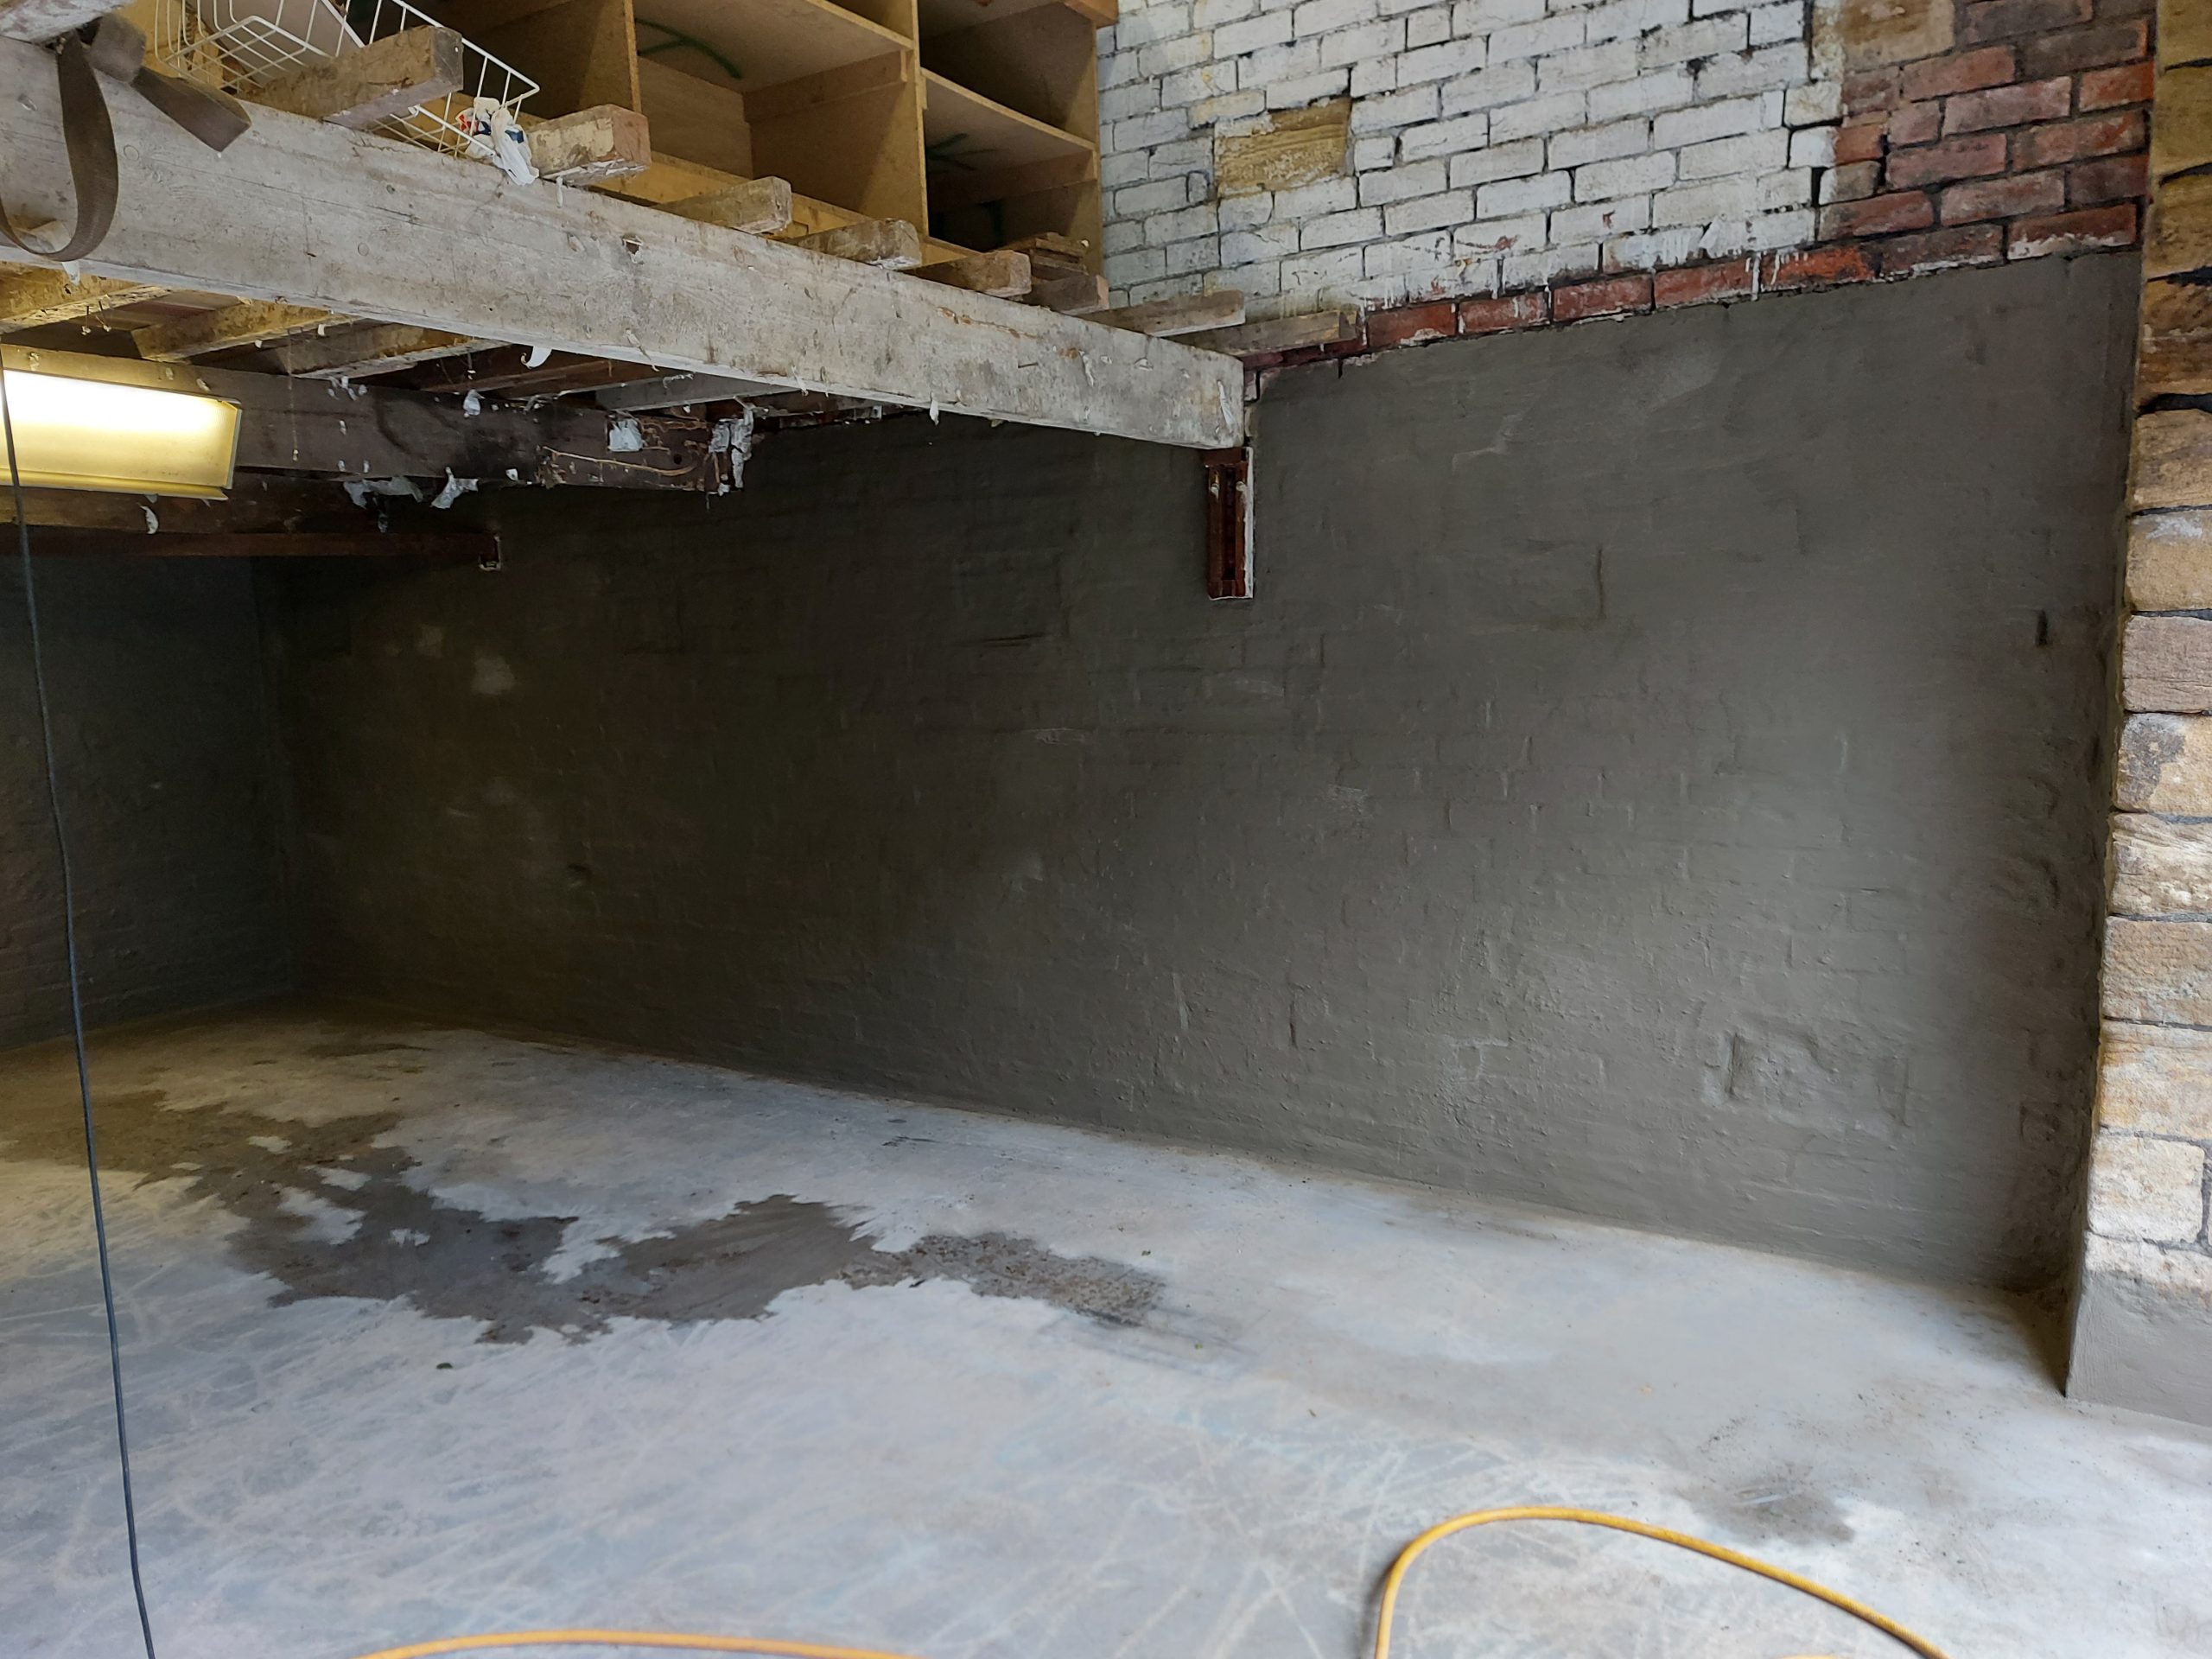
Started to fill the pointing with my own form of slurry Applied with a large brush, basic idear is won’t need as much Tanking as it’s expensive stuff to use as pointing
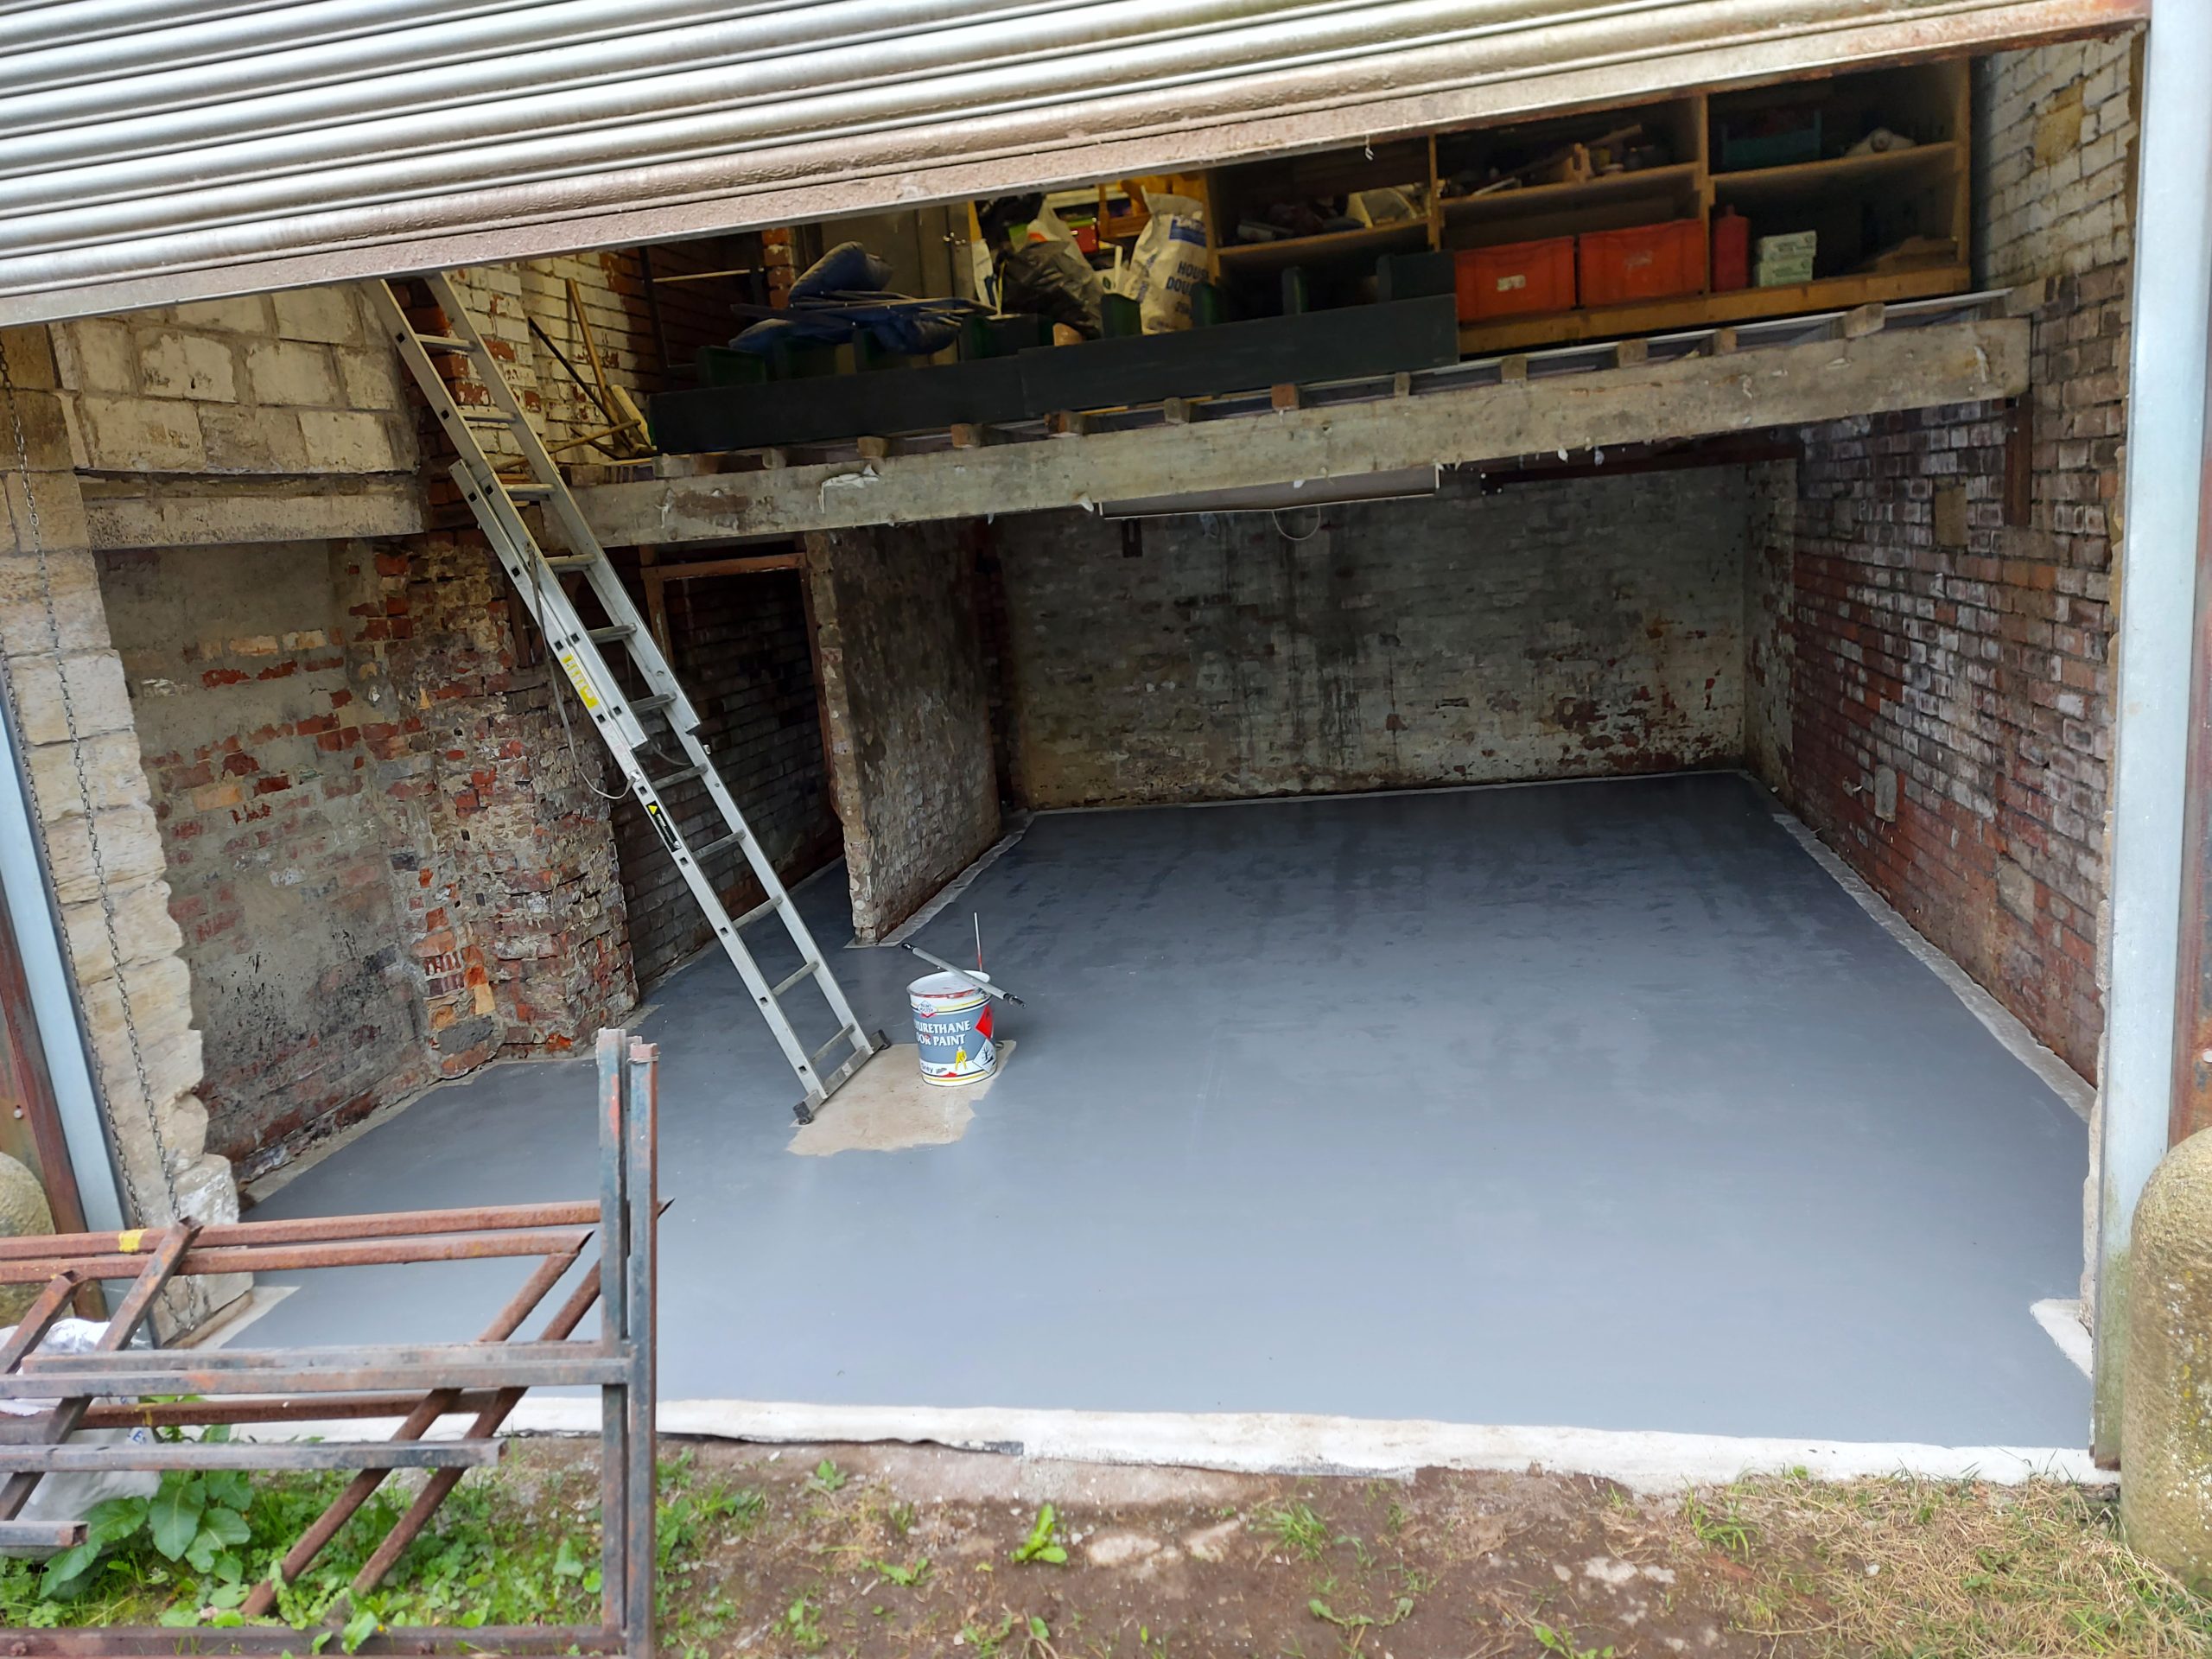
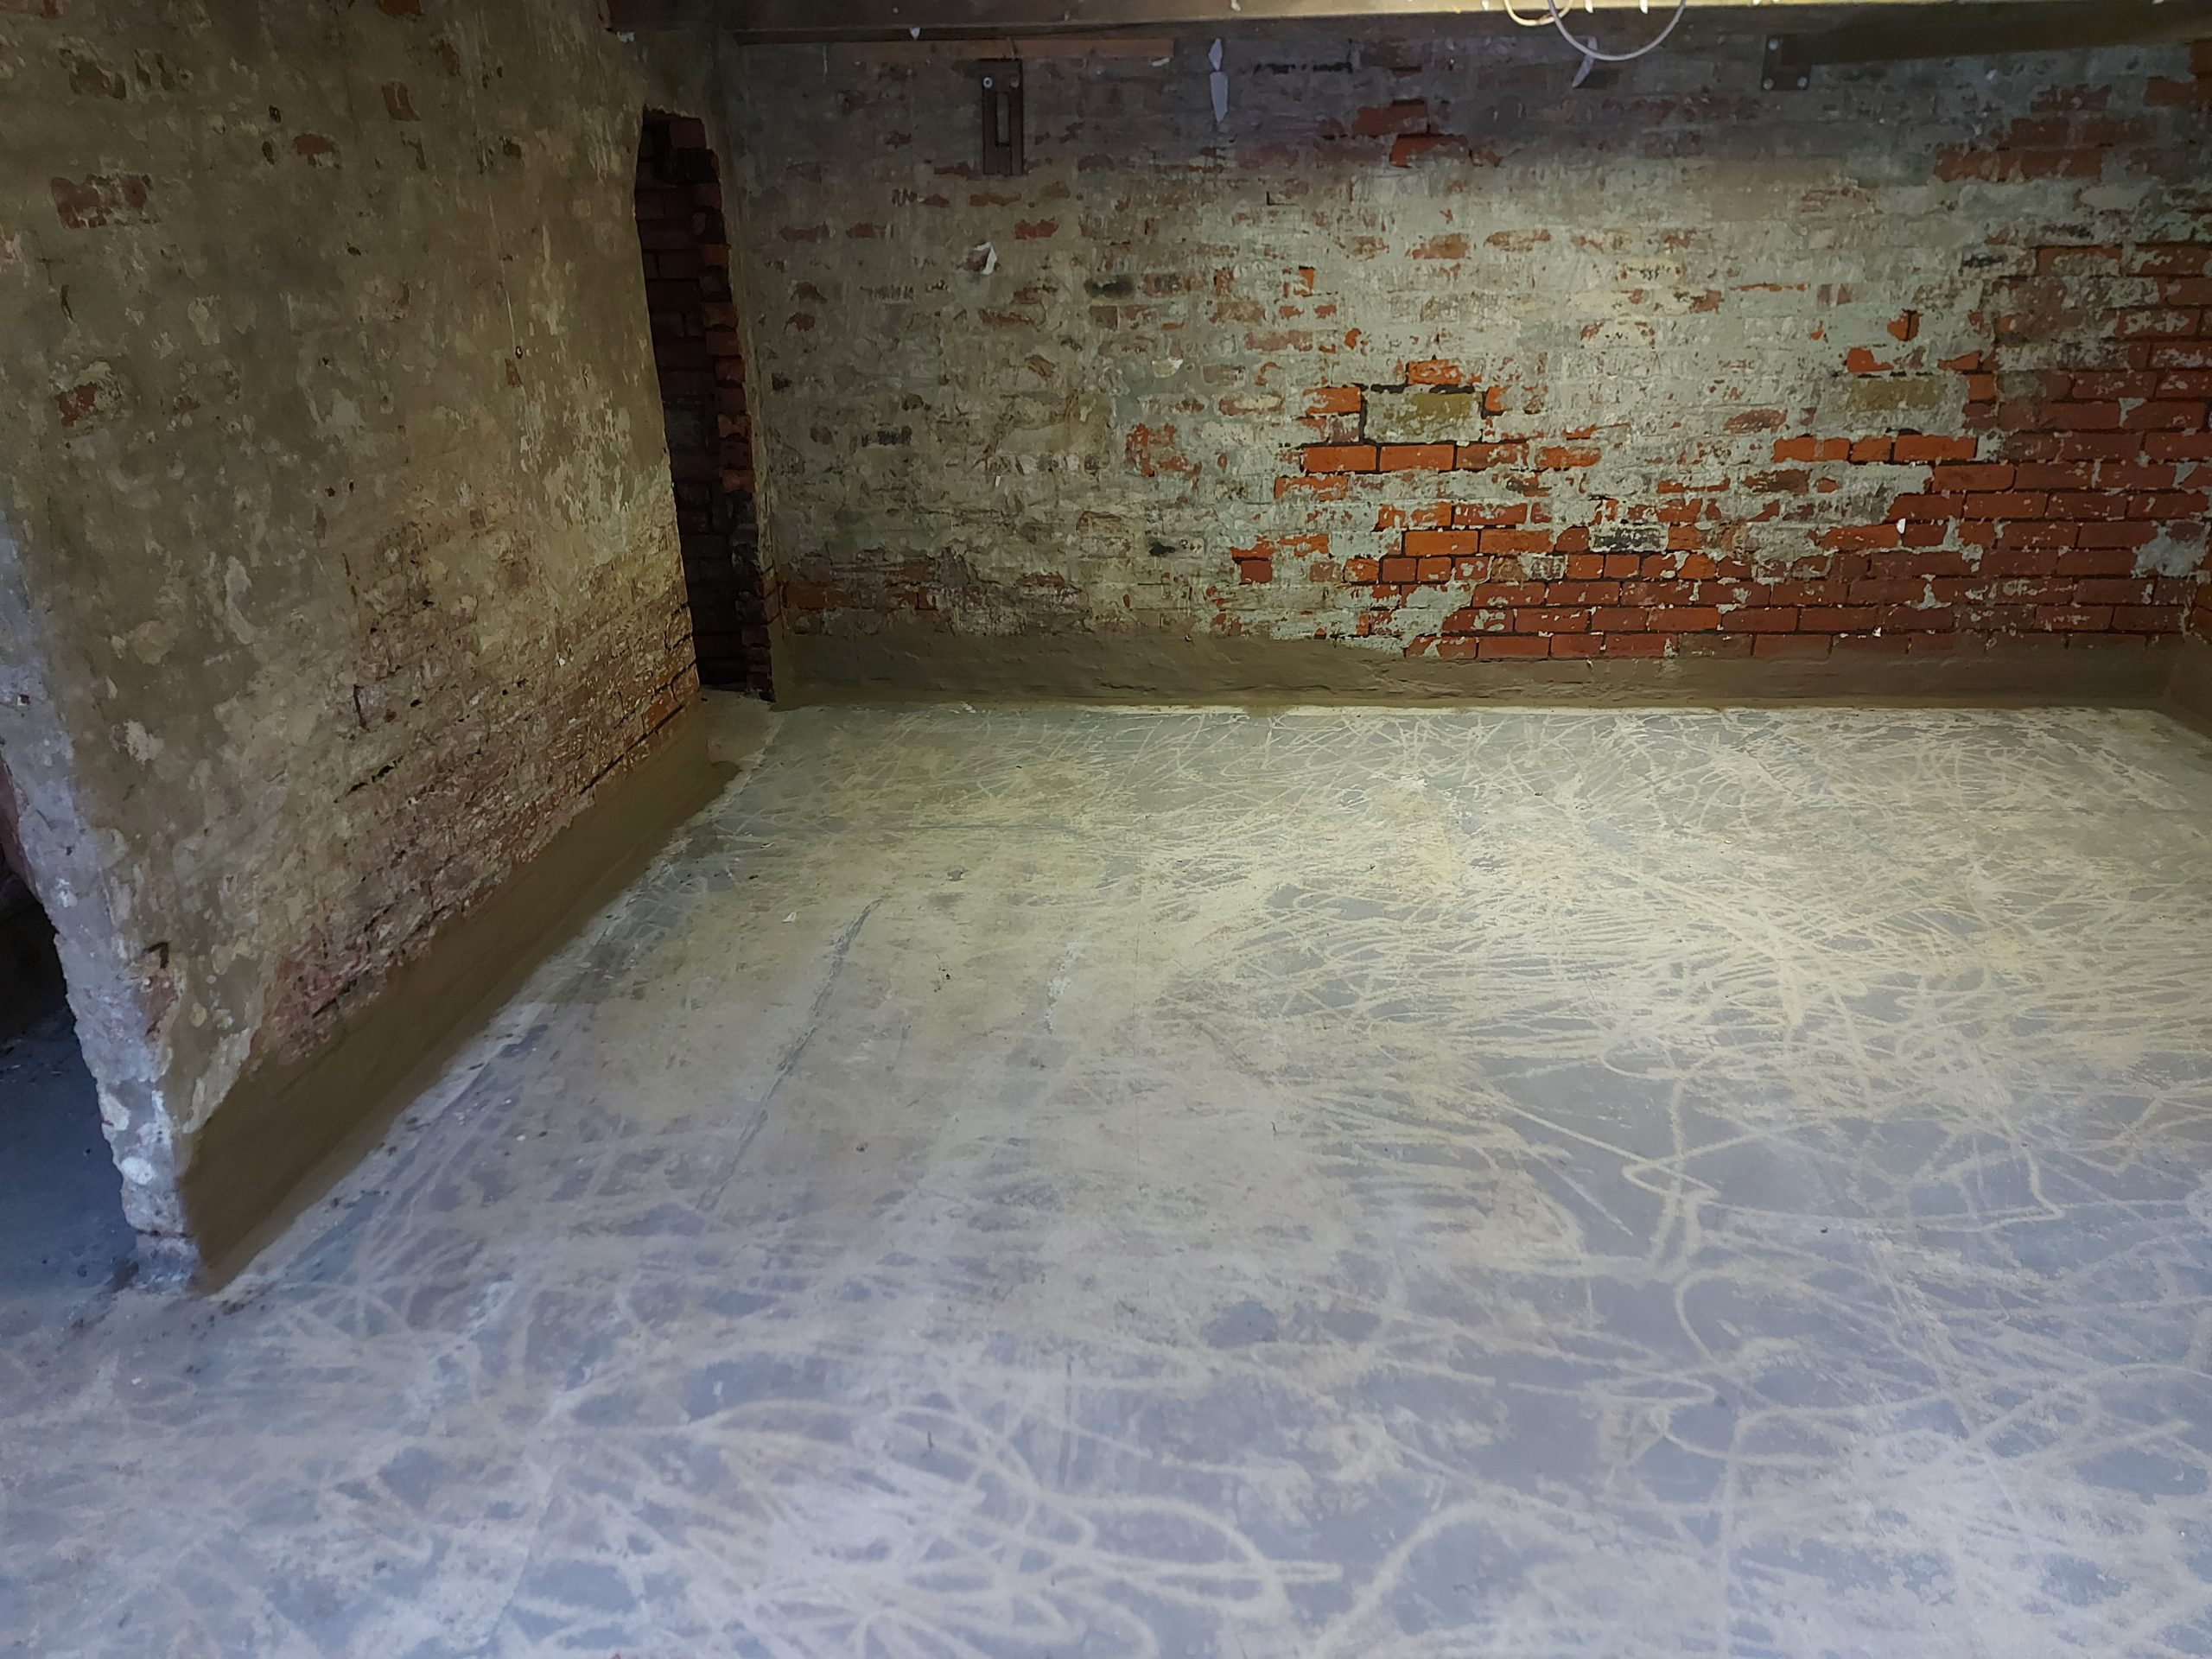
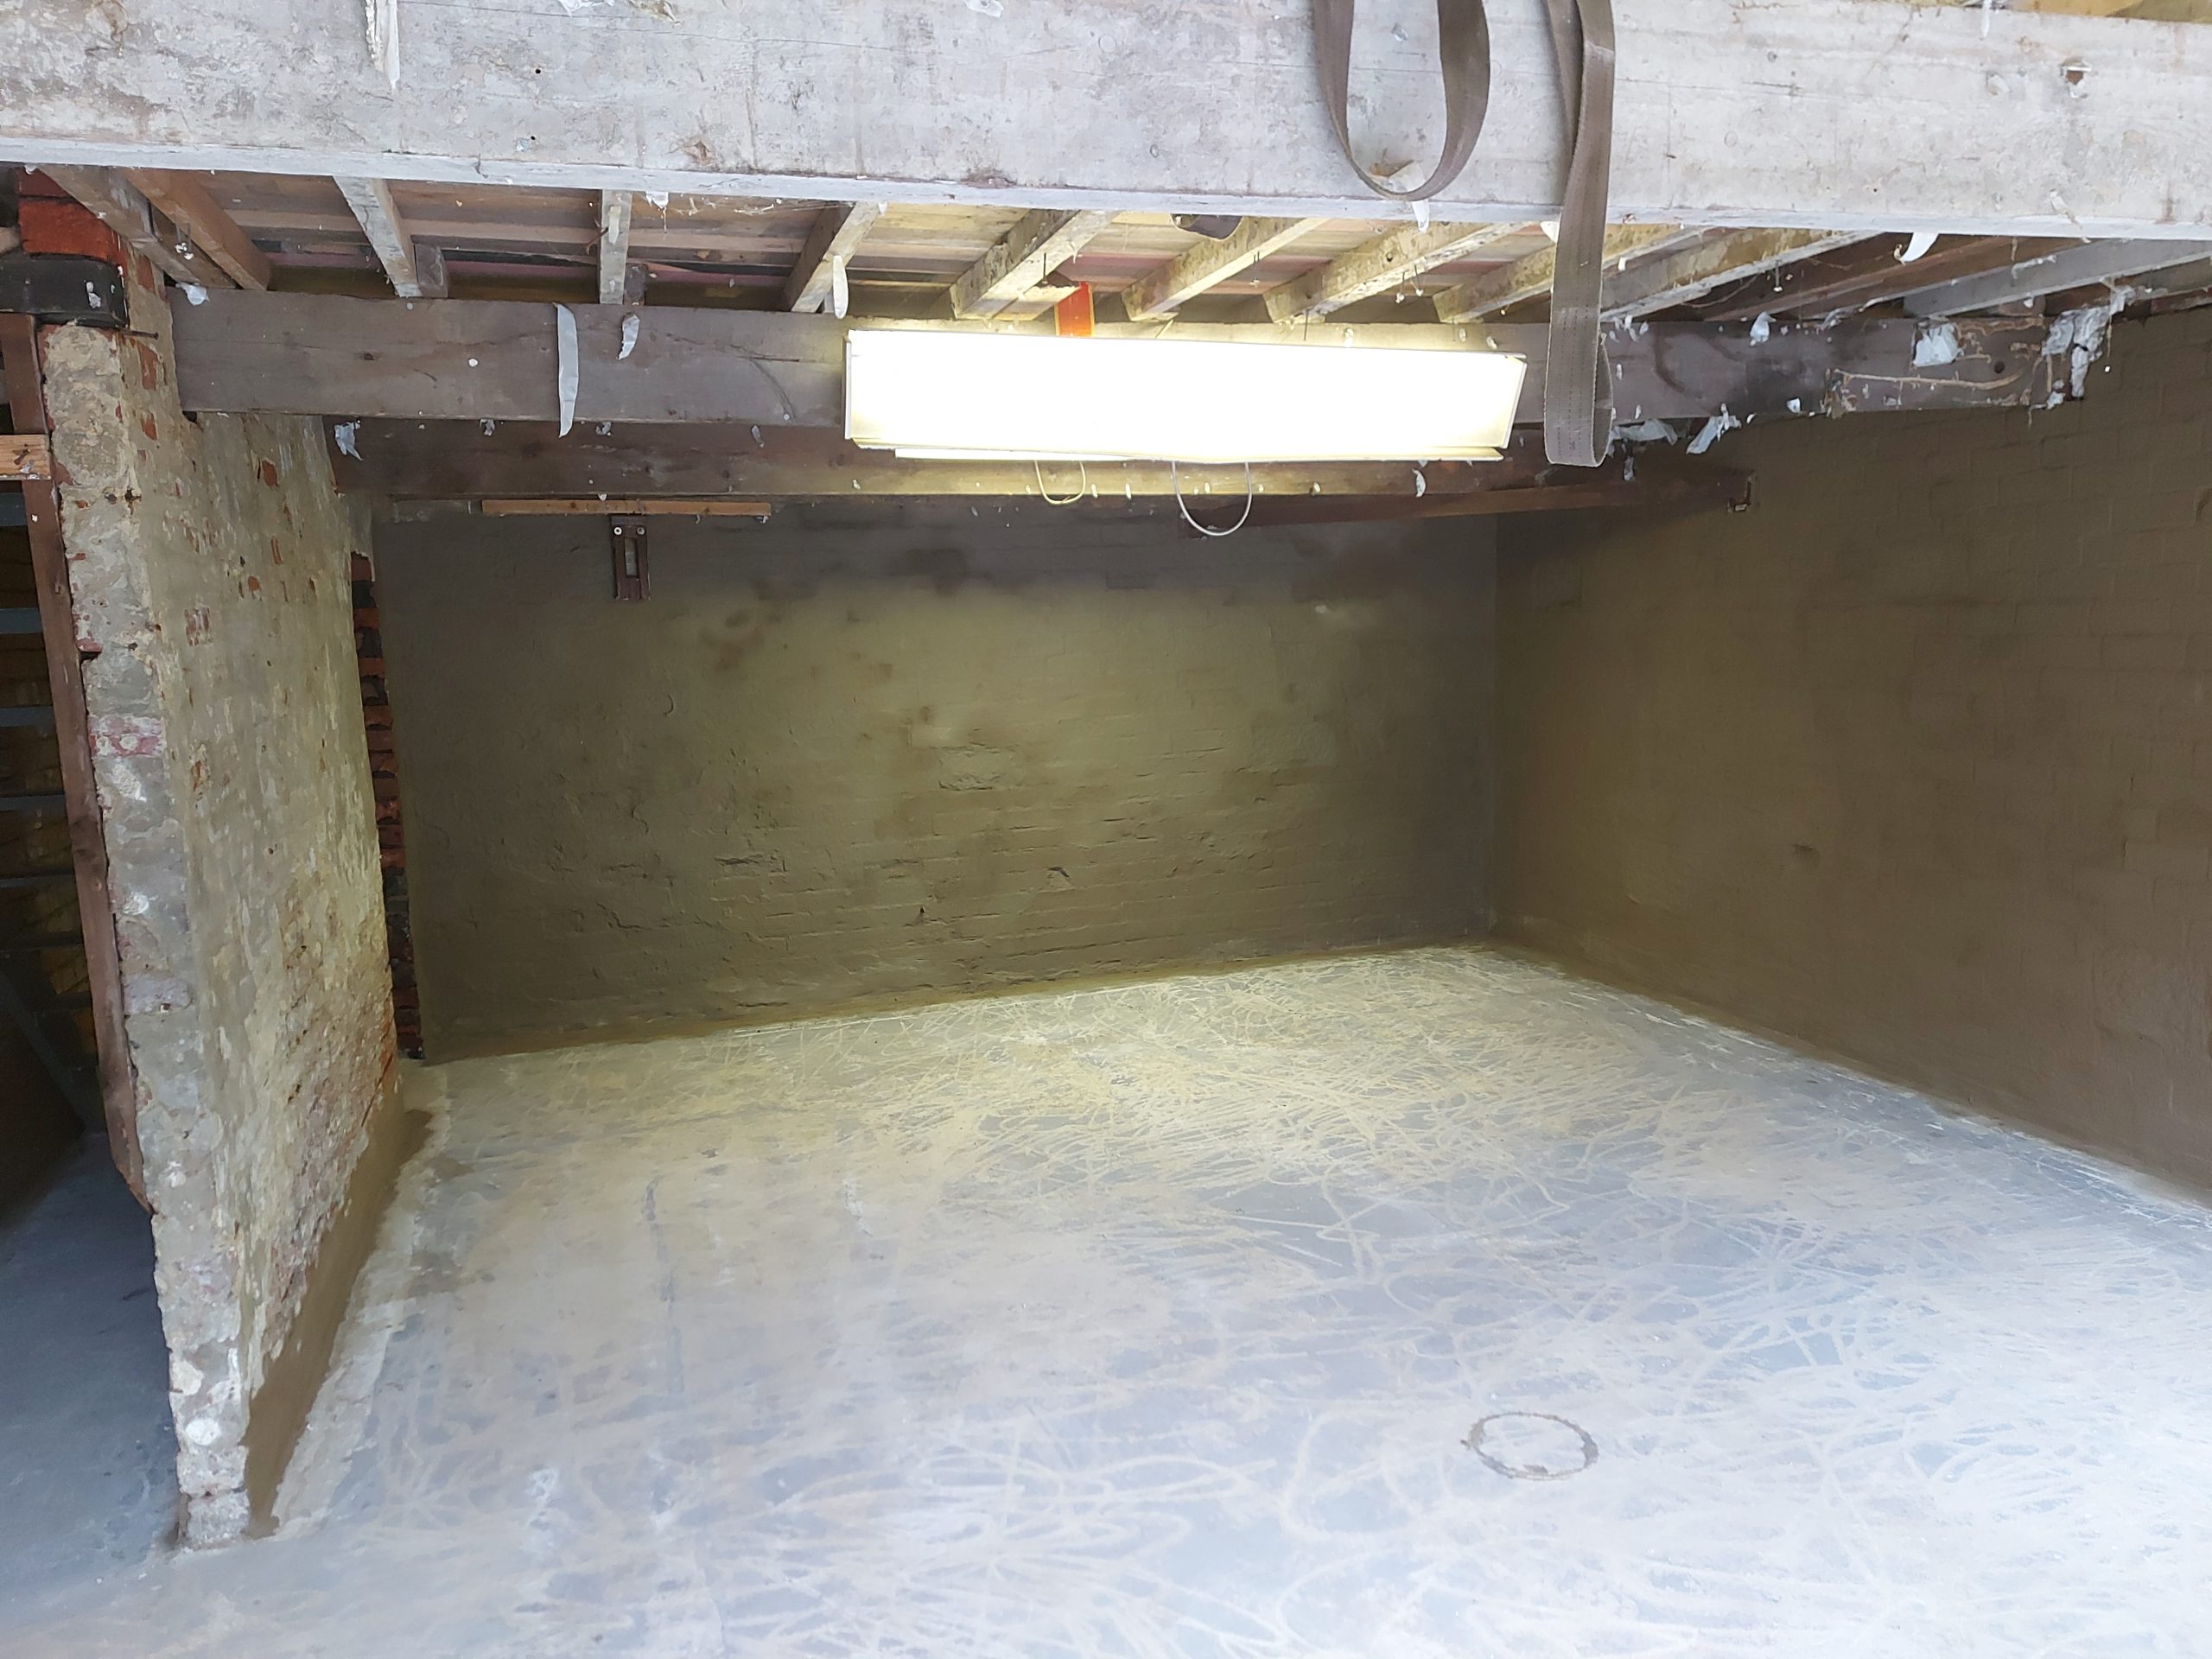
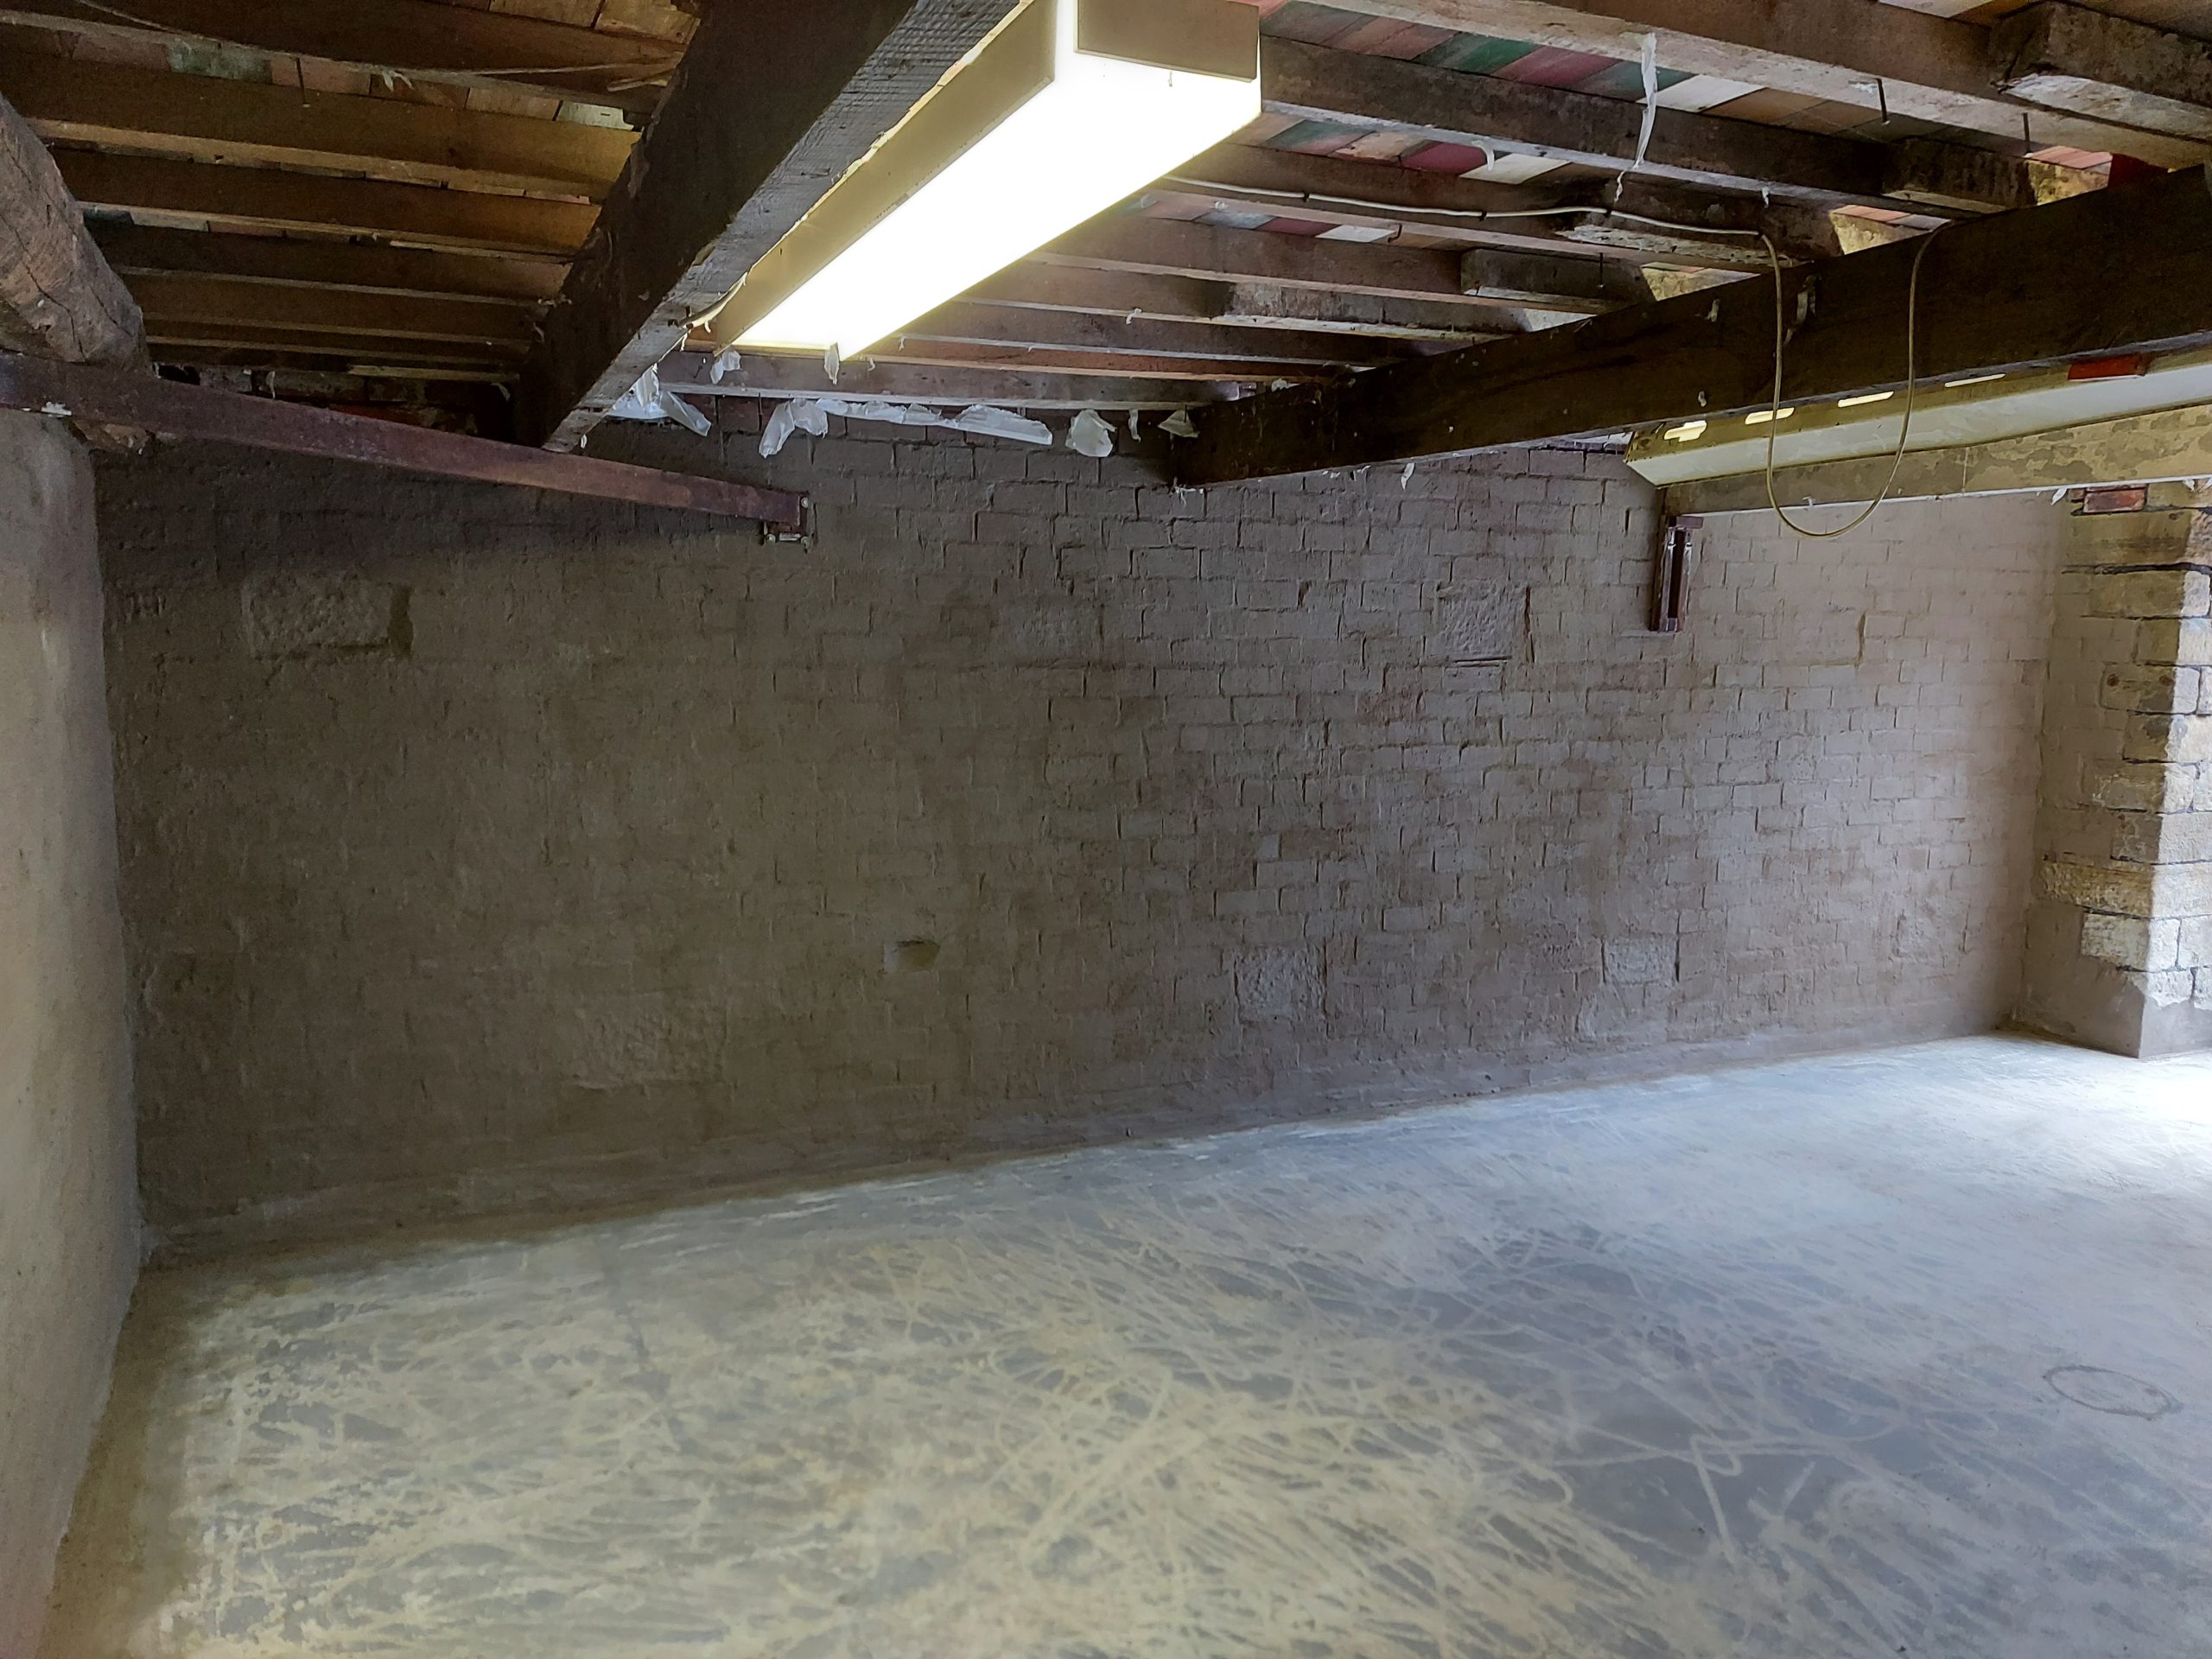
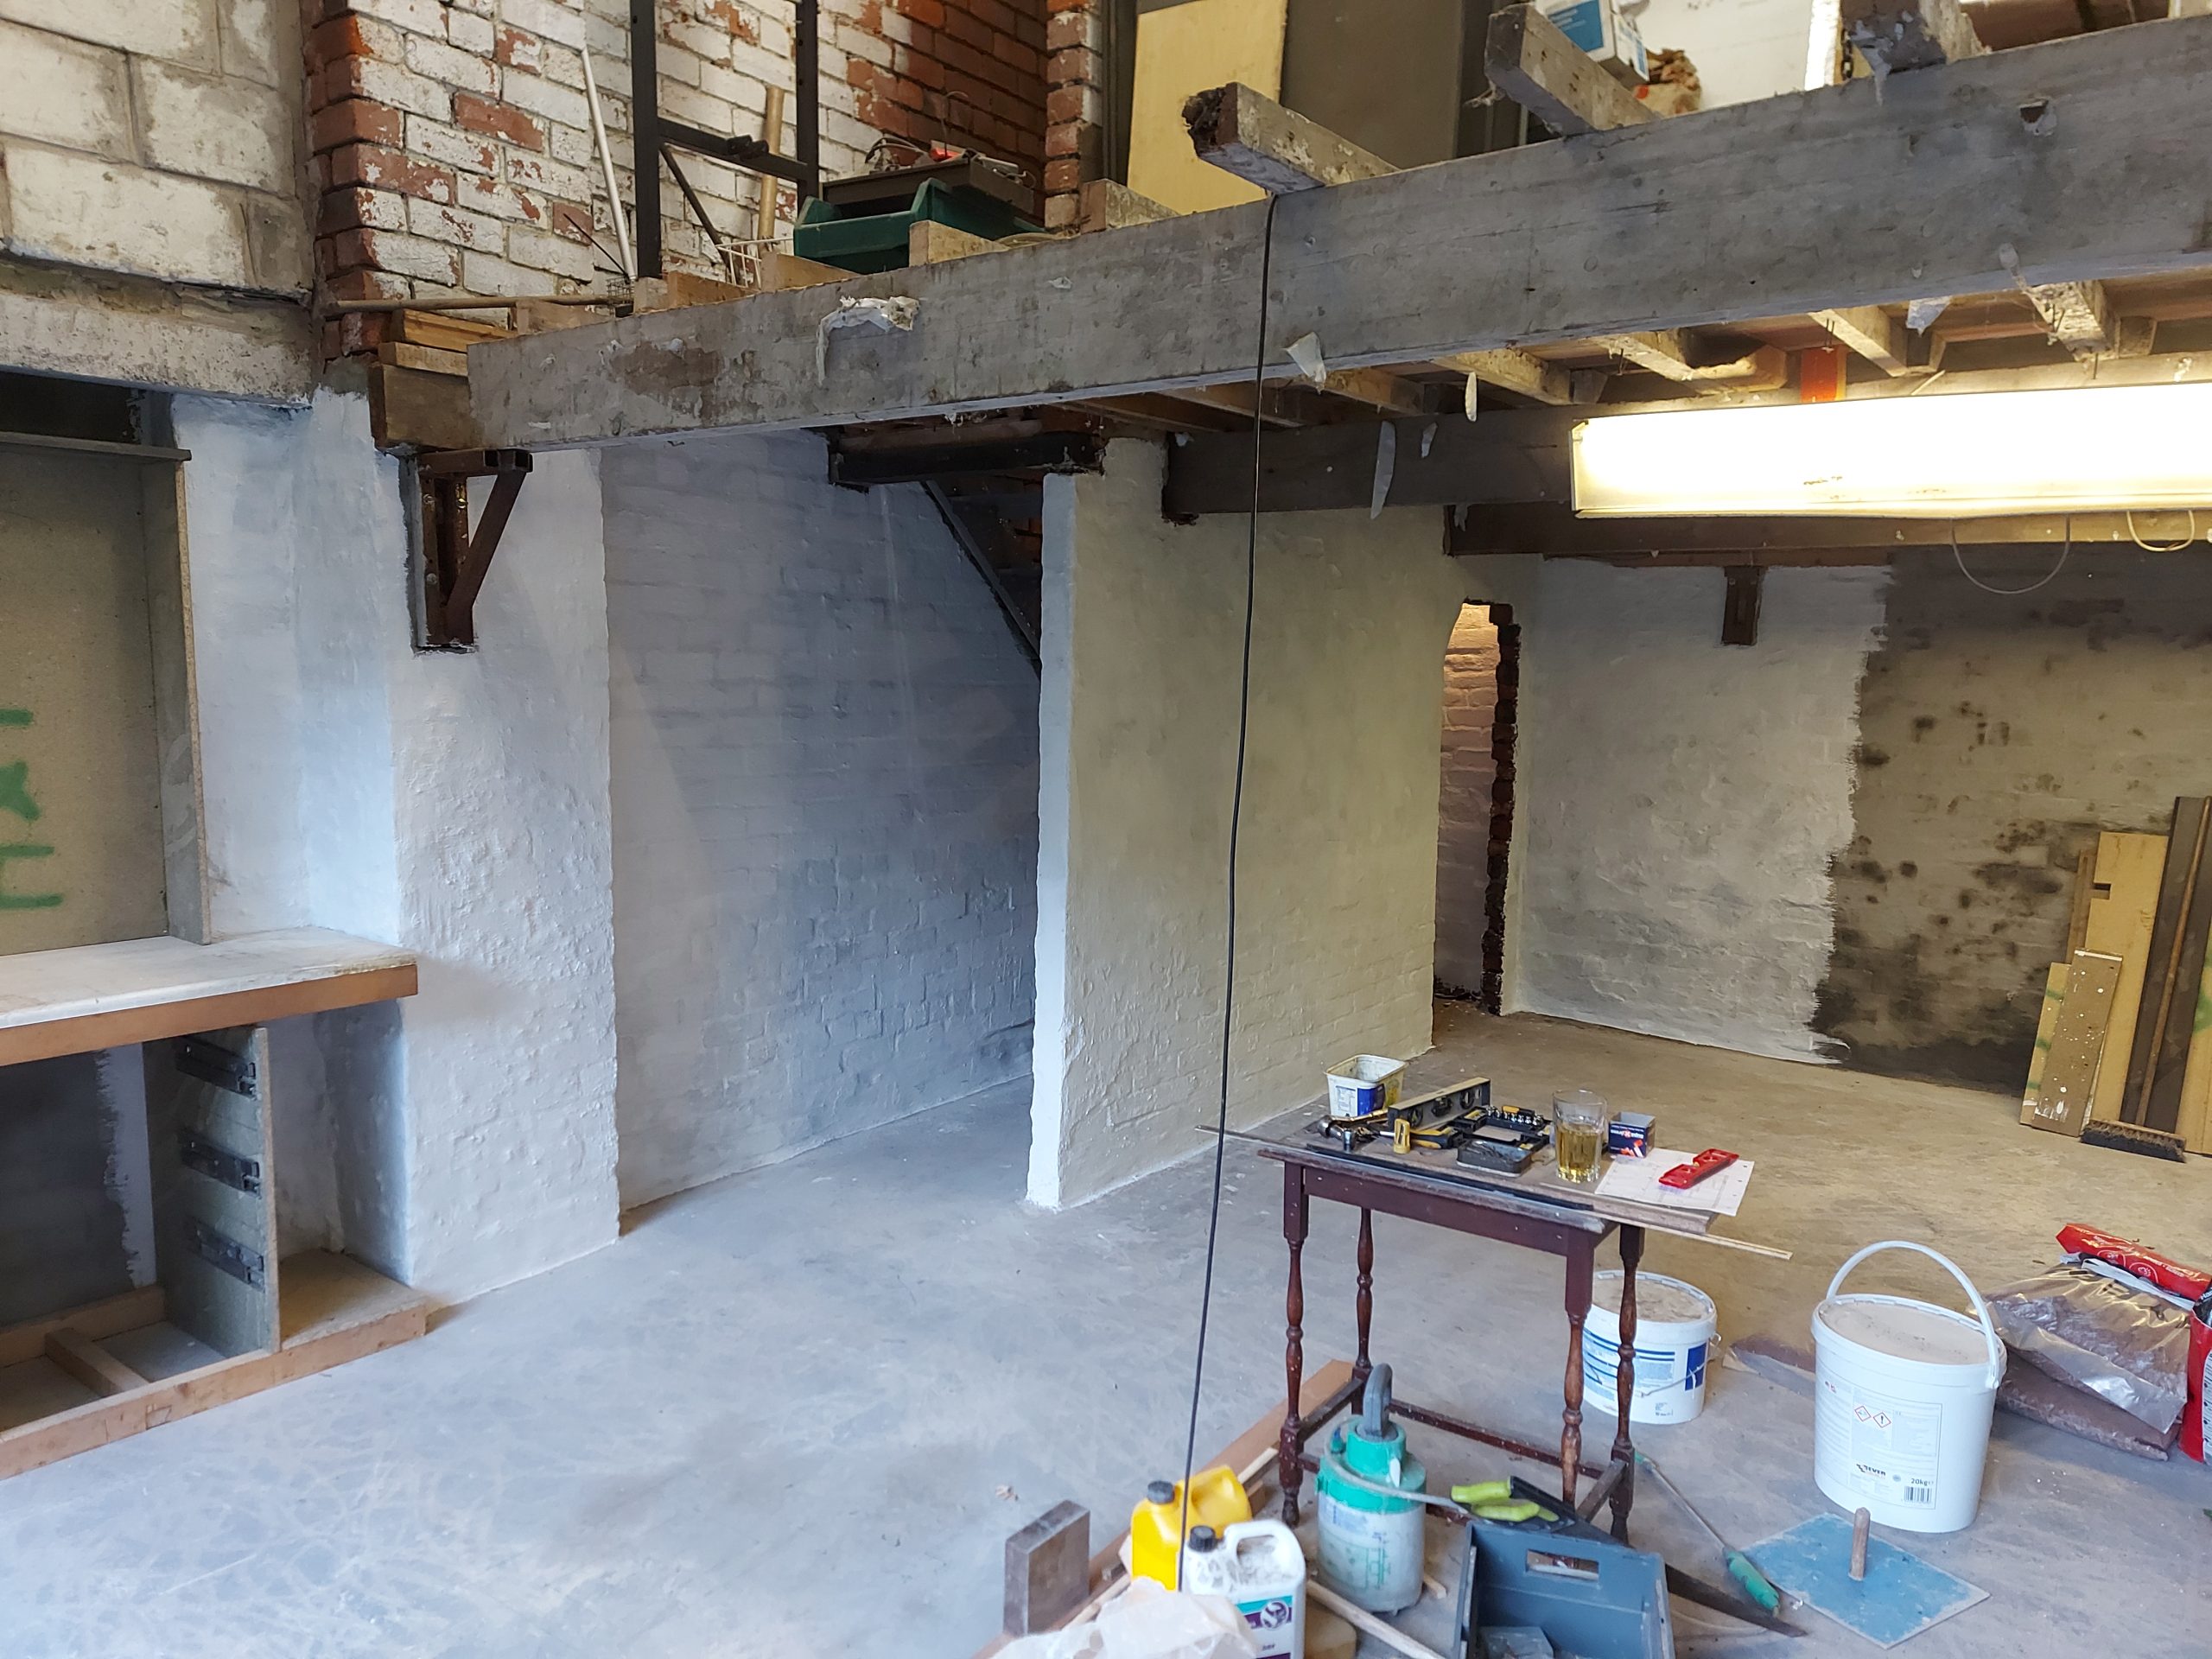
That’s the ground floor coated, ready for damp proof slurry next
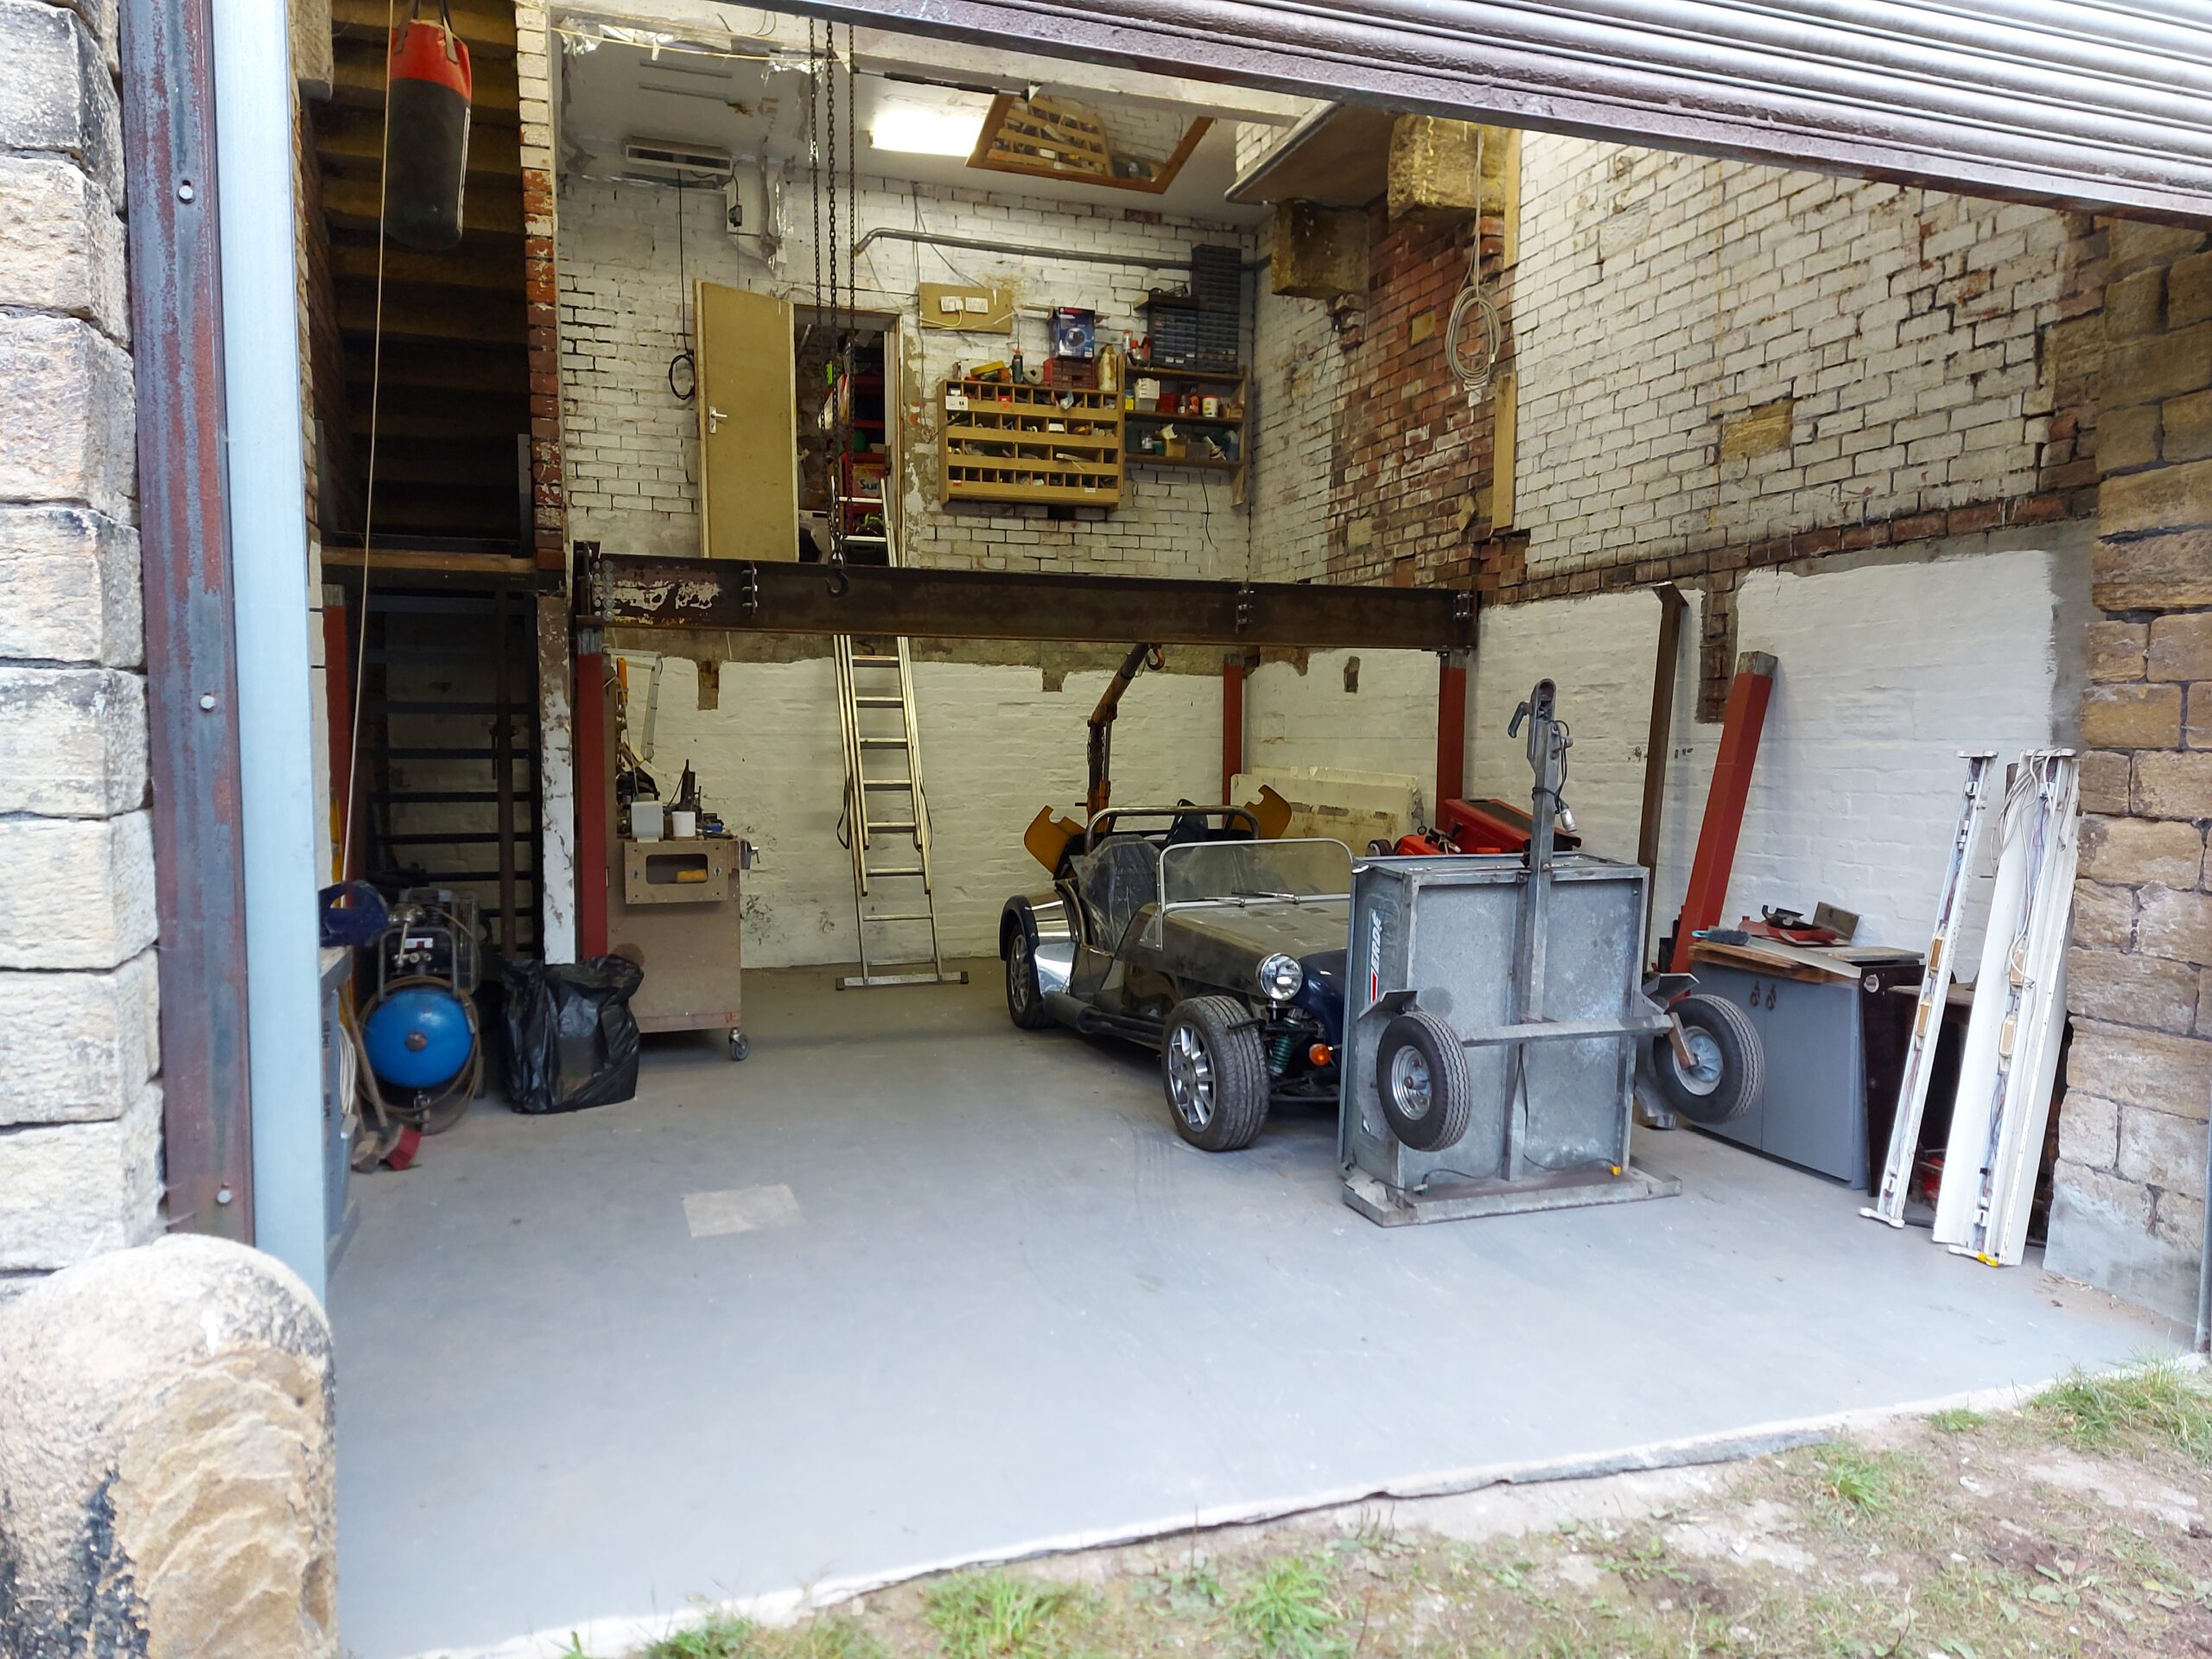
Had to have a look with a motor in there? looking good nice space.
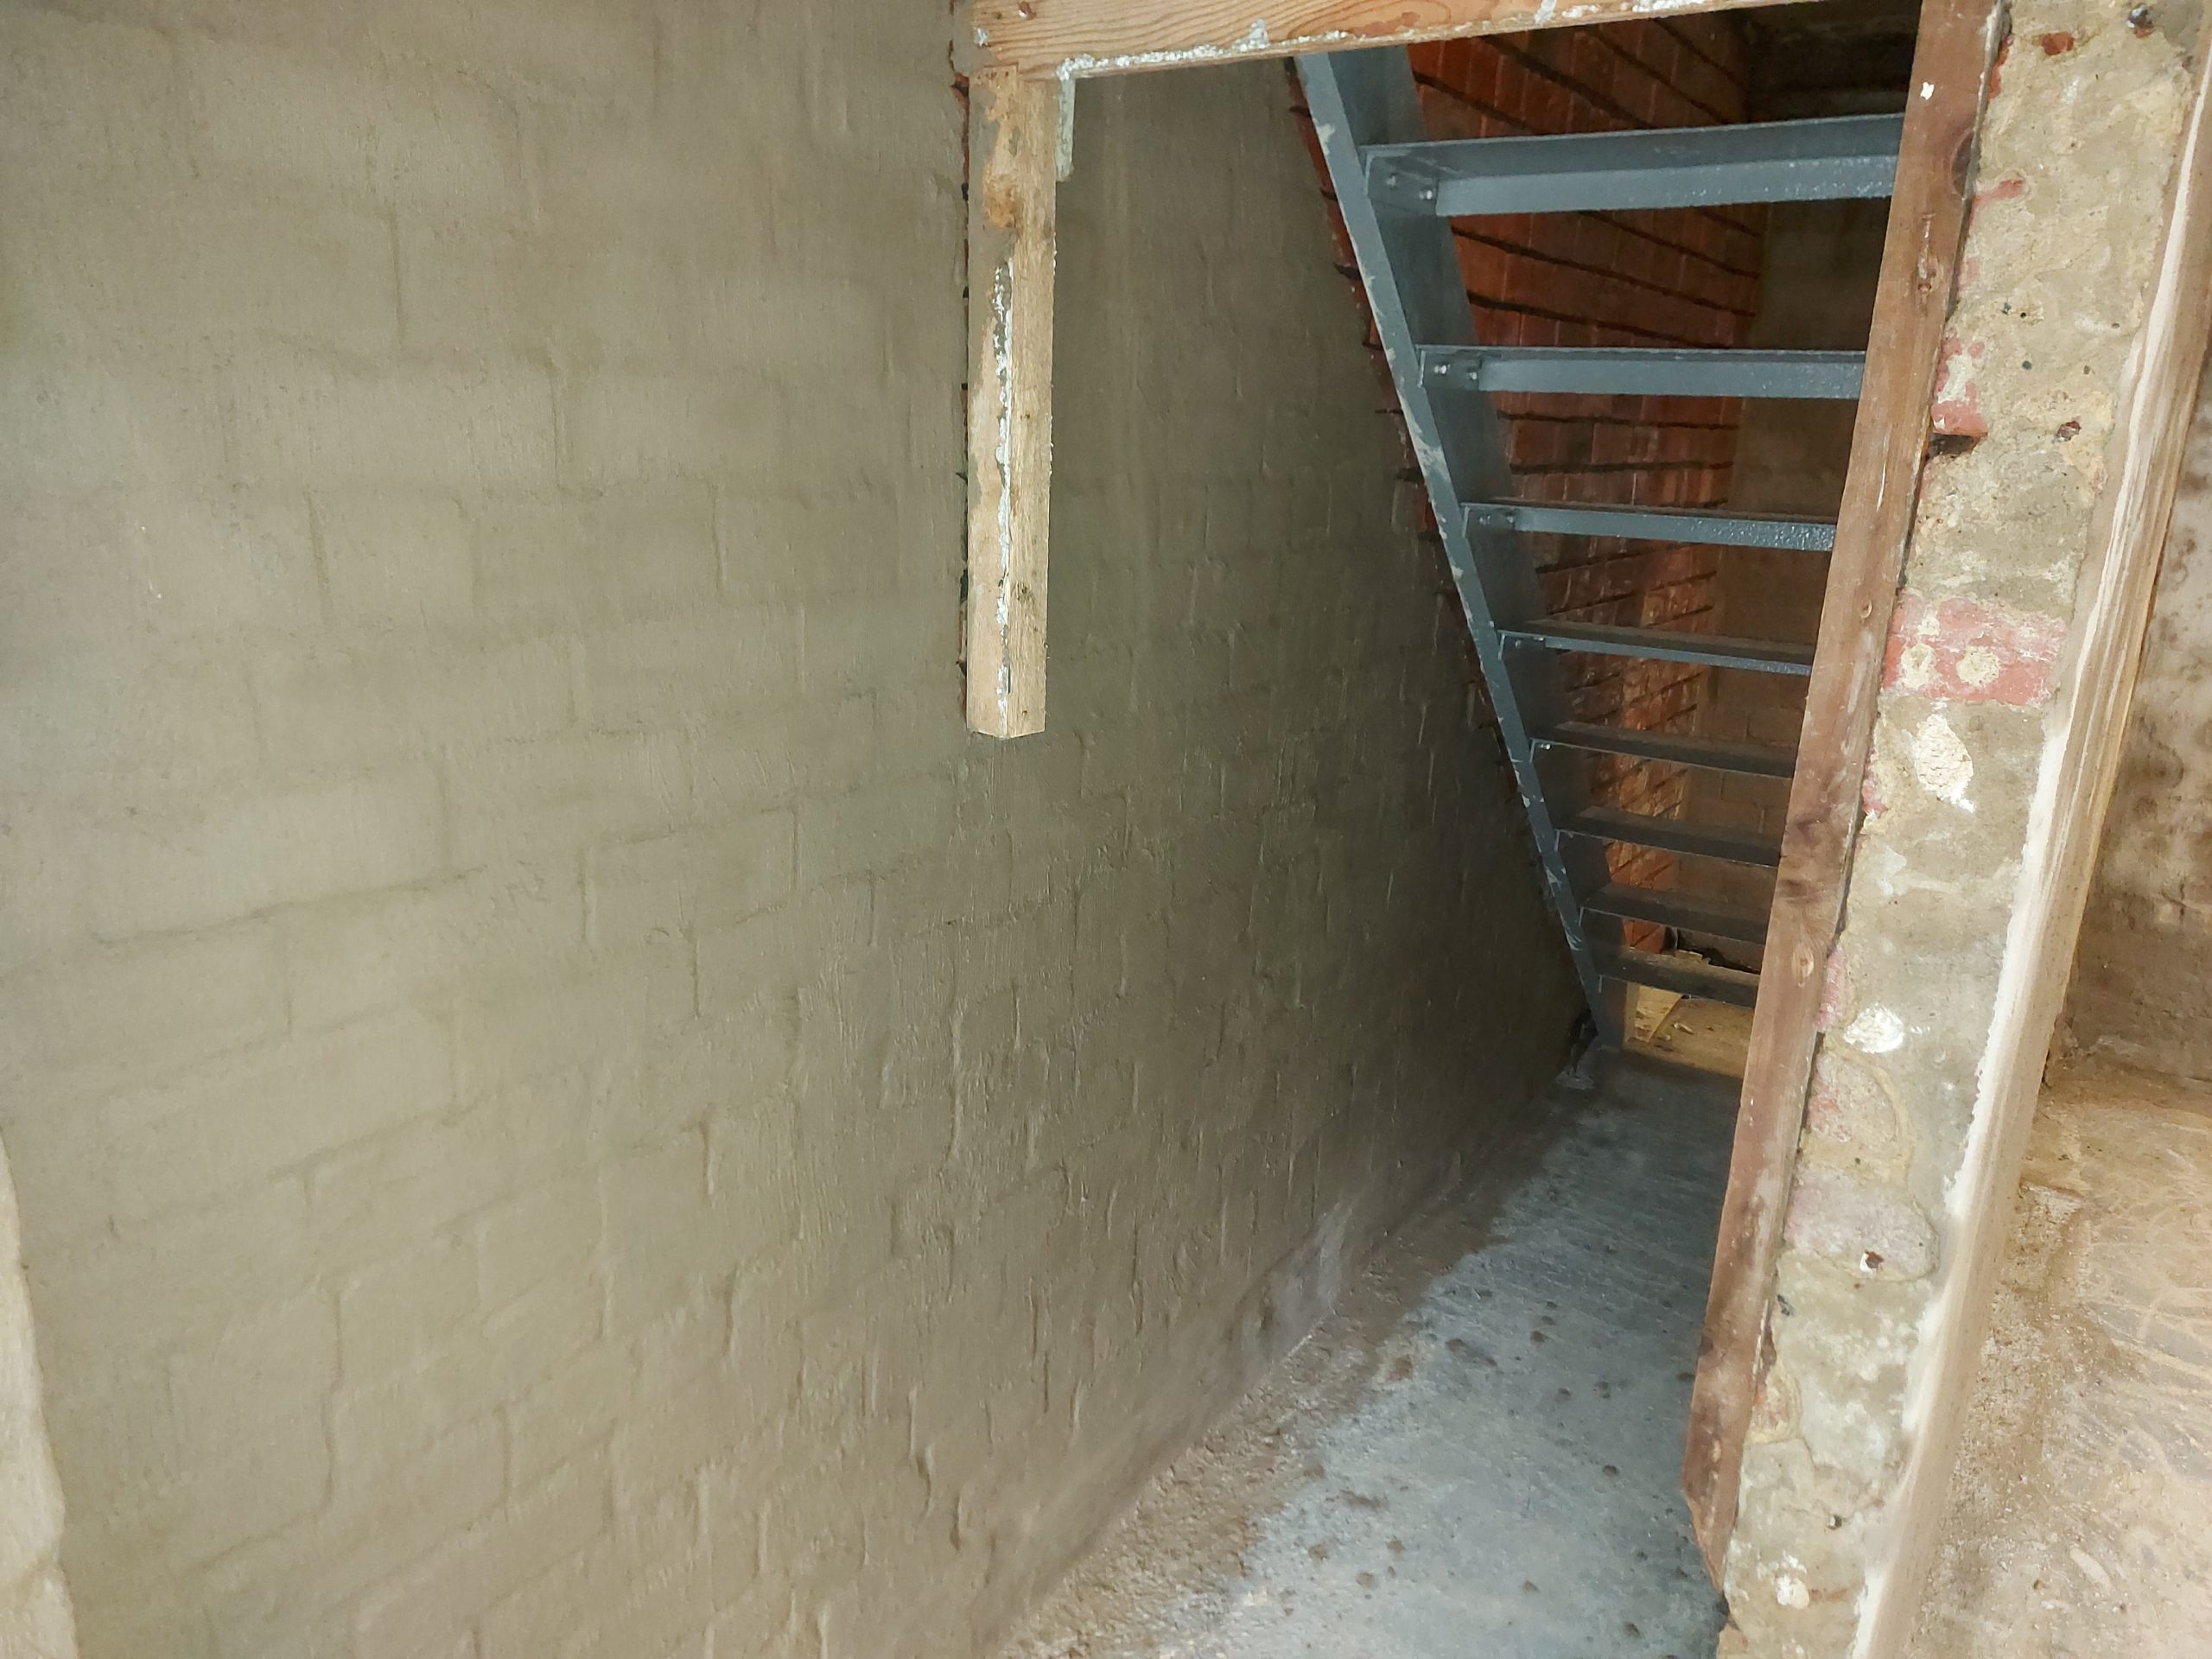
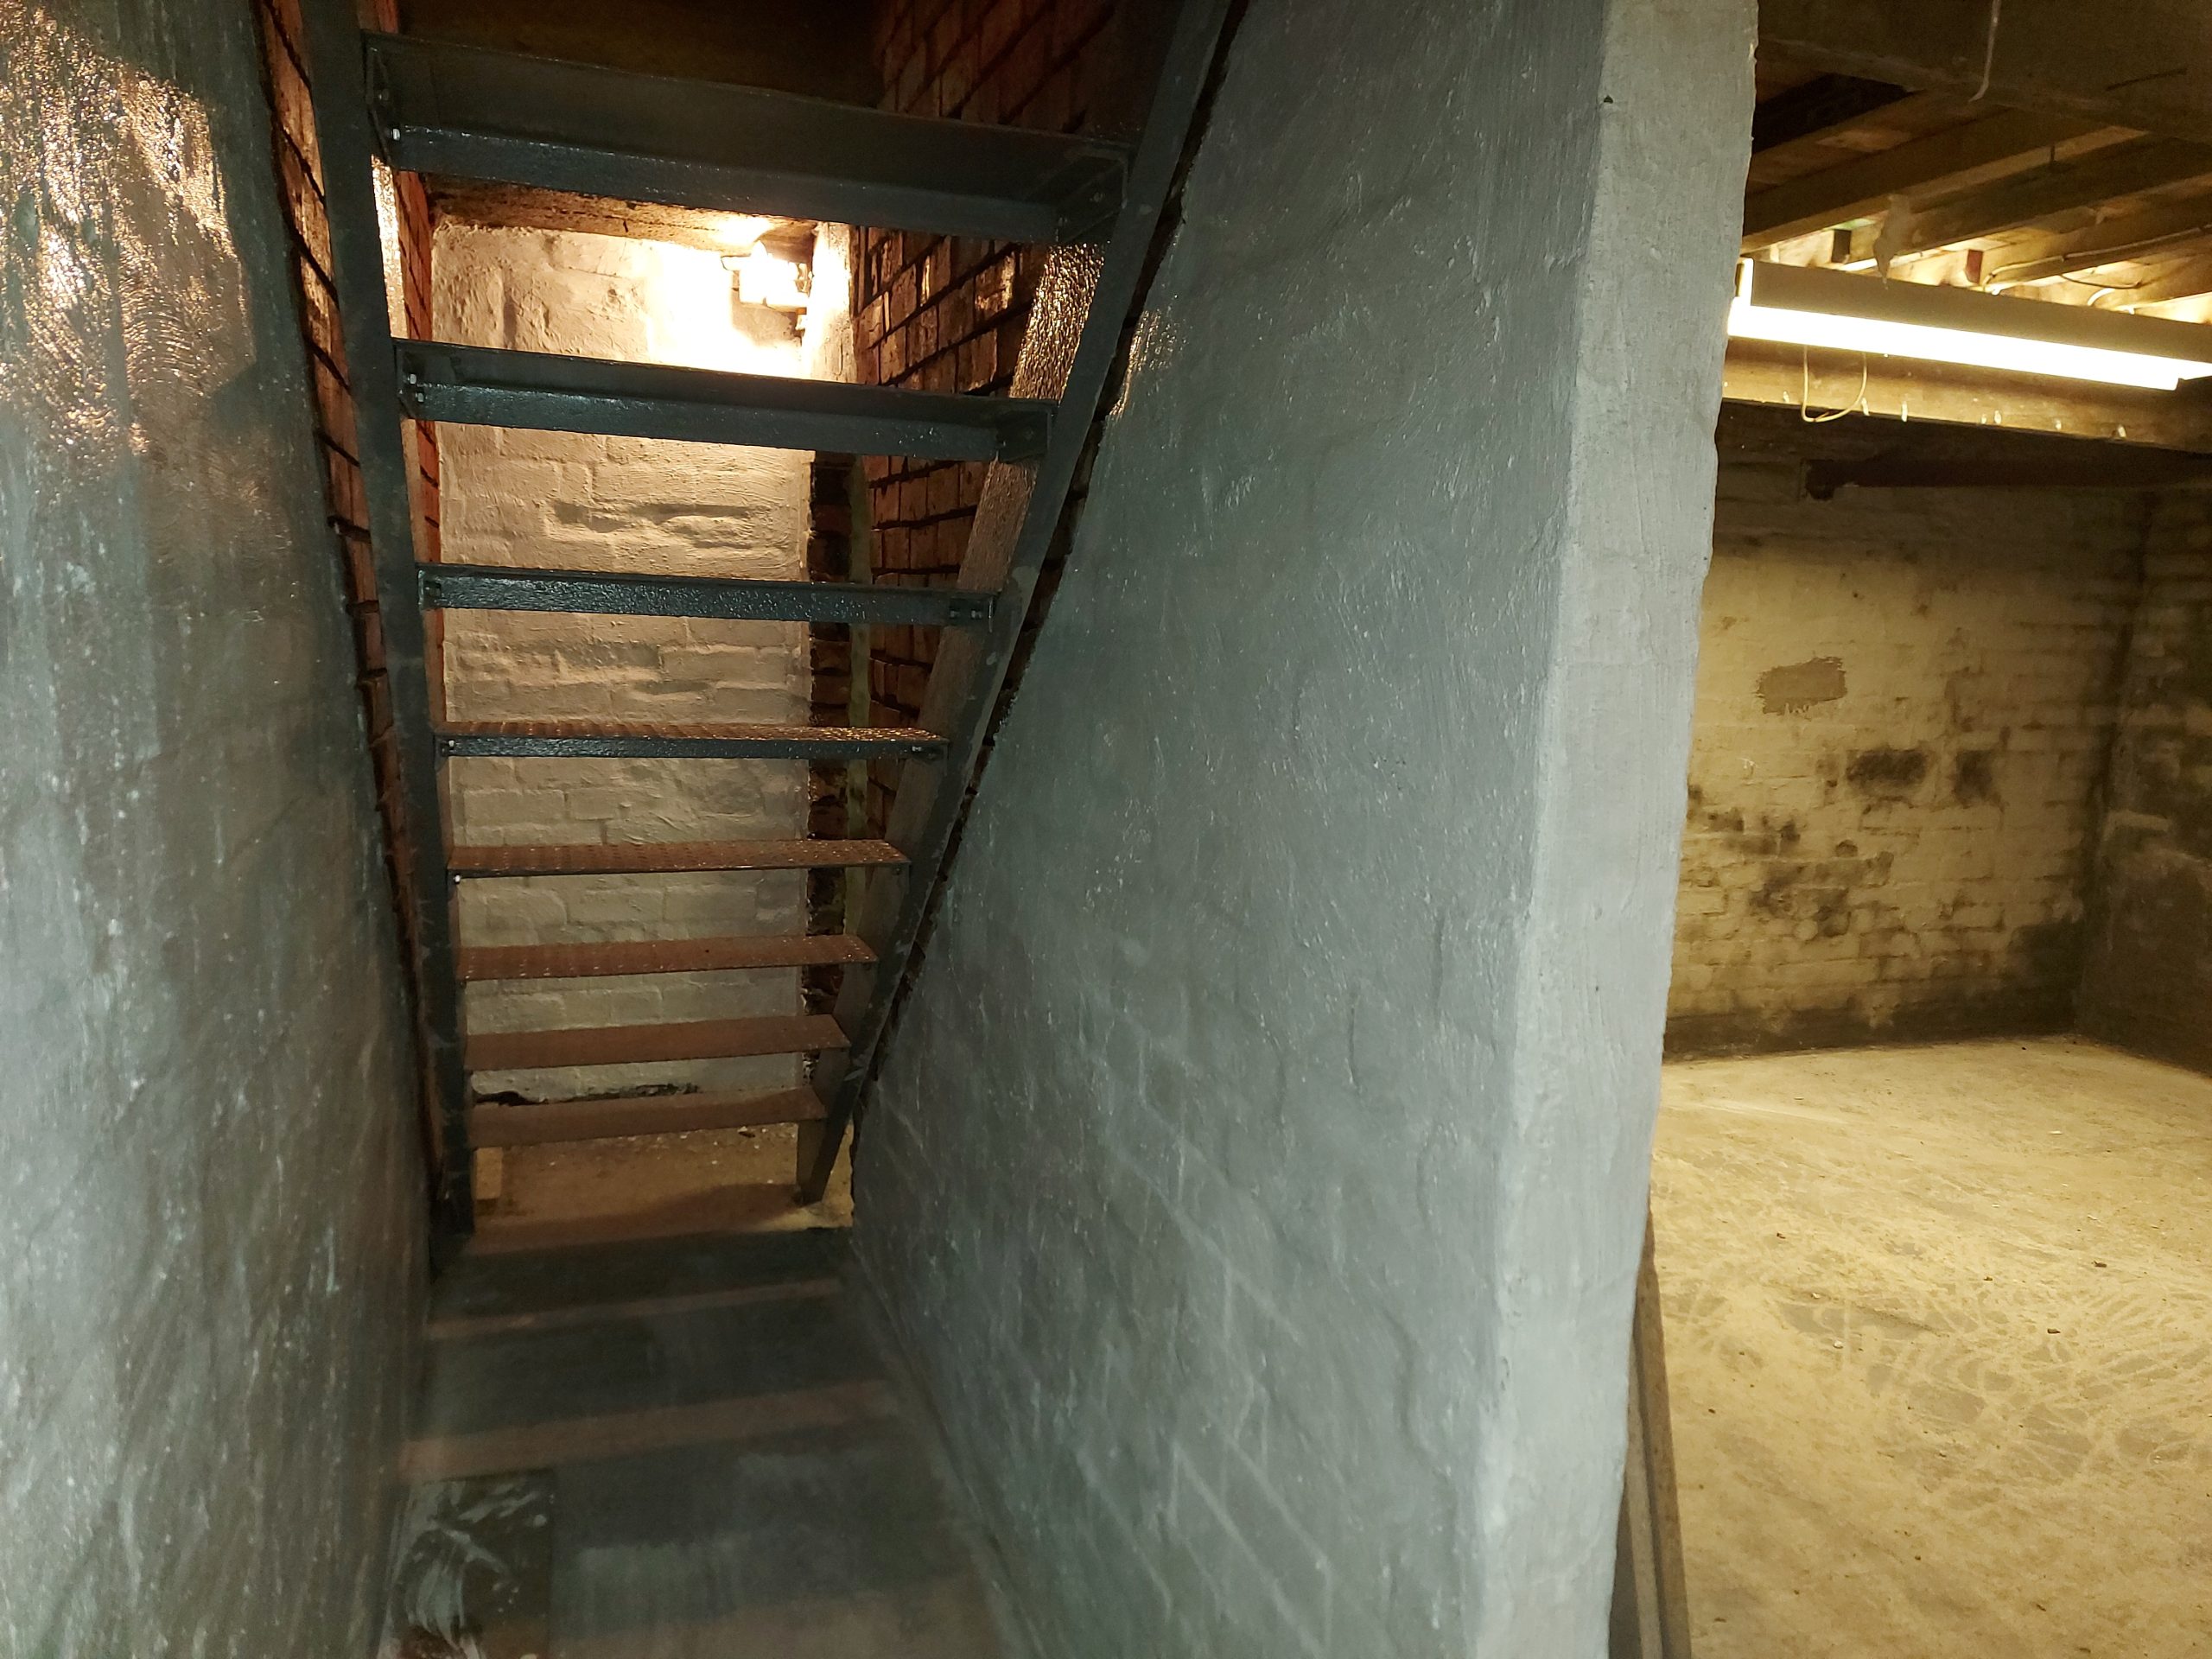
one coat of tanking at bottom of staires, Completed now
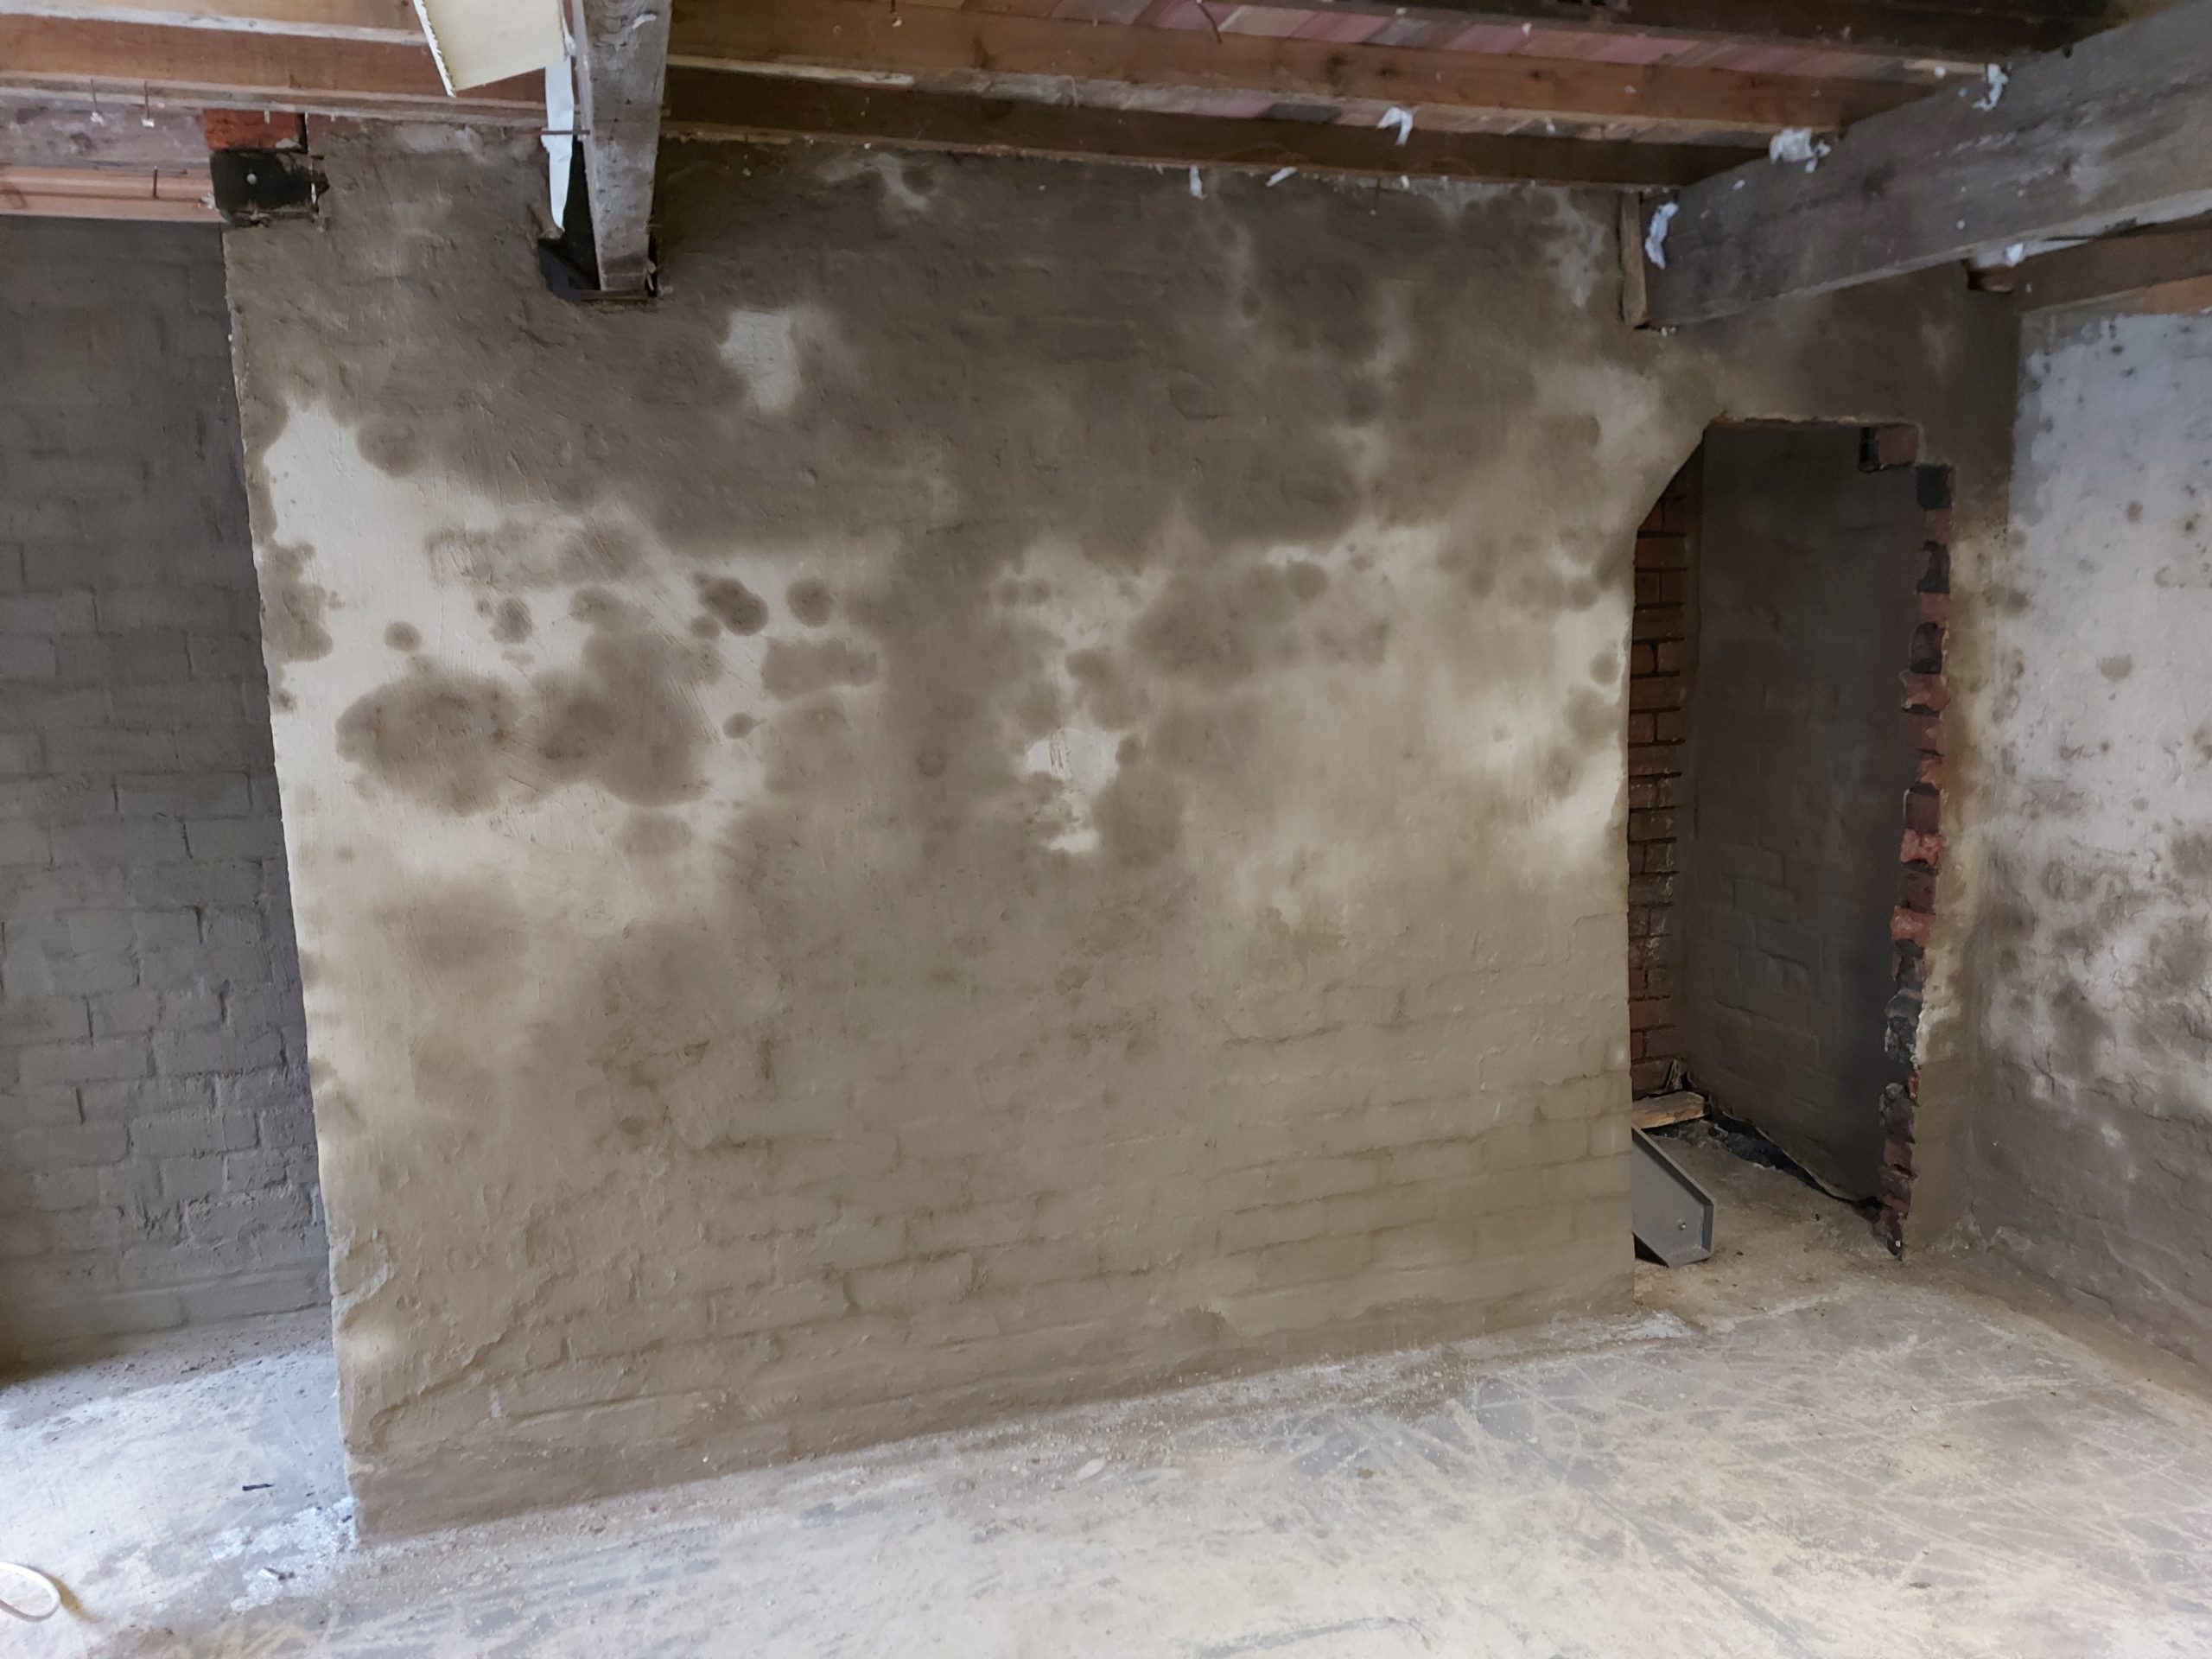
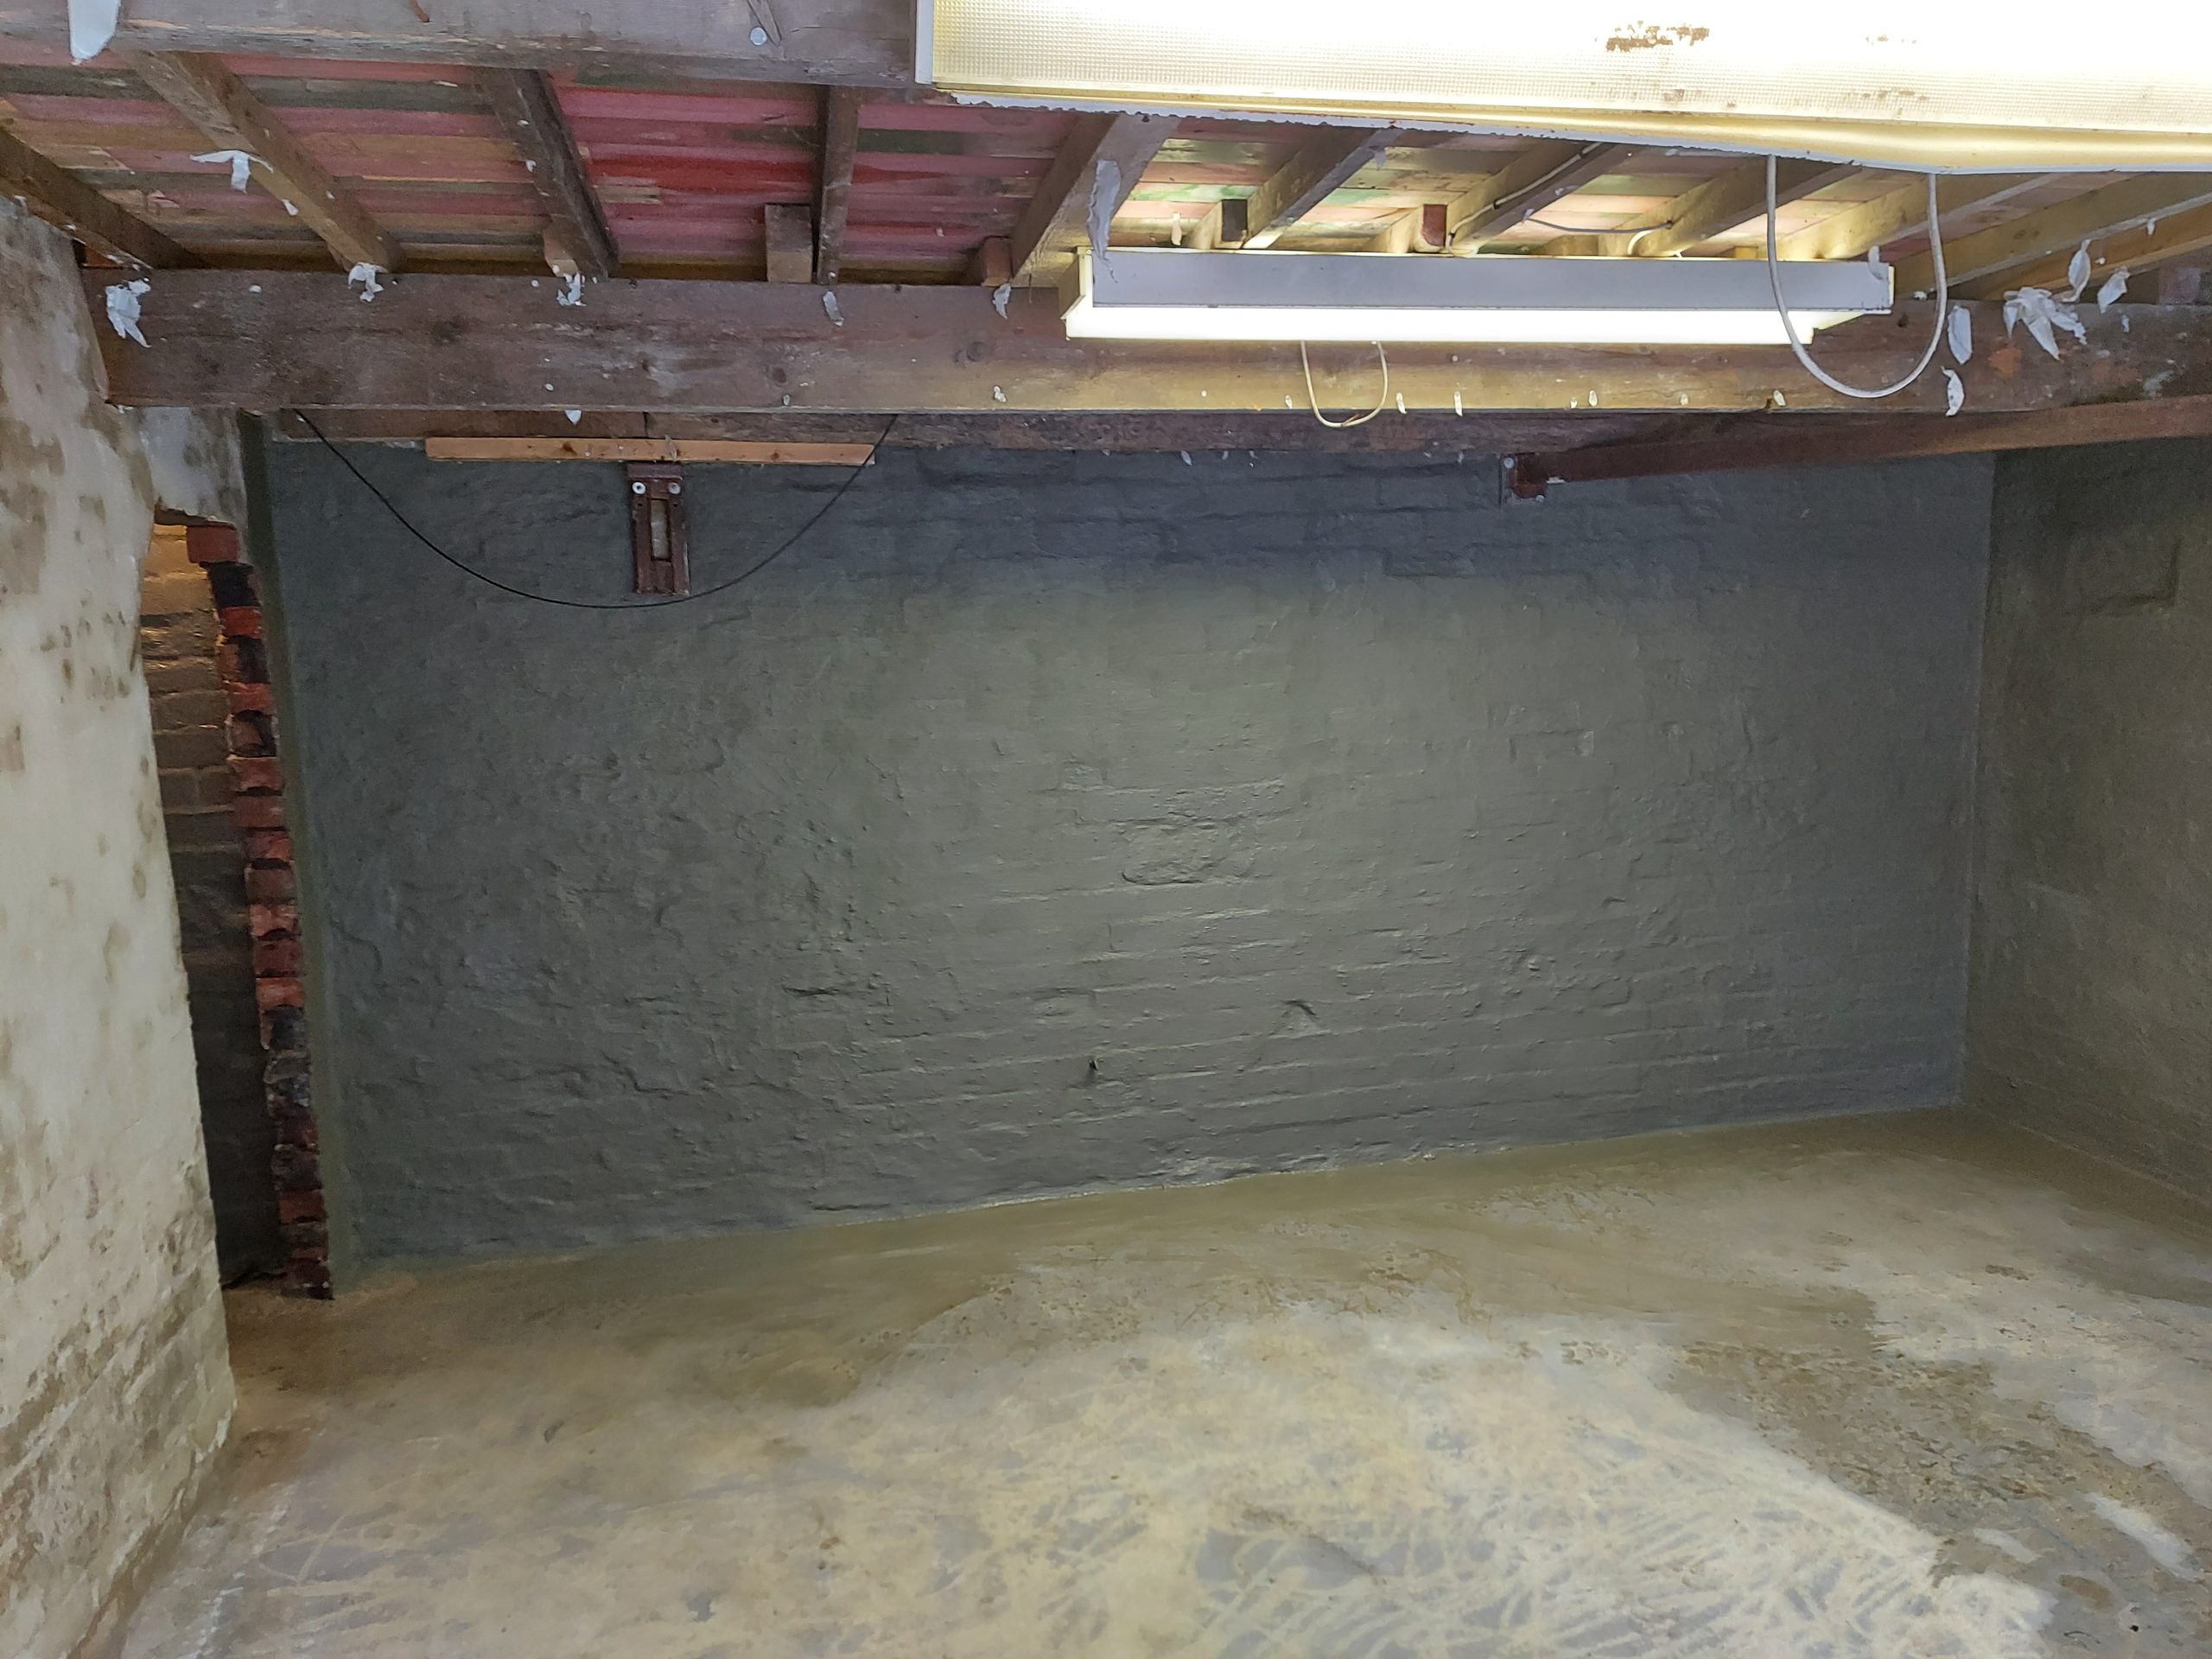
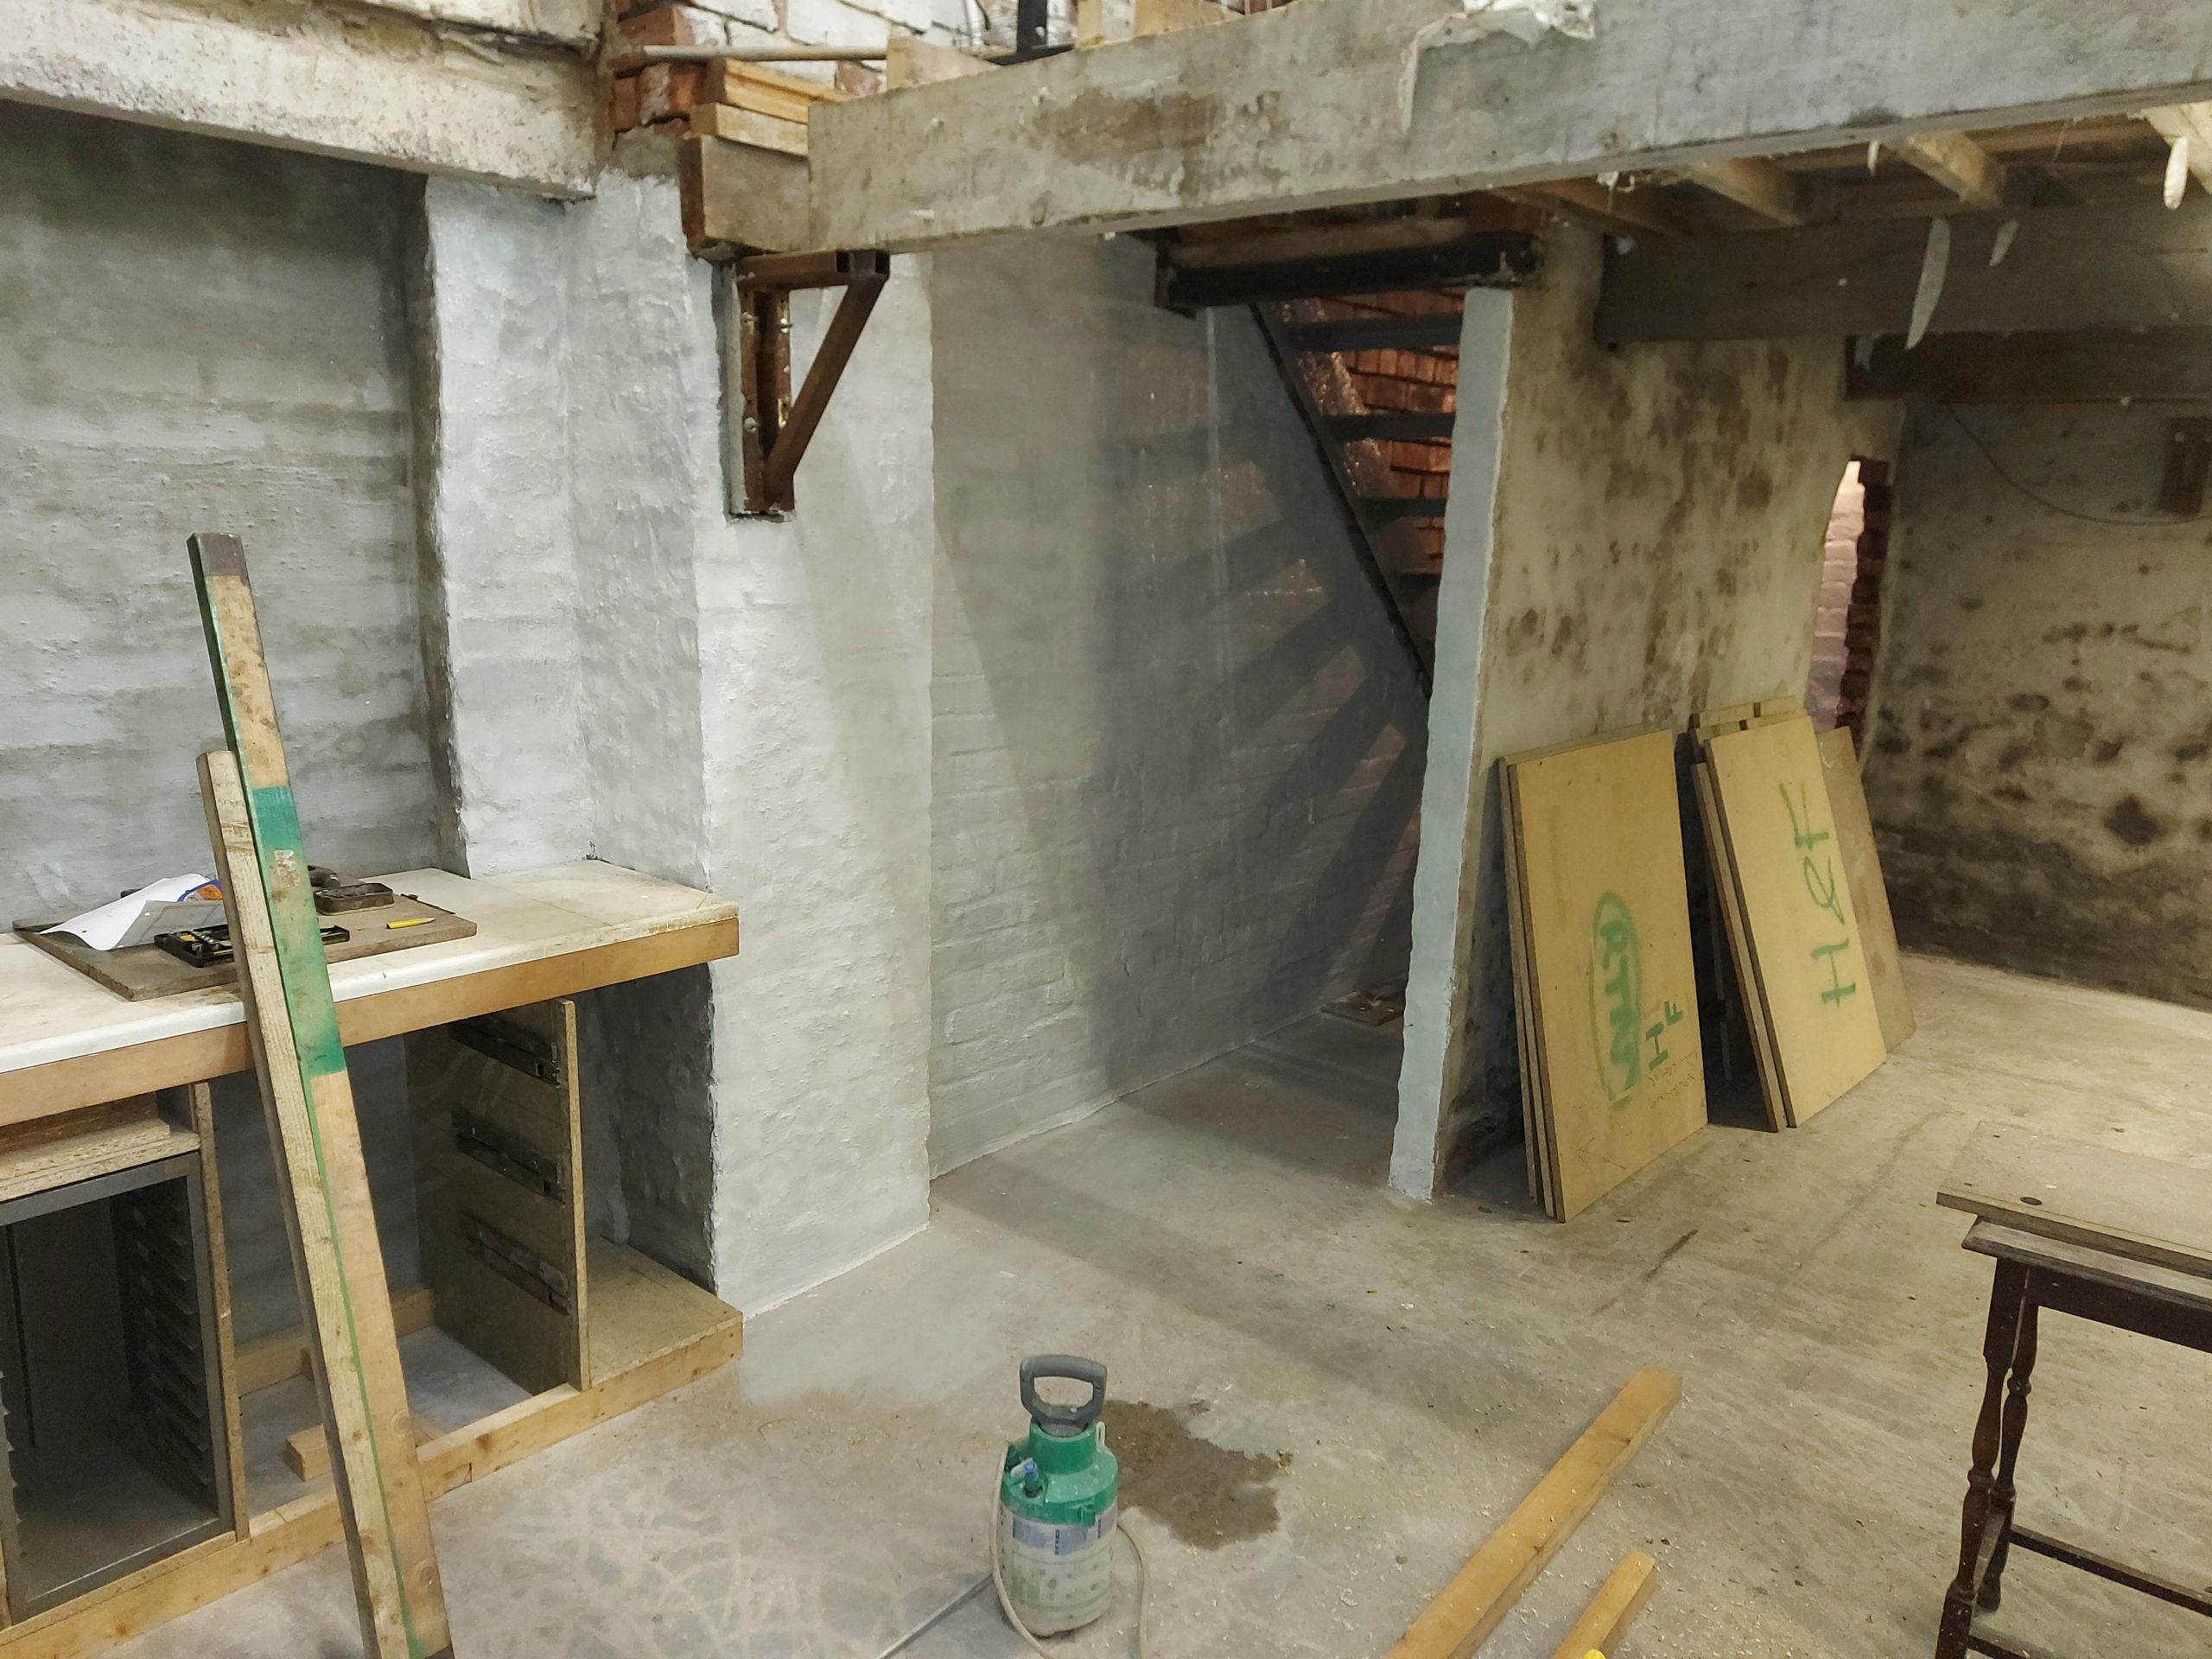
Two coats of tanking on both these walls next white paint
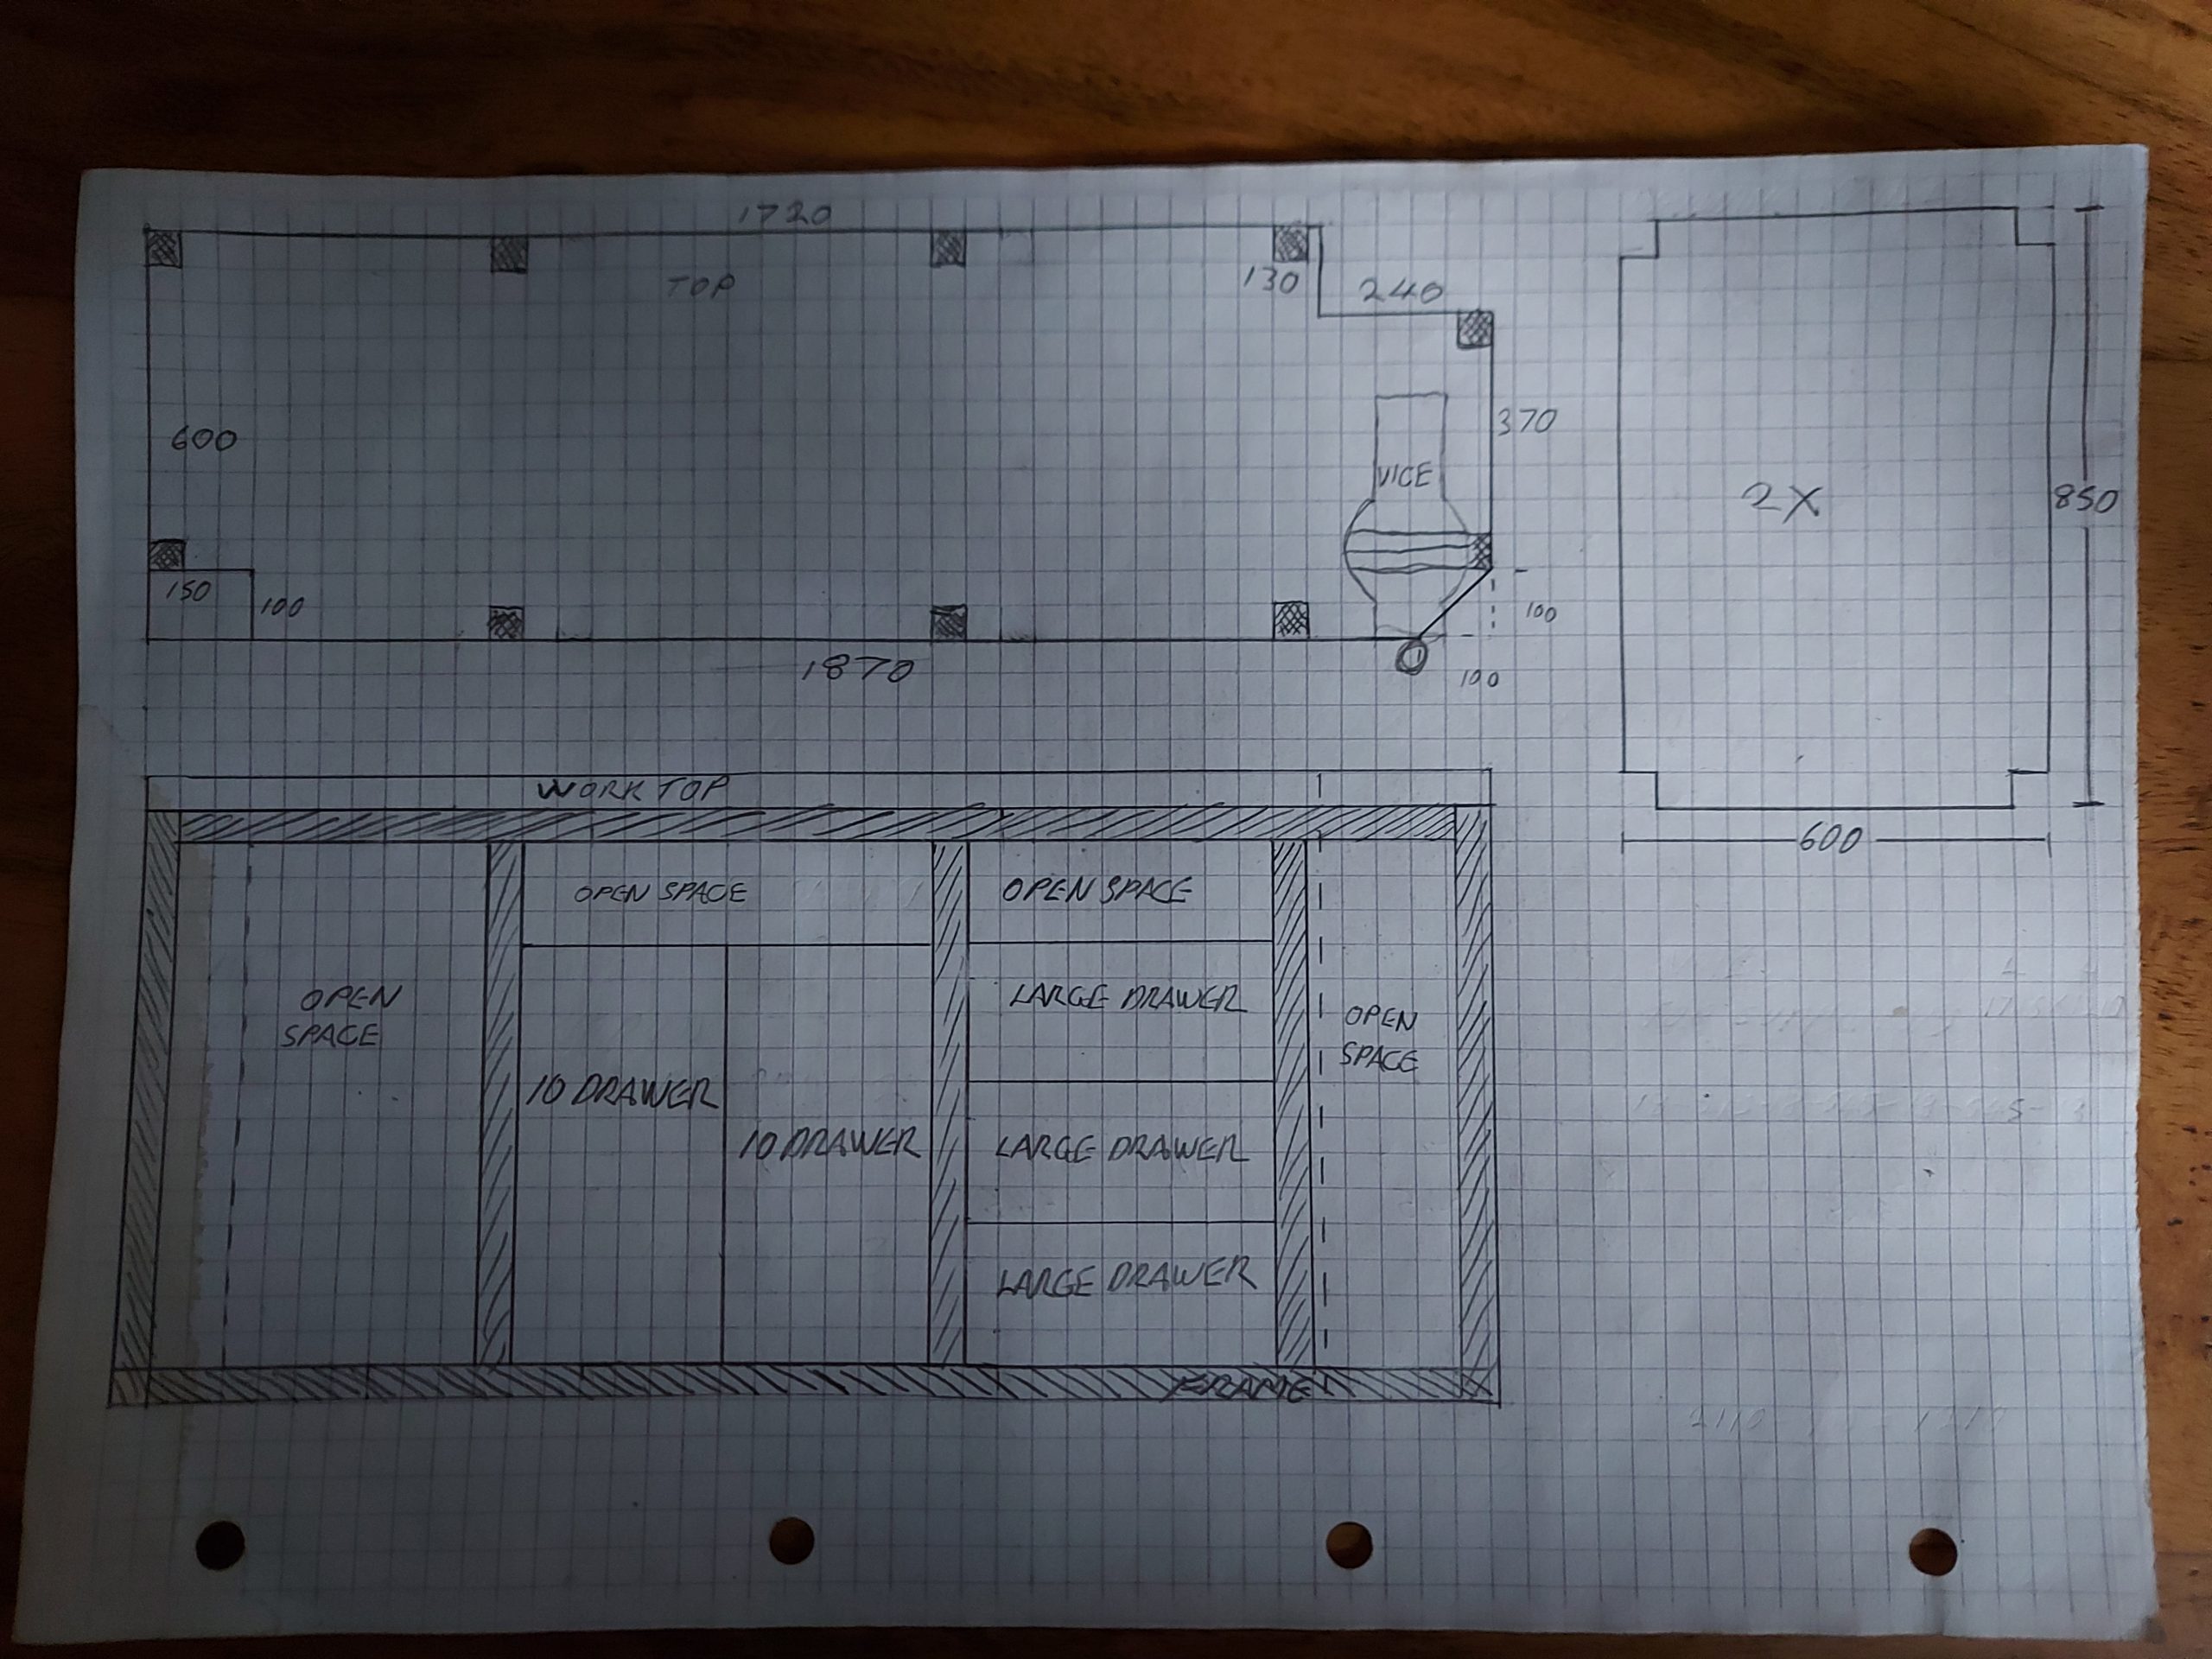
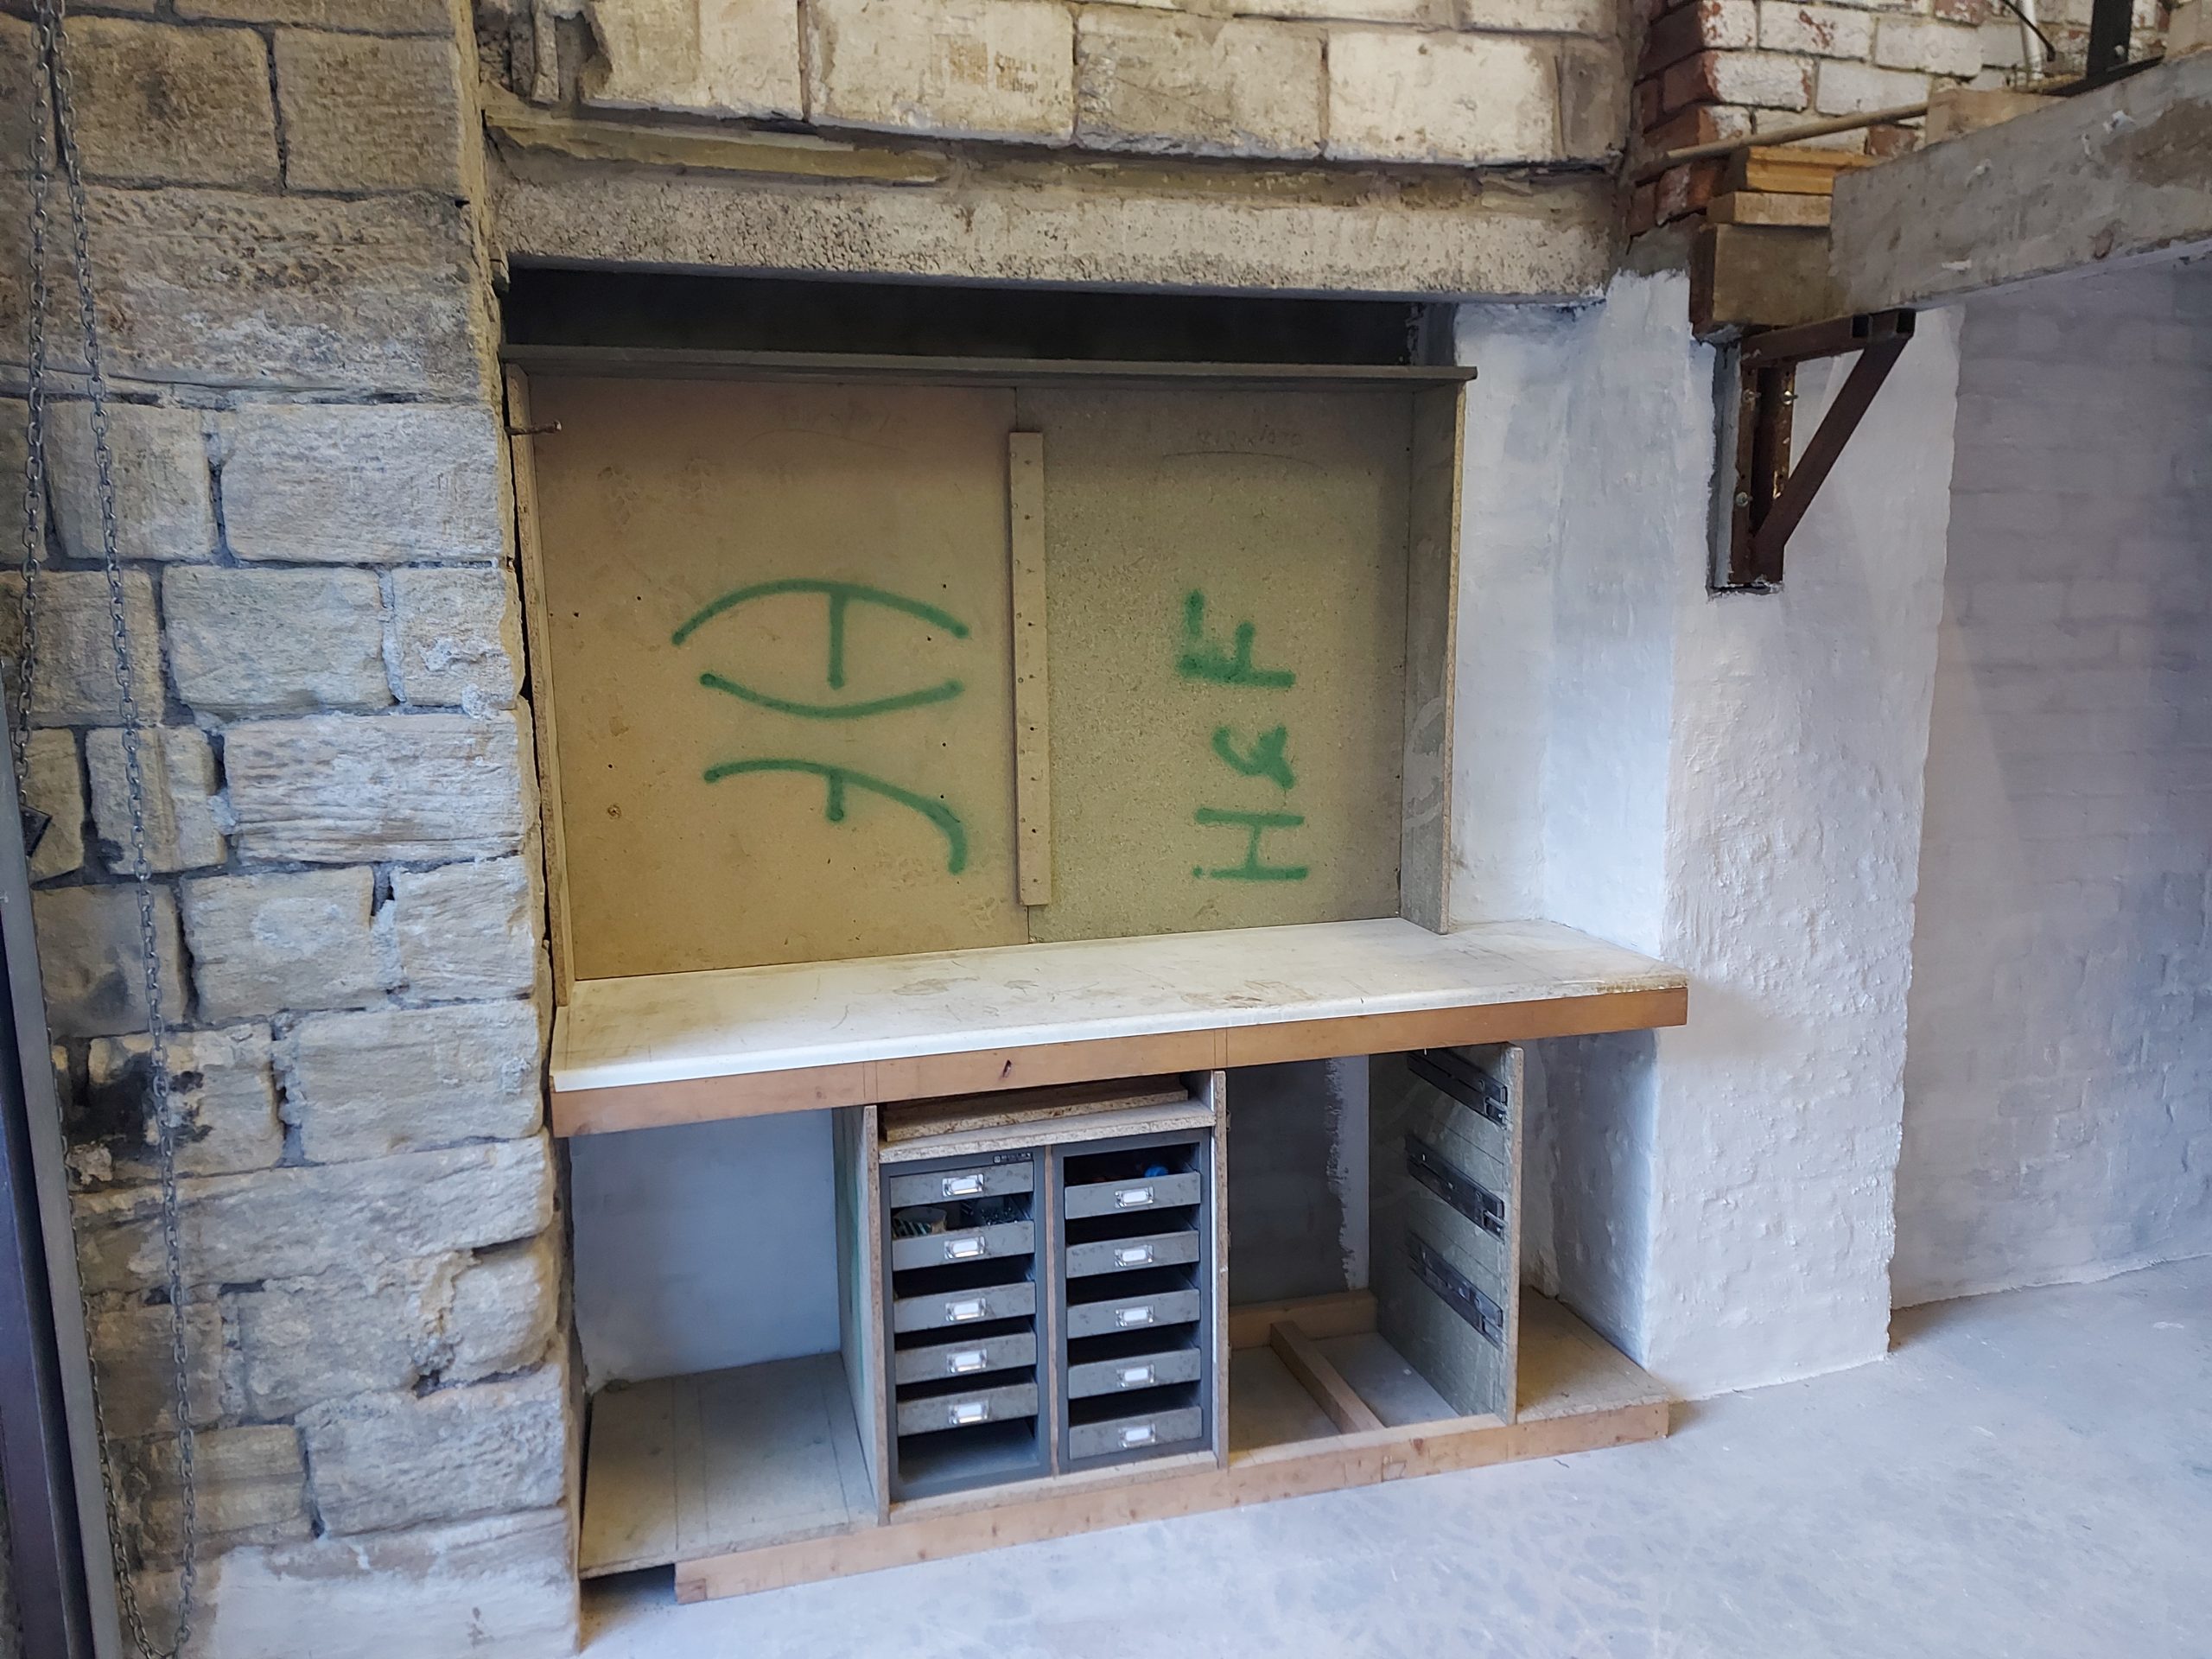
Basic plan for work bench
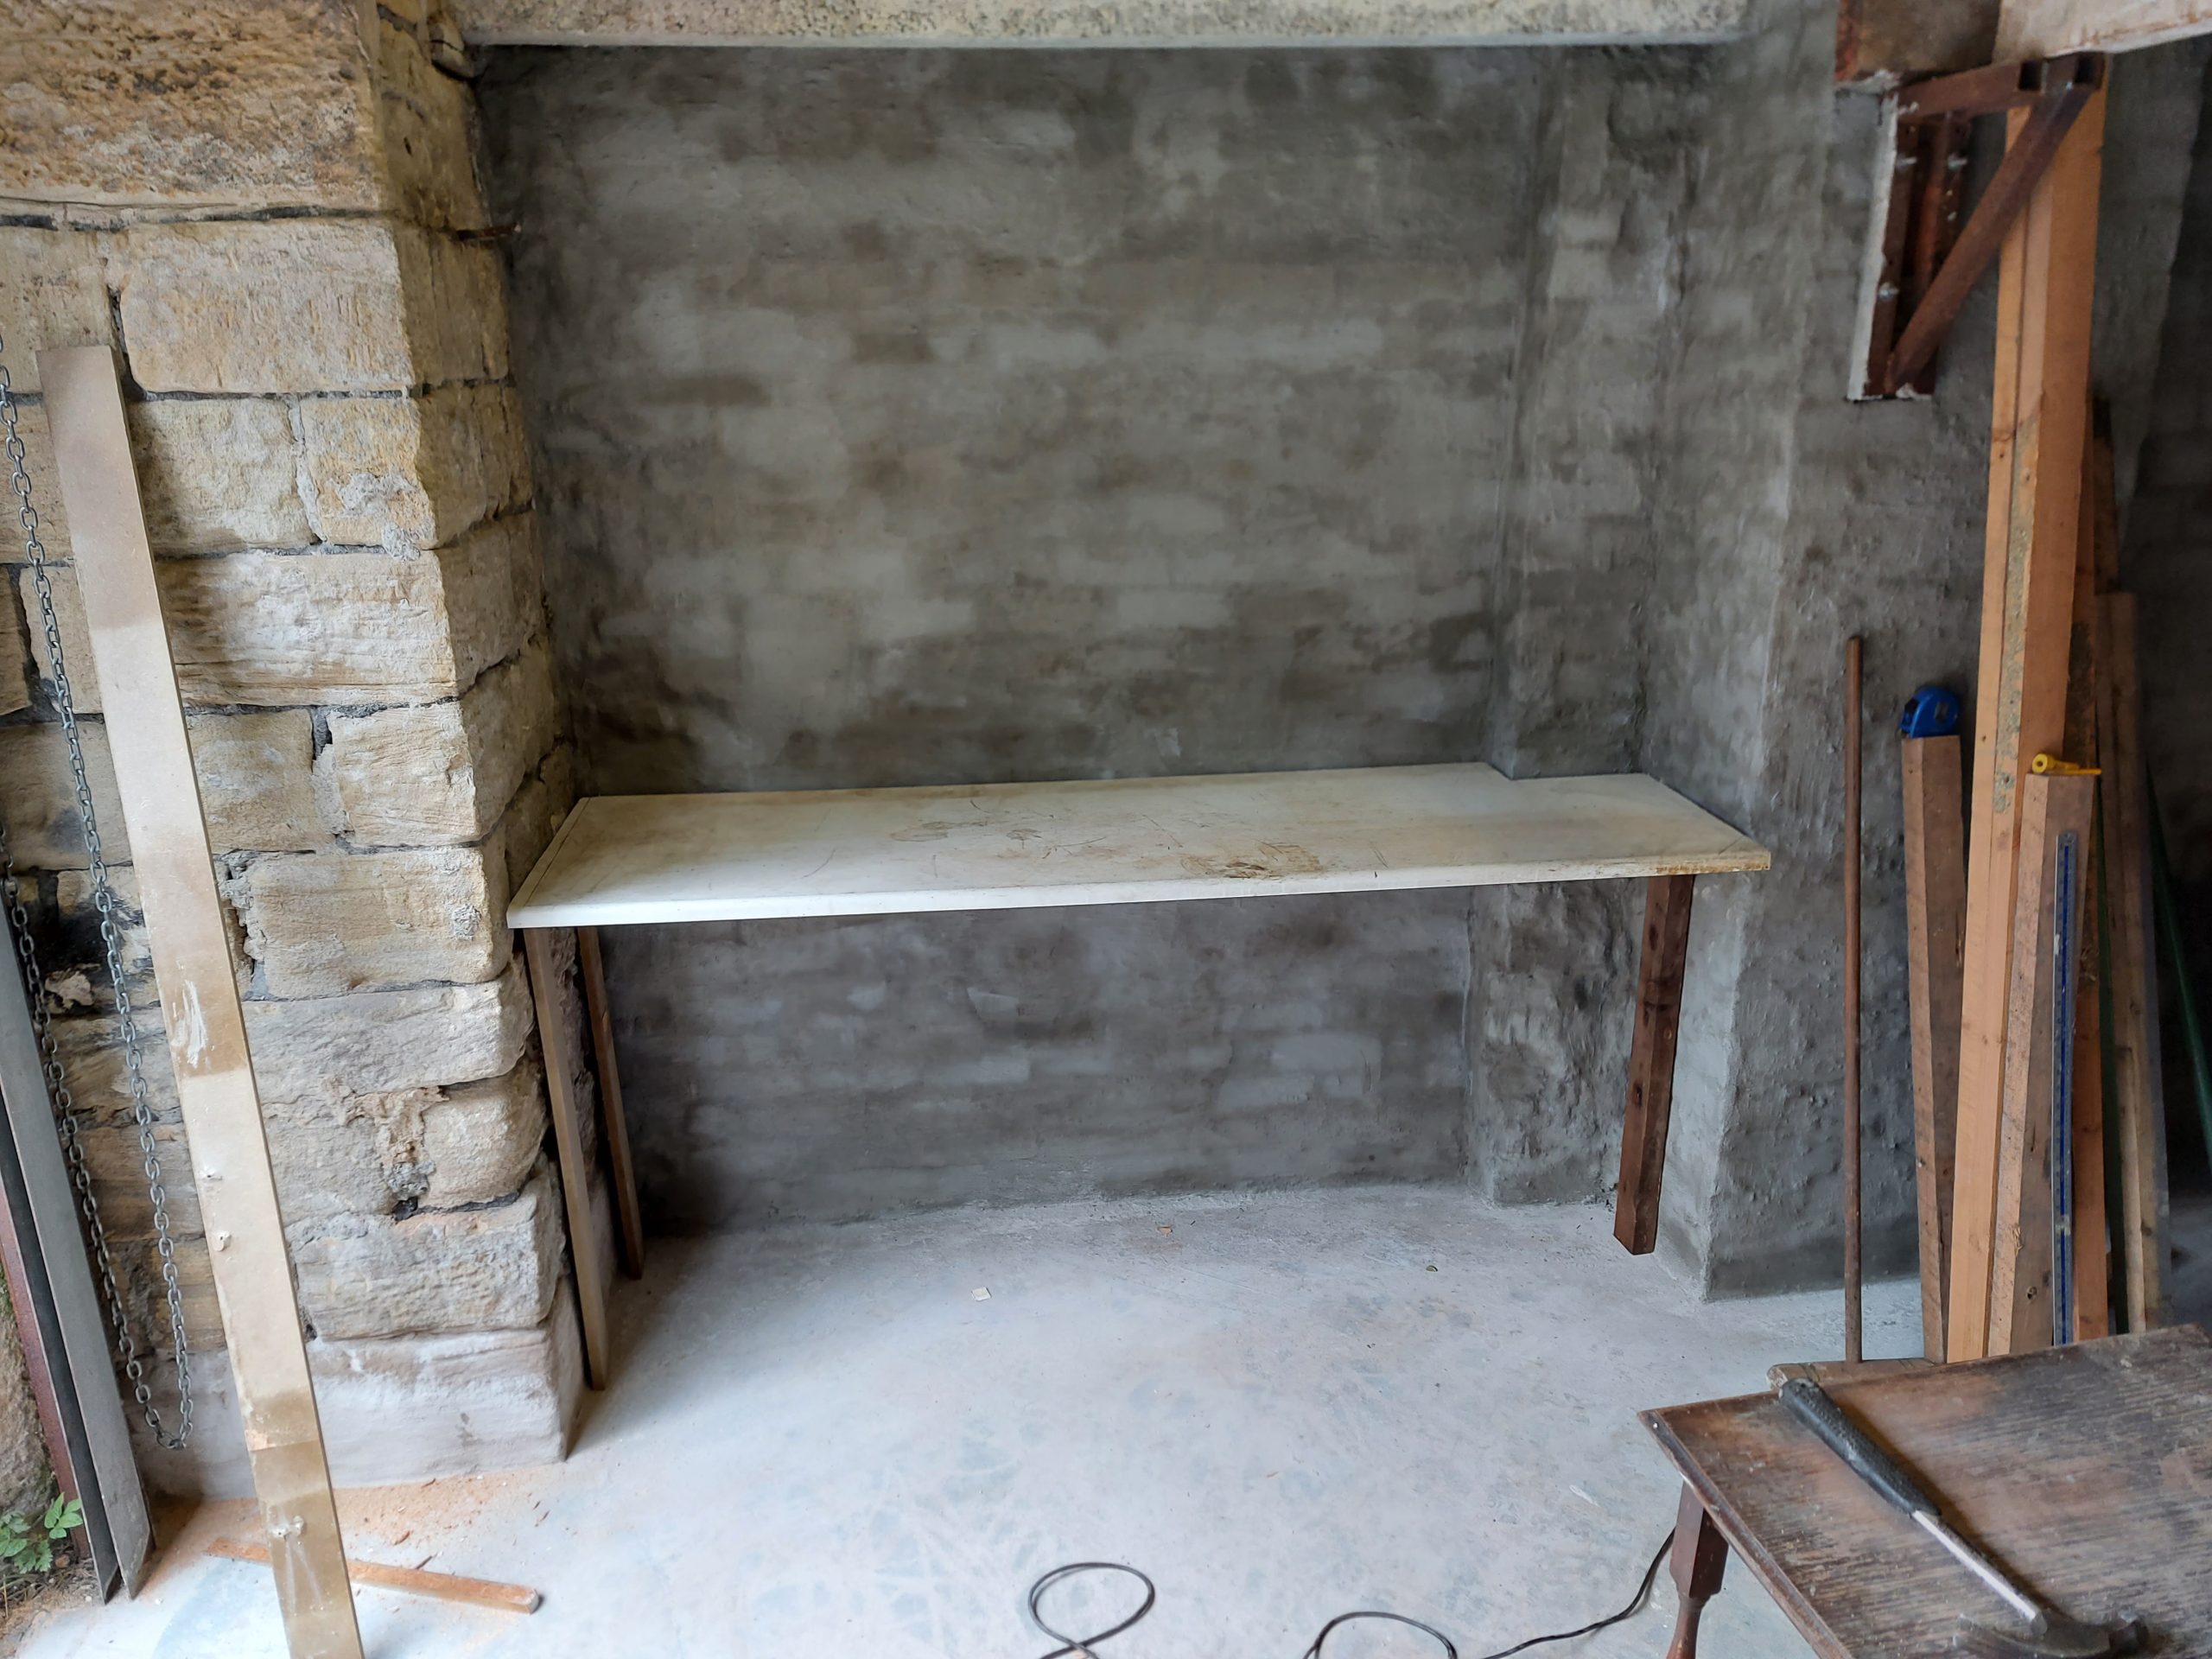
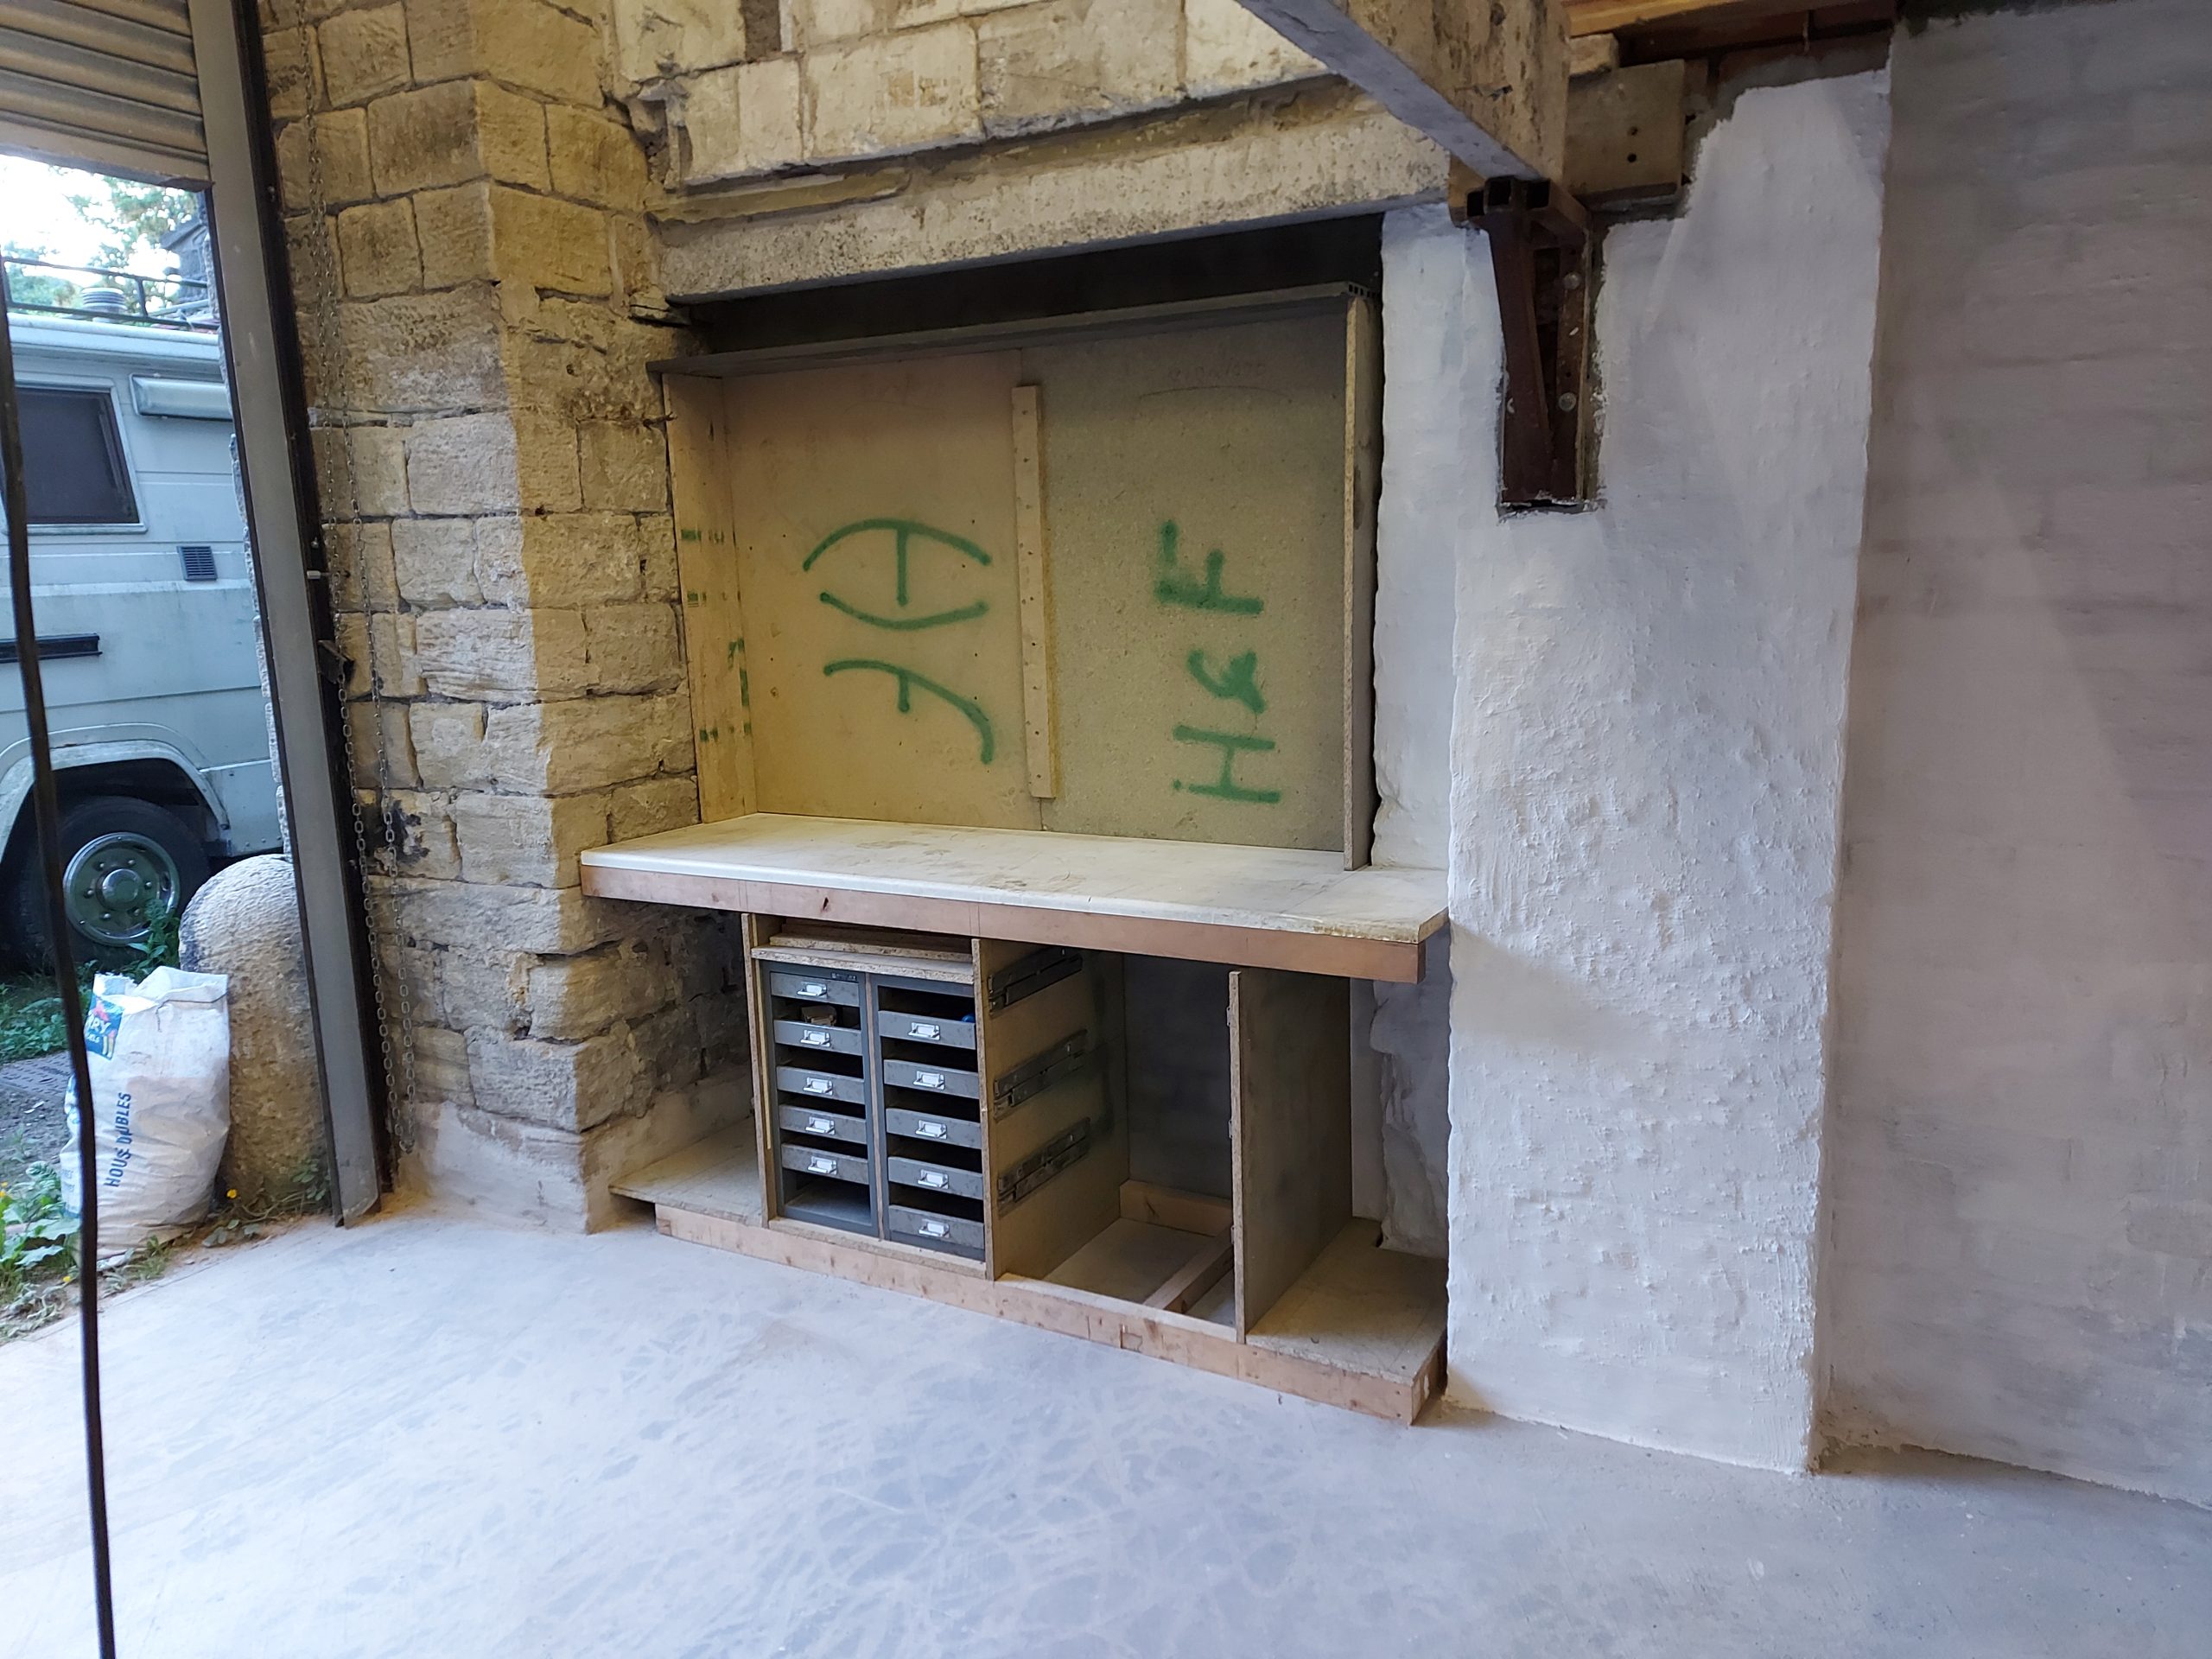
Had this old kitchen worktop hanging around so a white benchtop should be fun to keep clean LOL
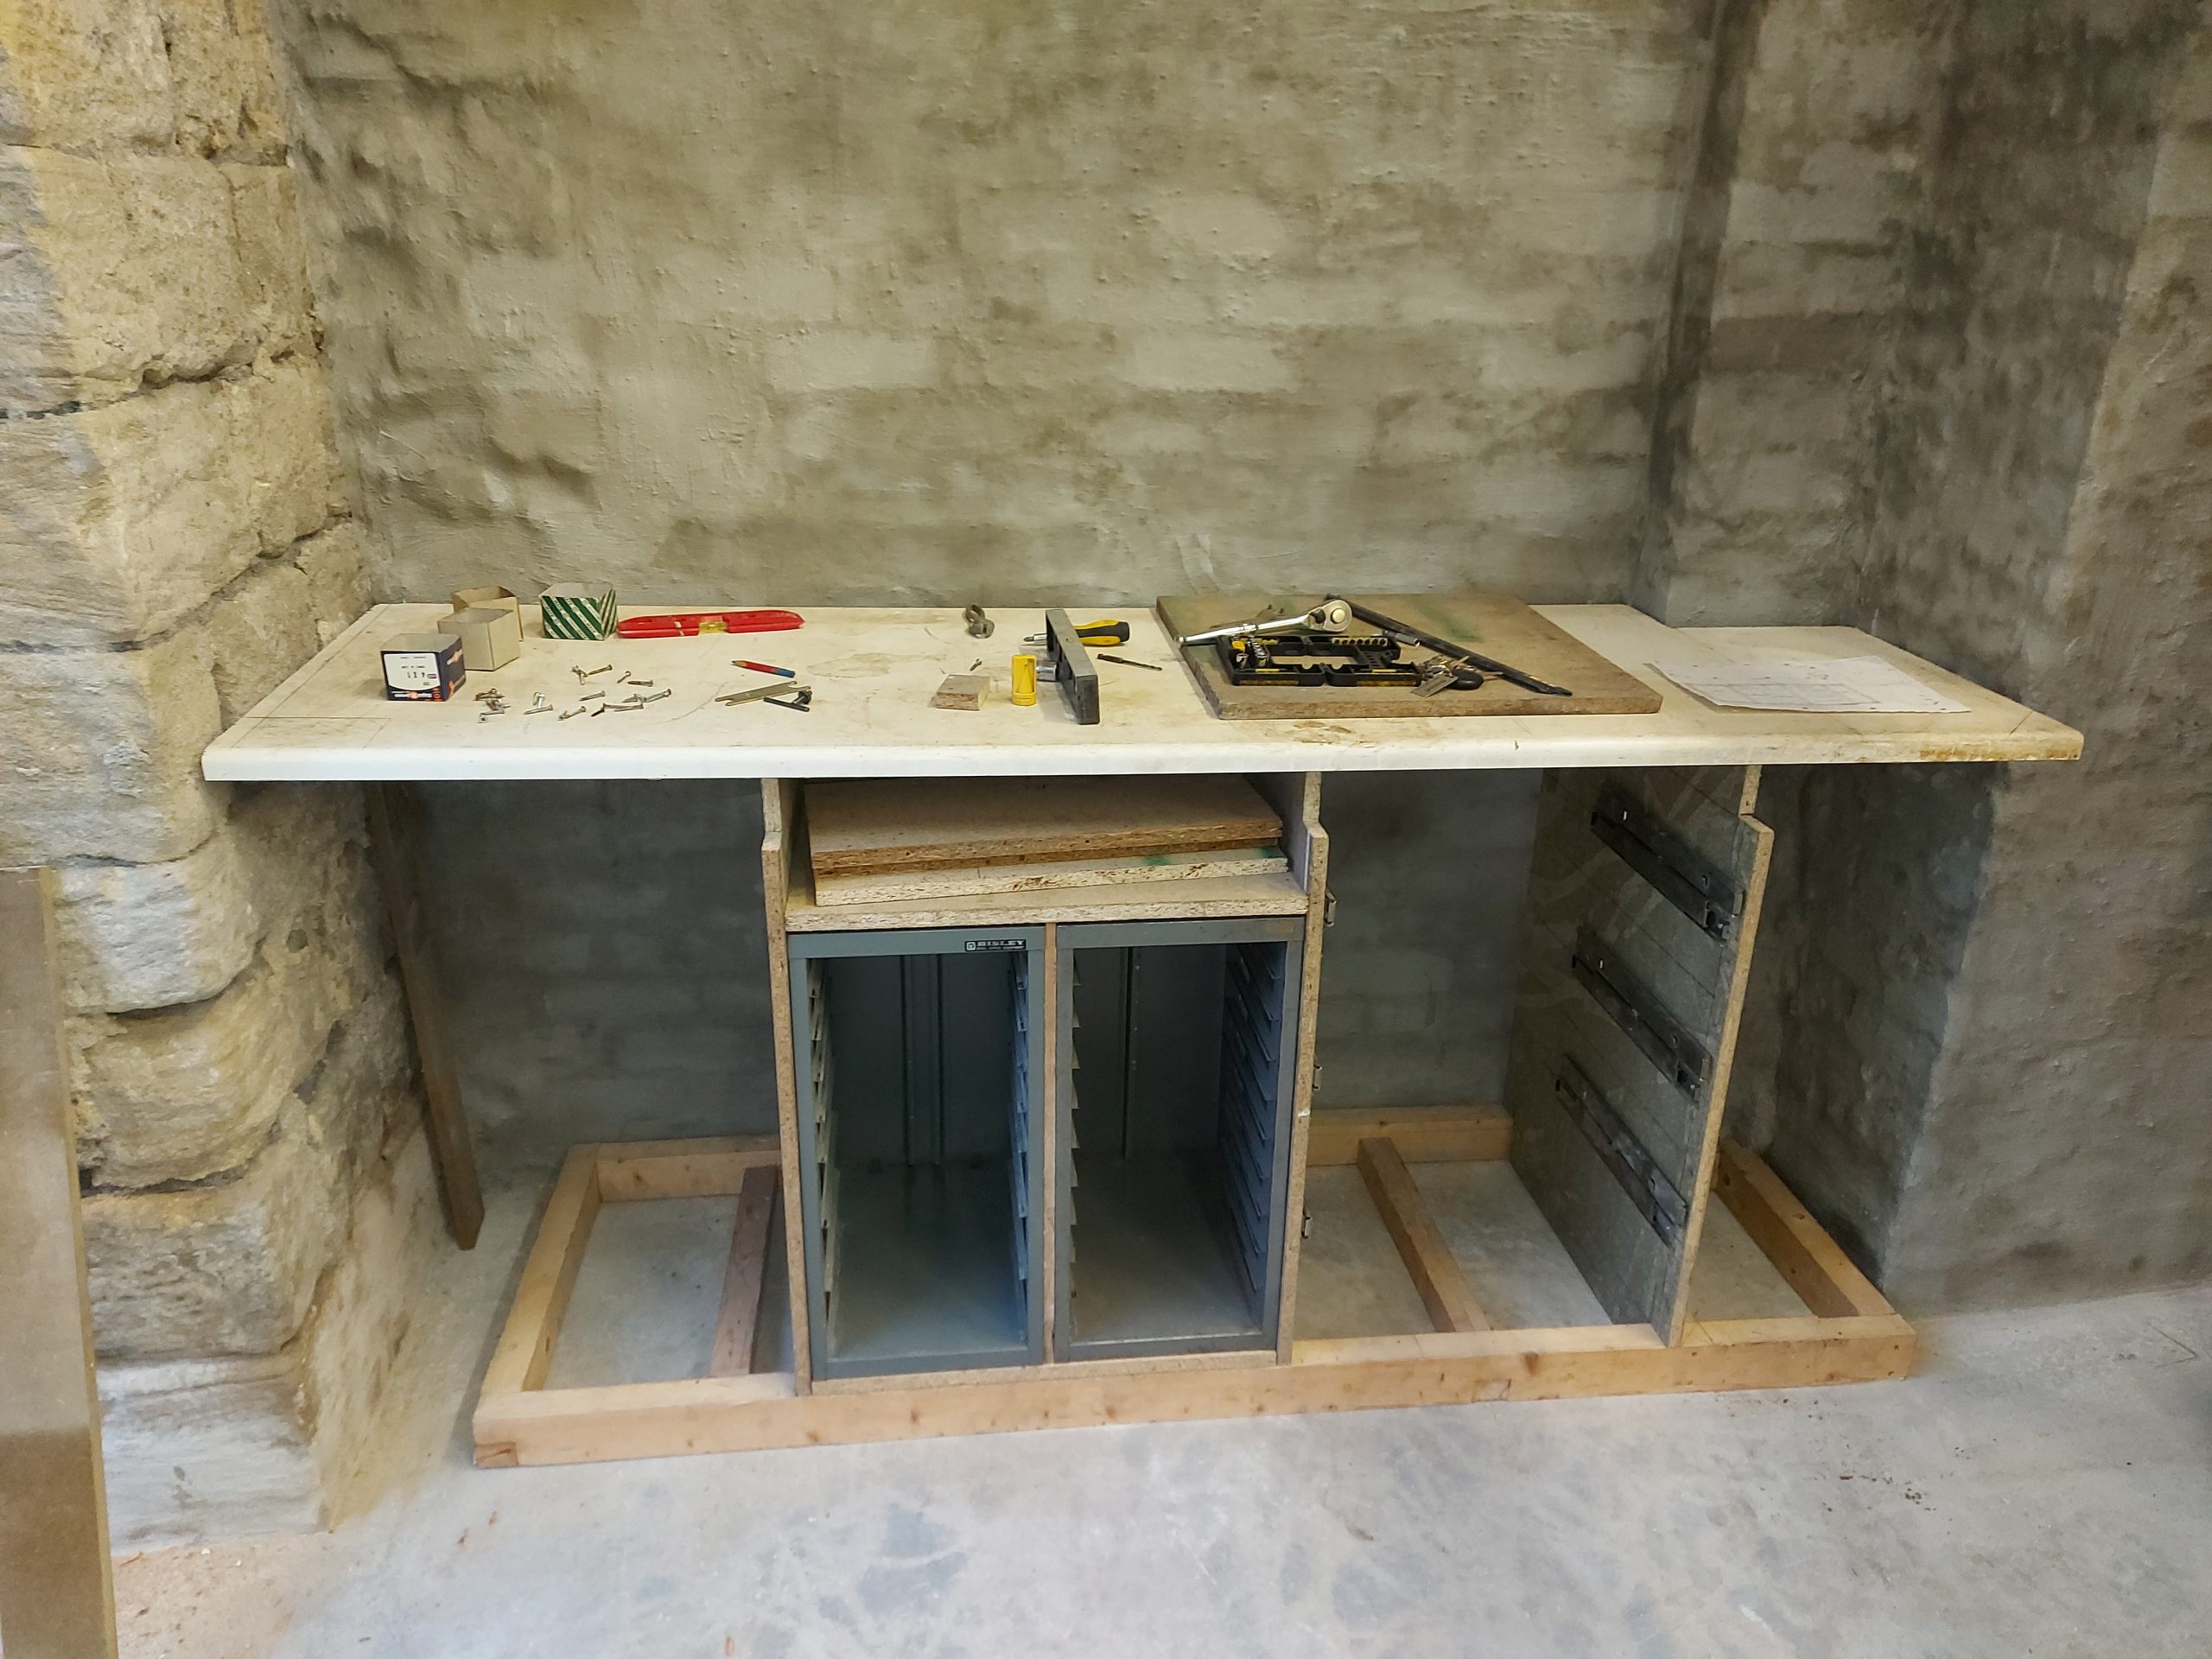
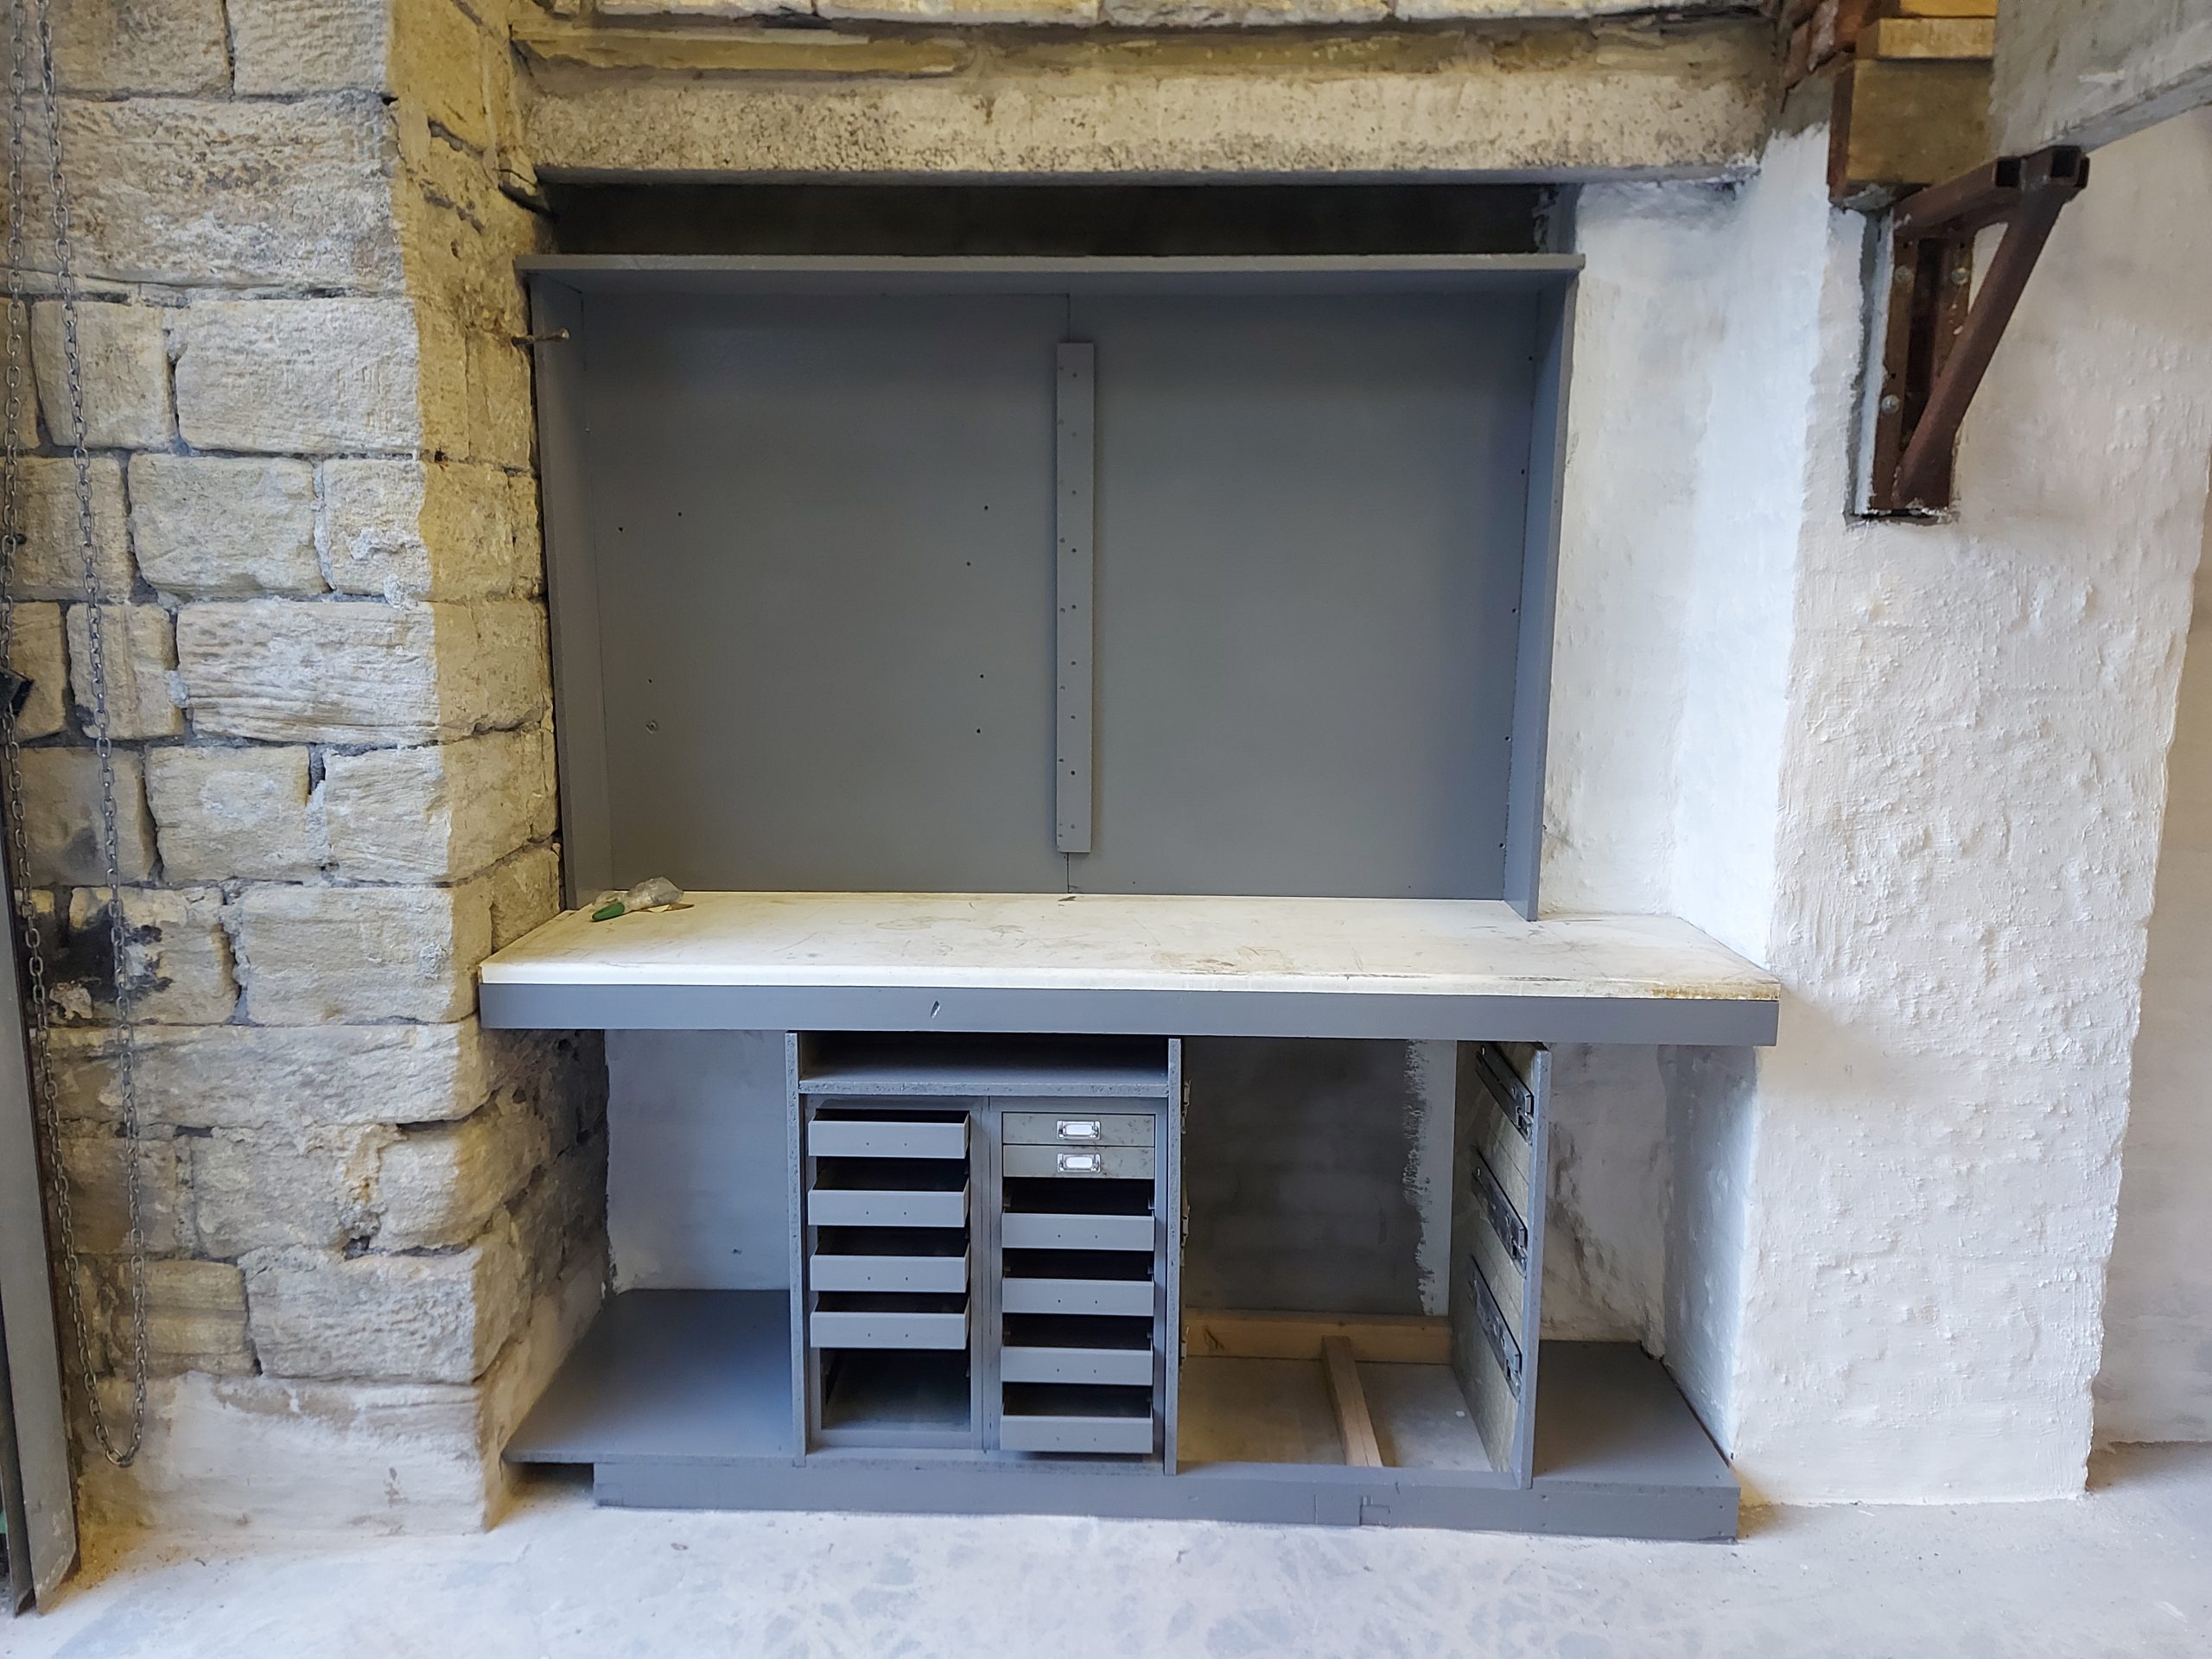
Bisley drawer units fitted and first fix on big drawers
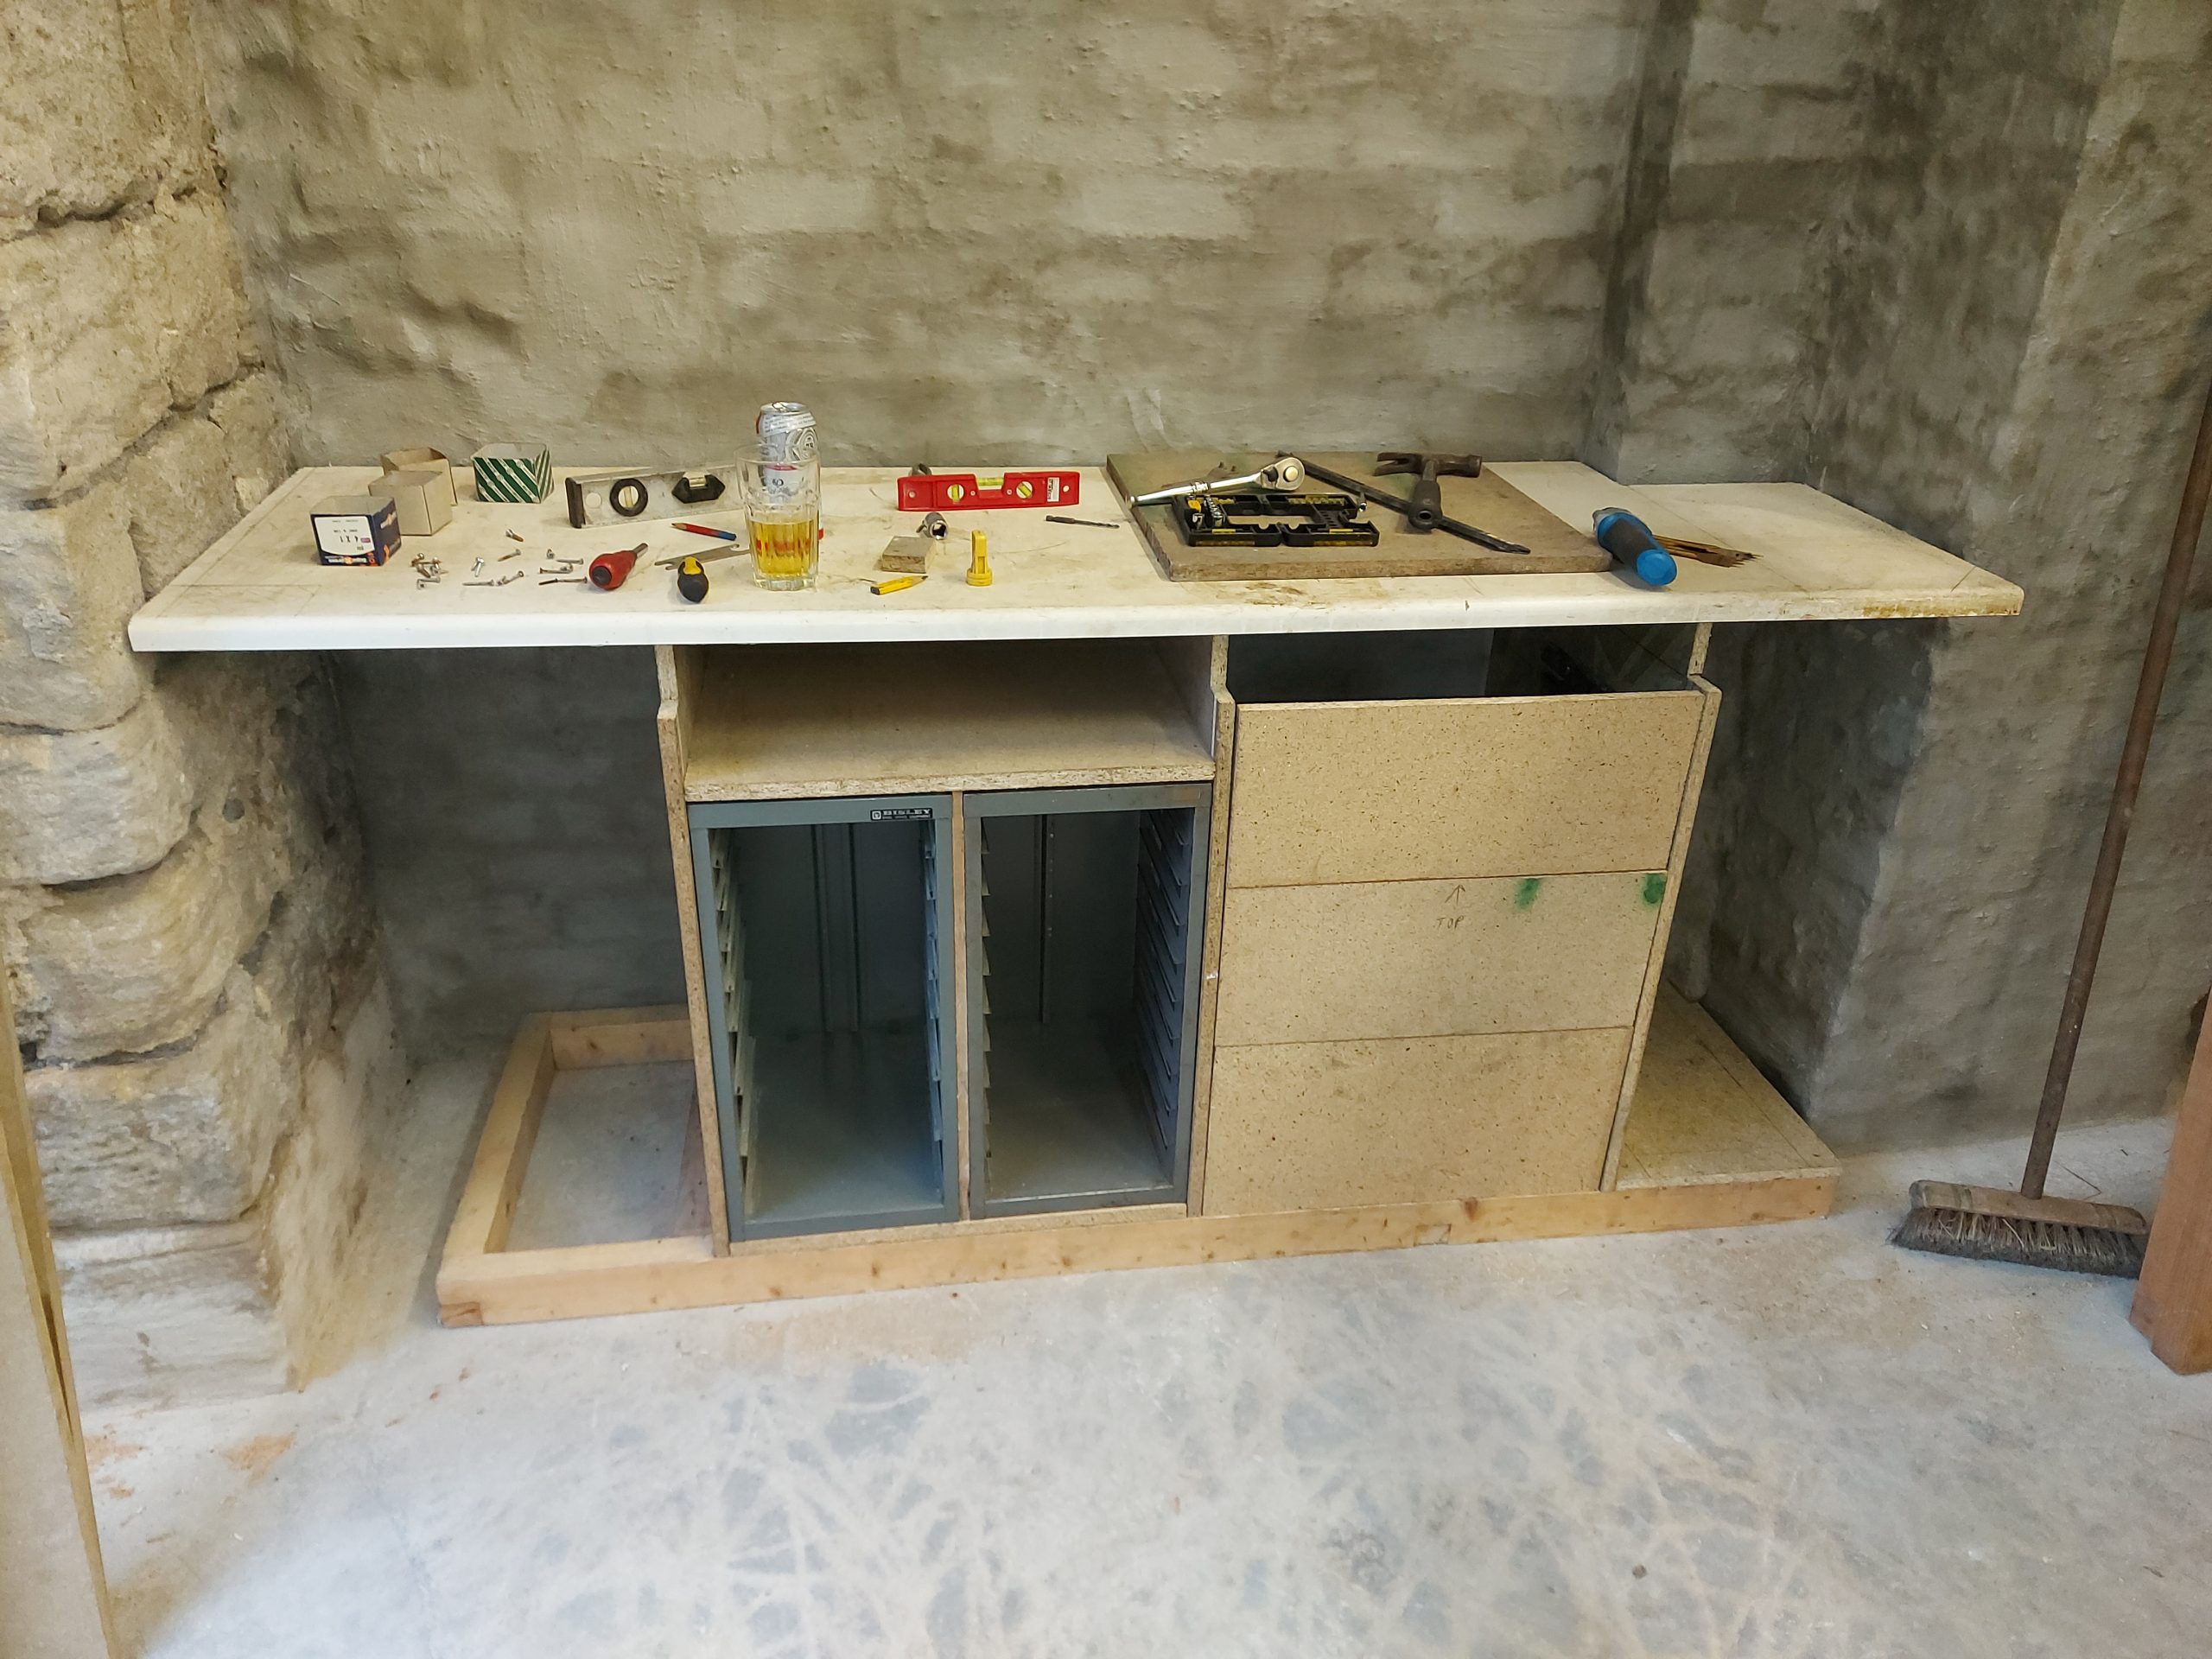
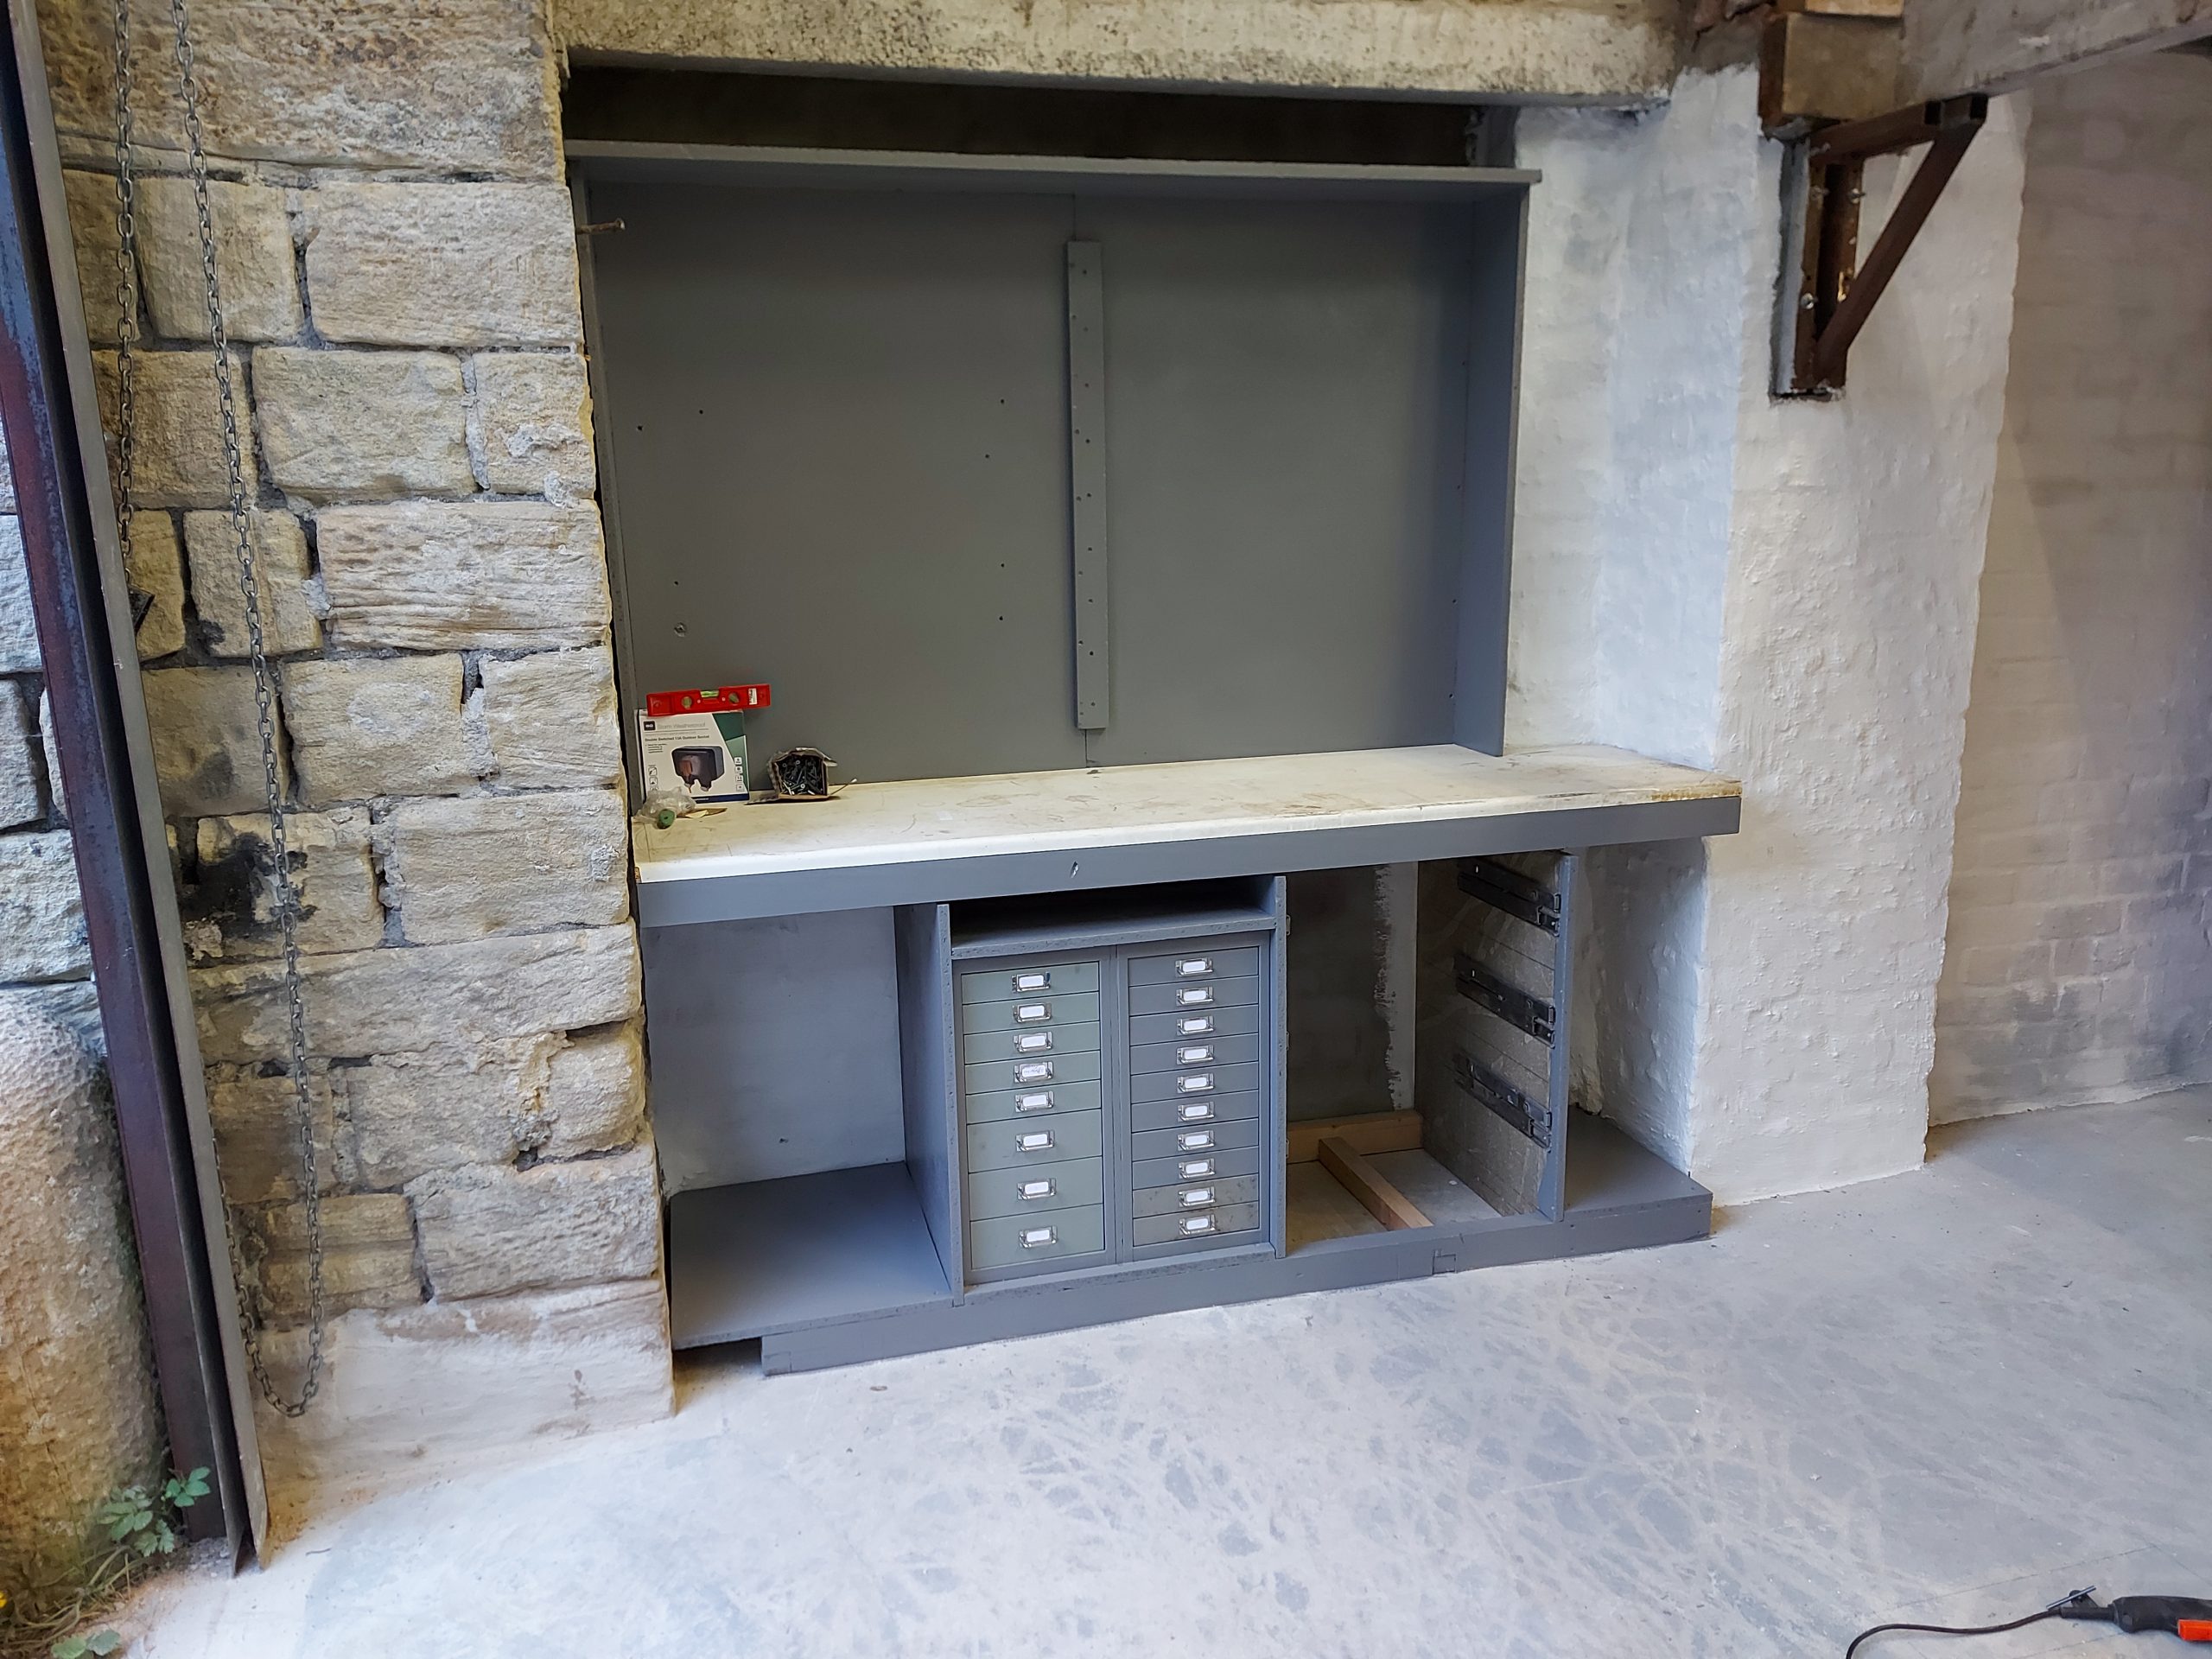
Little more done on bench
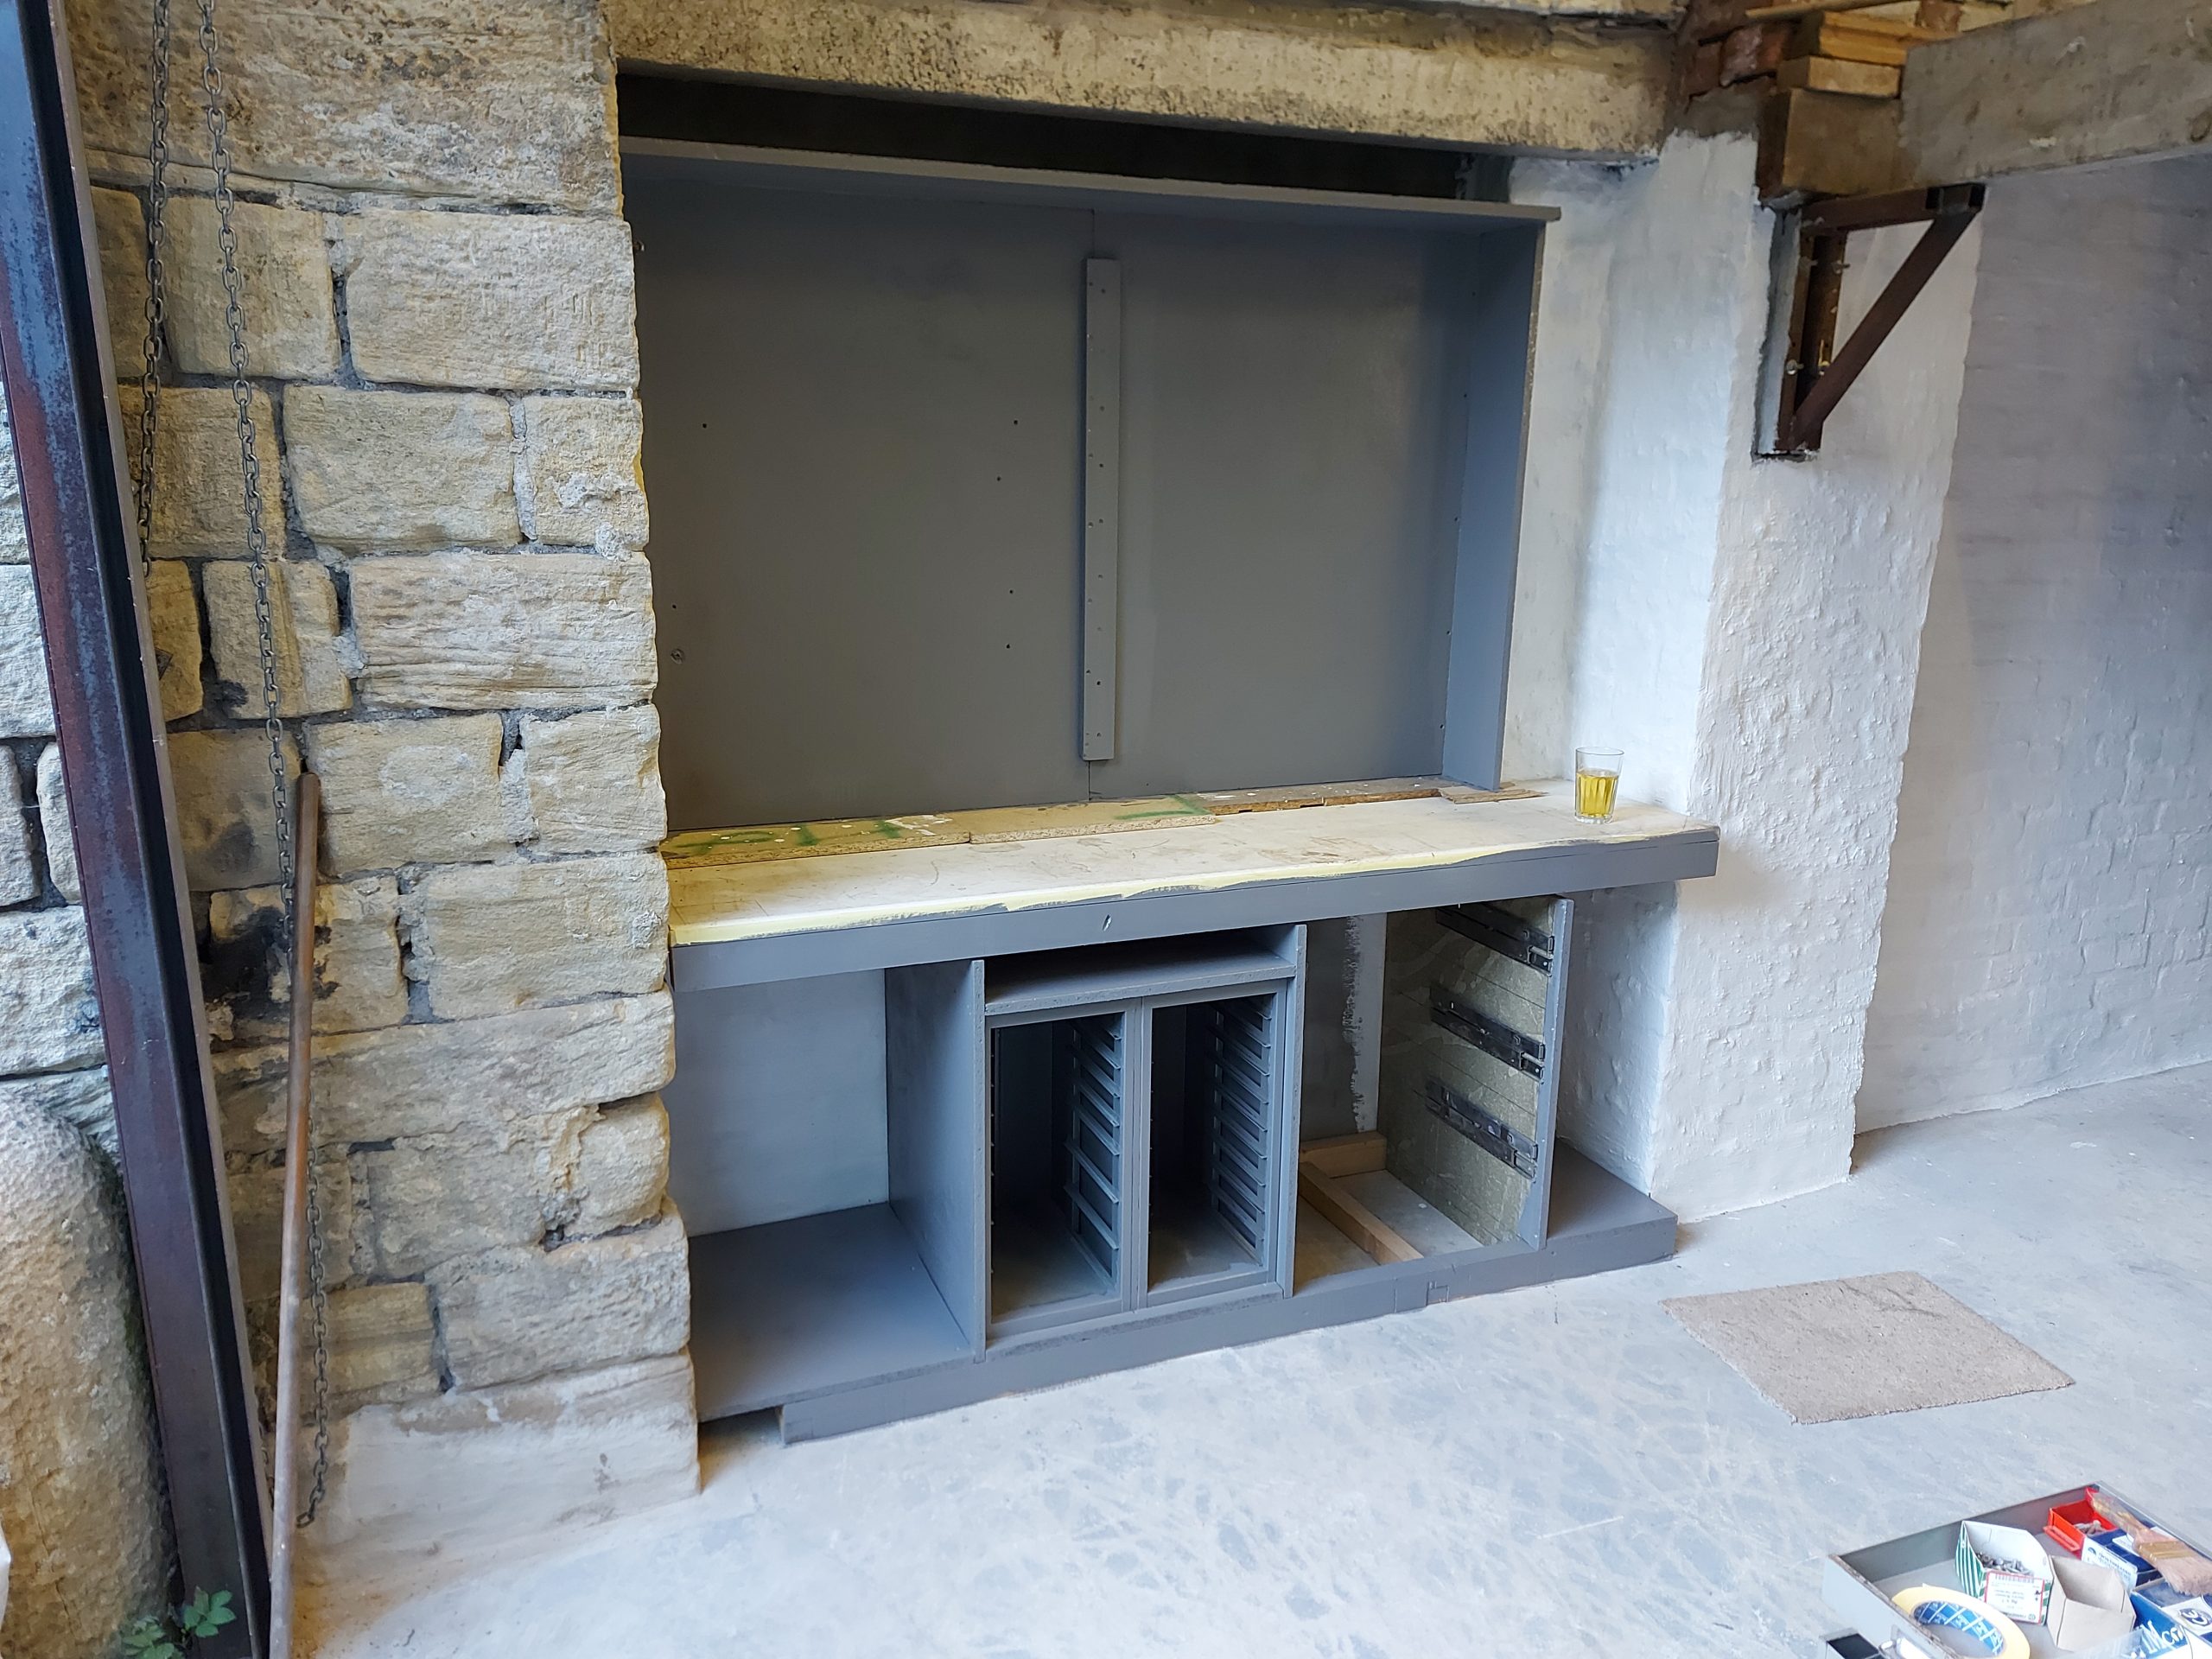
A little painting done
Little more painting and some work on bench
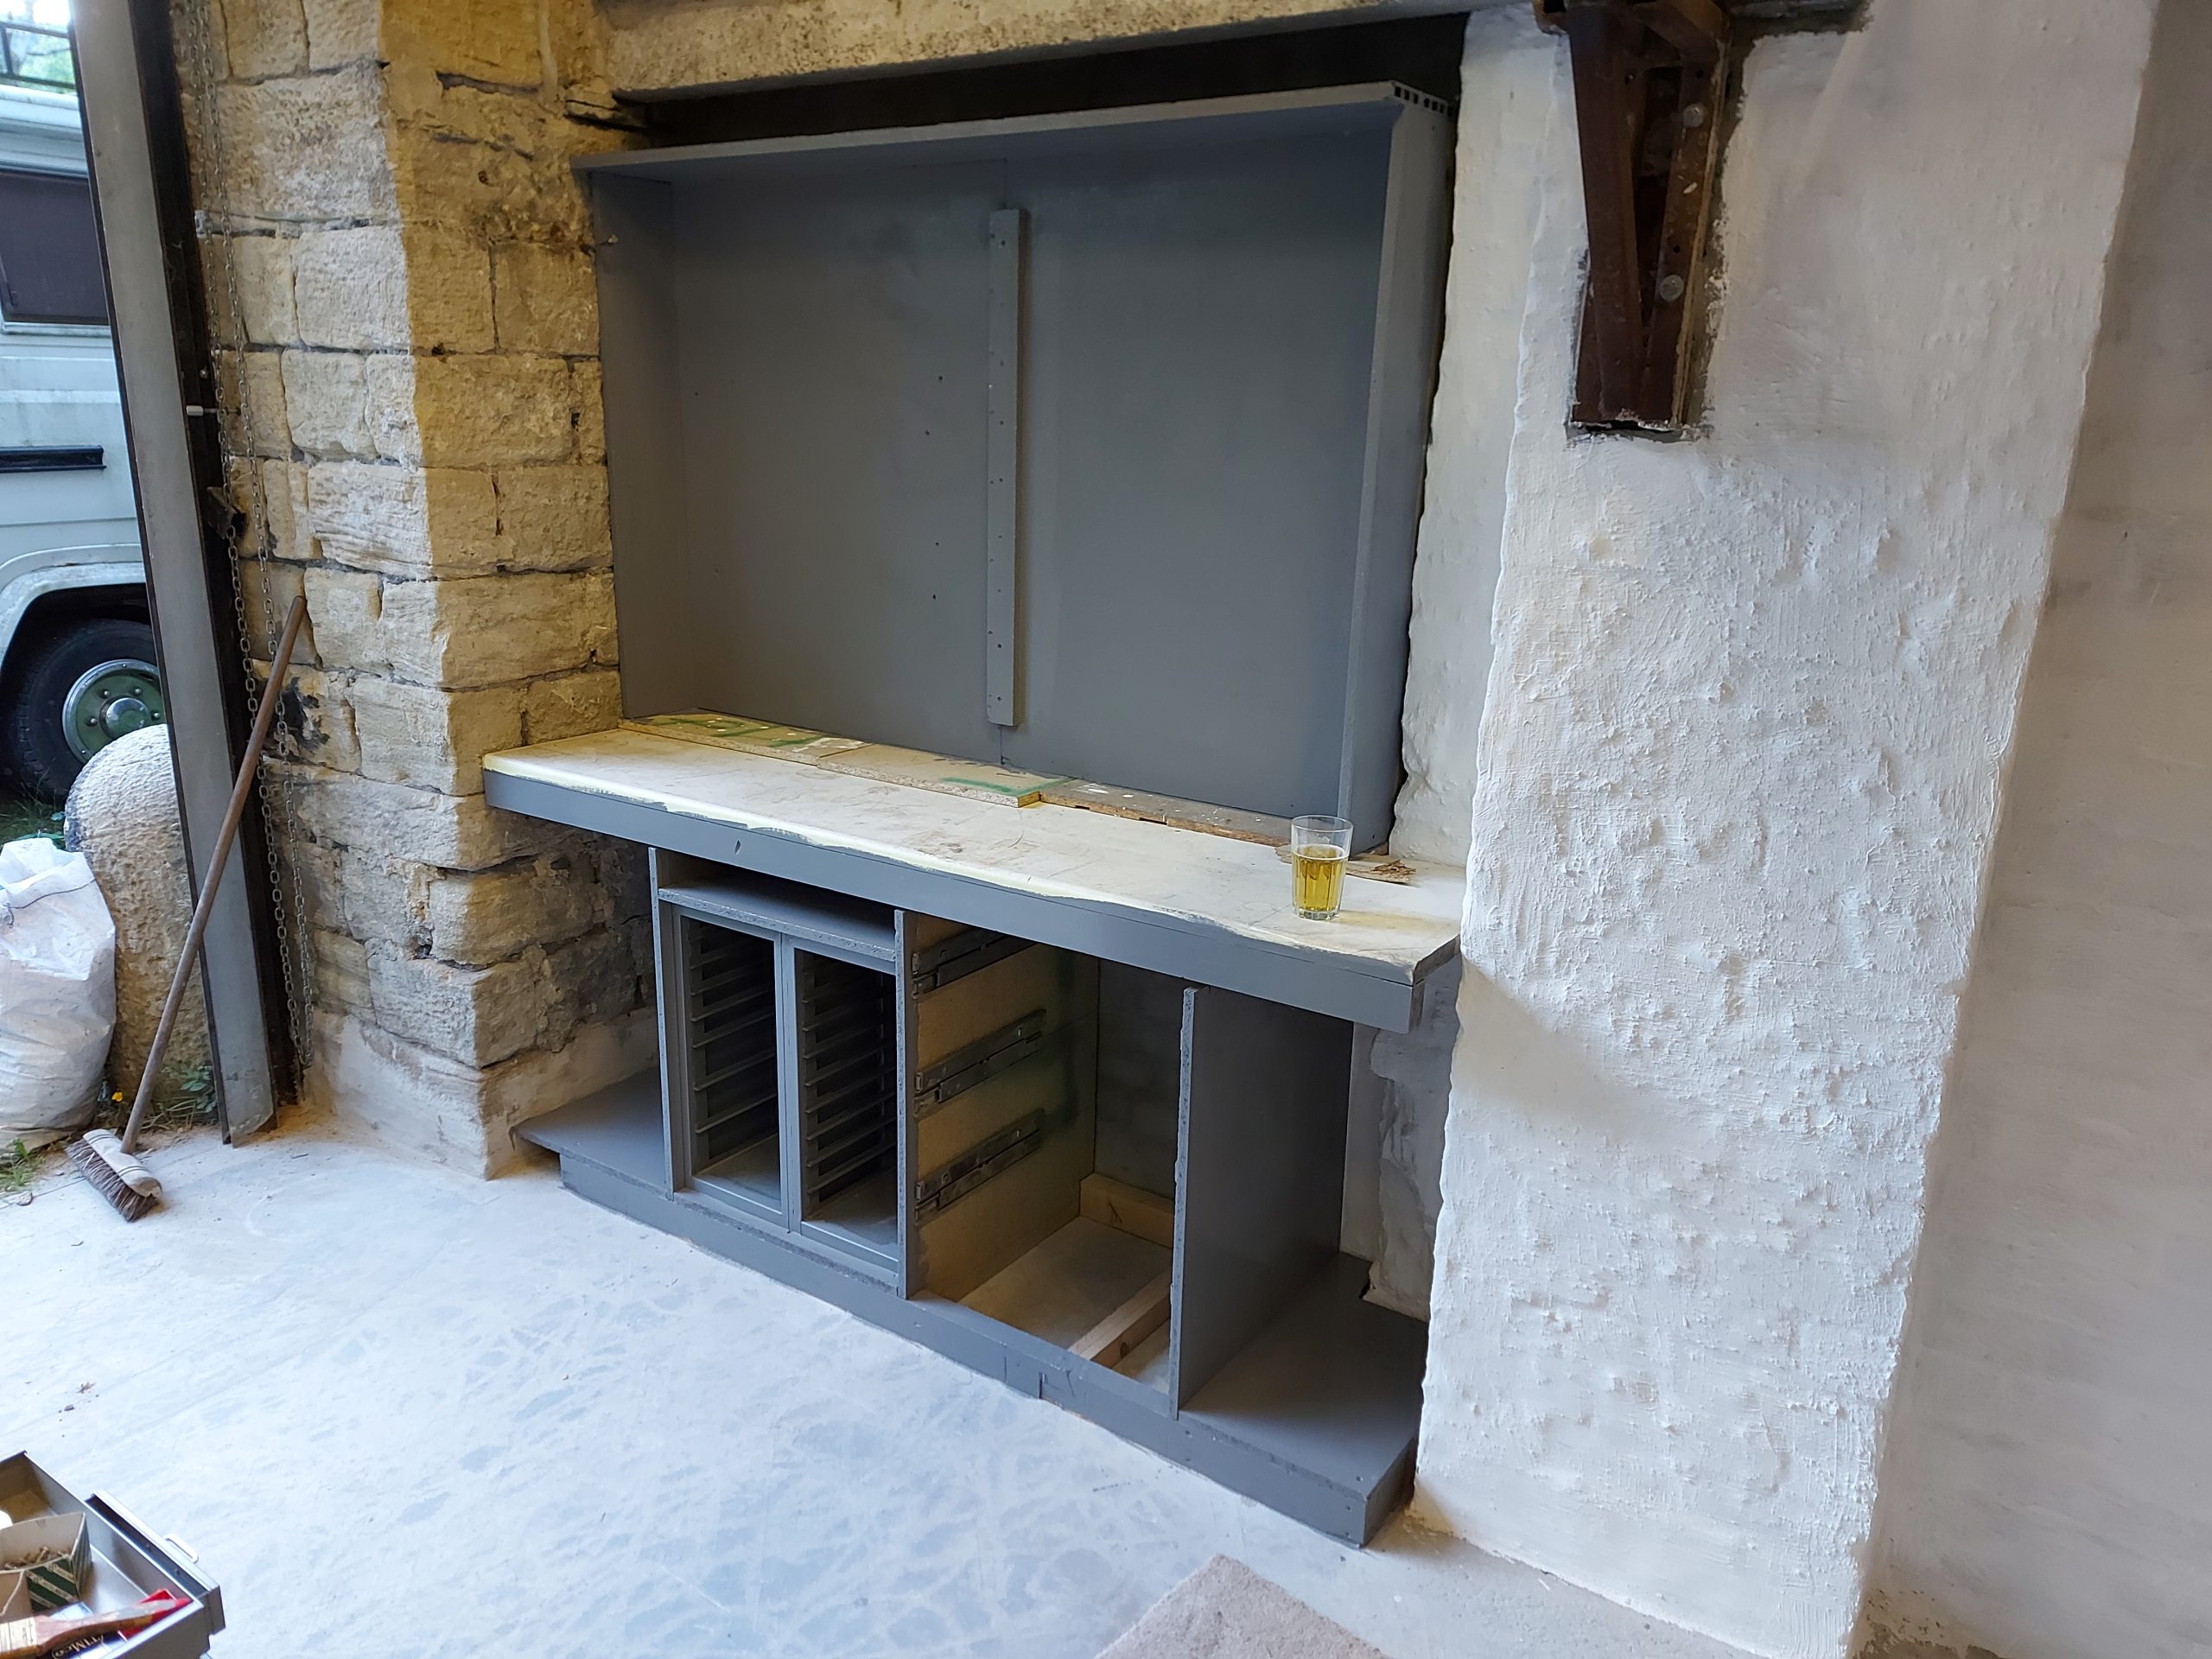
Painted Bench
Drawer fronts look a little crapy so more gray paint
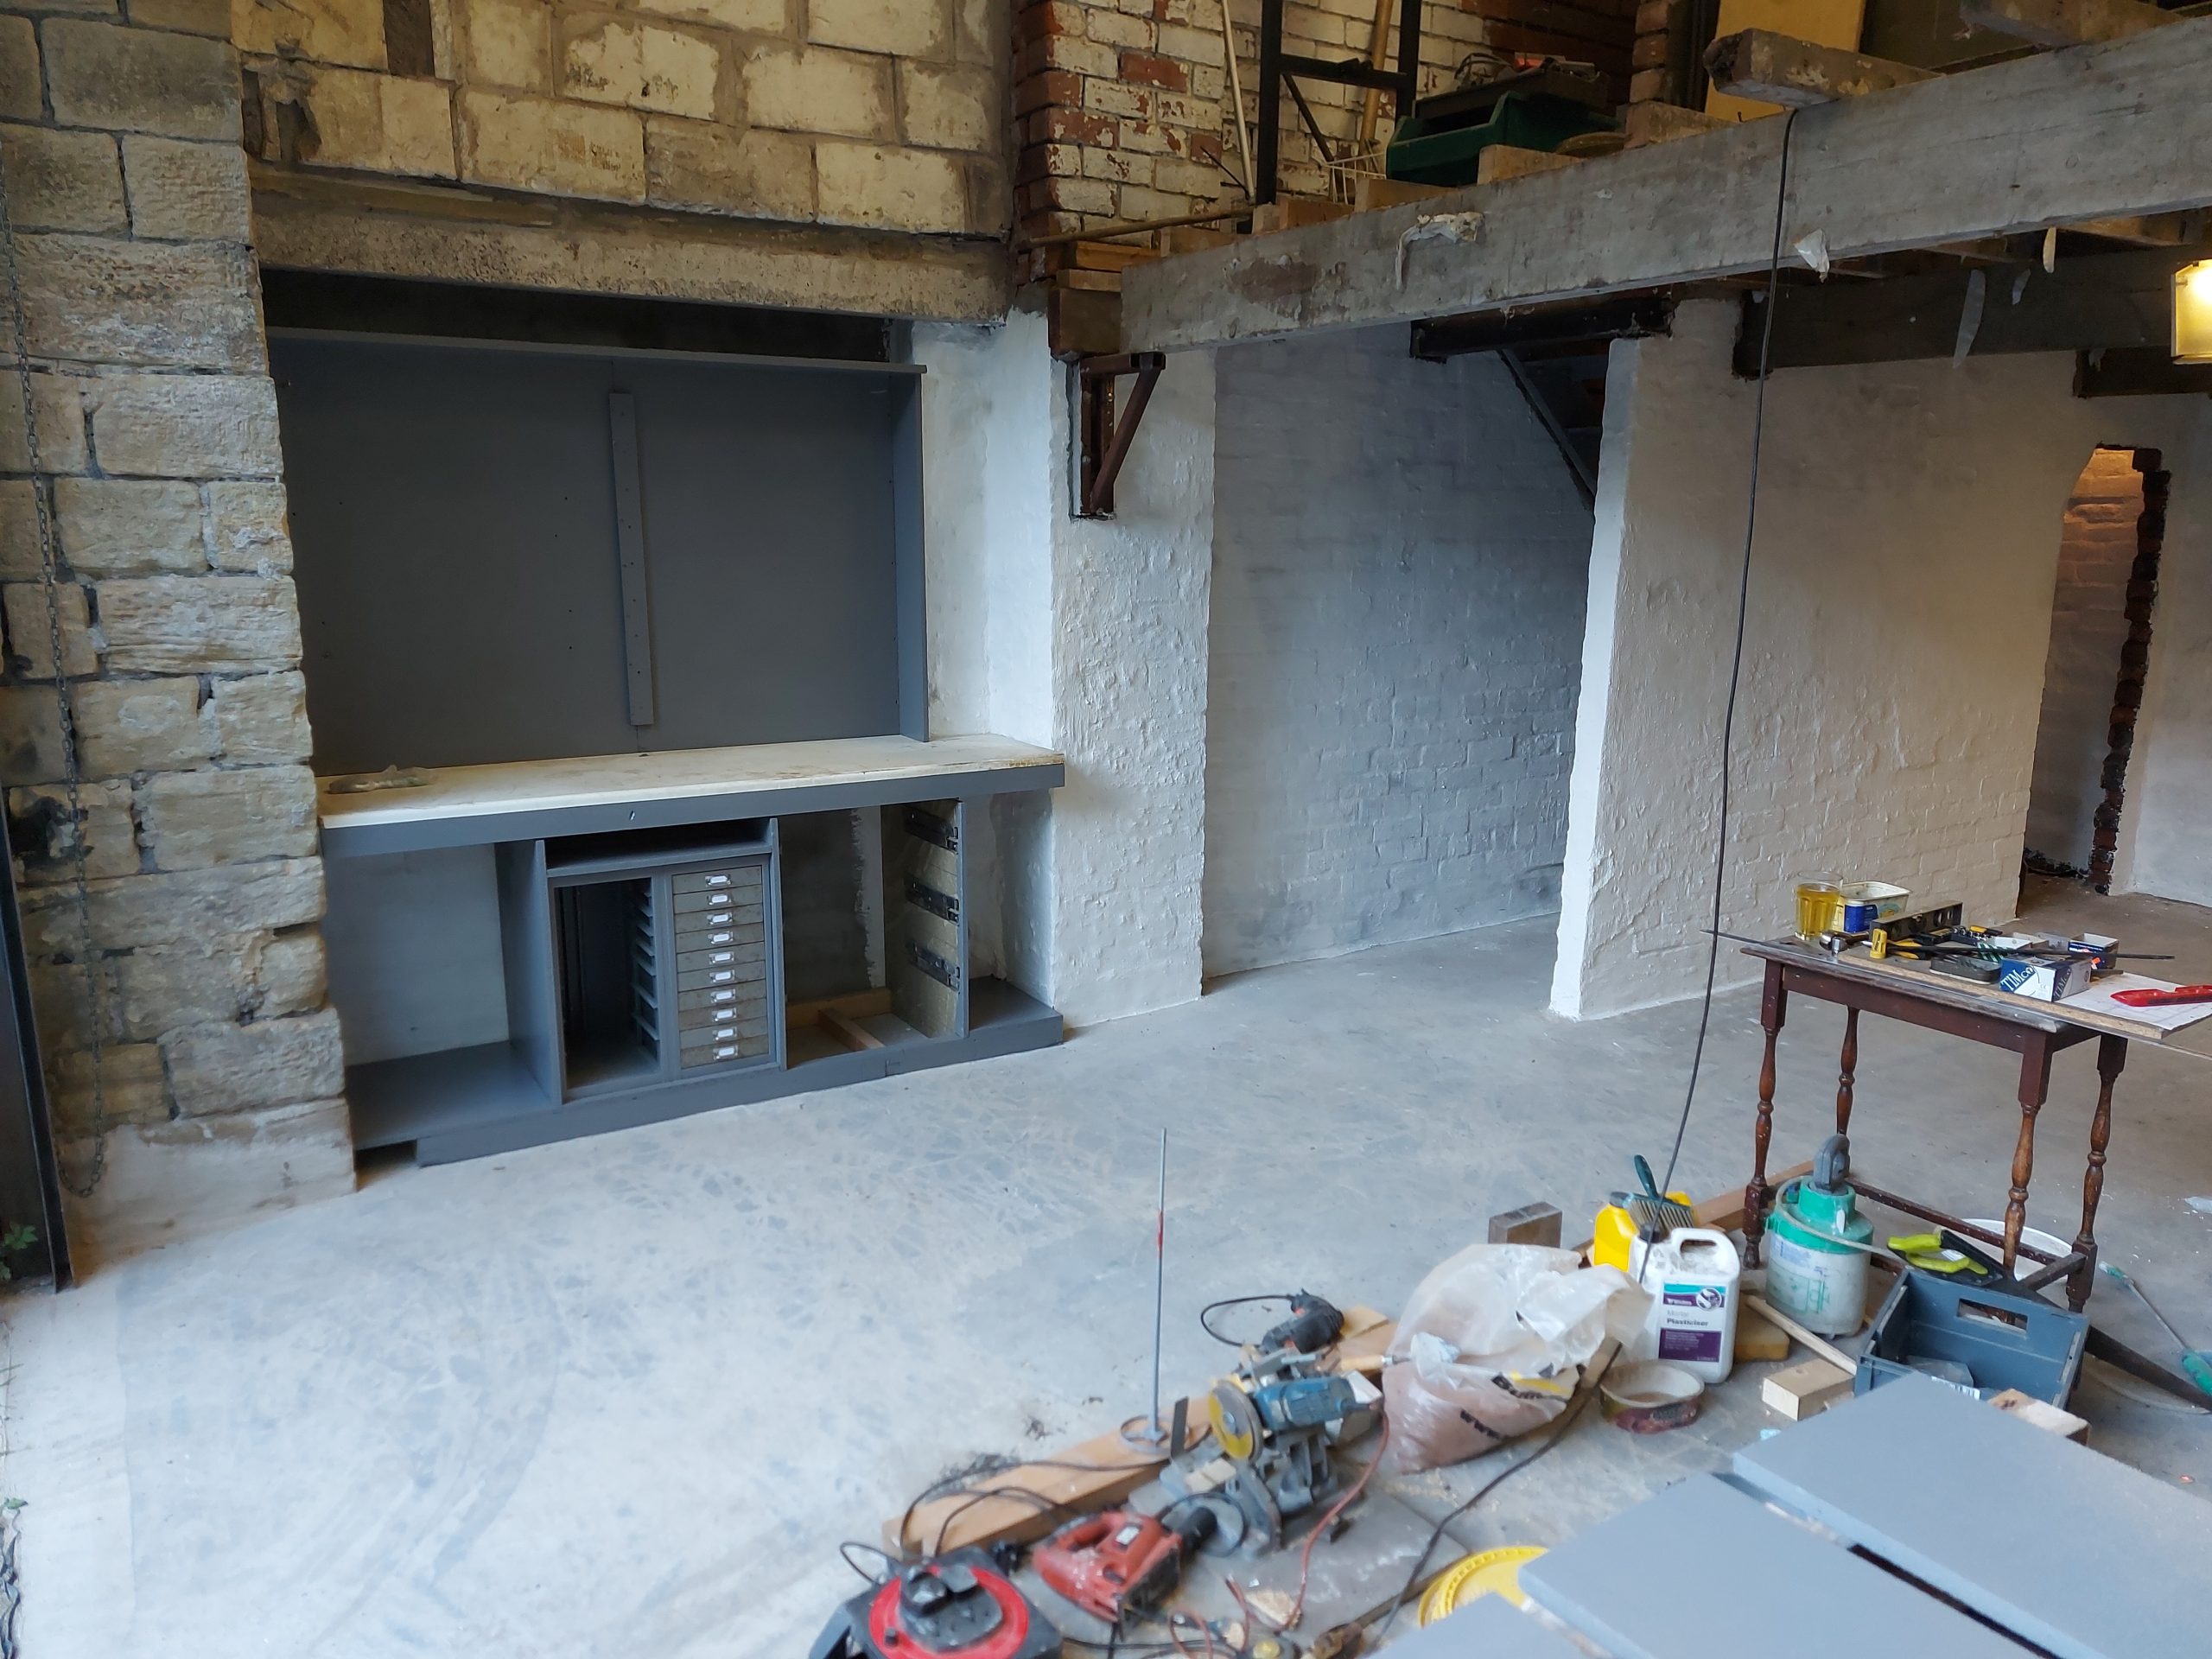
Drawers all painted
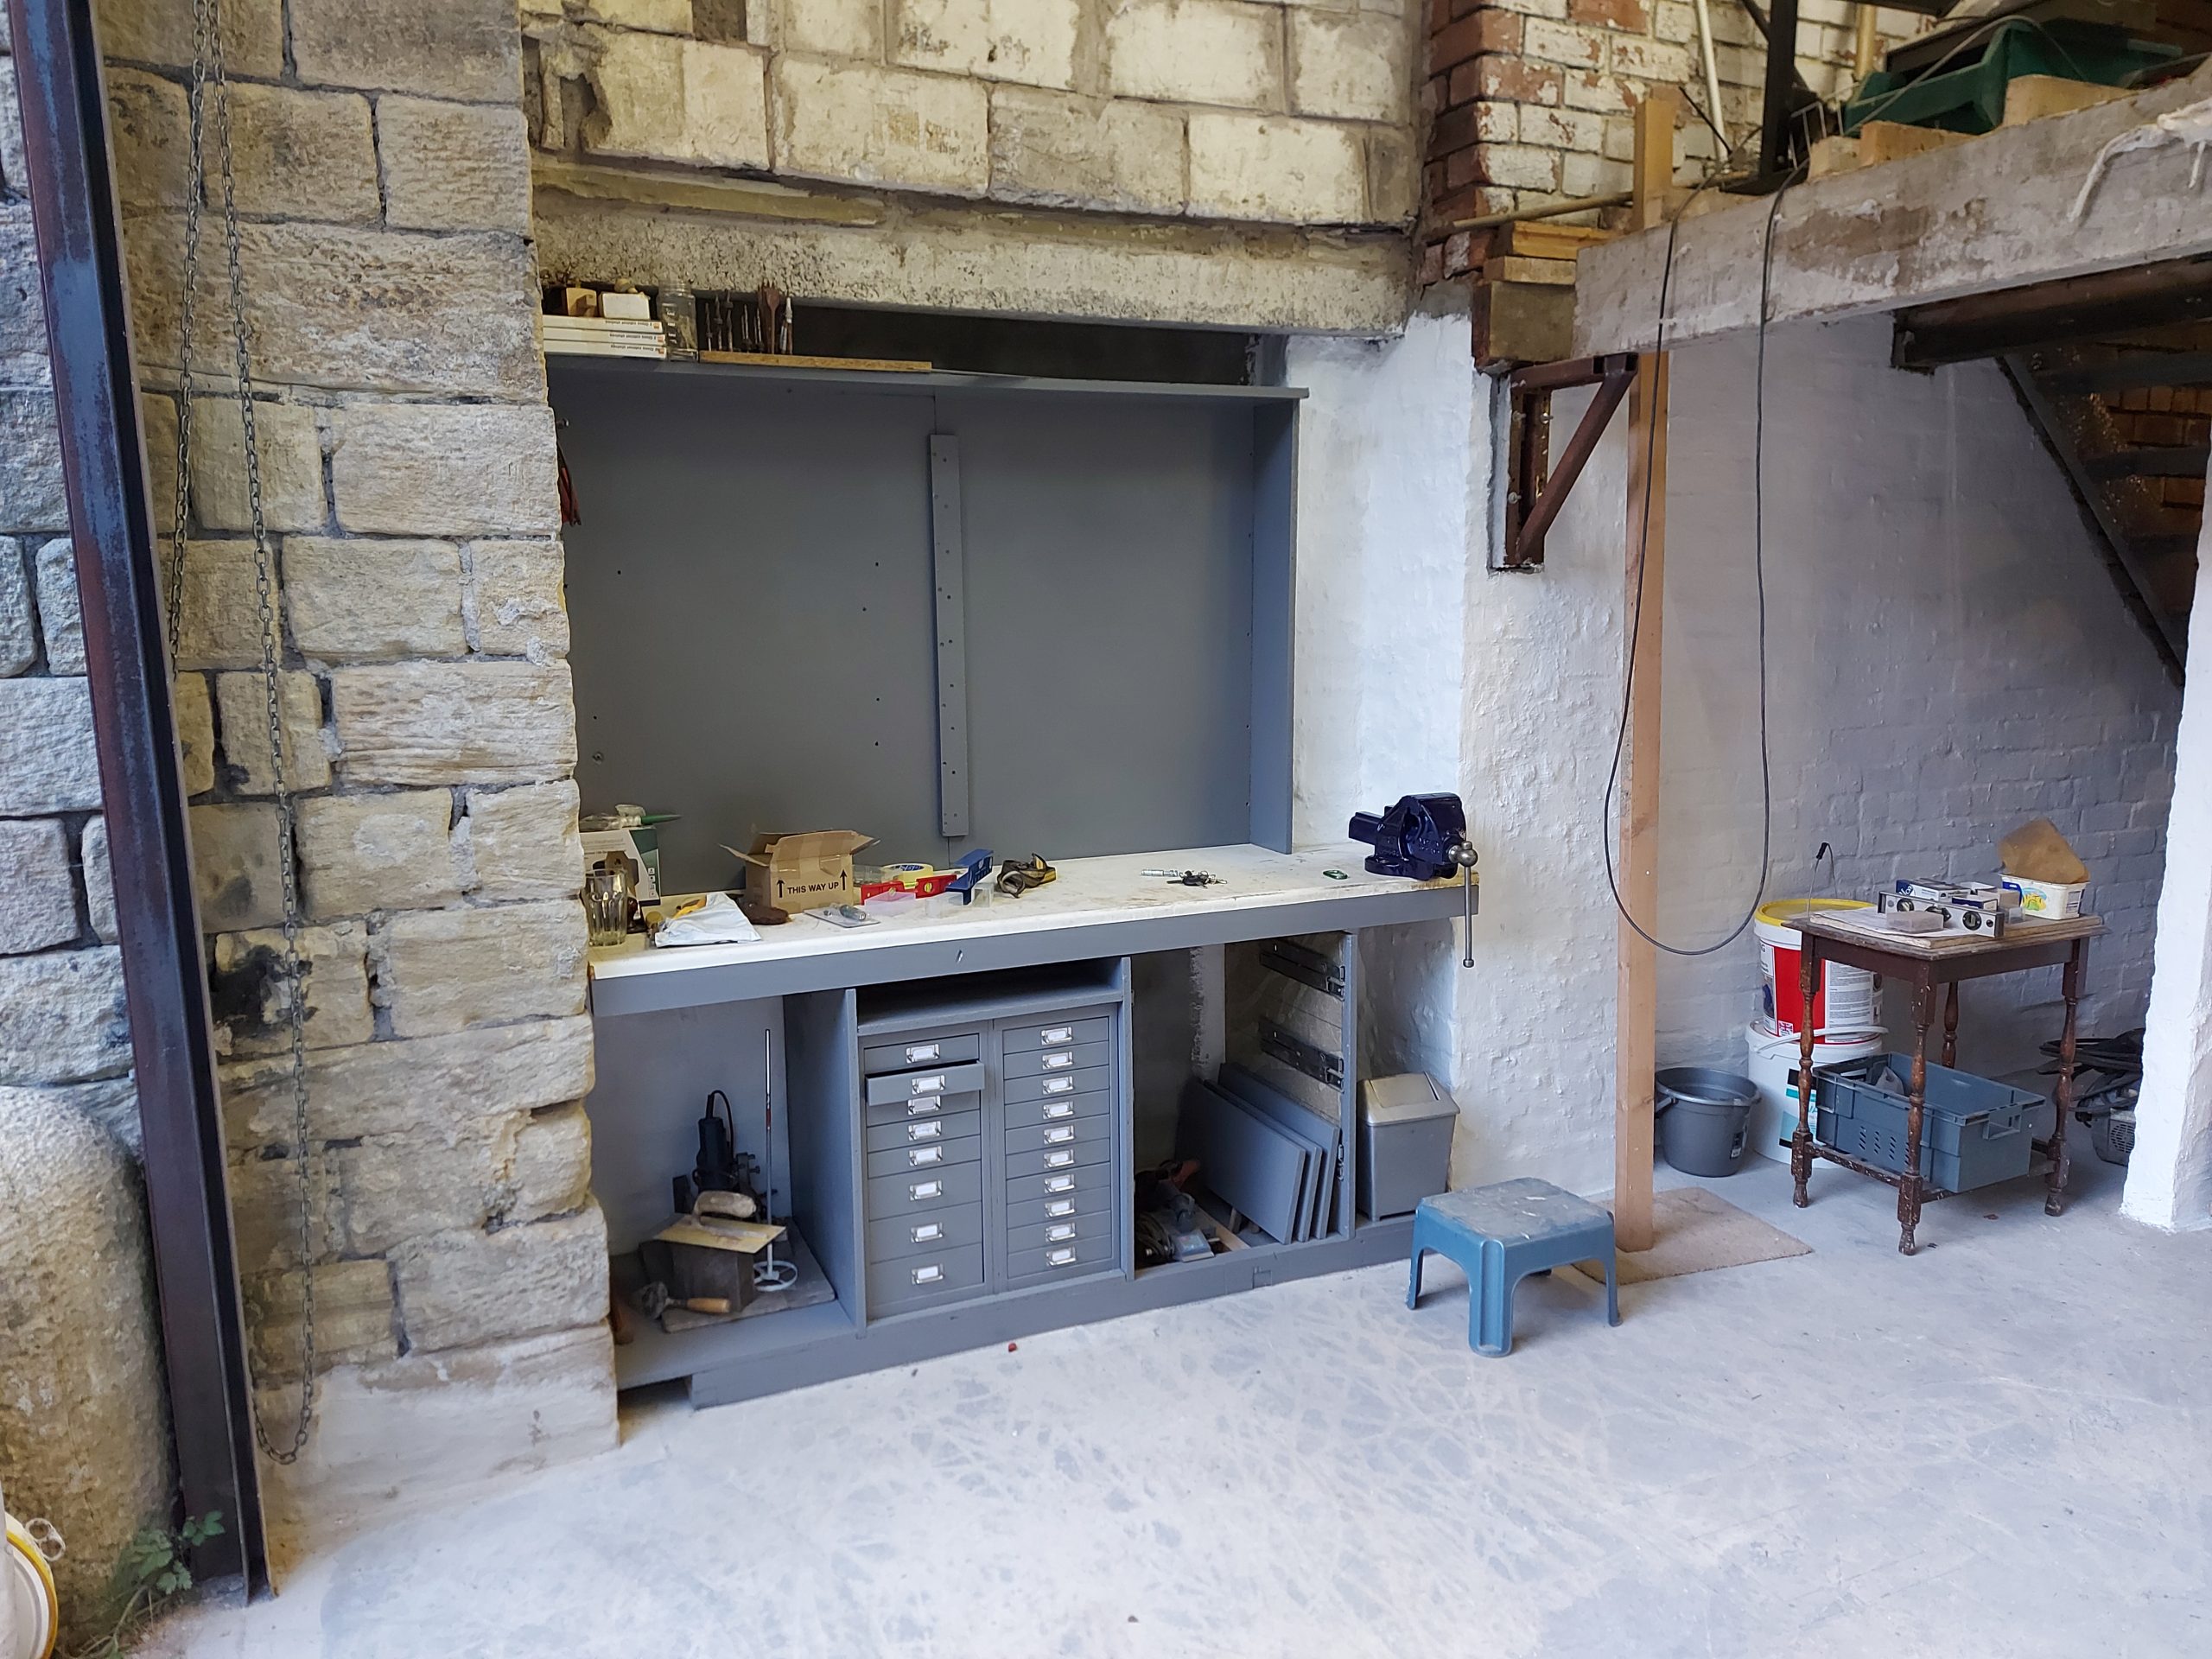
Got the vice in place now looking like a proper bench lol
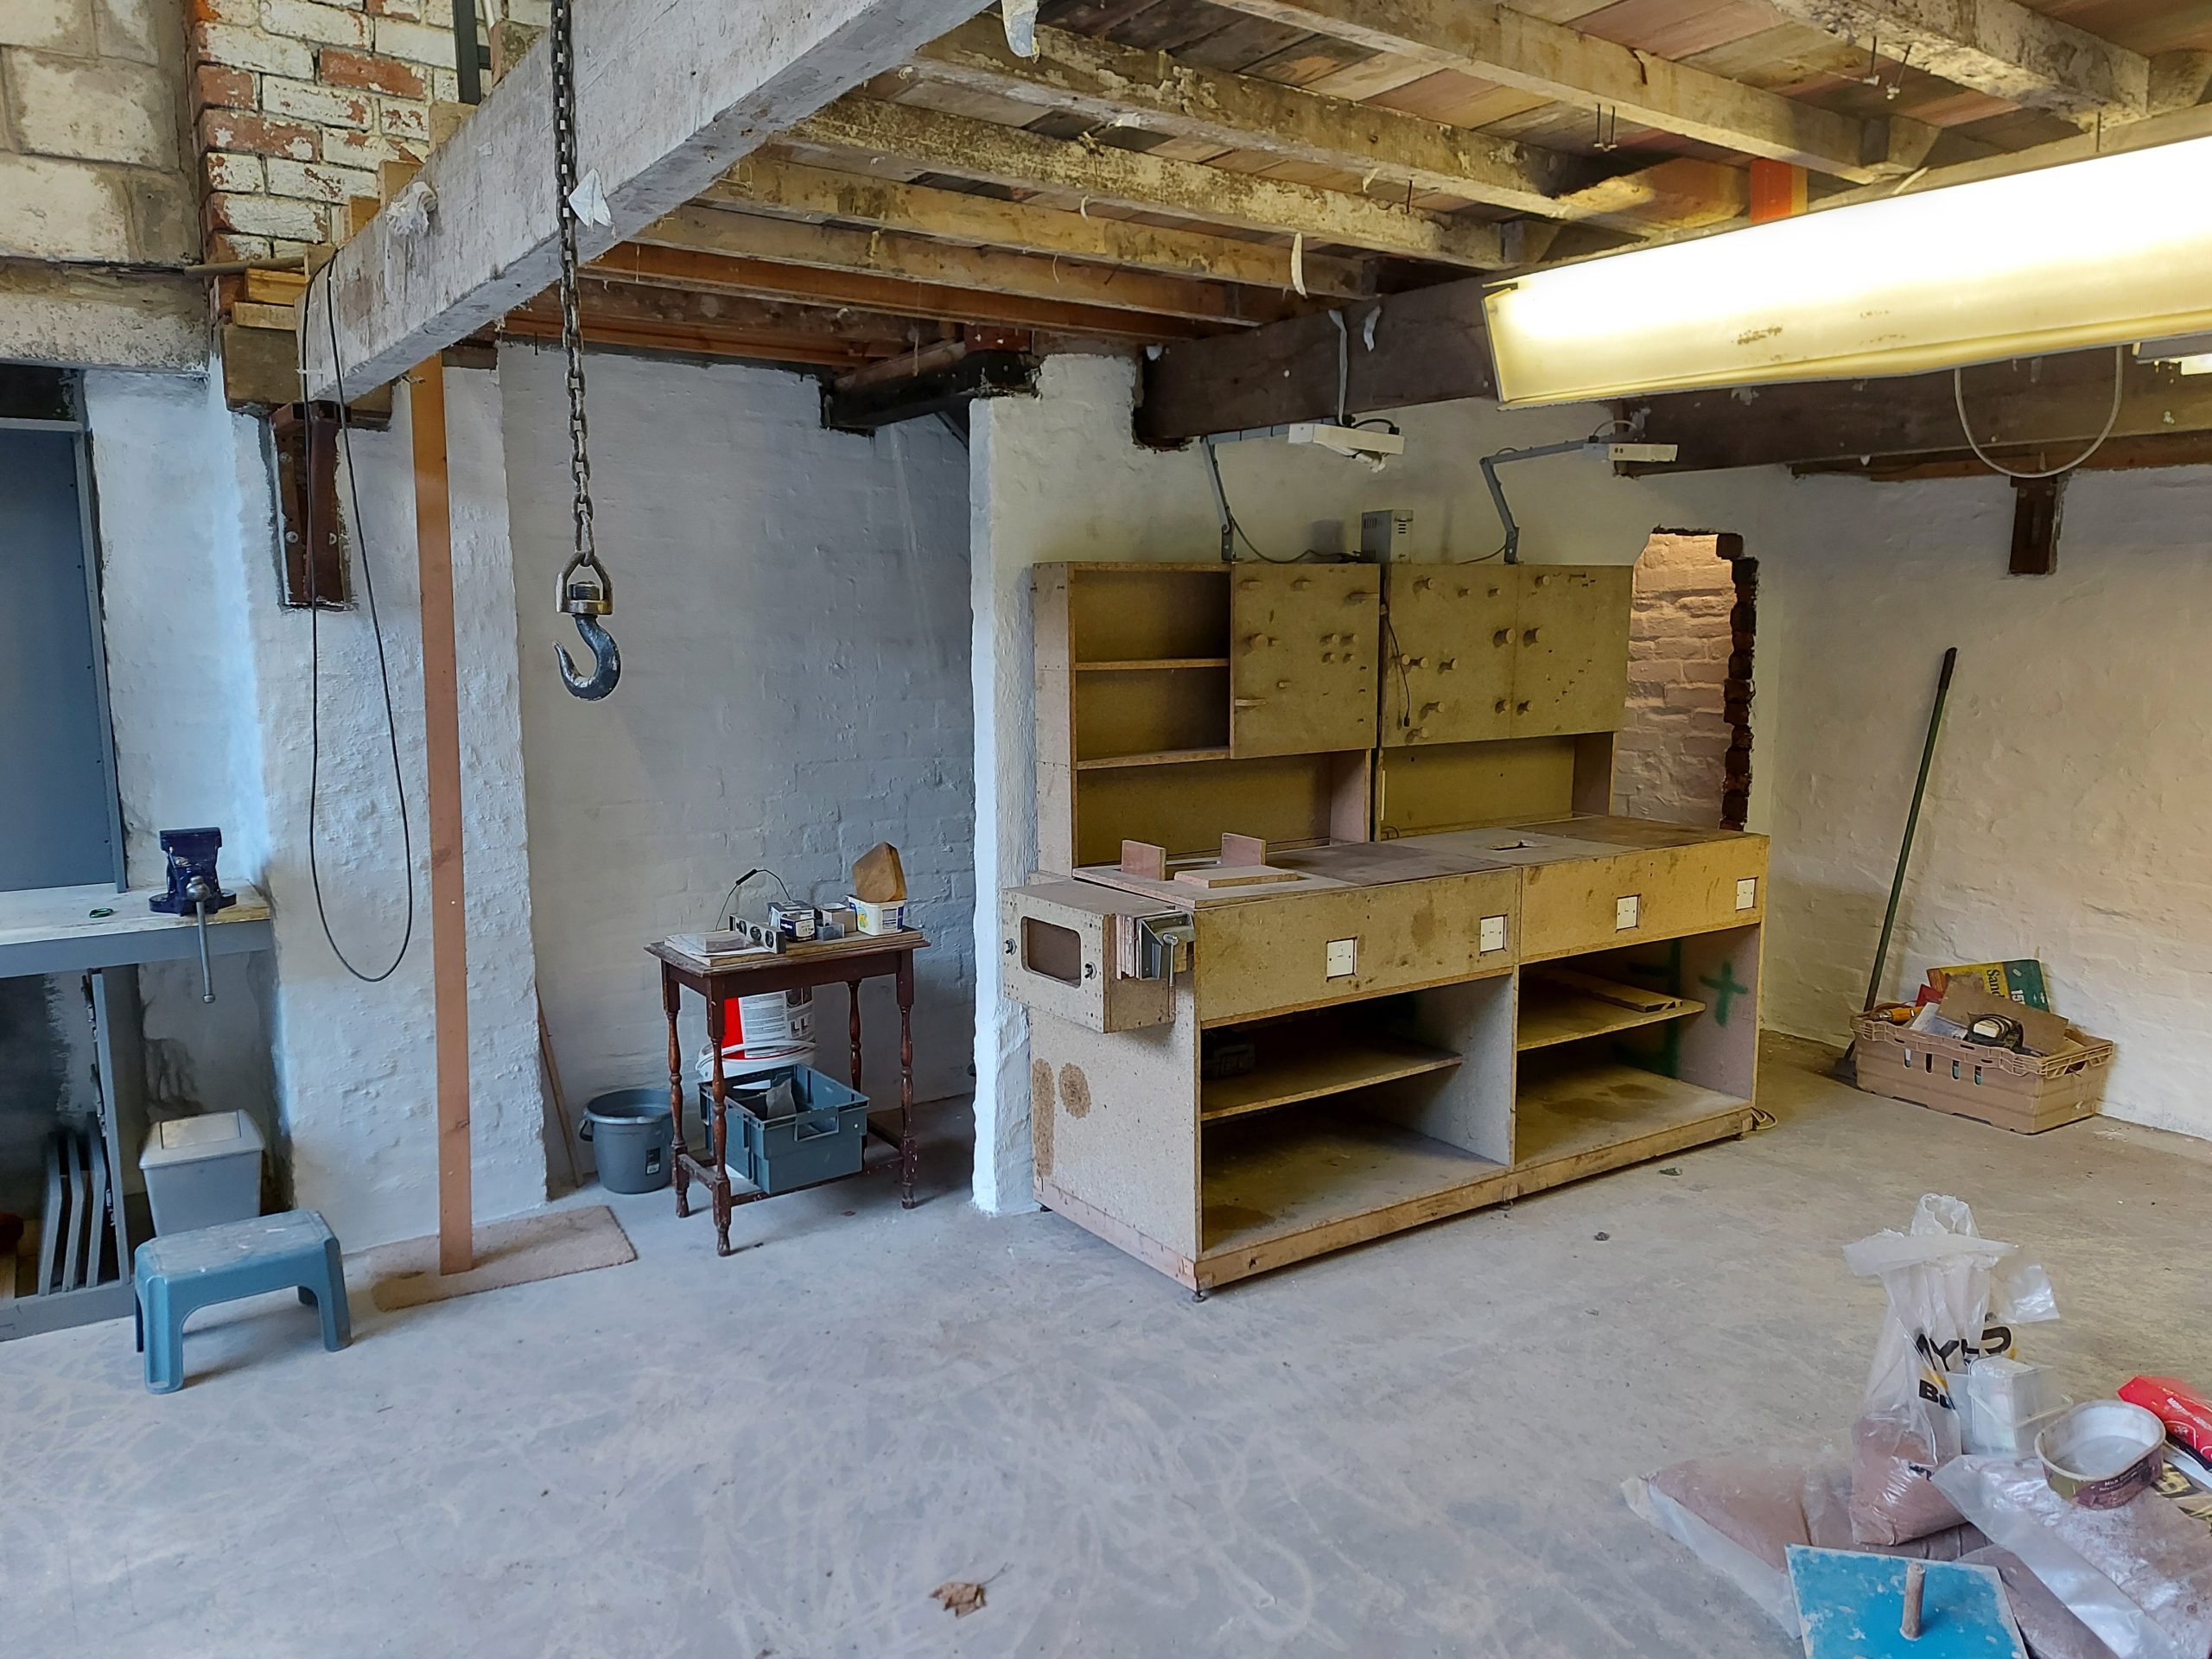
I built this bench about 20 years back, All the top are 500×500 inlet tool panels with switches on the front,
admin
23 April 2022 - 19:29
Steel Work
The Stairs
I got a fire escape about 15 years back from a local Pub/Restaurant, They’ve sat at the bottom of the garden ever since, they was for an outdoor access but now getting used inside,
Got the steel stairs off for sand blasting today (Tuesday)hopefully painting it on Thursday,
Bugger the assembled unit is 12.5mm too wide for the opening so 4 long cuts have to be done,
The gap for the staircase is 31″ Staircase is 31.5″ So I’ve decided to take 1.25″ off each Side rails making it 31″ and I will need to weld all nuts into the channel so it can be erected in place from under the stairs,
The Last long cut to do,
All the nuts welded in place,
More red oxide,
Grey Floor pain first coat
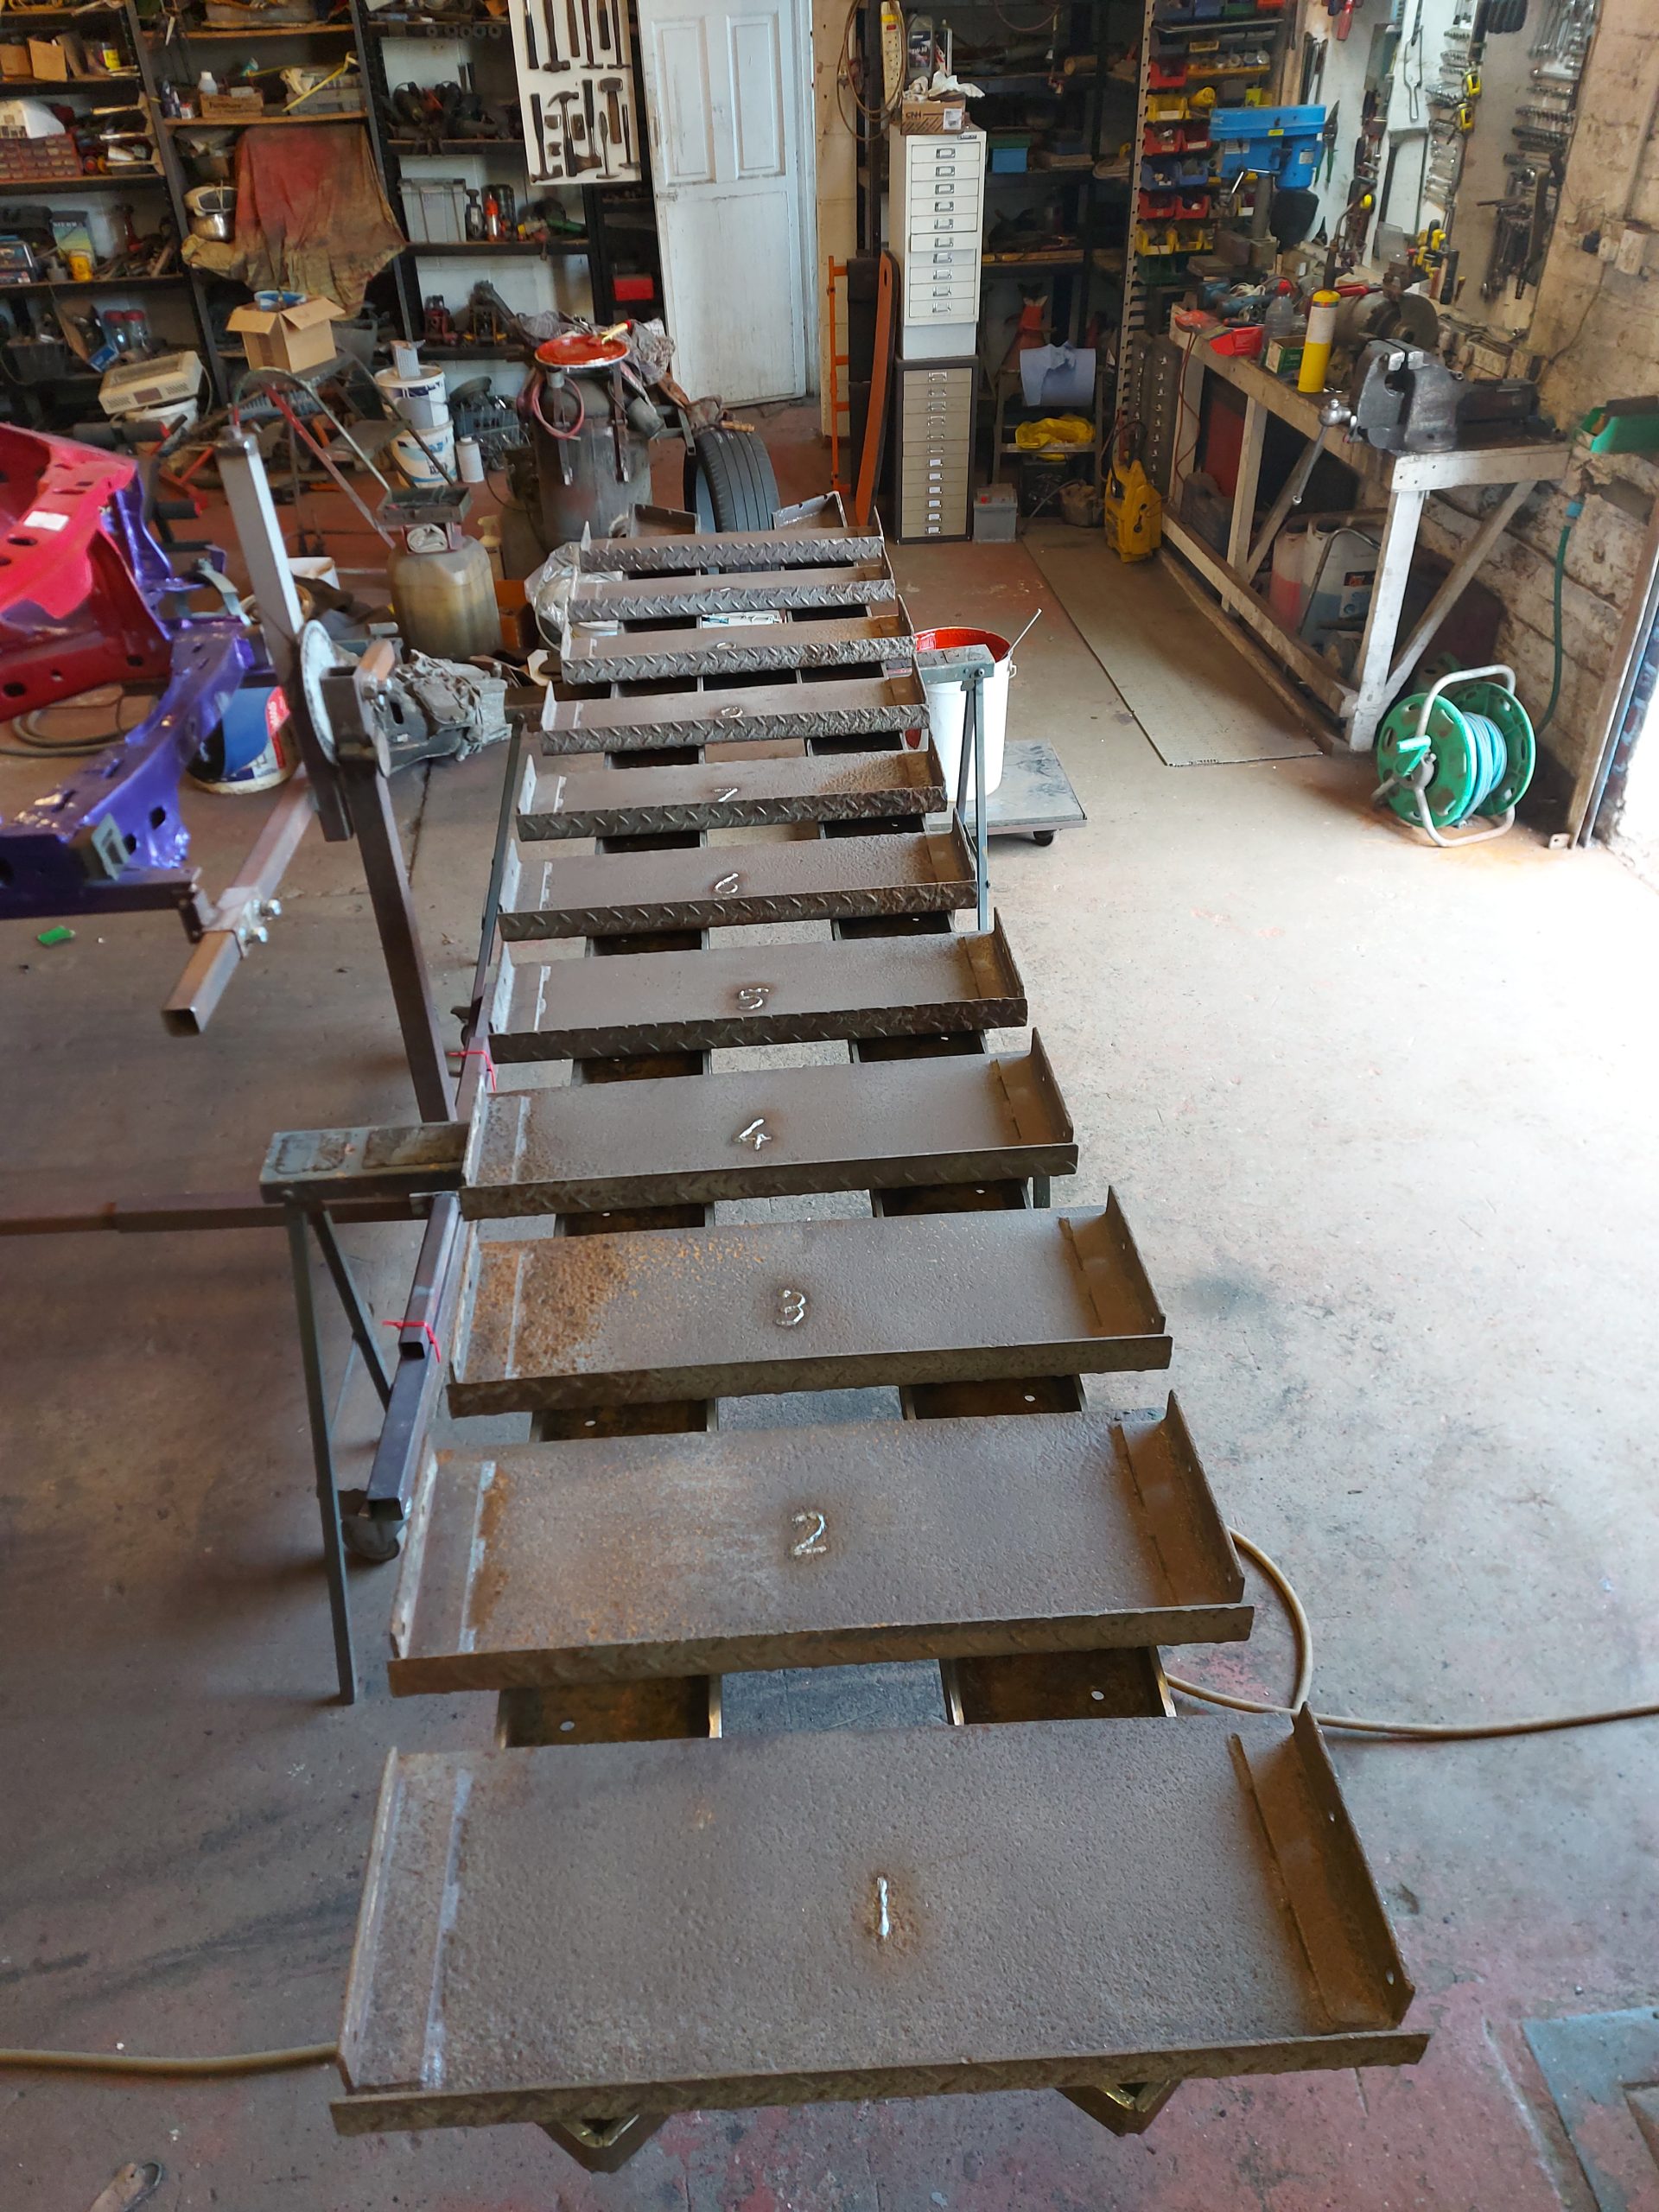
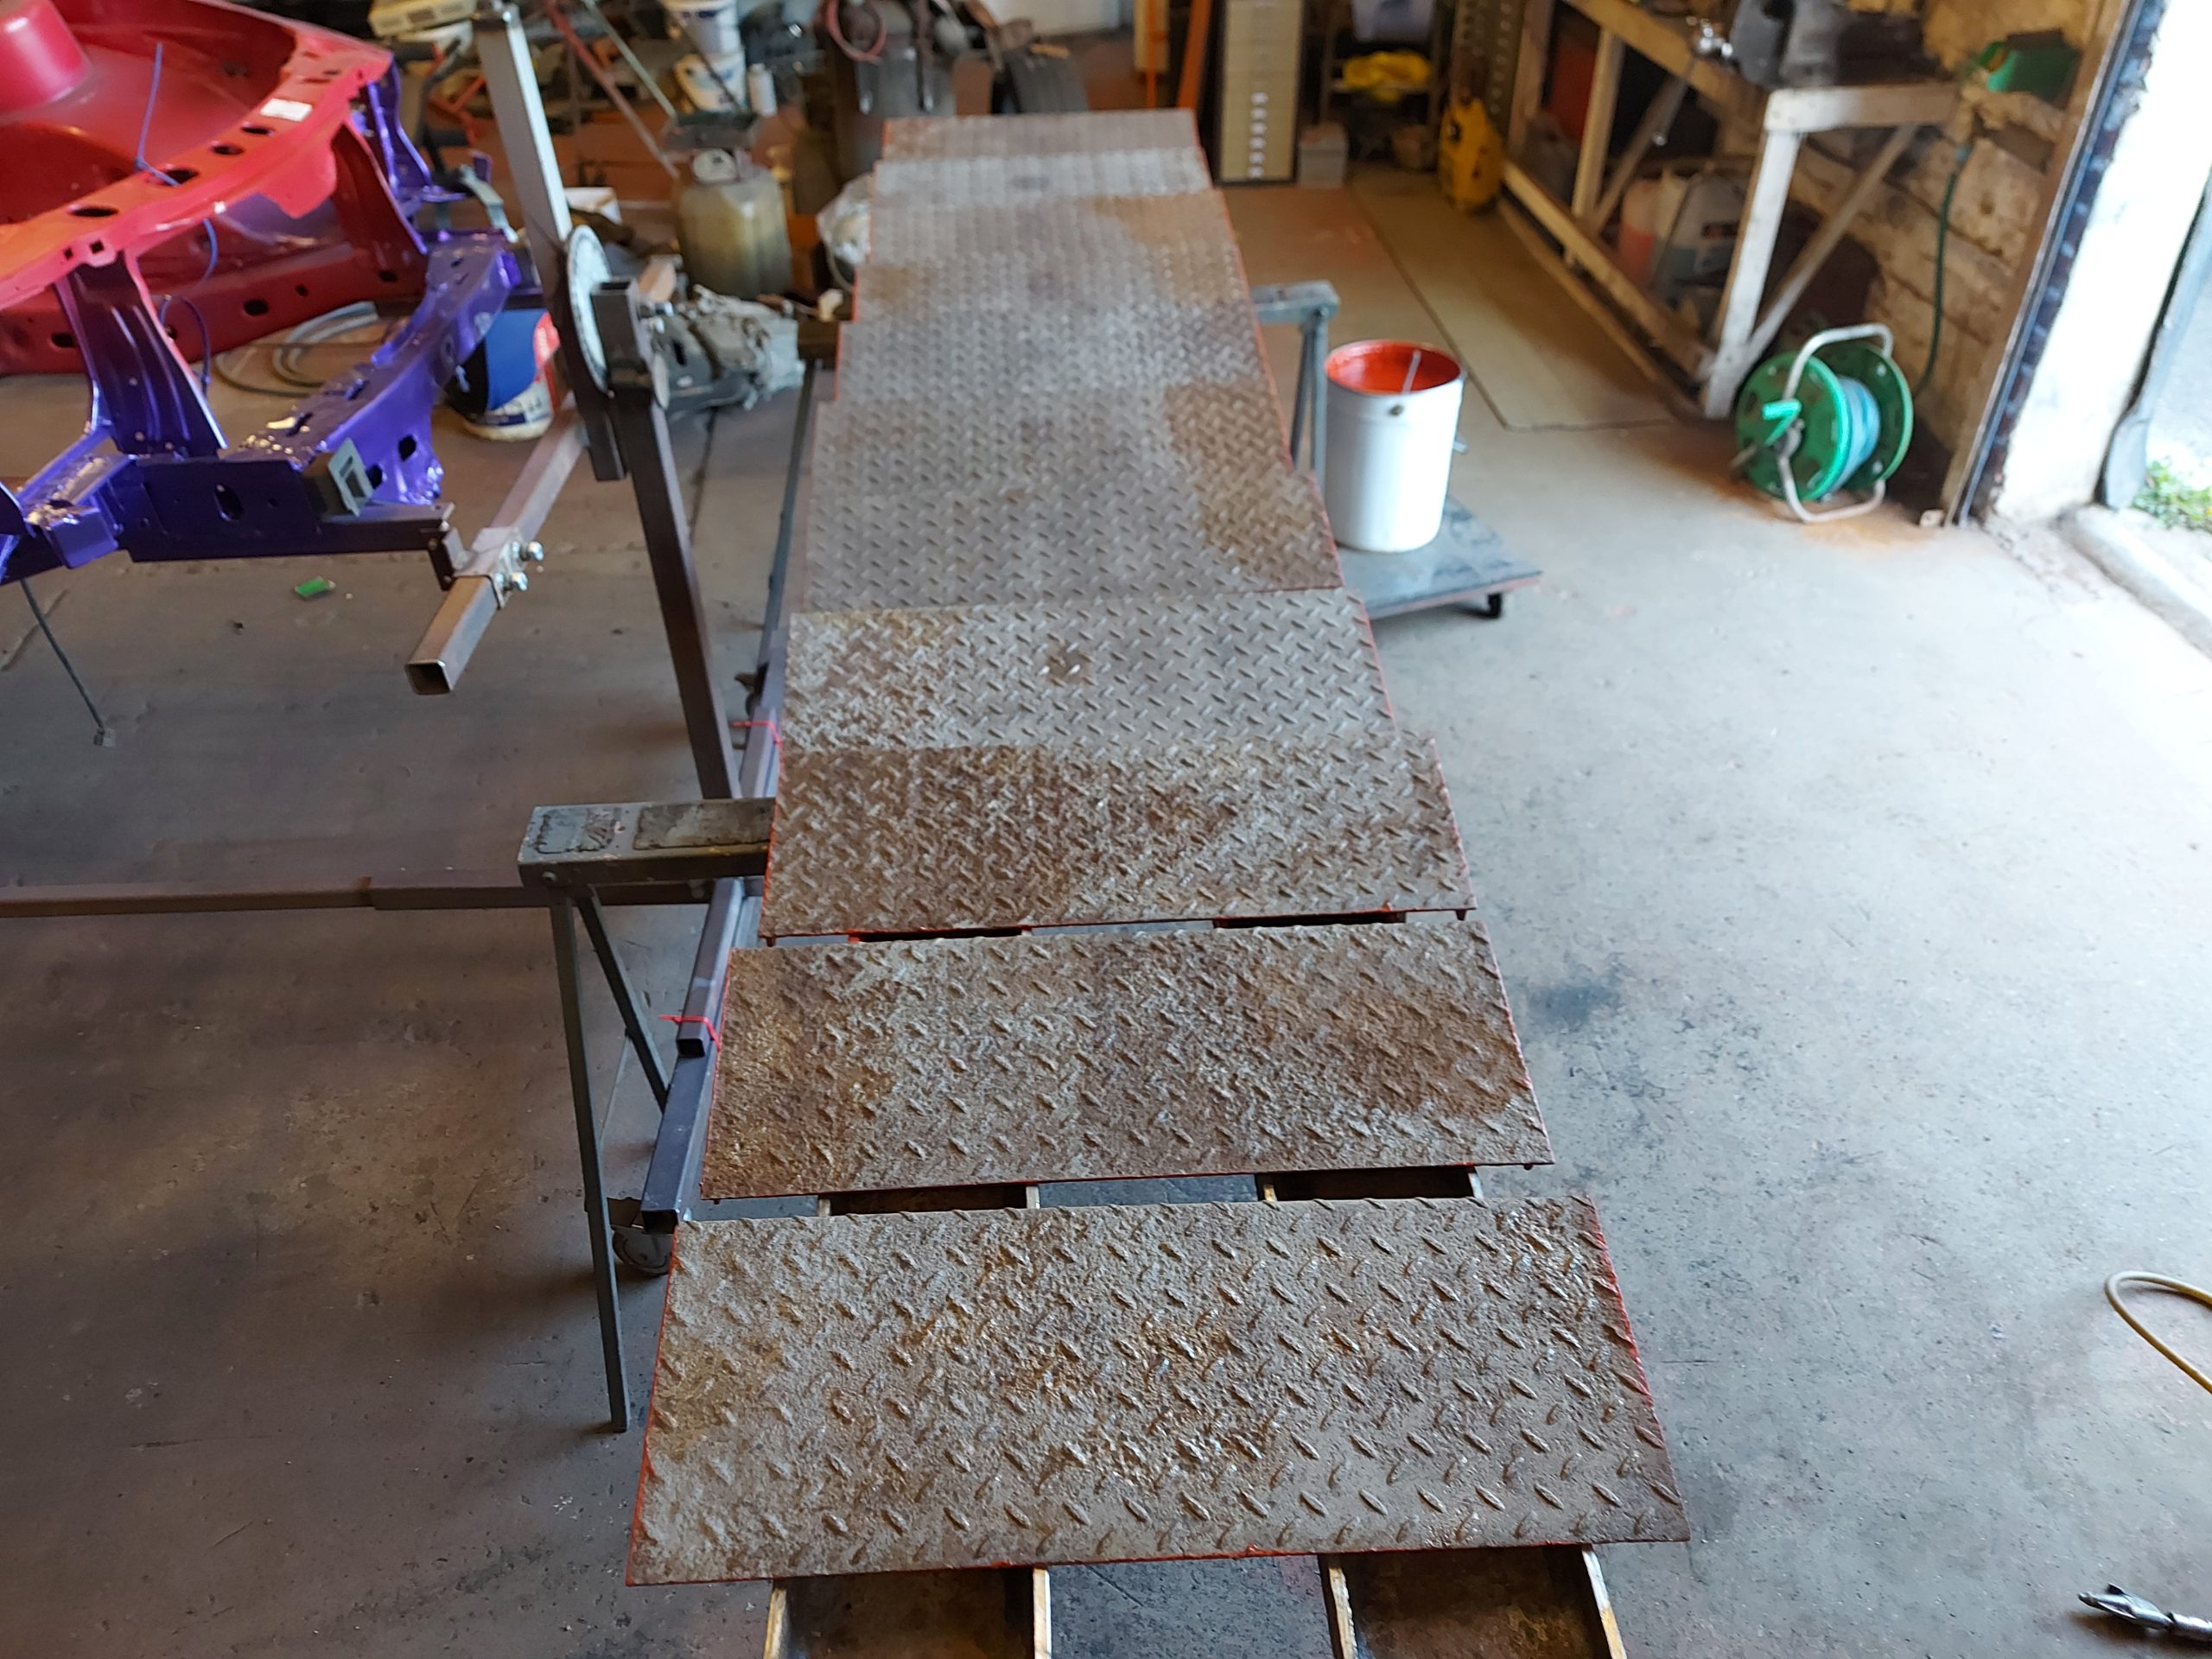
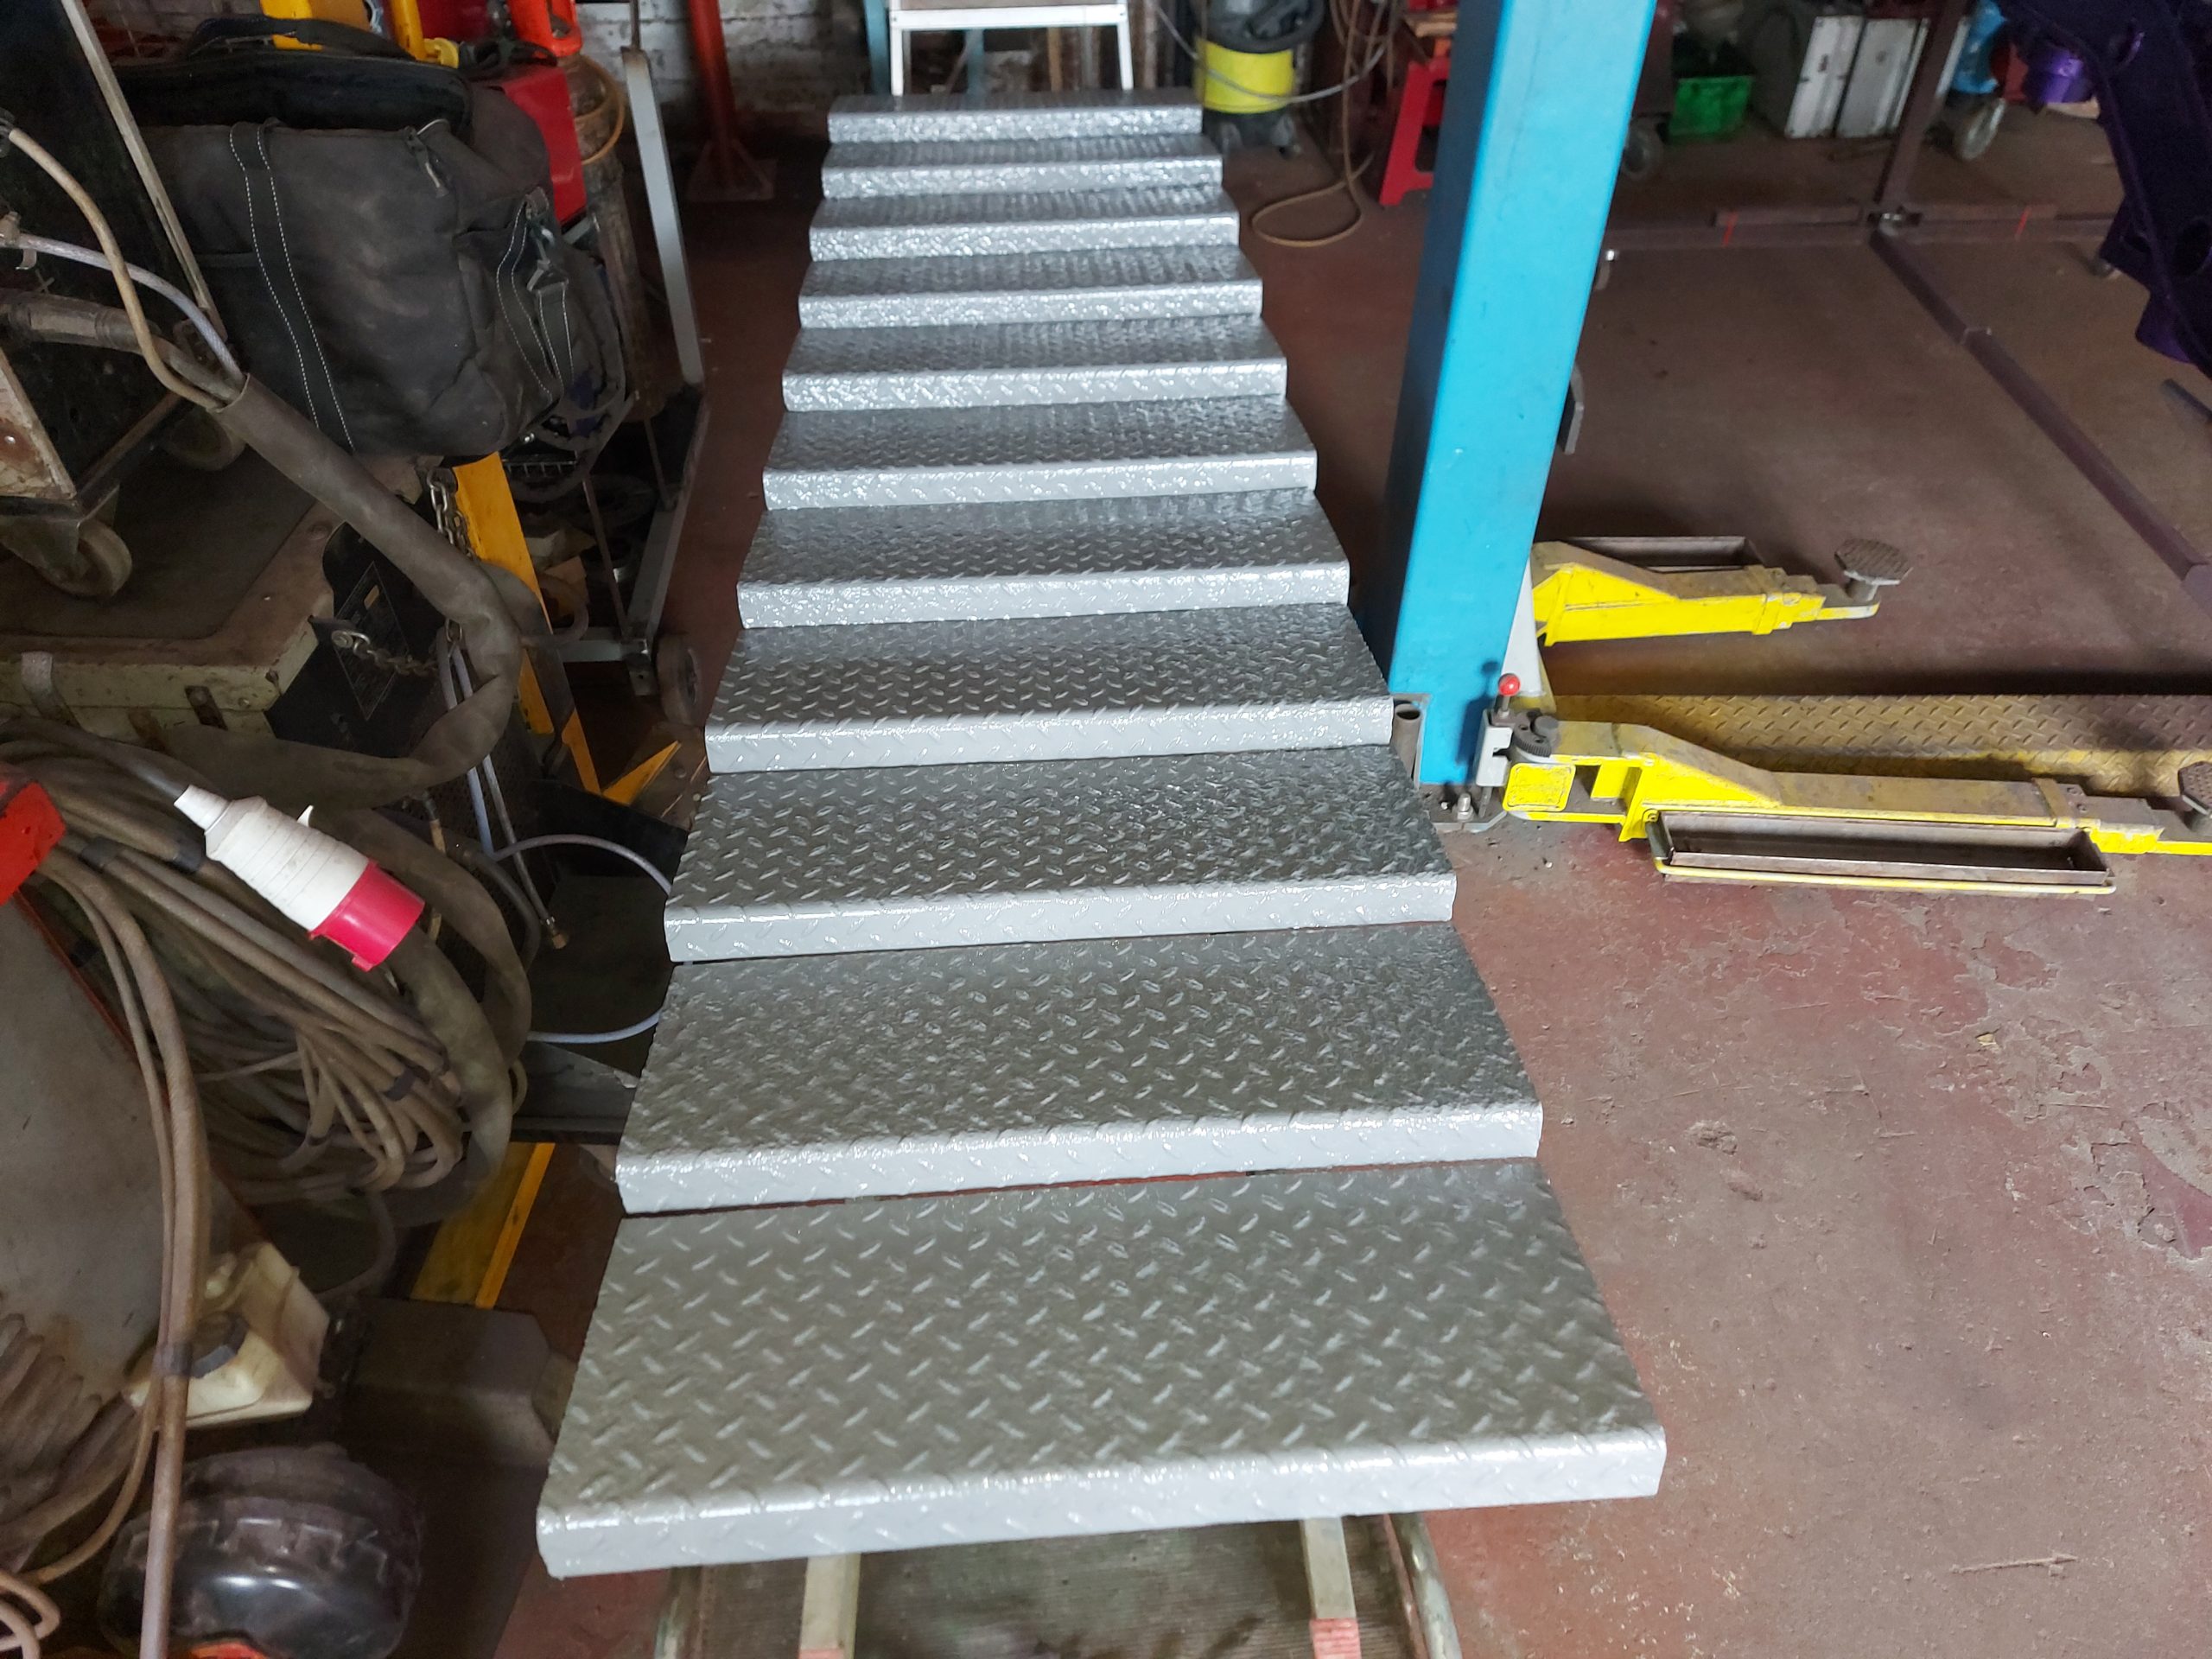
The Treads
Looks like this was built on a site! not in a factory had to mess around with every tread plate to find the only place it would fit on the side rails
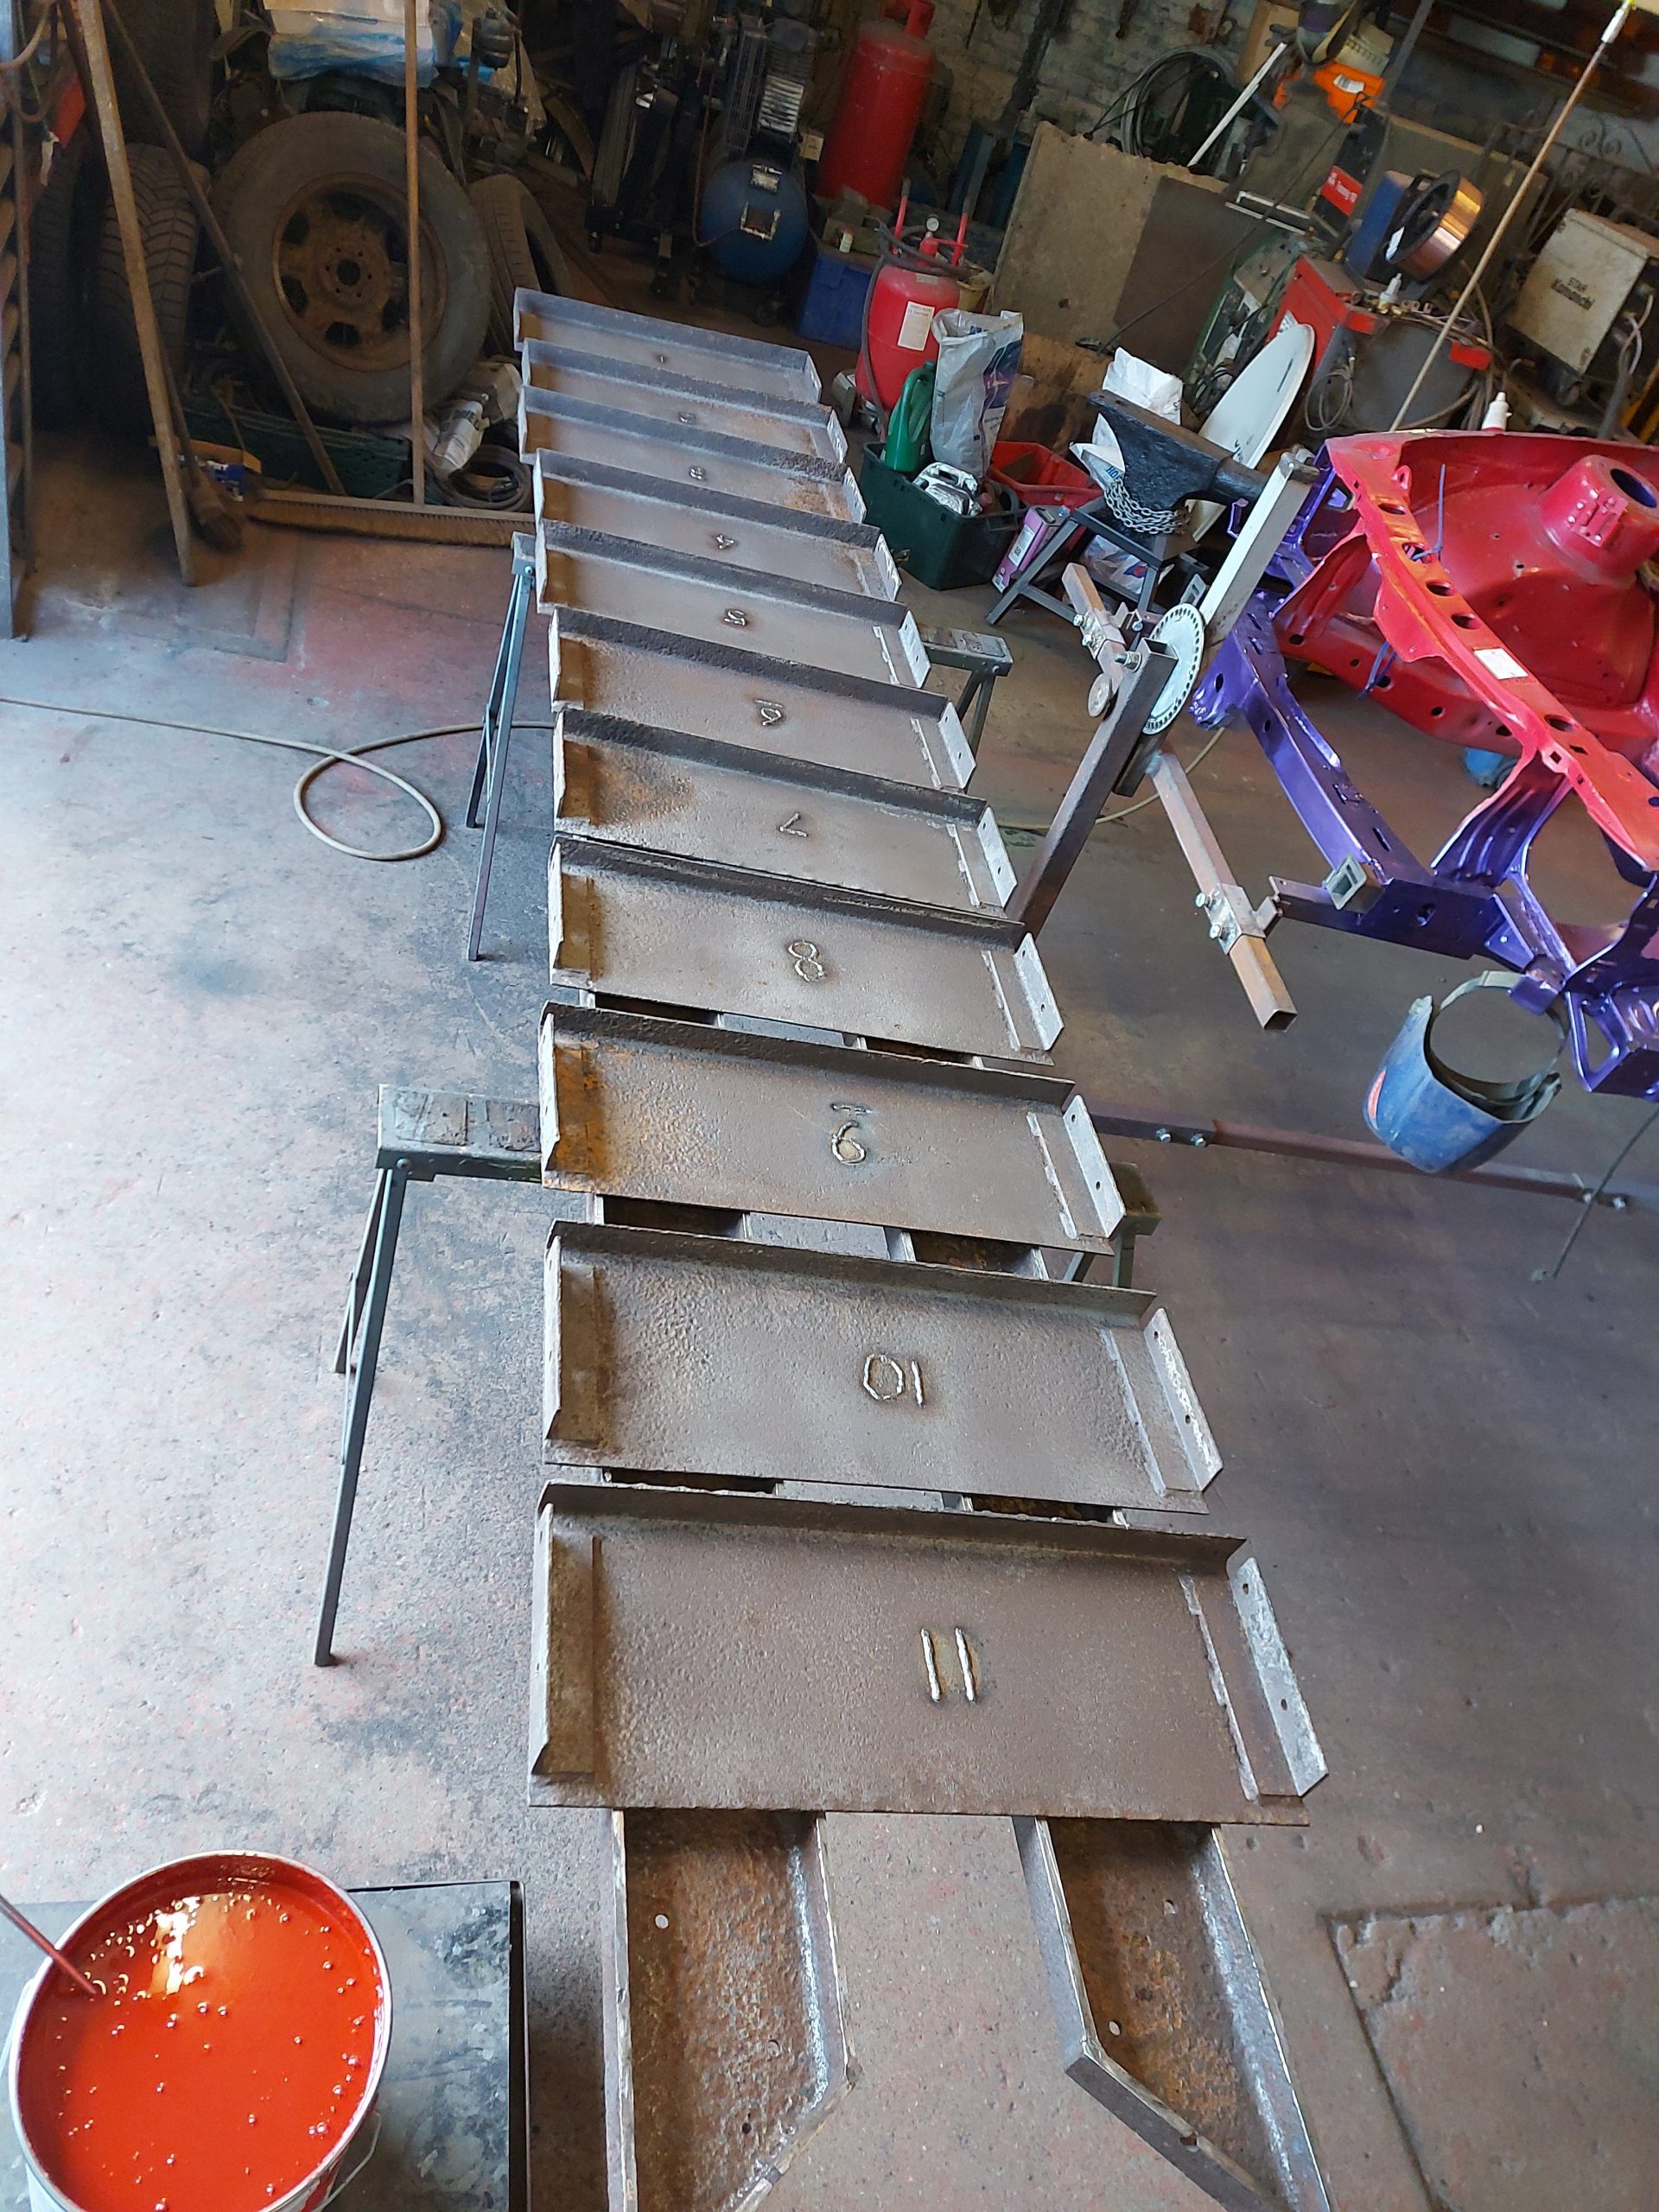
The under side
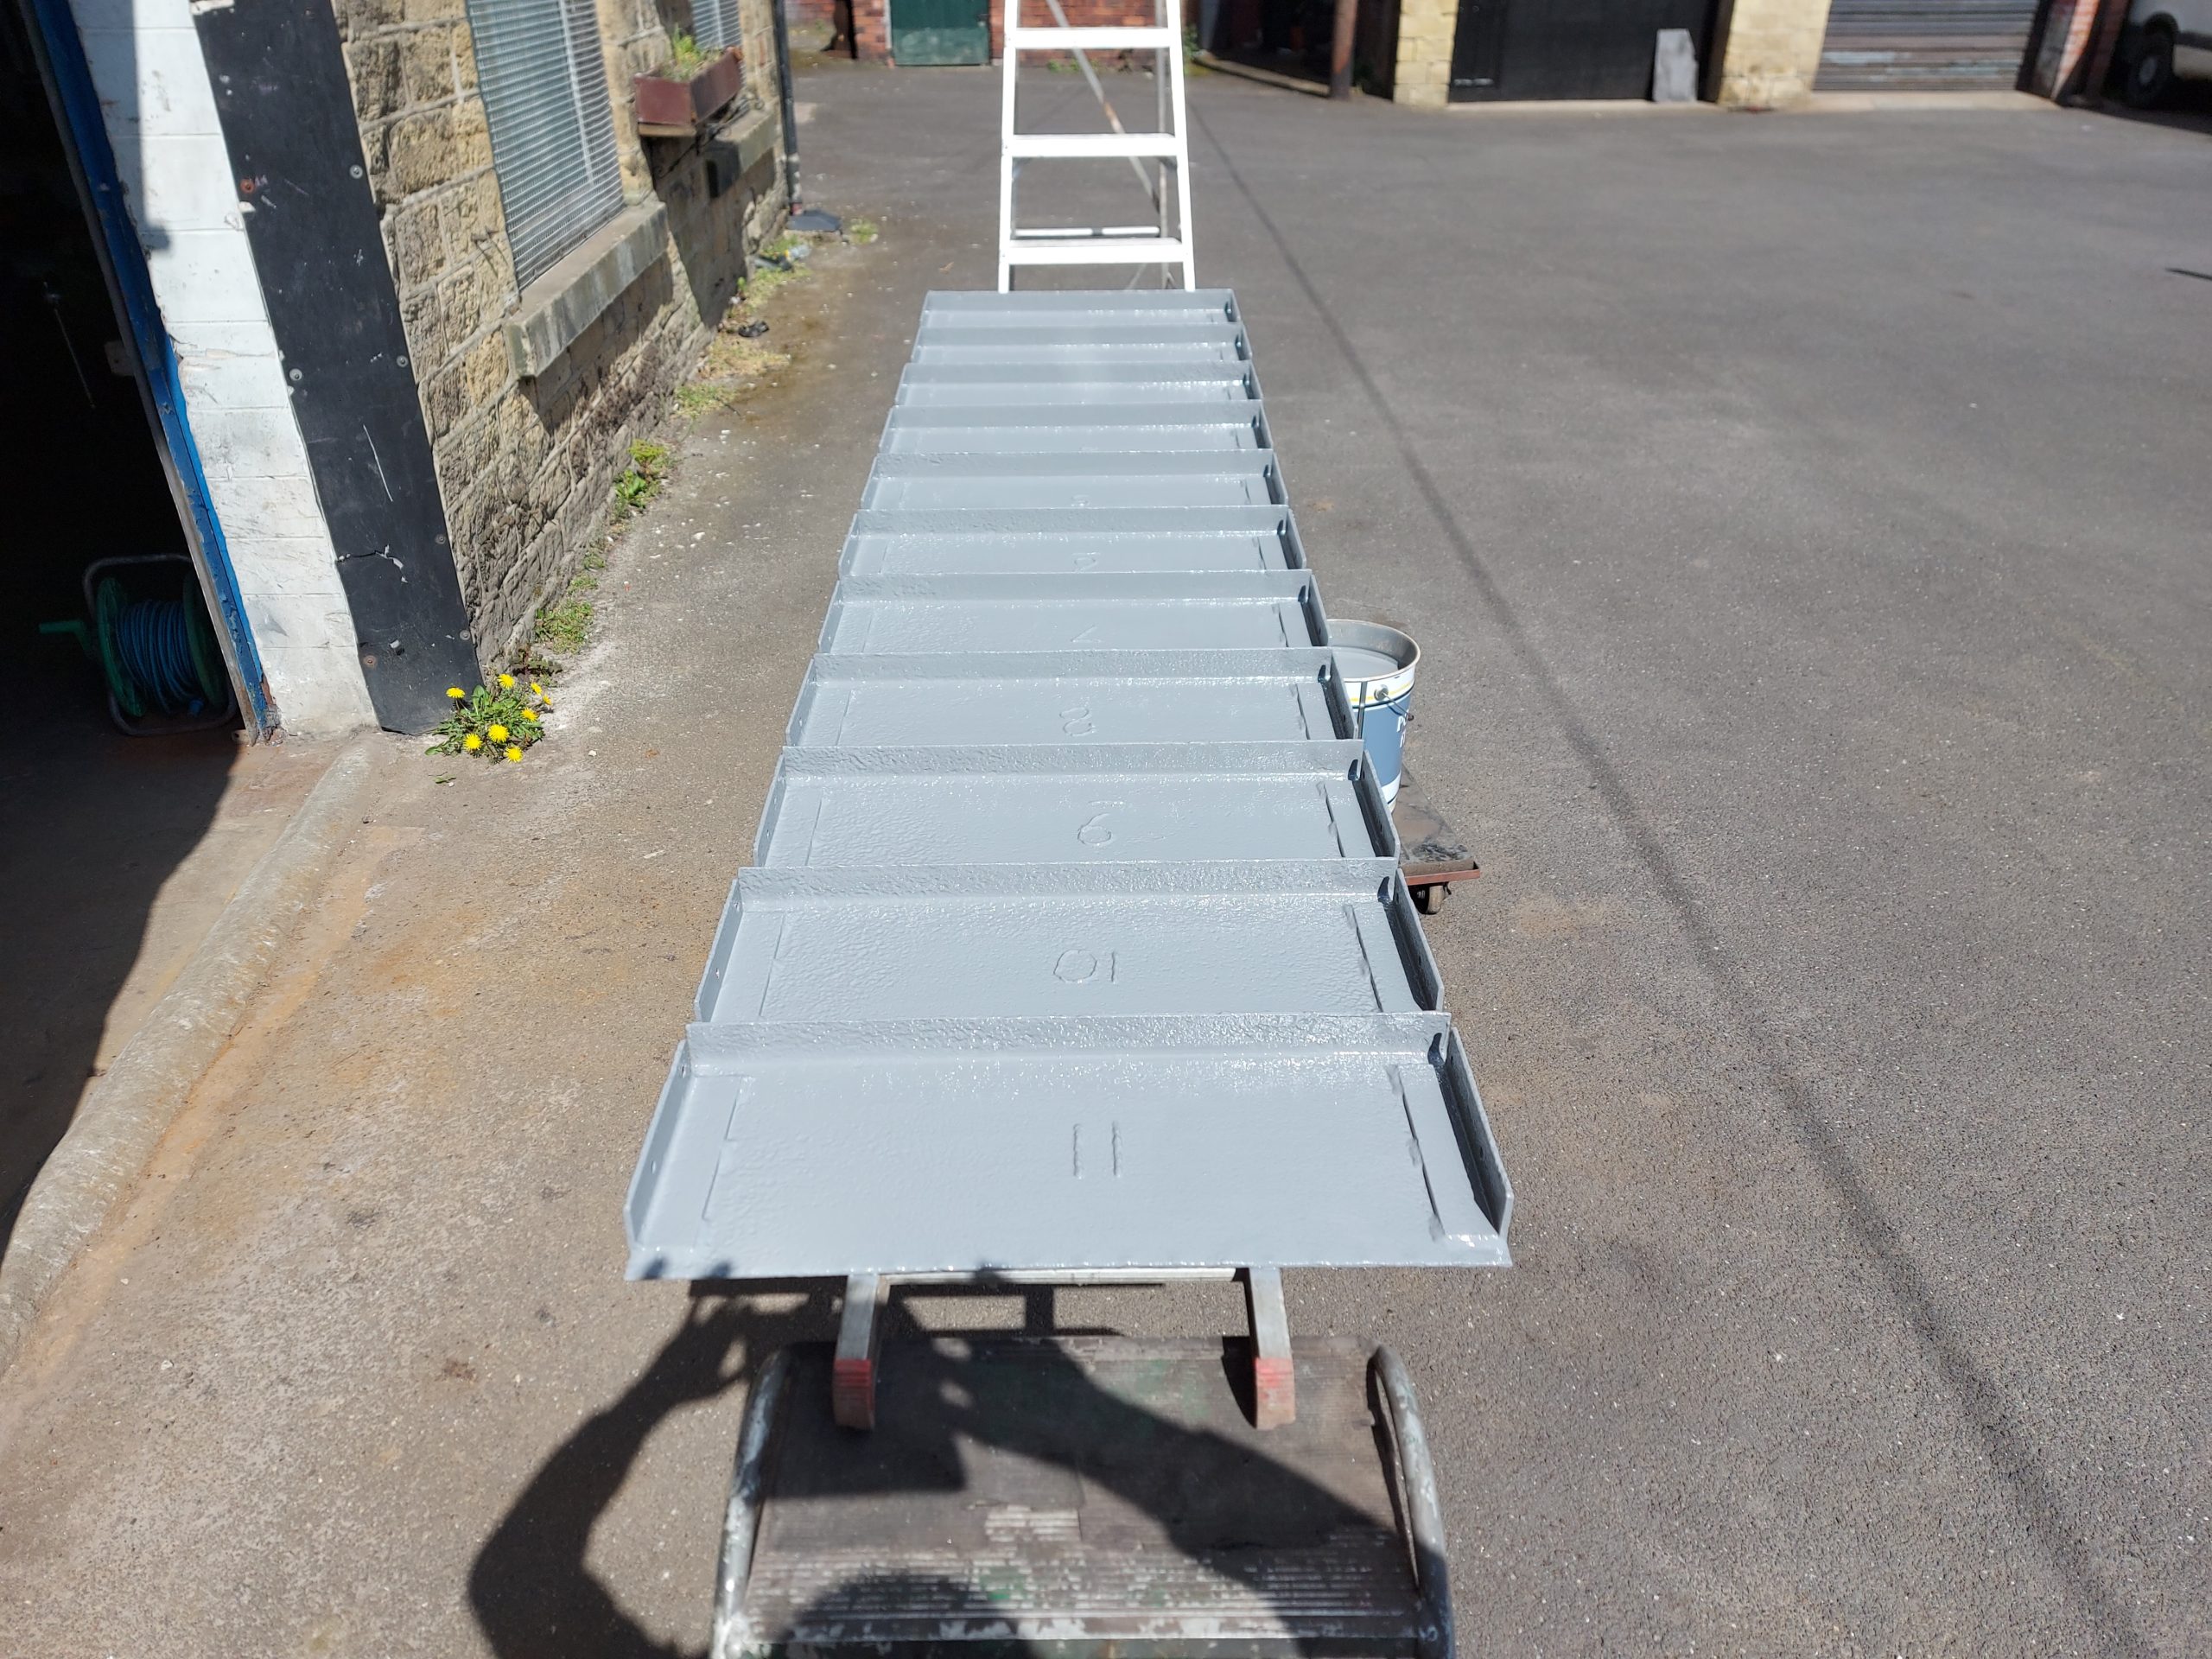
Maked all with a number welded into the under side
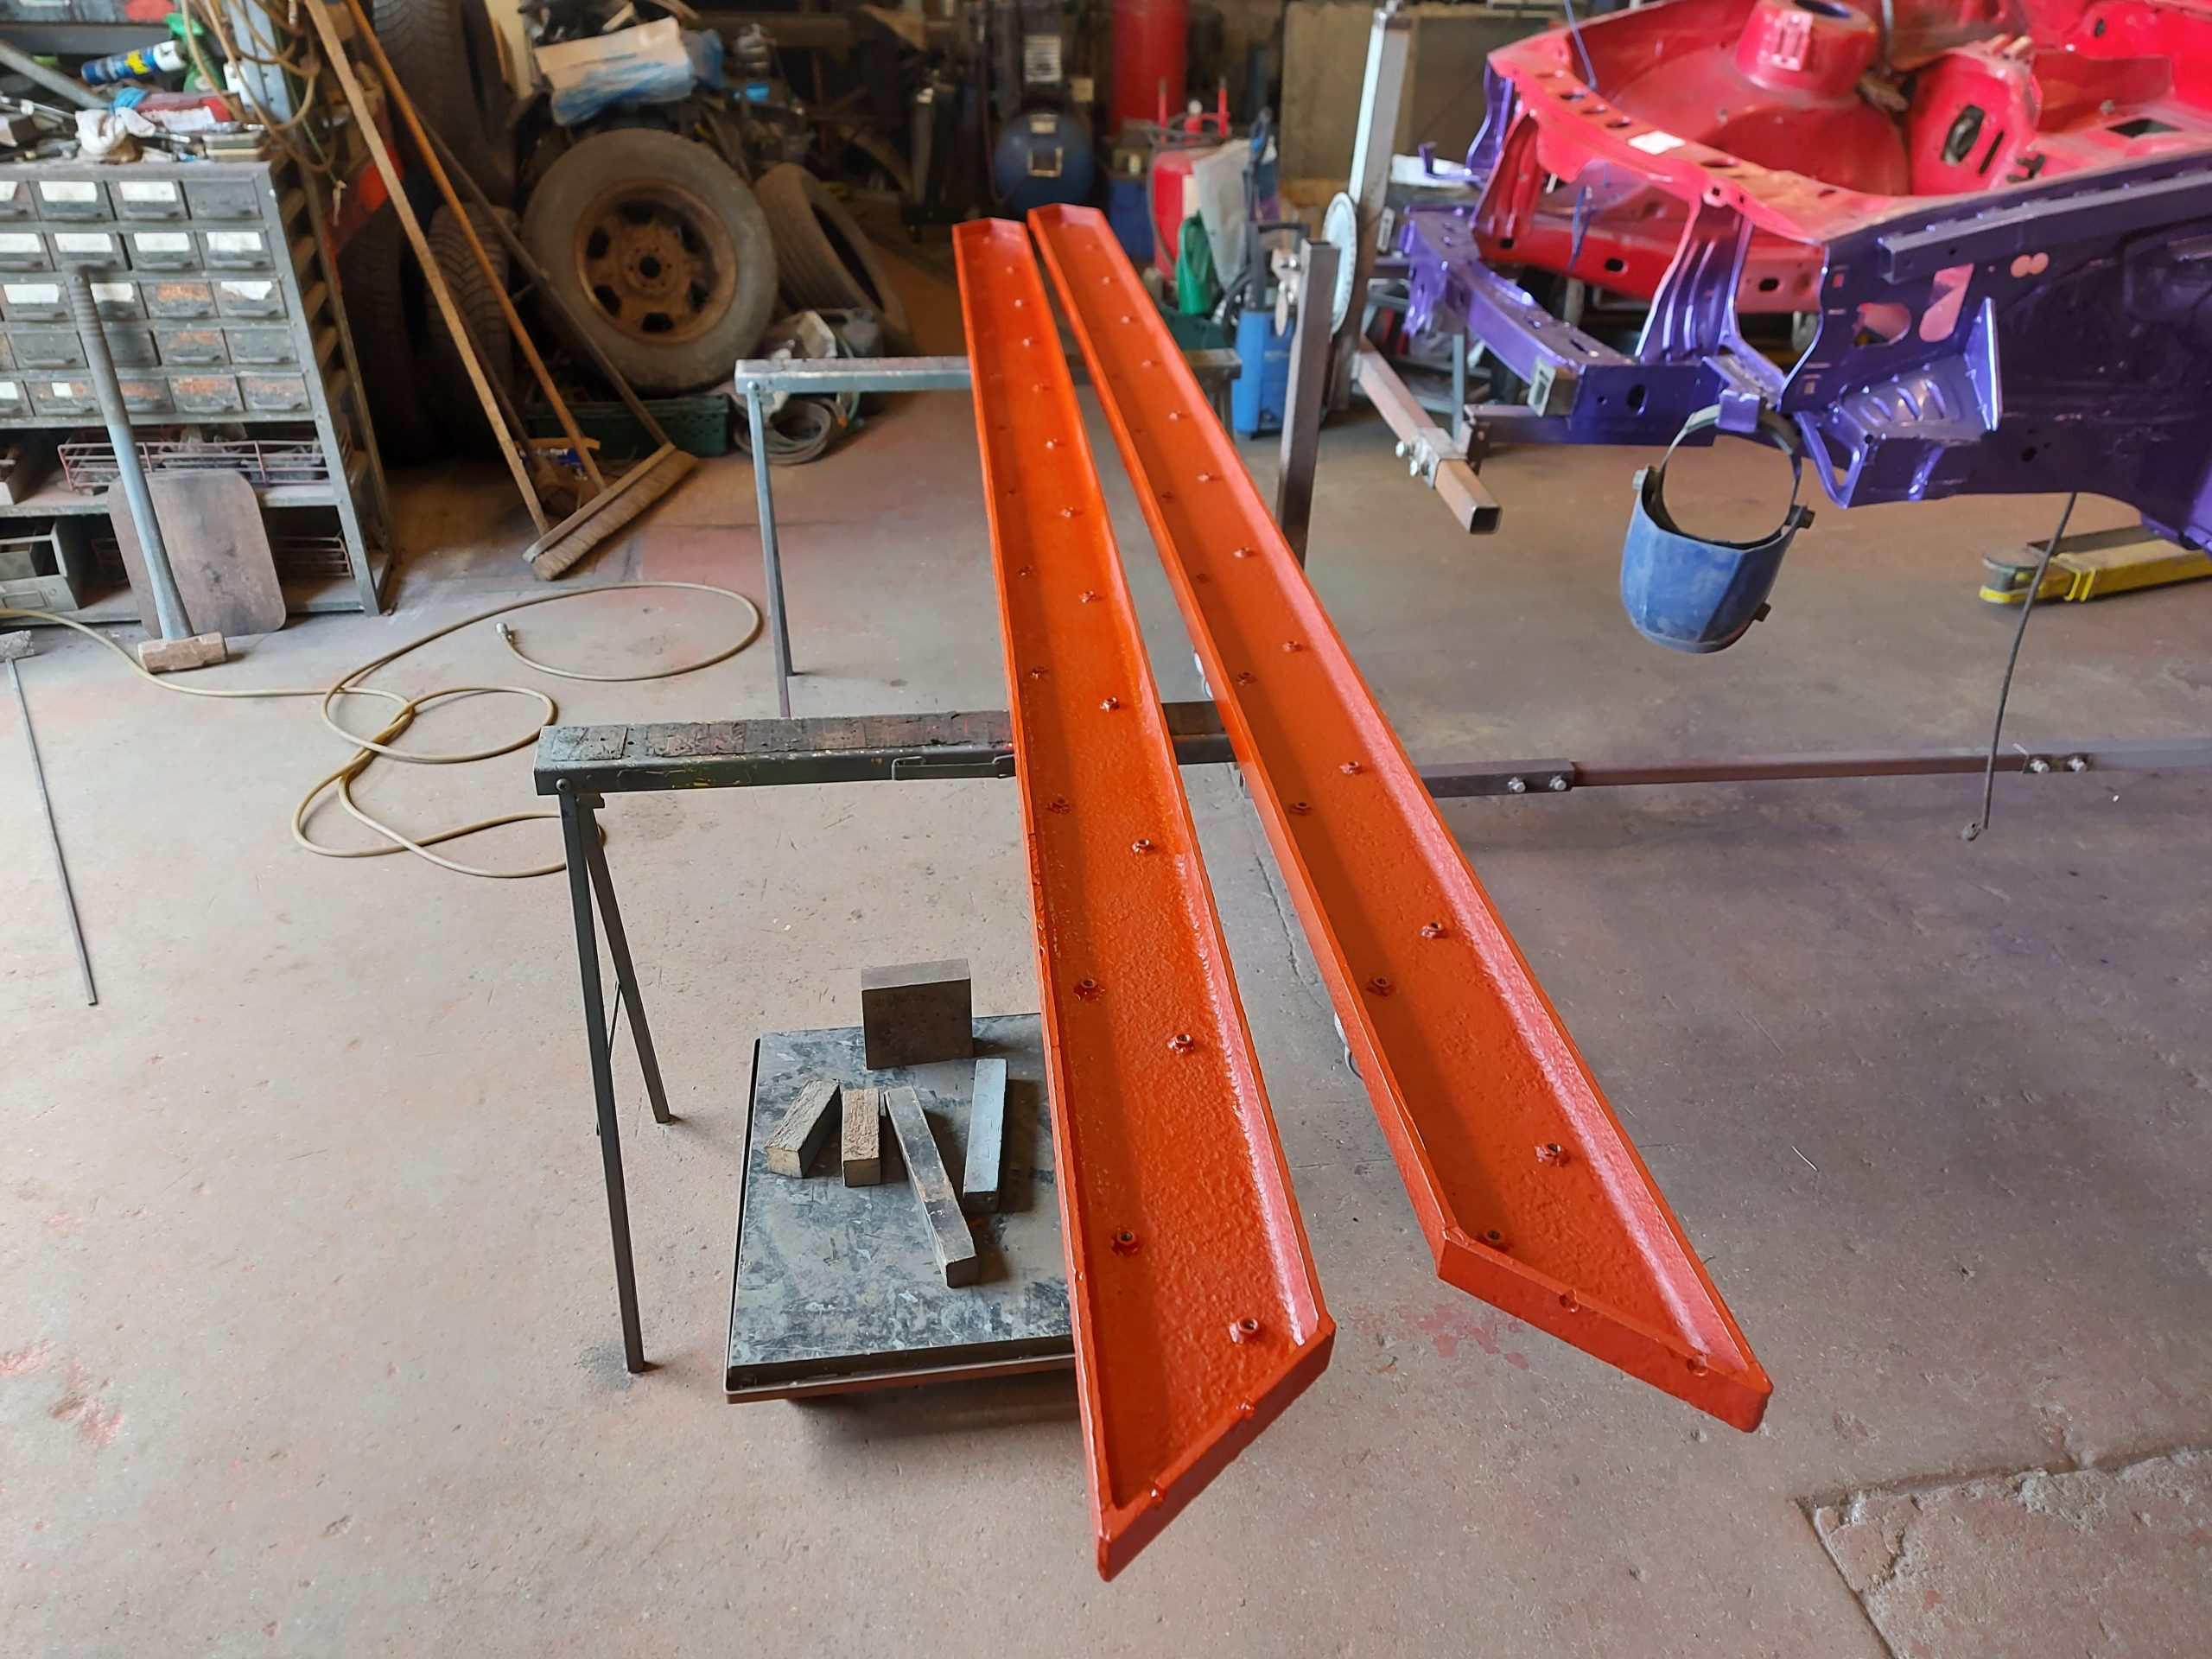
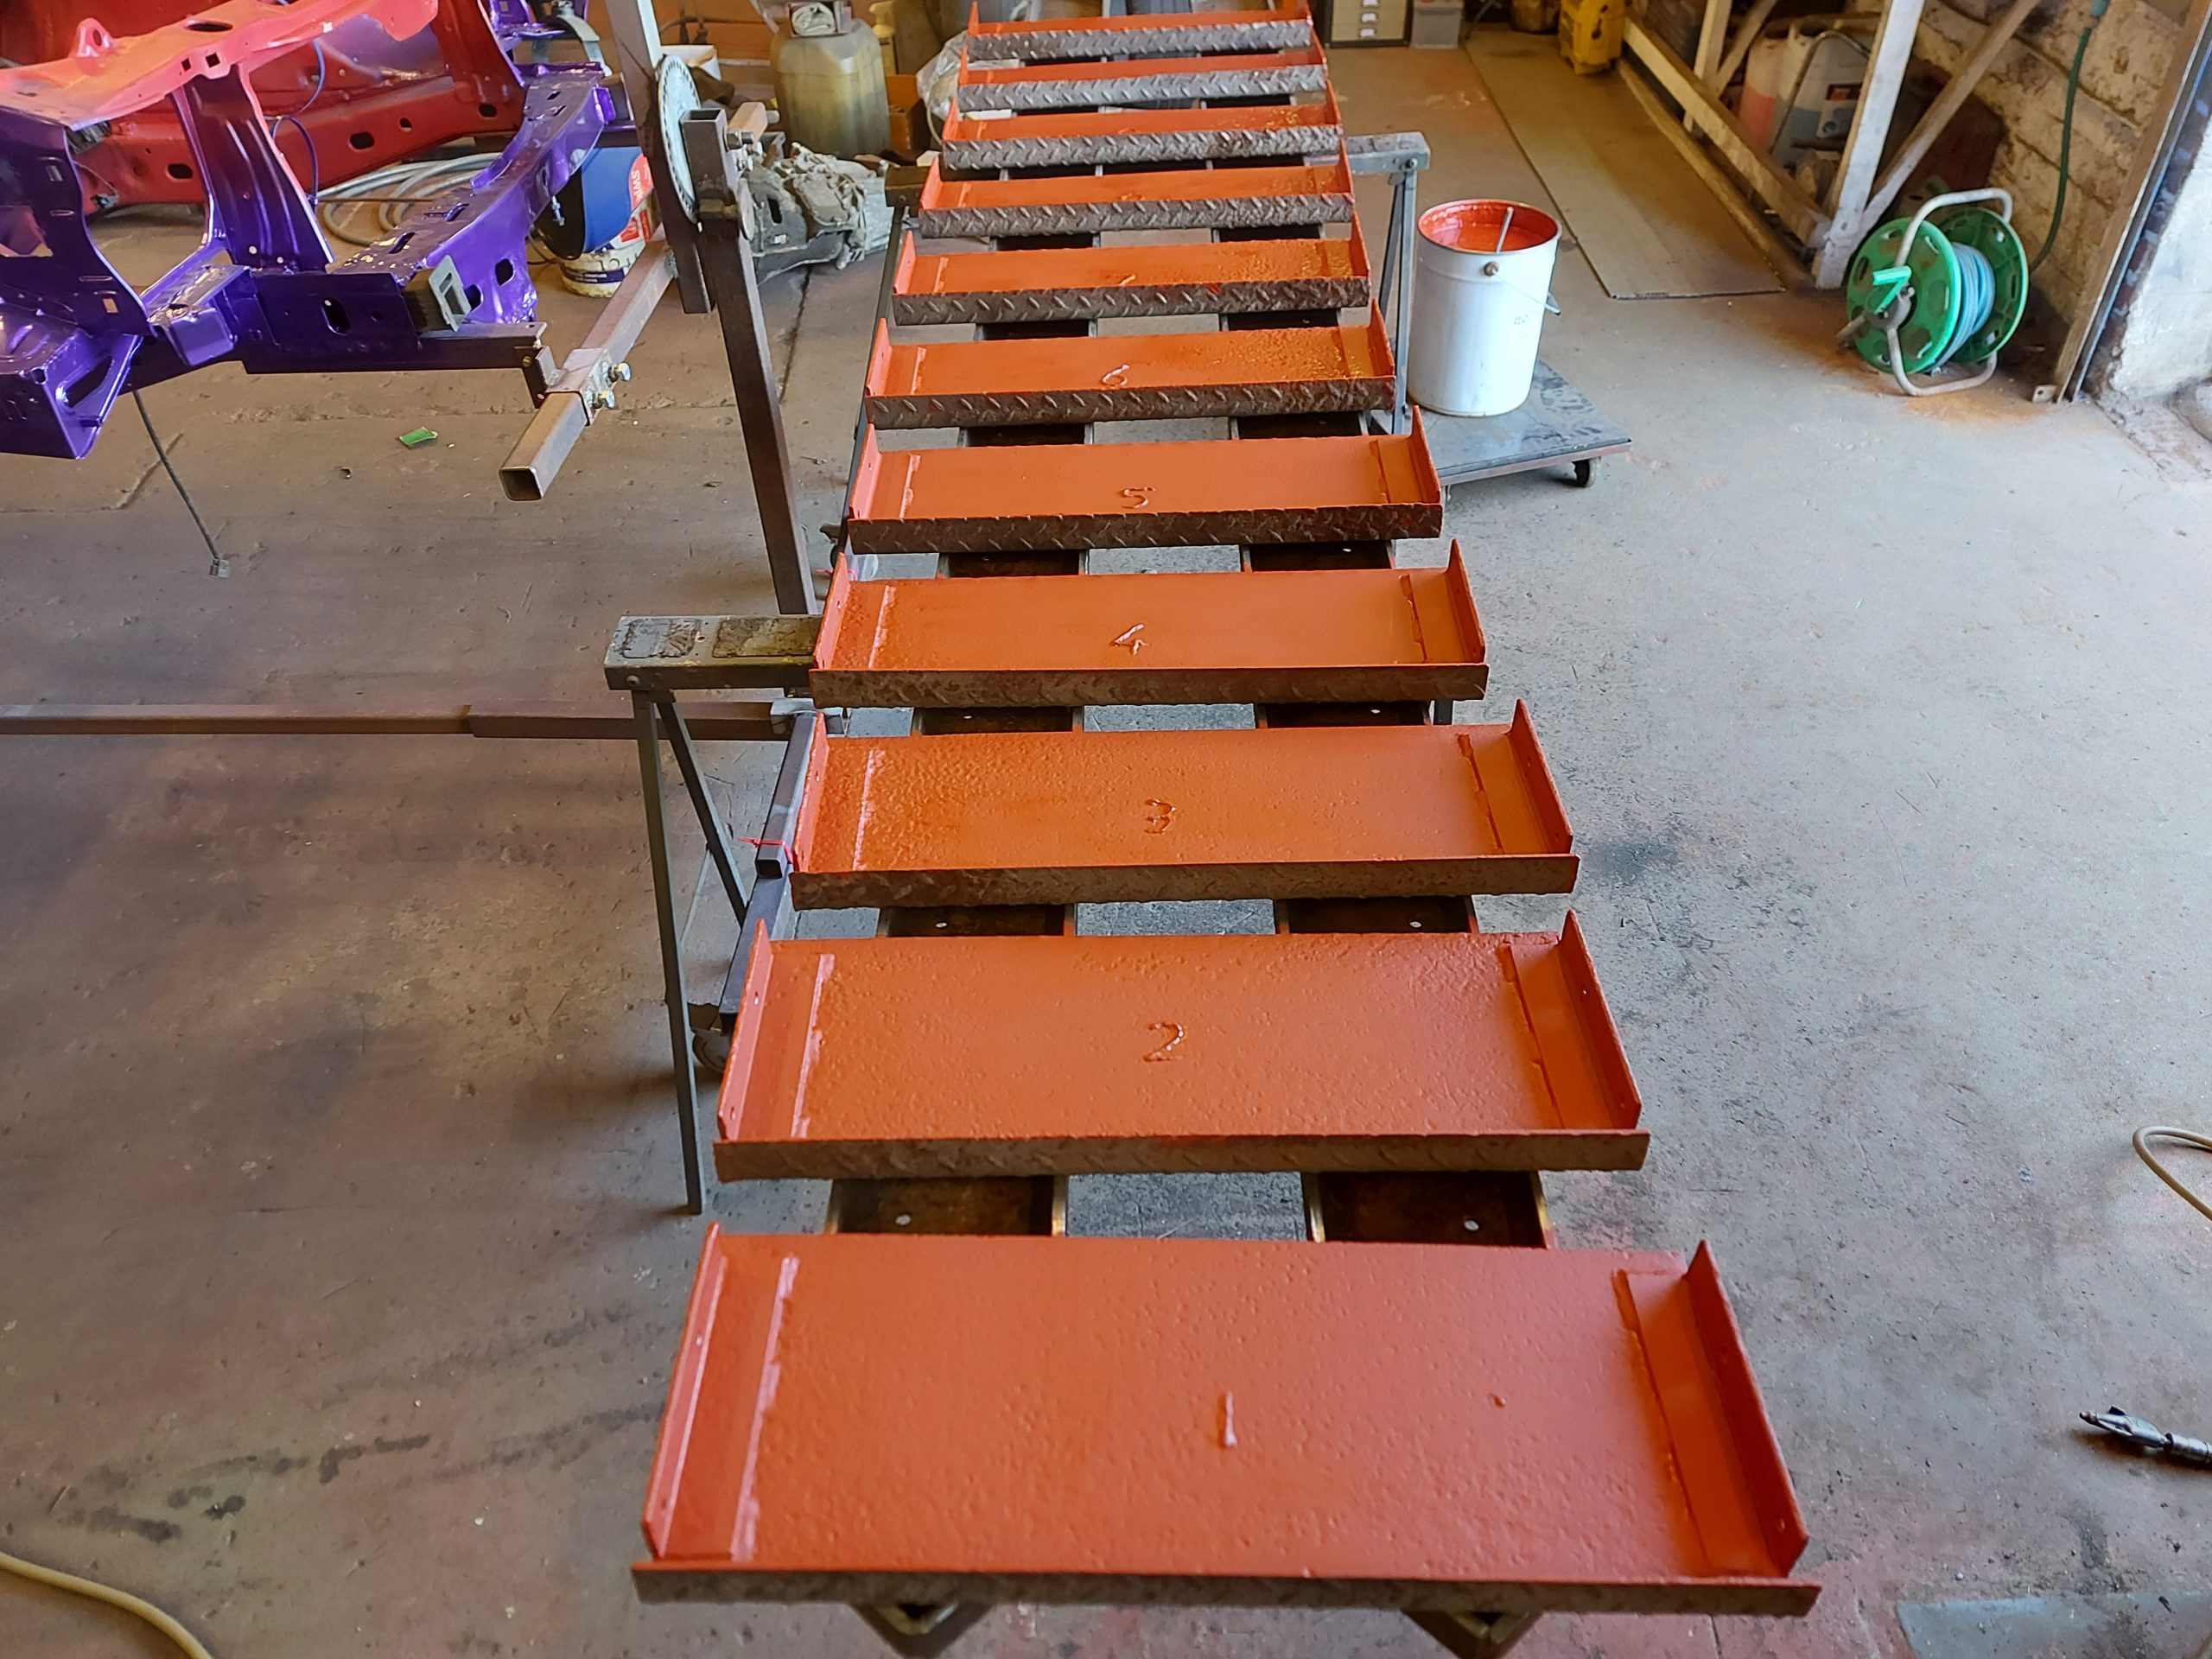
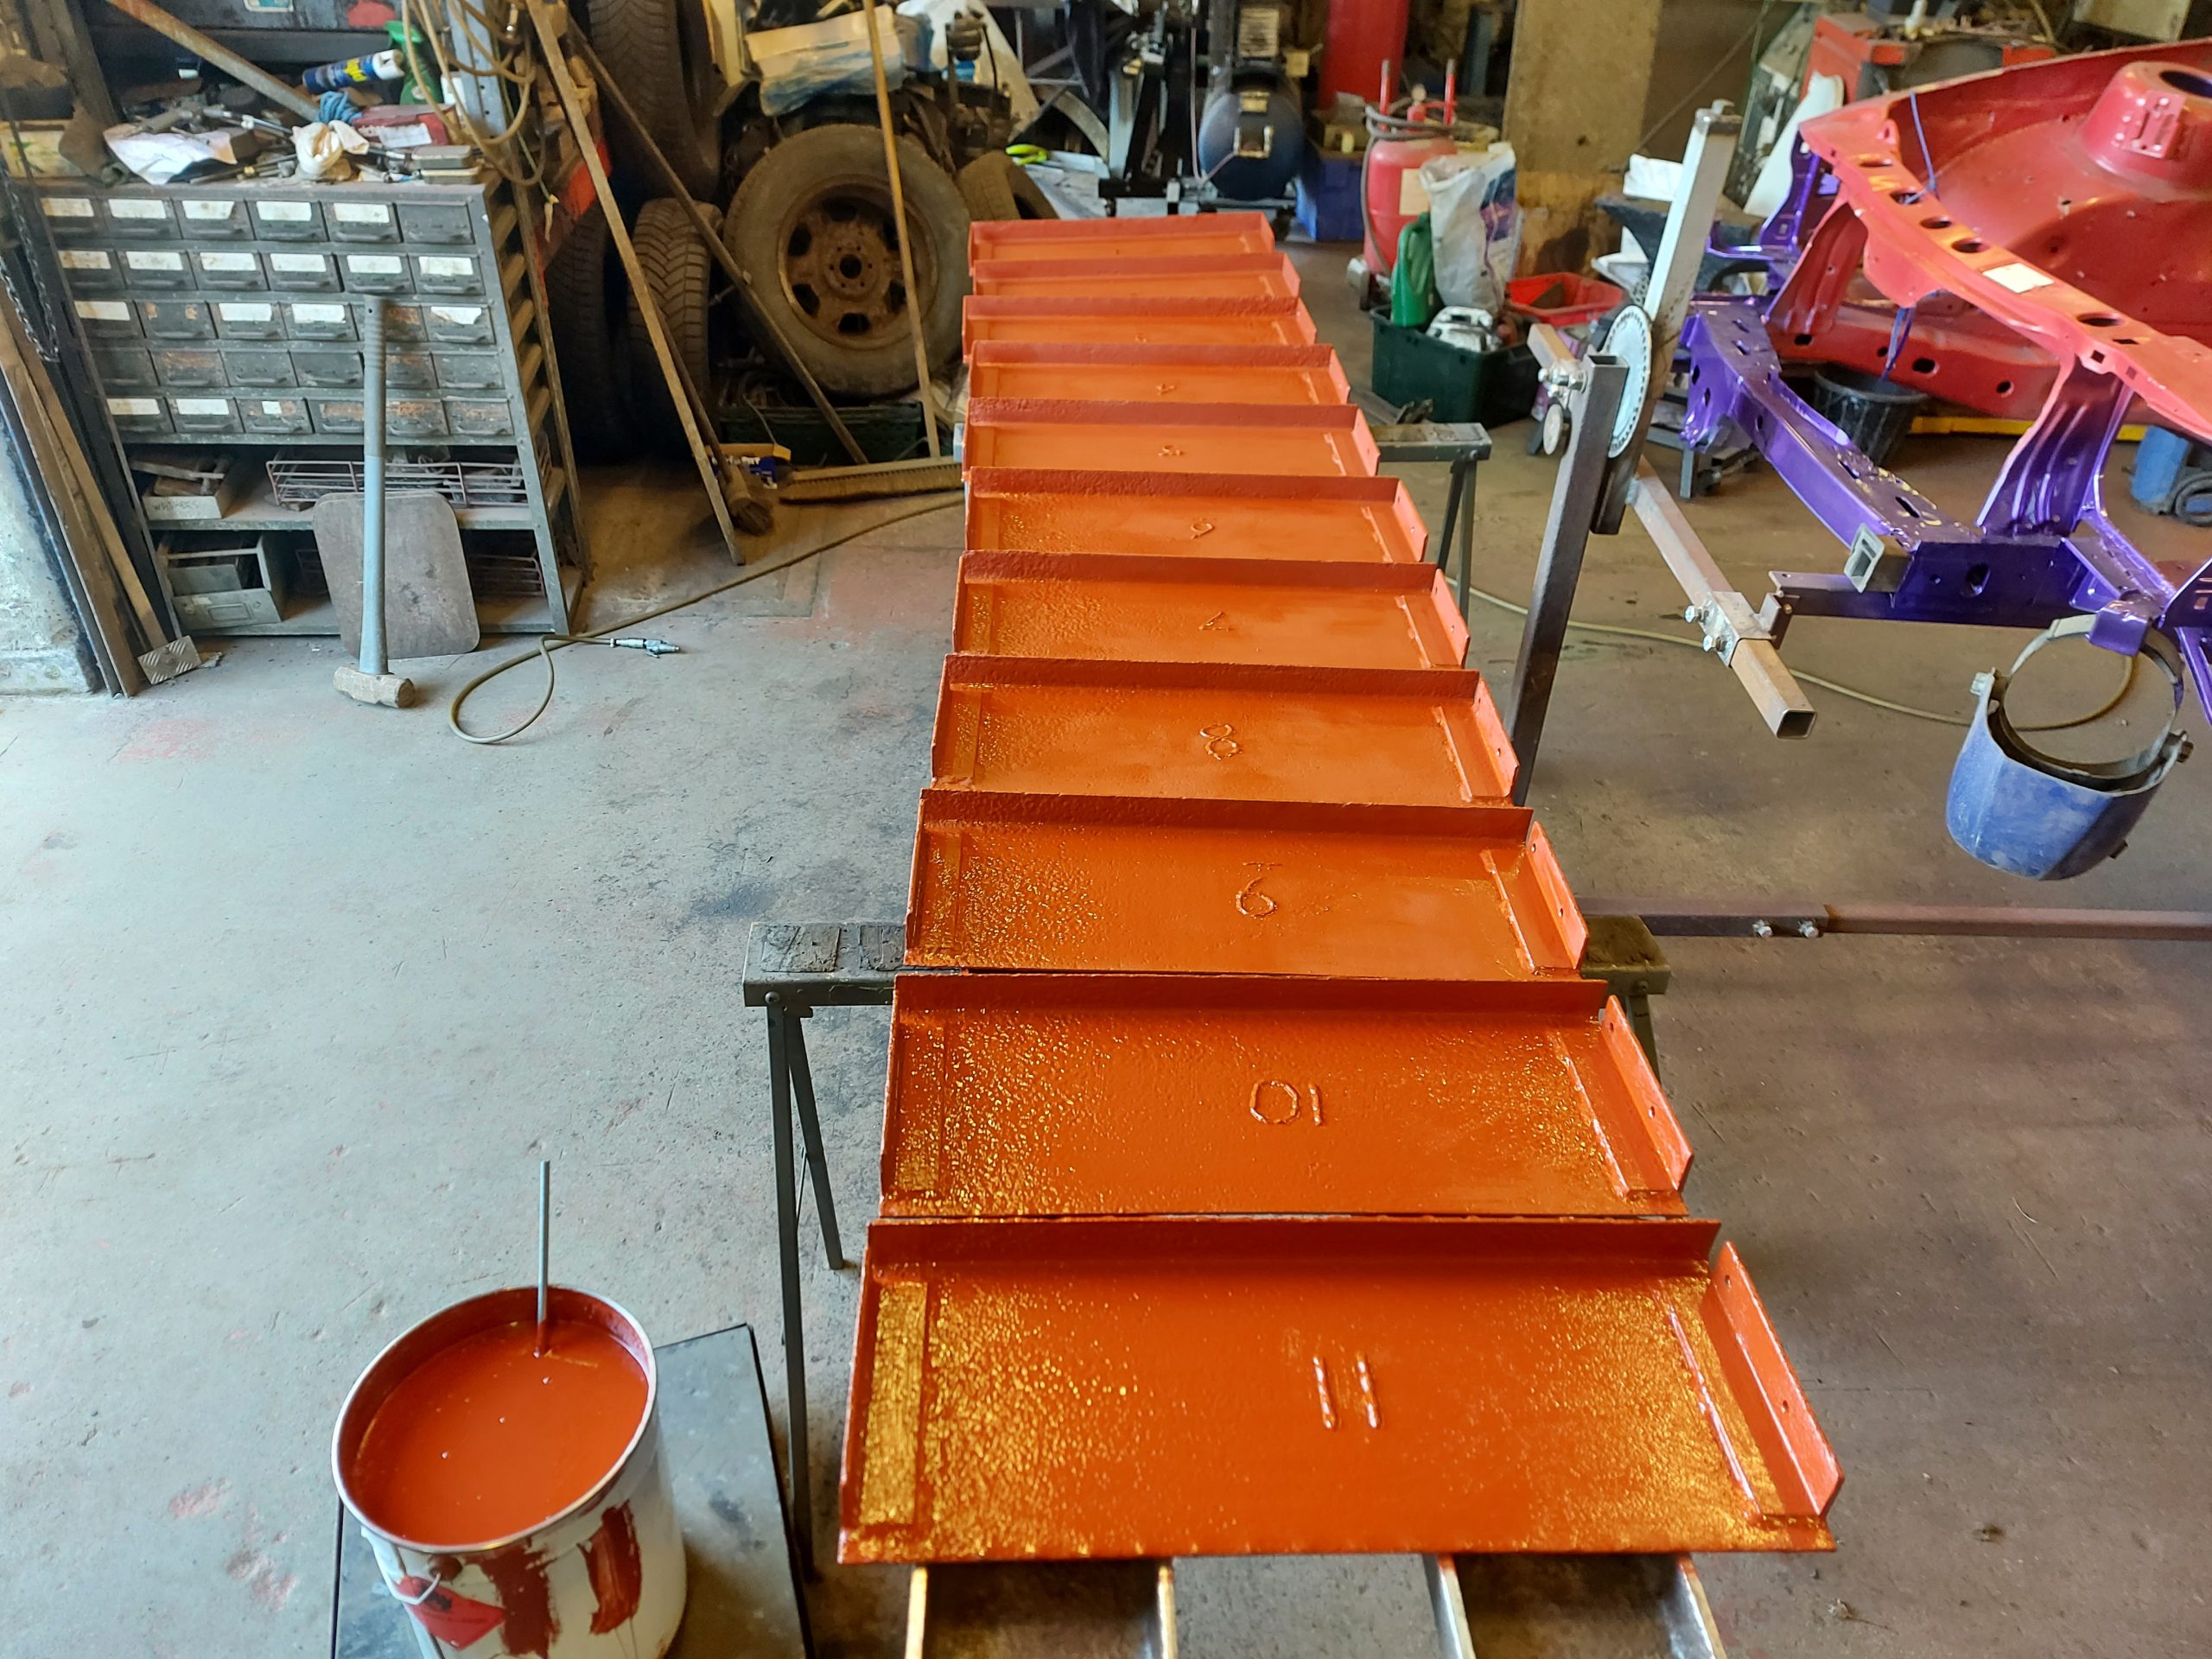
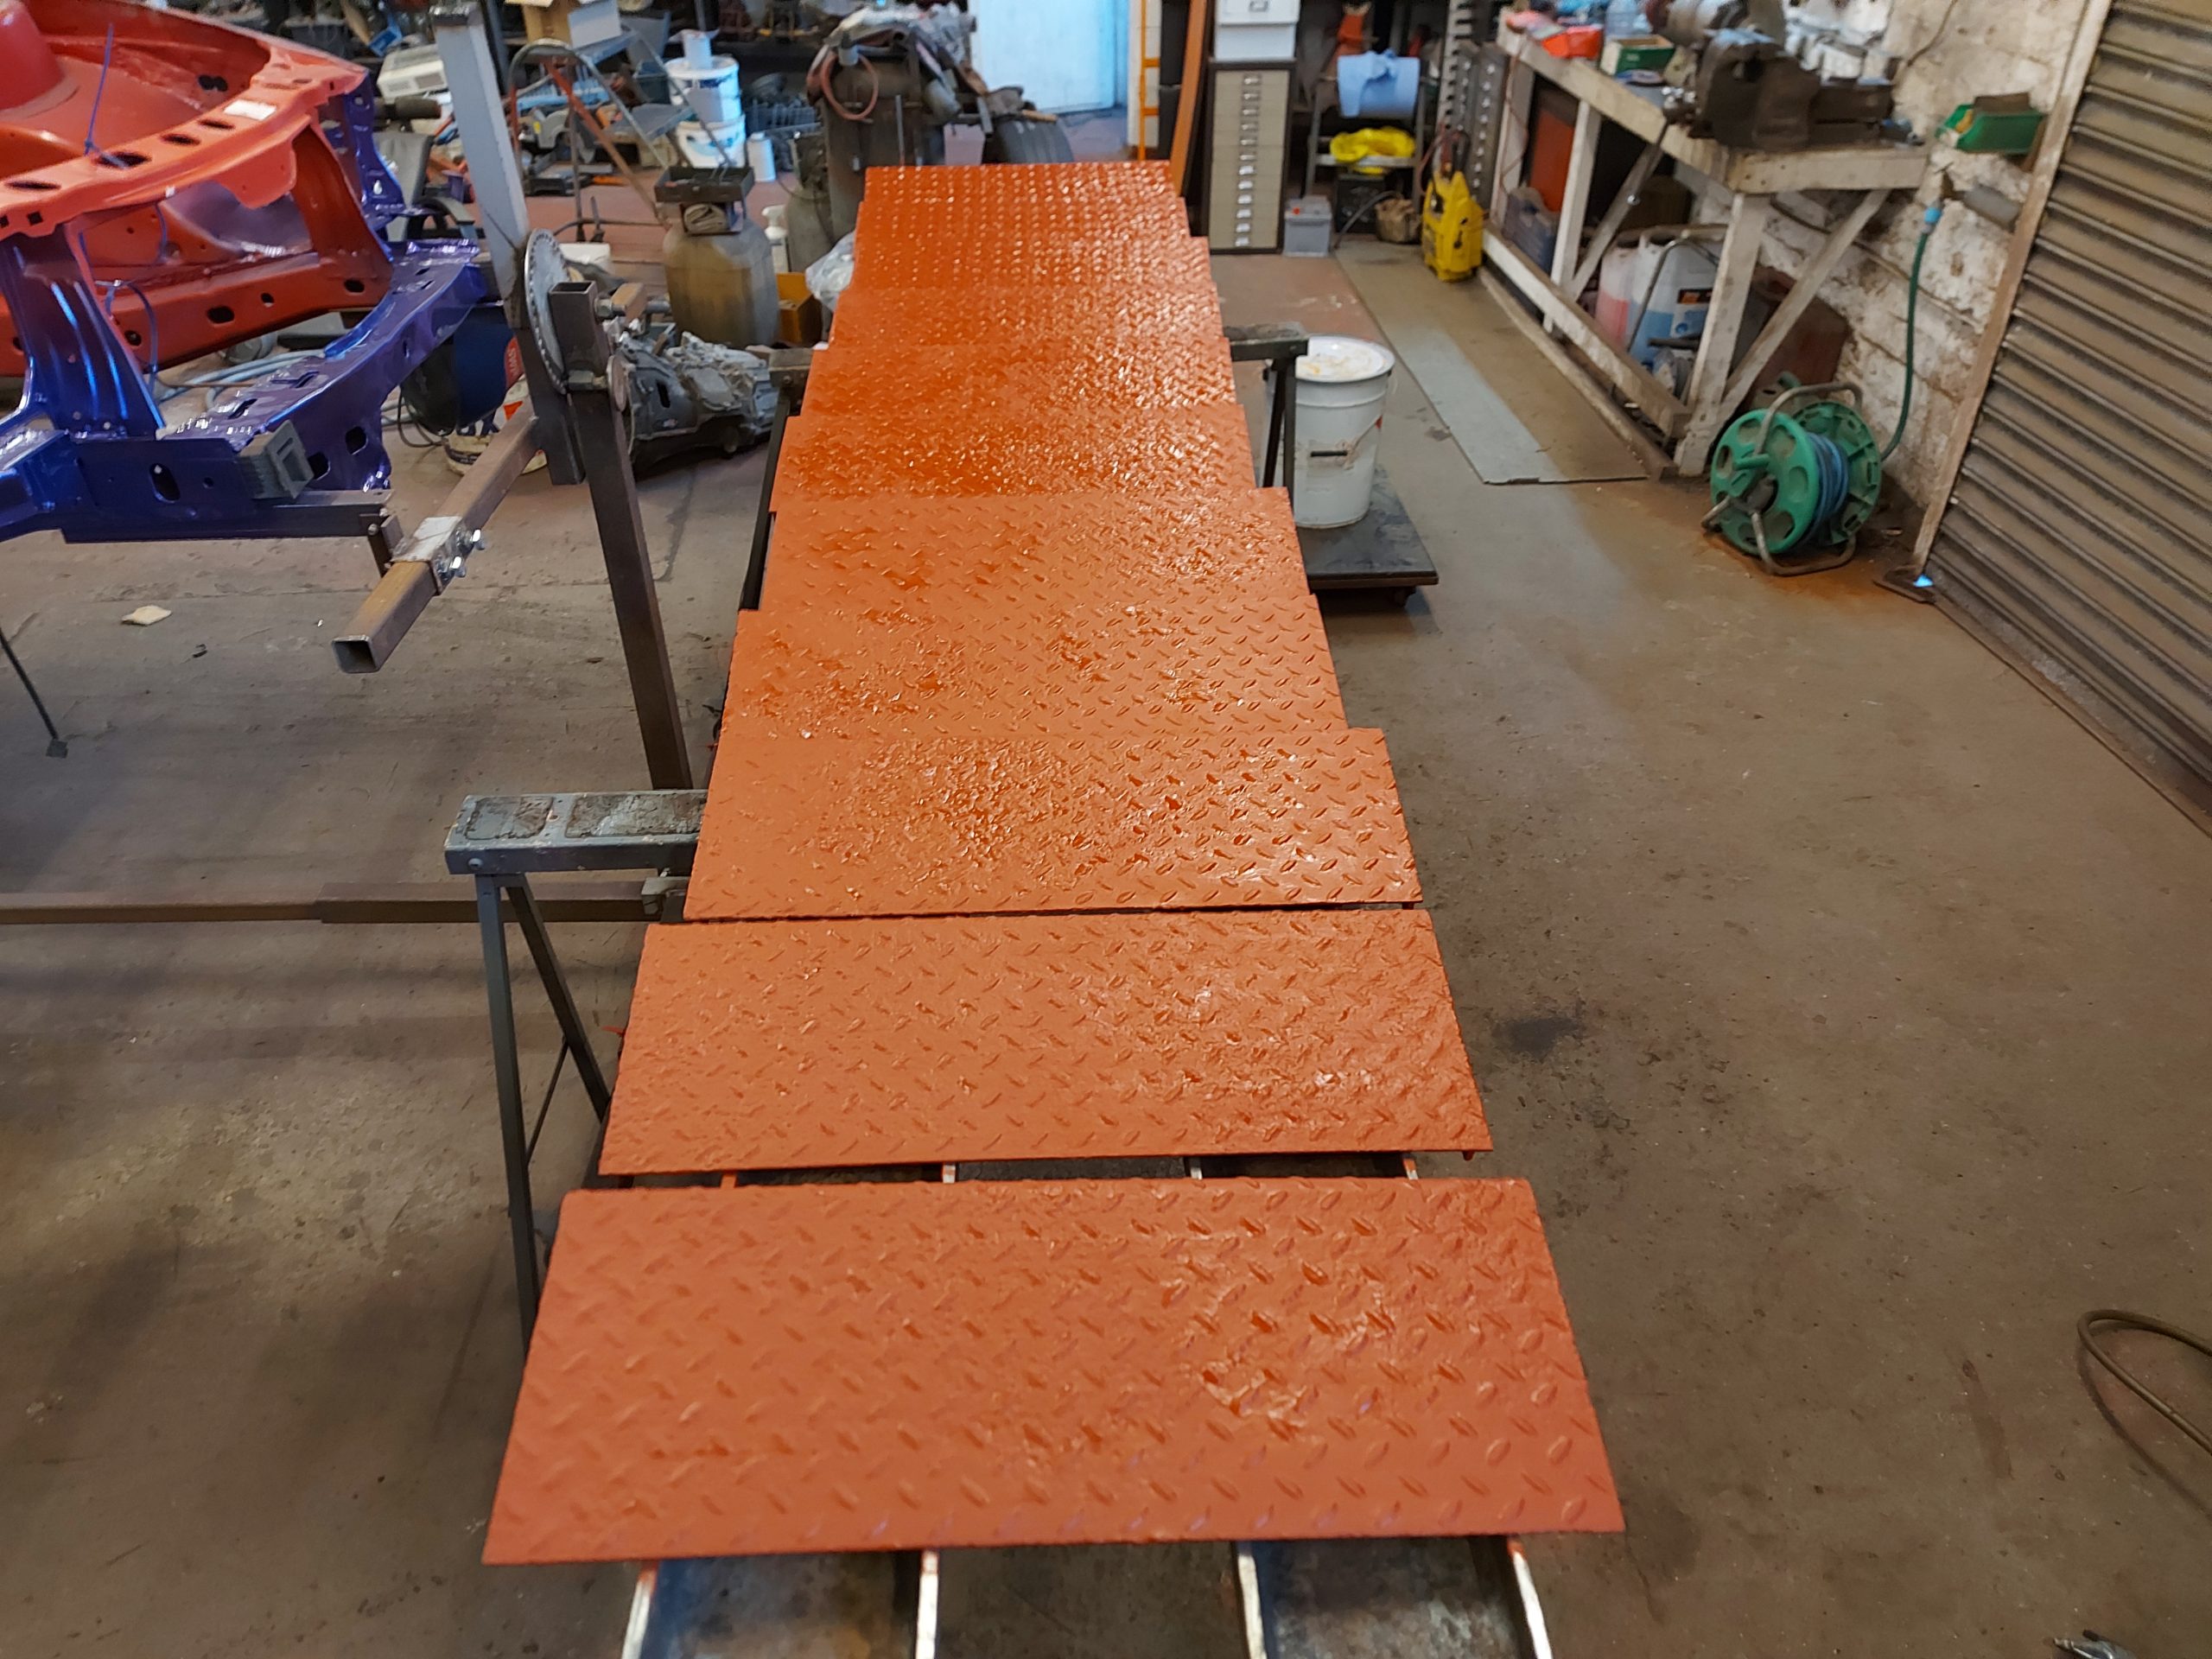
Getting the red-lead on
The under side only needs one coat looking nice and light
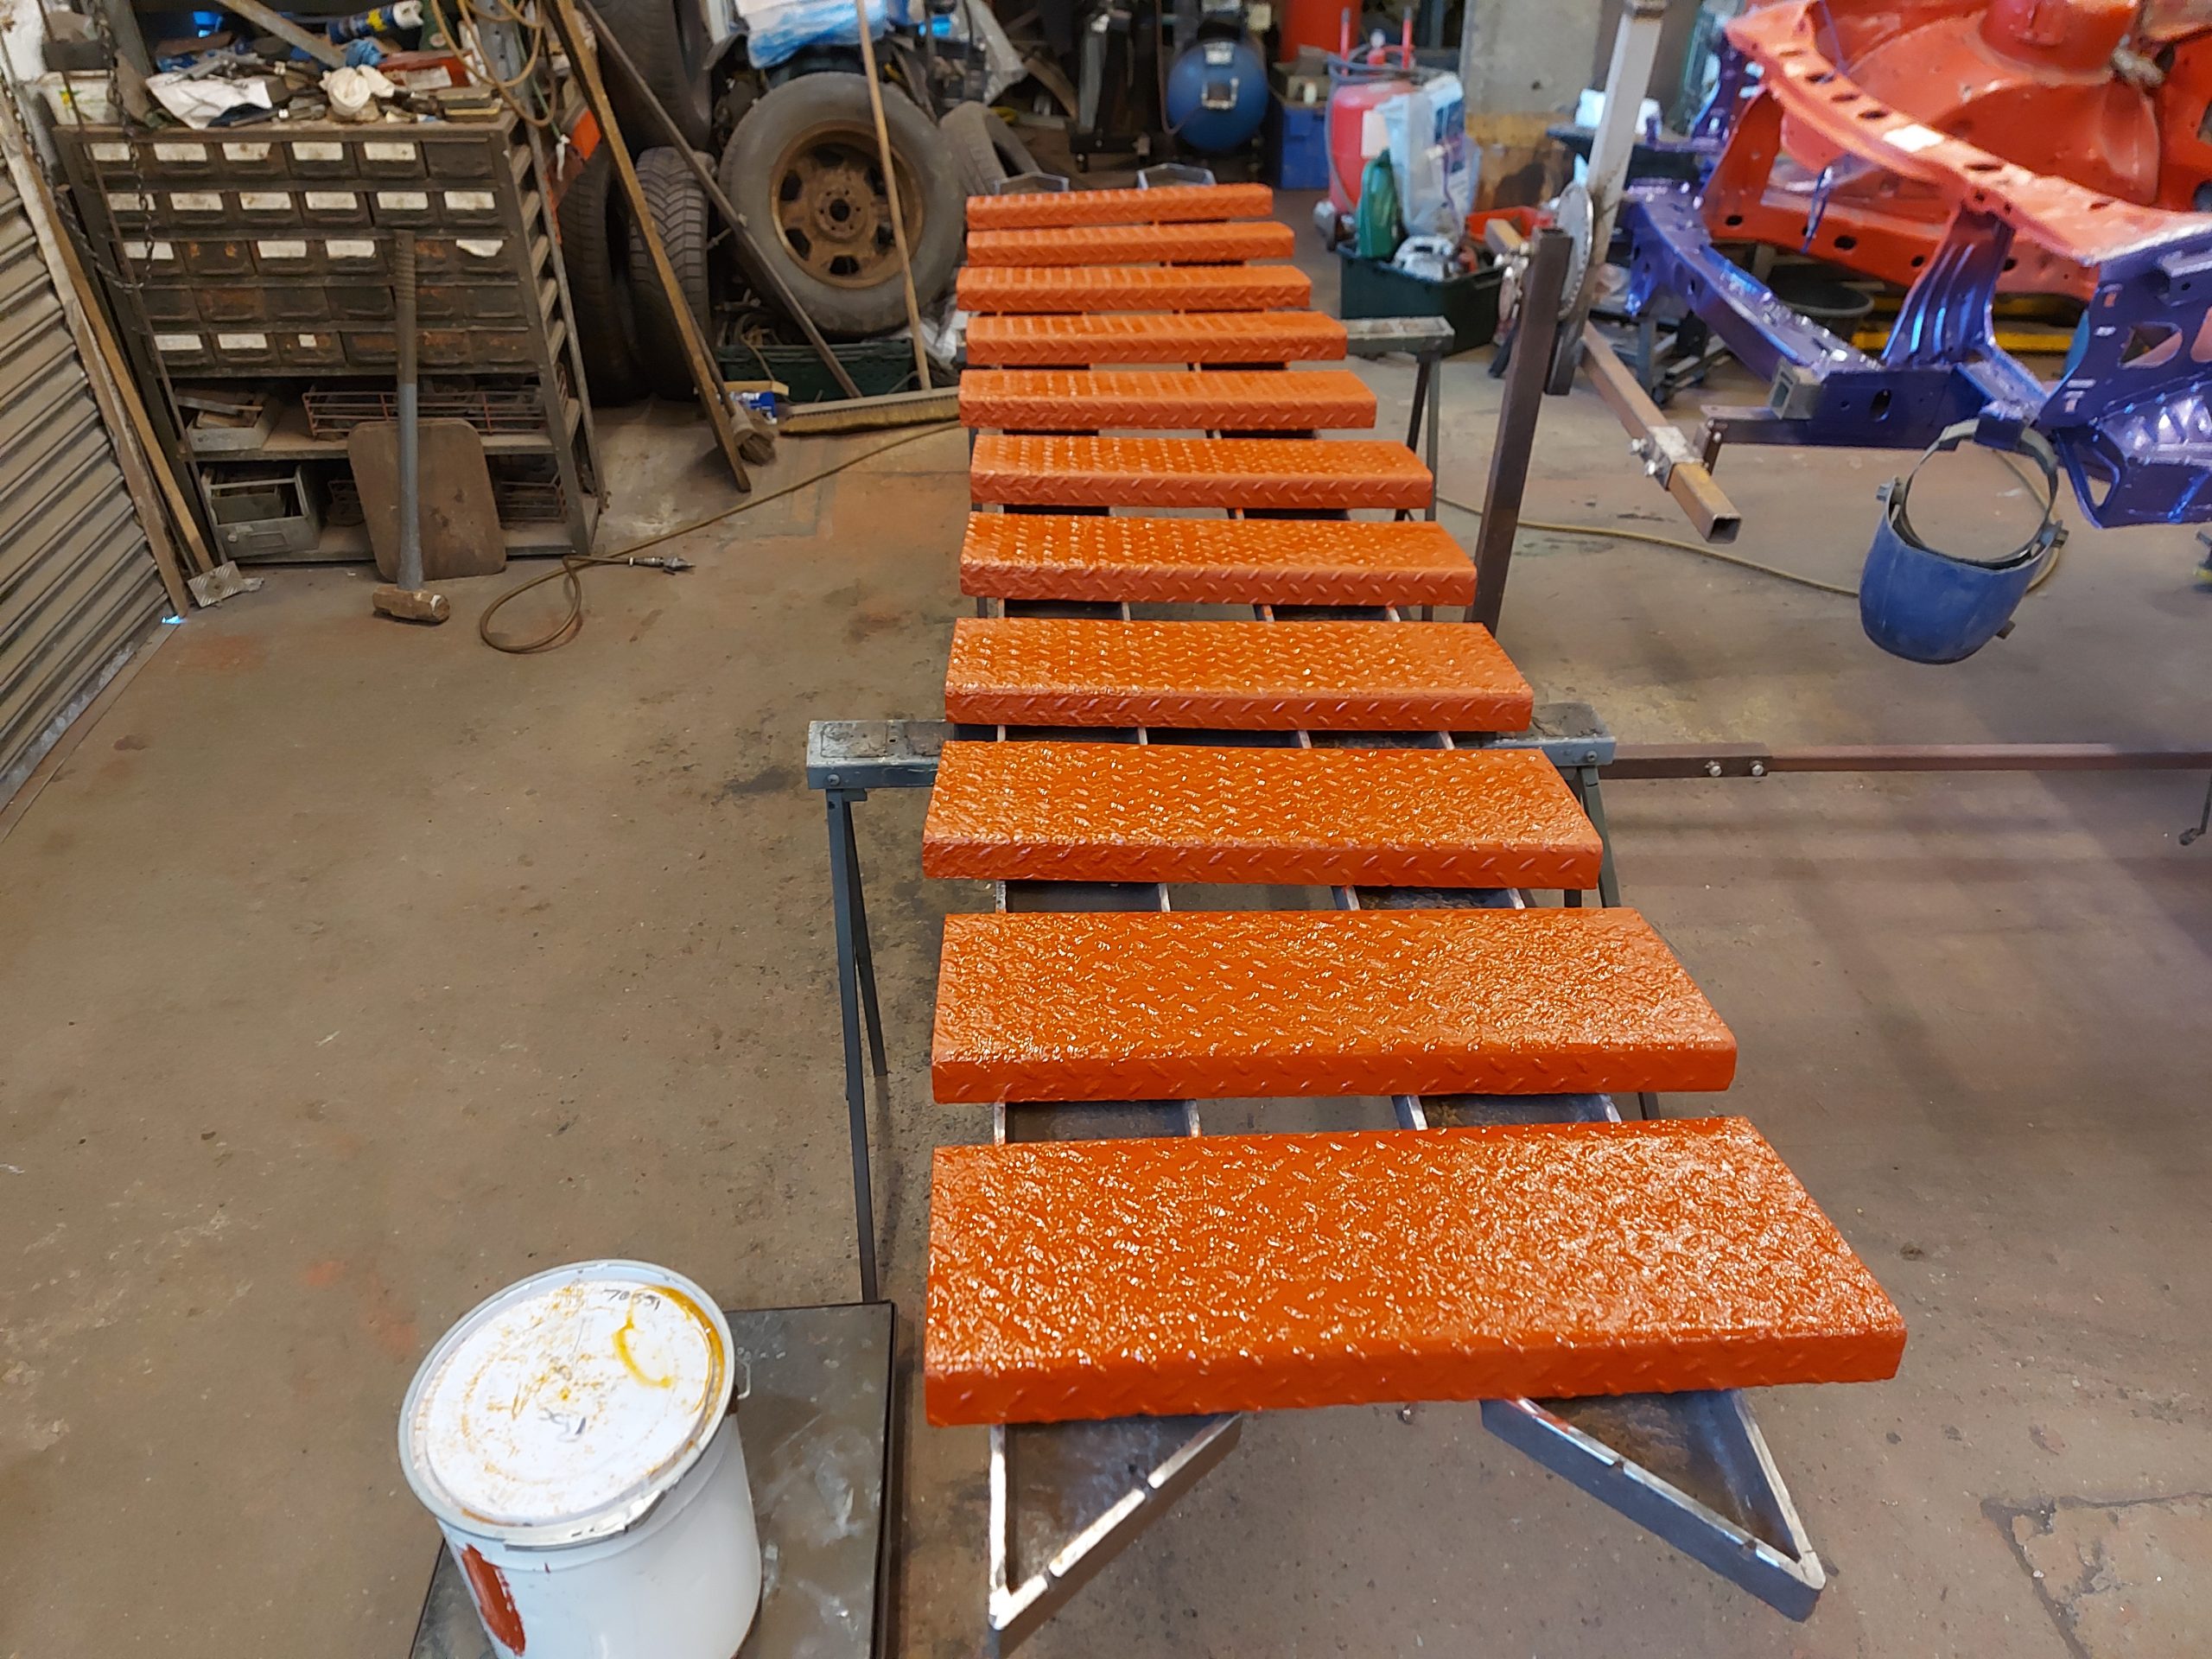
Next step is 2 coats of Gray floor paint on top sides
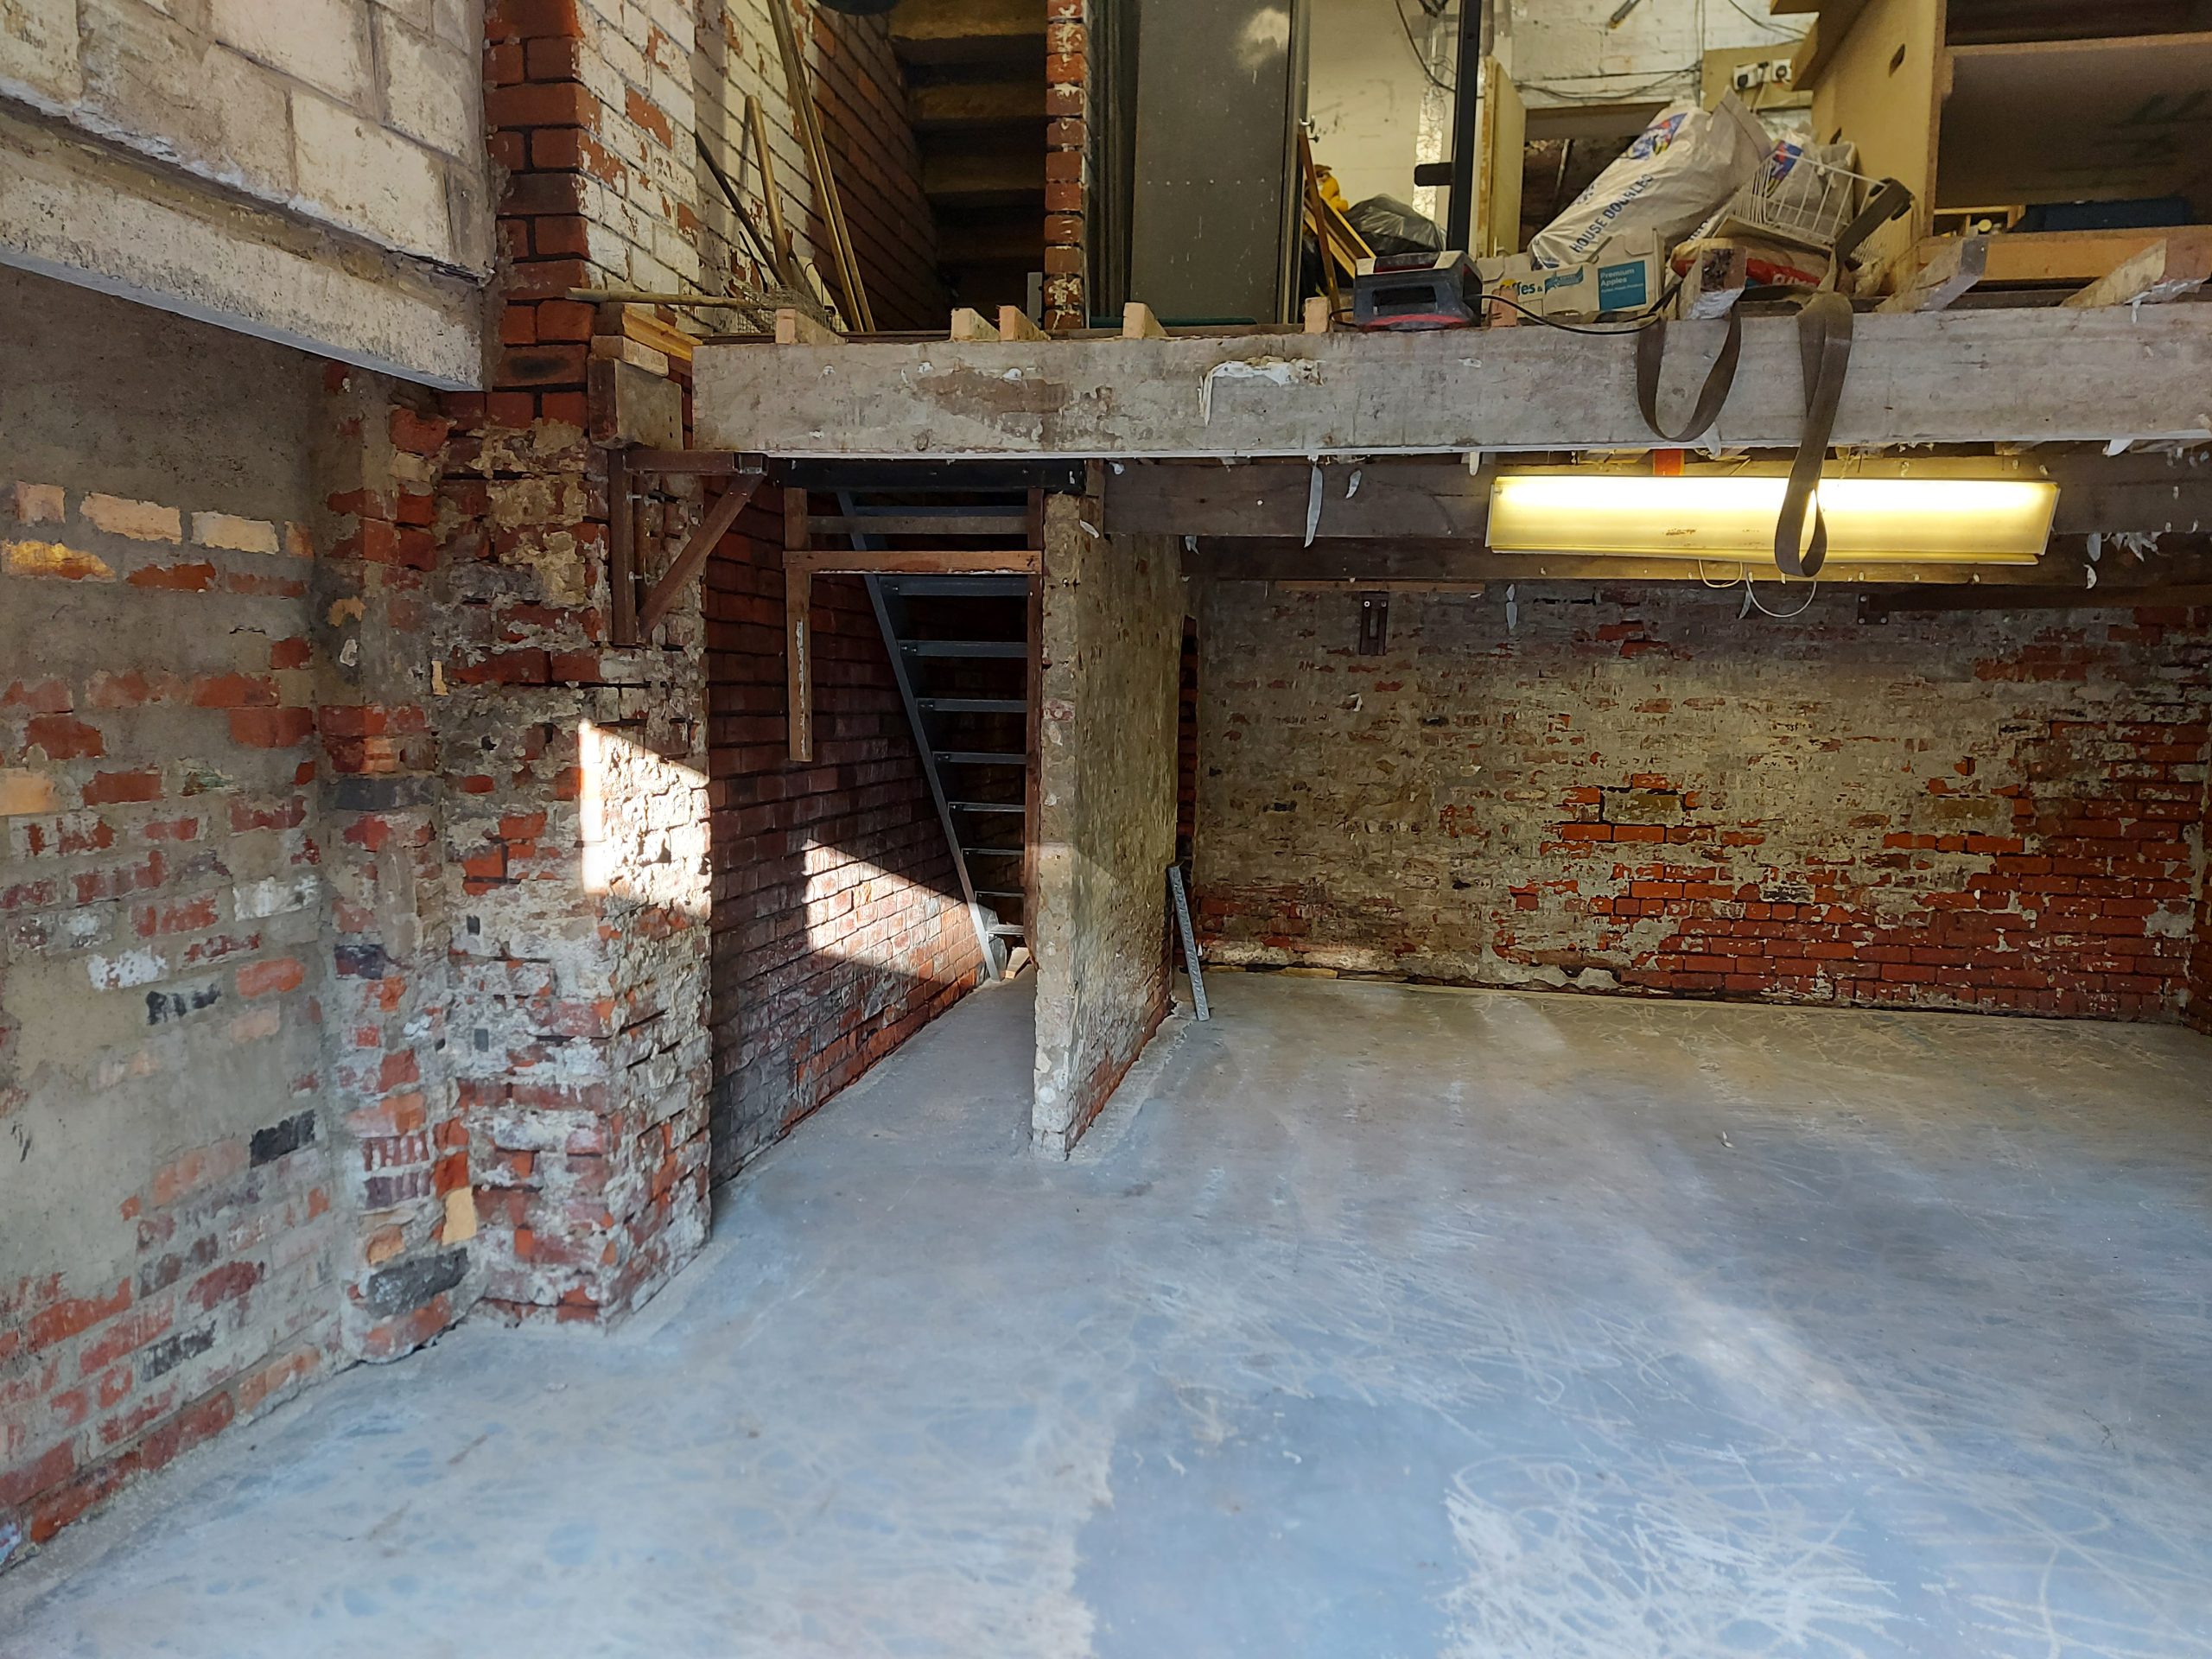
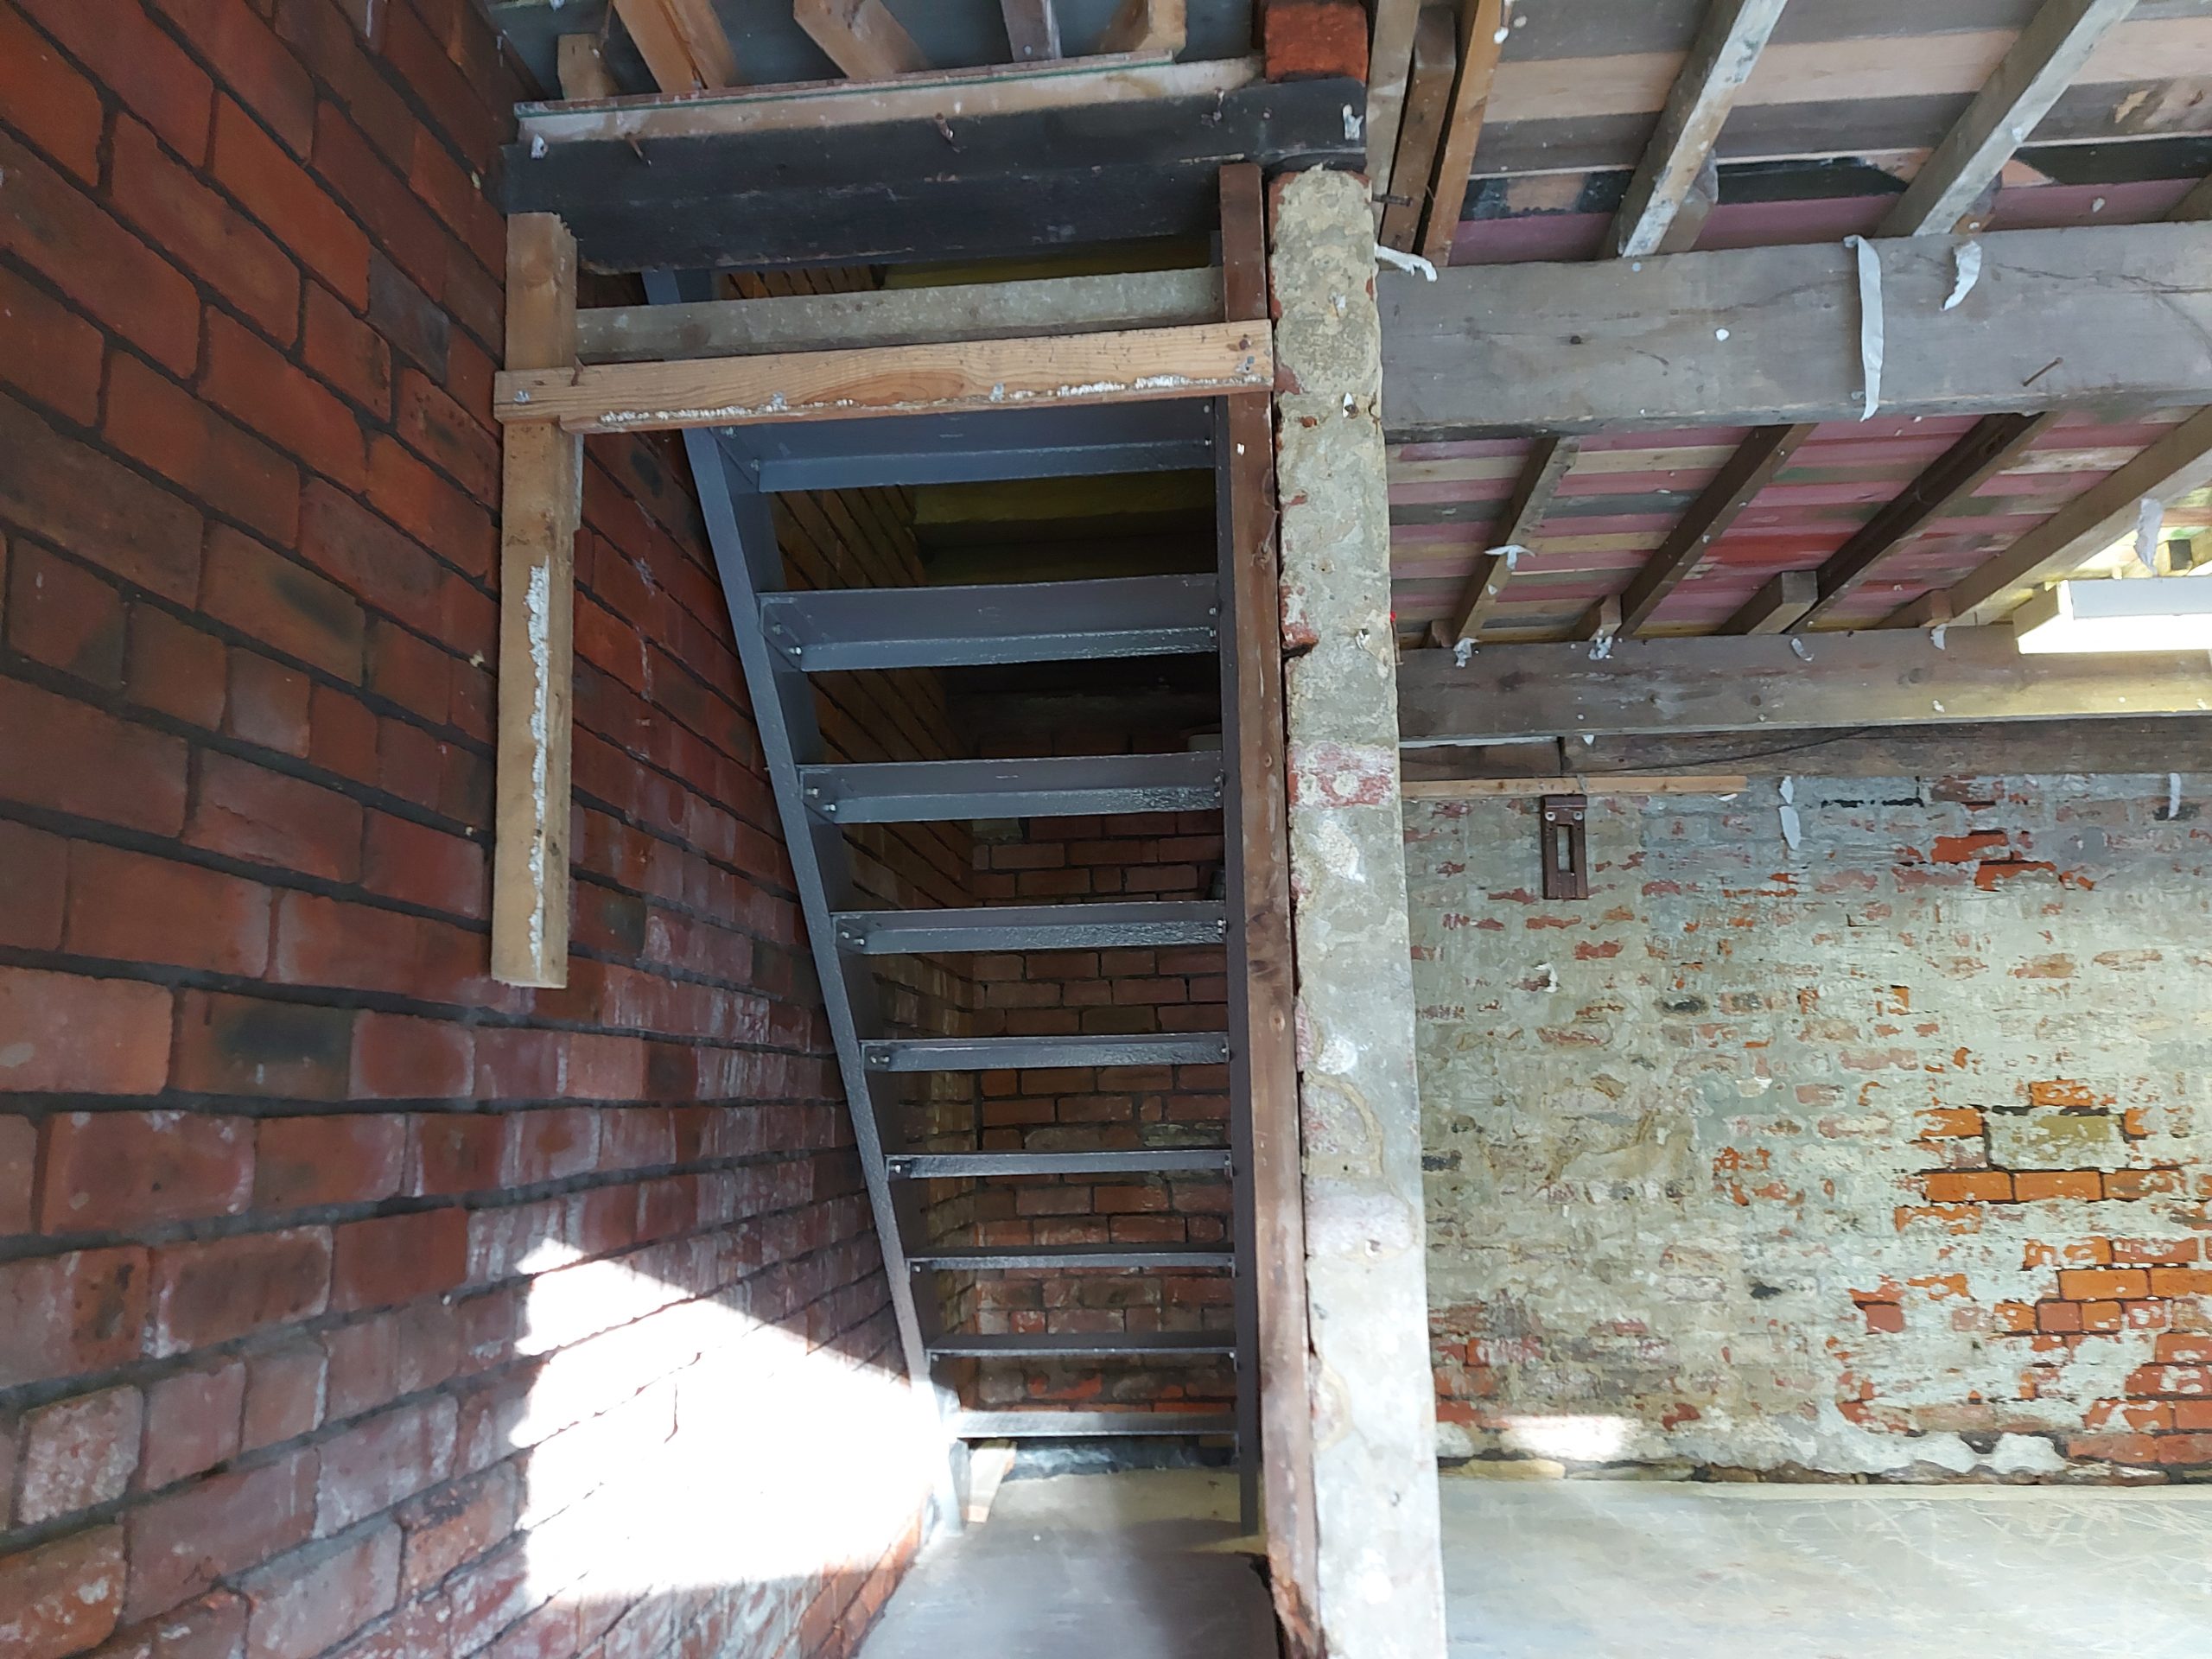
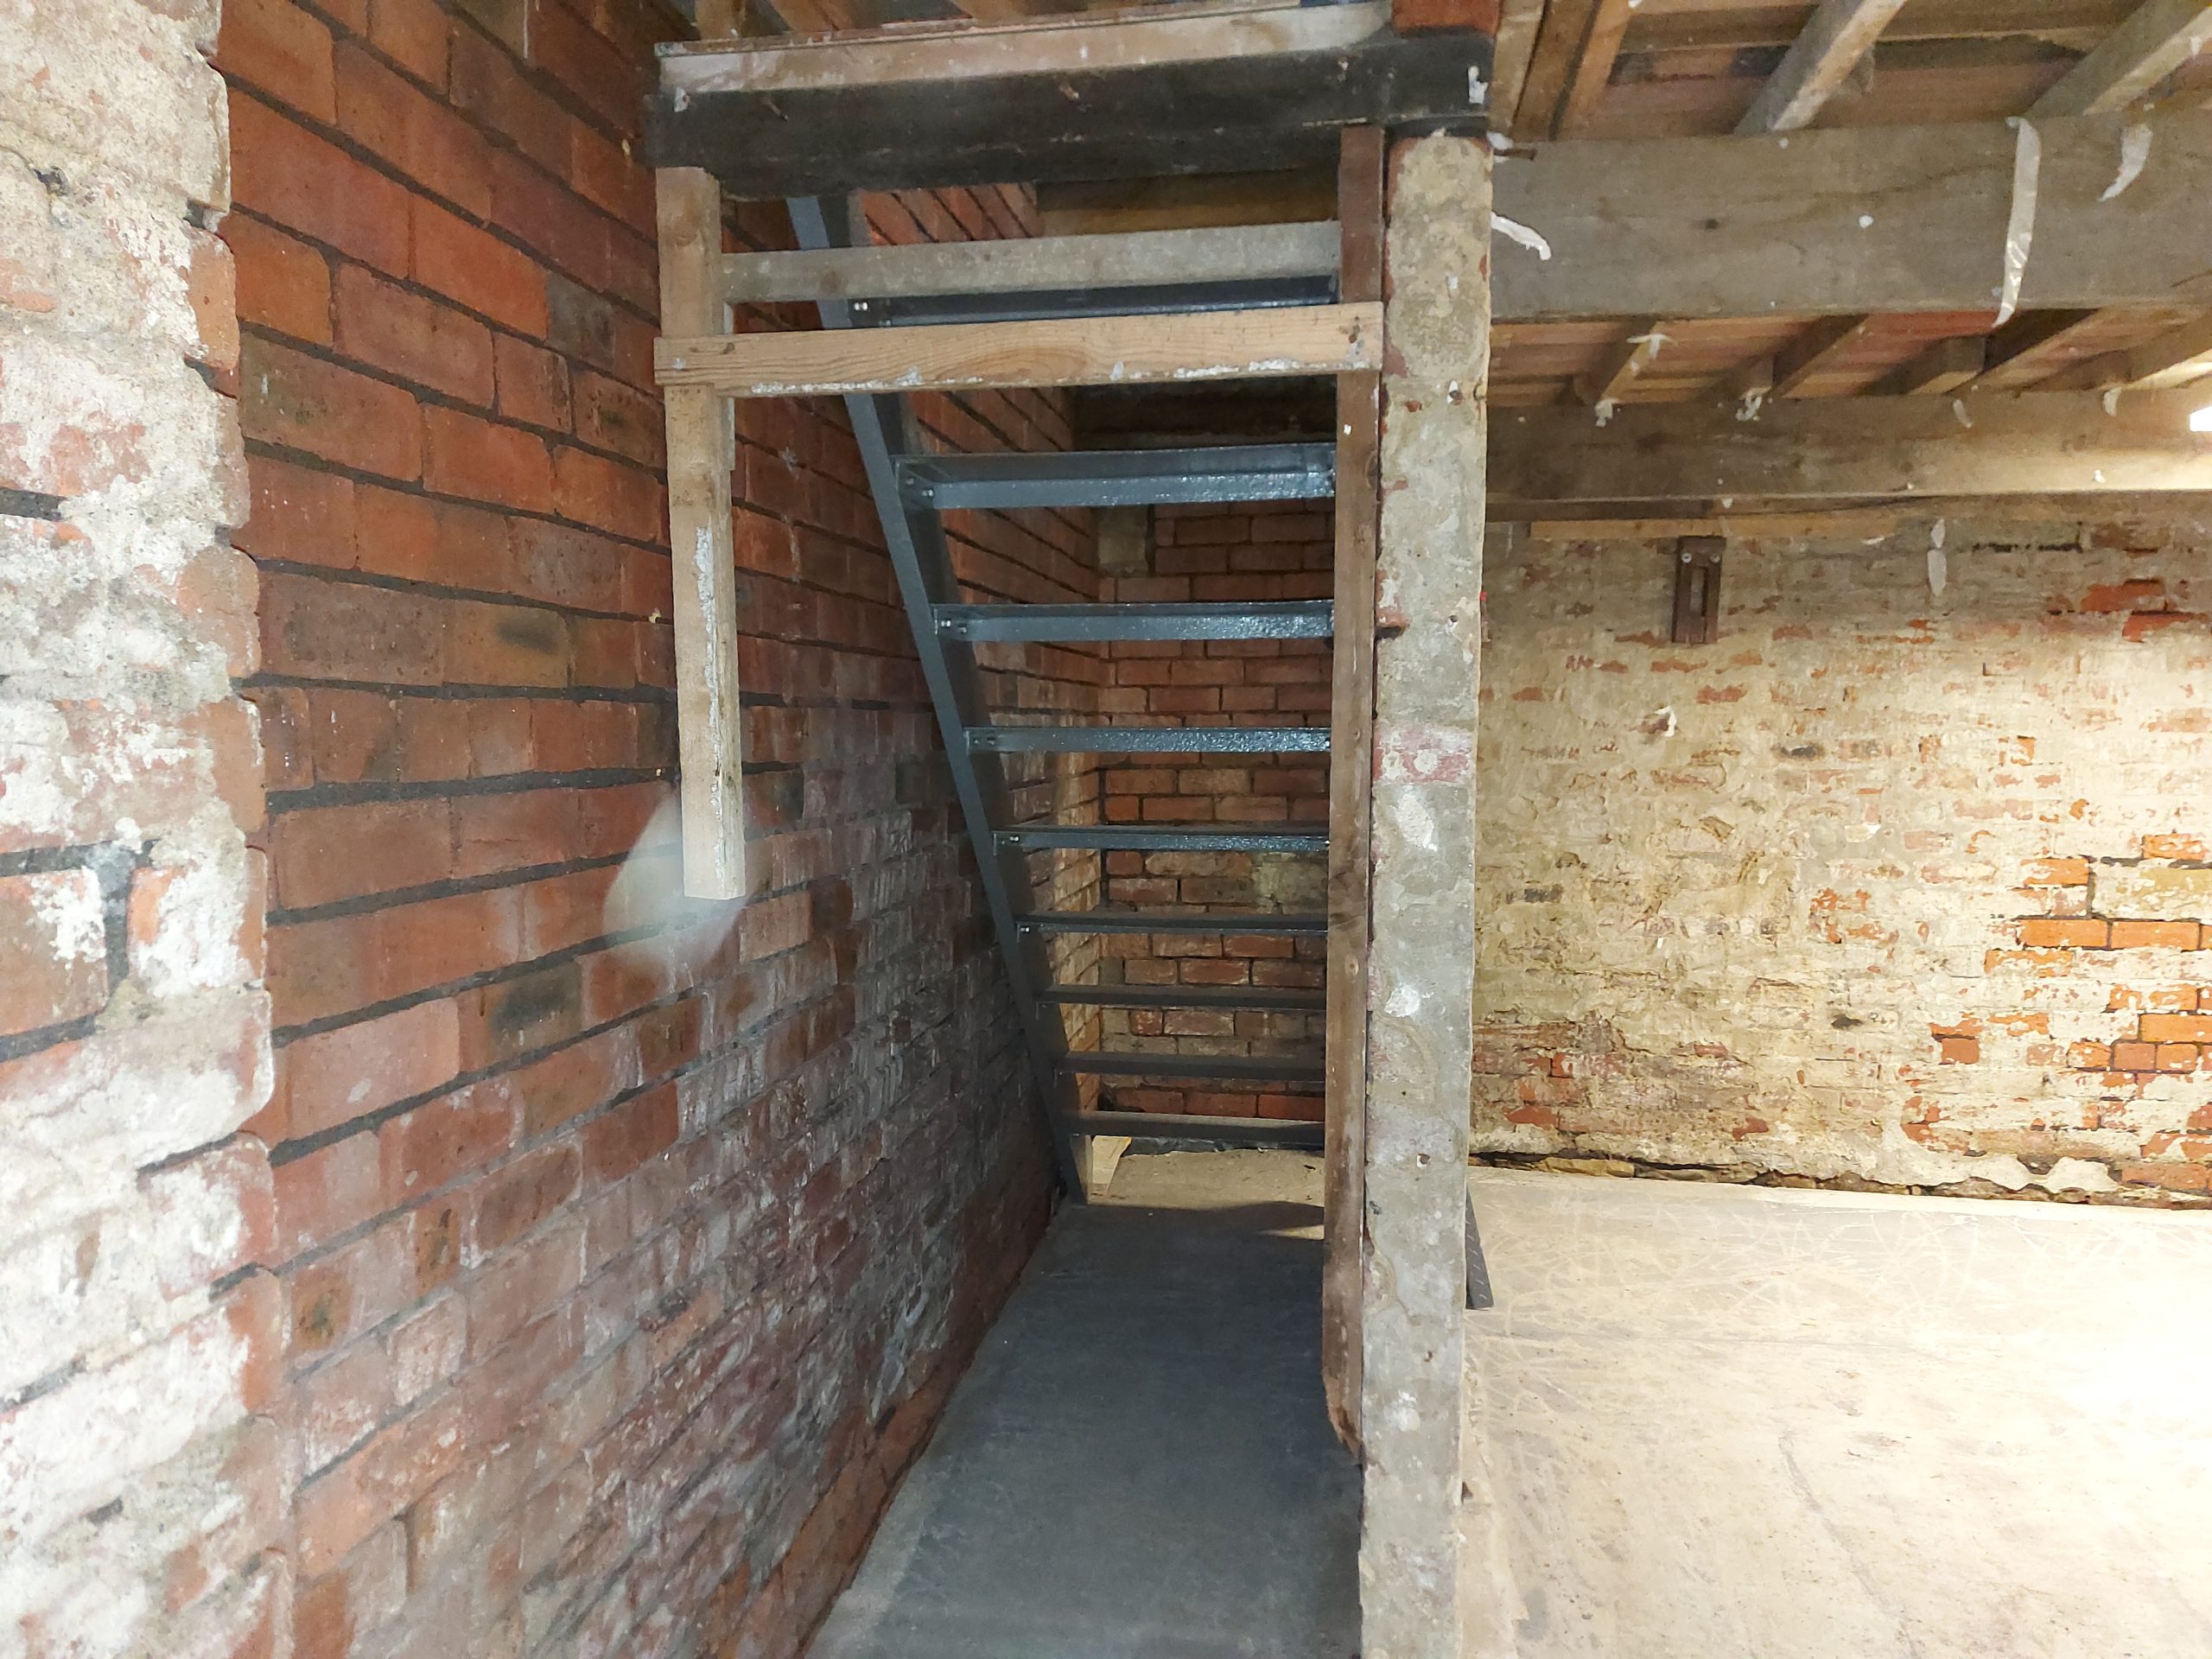
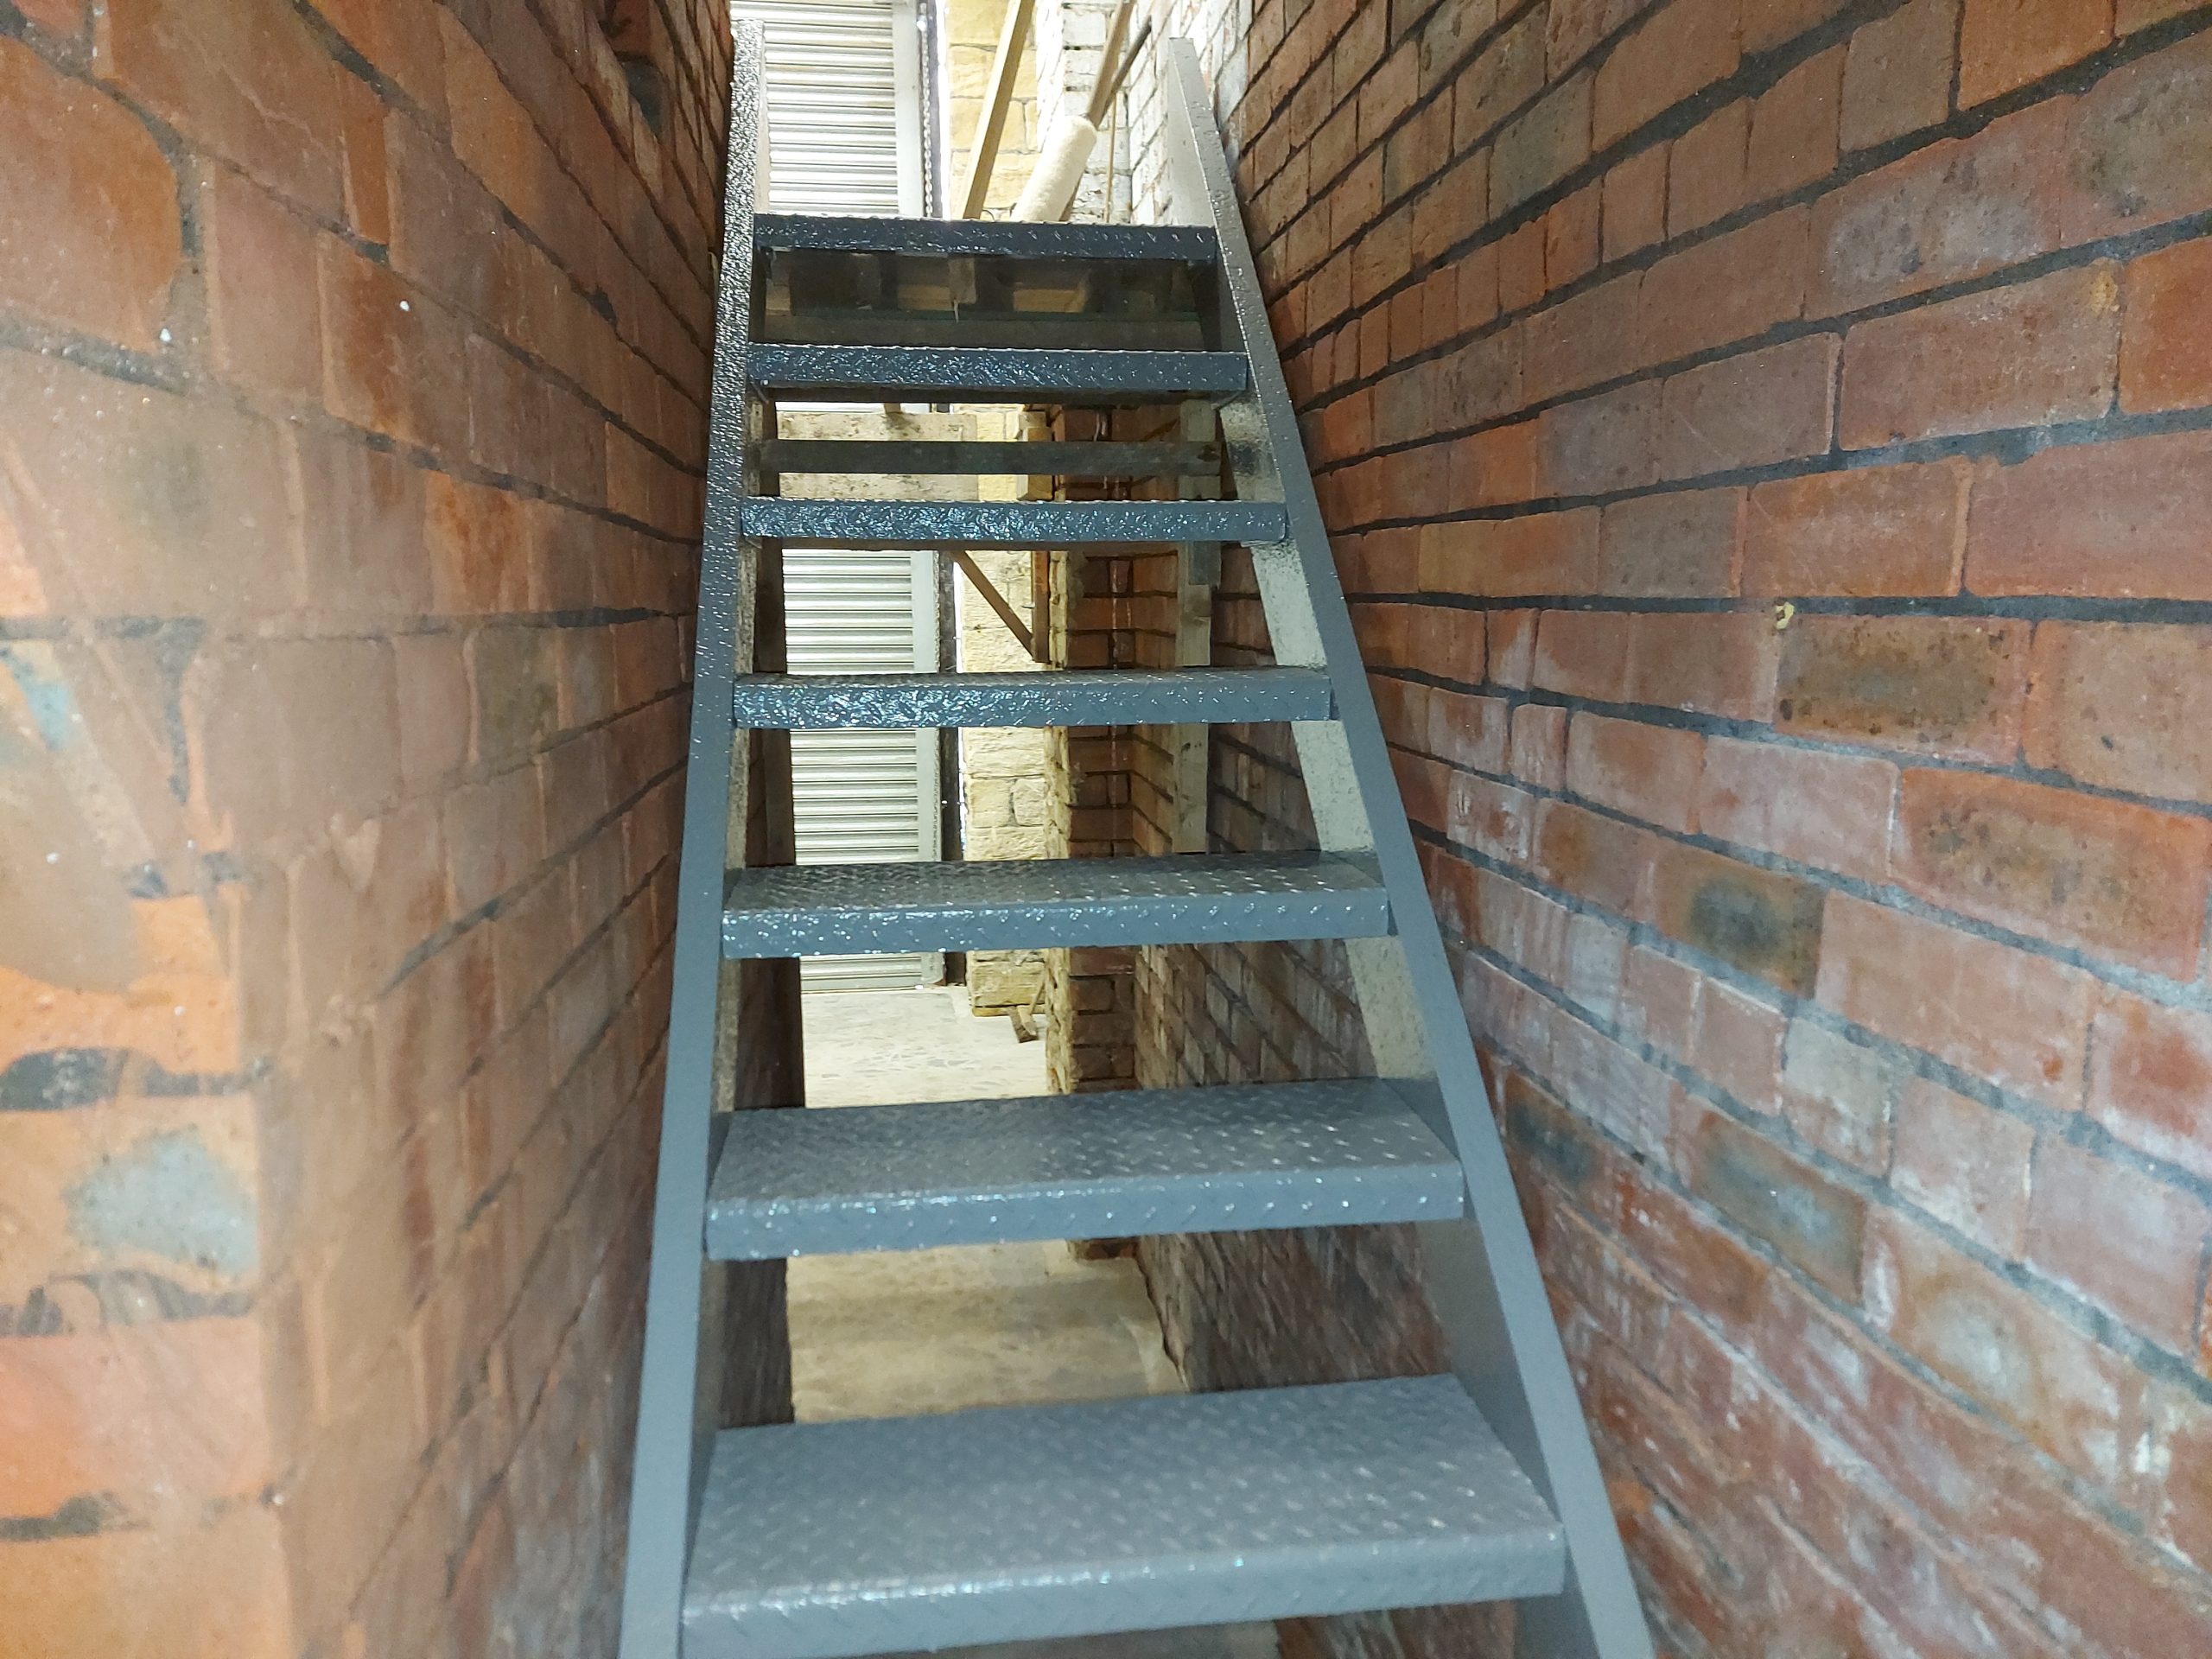
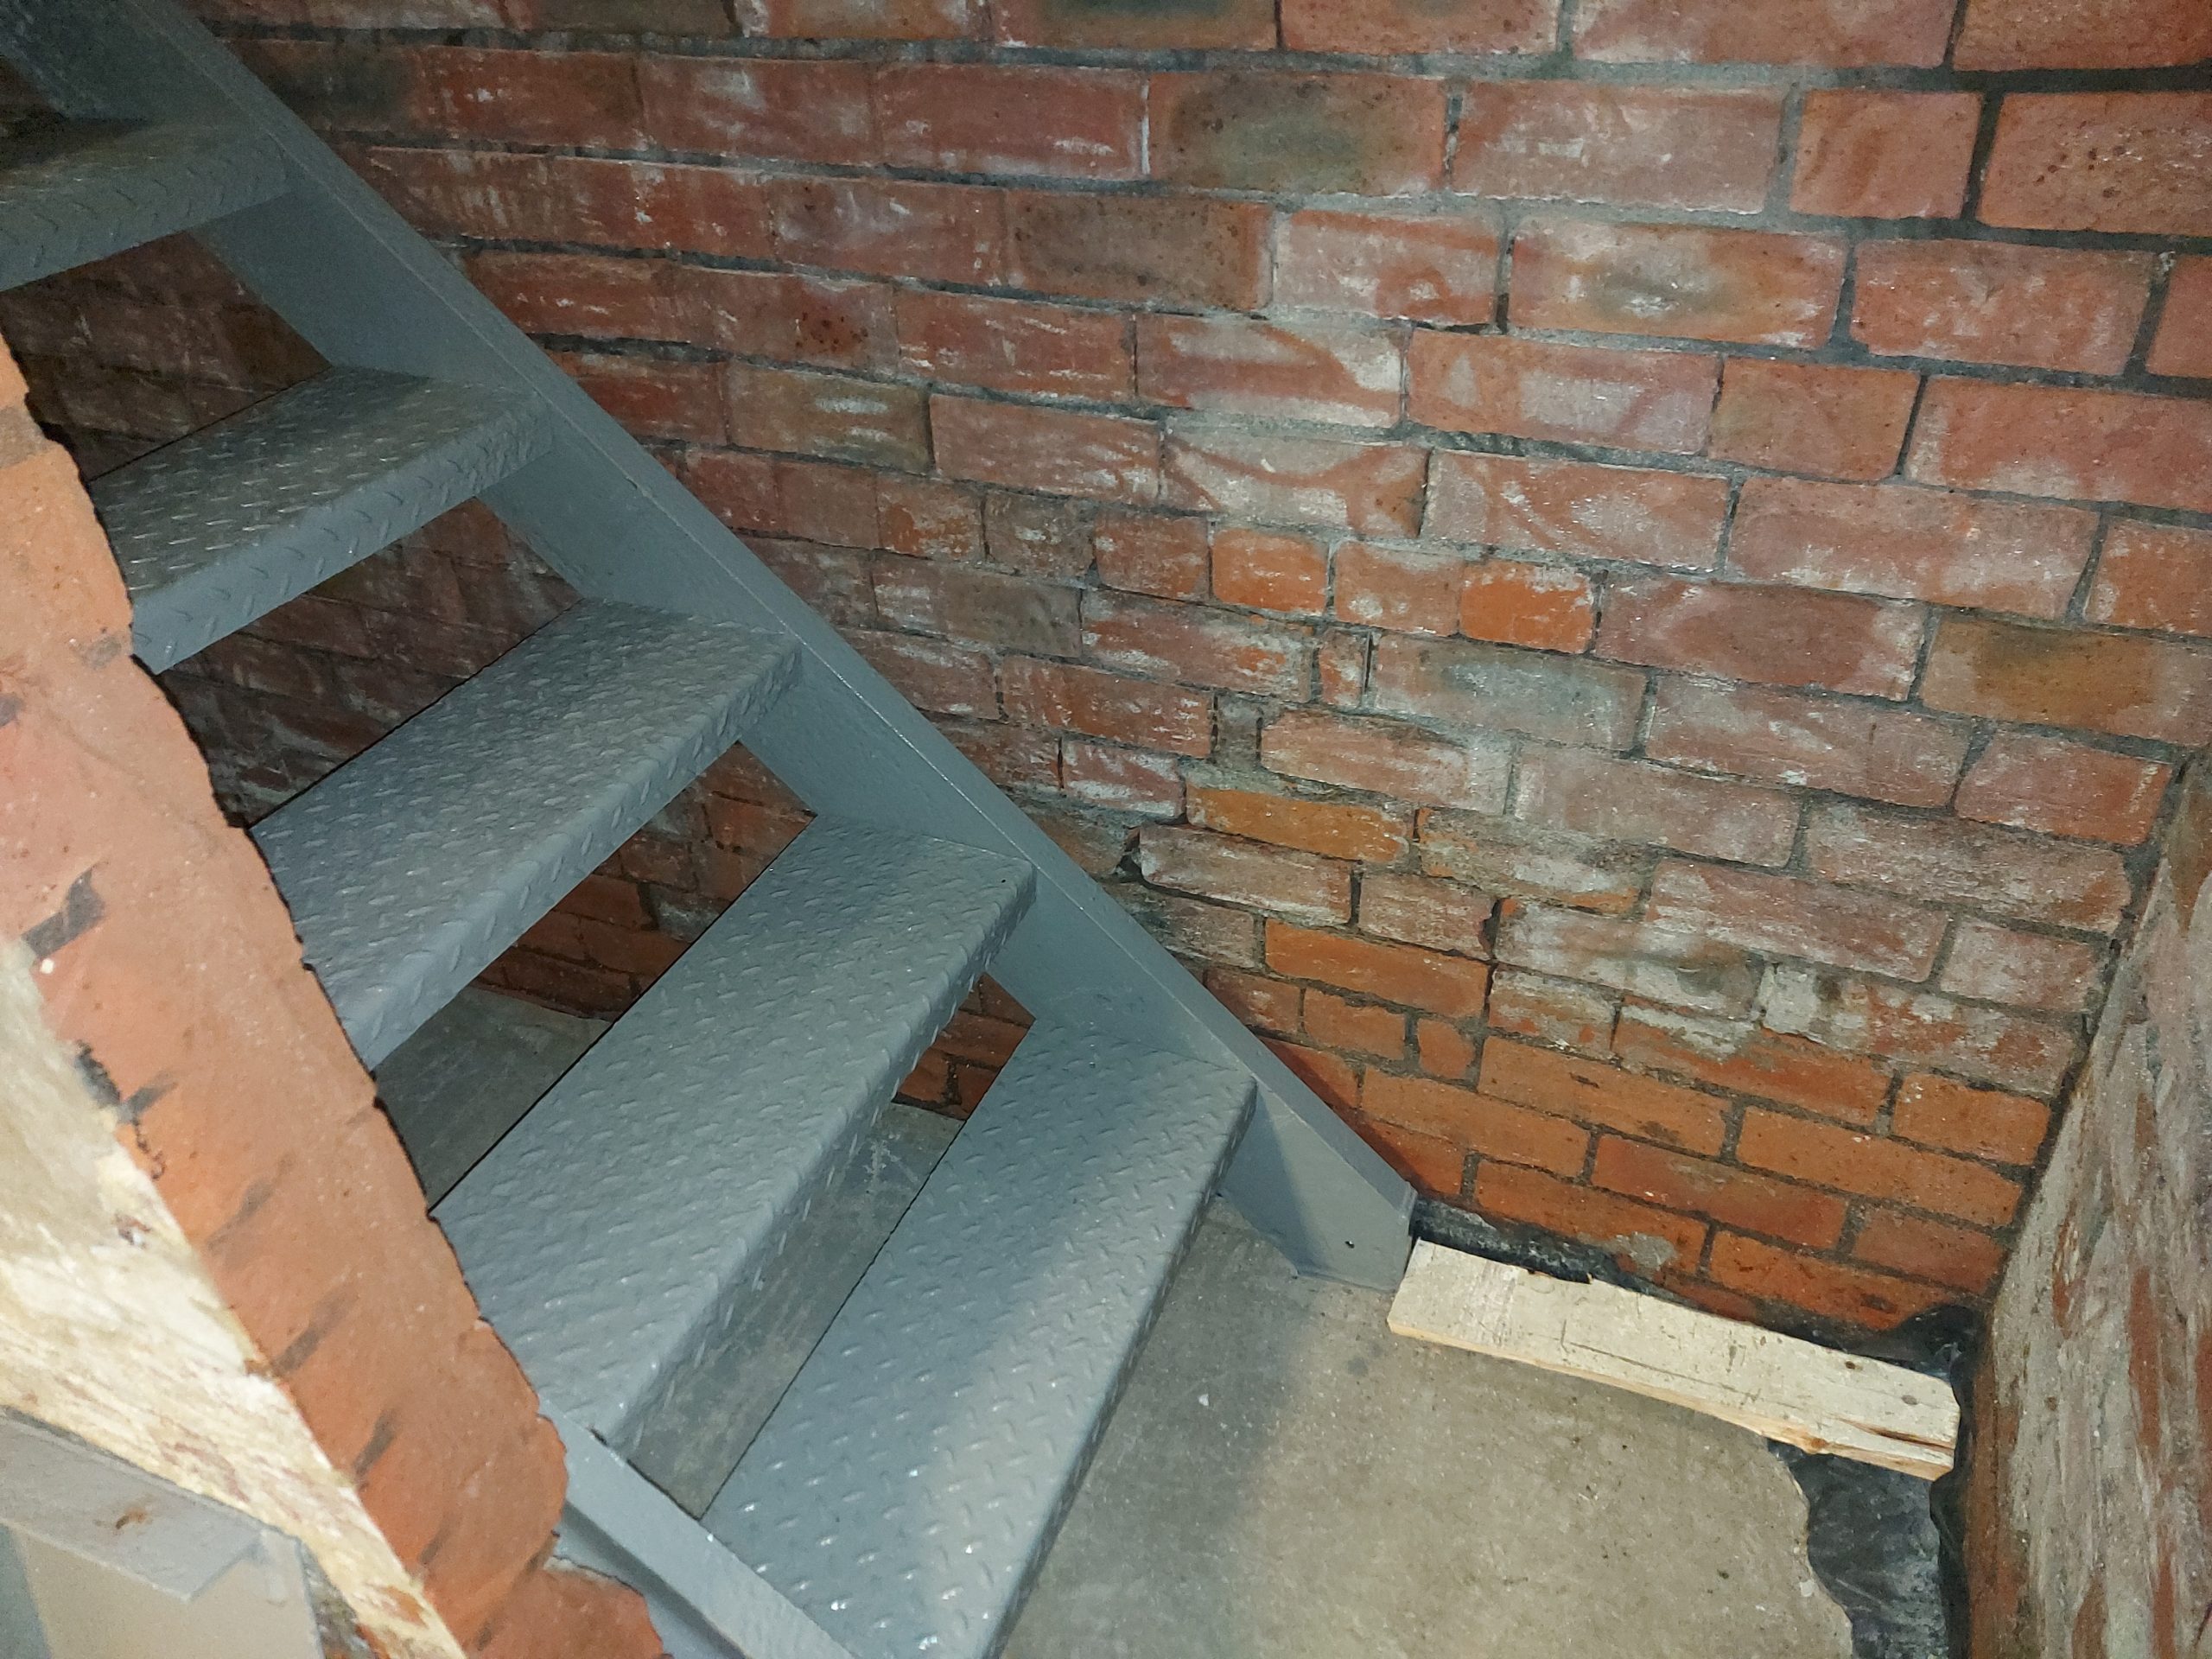
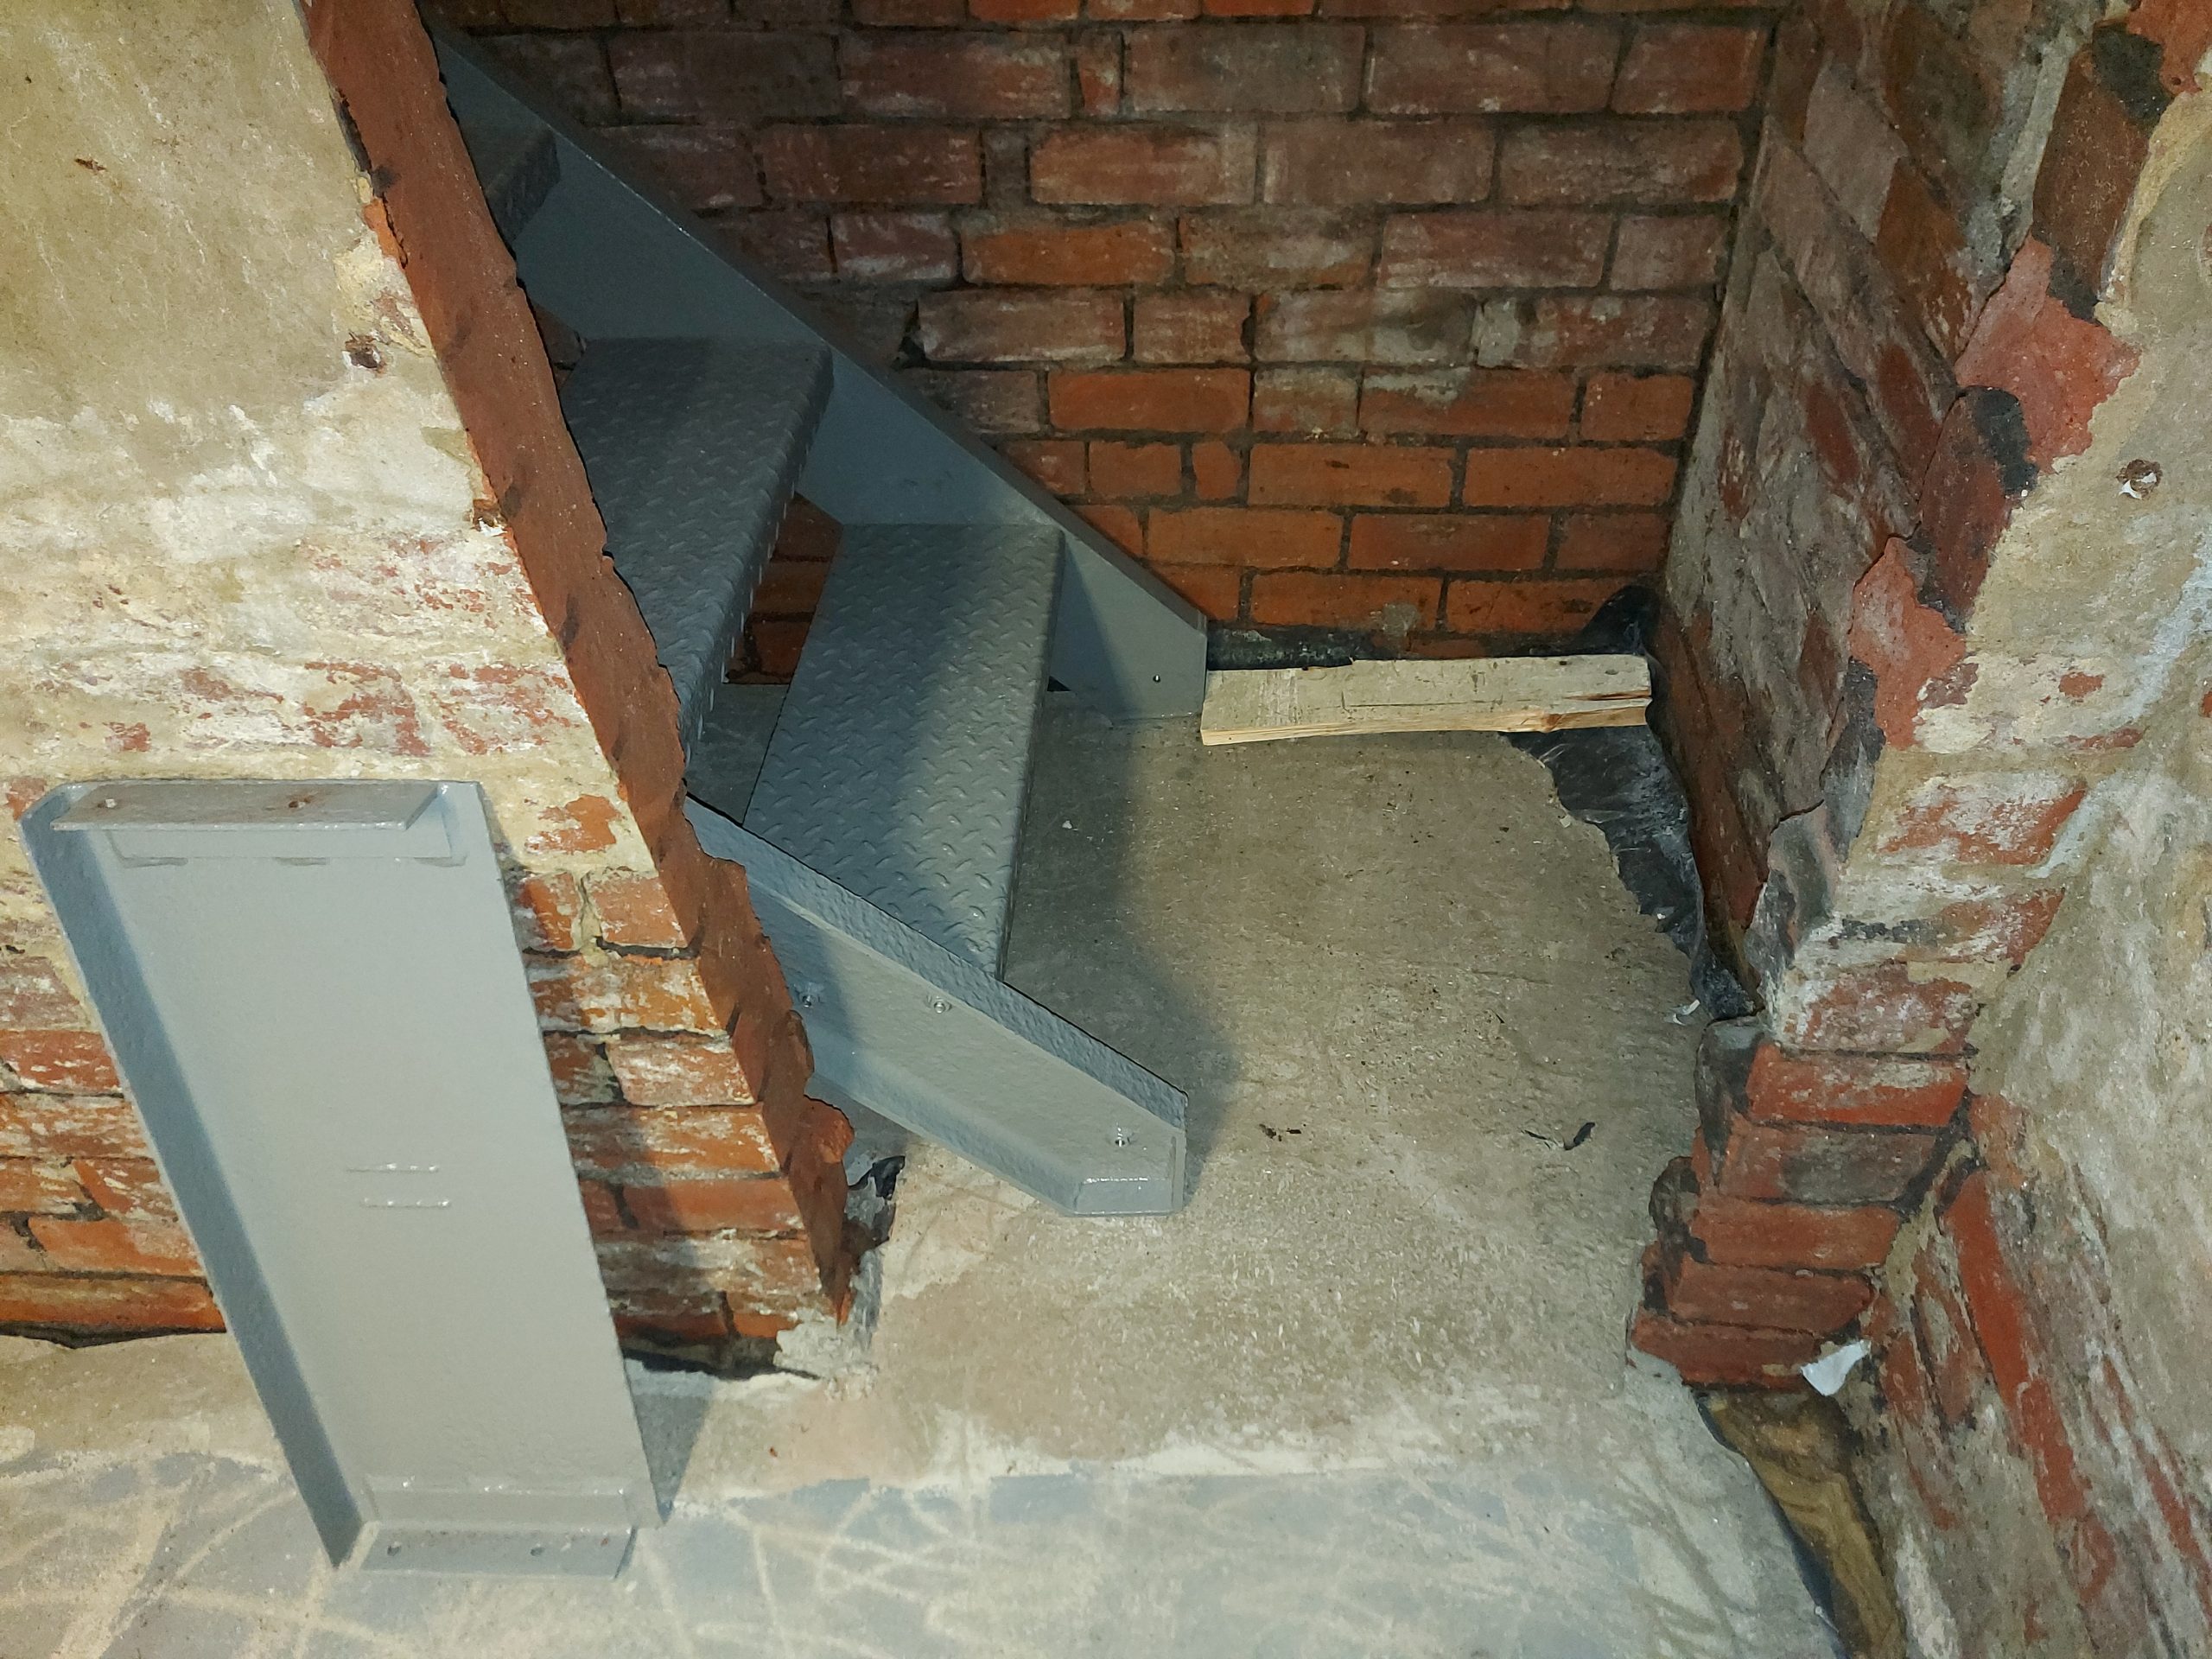
At last the staires are in we can now get up/down without a ladder lol
Temporary position till steel mezz level goes’ in but looking like it will be perfect
admin
17 August 2022 - 18:28
Mezz Level
At last the steel as arrived, Time to start fabricating & erecting it
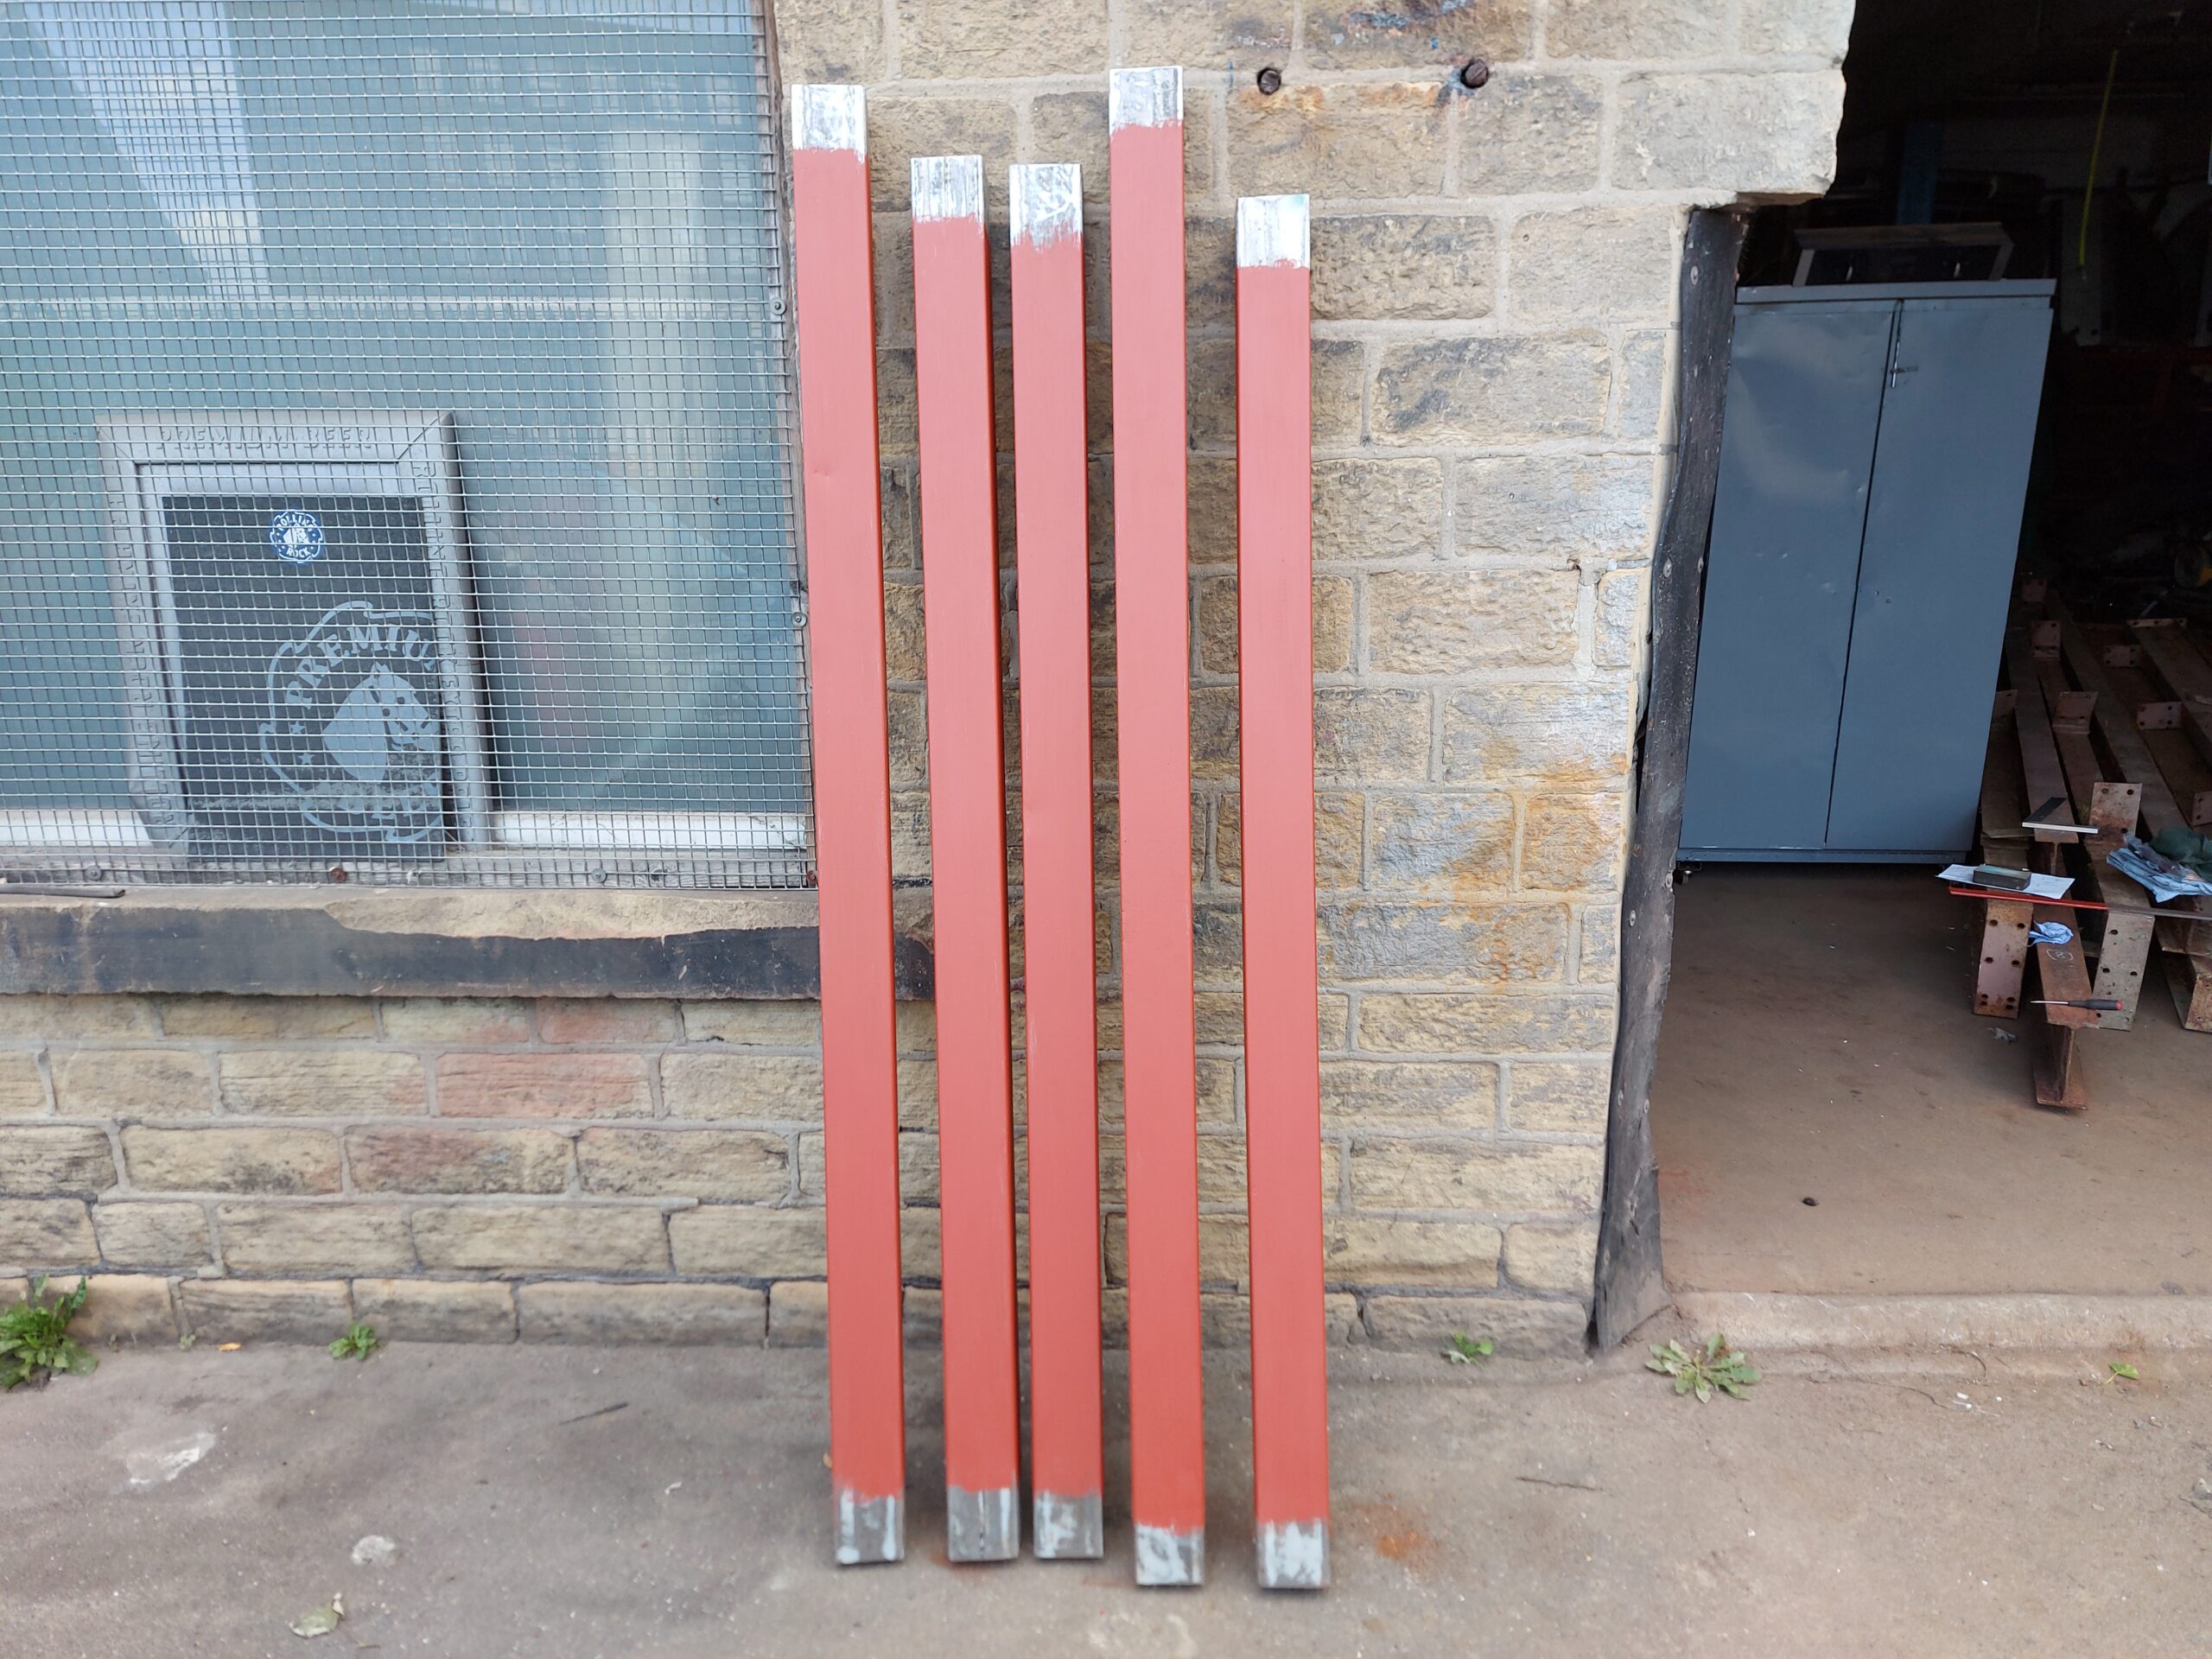
Got the Column steels out and cut to size
Cleaned up
Little red lead painted on
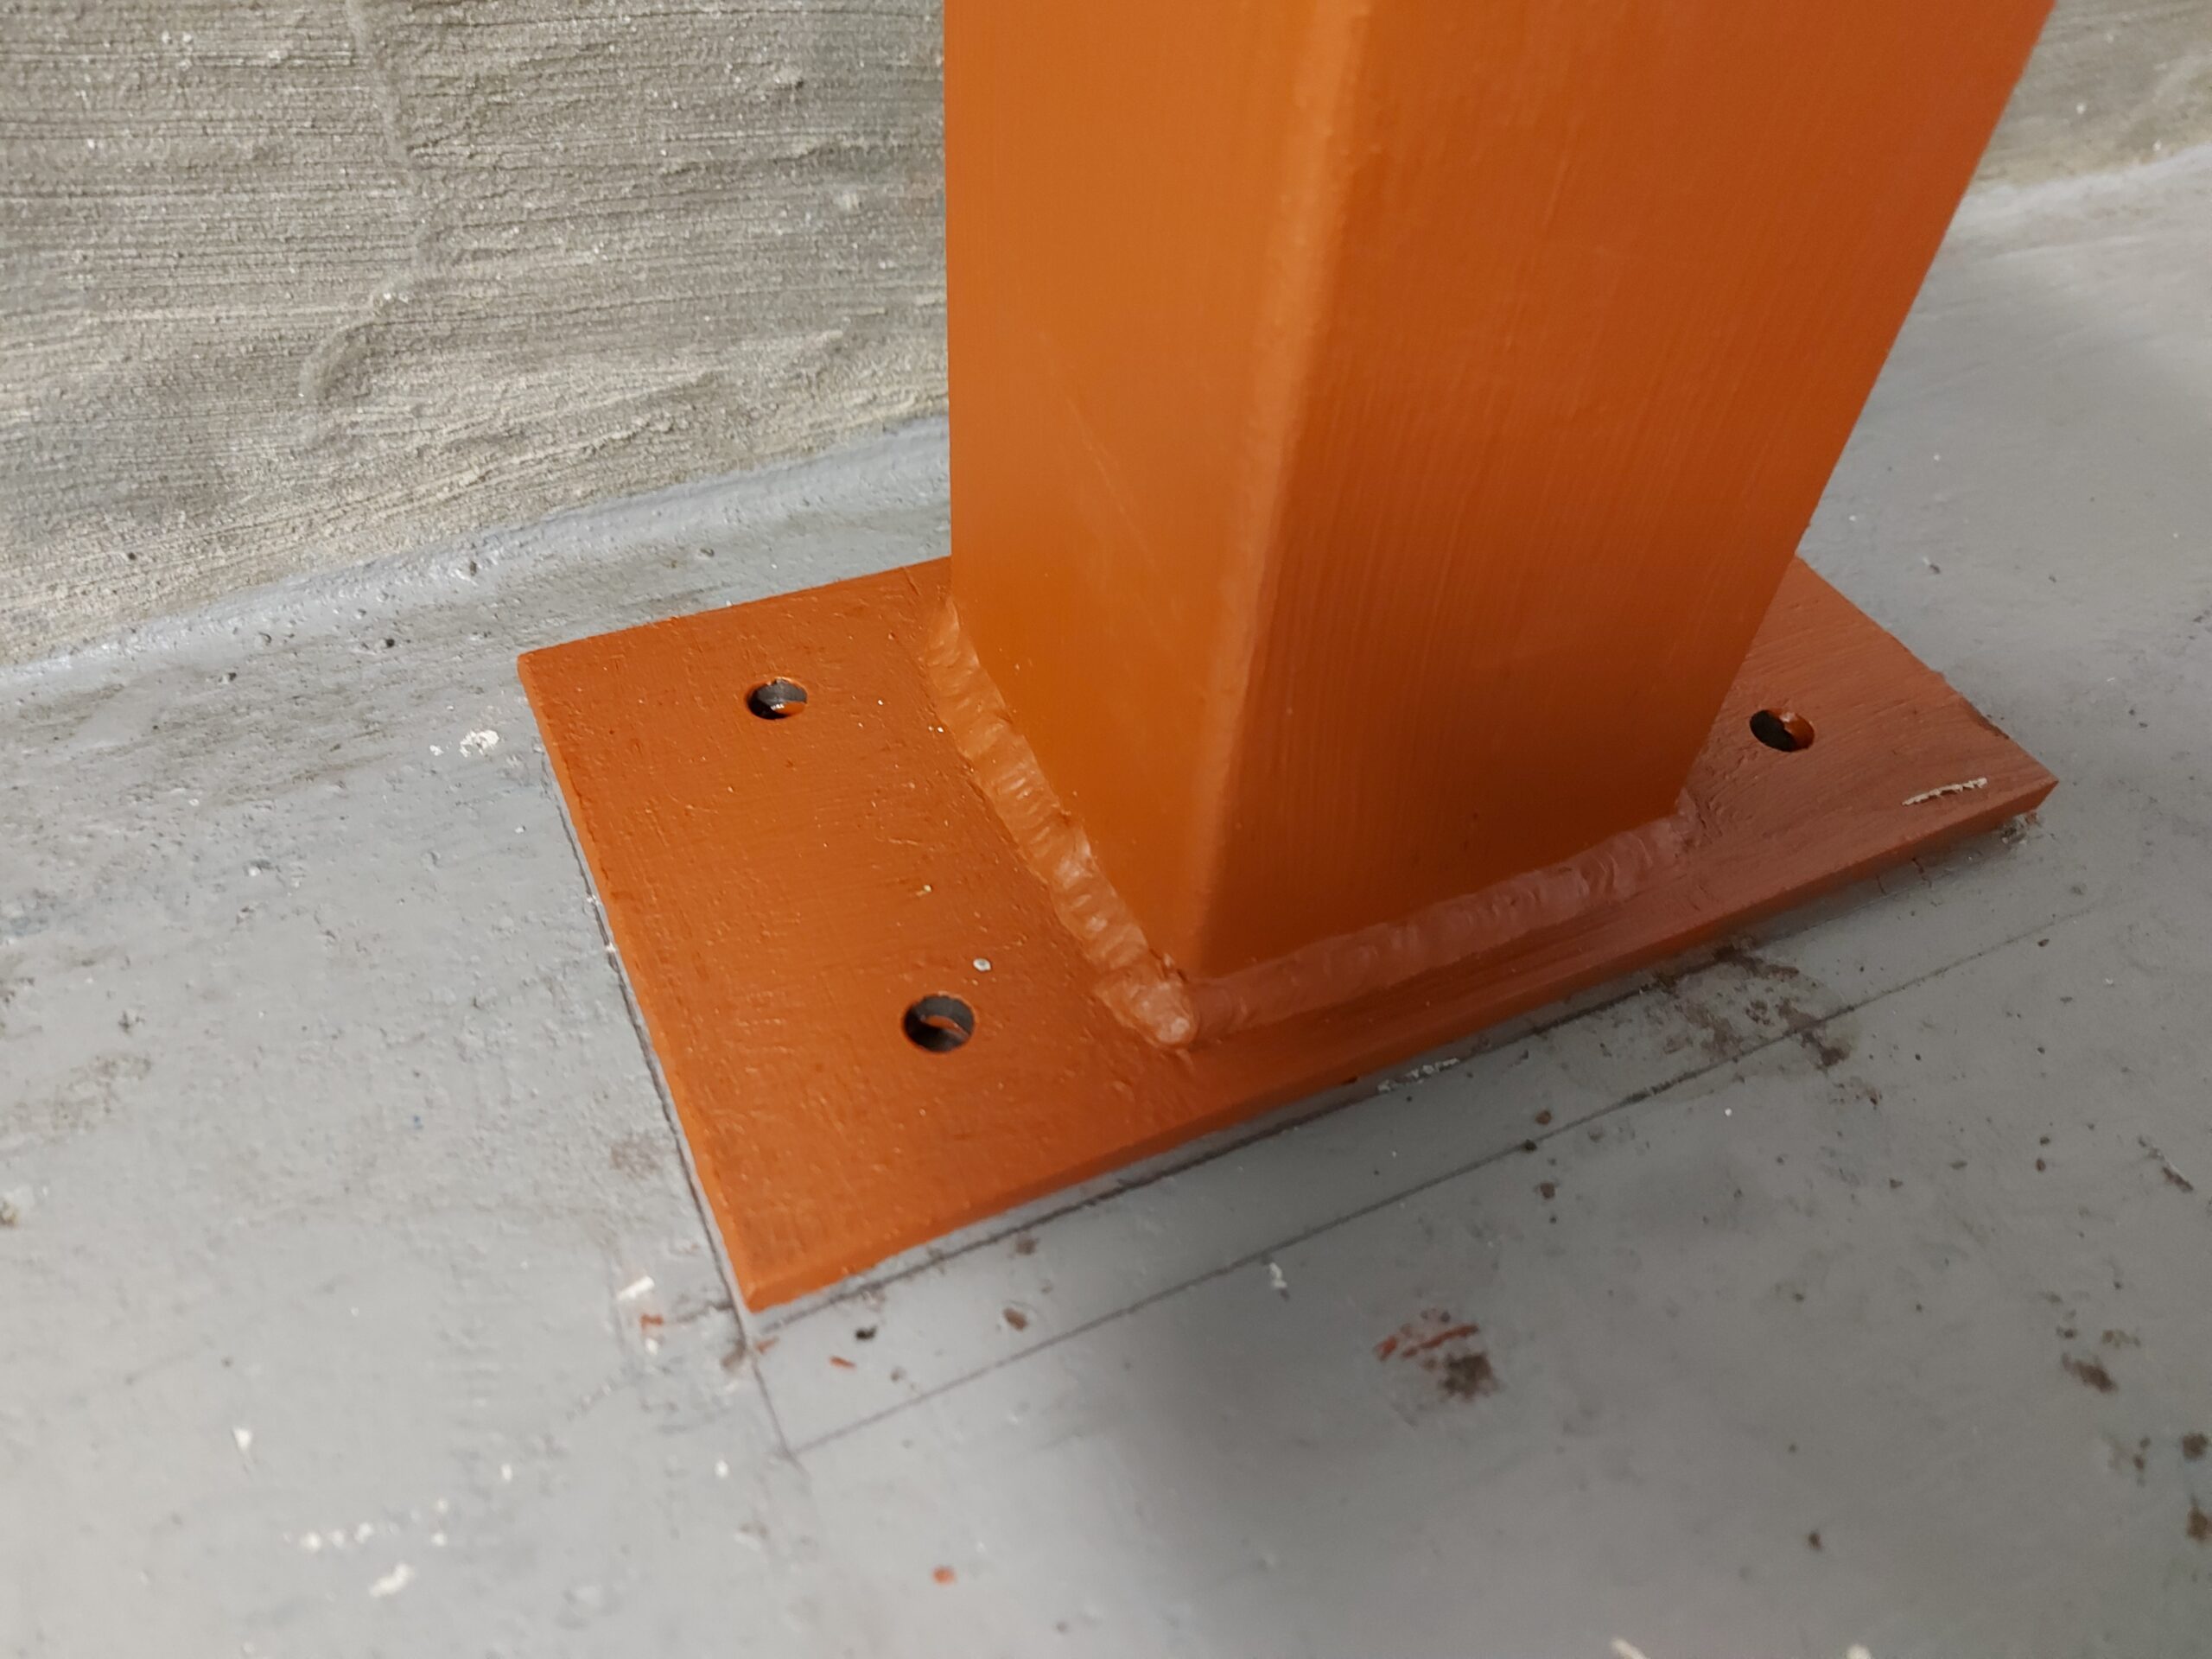
Set and Tacked on to base plates
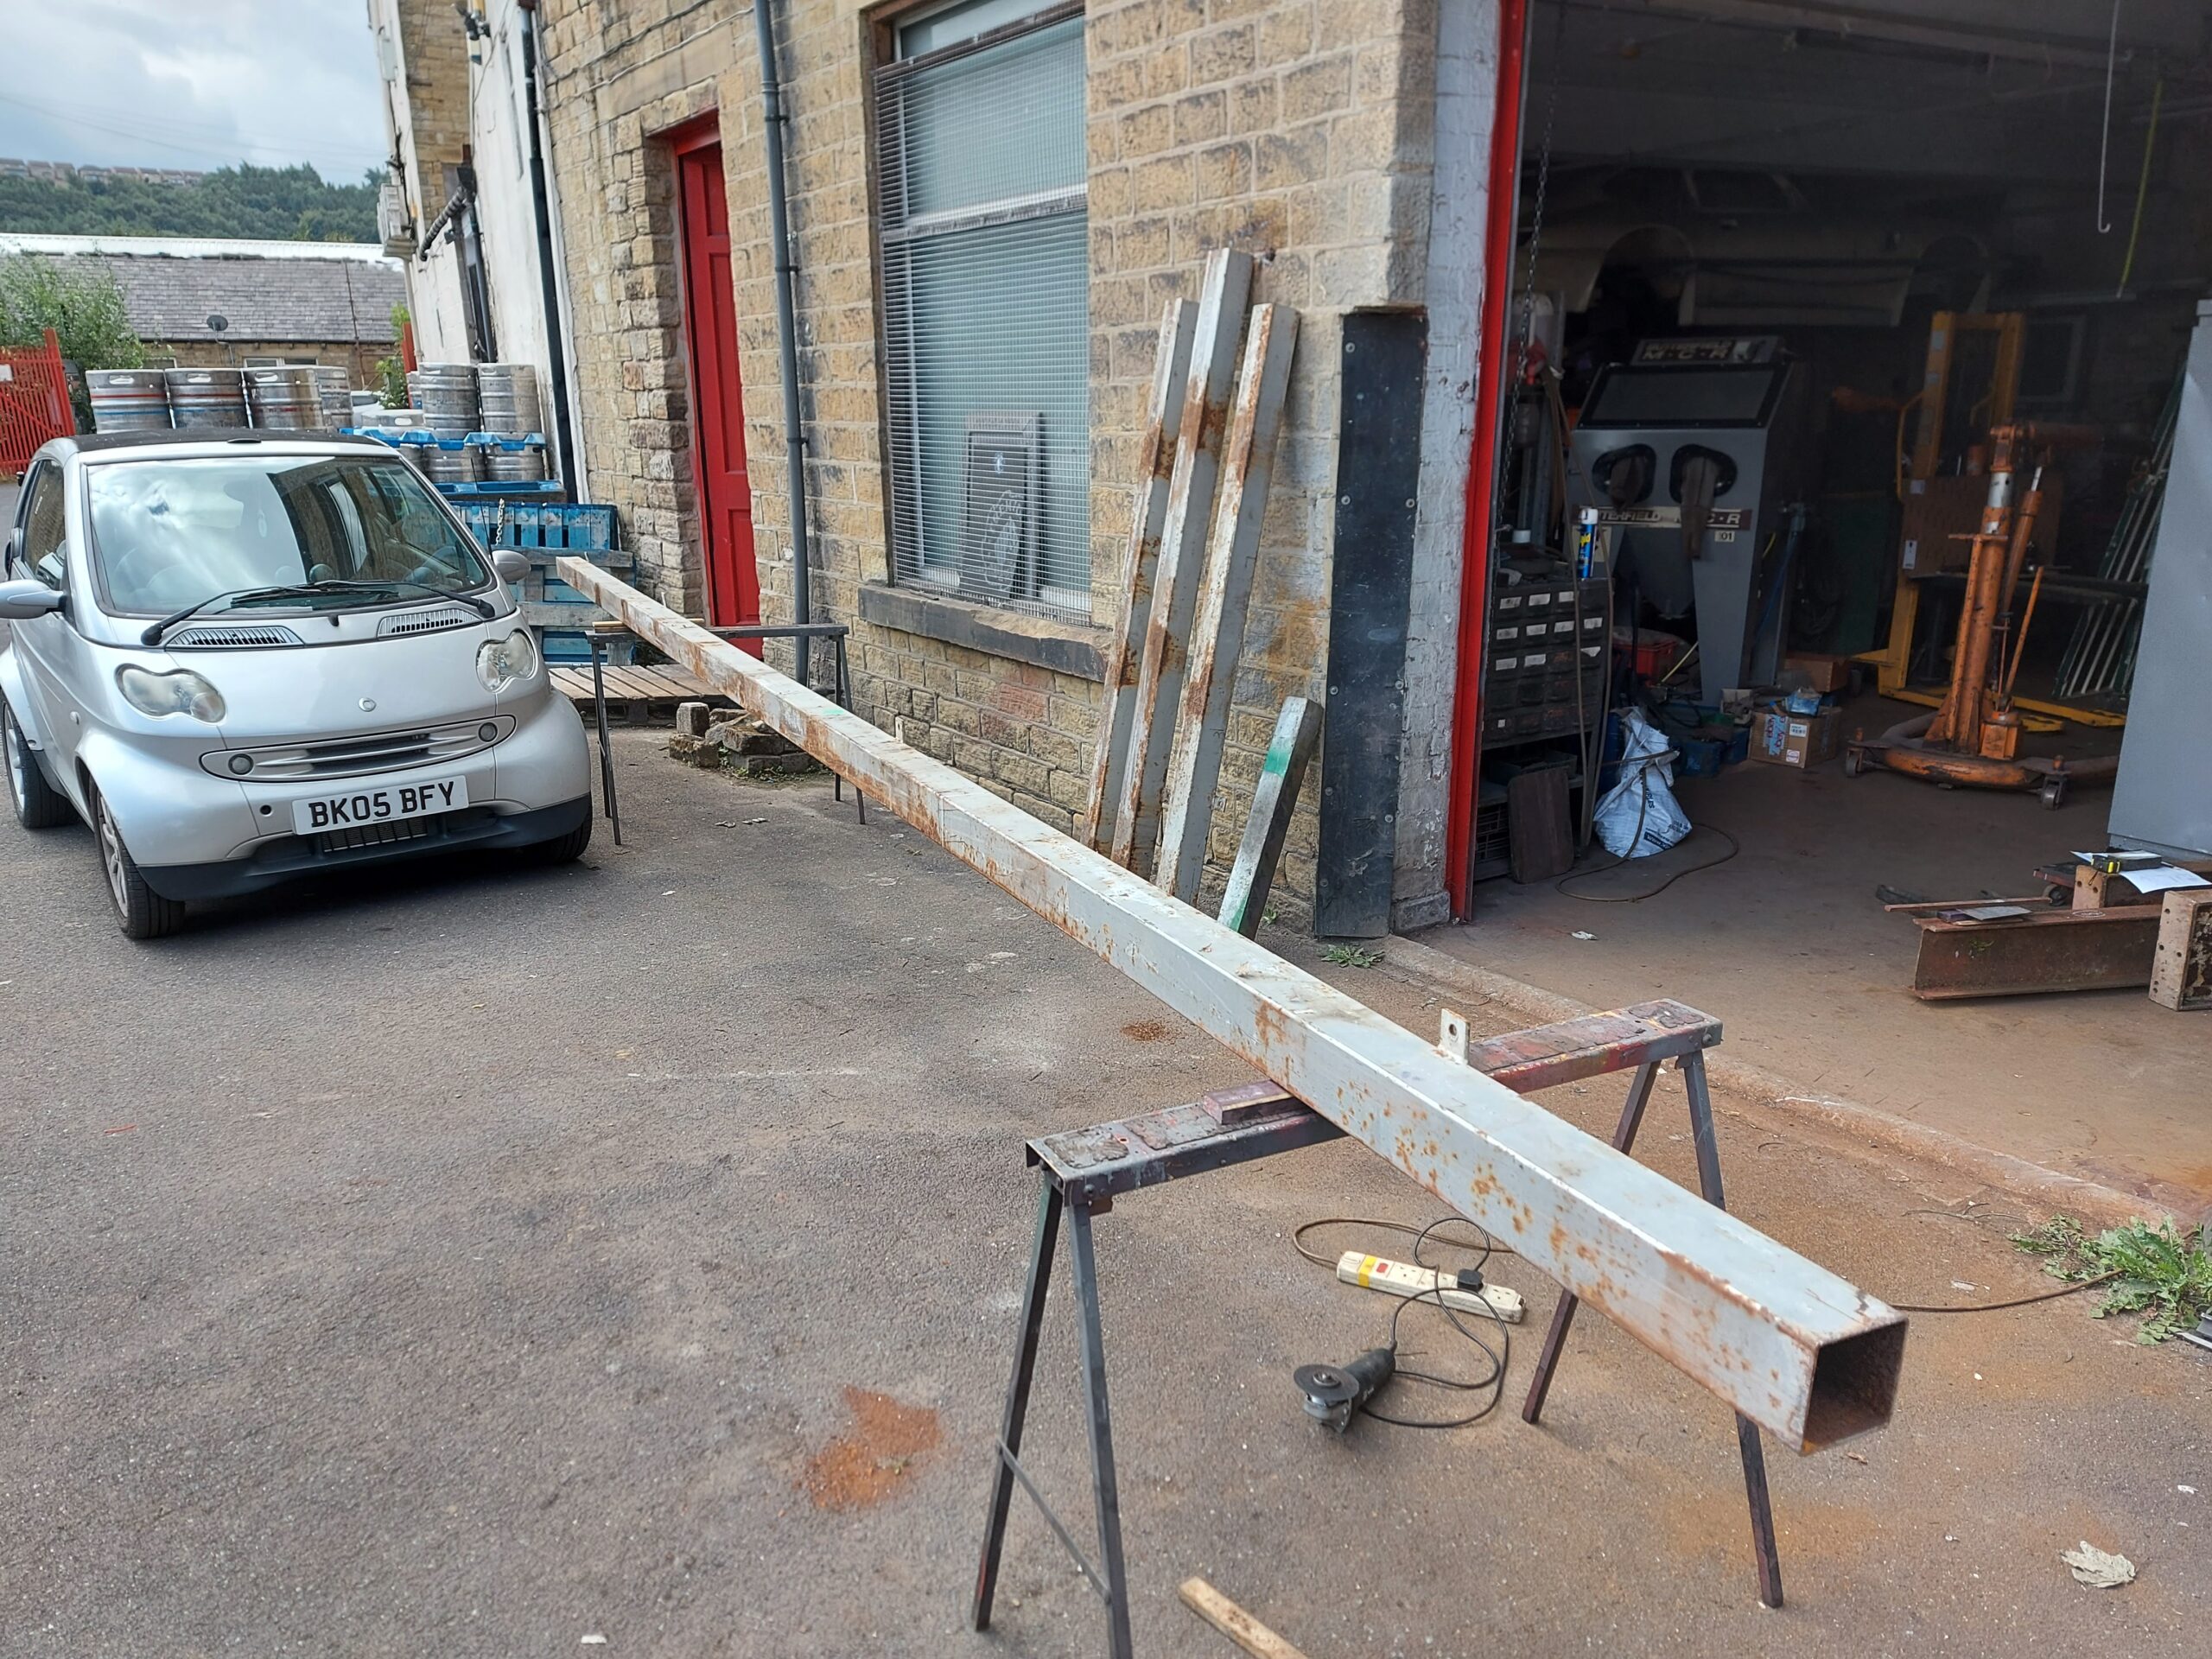
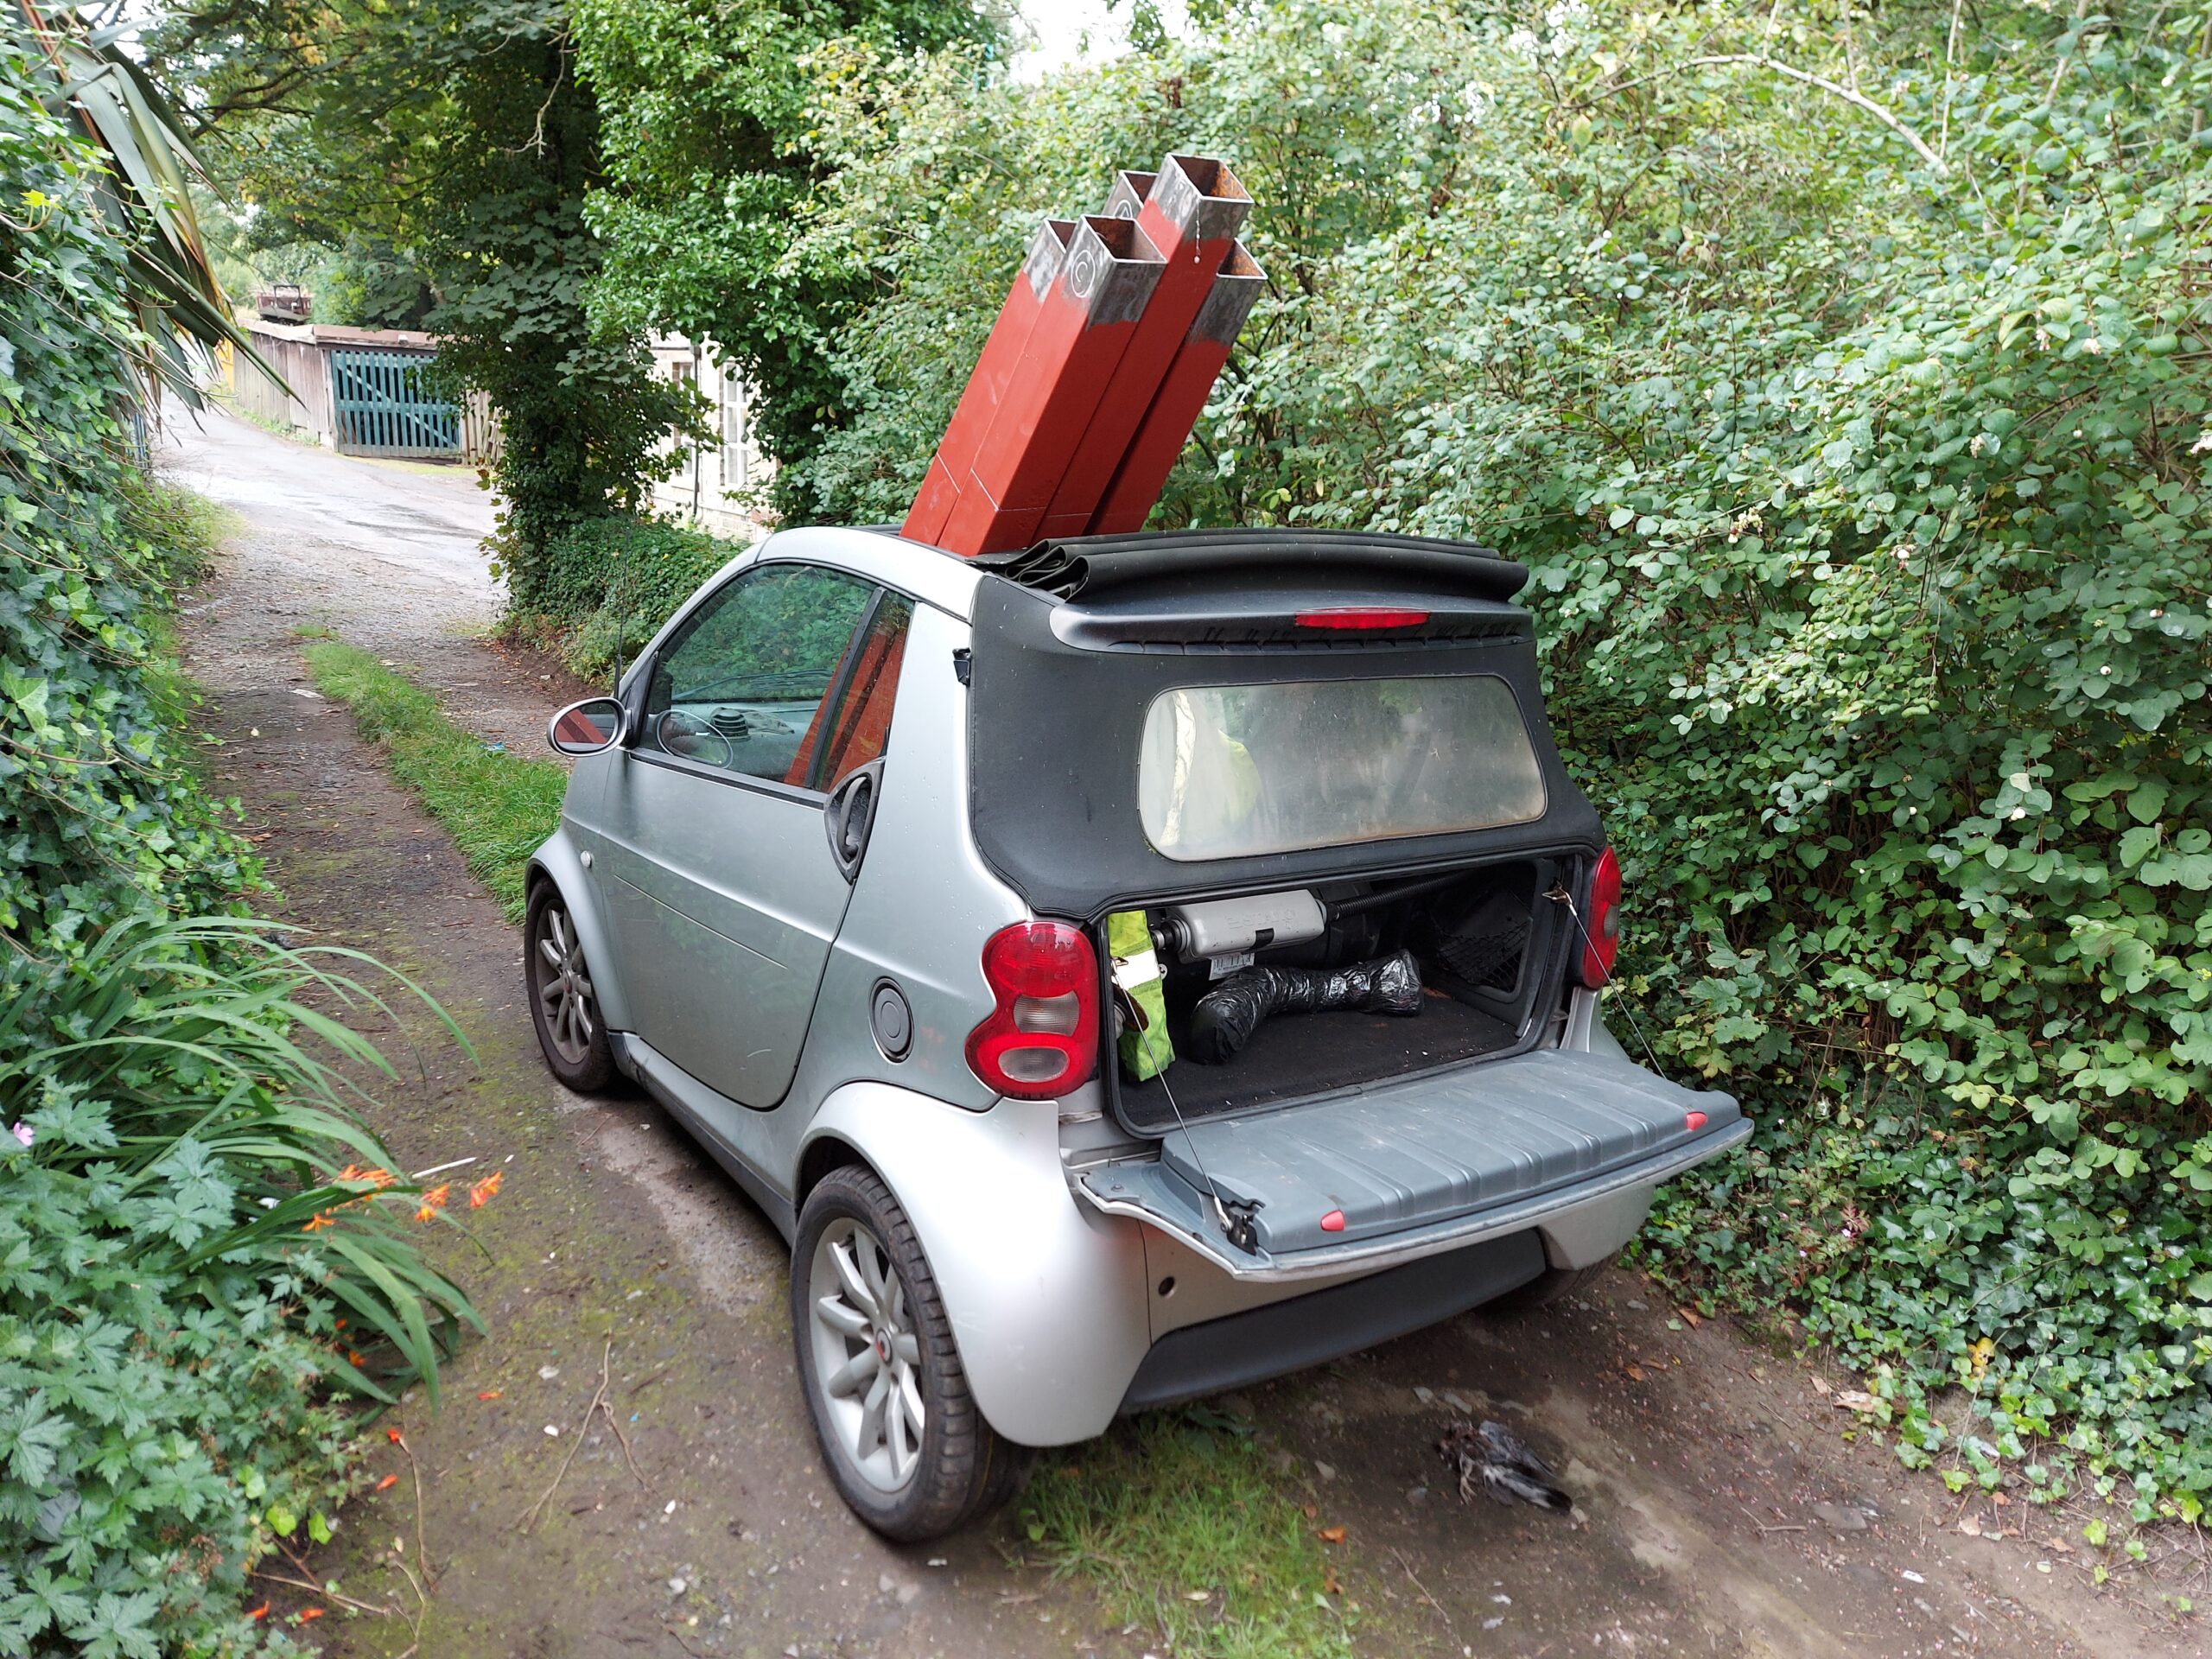
You can fit 10m of 4×4 box in a smart car lol
Base plates fully welded on
I have a Portamig 350 I repaired this is the first time I’ve used it! it welds nice
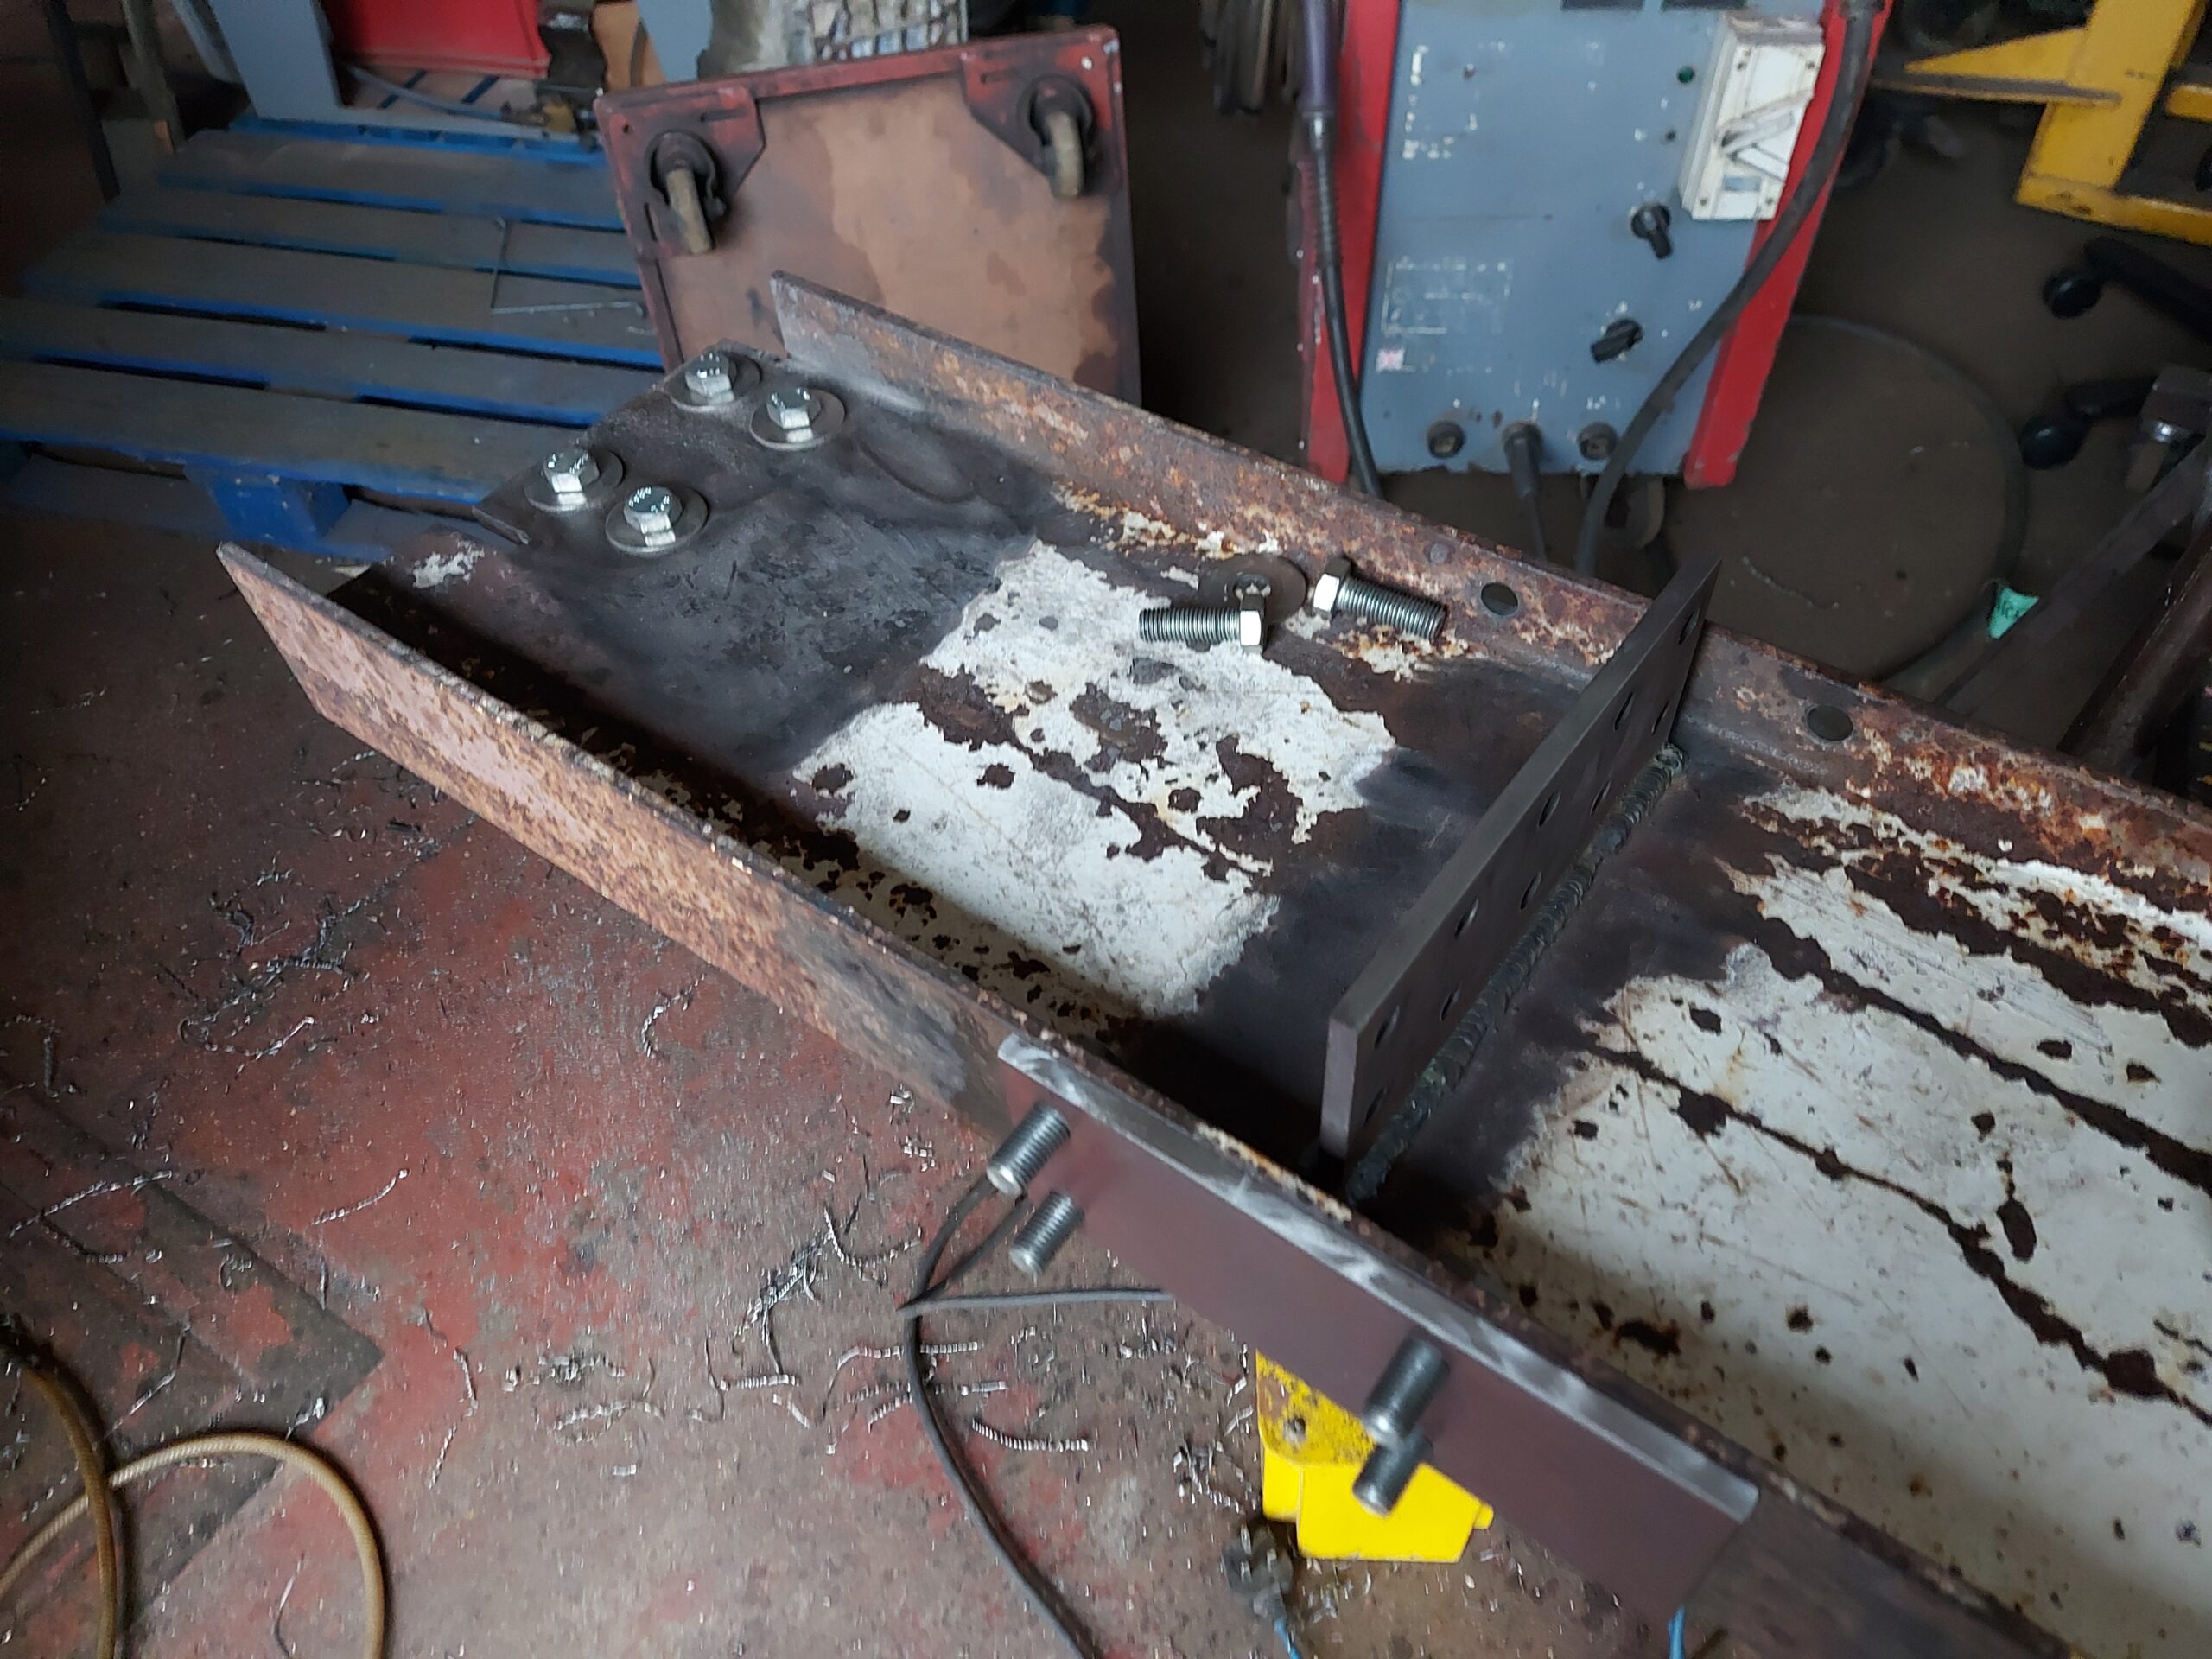
Got some steel cut down and 10mm flanges welded holes driled and Taped out to 16mm
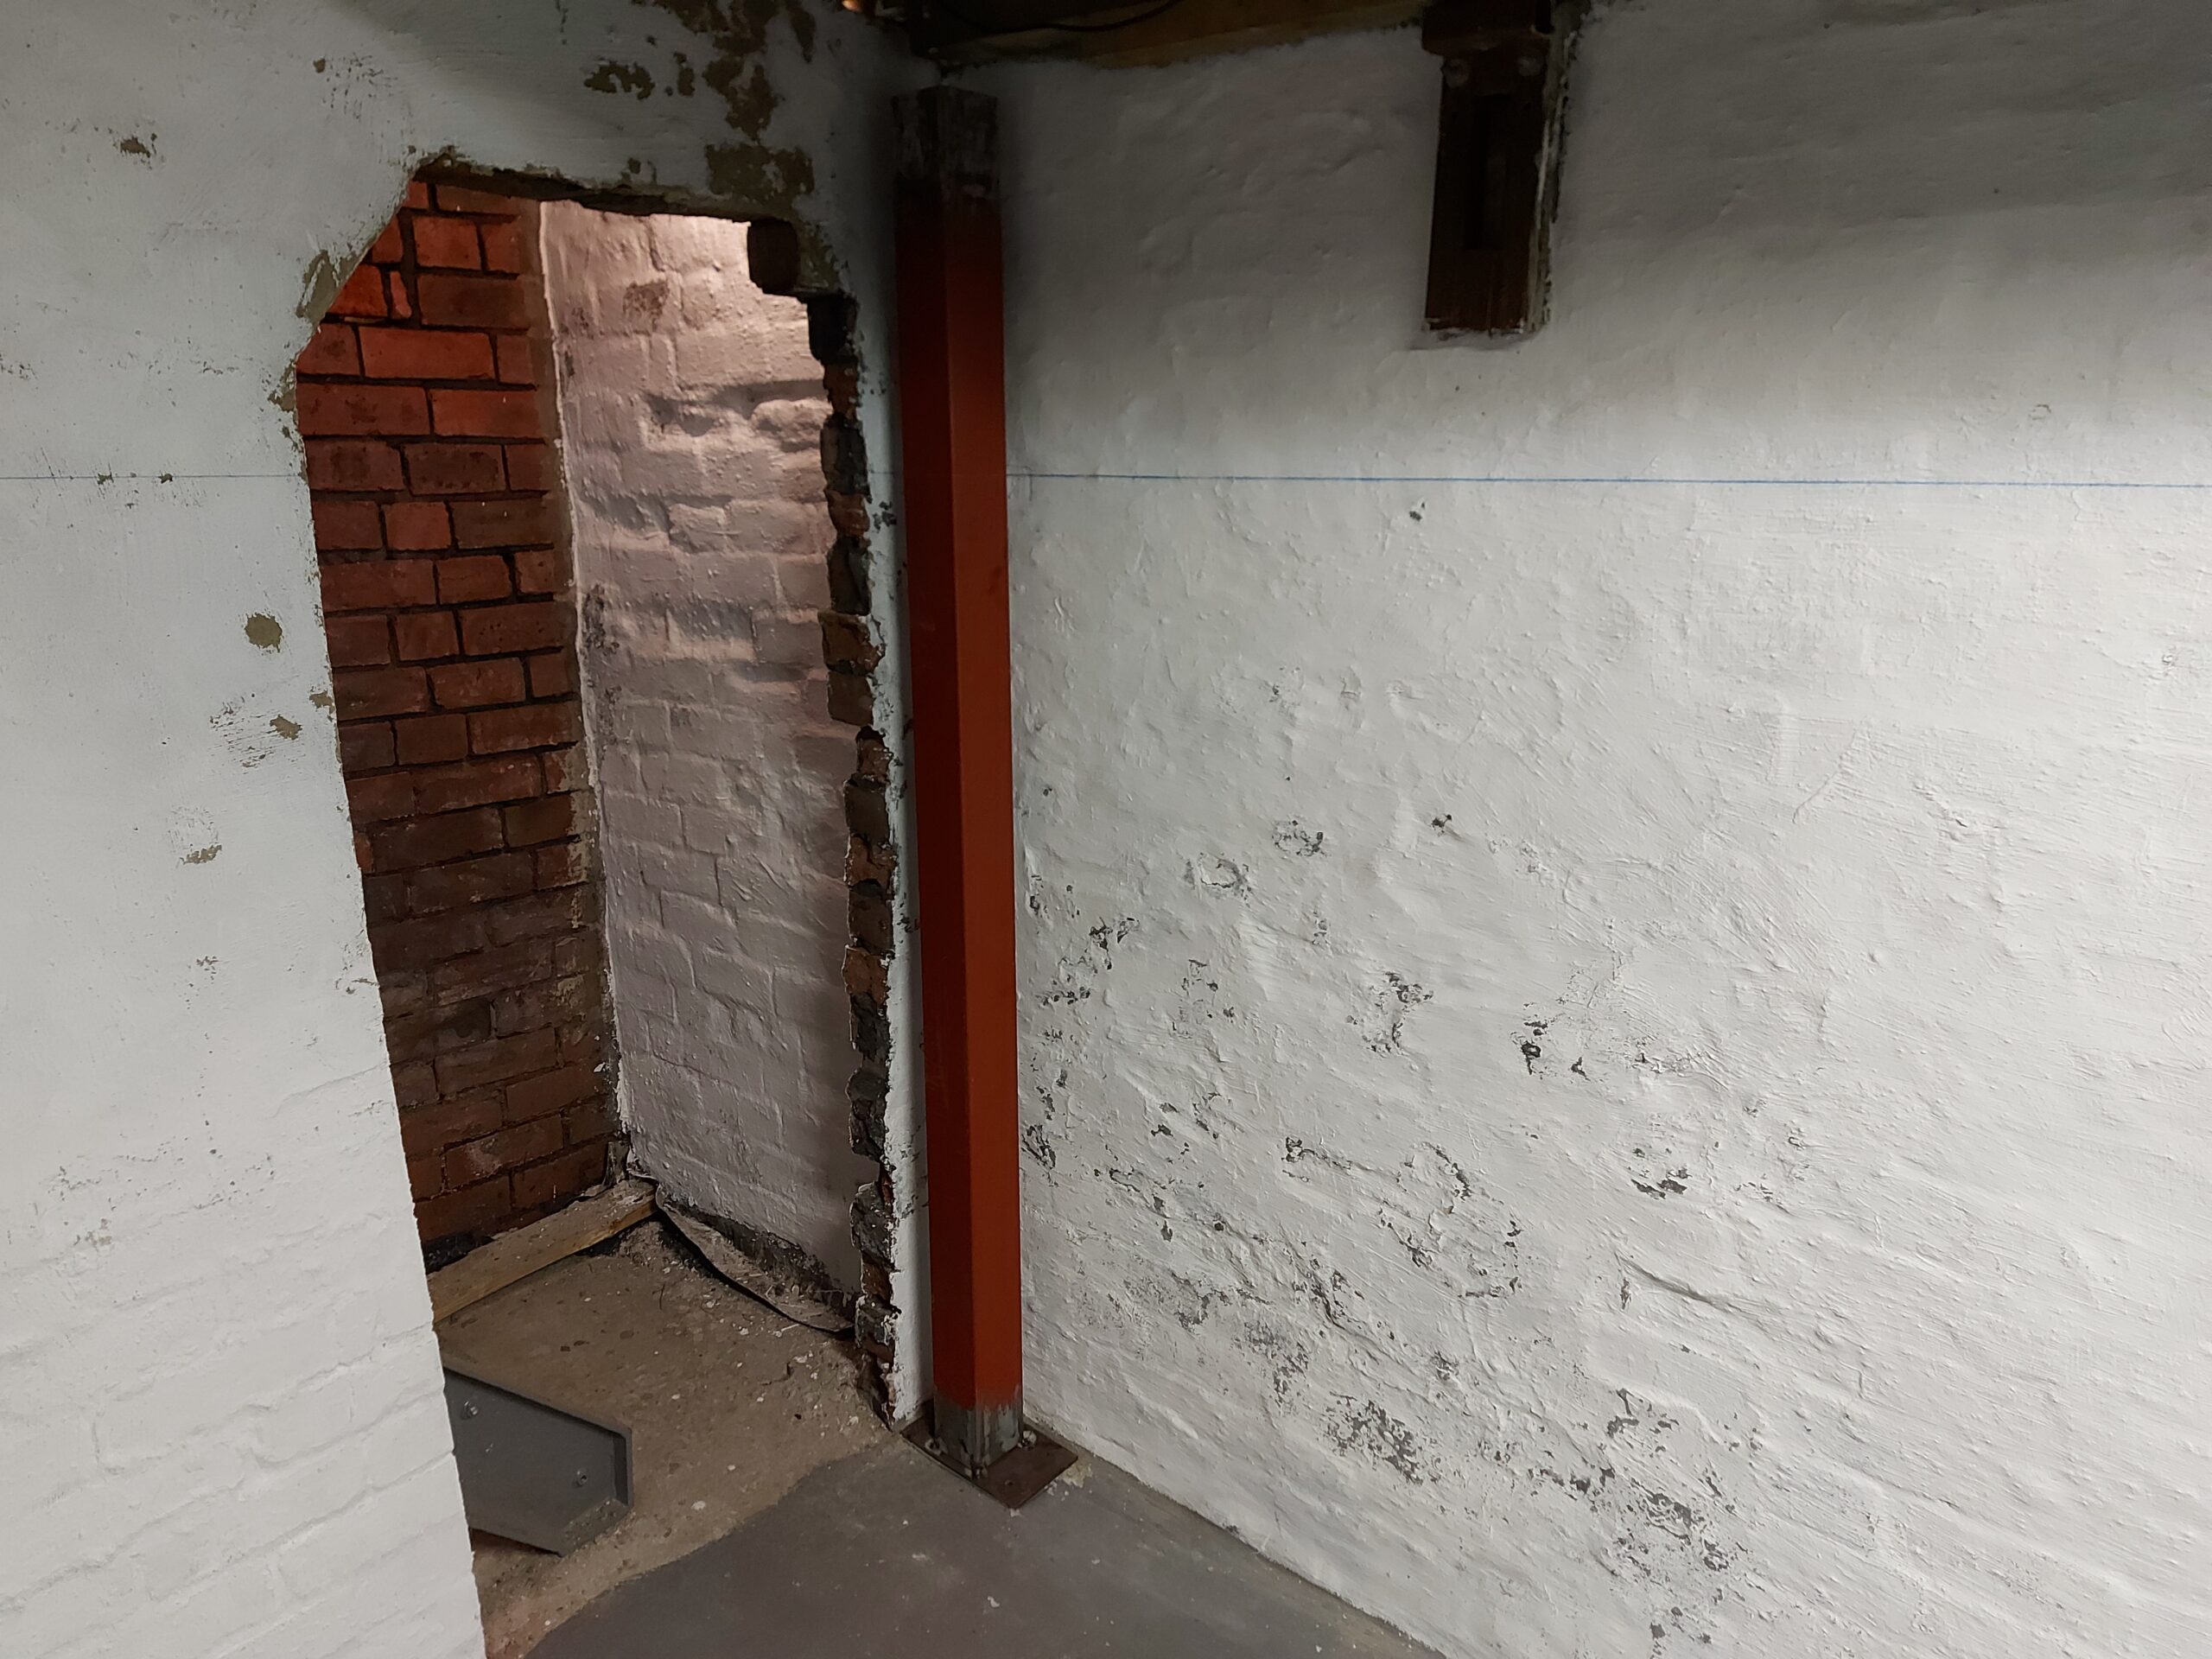
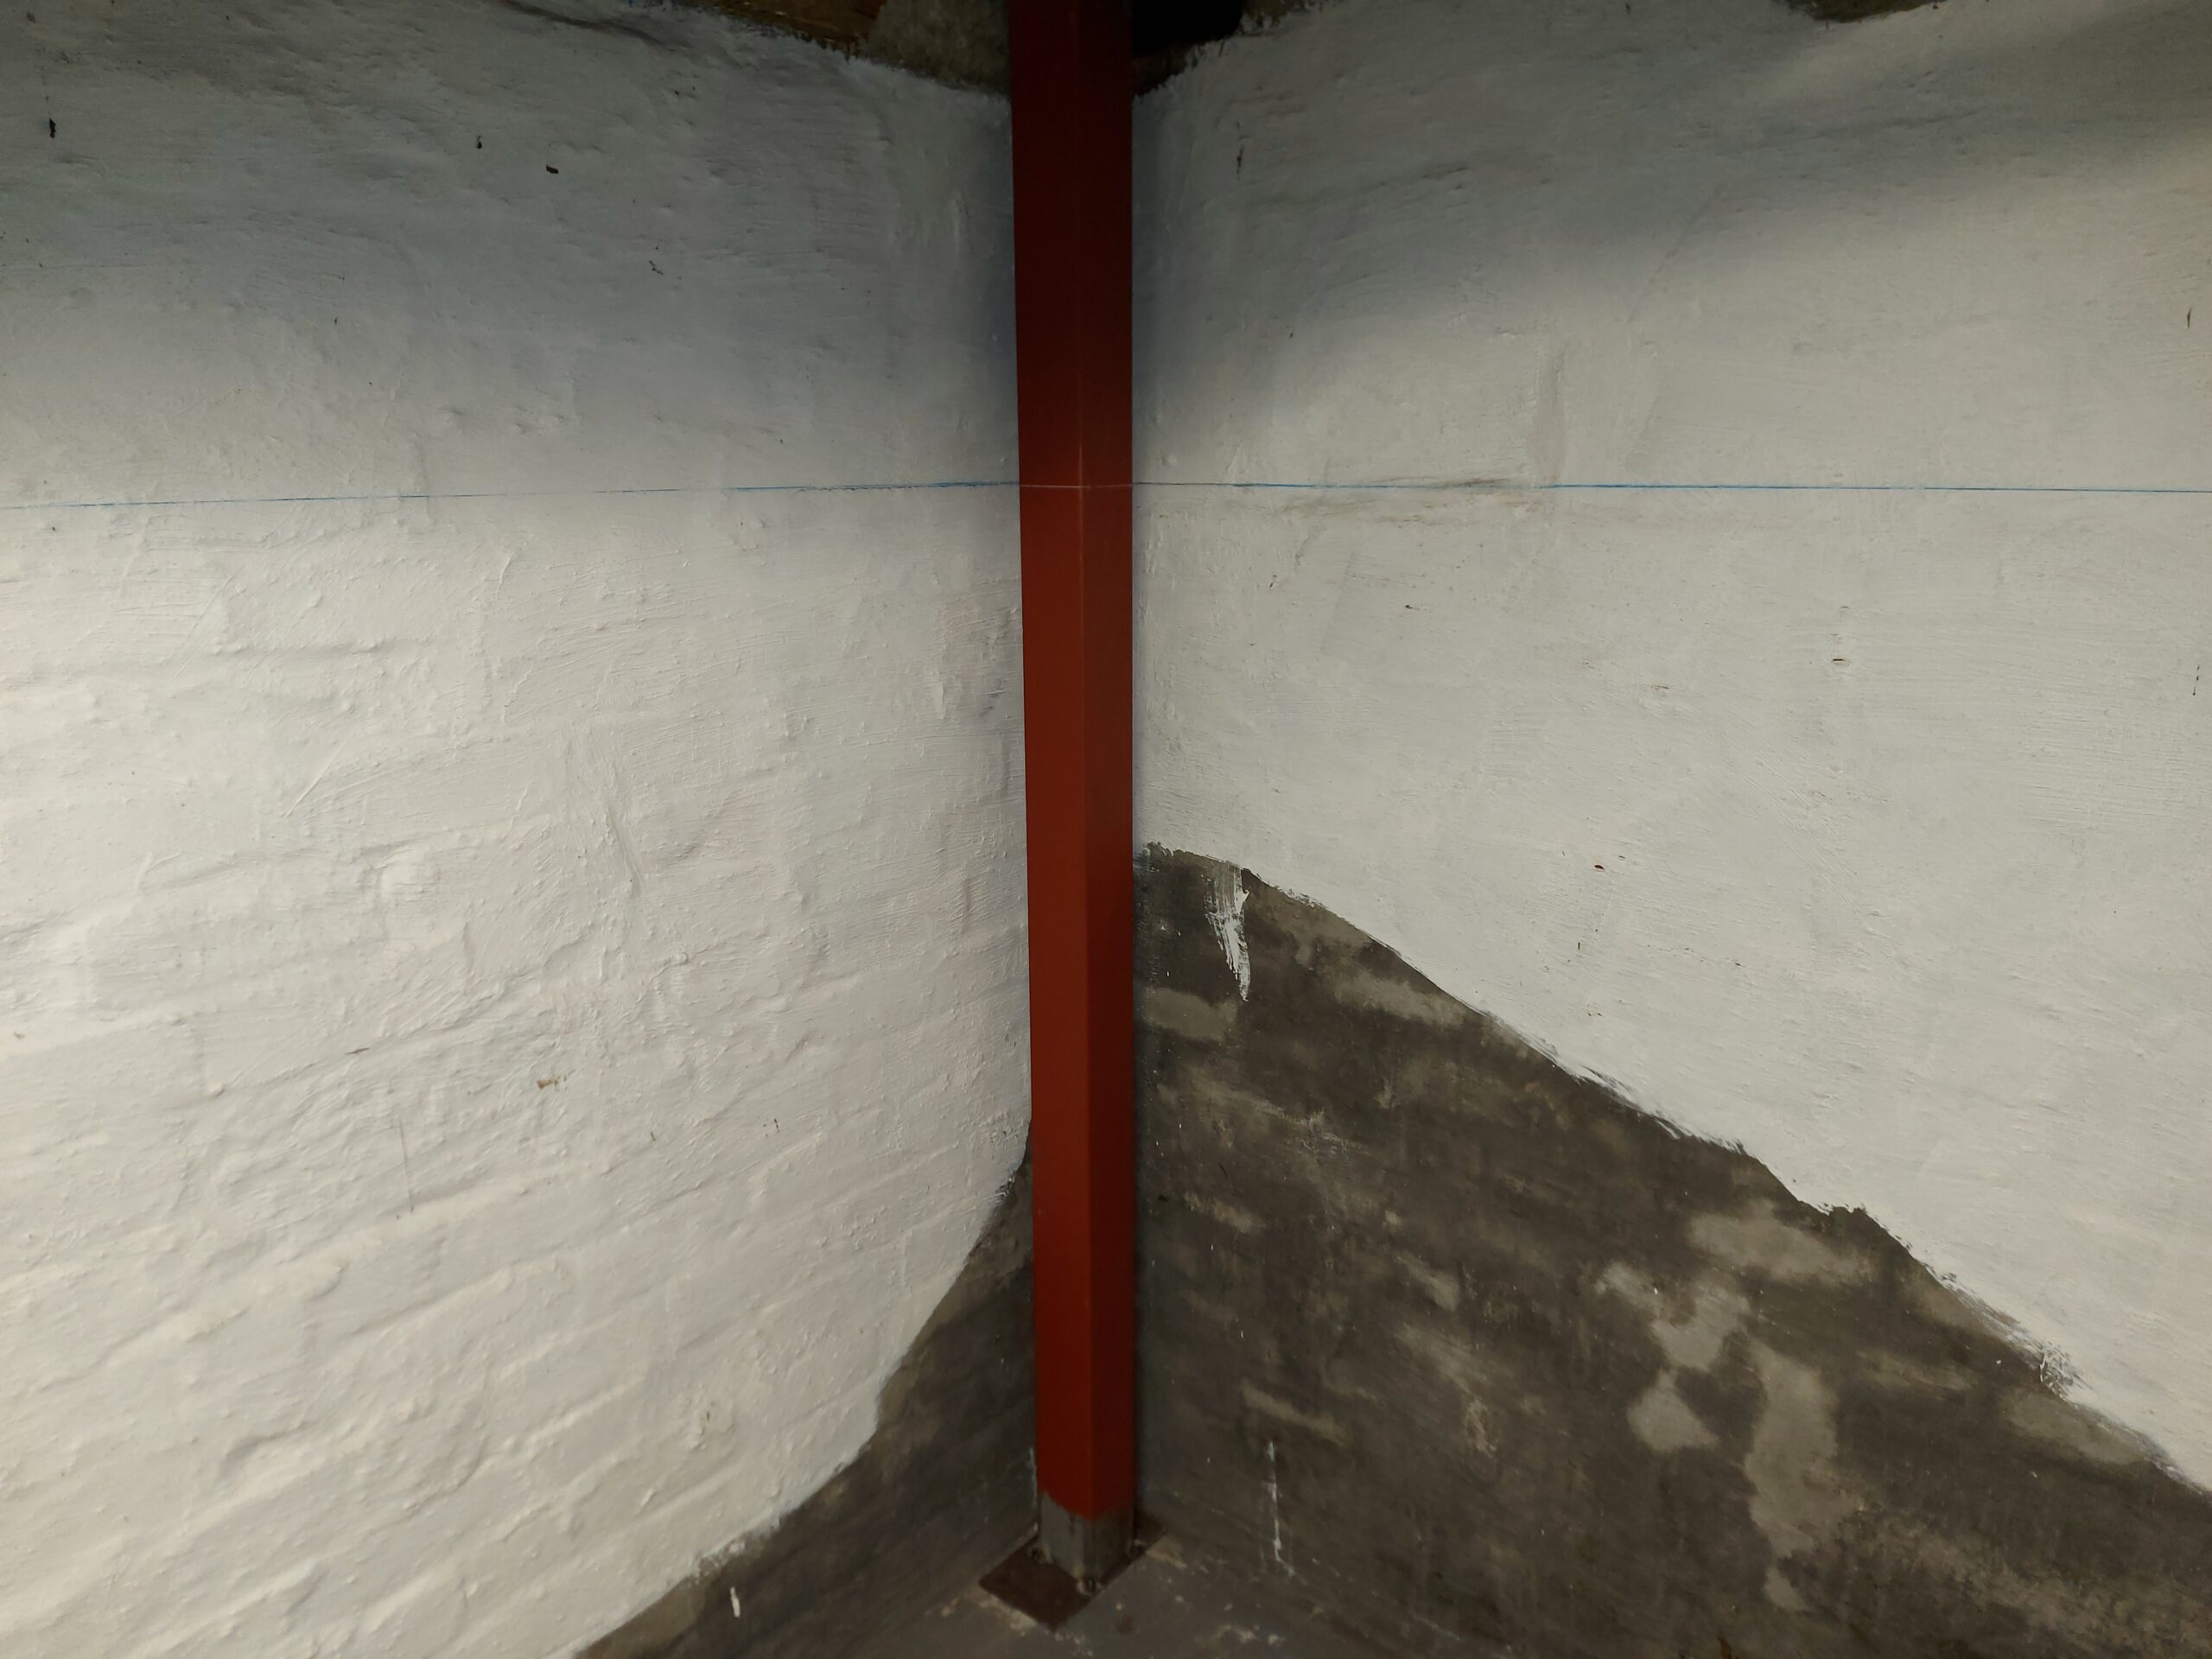
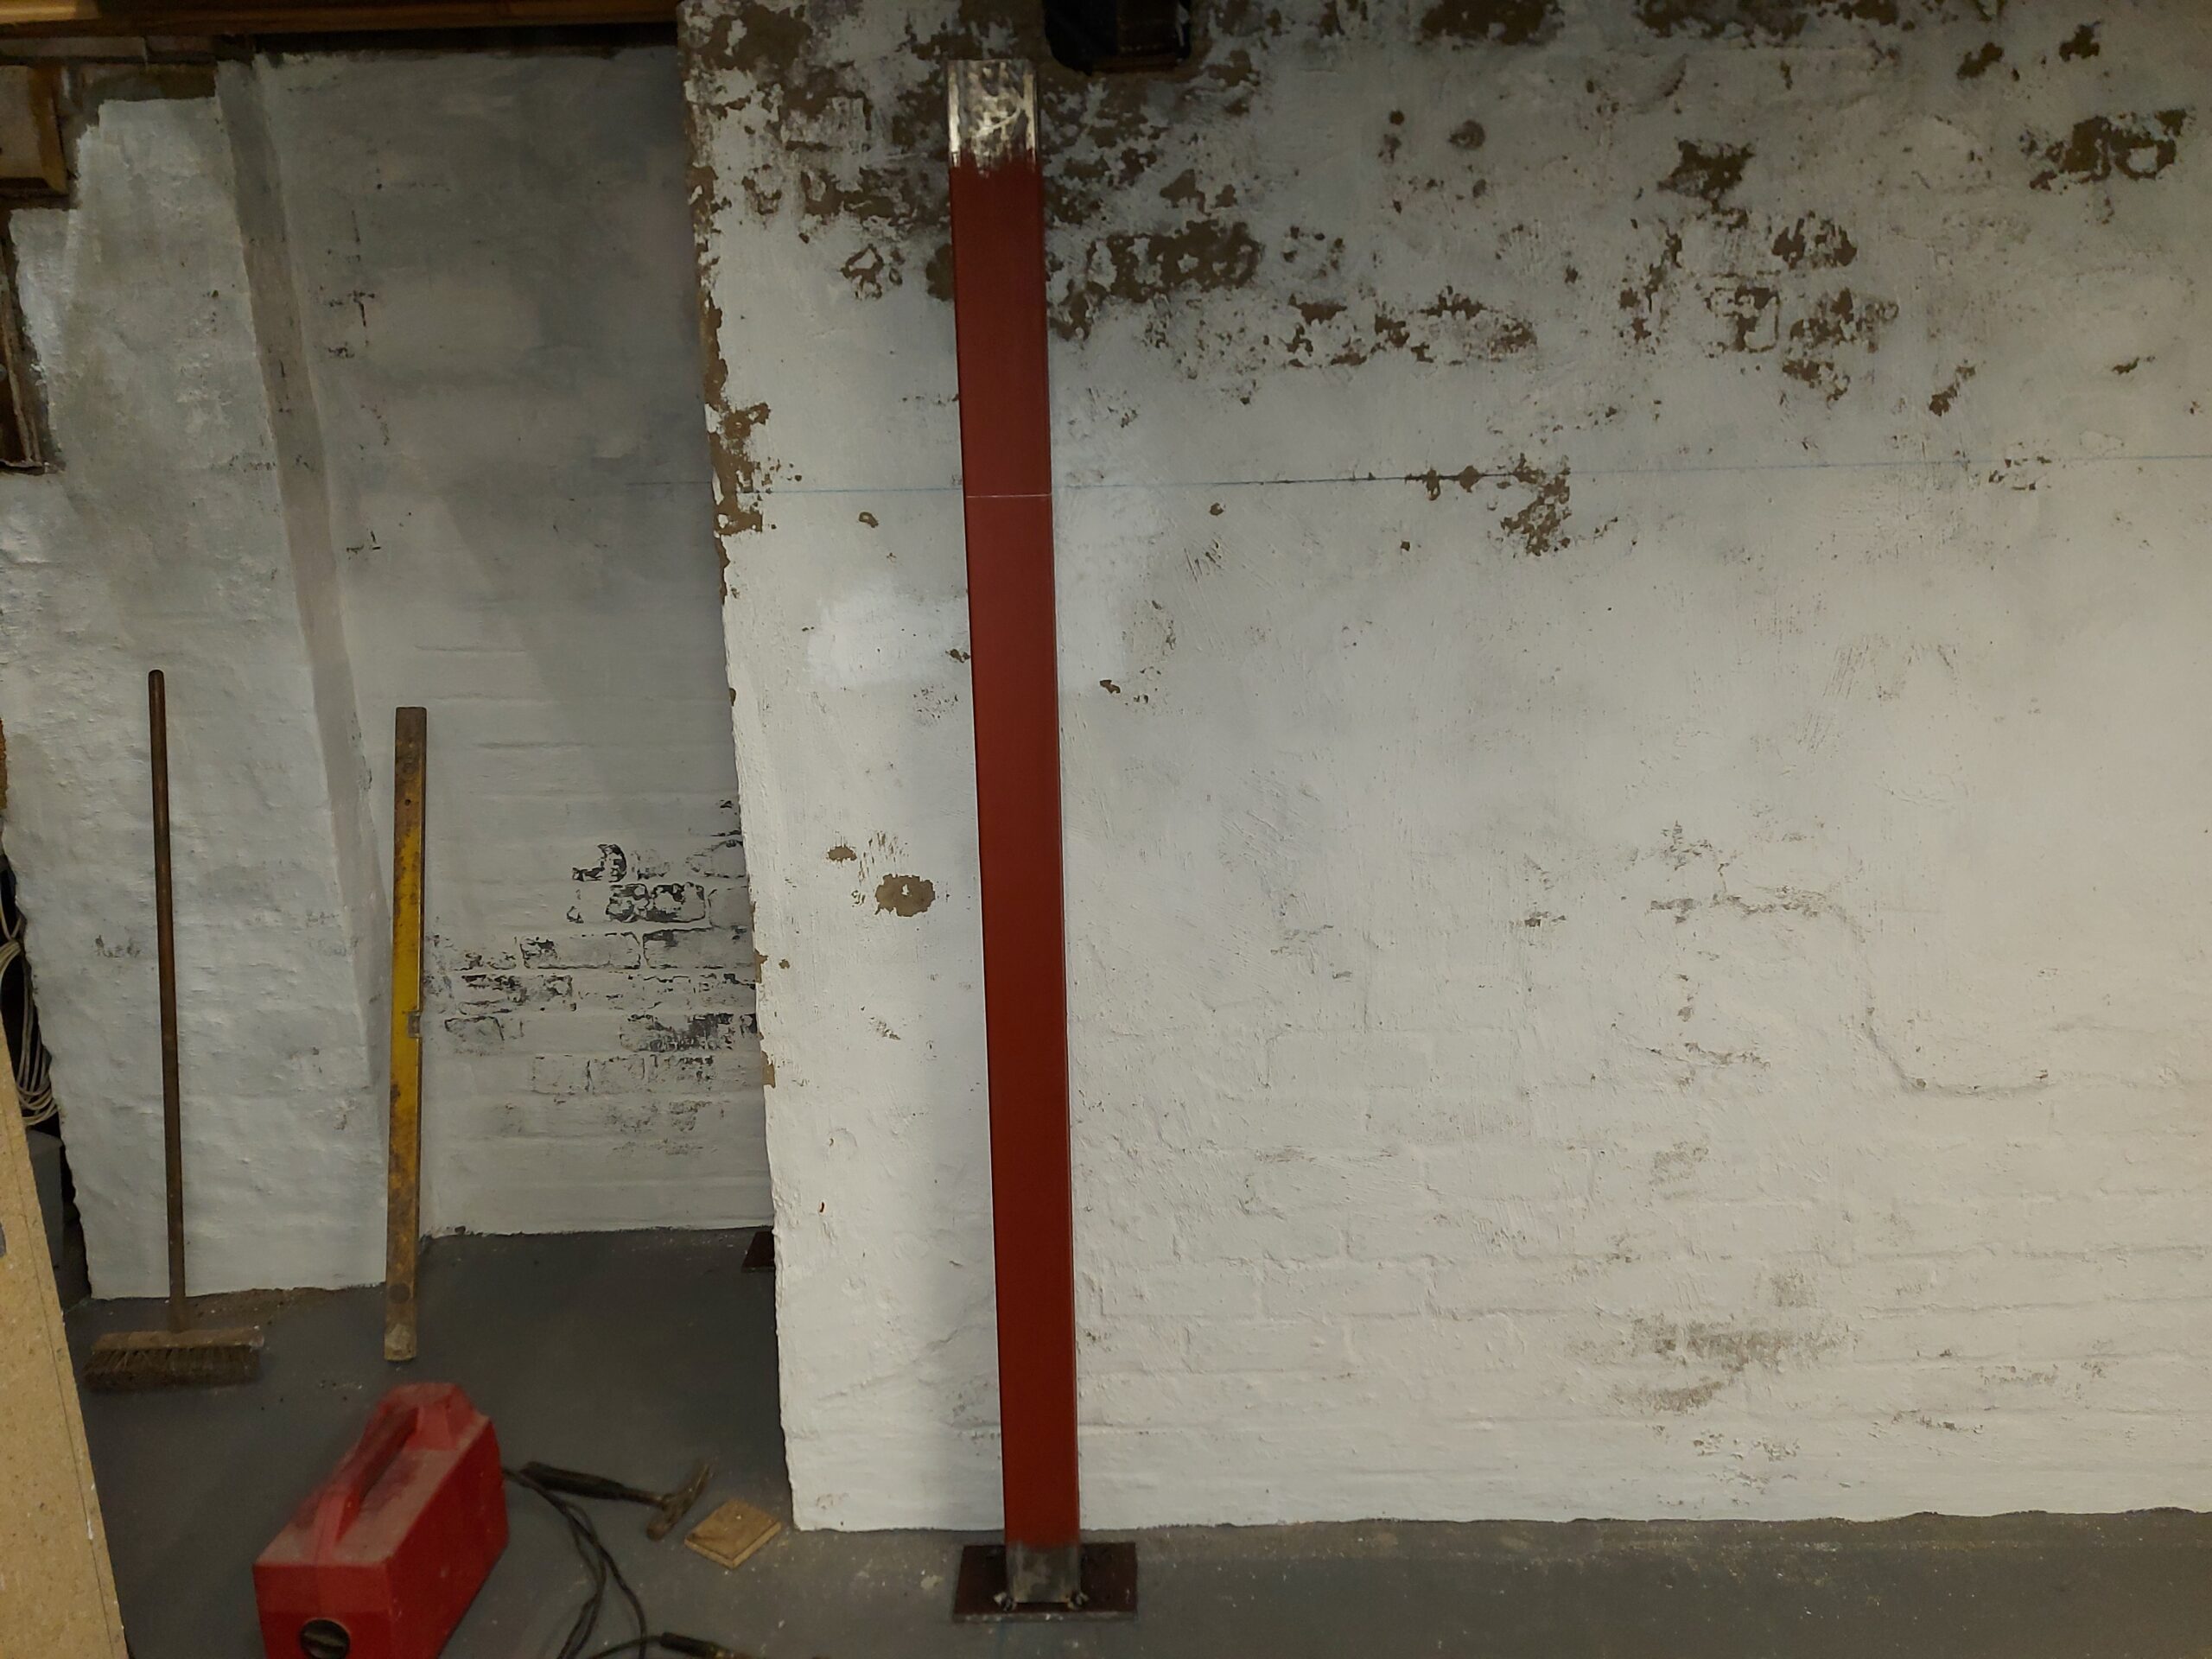
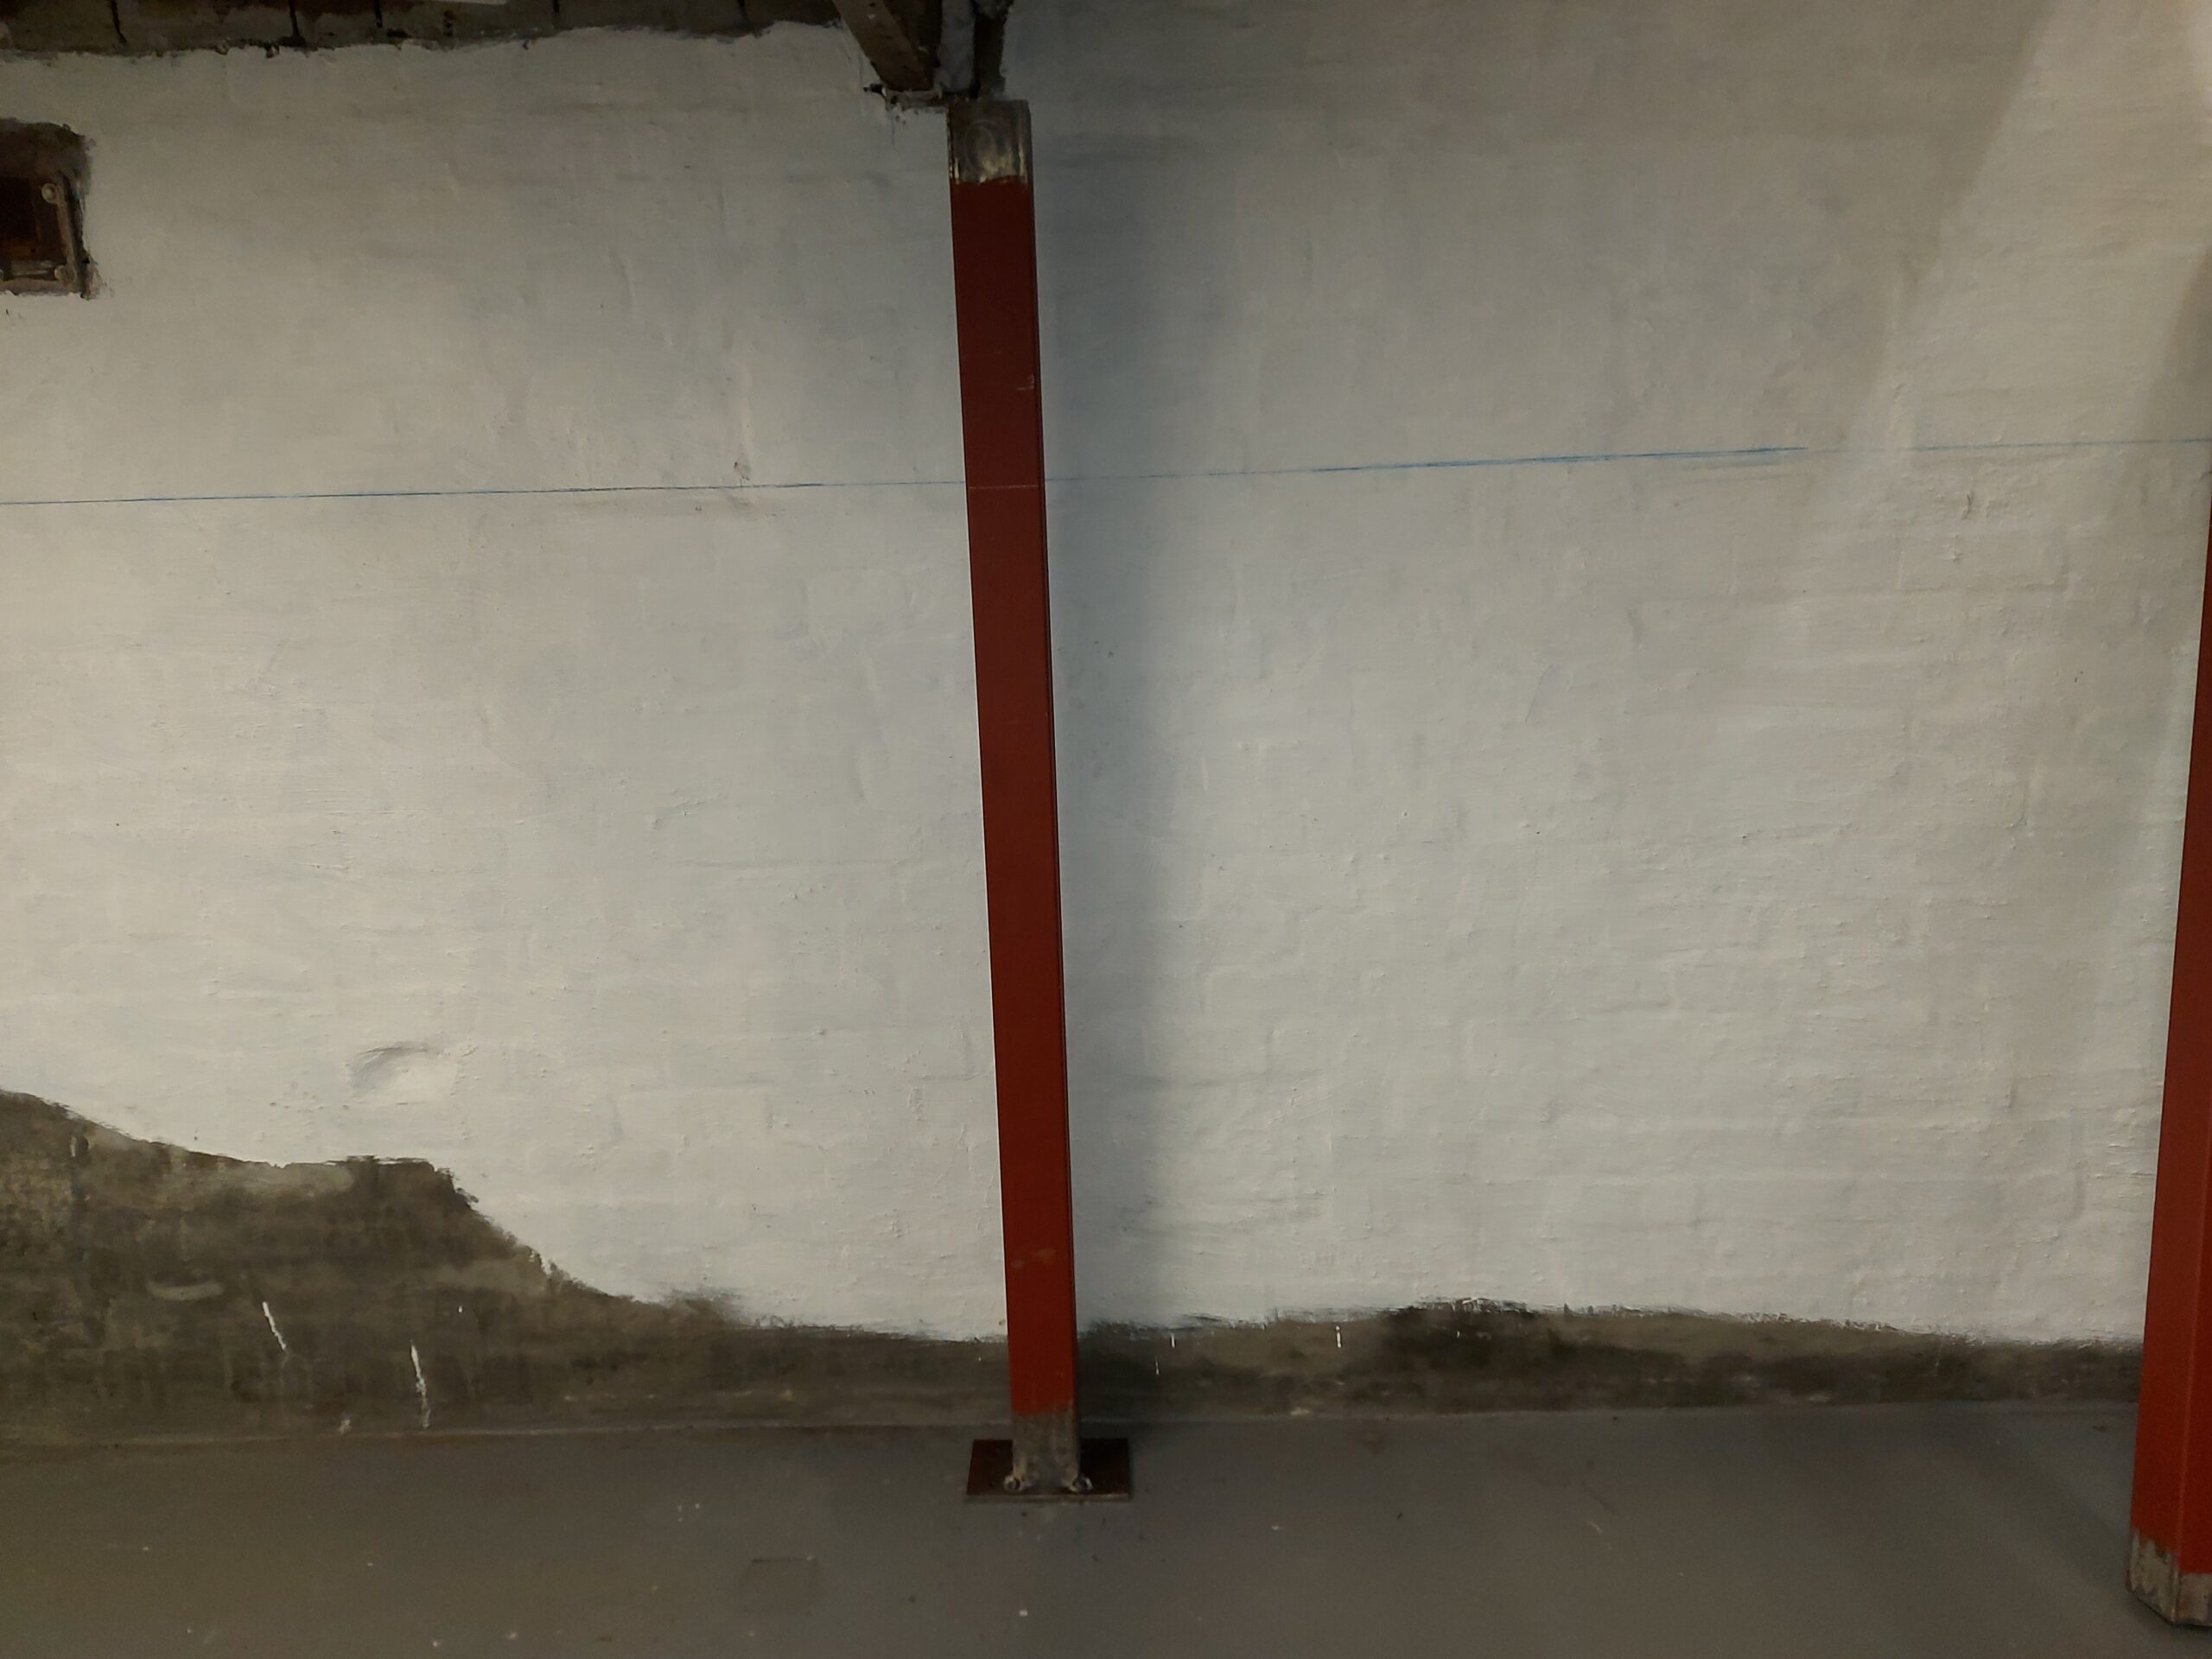
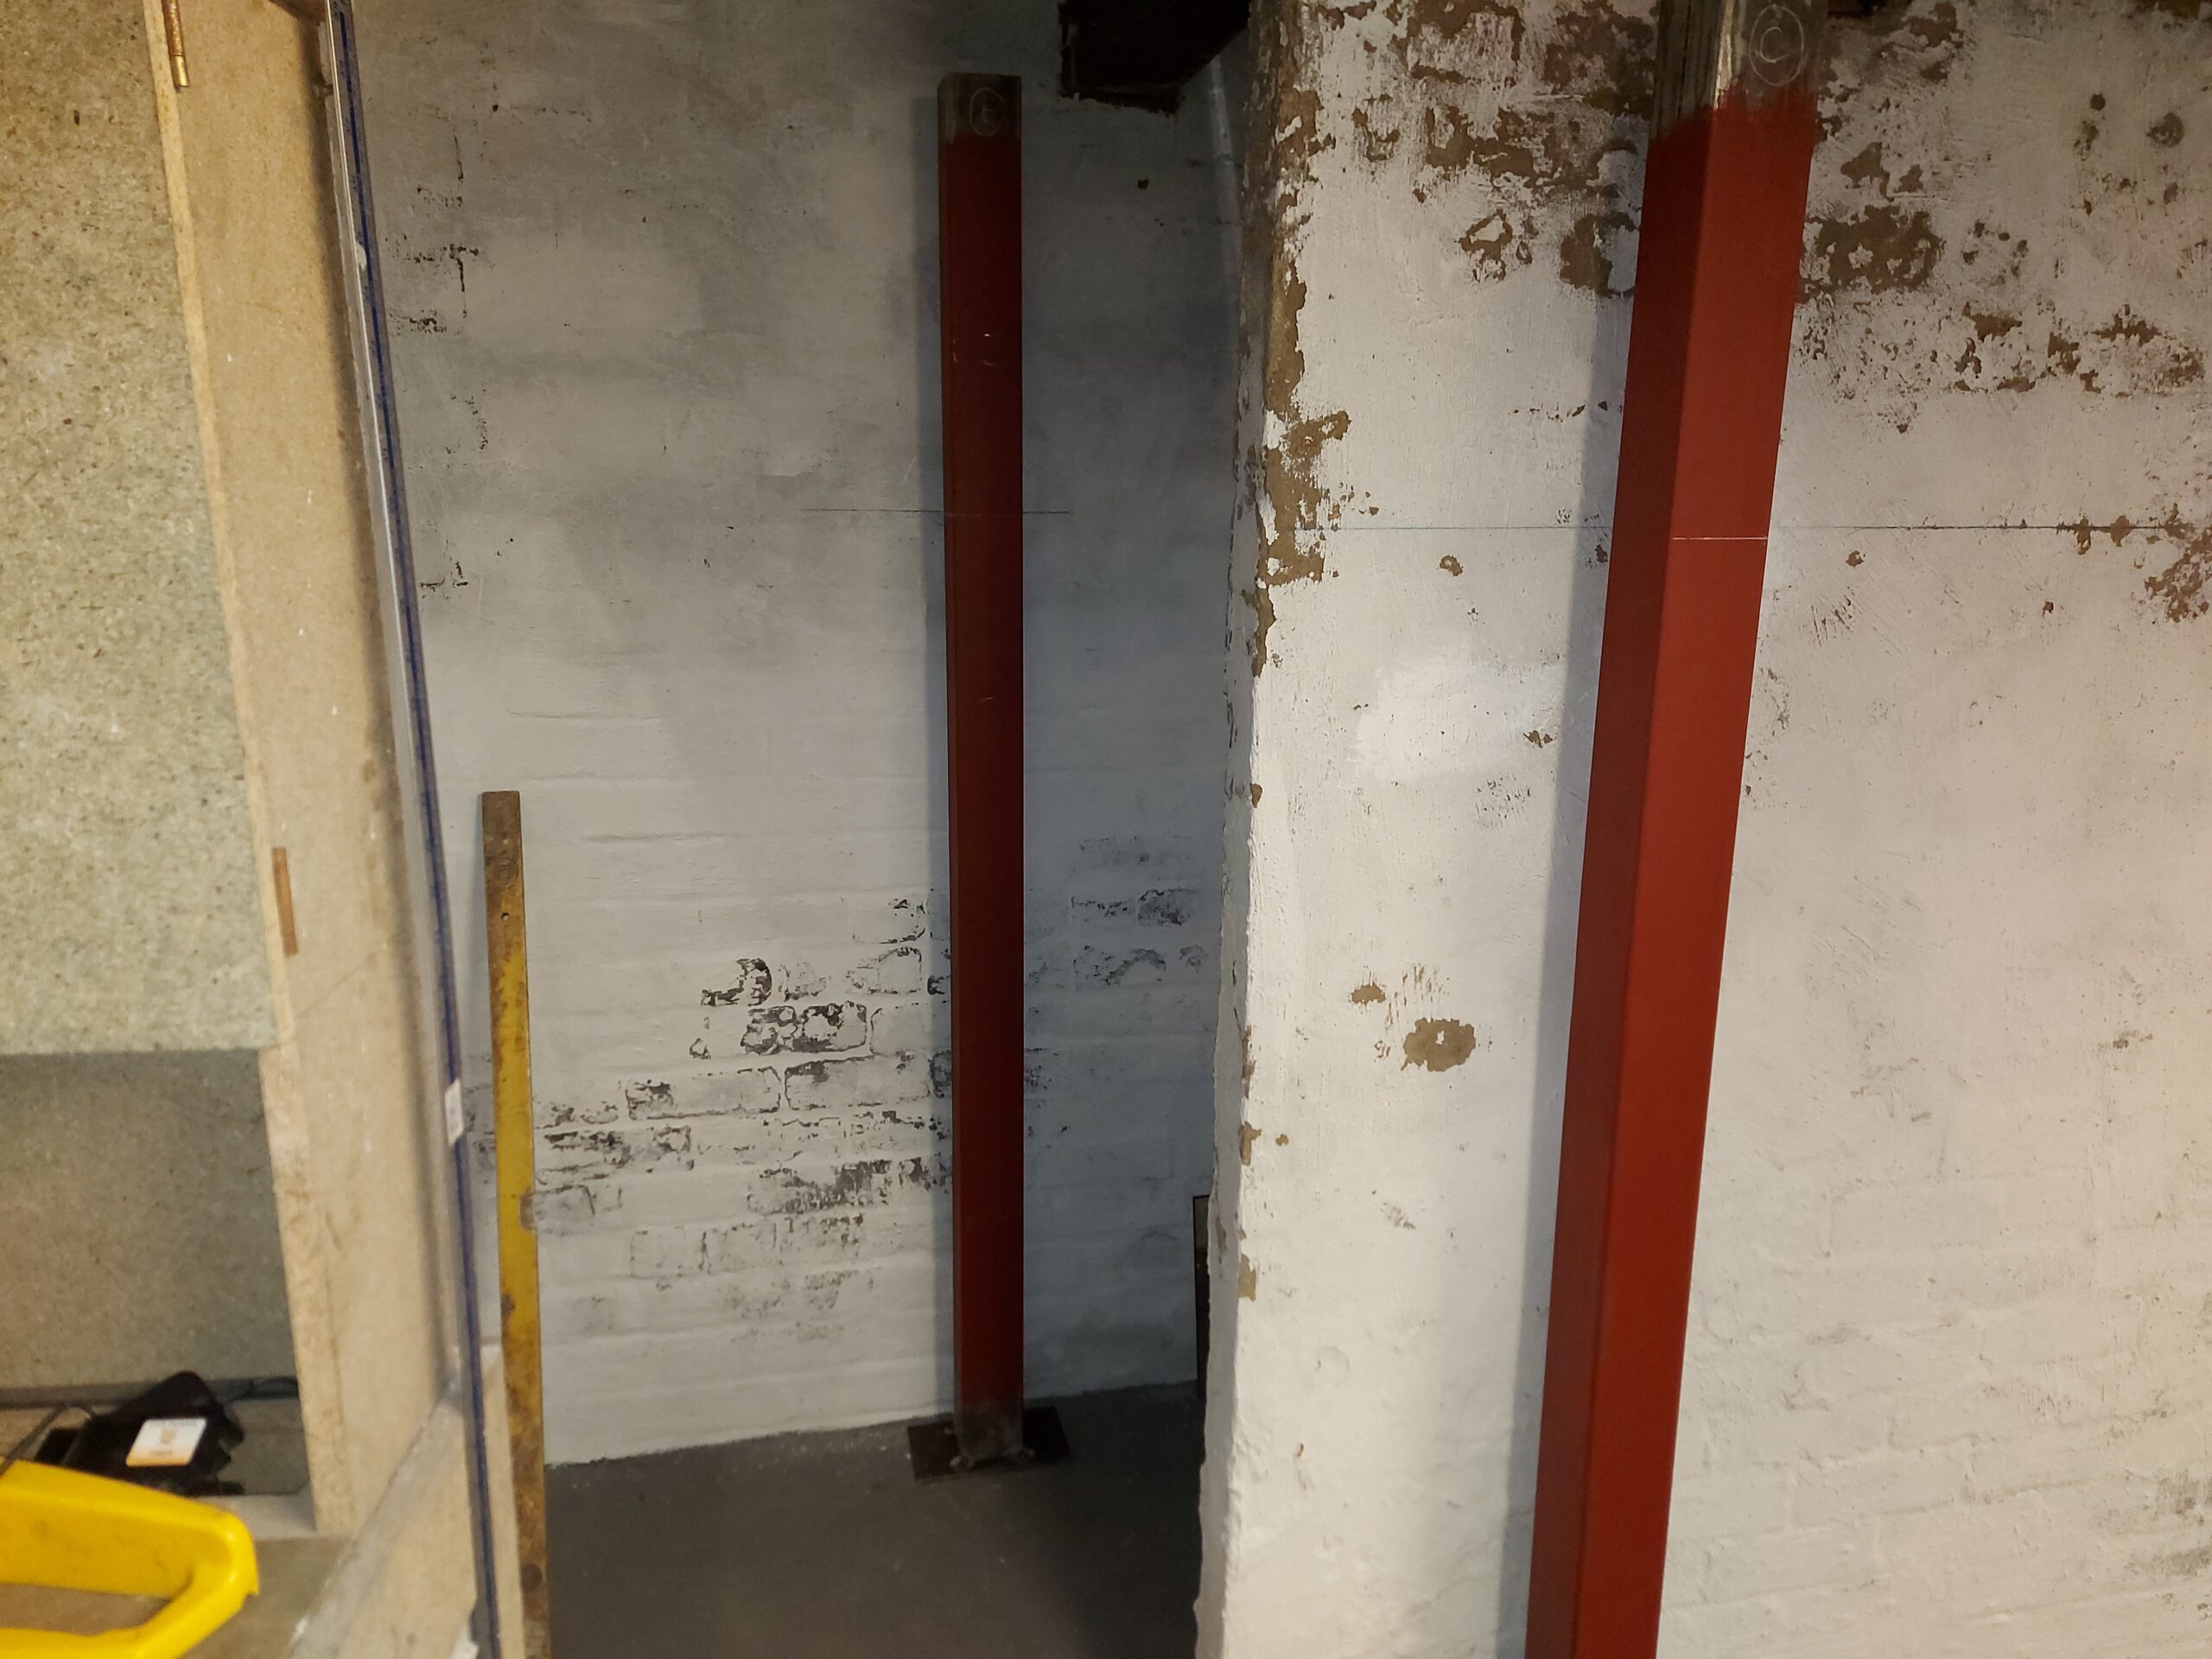
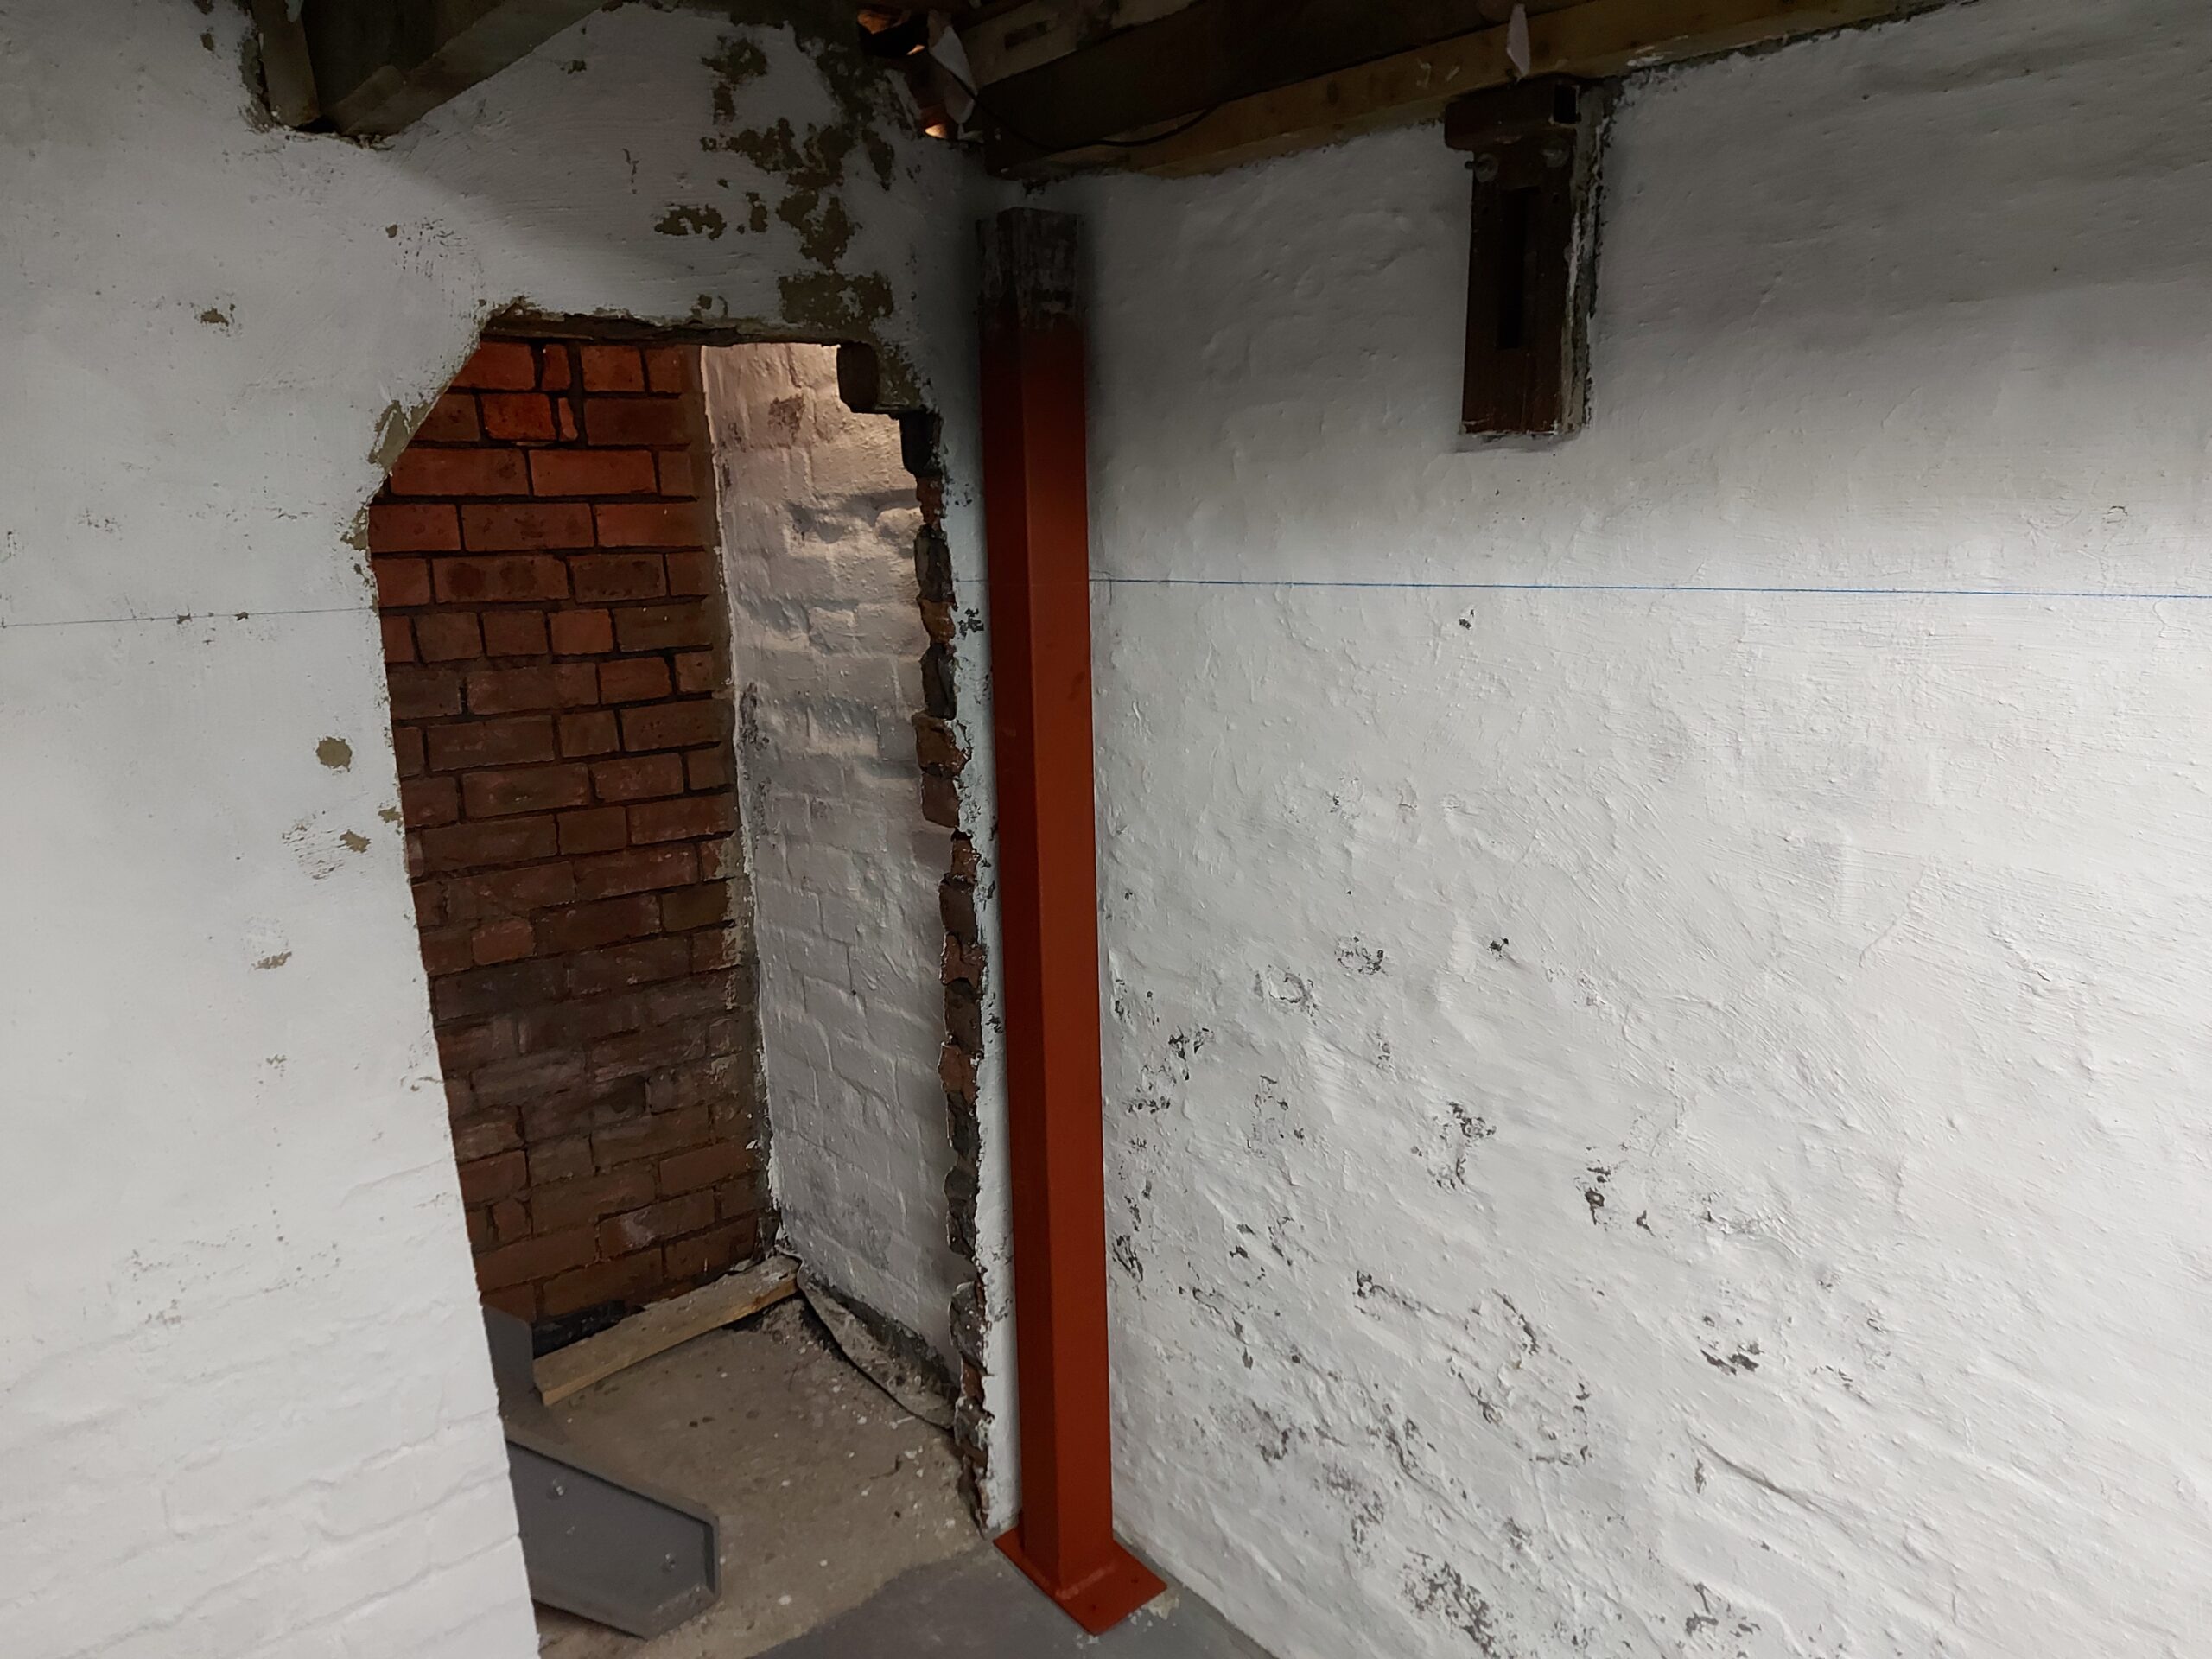
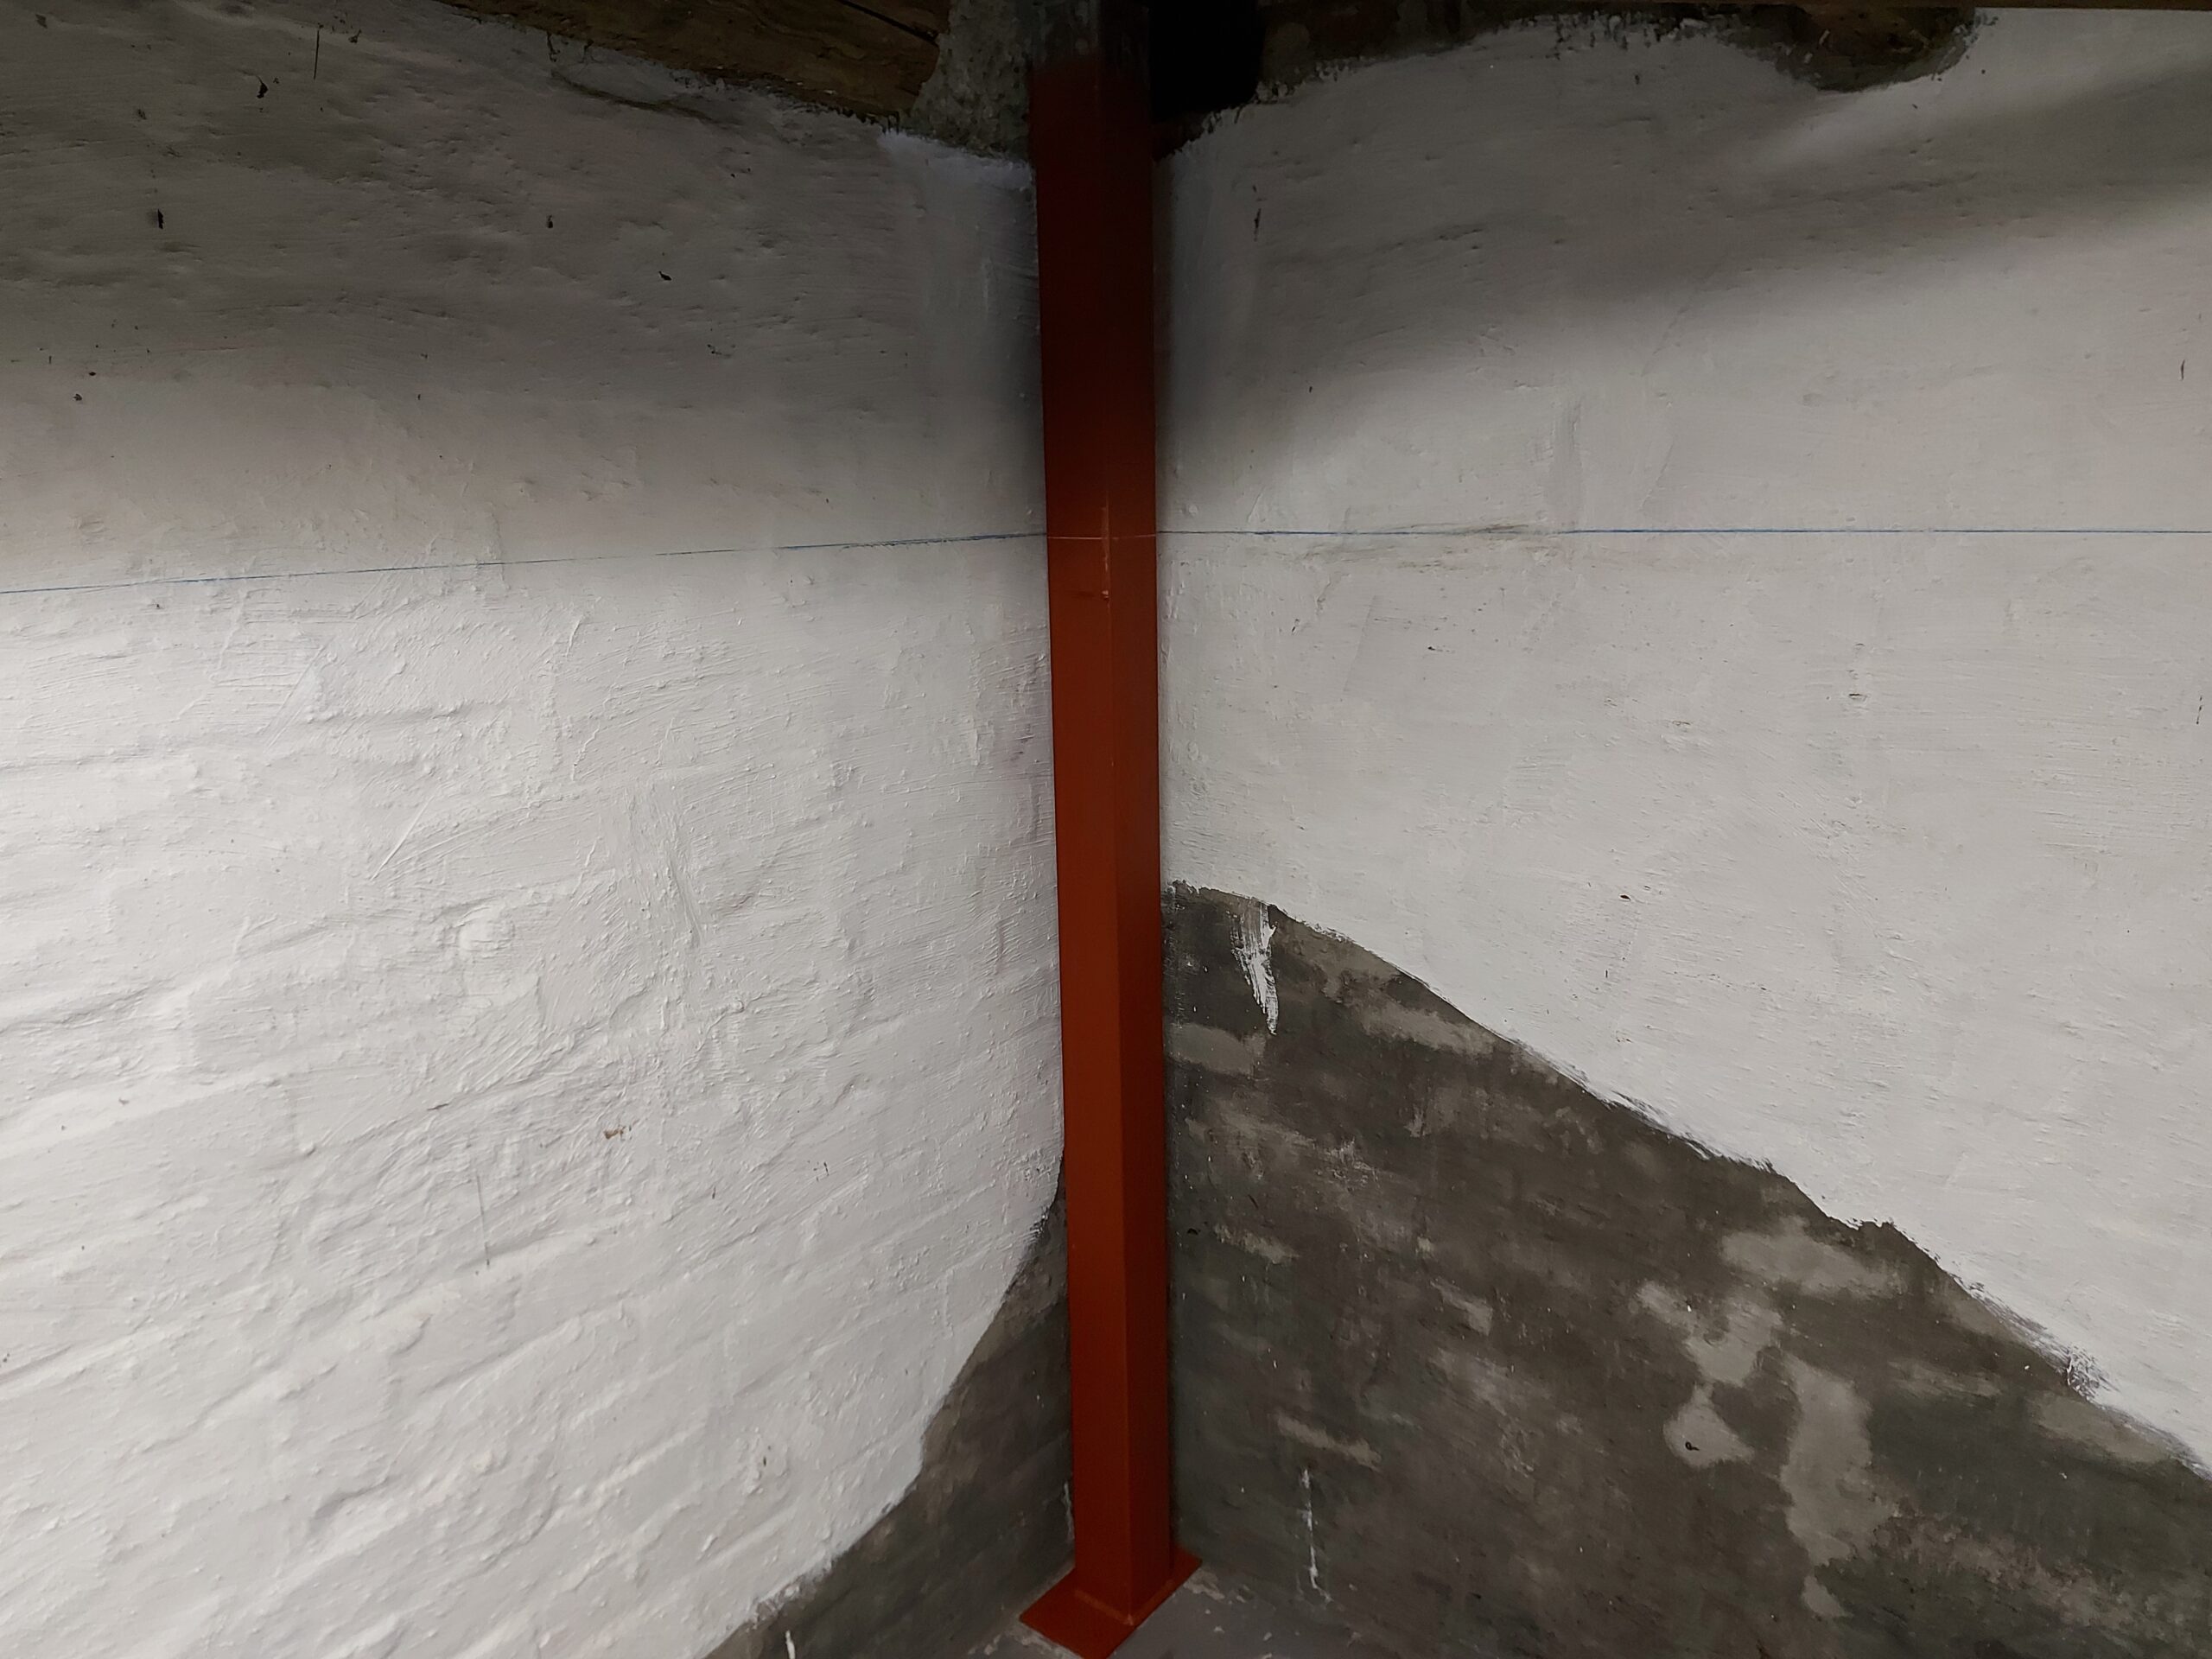
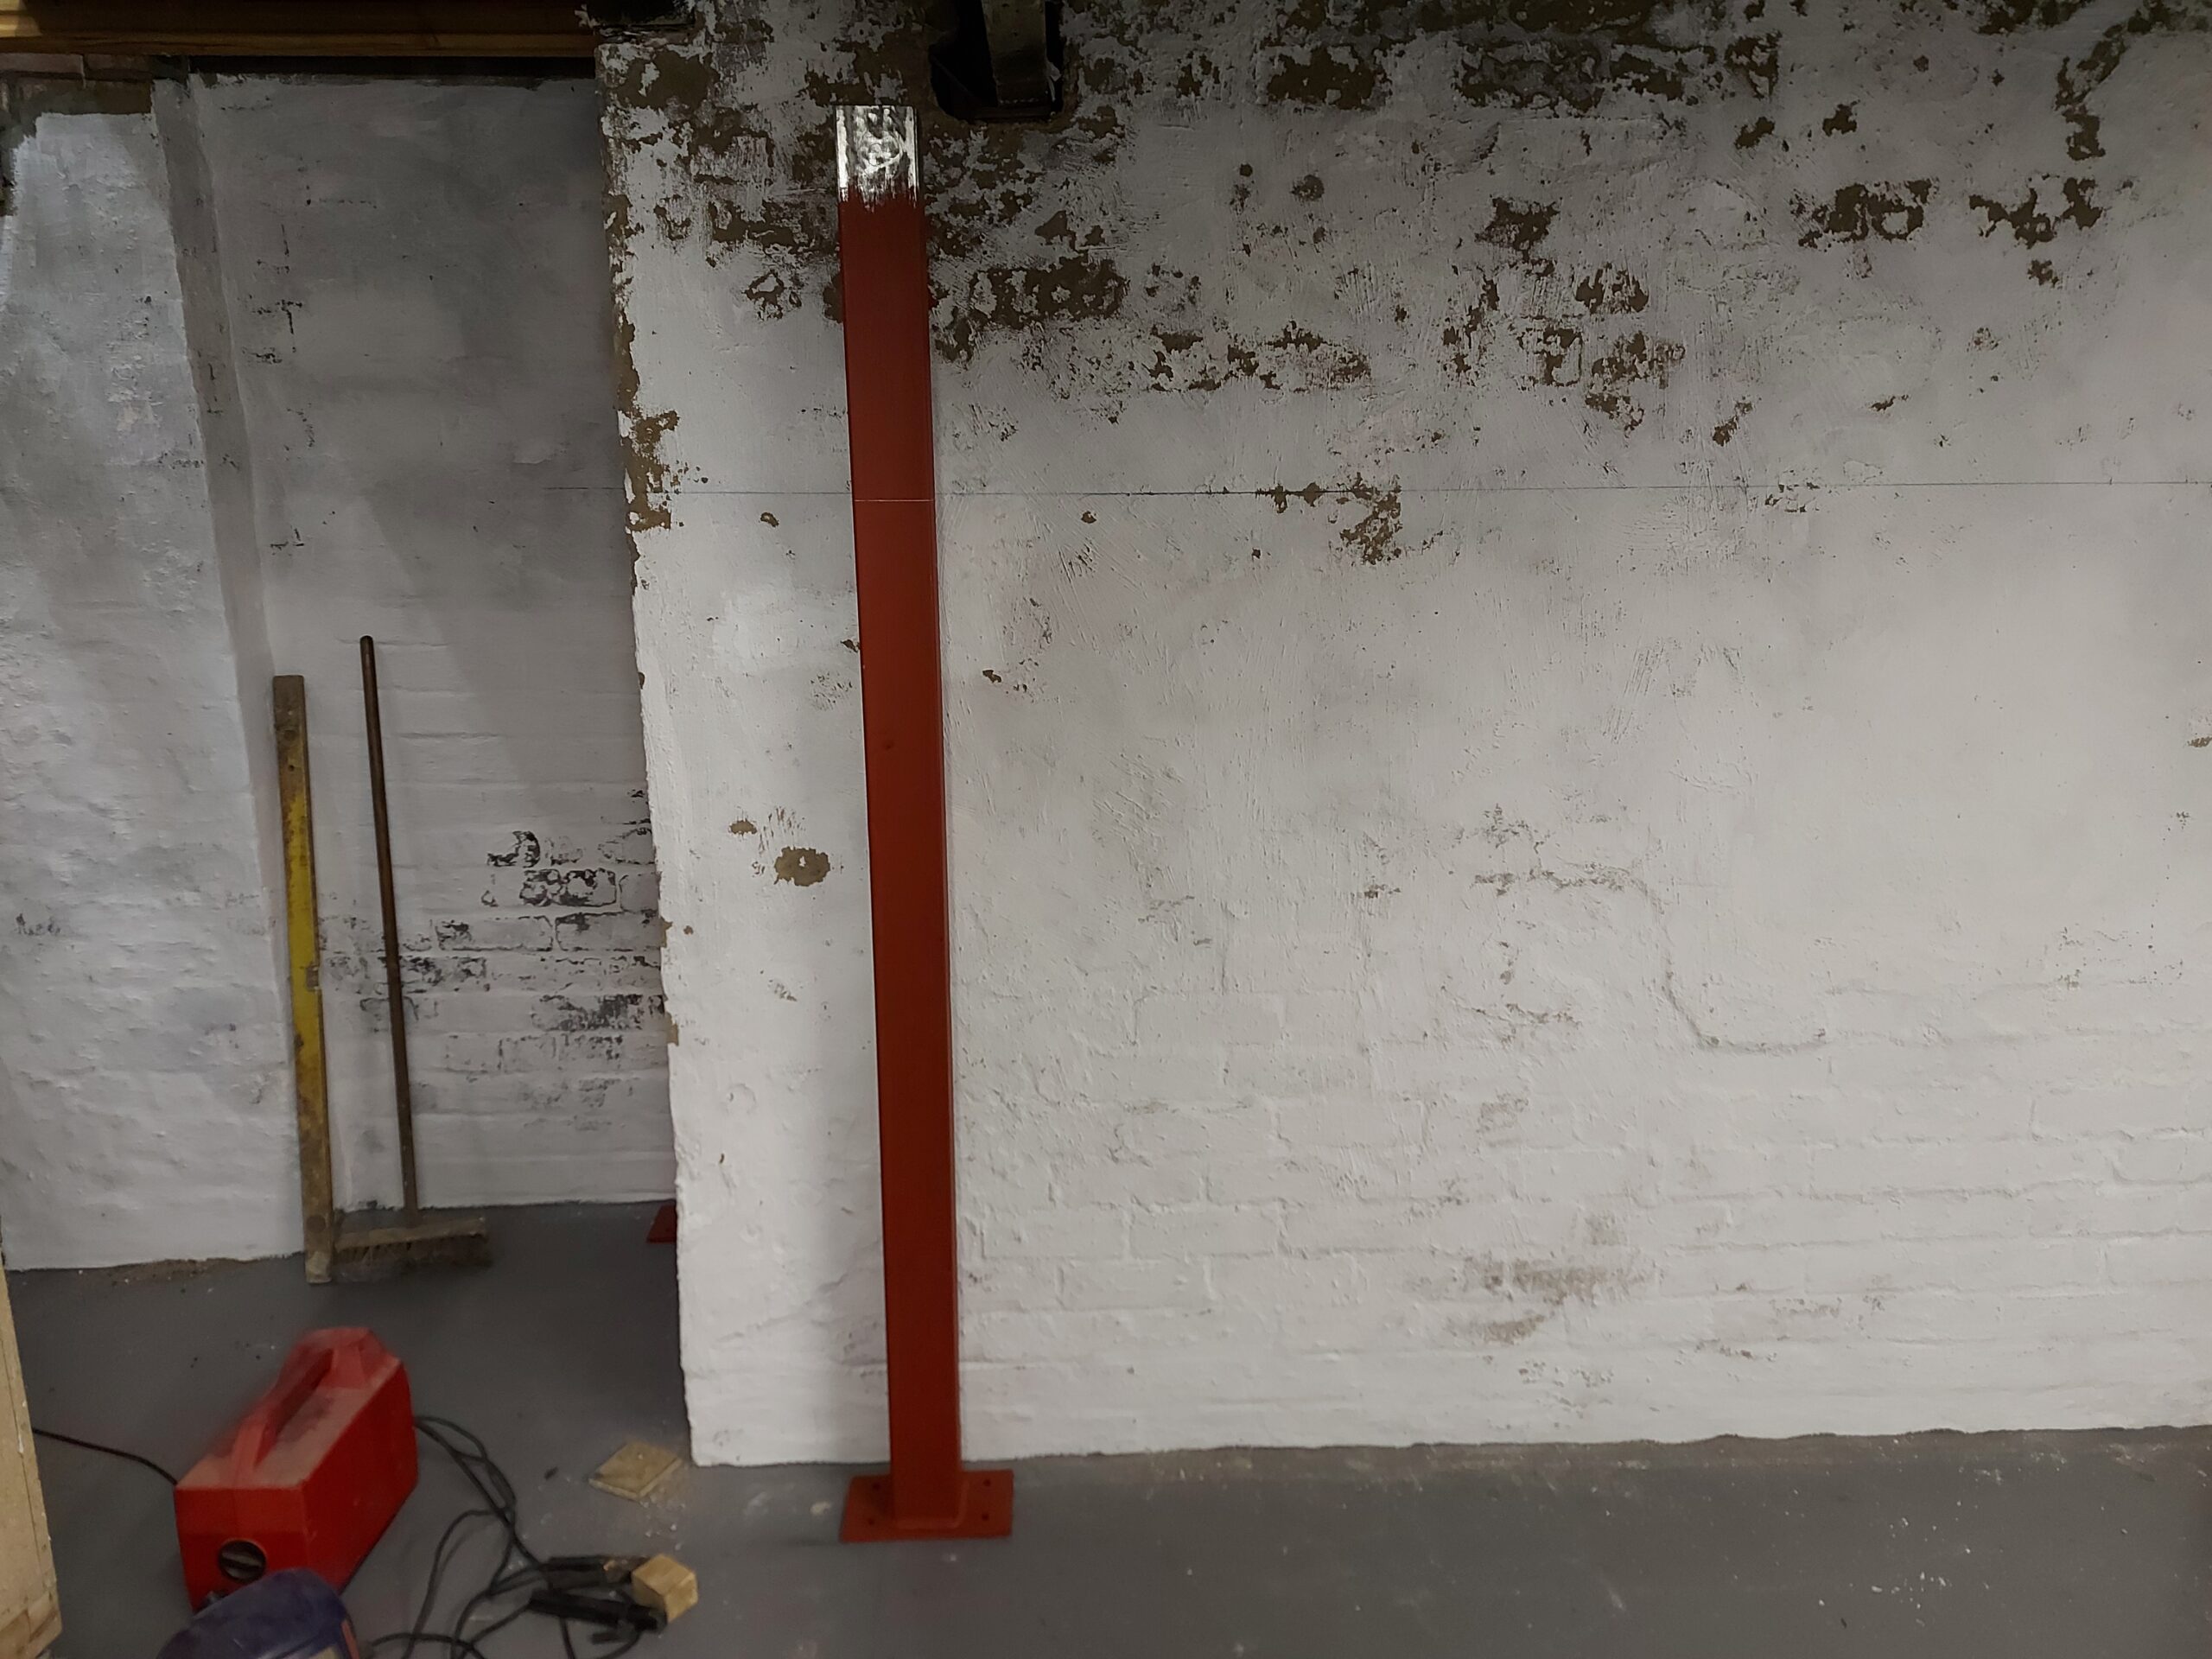
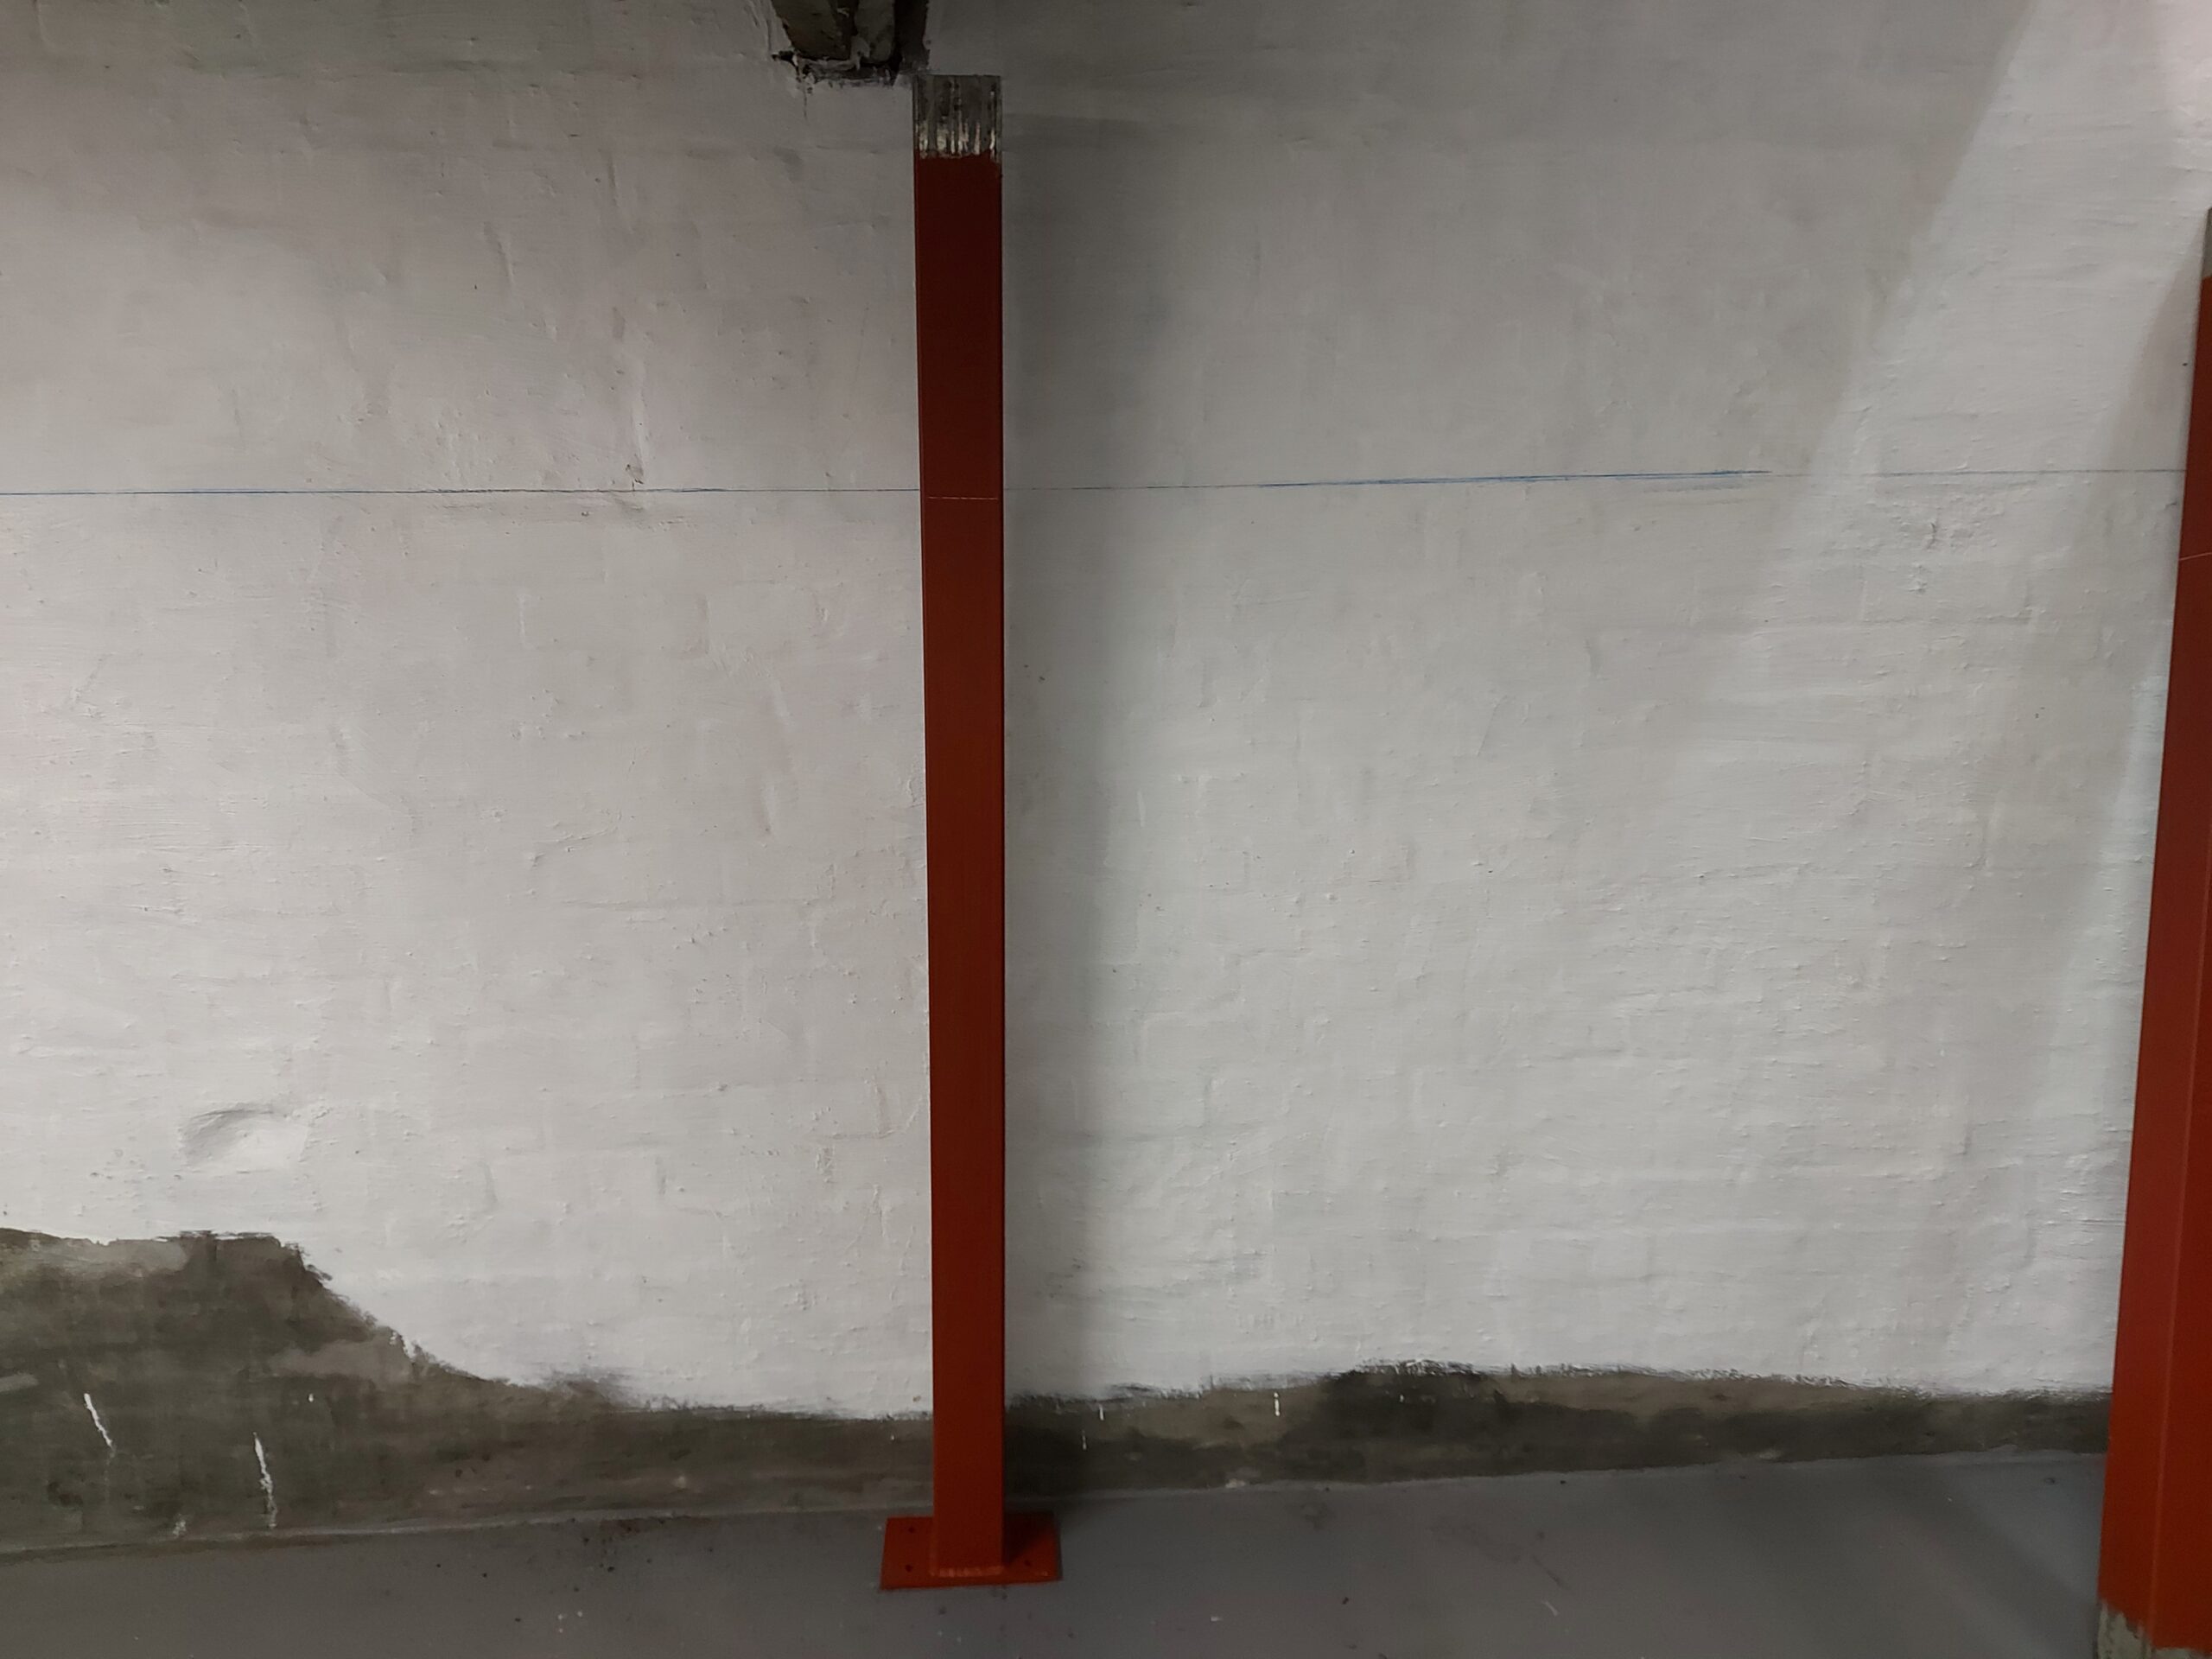
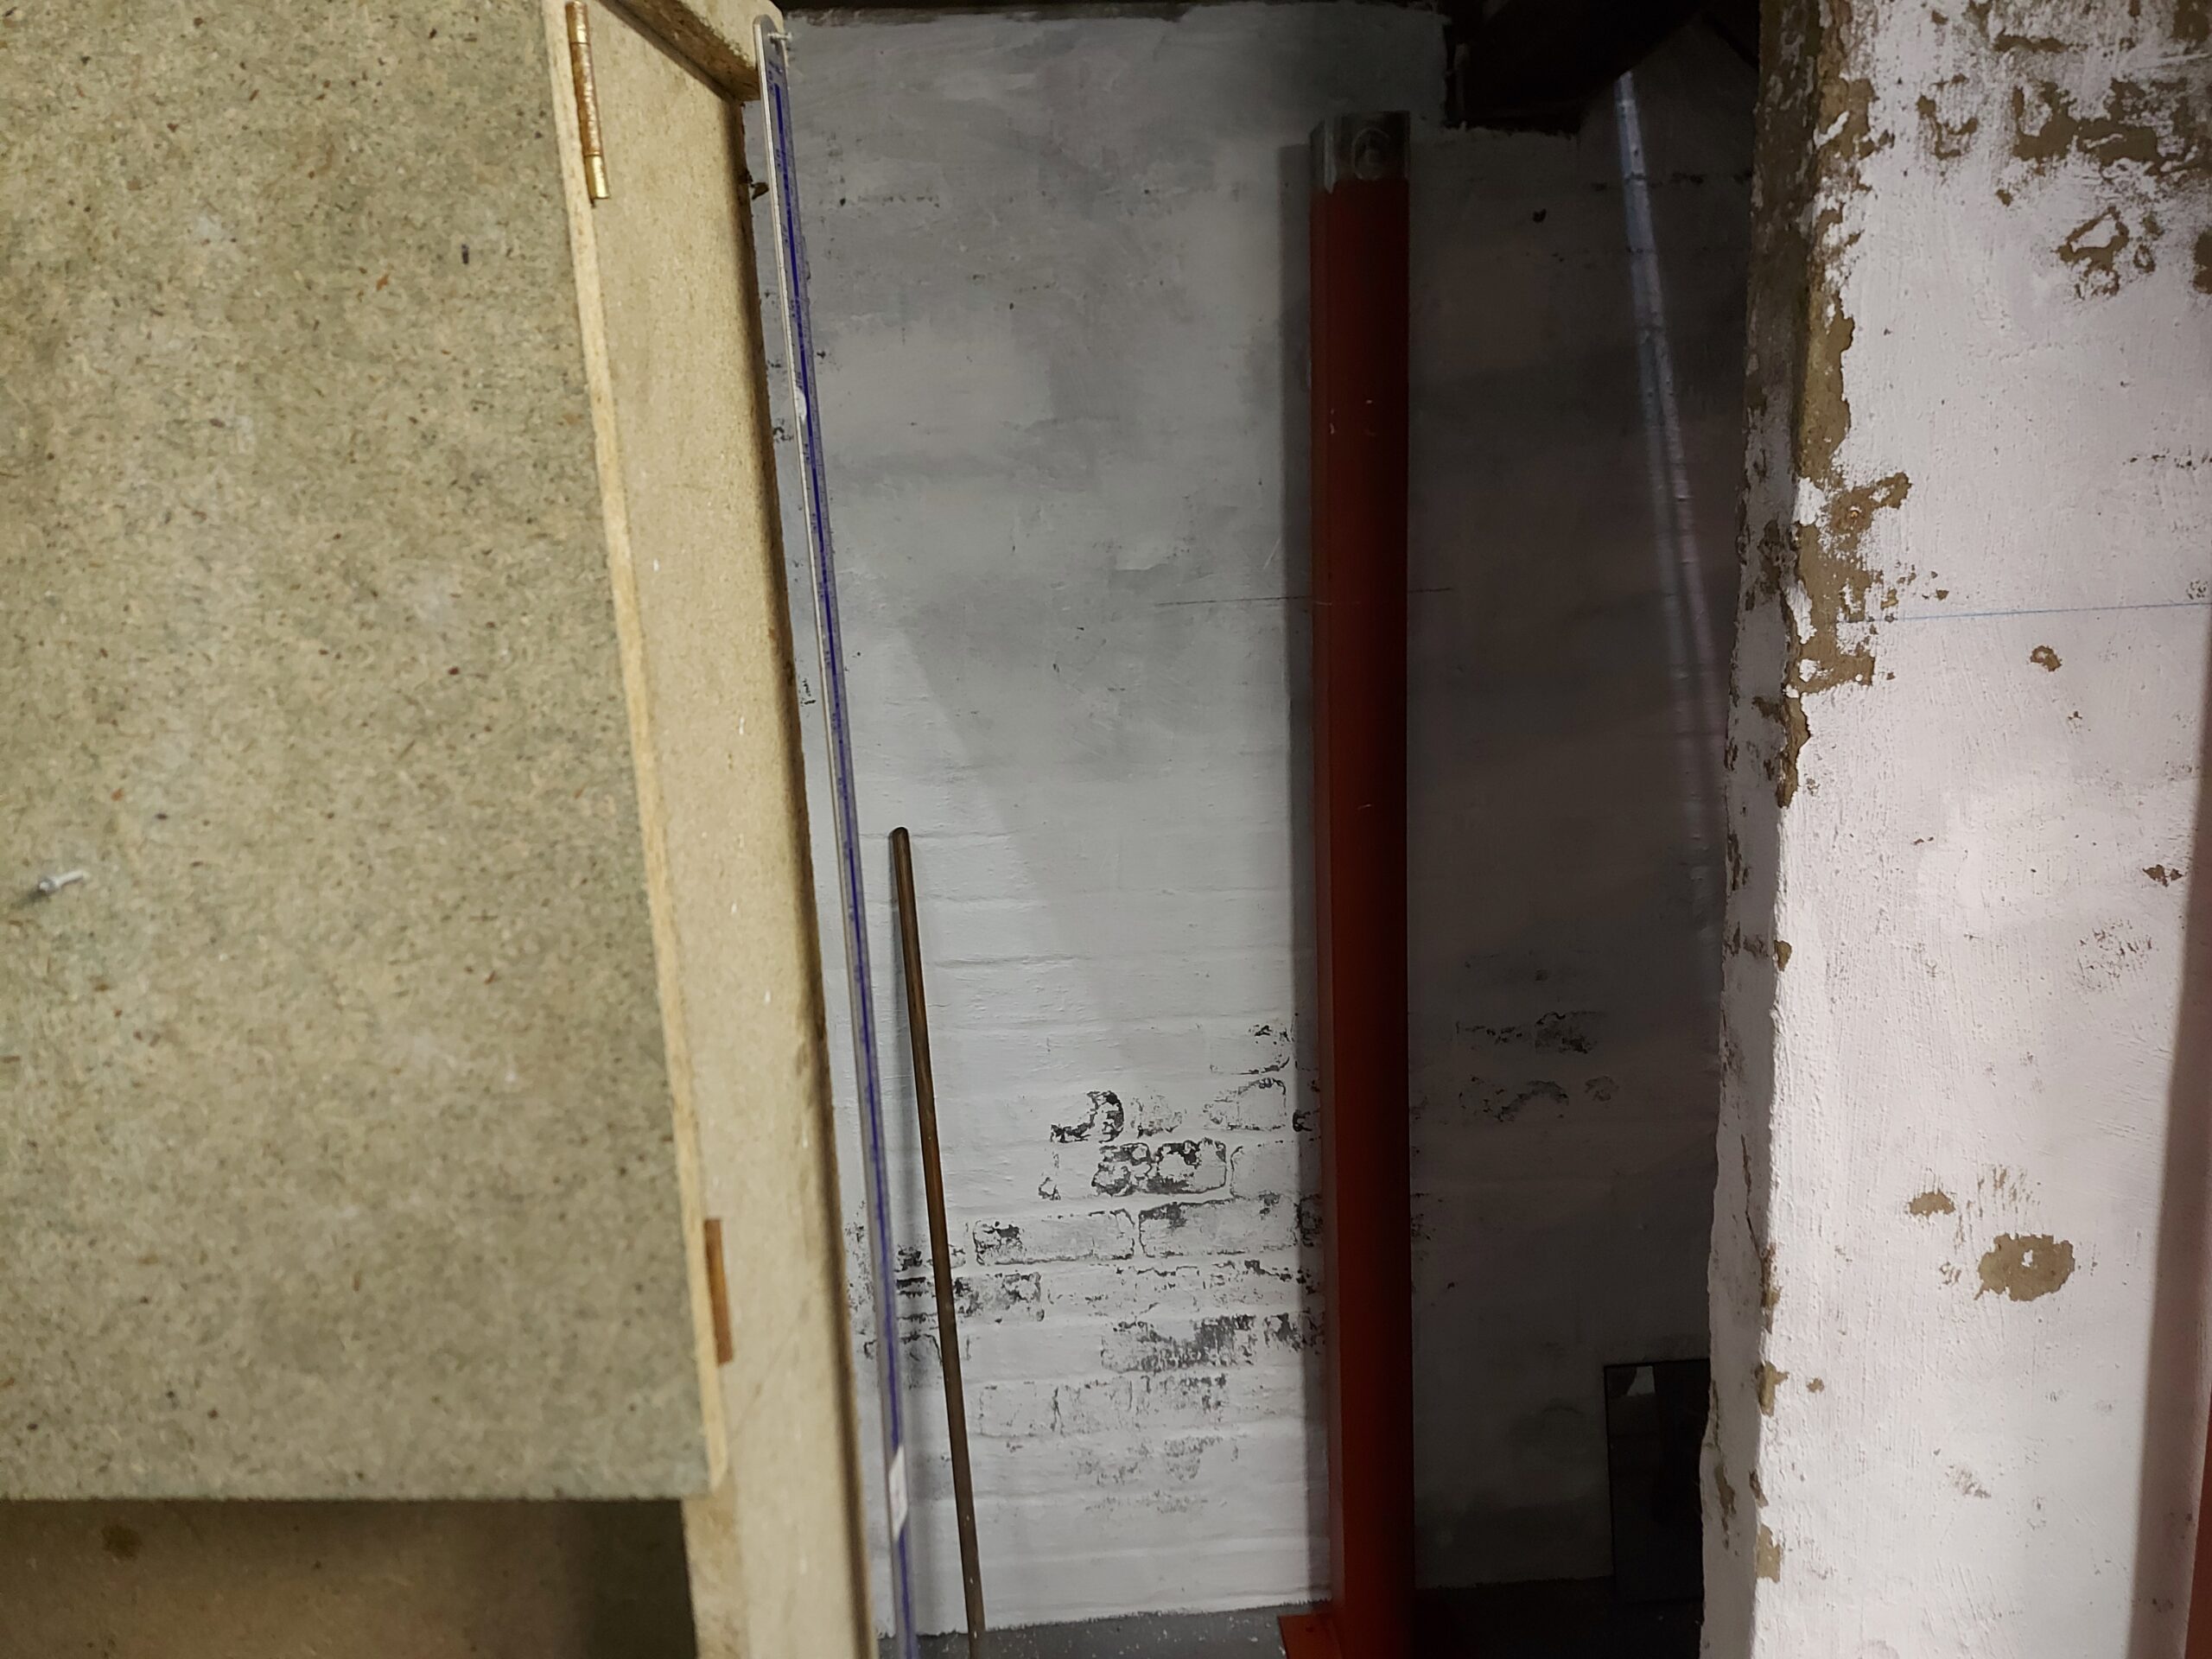
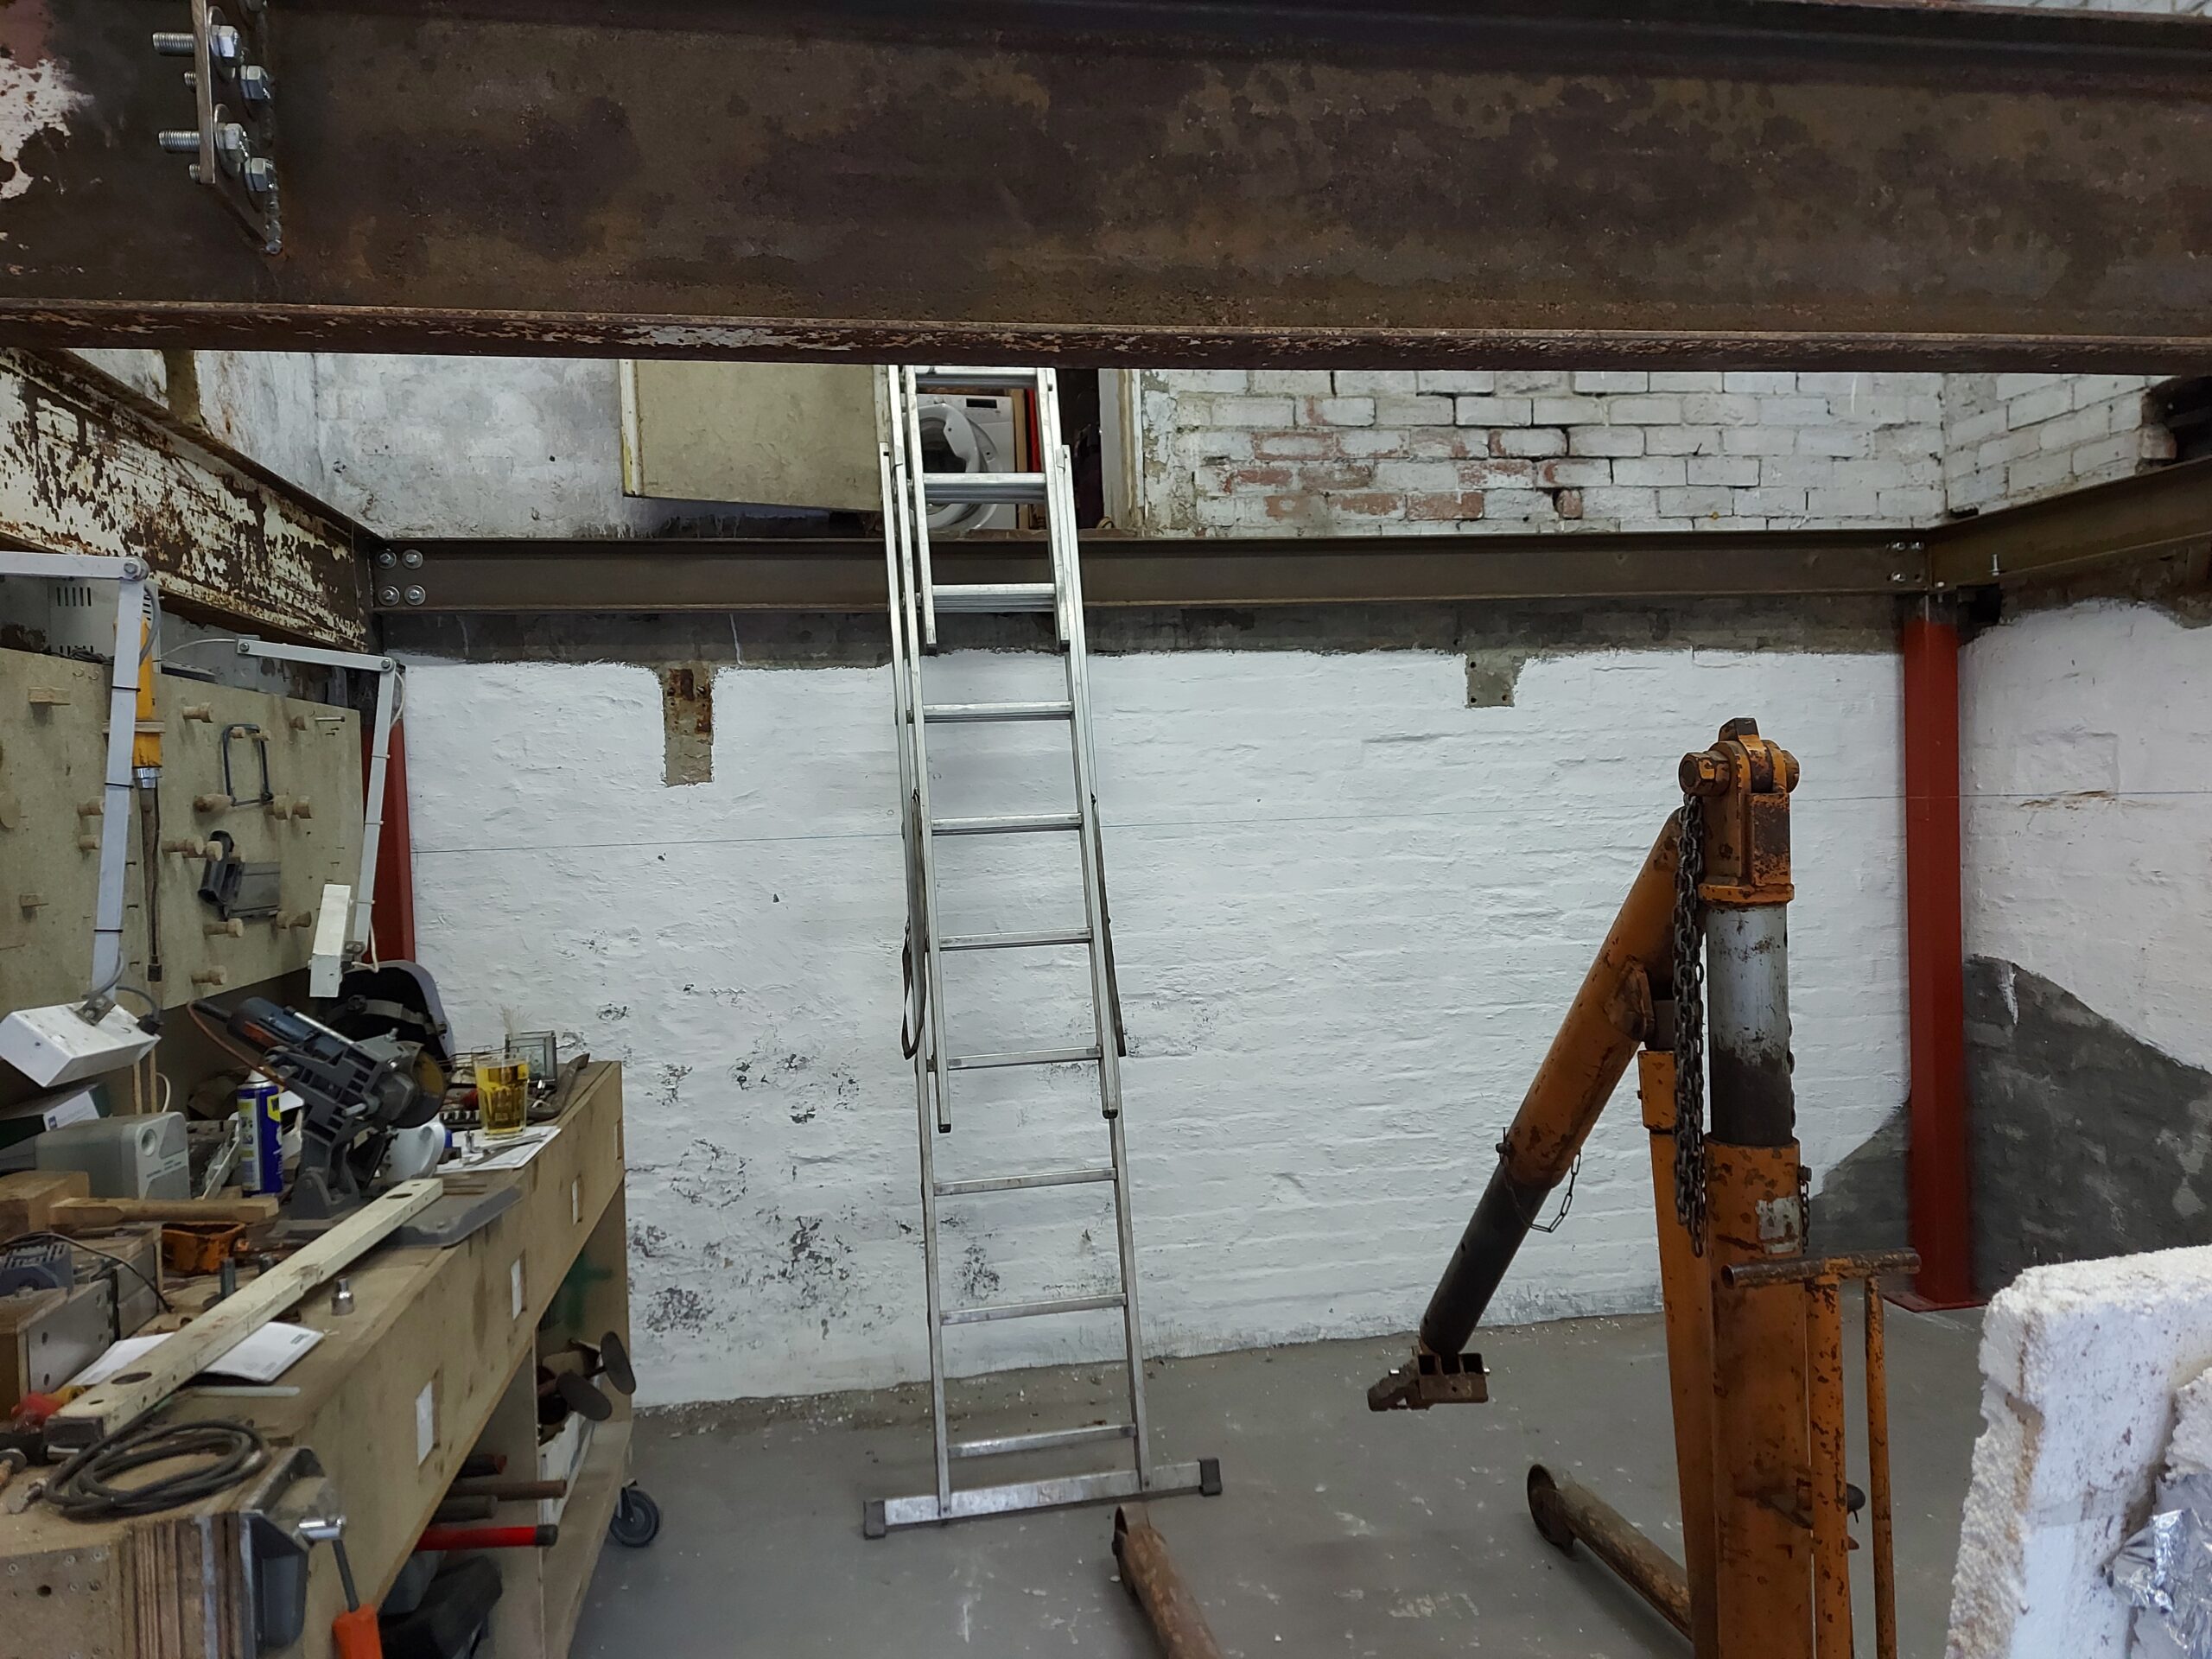
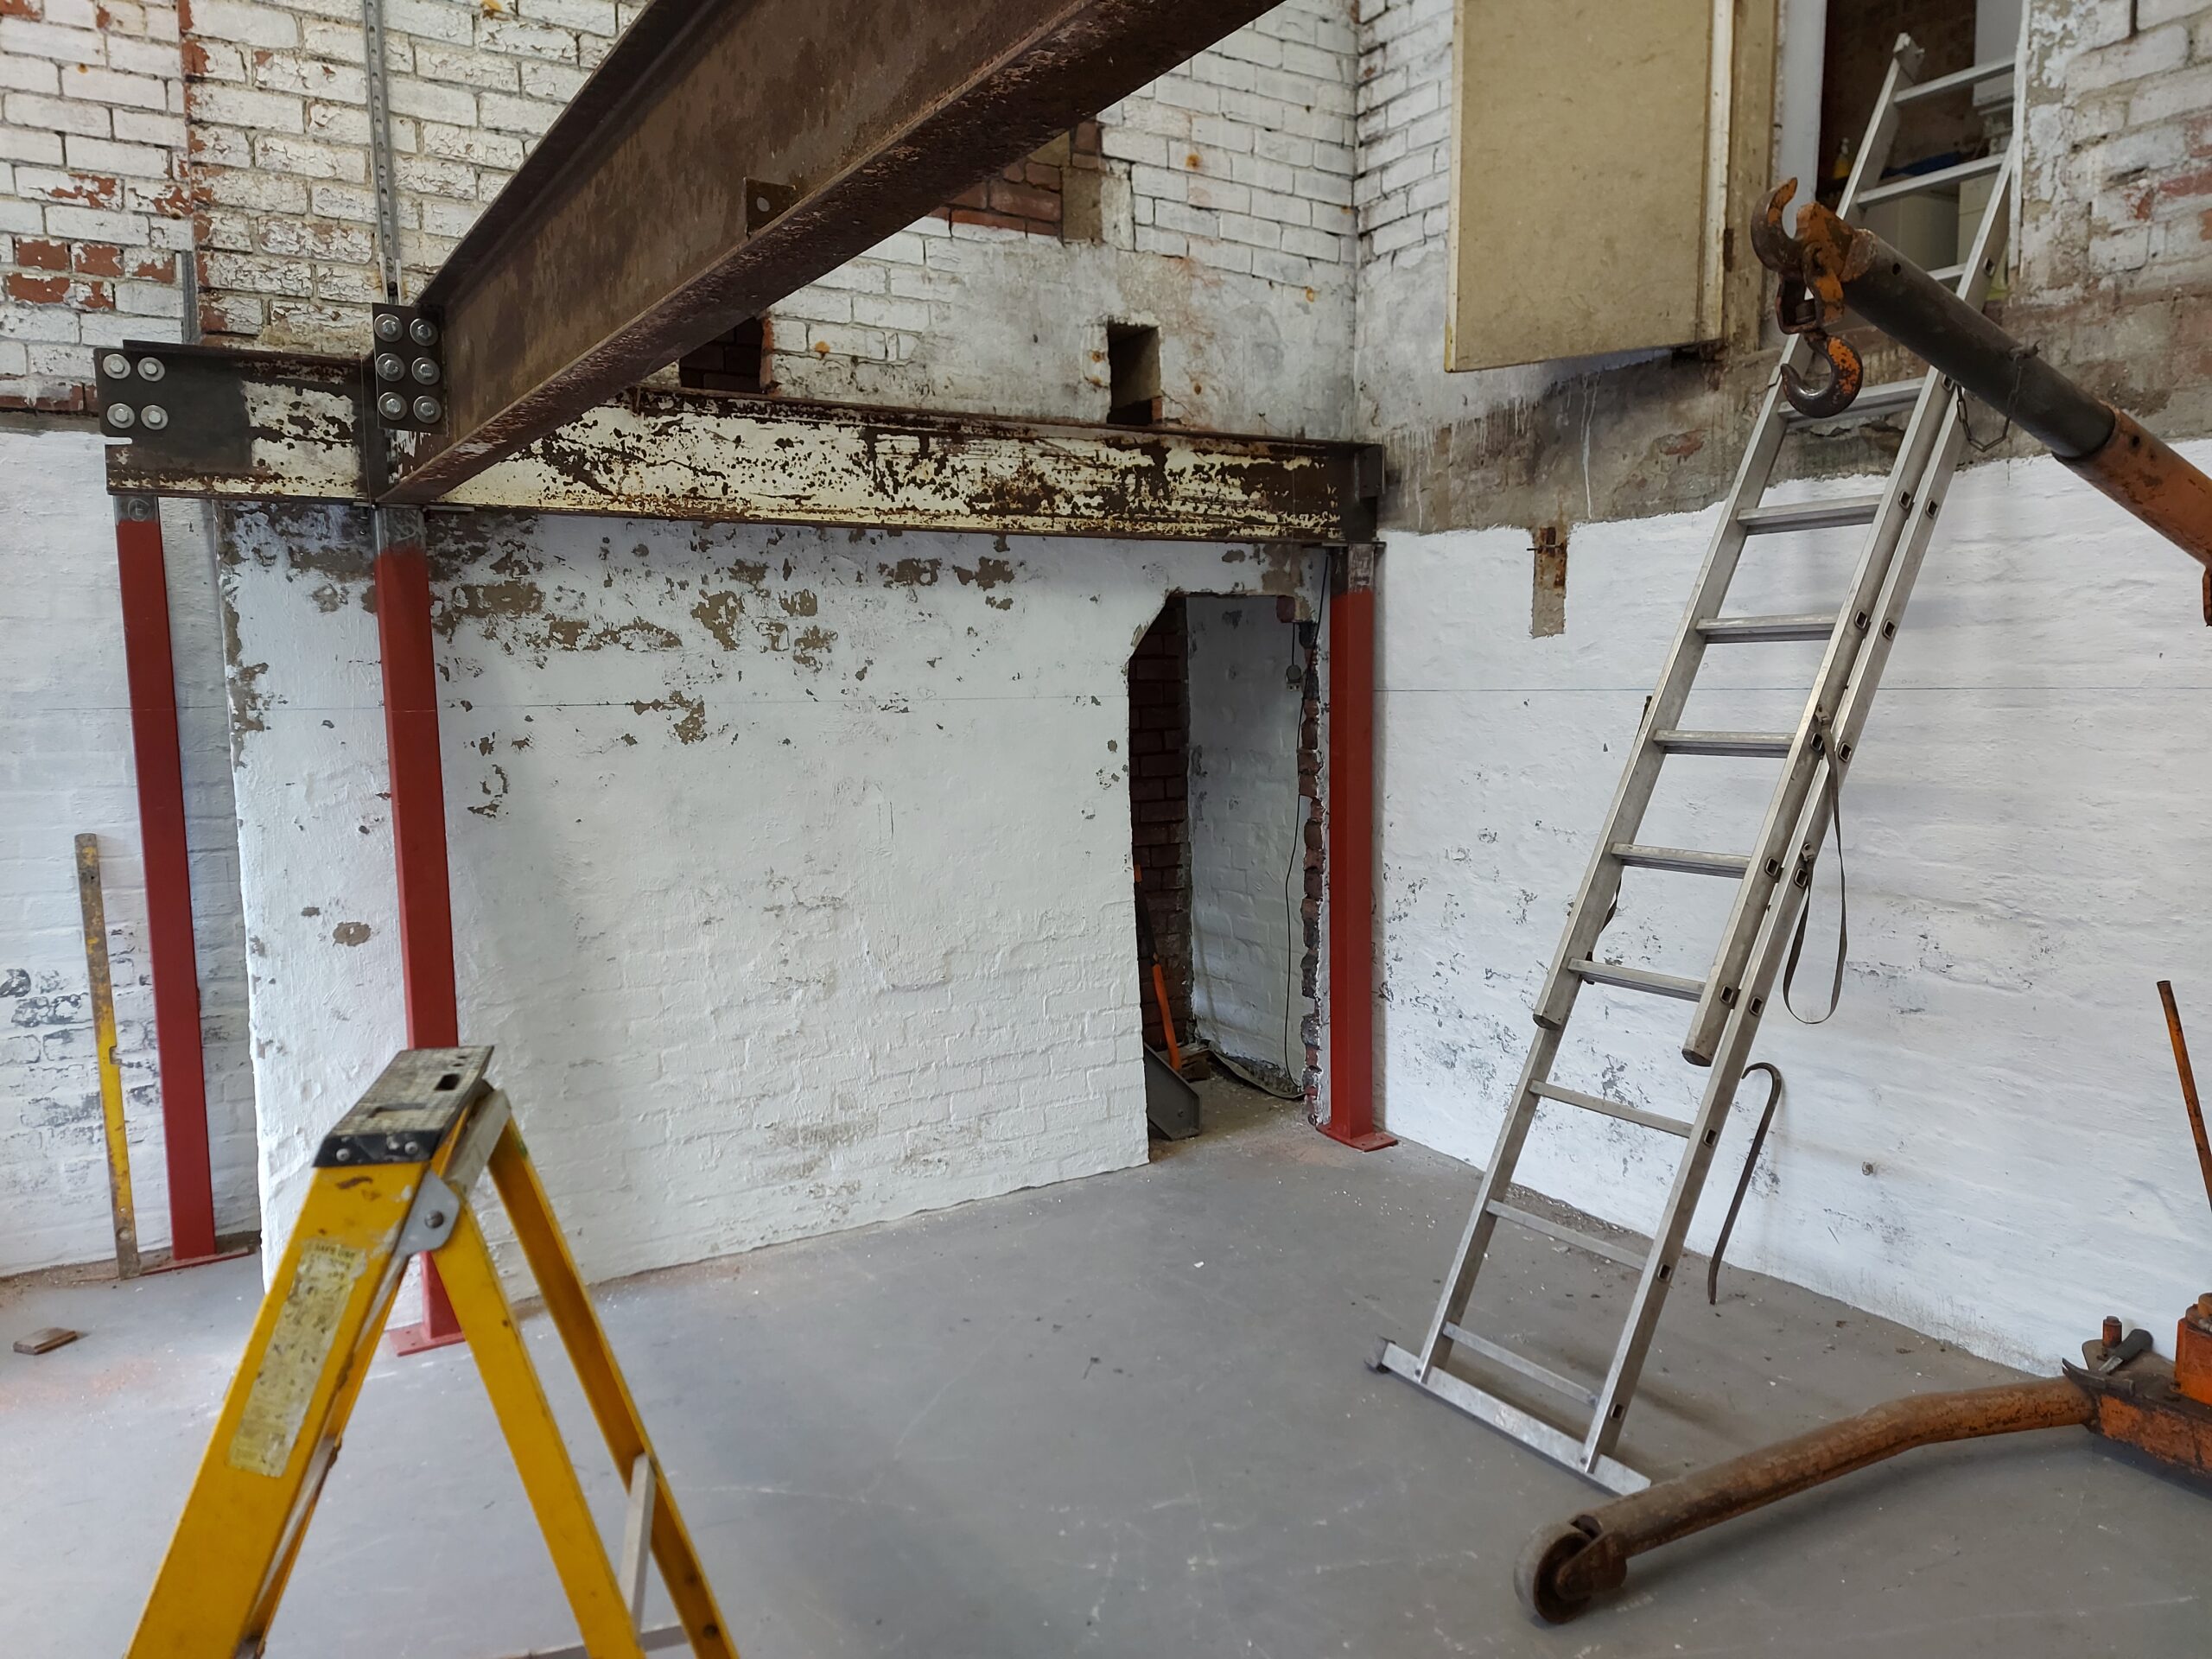
These steels are the backbone of the structure and need to be the first erected
admin
24 September 2022 - 20:49
Out with the Old in With the New
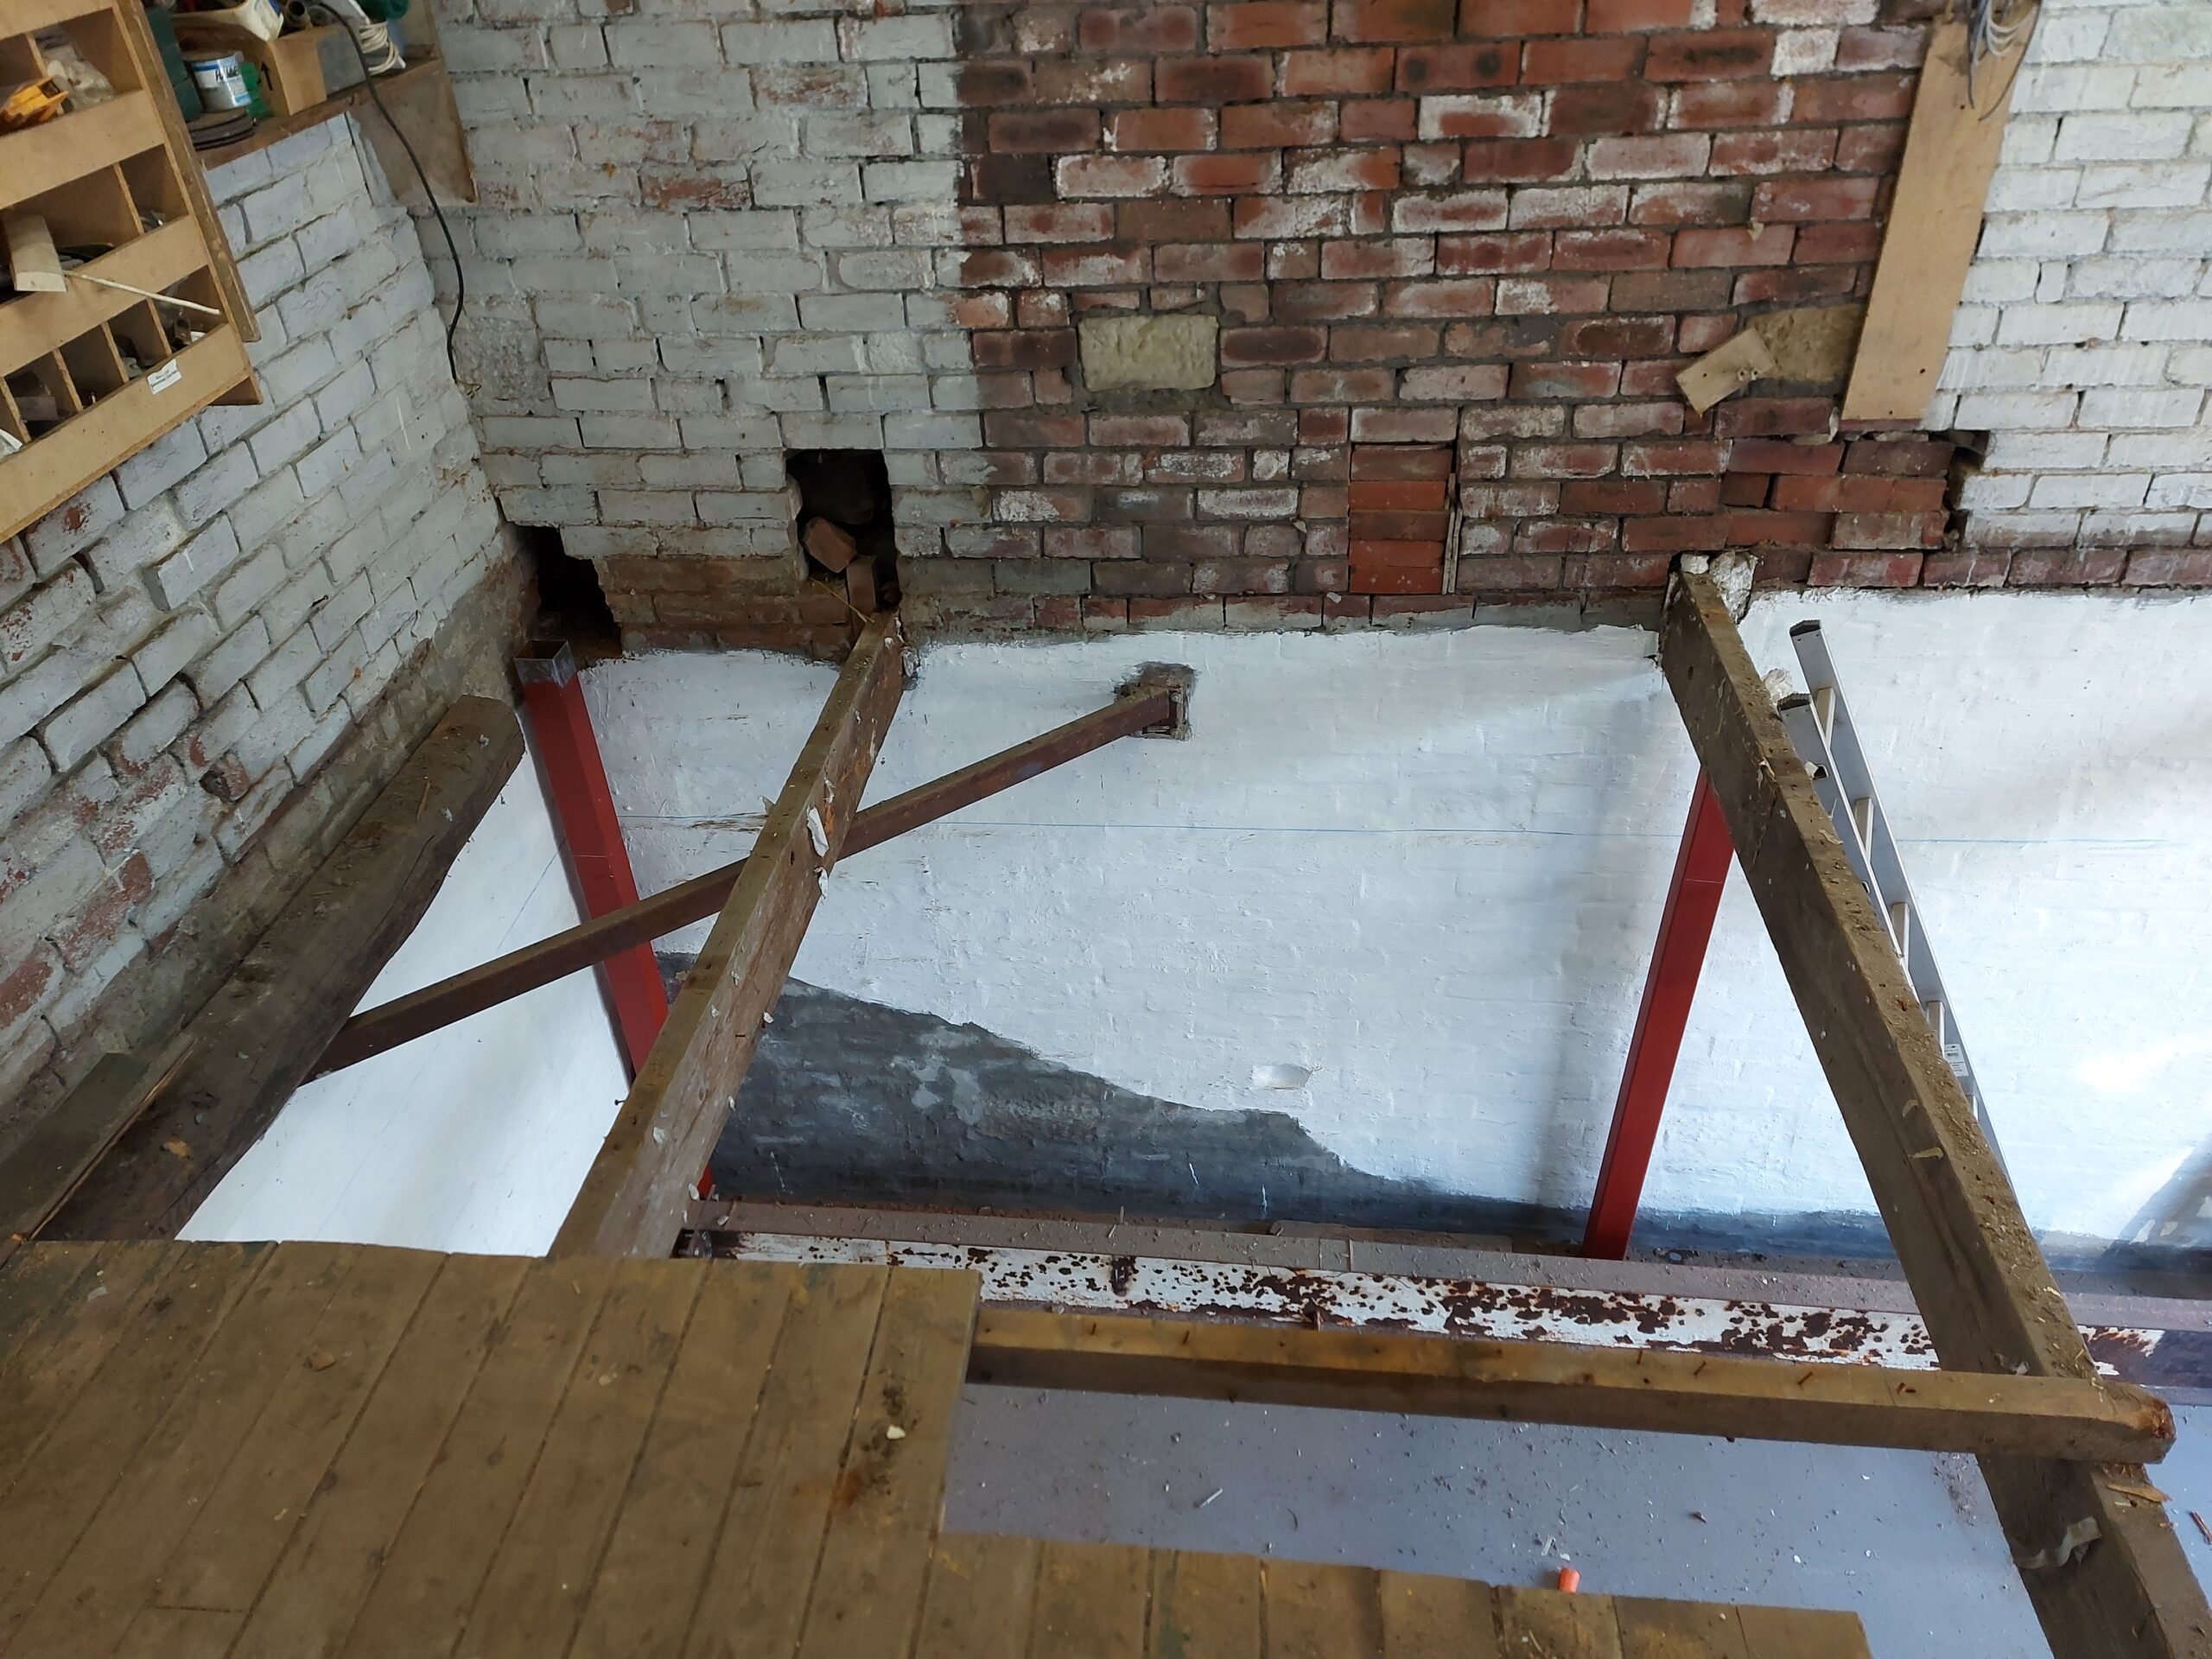
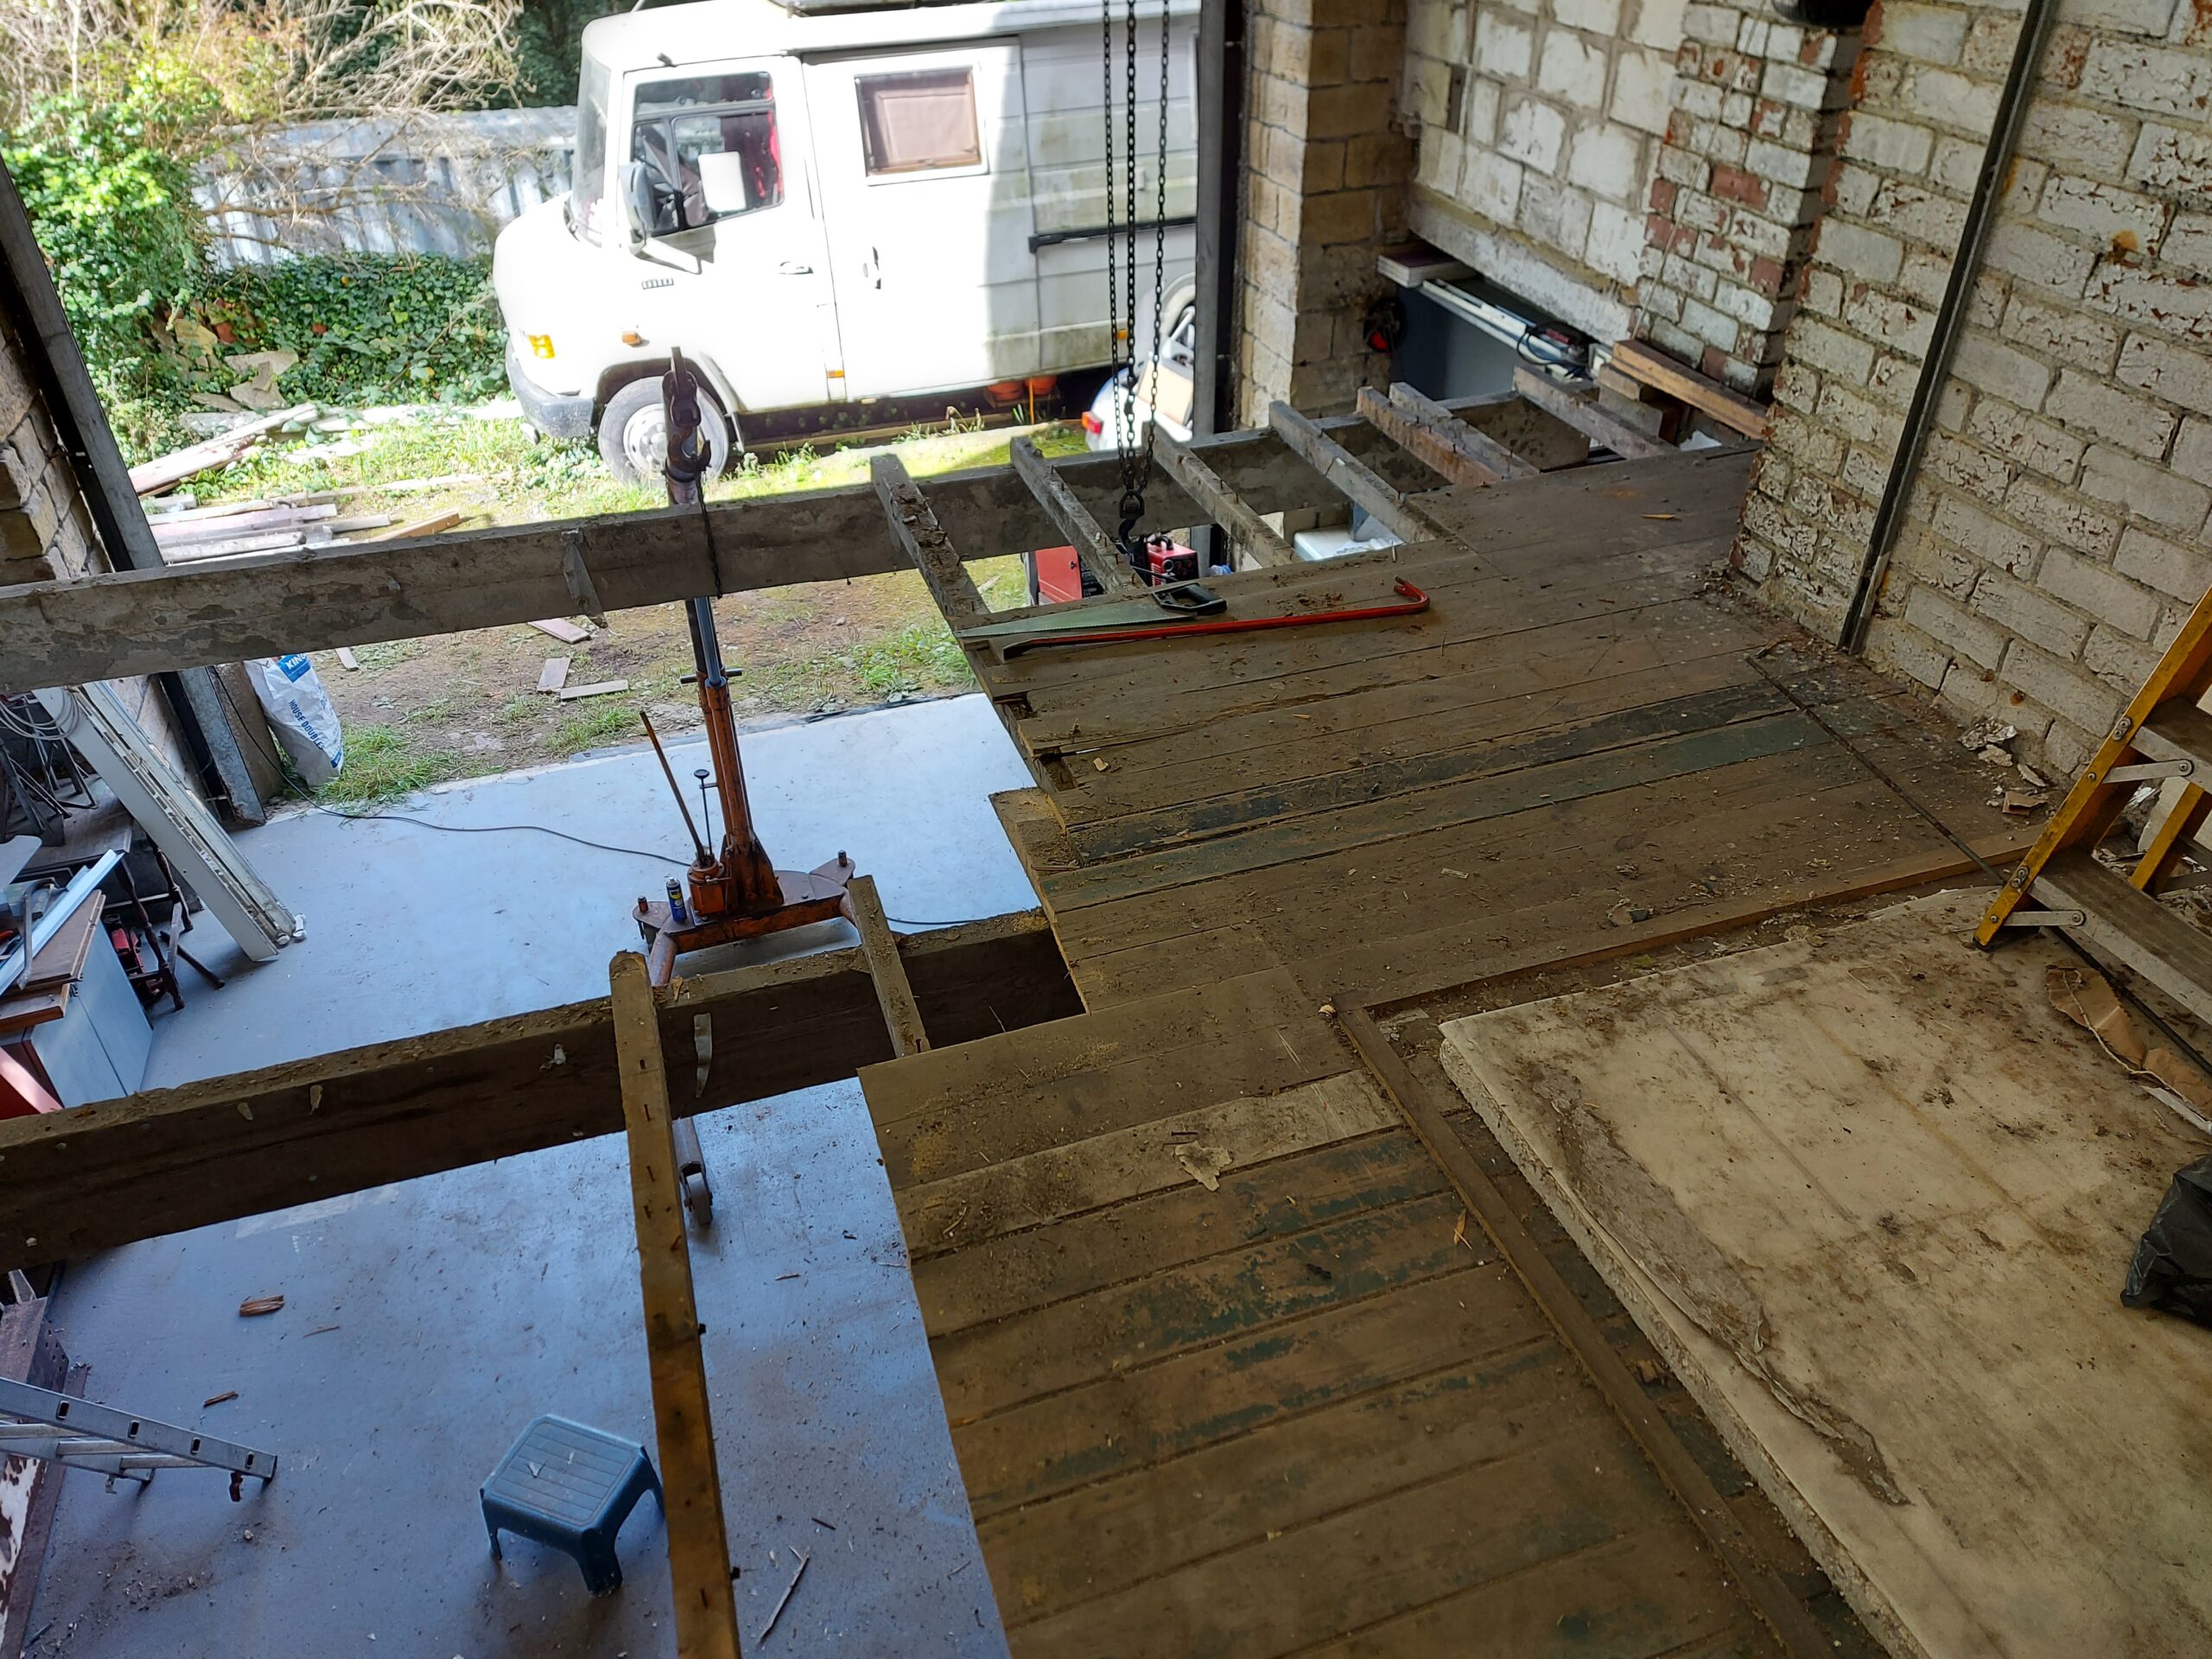
At last all the old Mez level is coming out
Looks like there’s some holes to brick up too,
The last joist had to be cut out,
At last it’s all out,
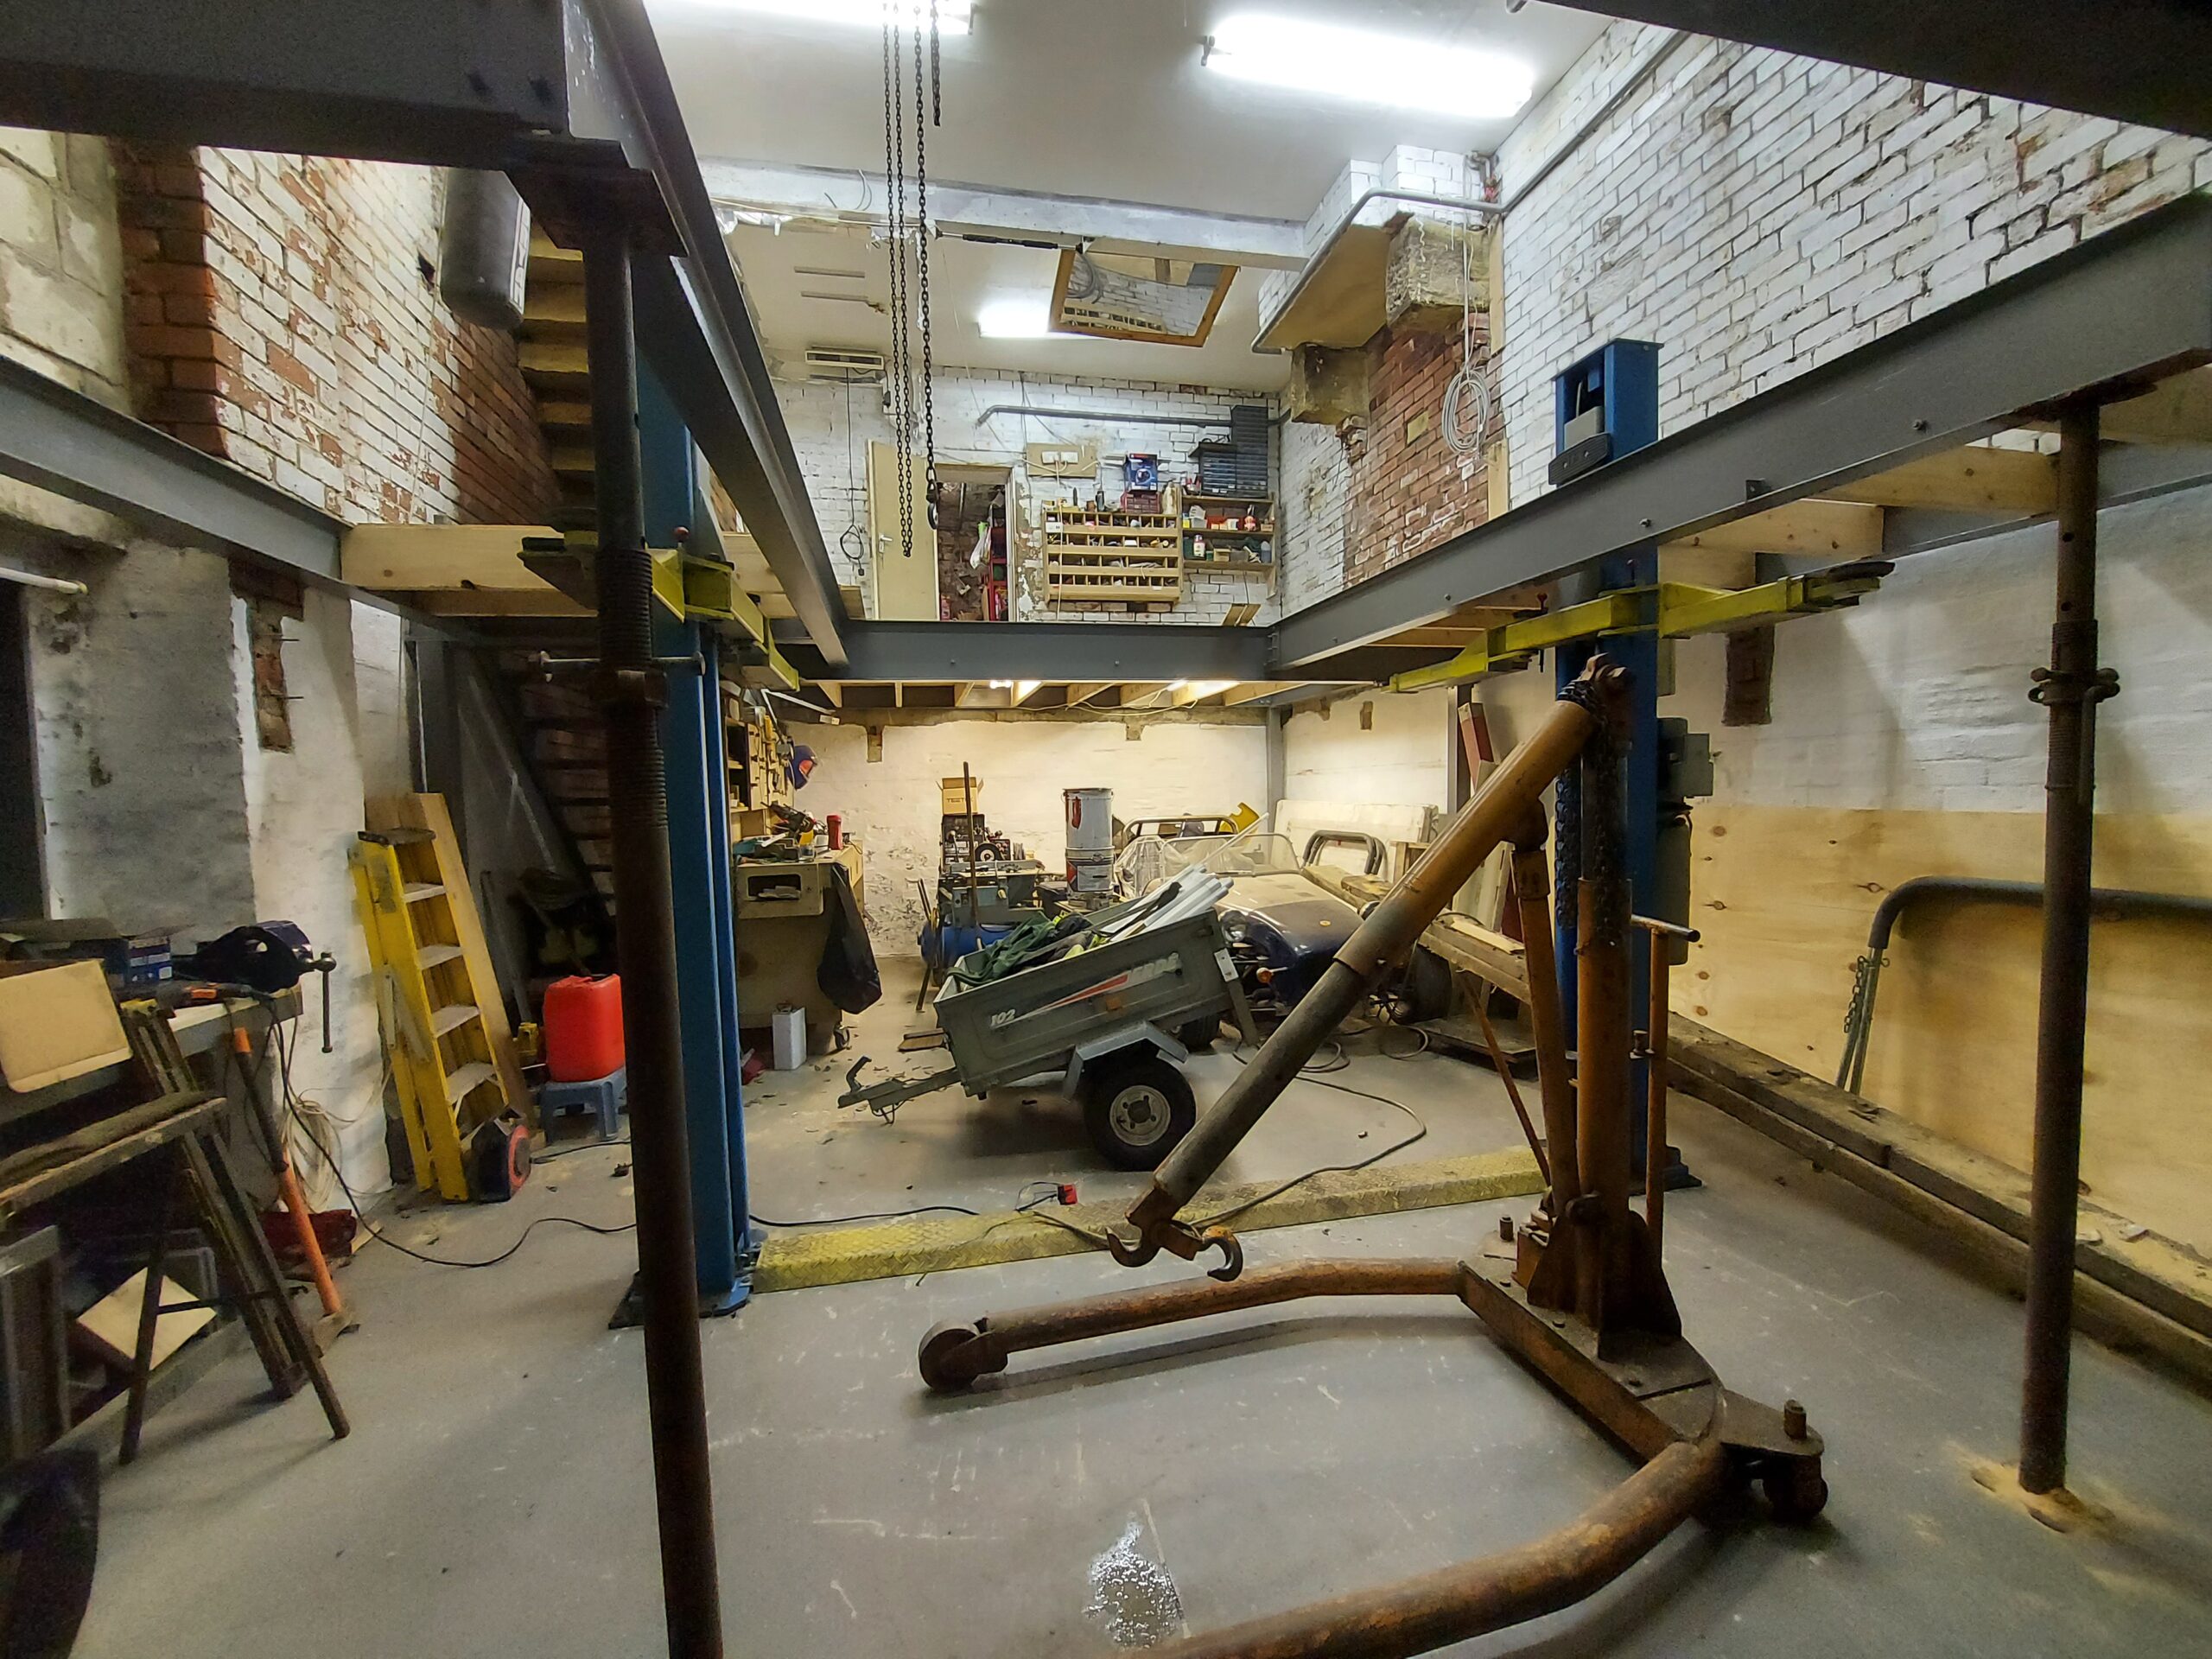
Tempory supports removed,
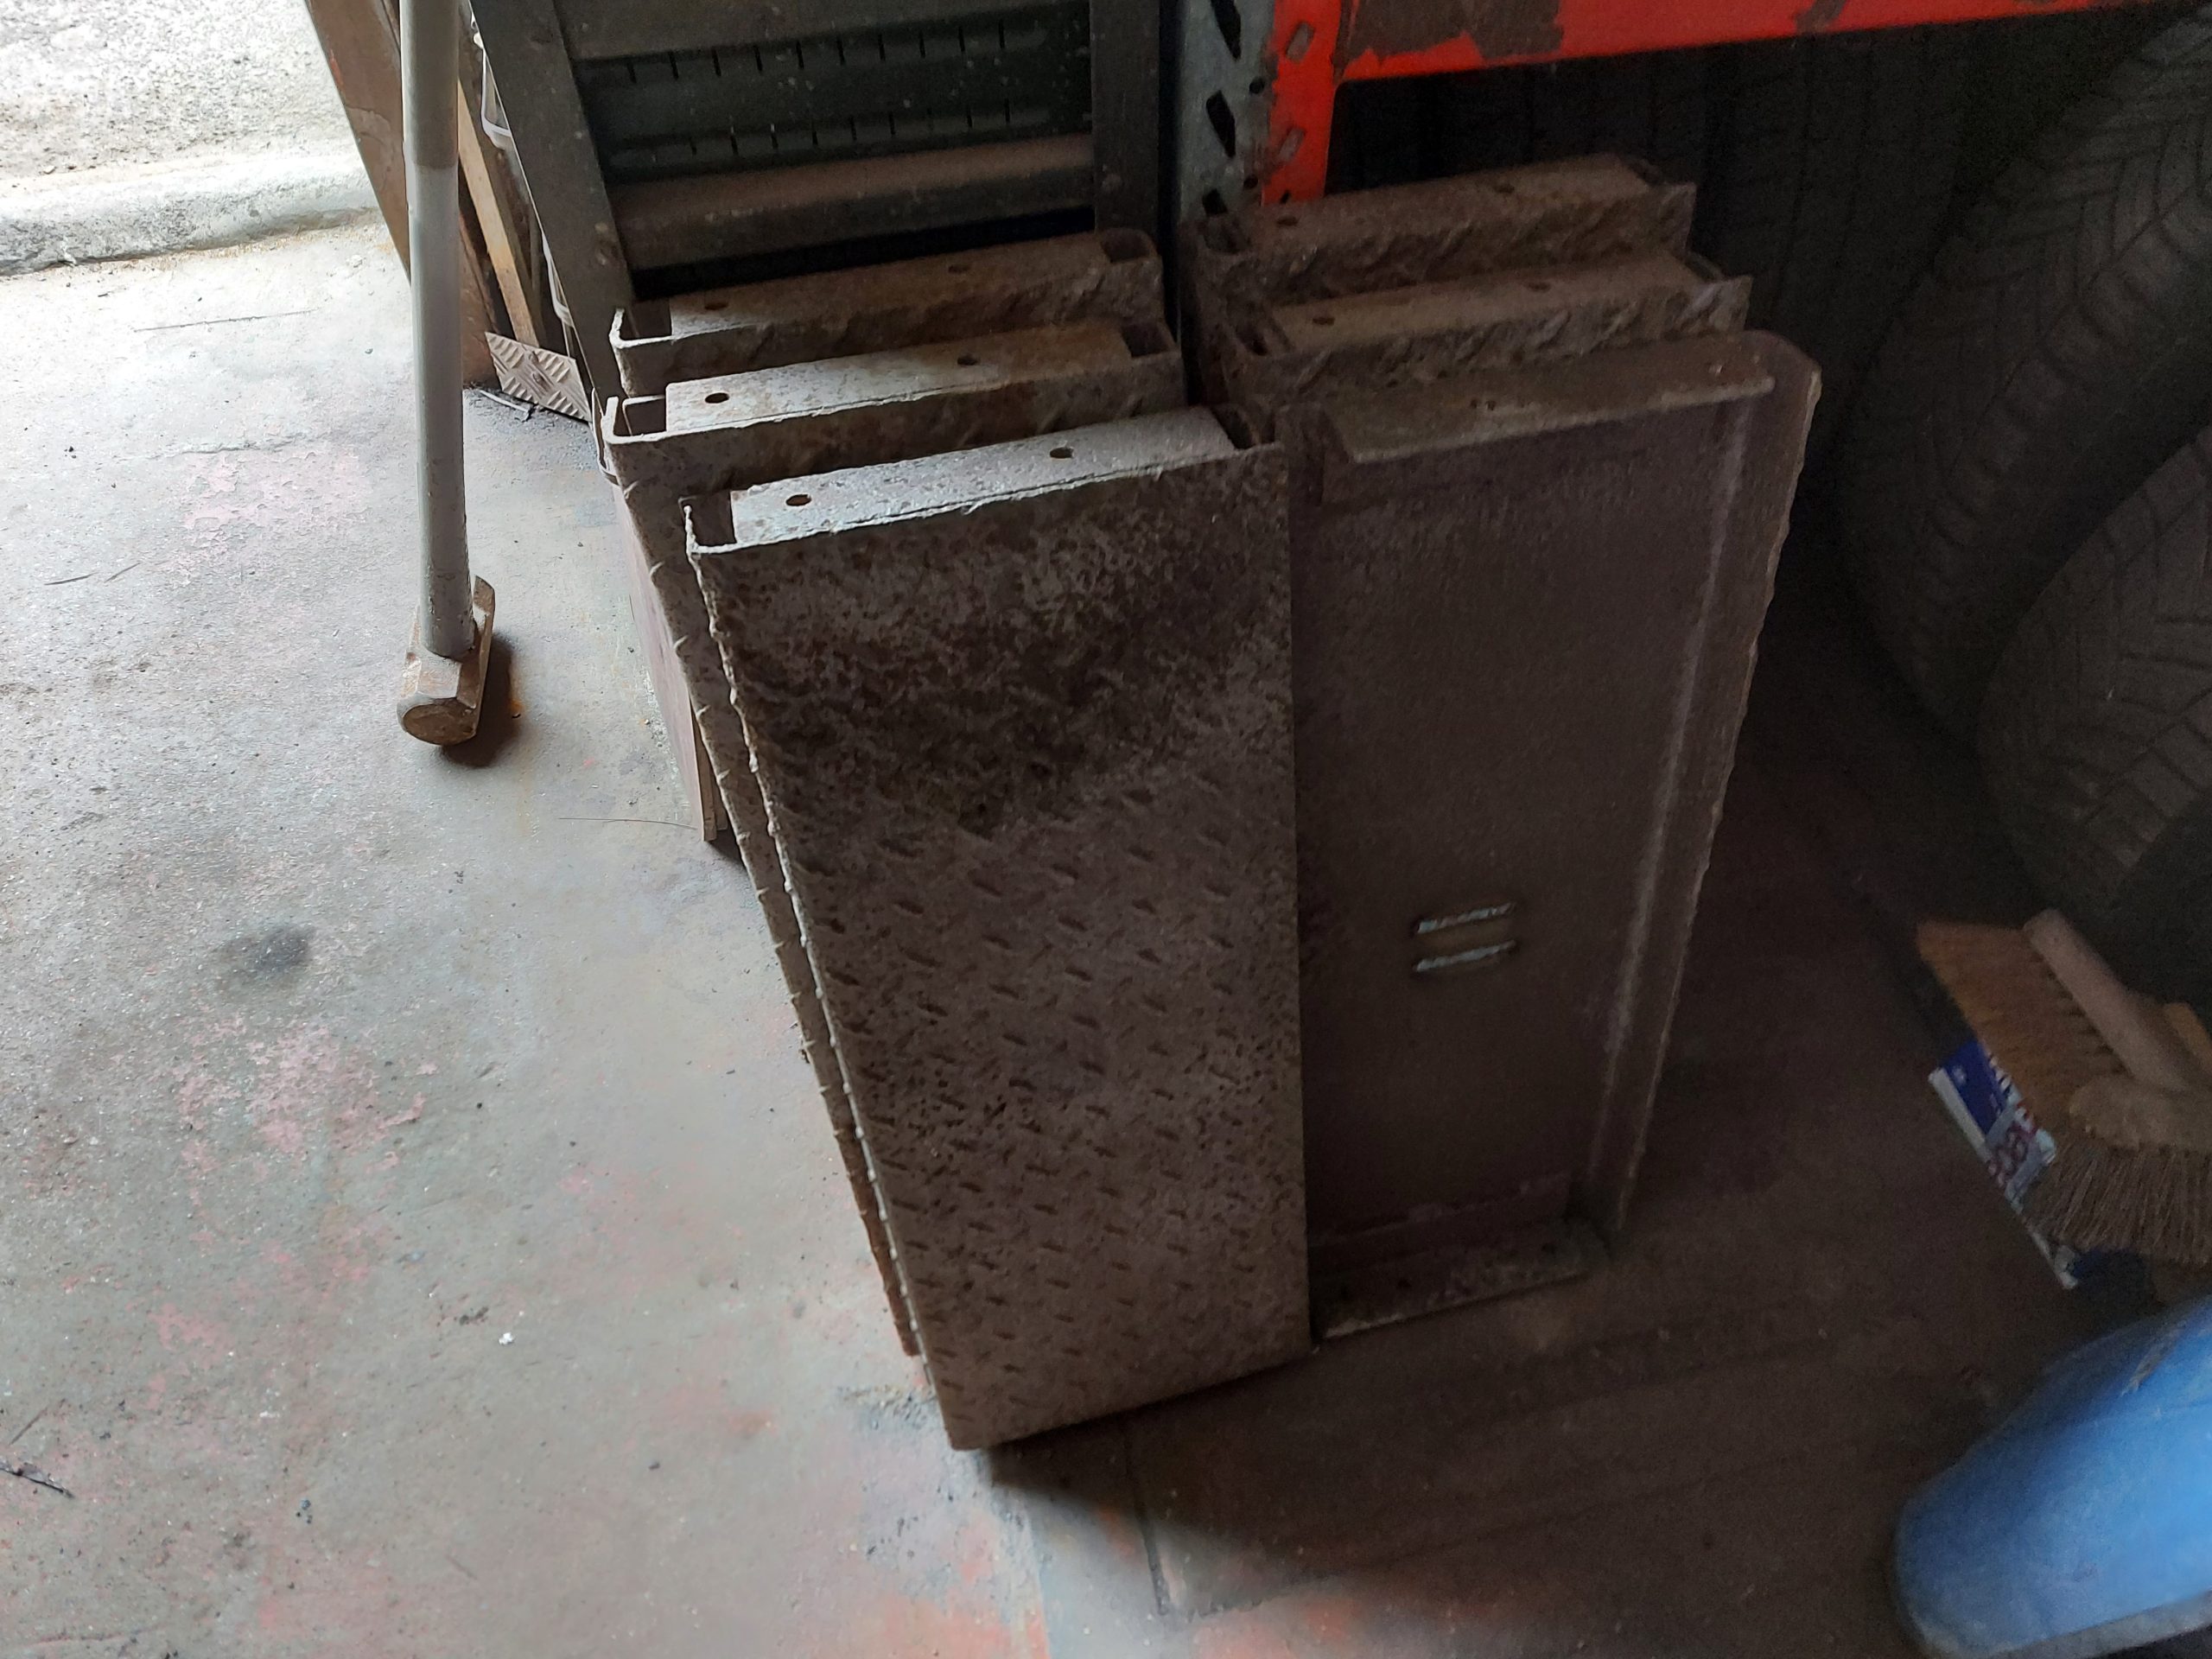
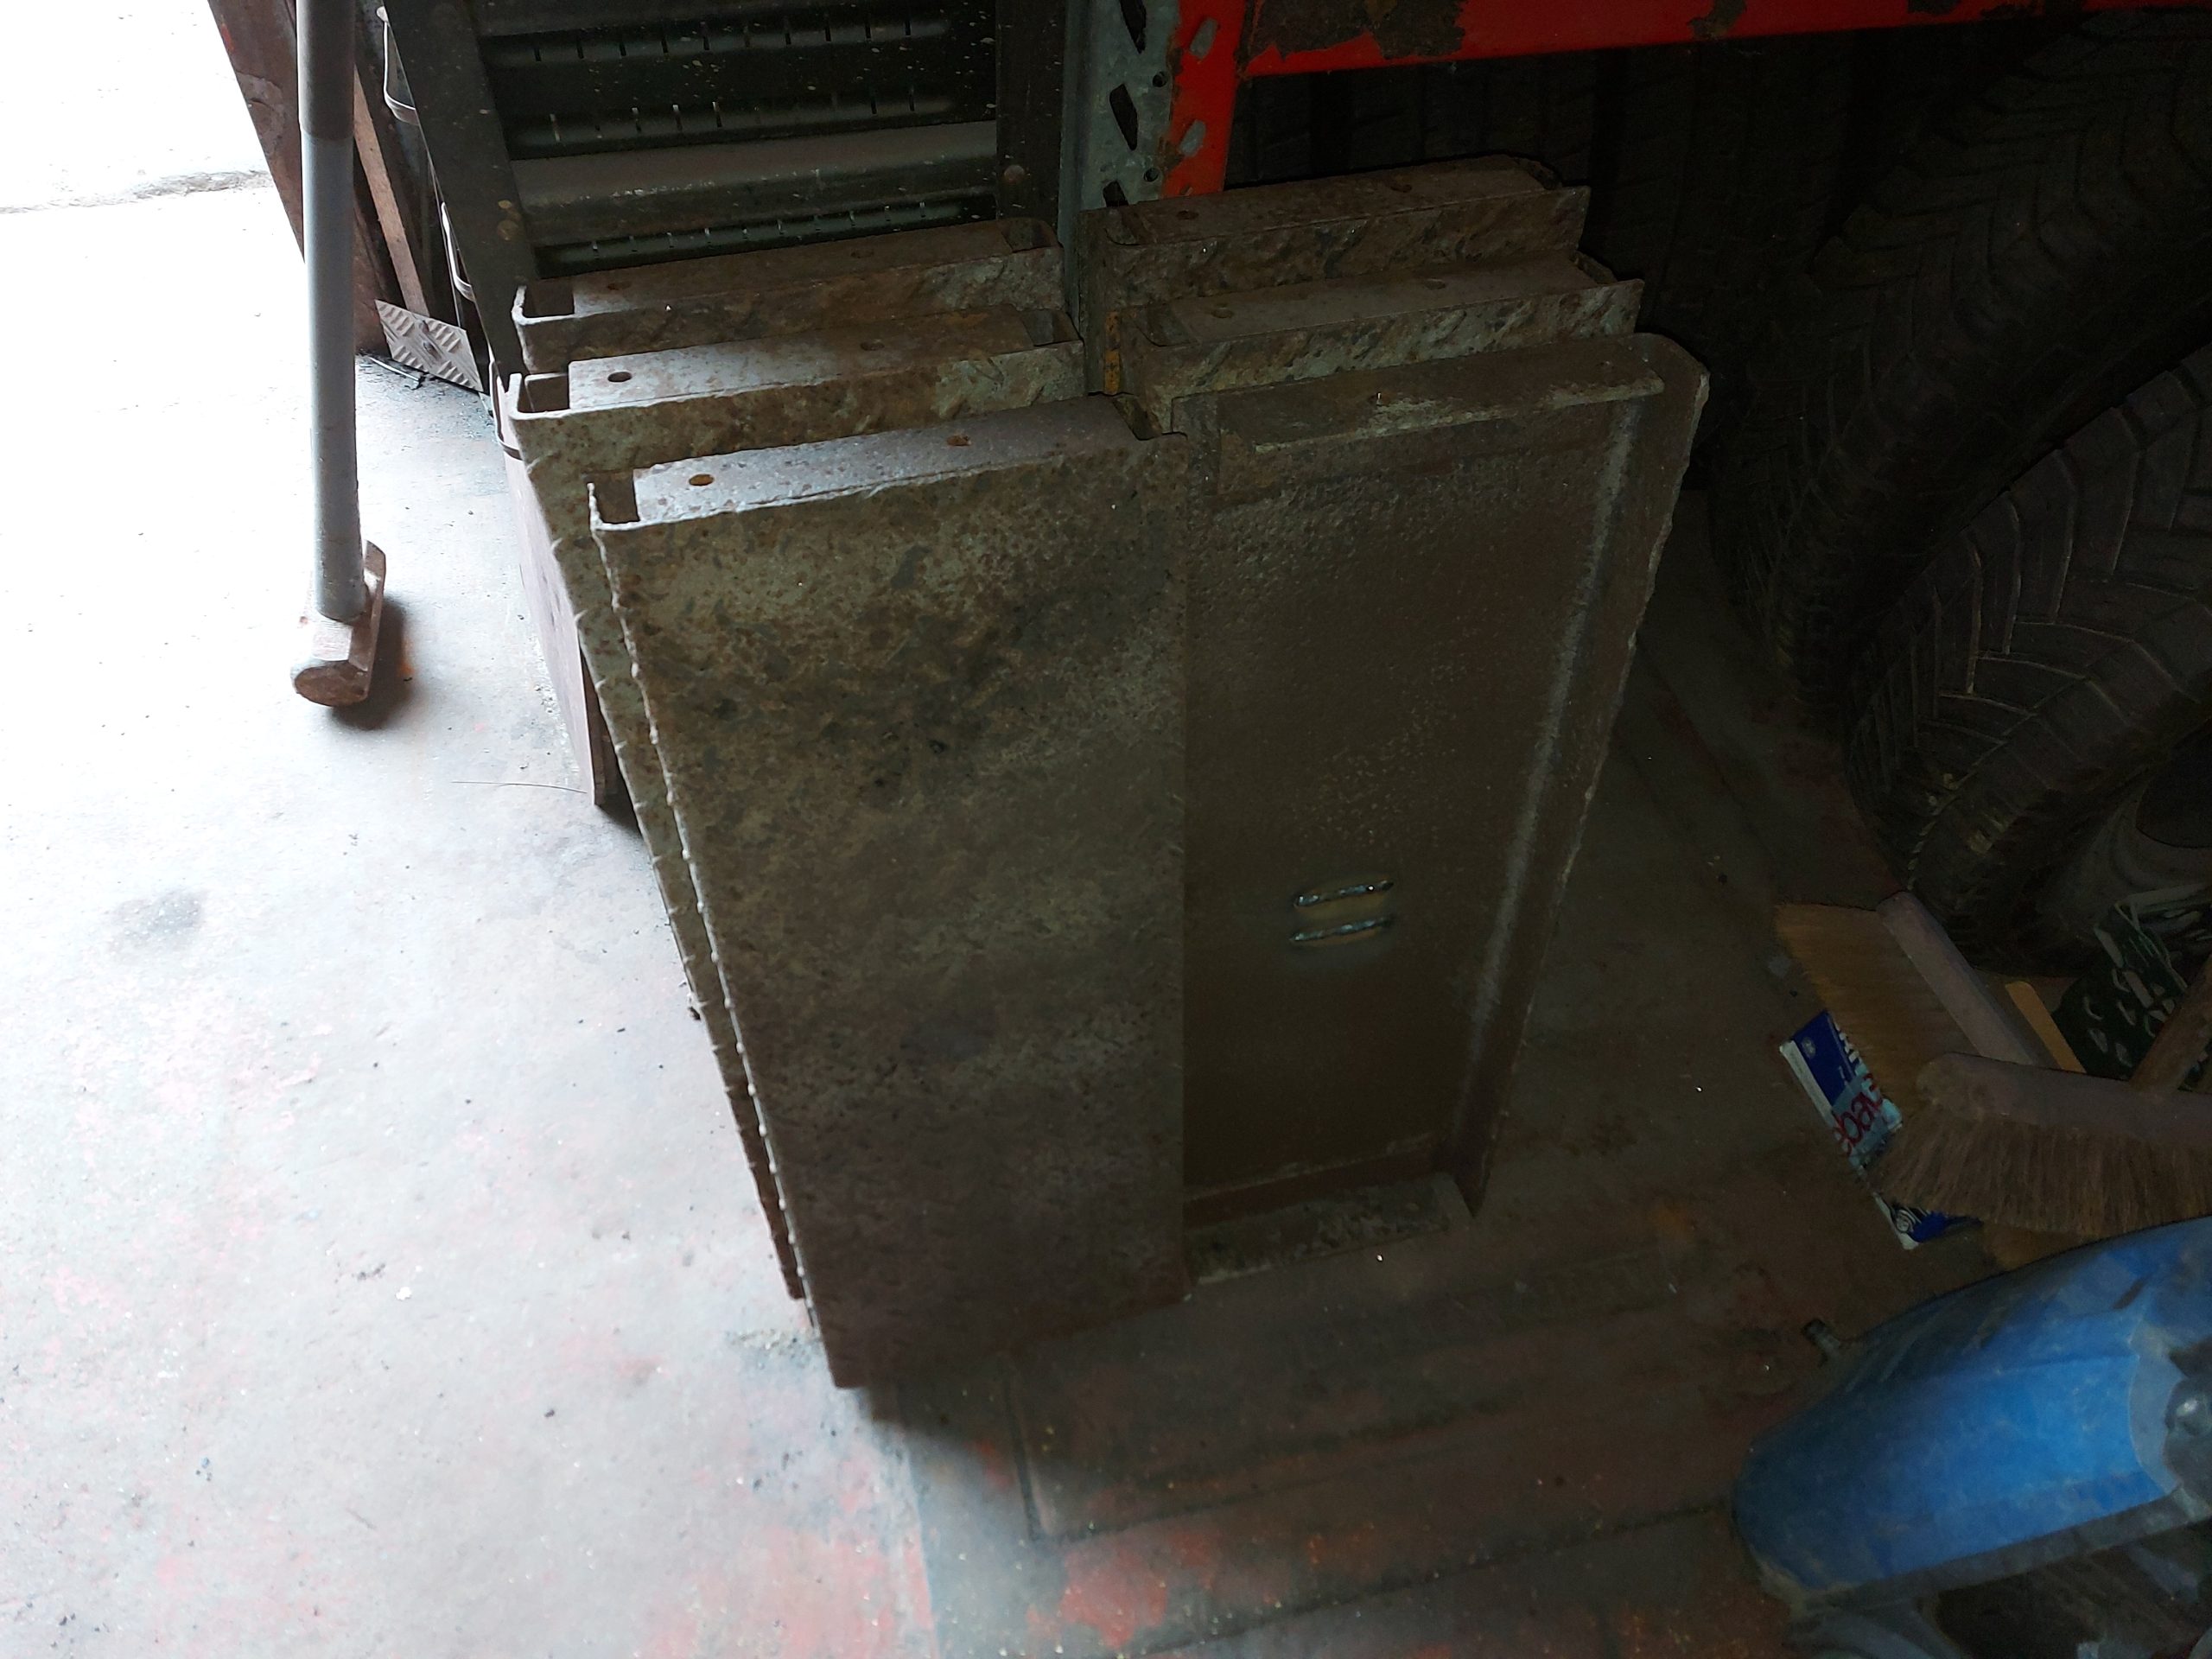
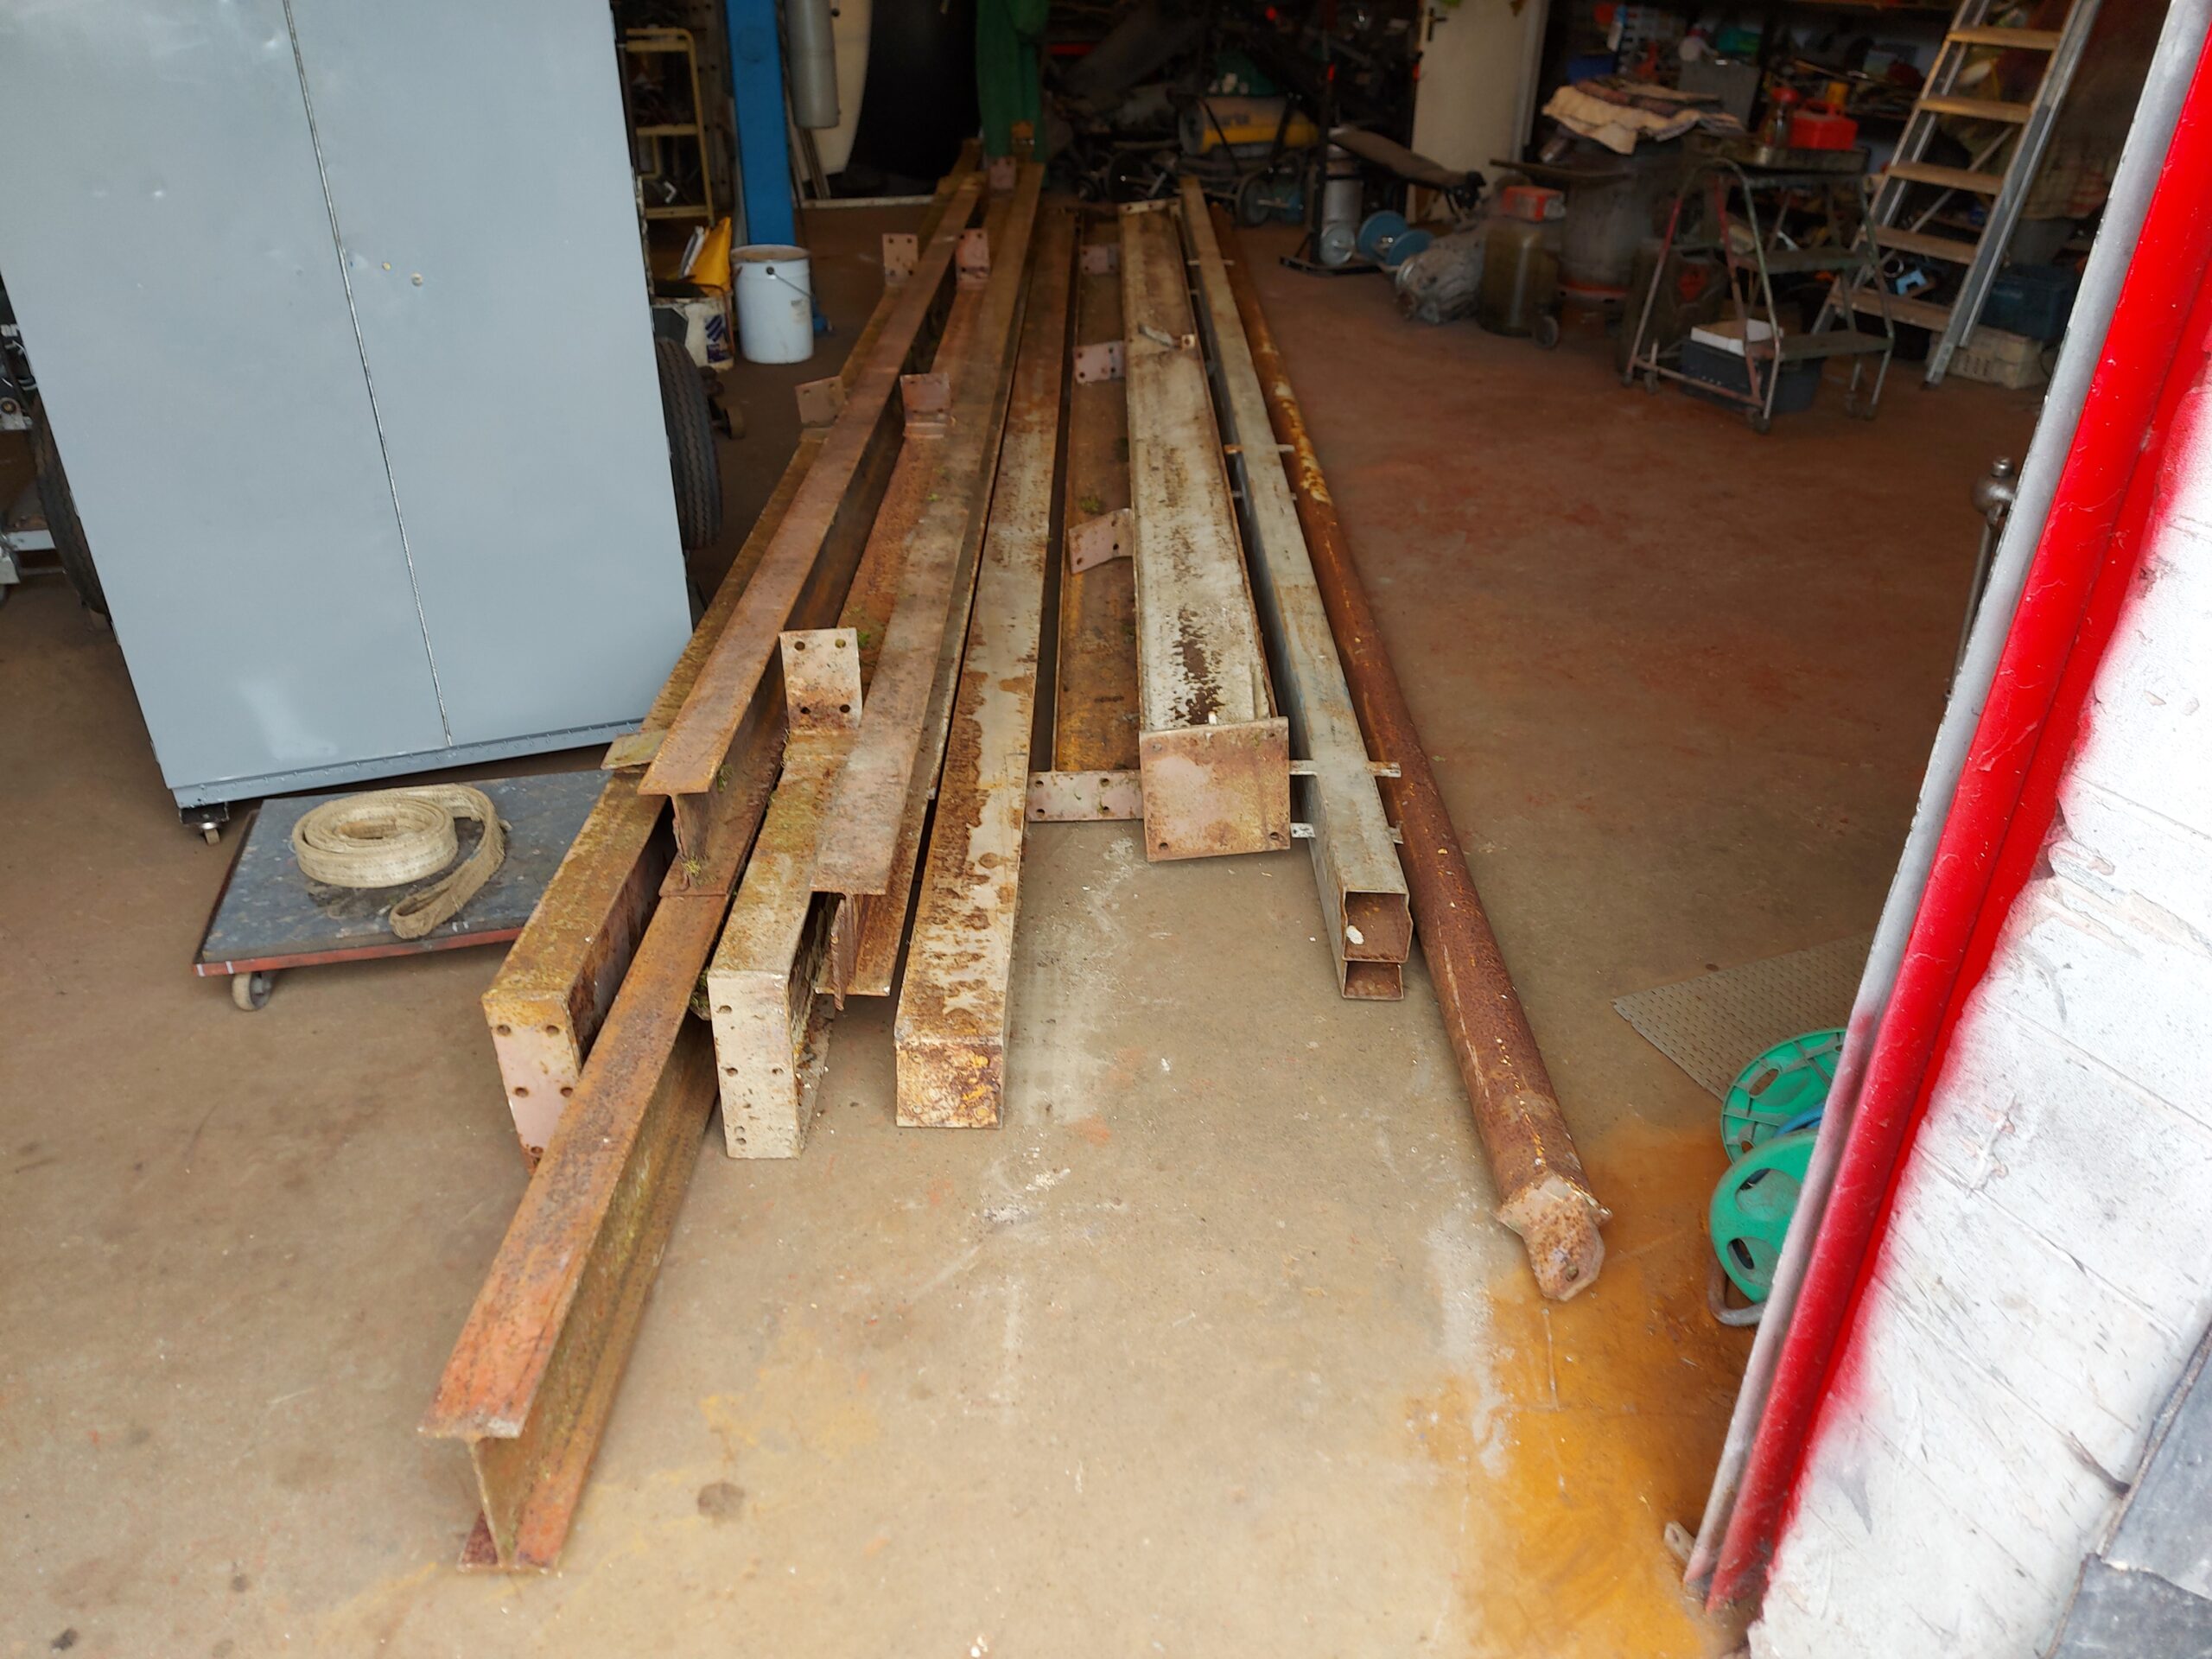
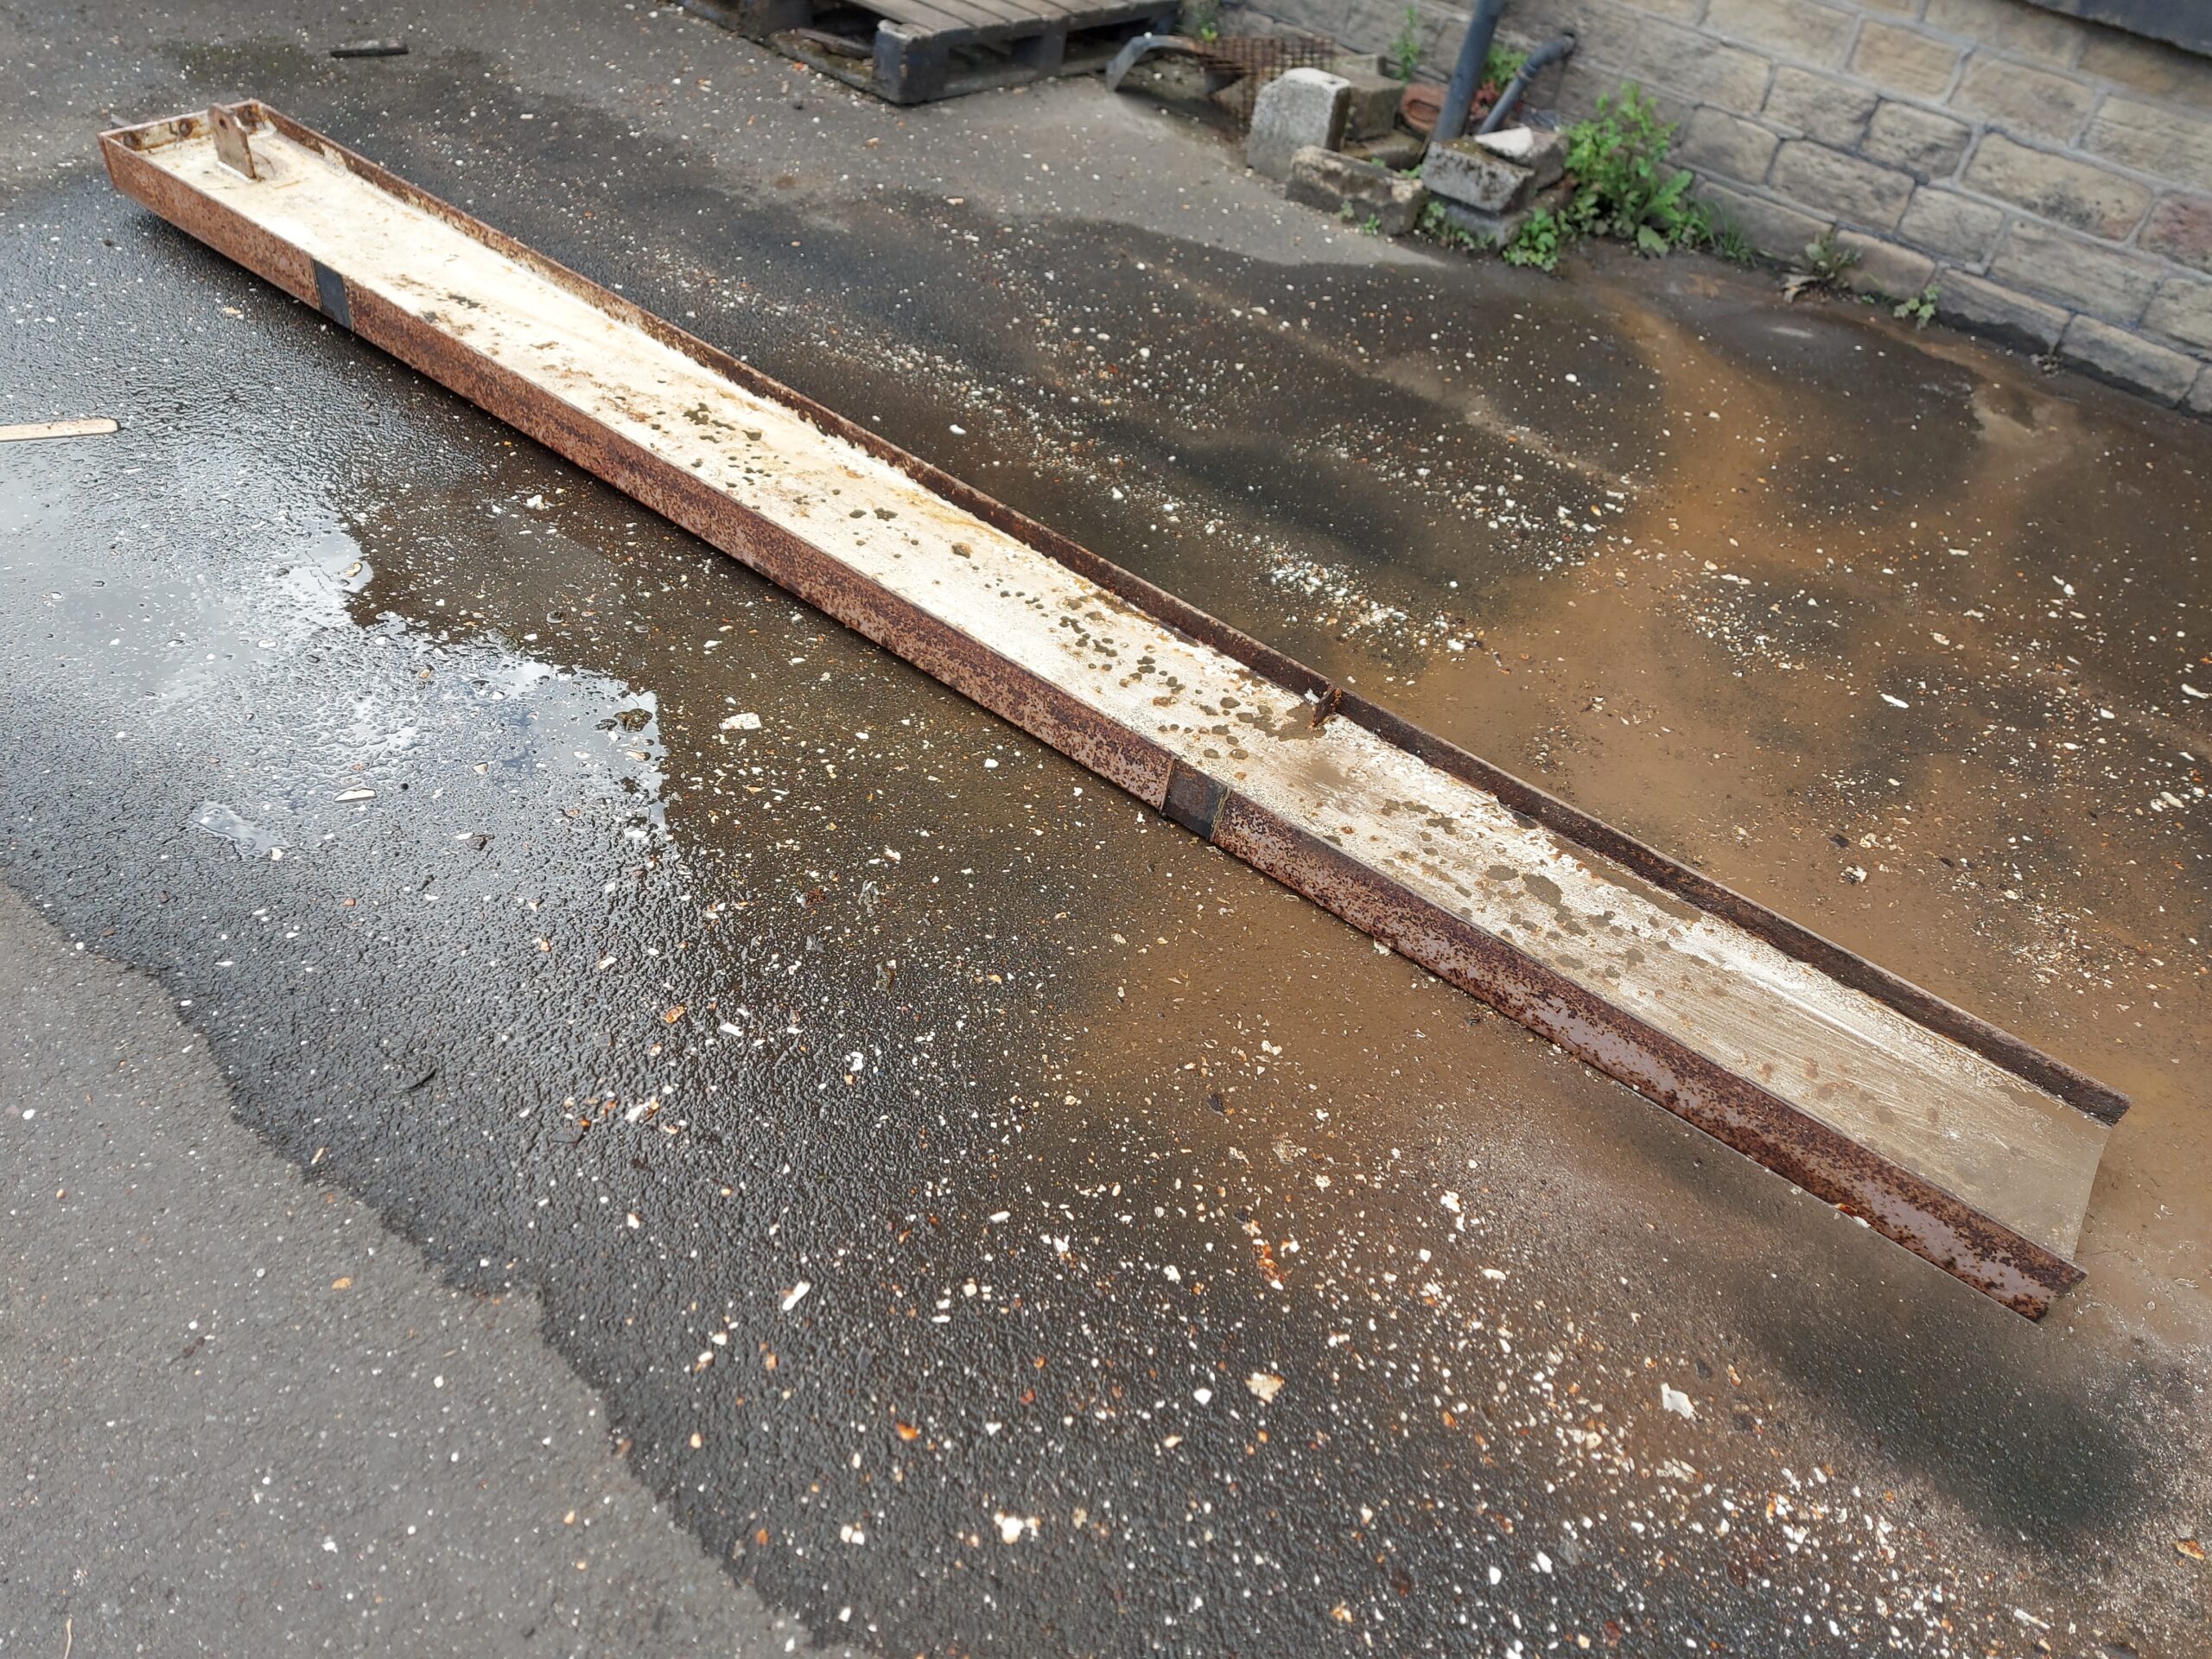
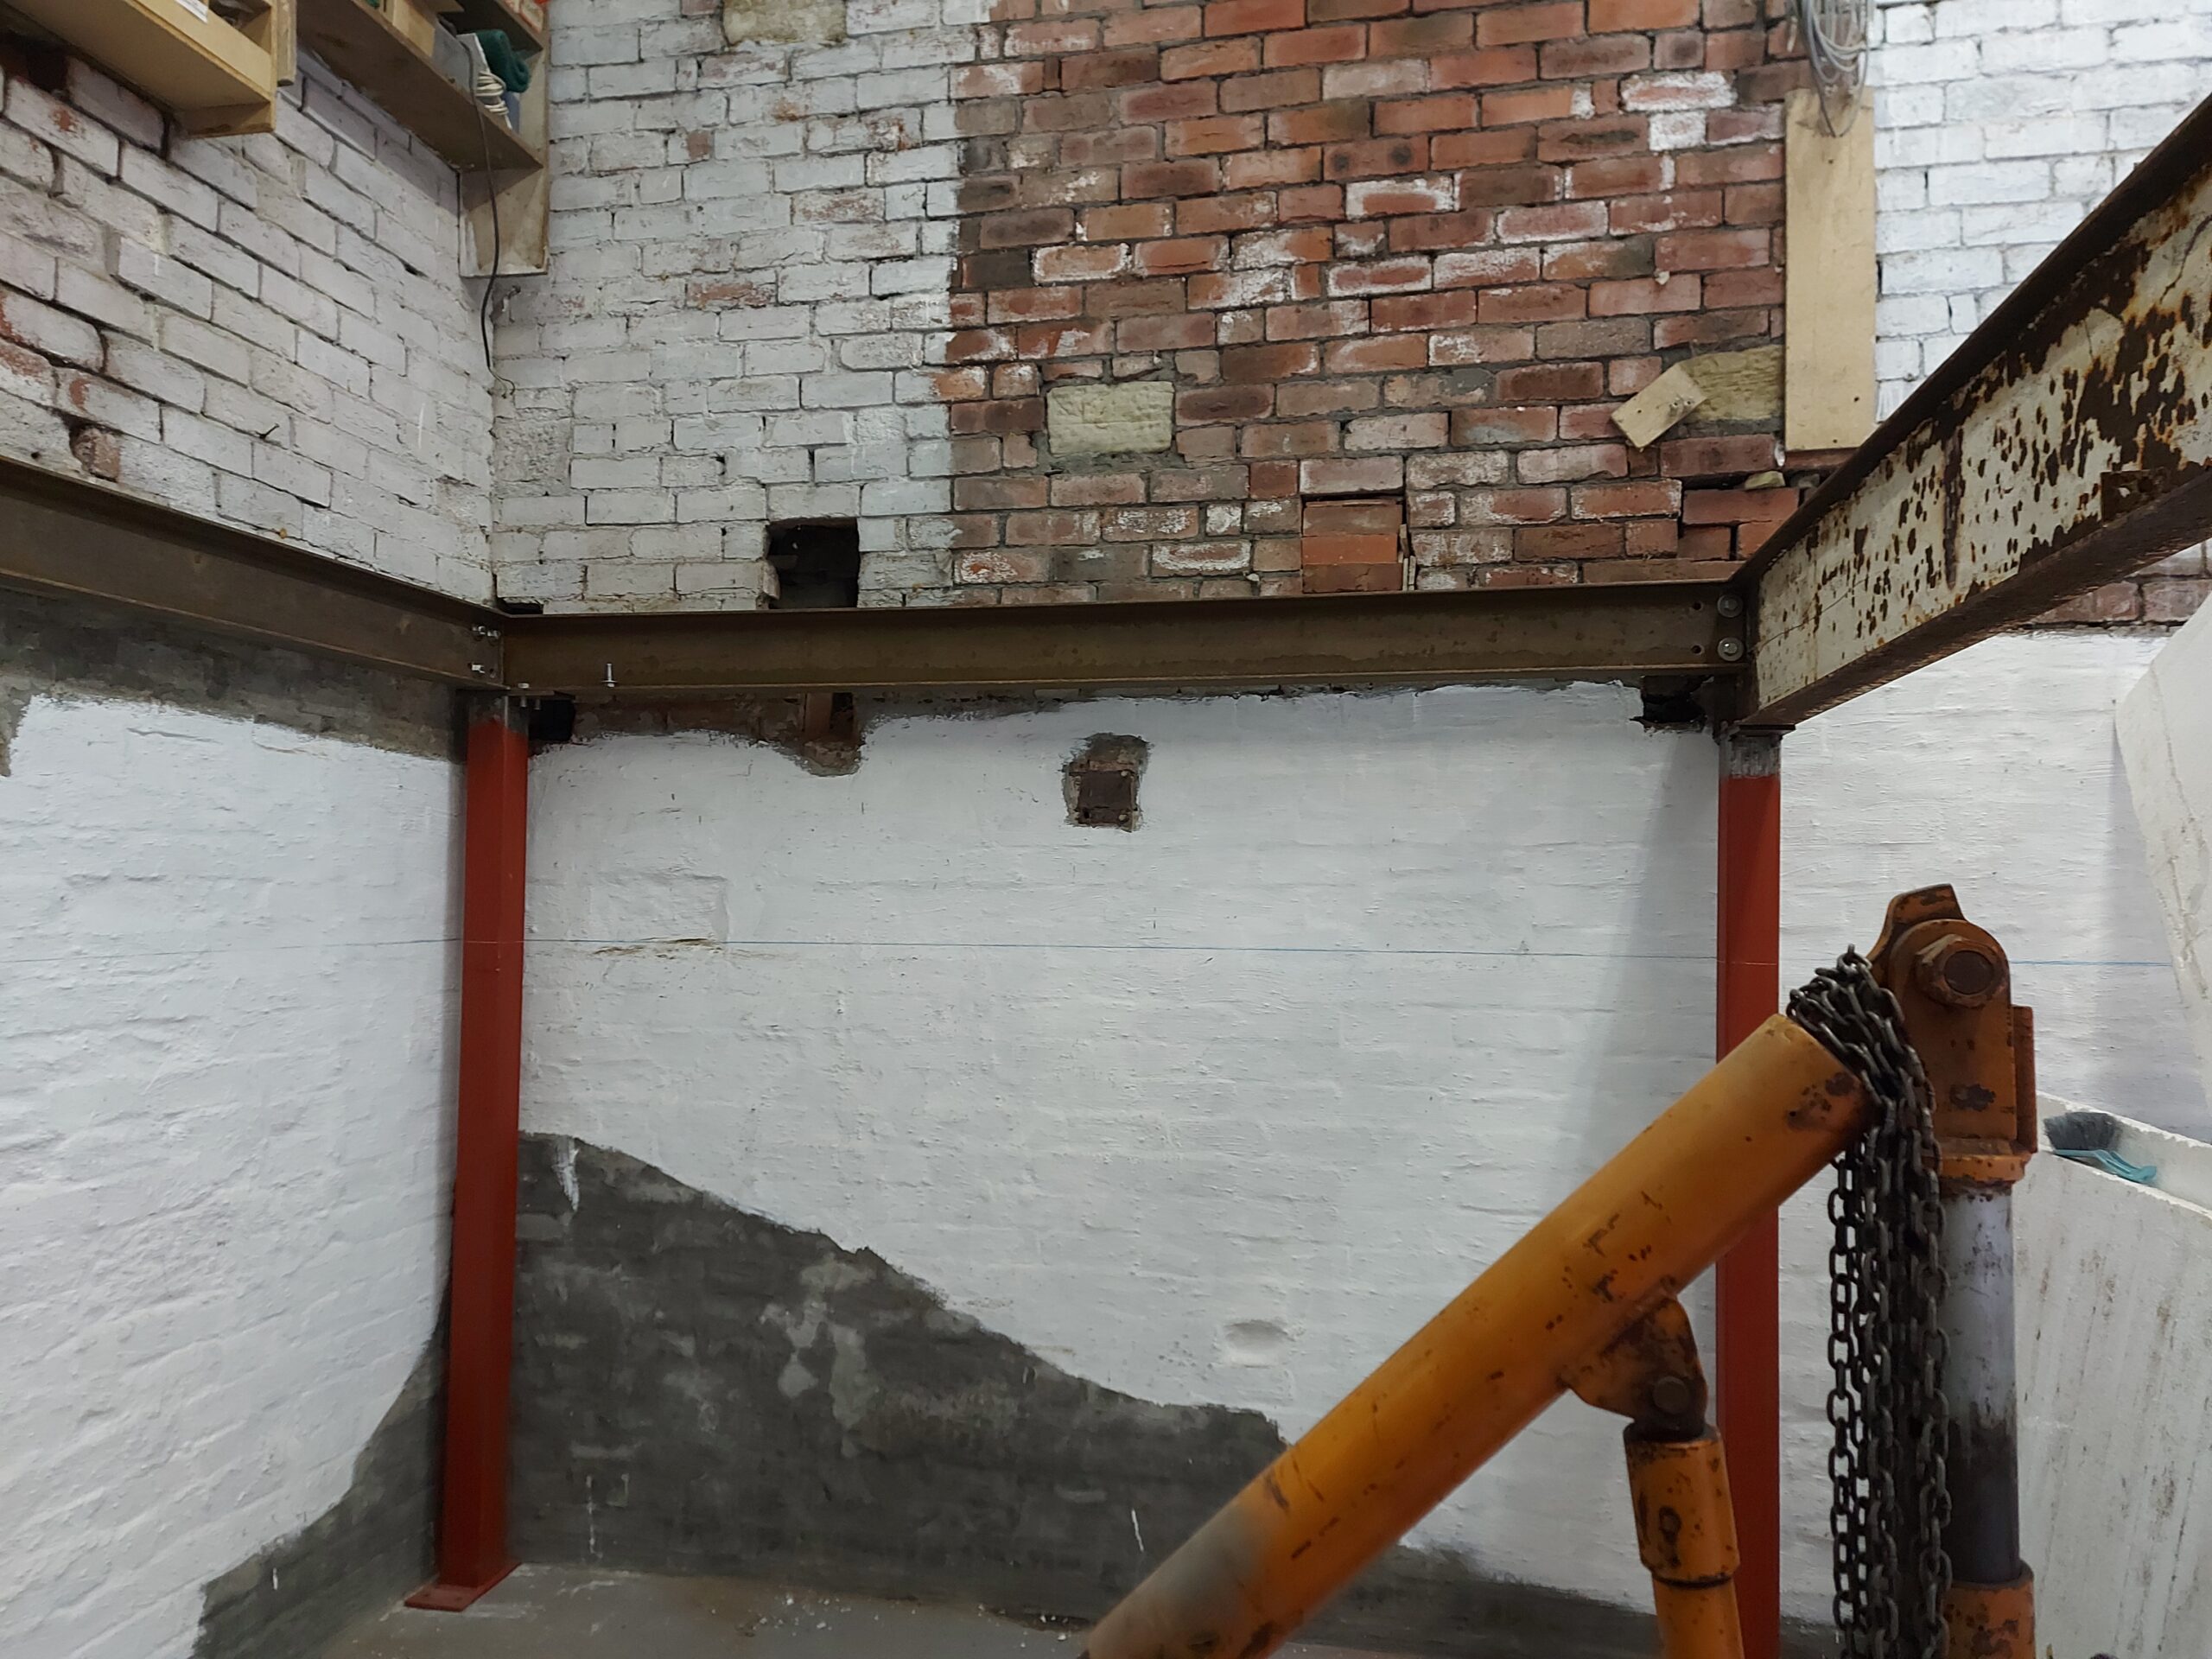
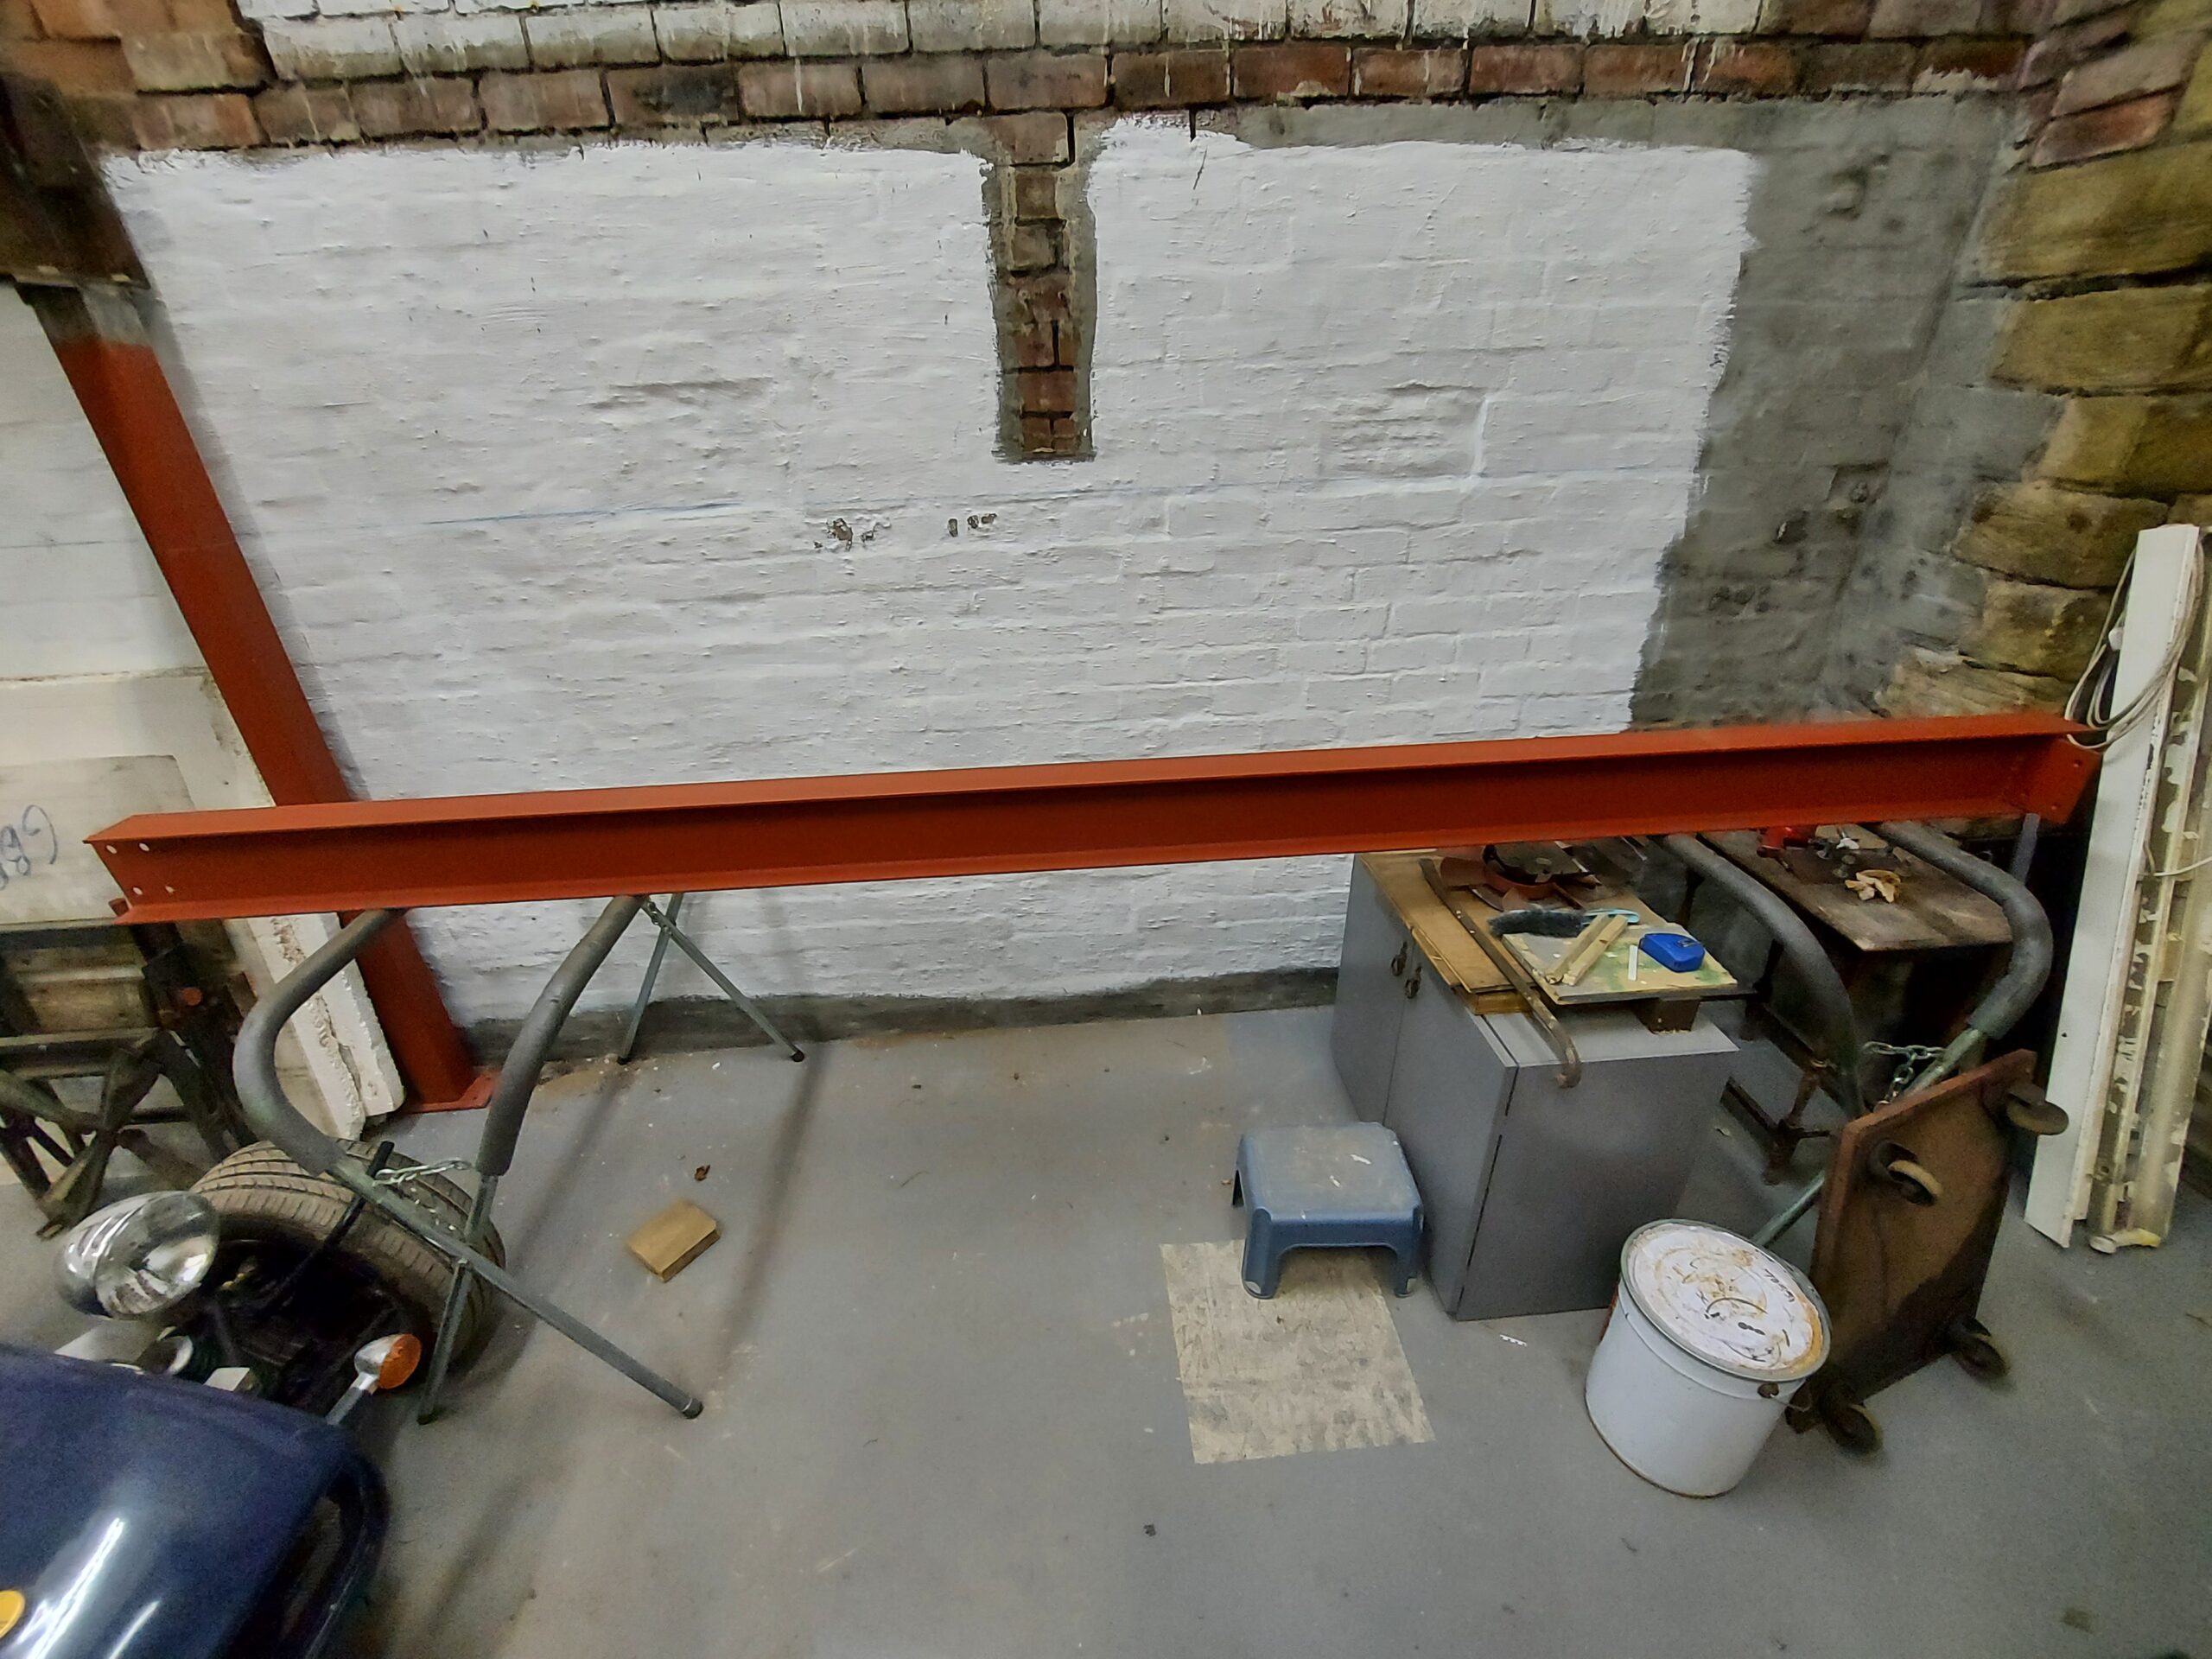
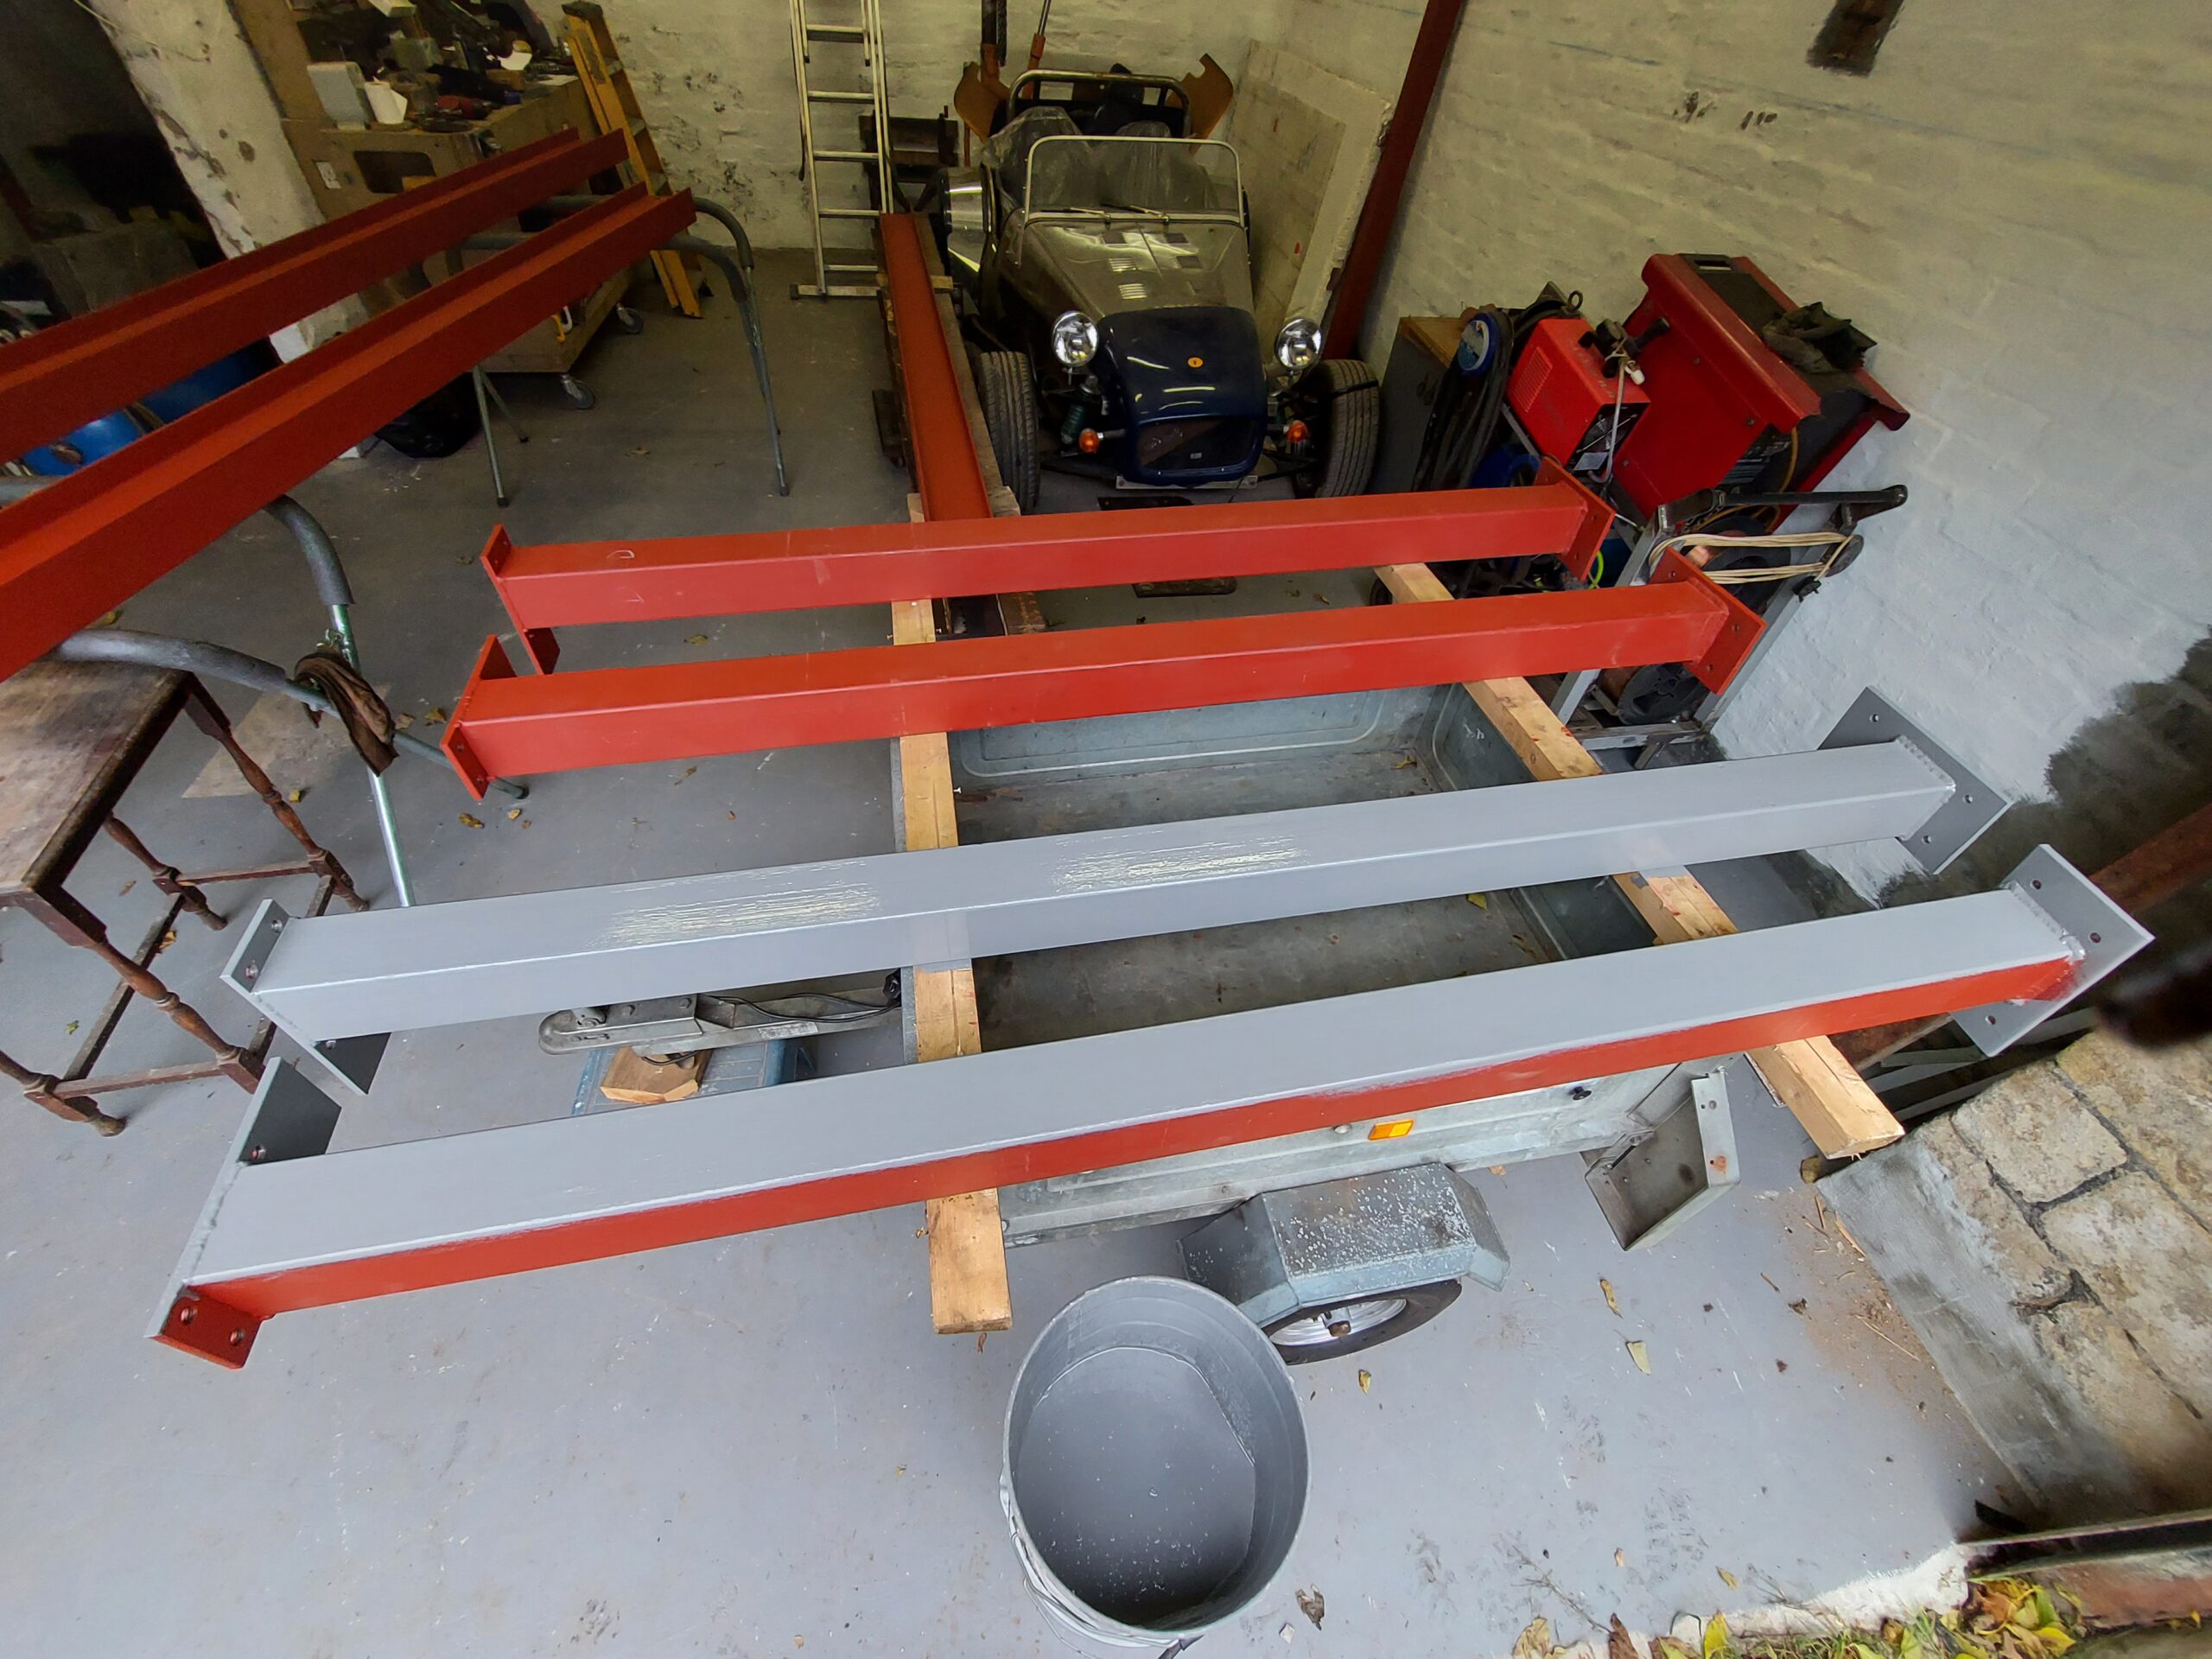
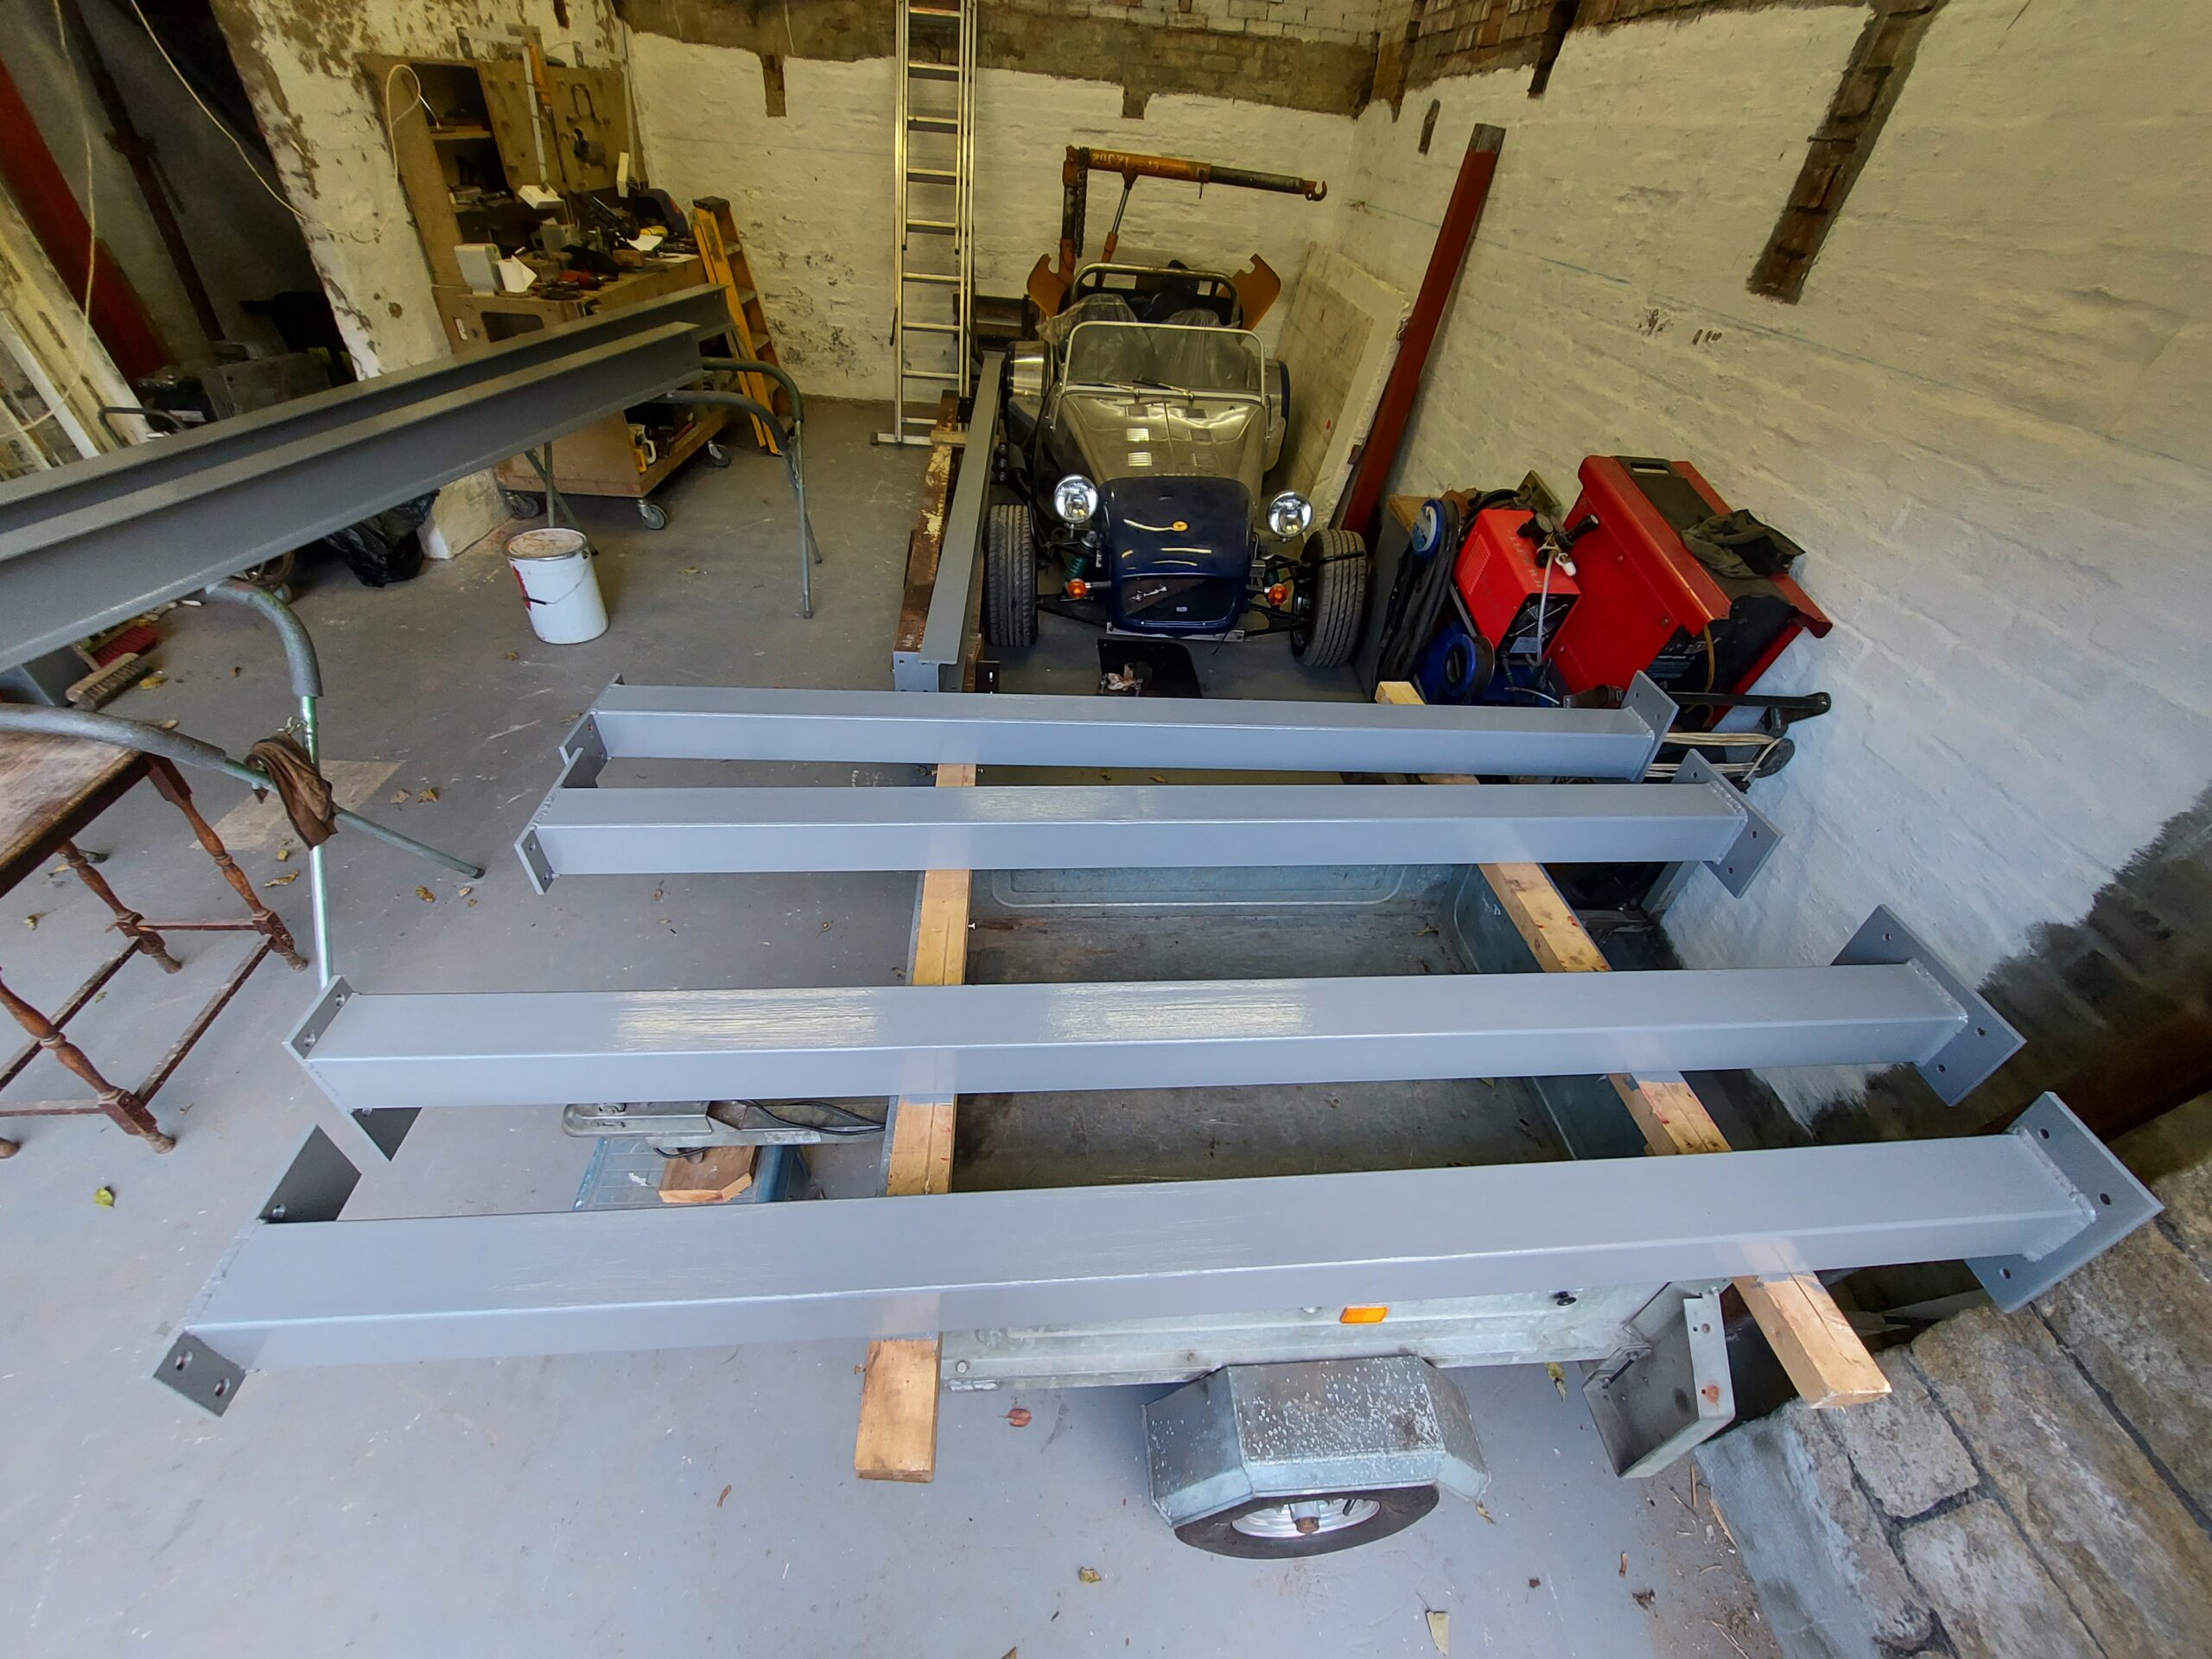
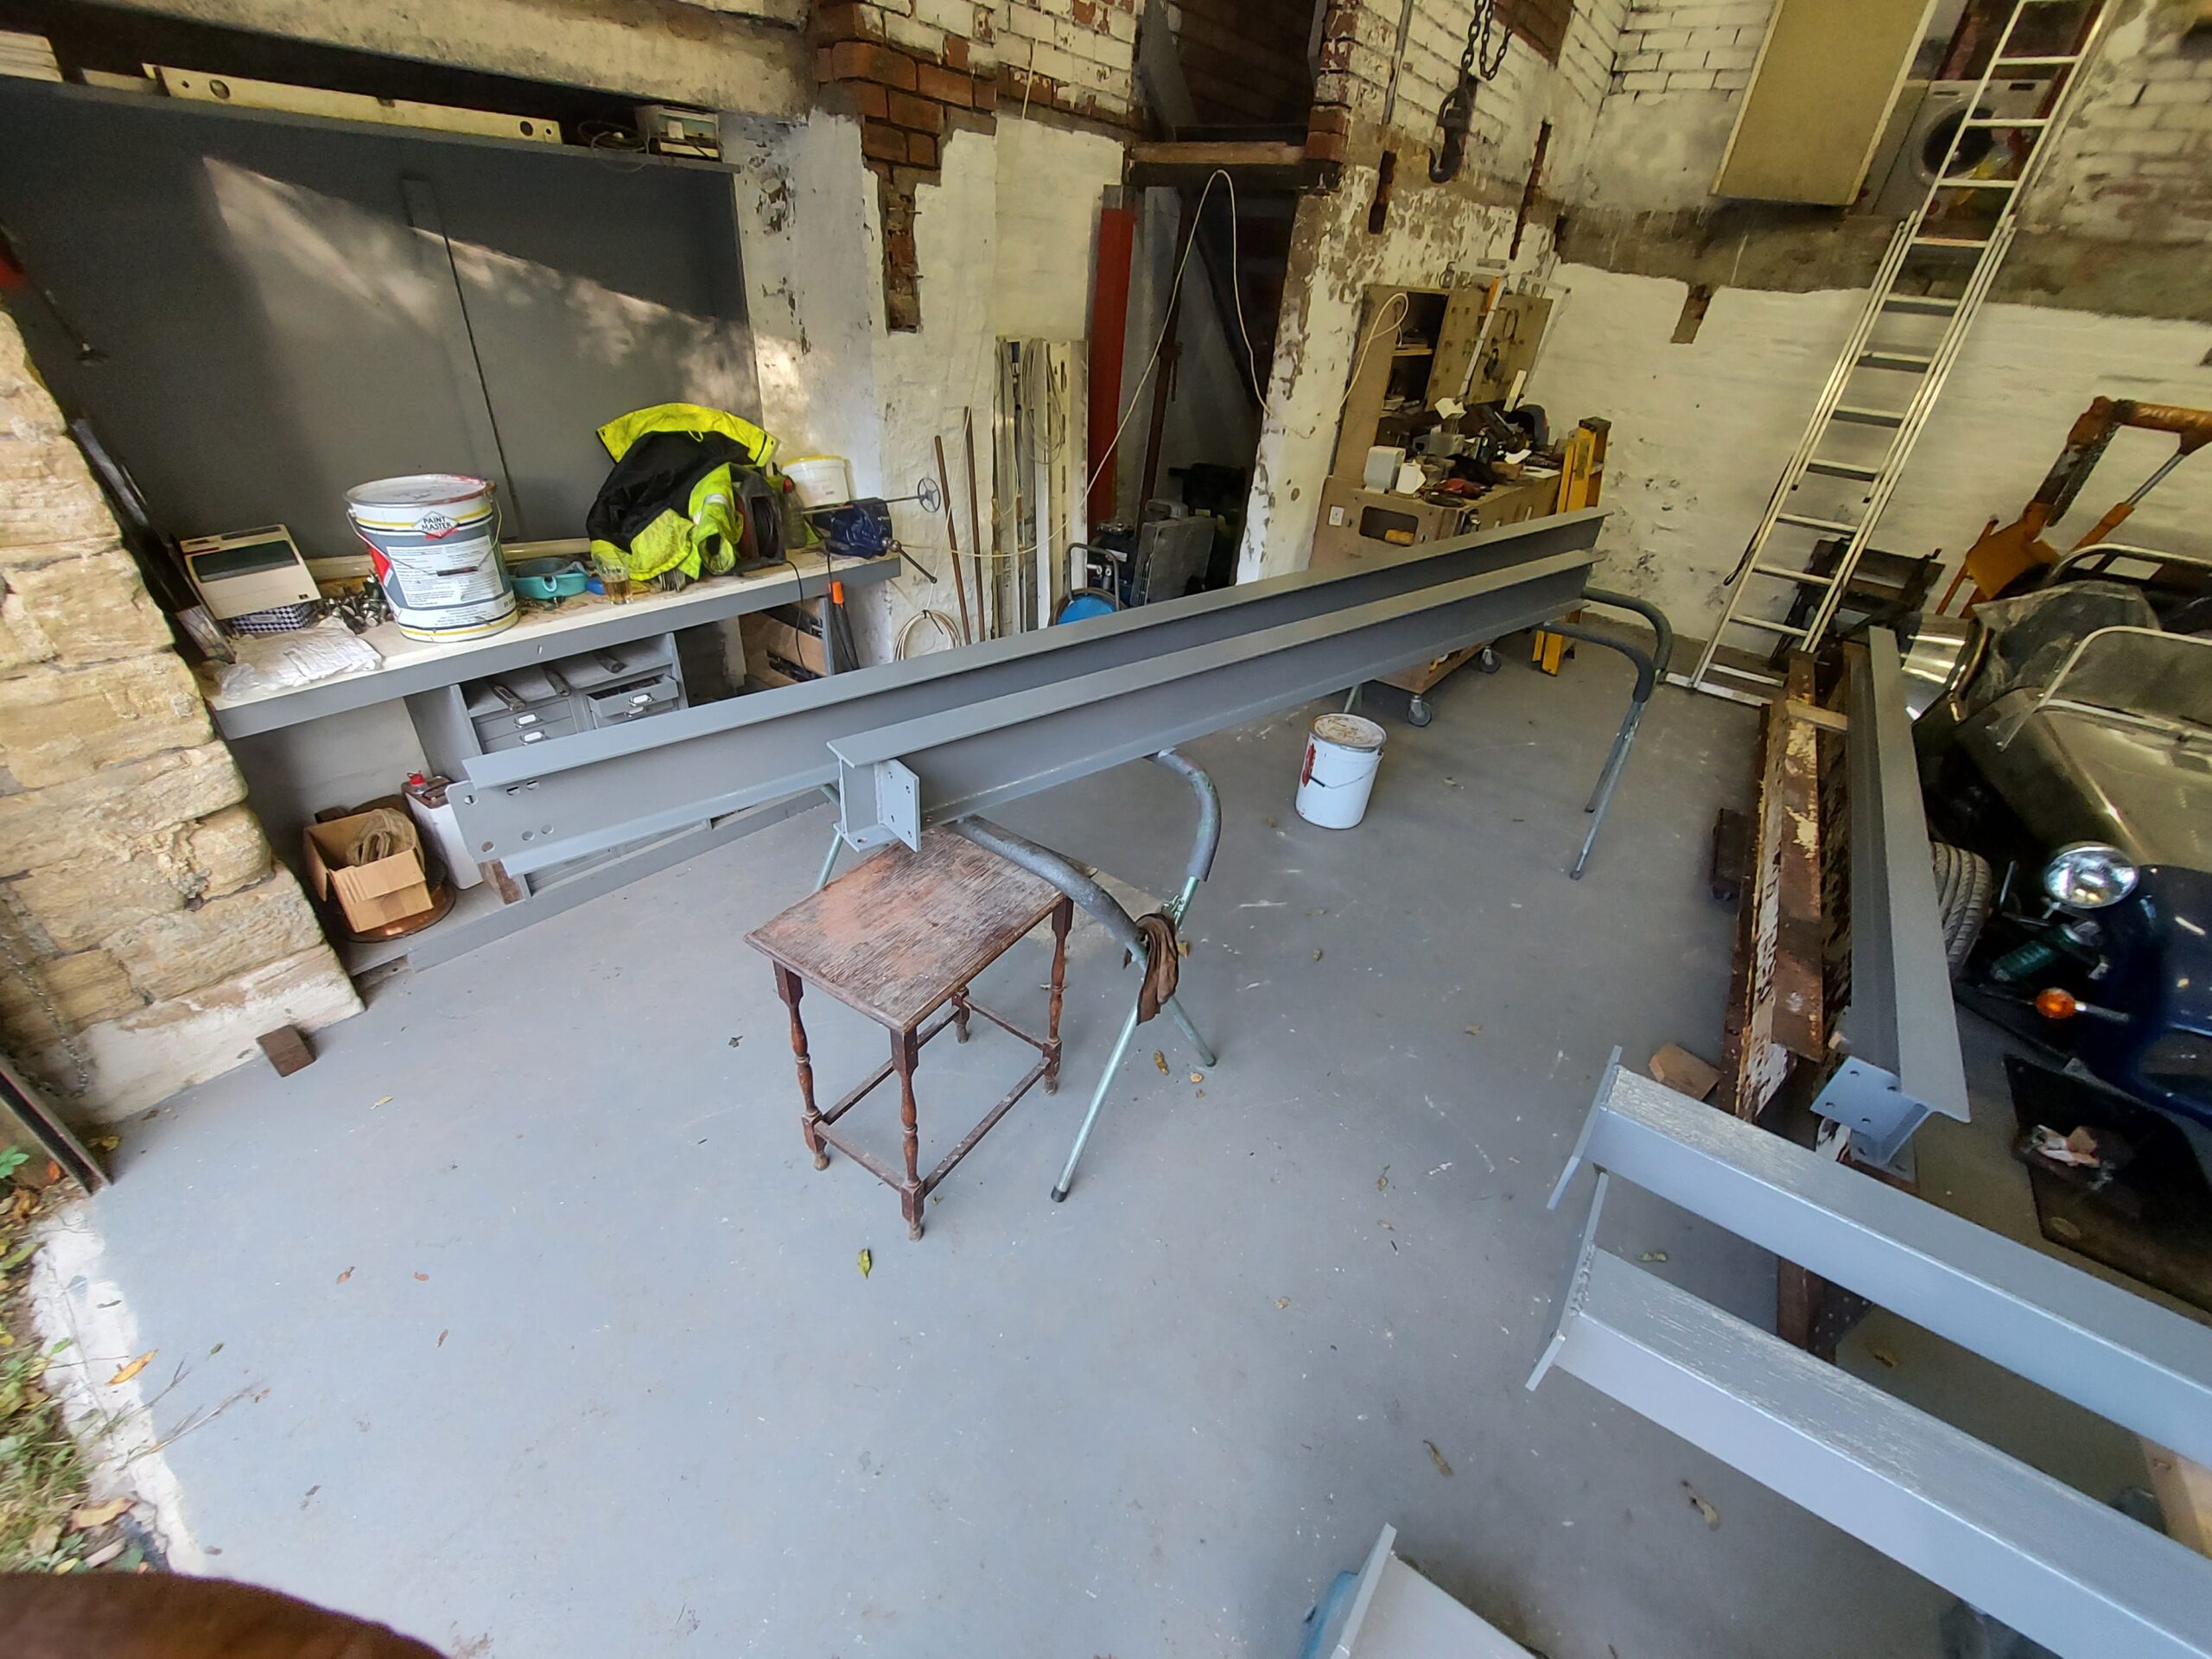
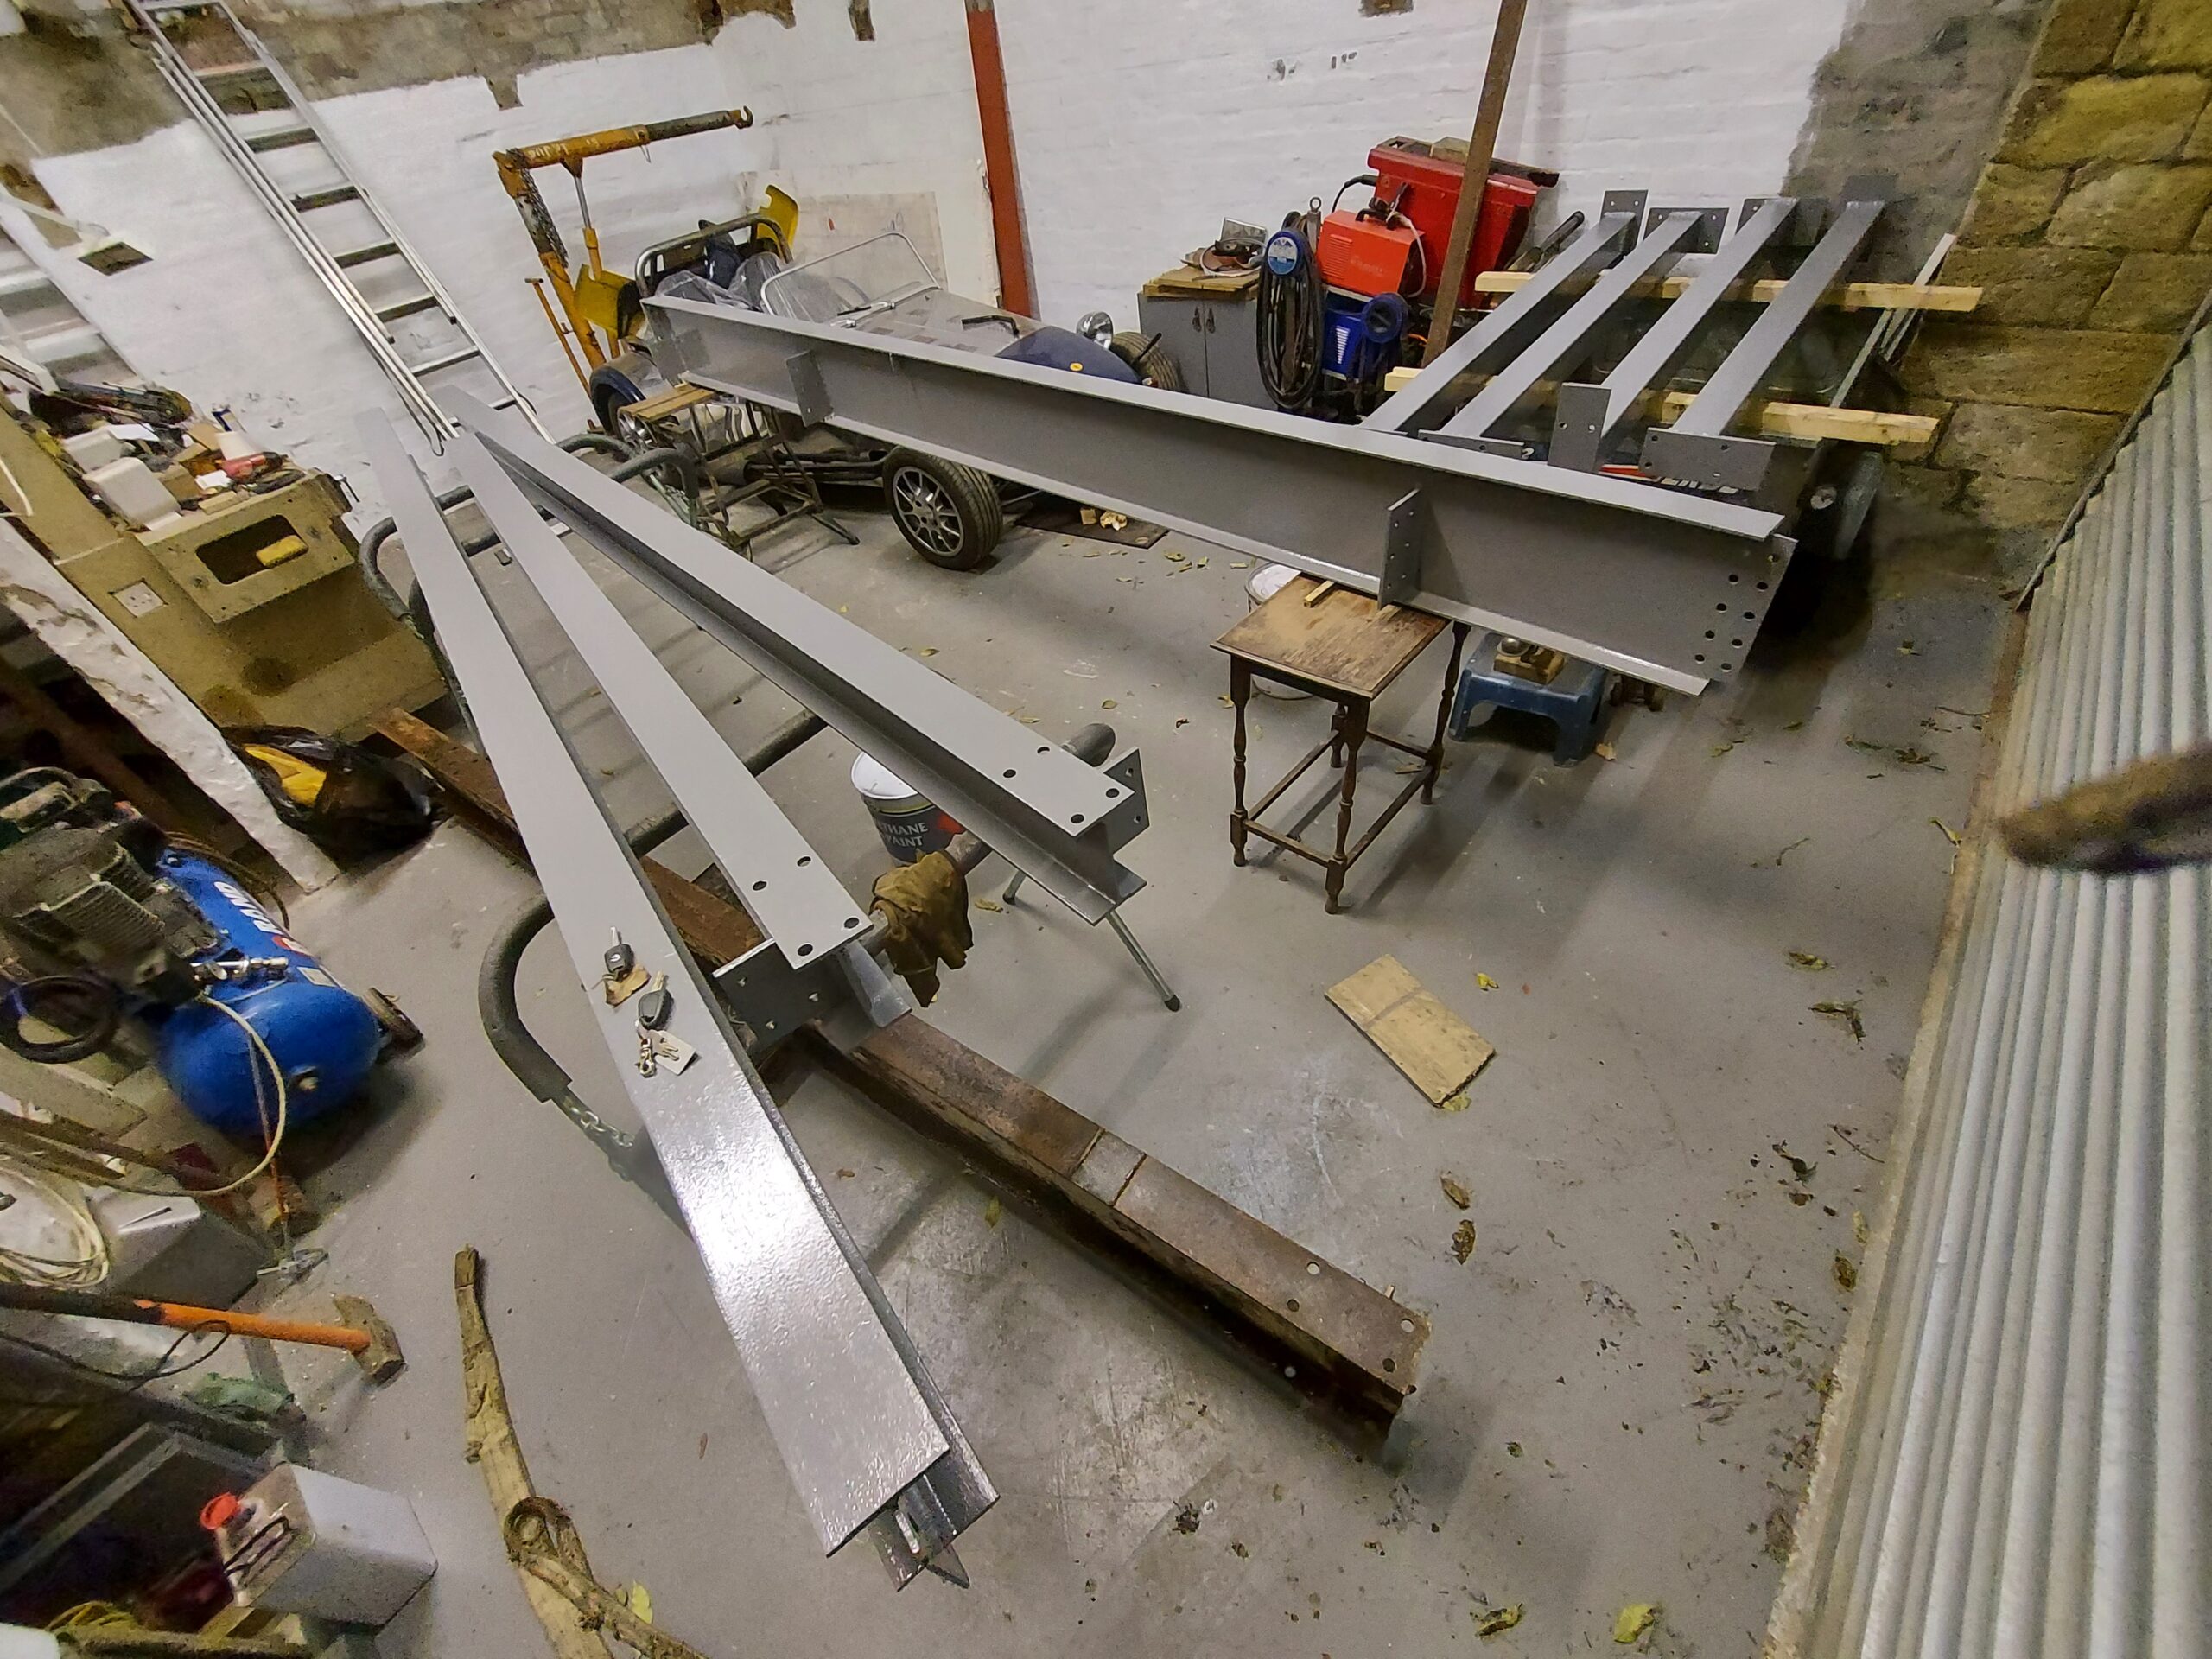
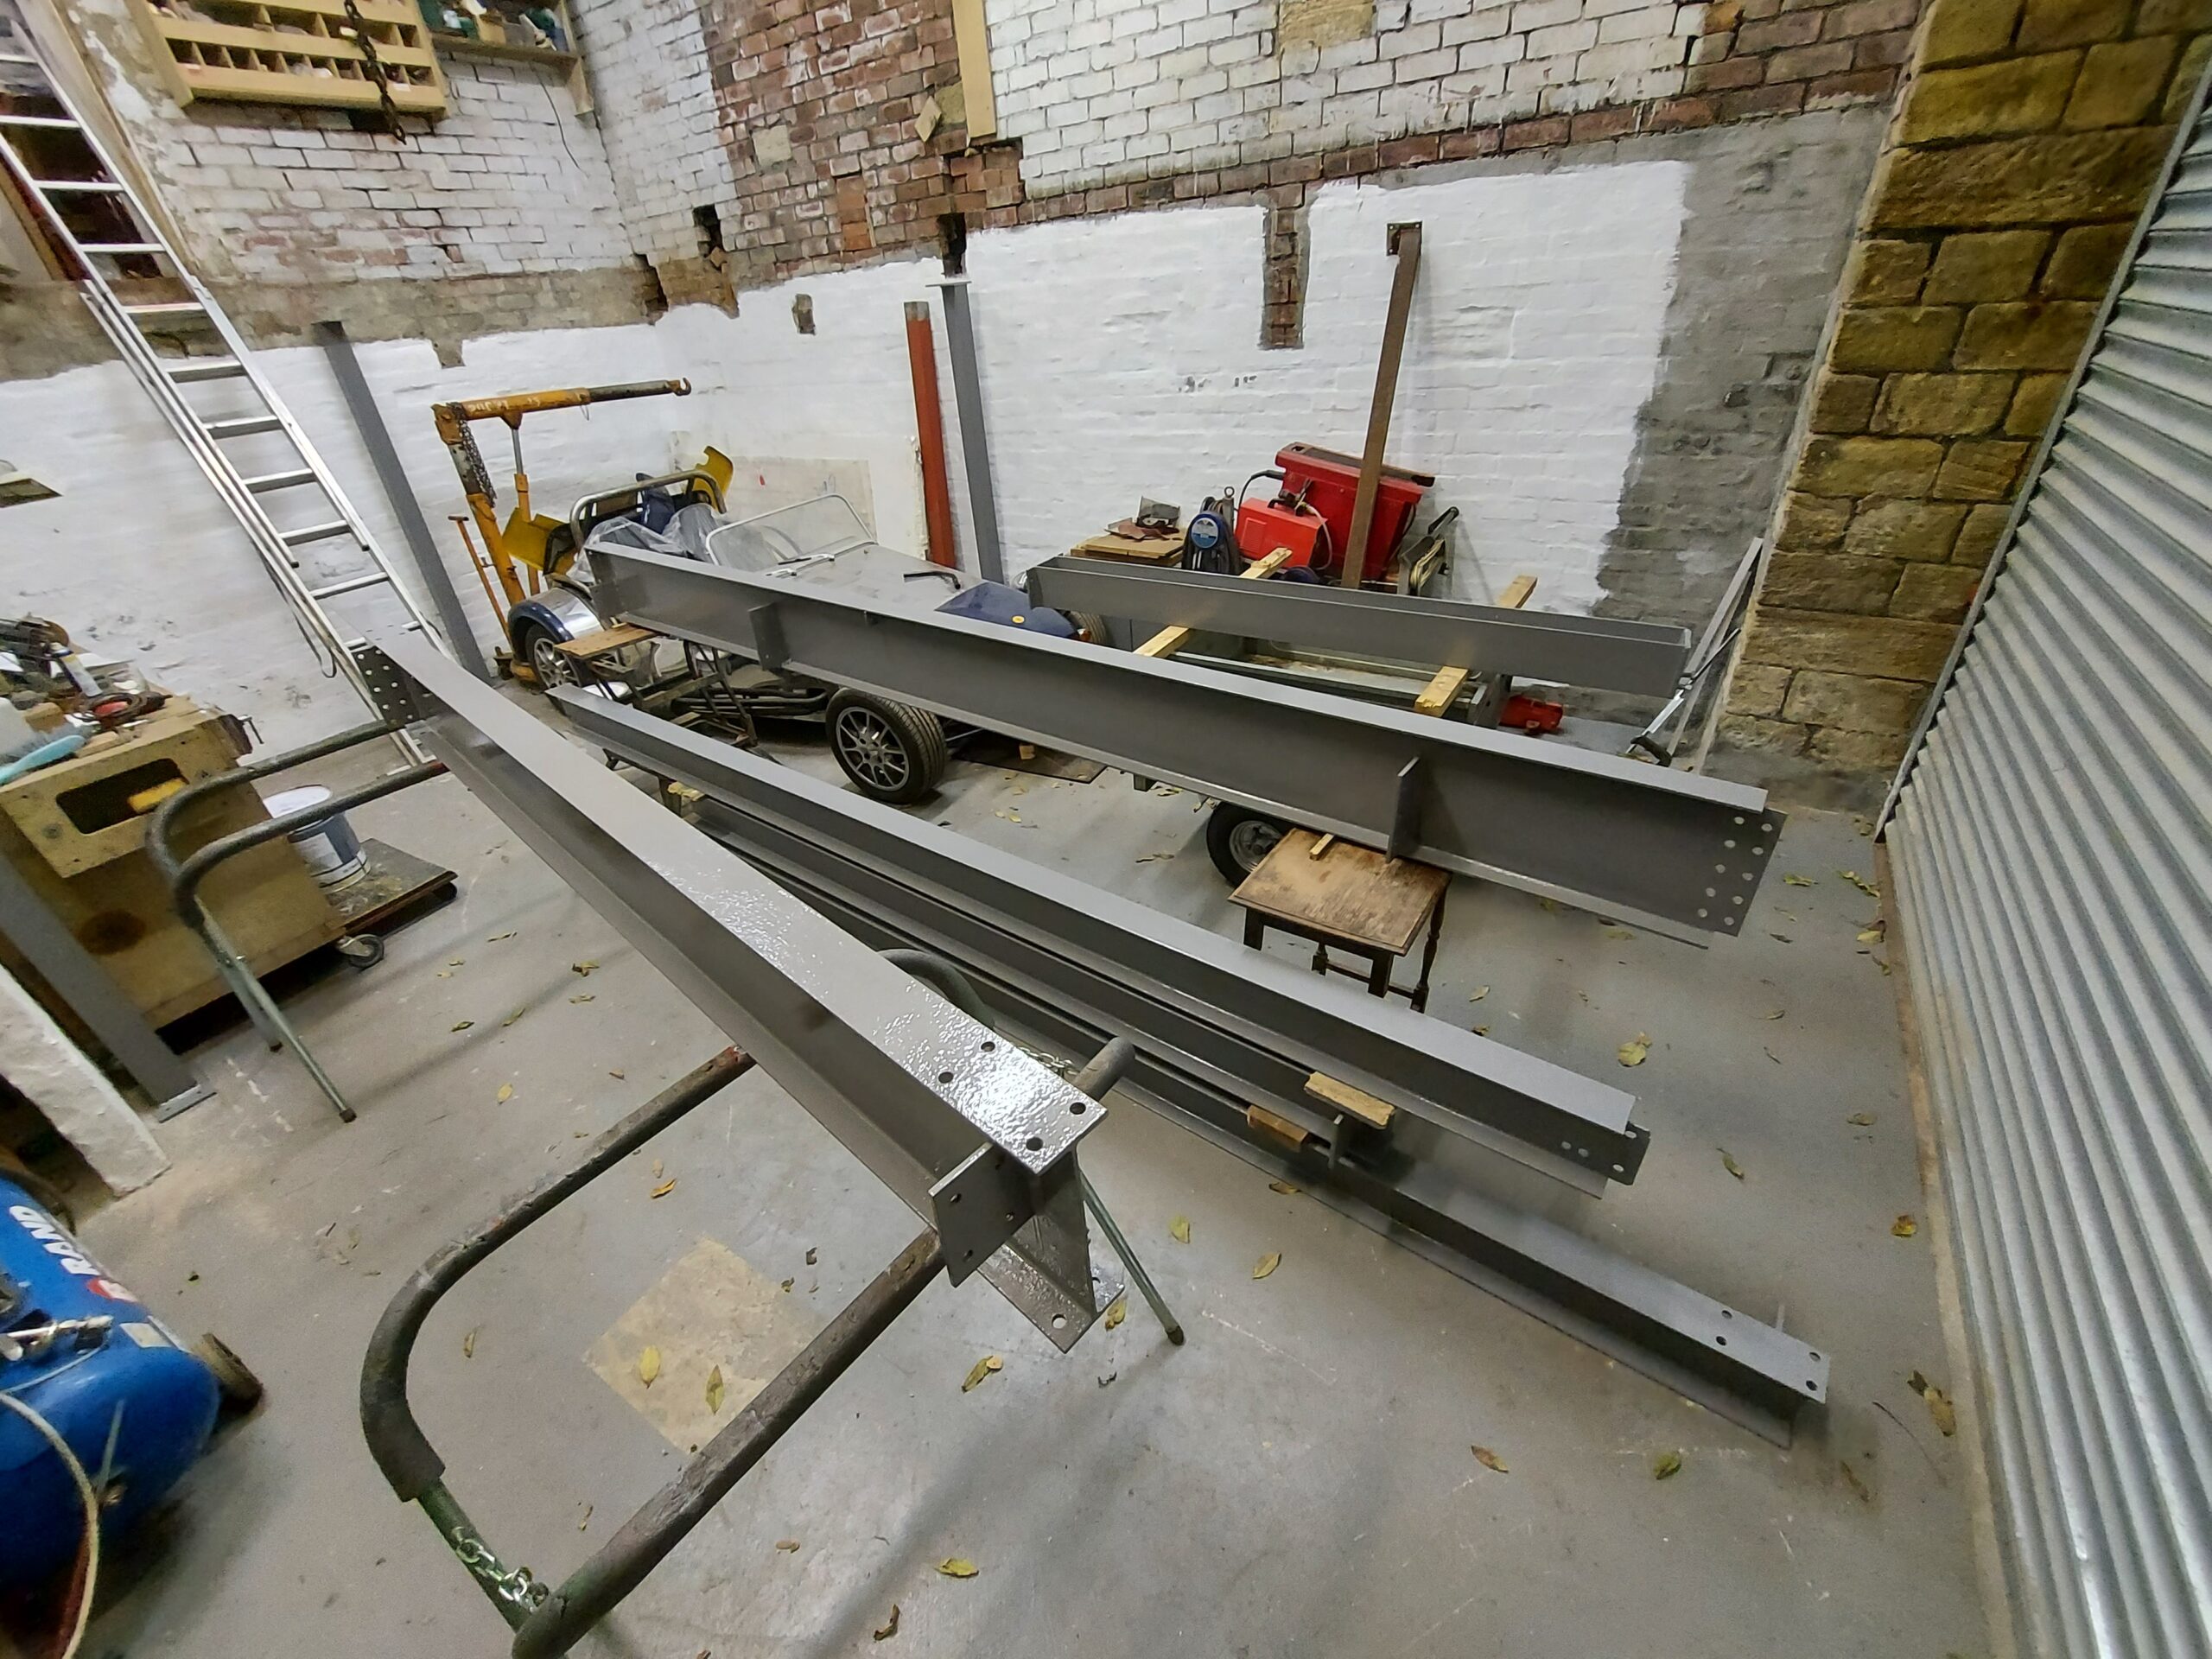
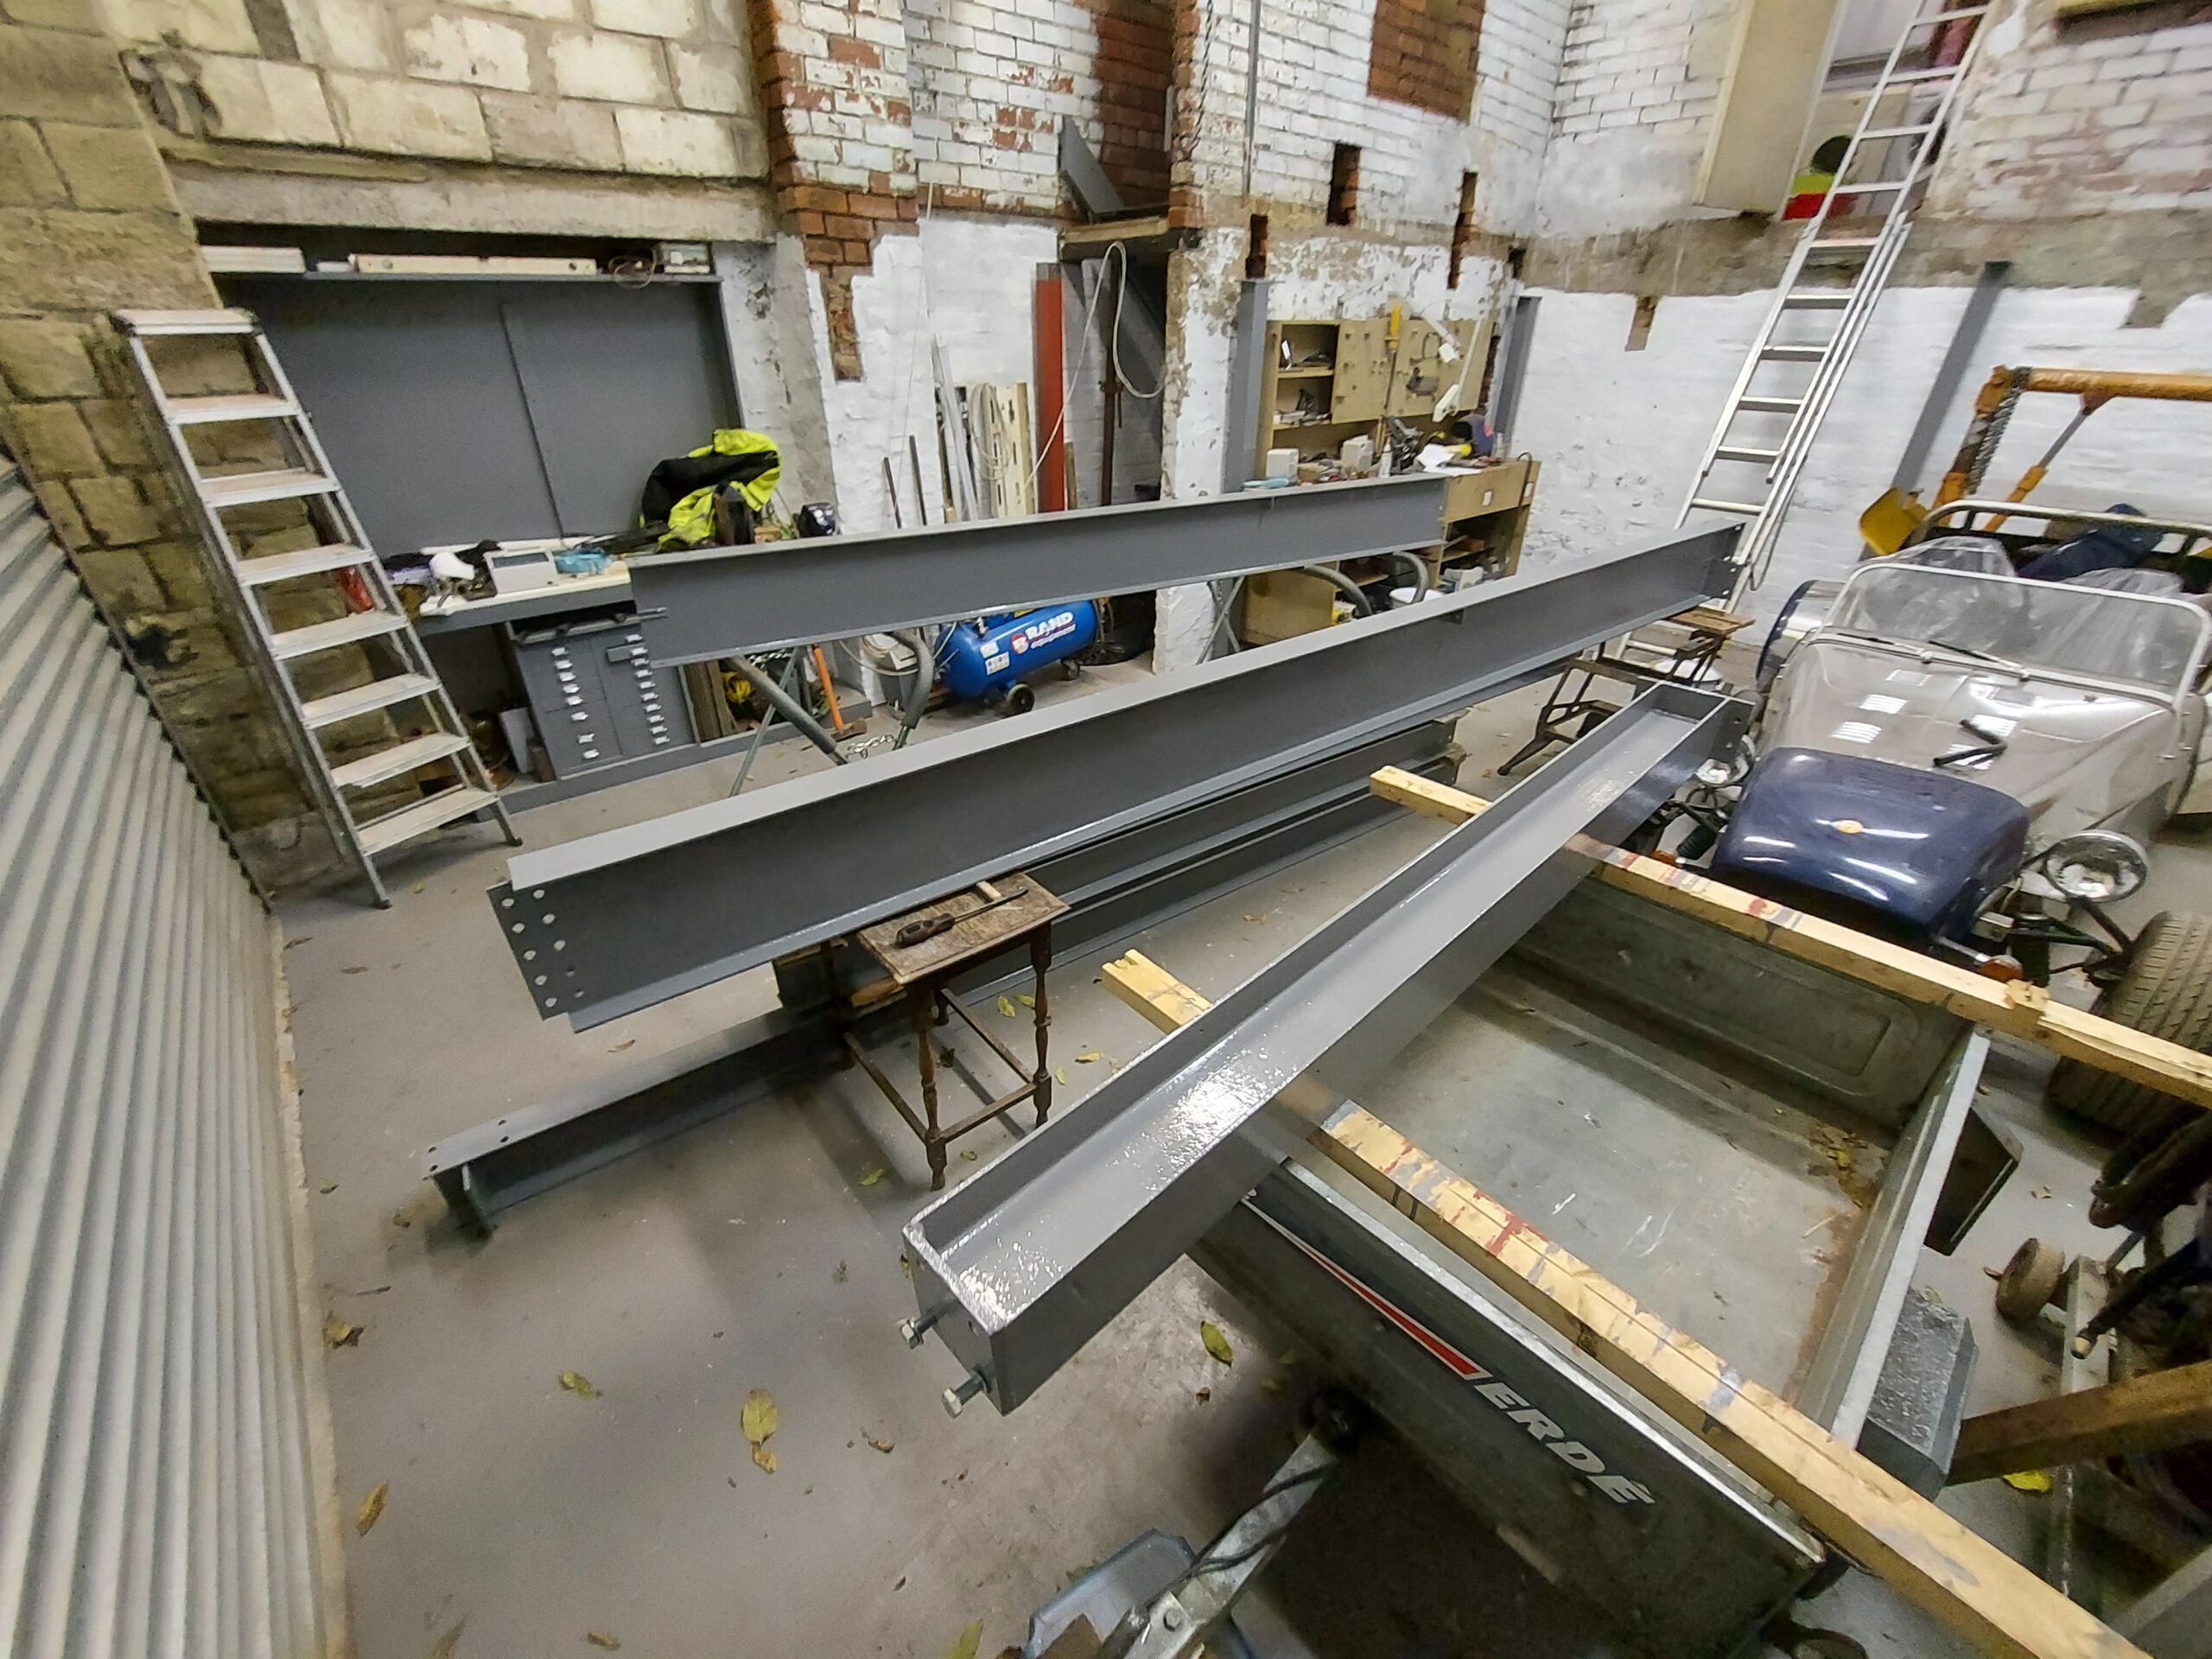
The New Steels
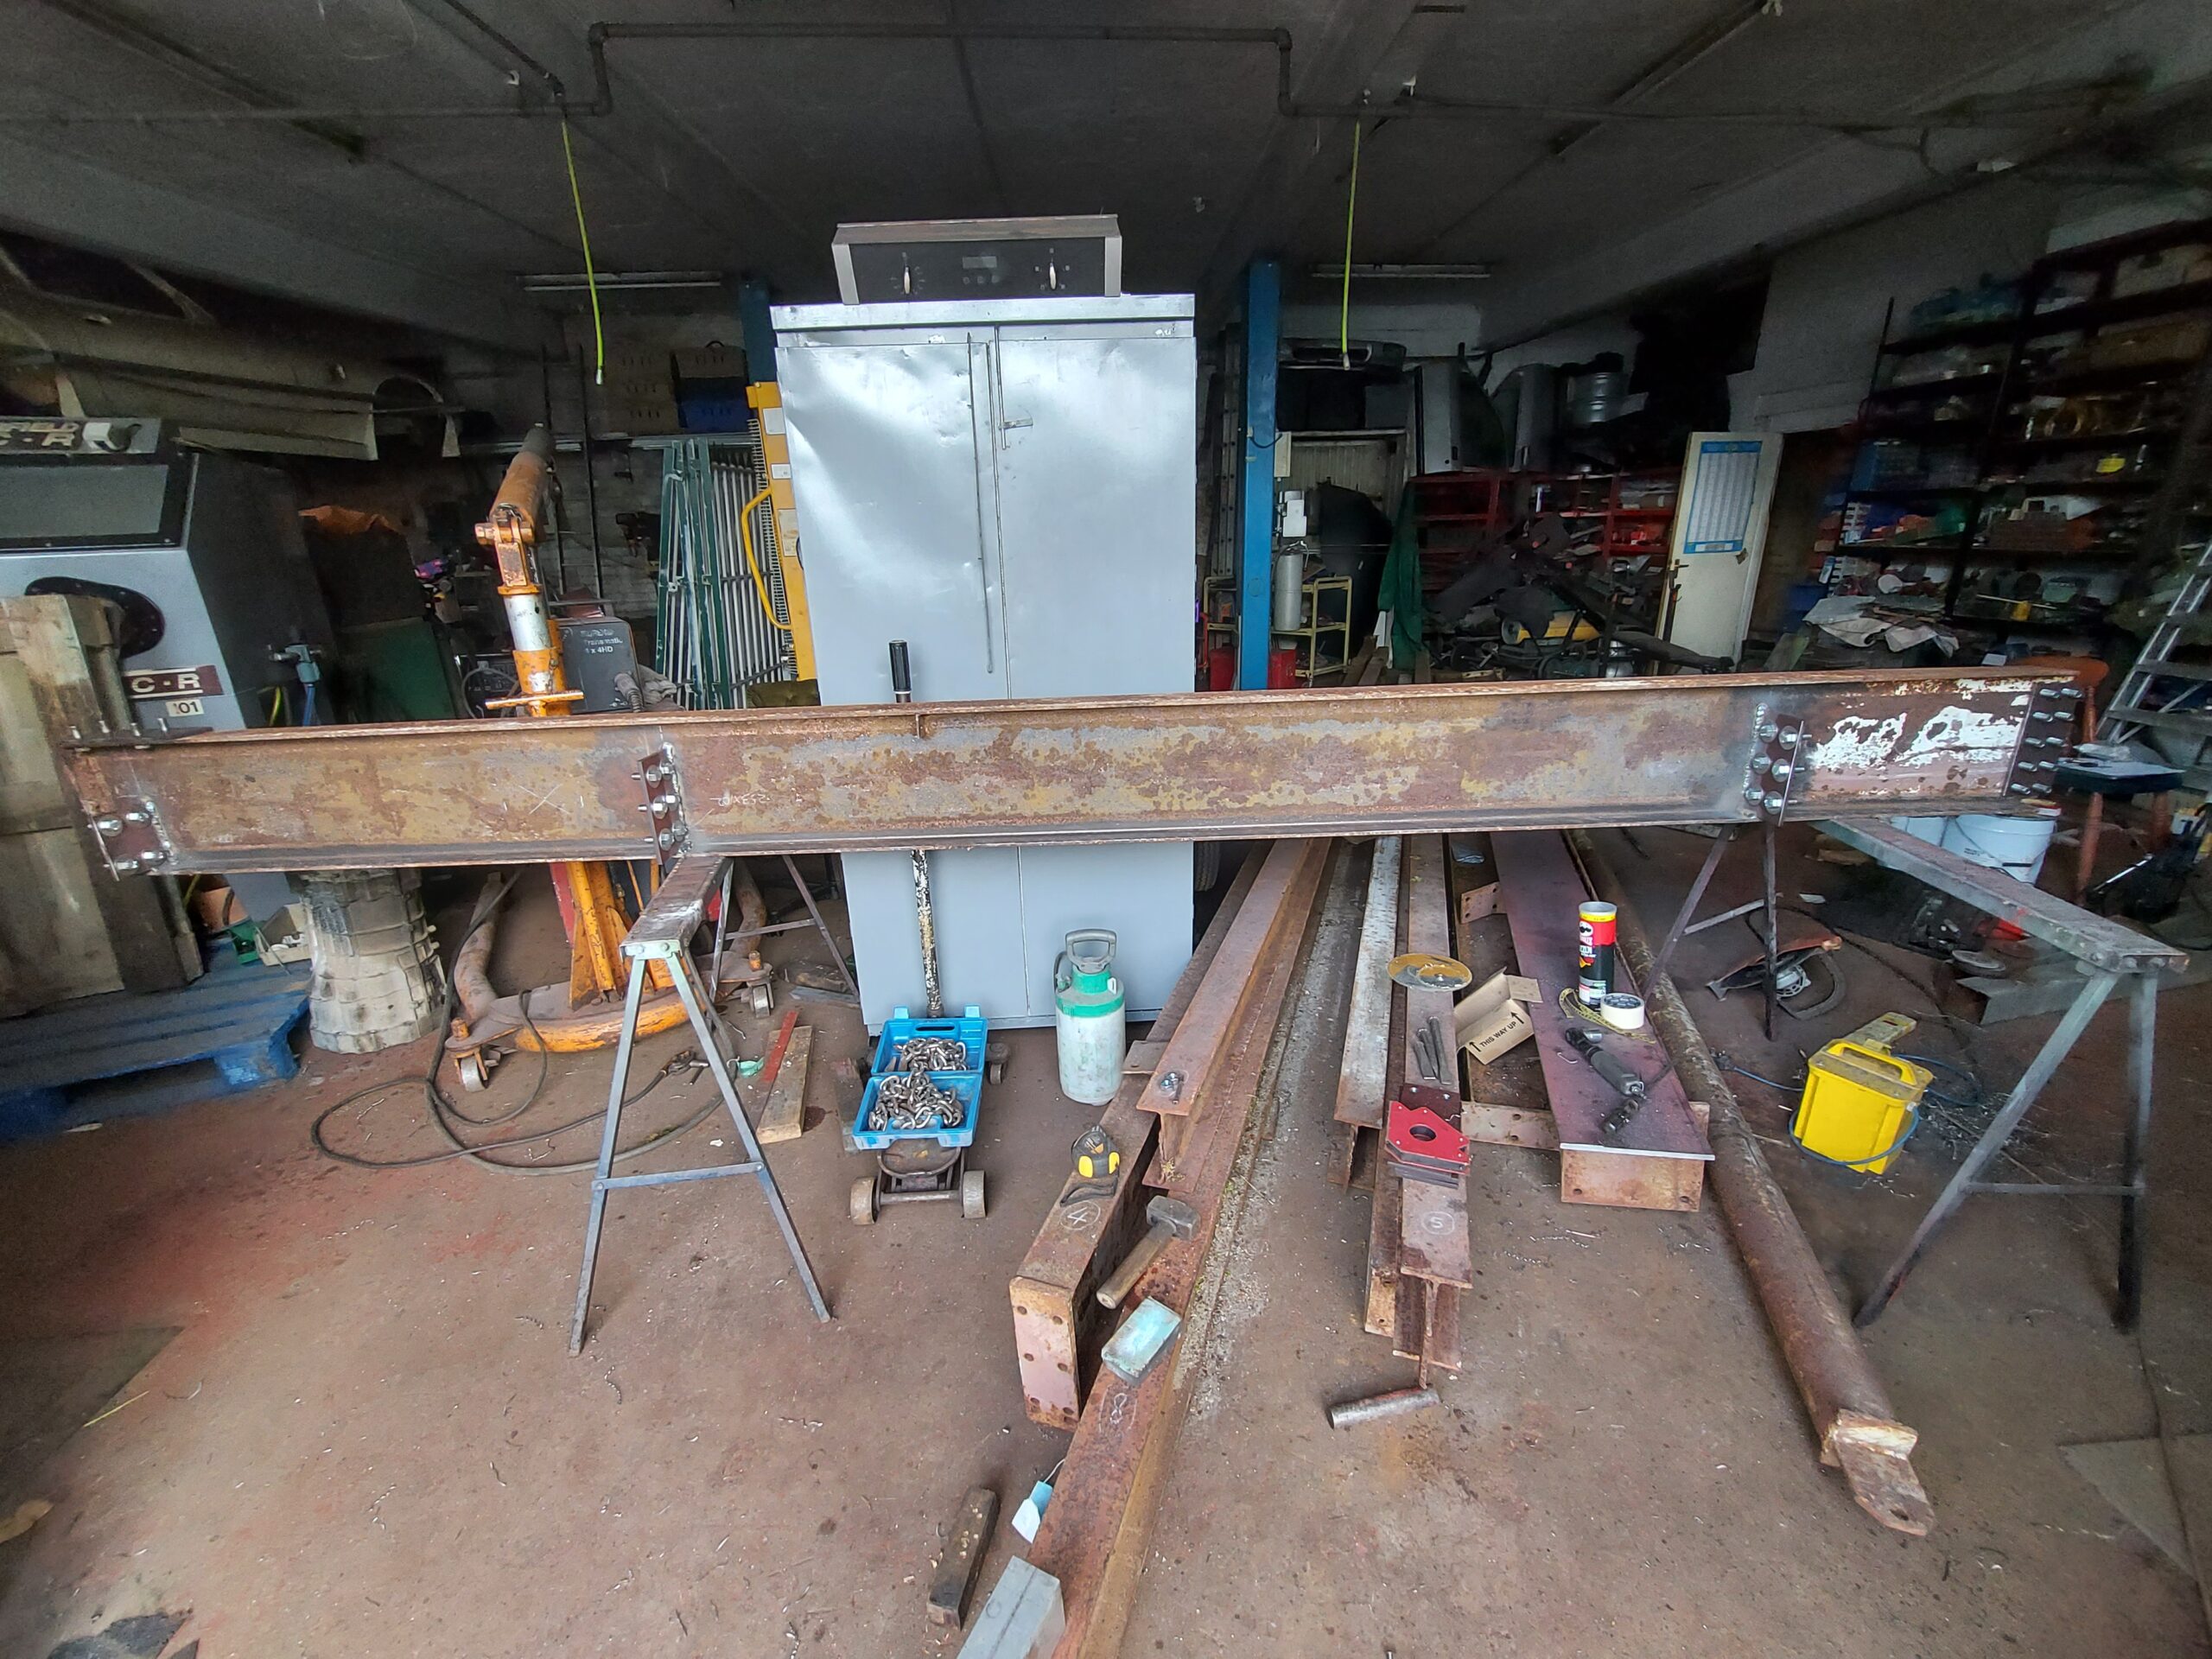
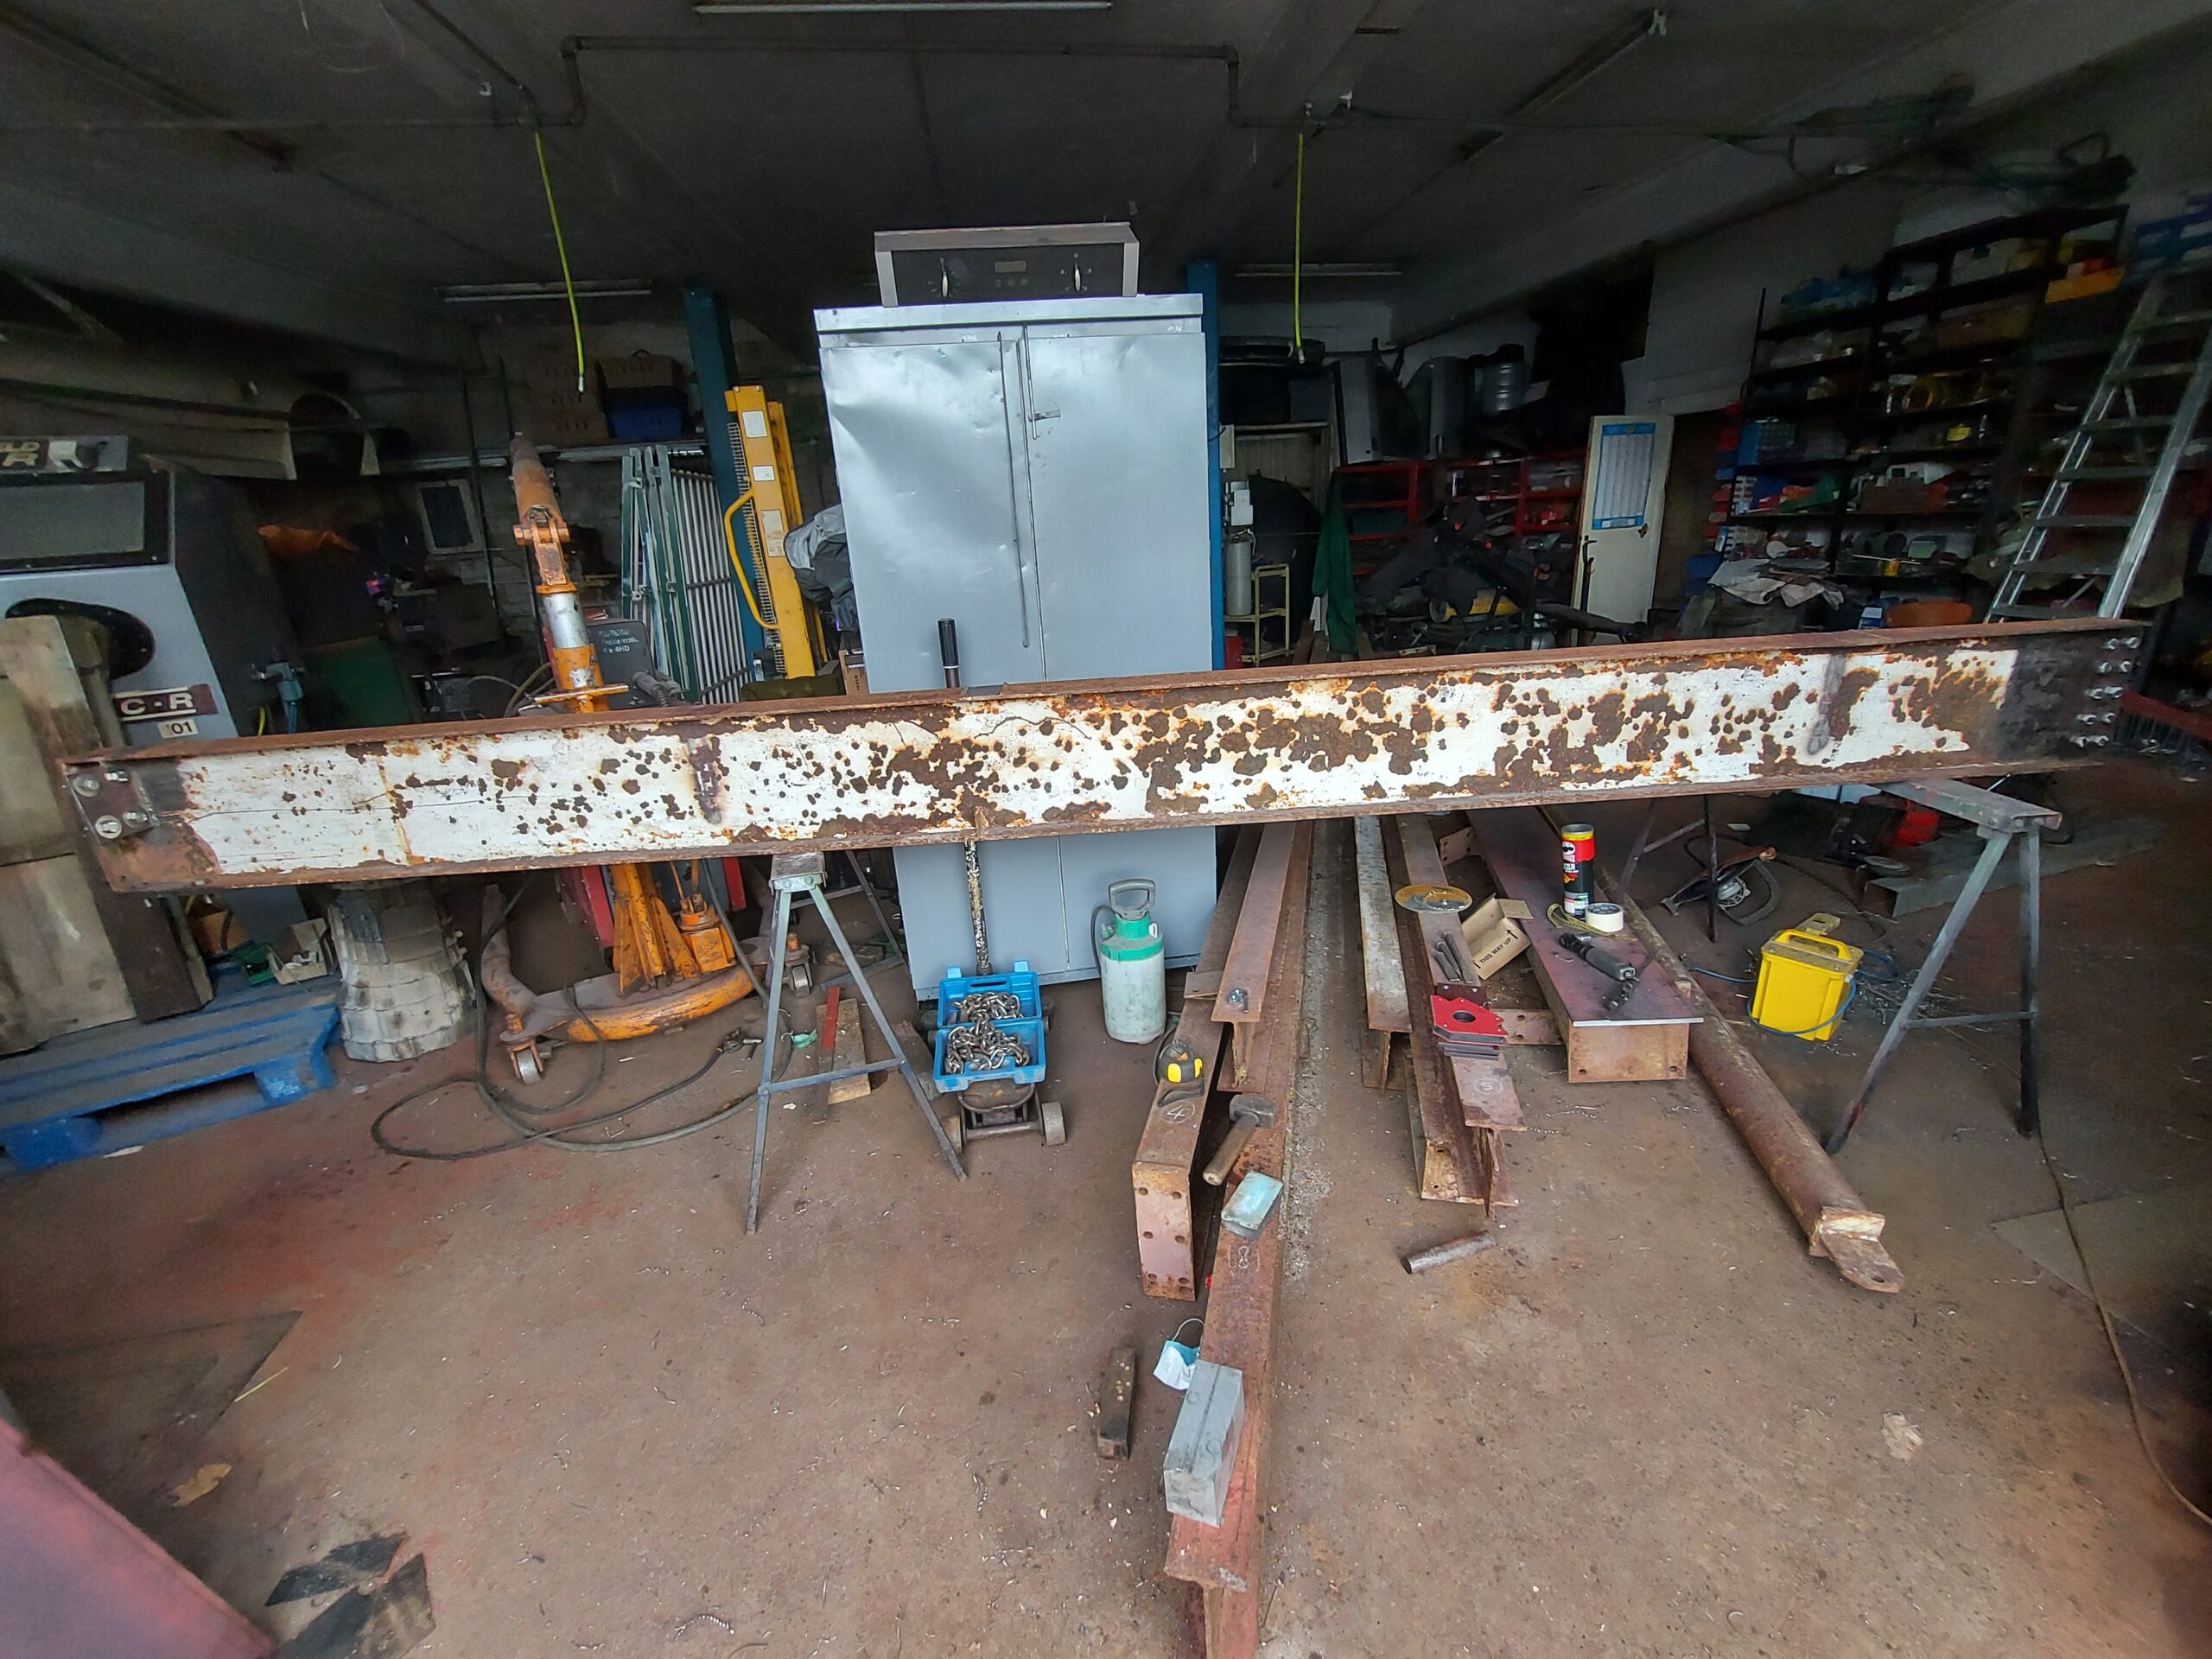
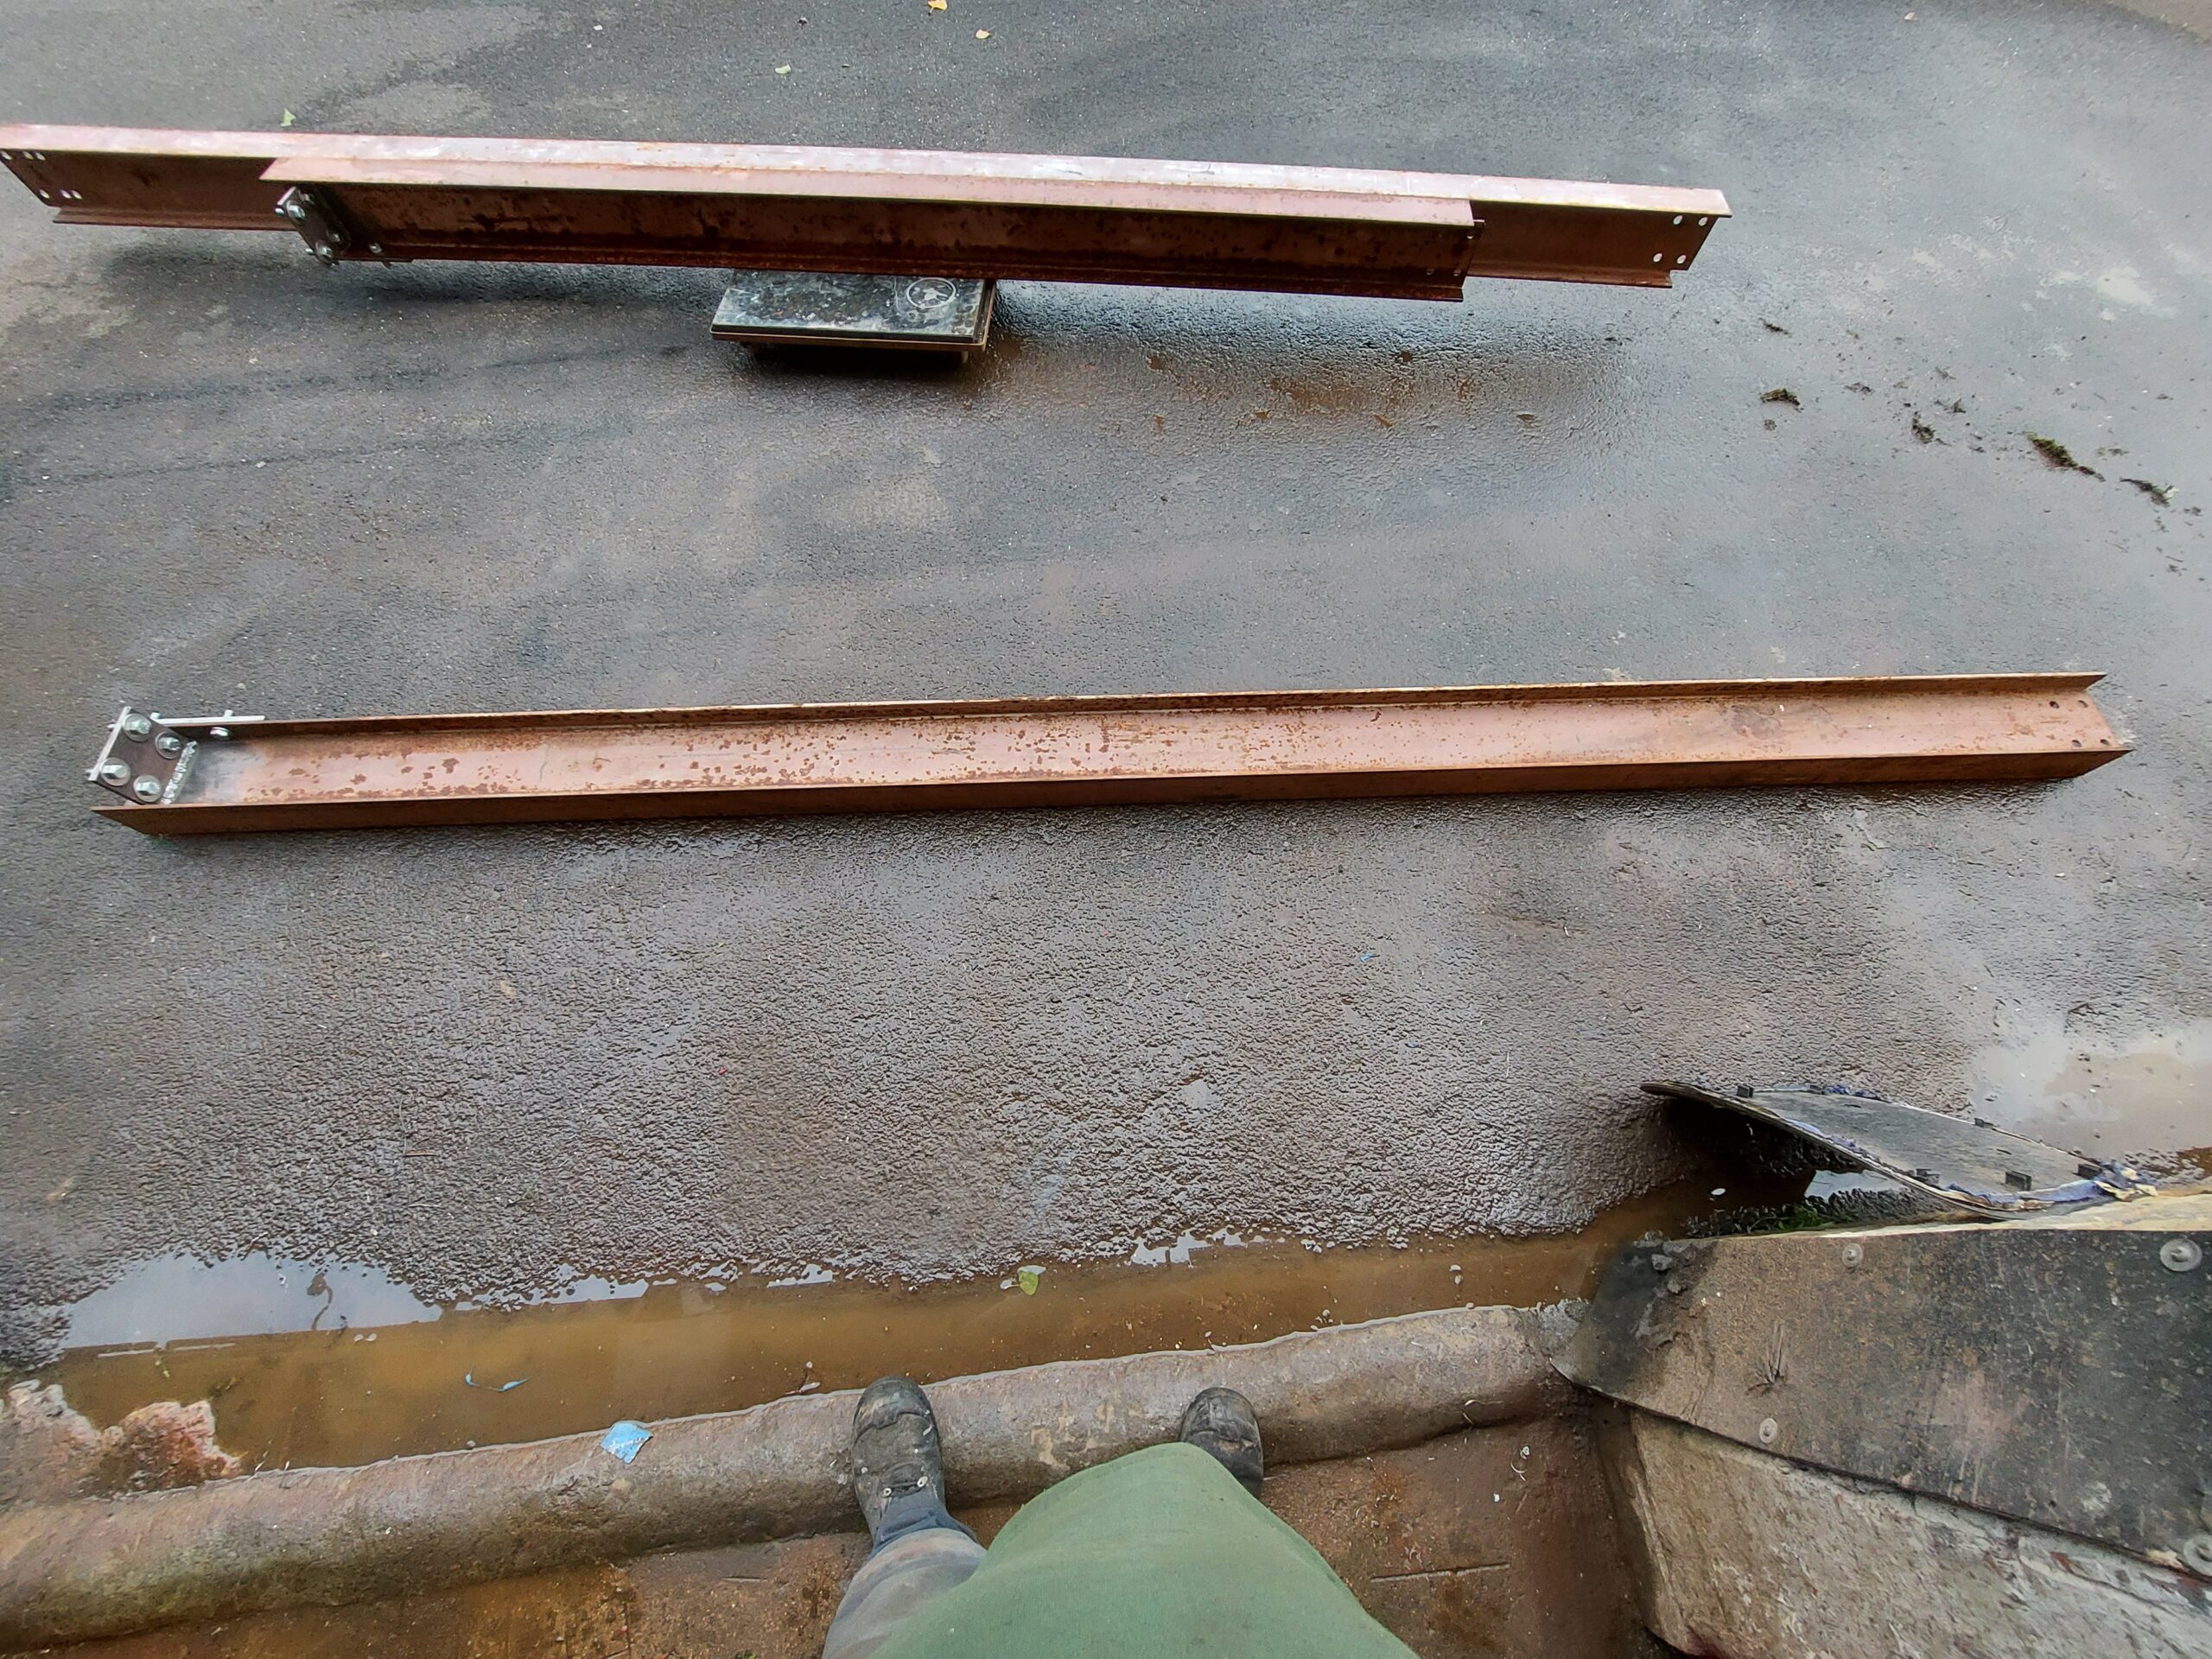
All cut Drilled and plates welded on just need cleaning & painting
Steels B & D make the backbone of the framework both 305×102 12×4″ in old monies
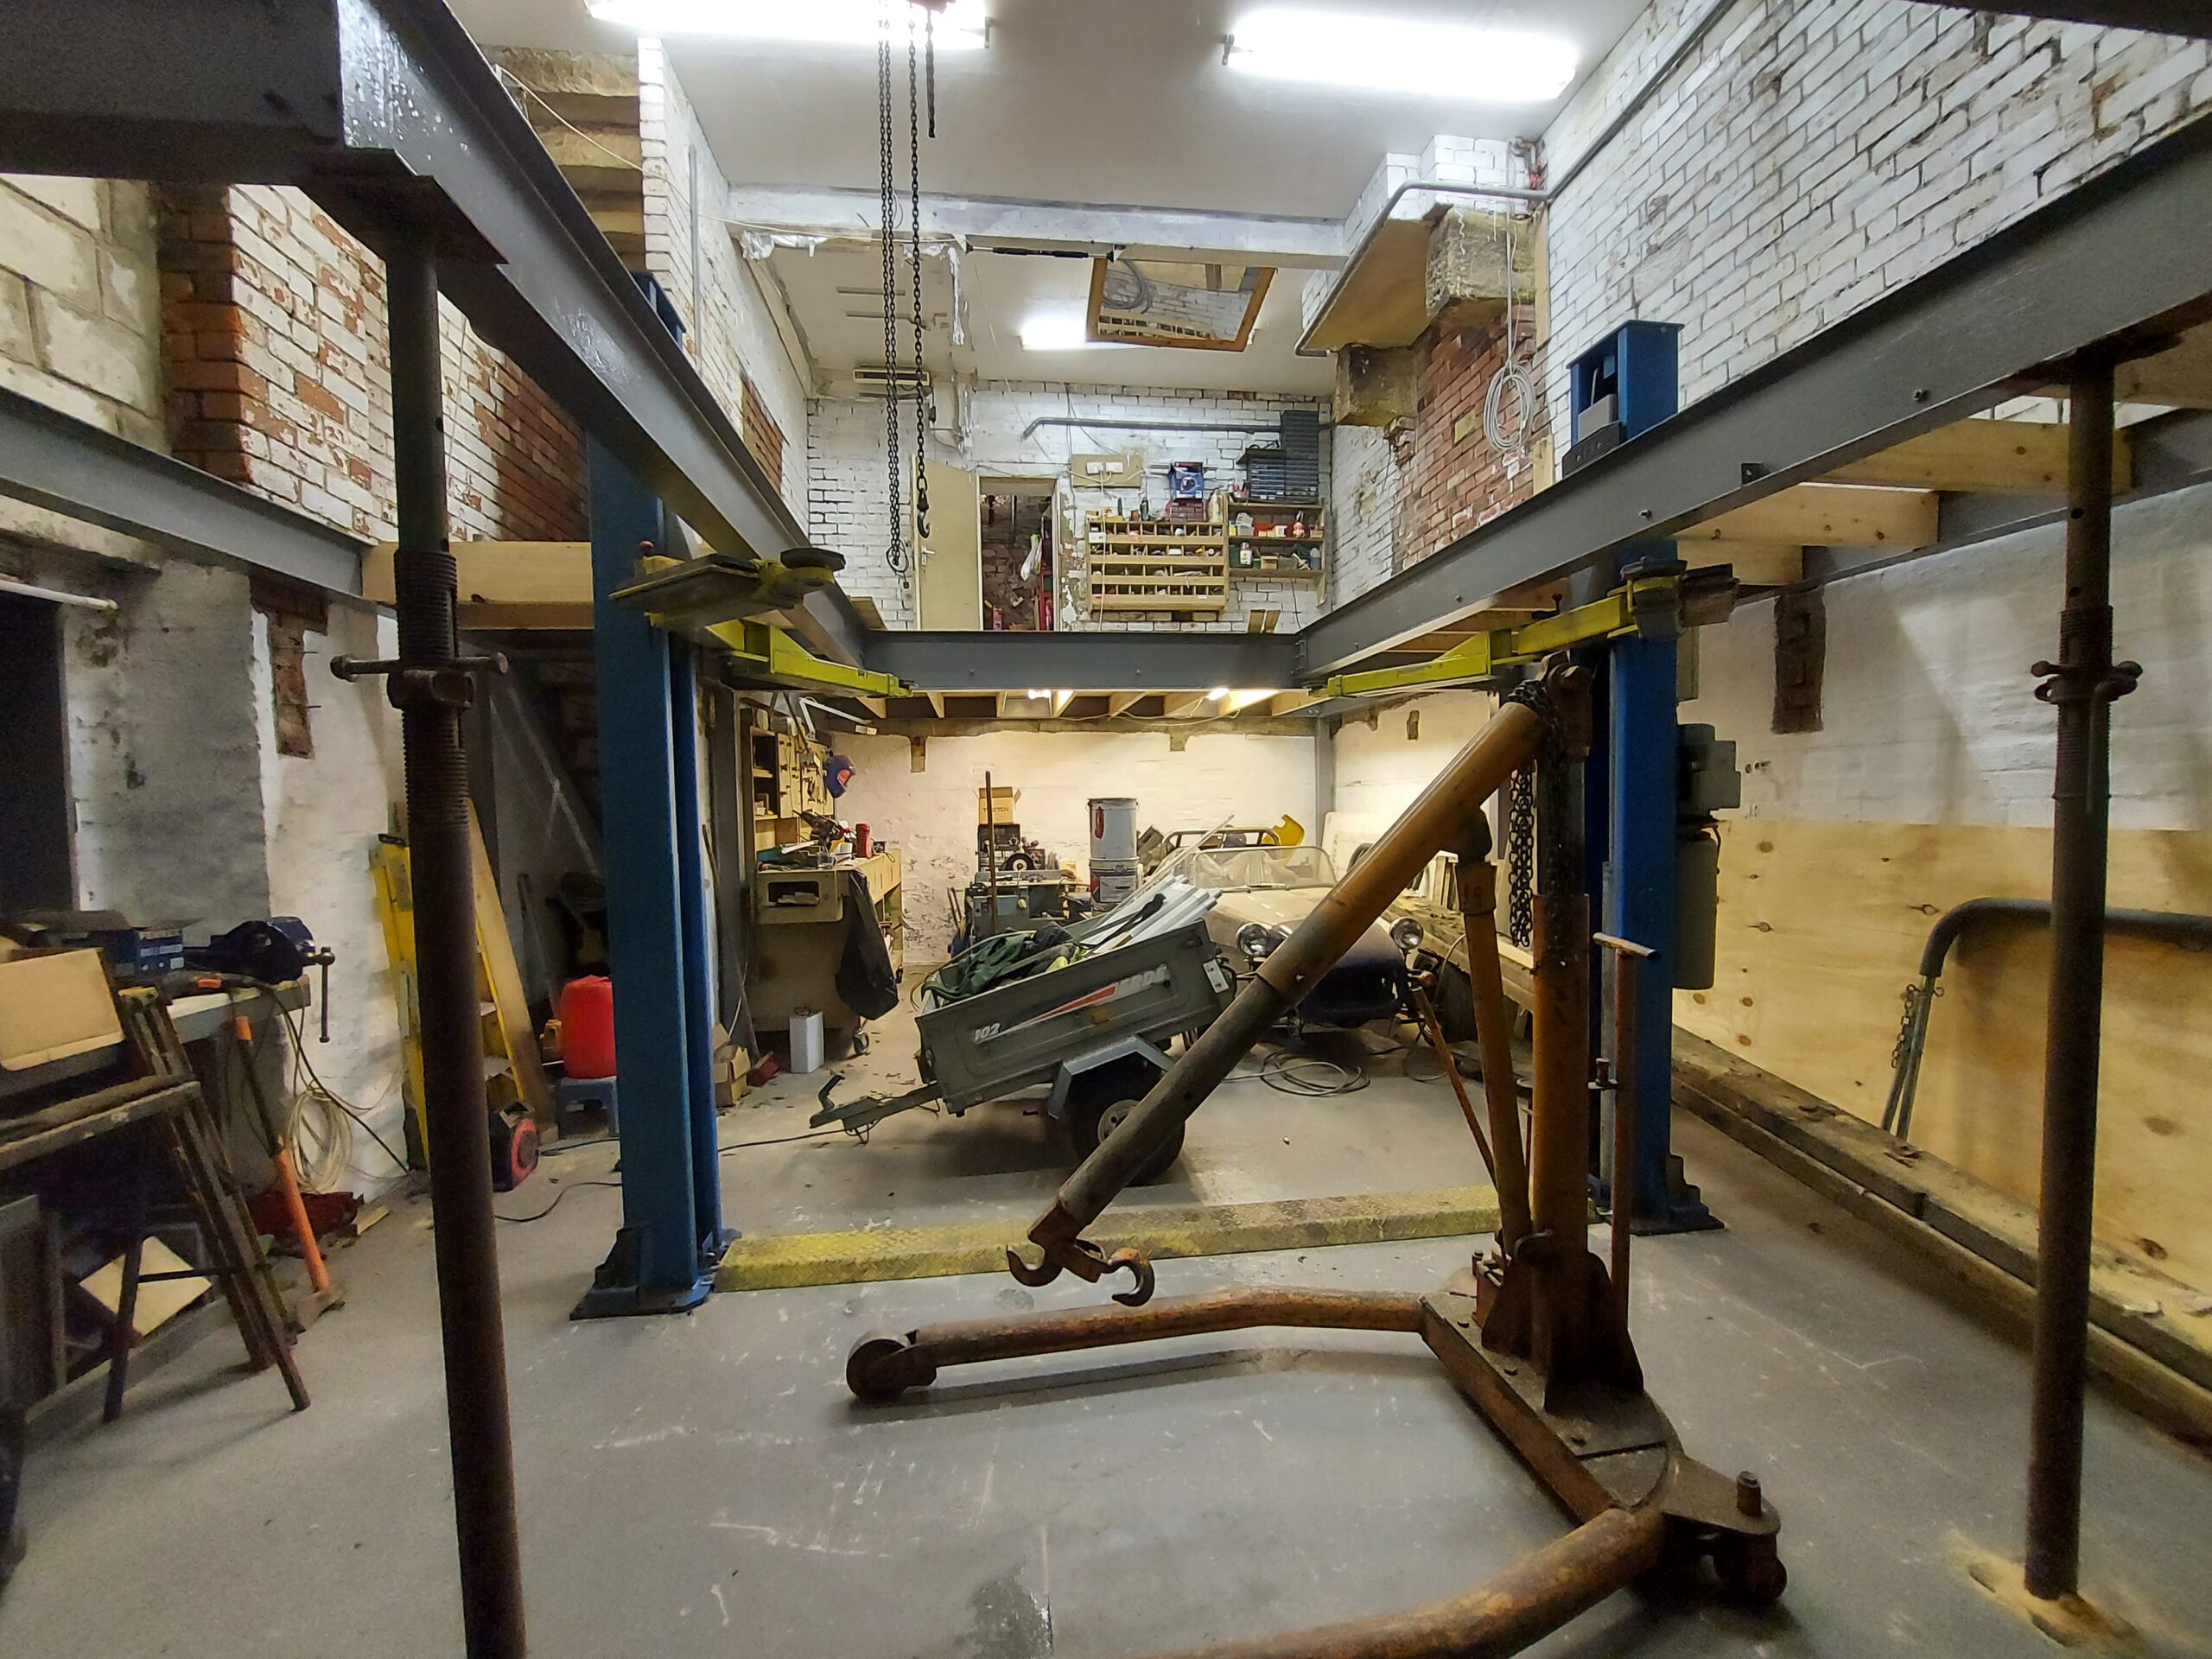
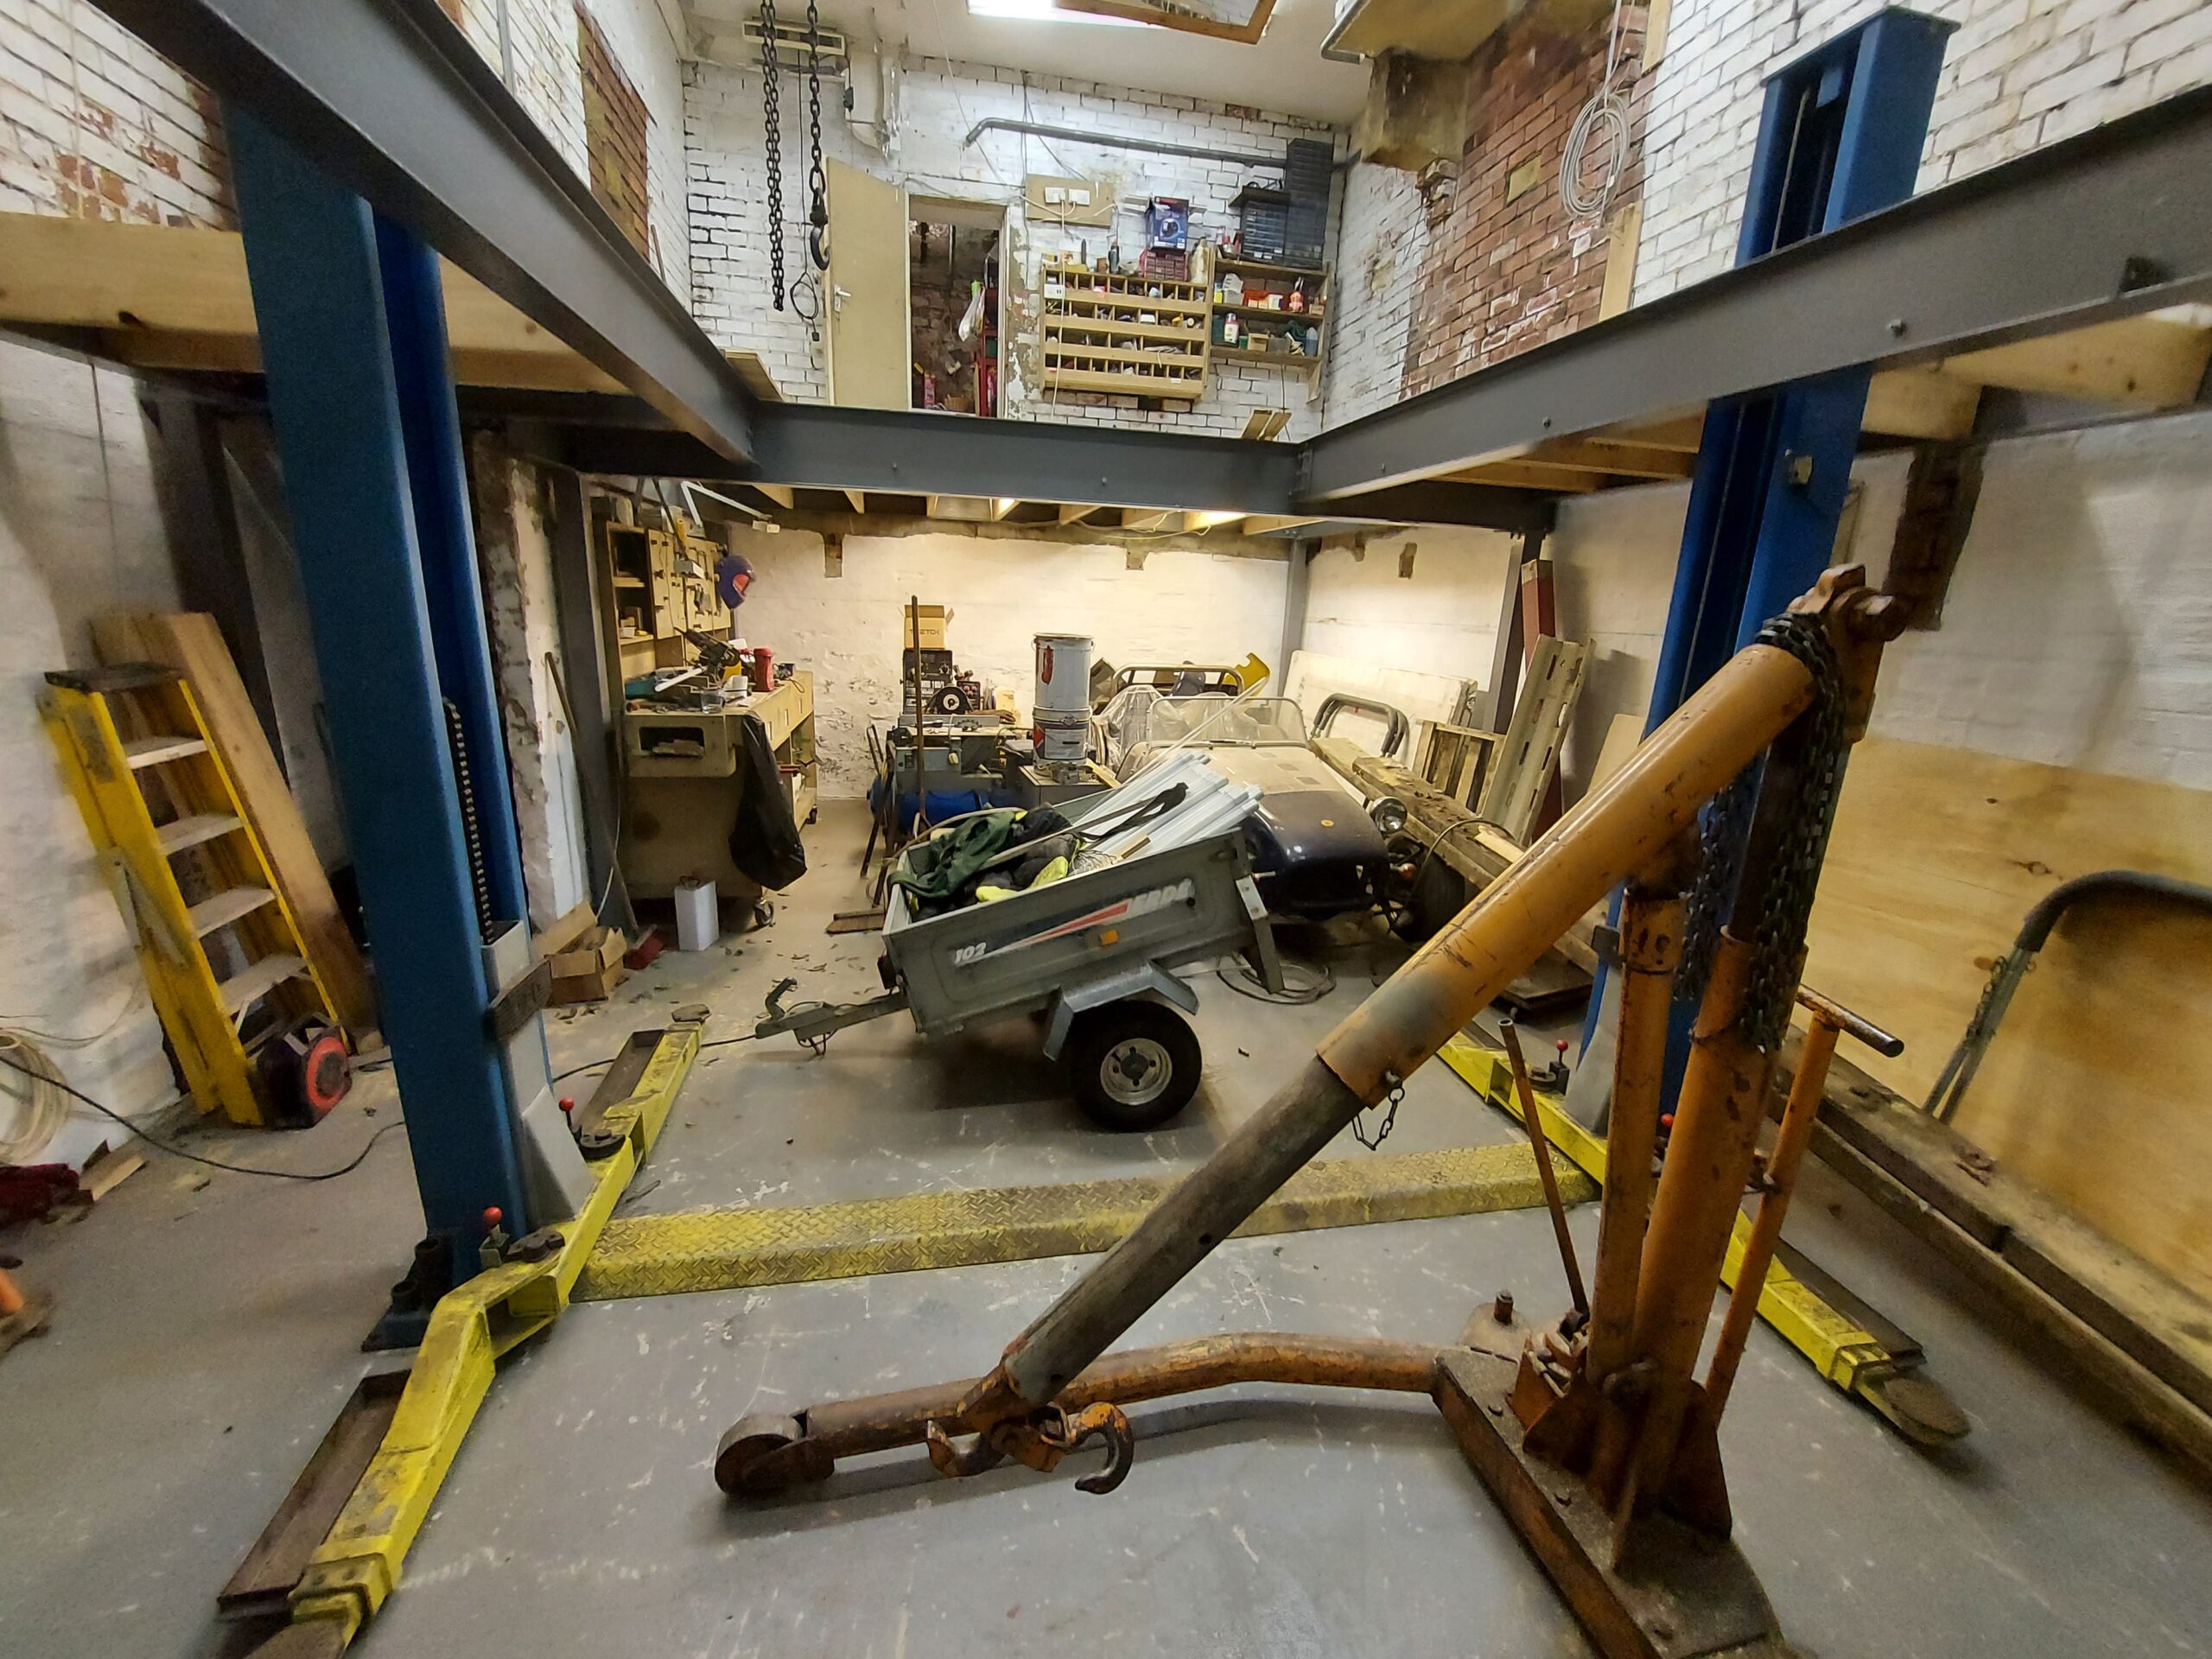
Sutch a good feeling to see the Backbone of this project in place,
All test fitted and taken down for final welding and painting
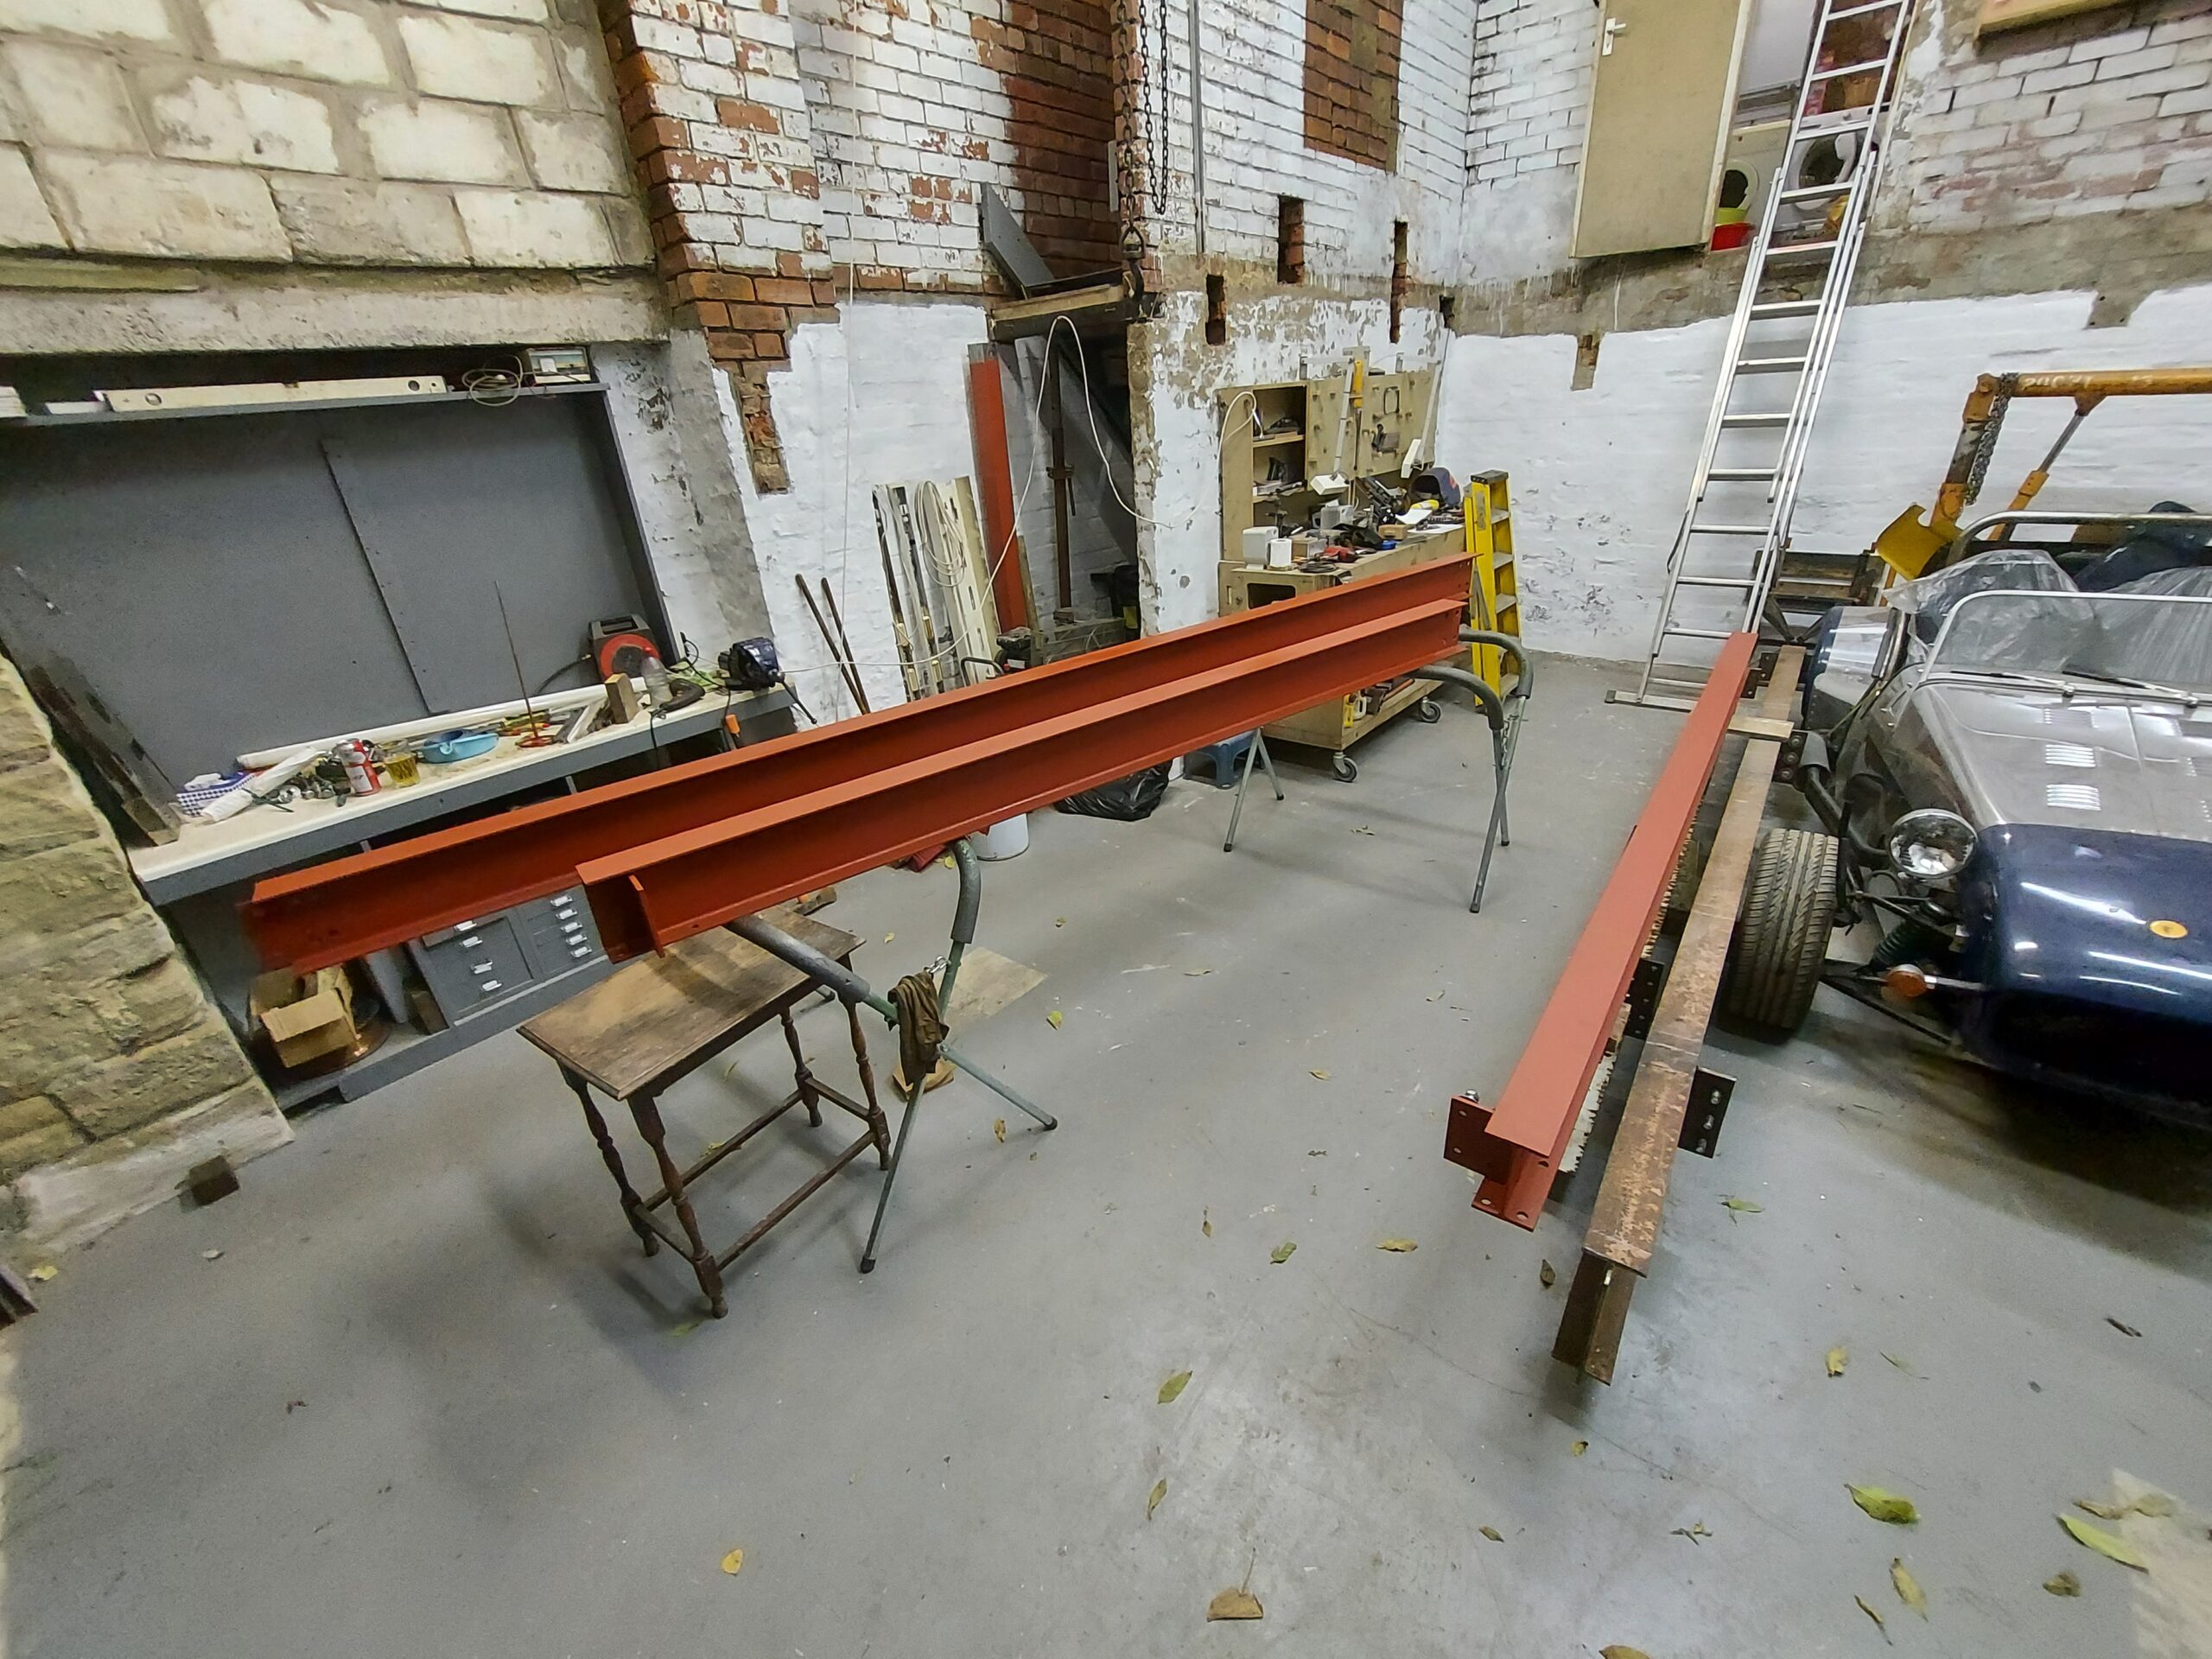
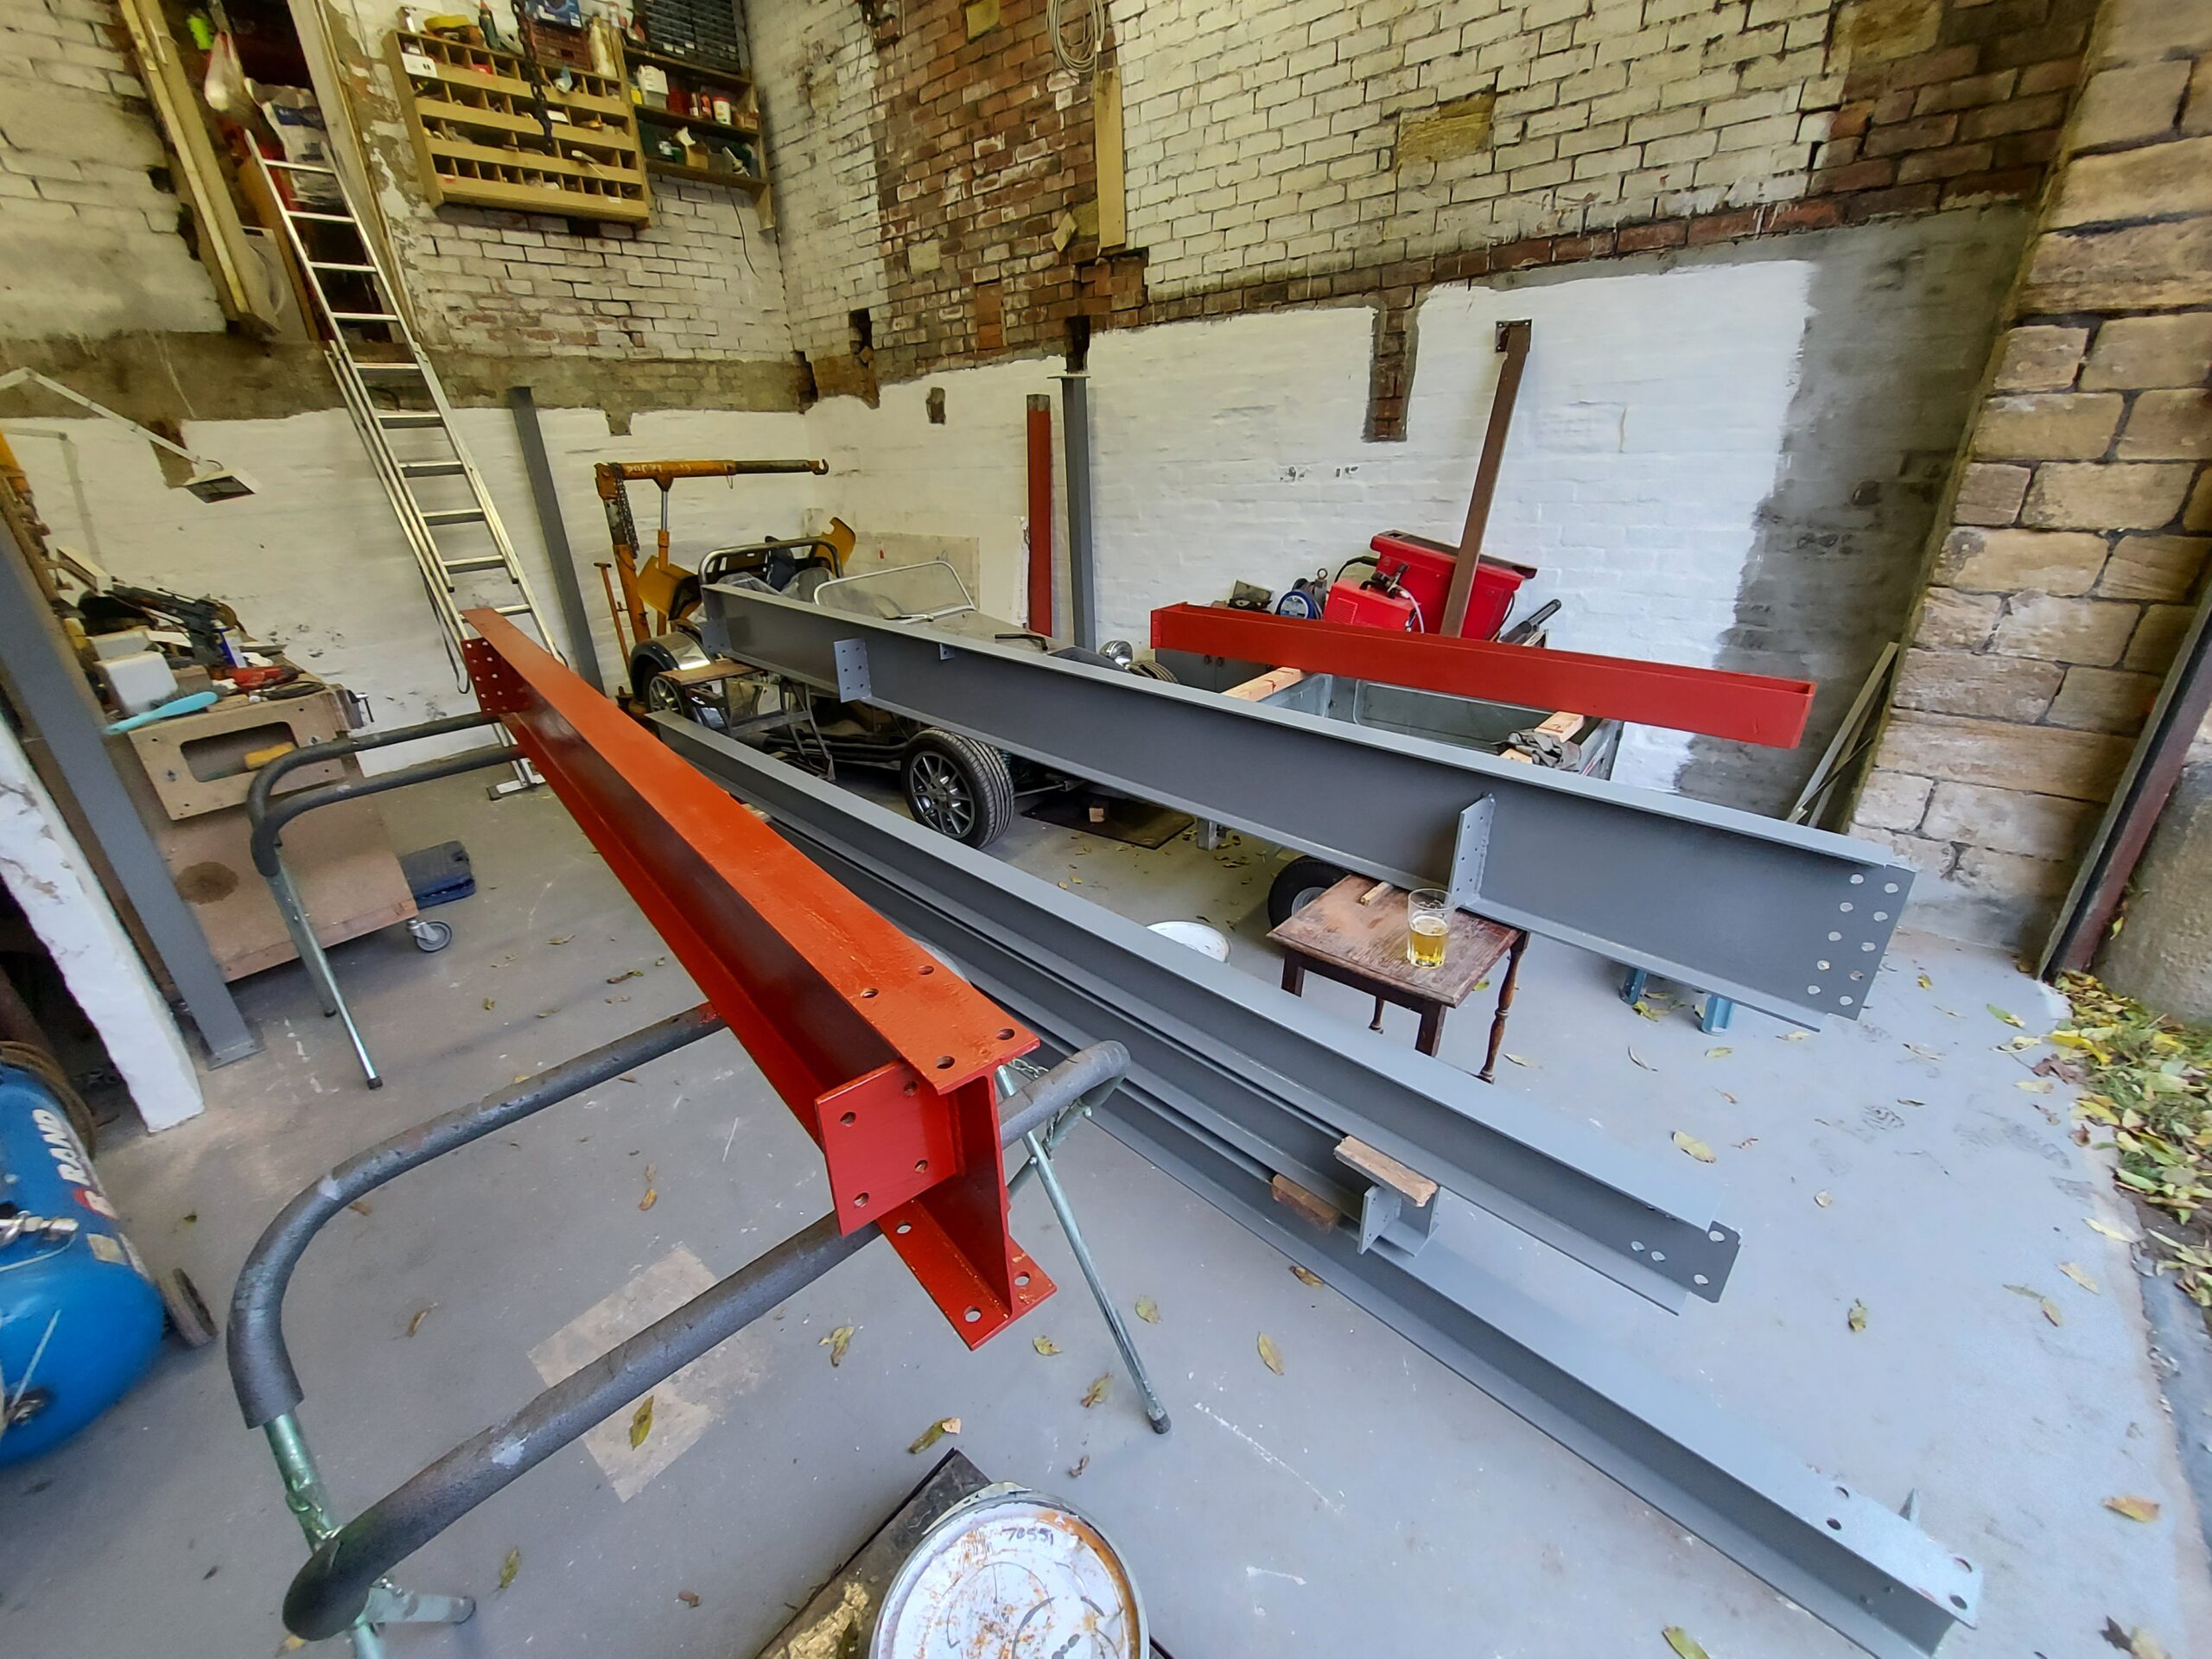
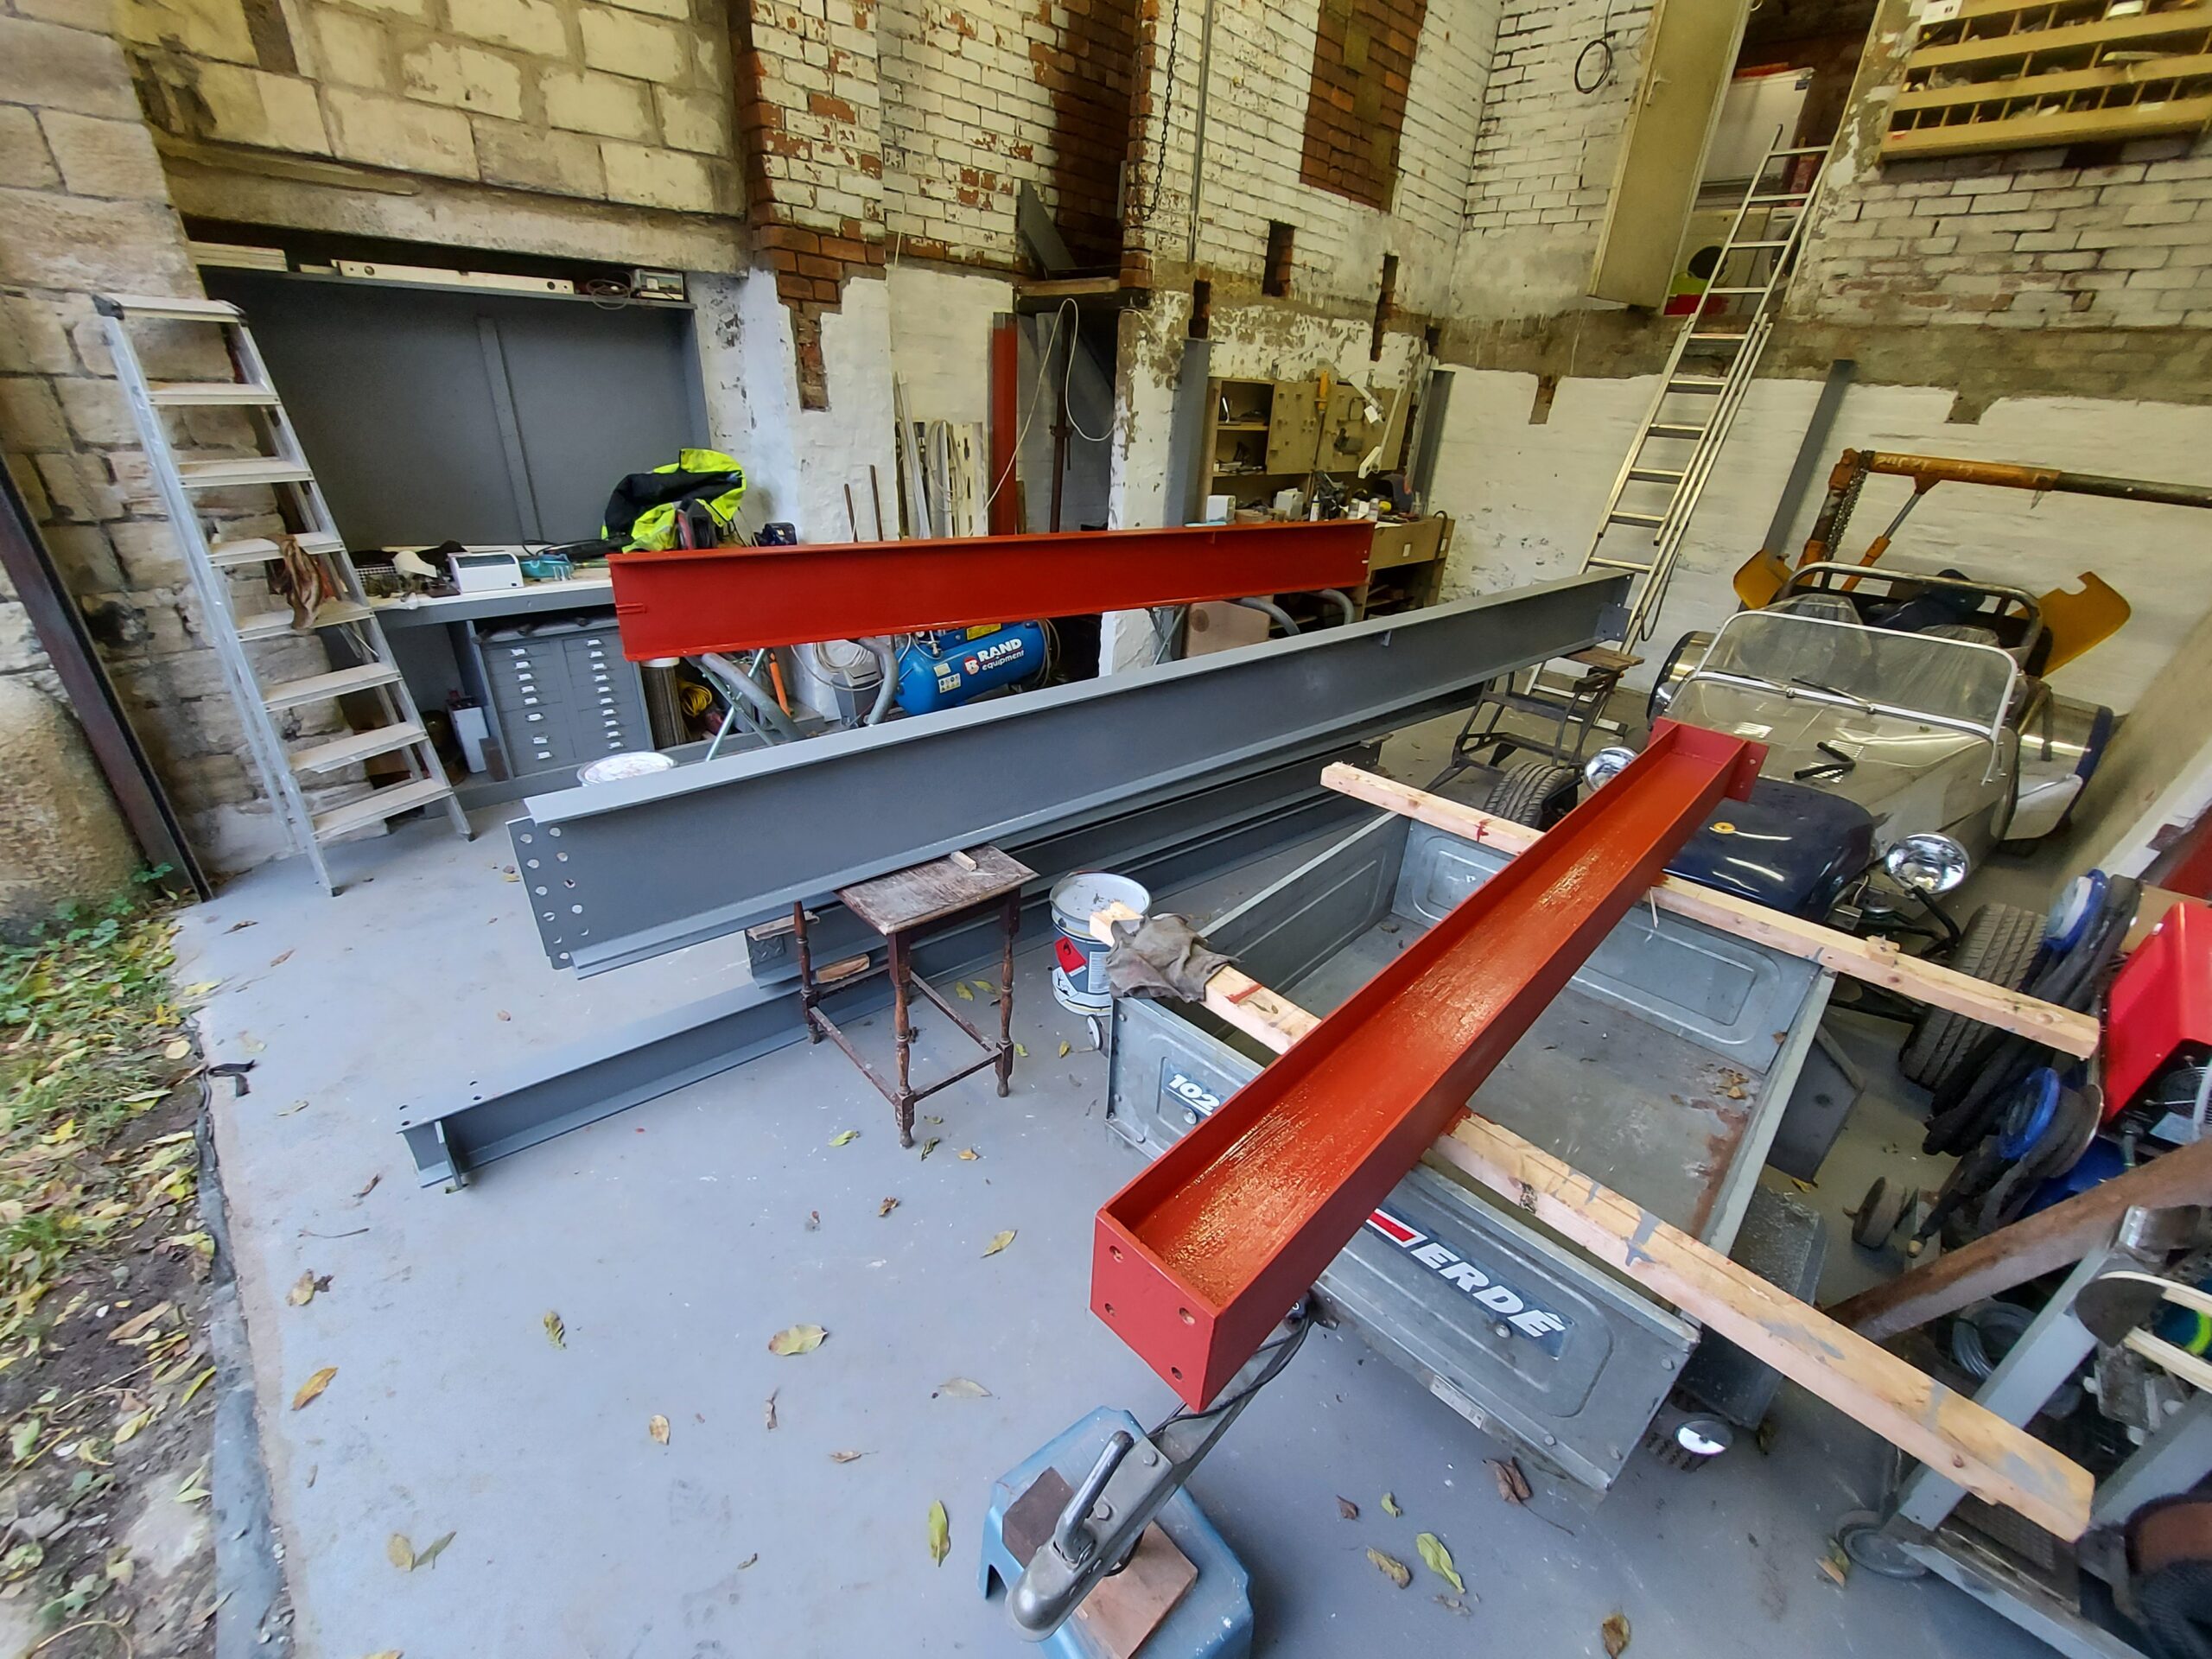
More painted steels
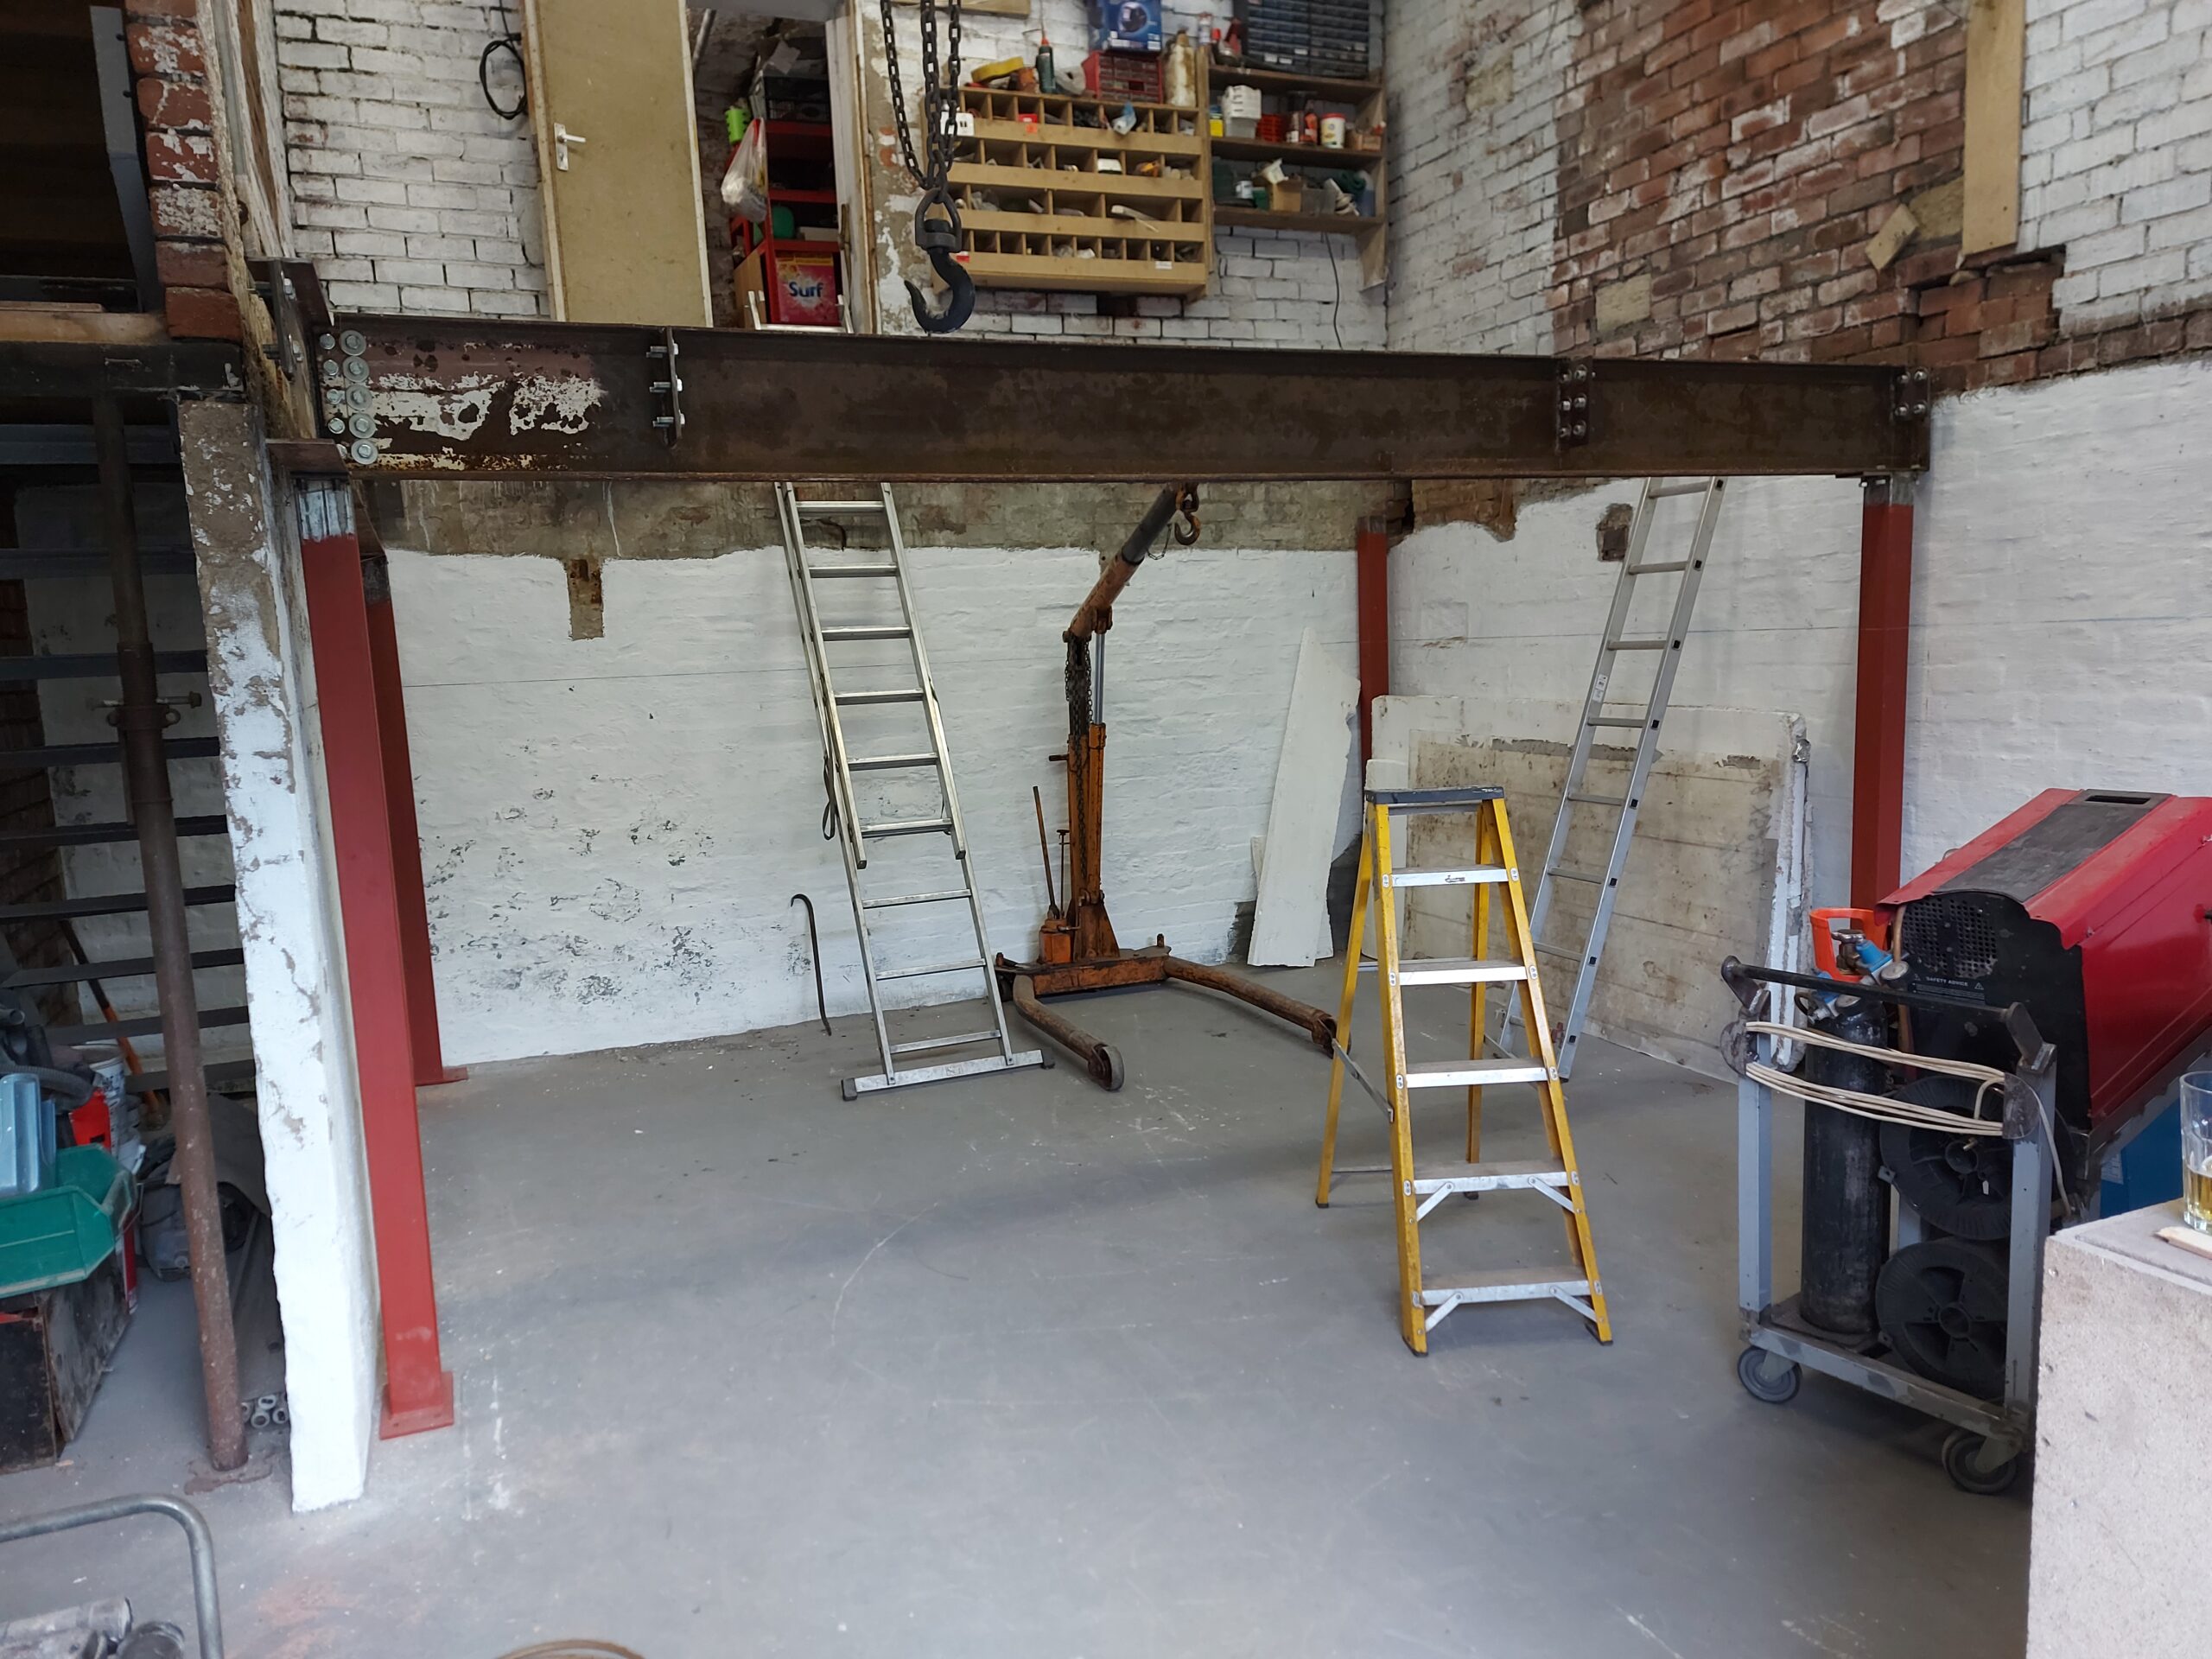
The last of the main structure are back
Soon as this paint is dry i can start getting the main stricture up again
admin
19 October 2022 - 22:21
Final Build time
Well my needle scaler broke again! so putting some flooring in the steel that’s already up,
It’s bean a long weekend & it realy feels like I’m getting somewere with it,
Some tempory lights till I get the LED’s
One more piece of steel up and painted, It’s definitely easier to paint them when there erected as the grey paint takes 3 days to dry,
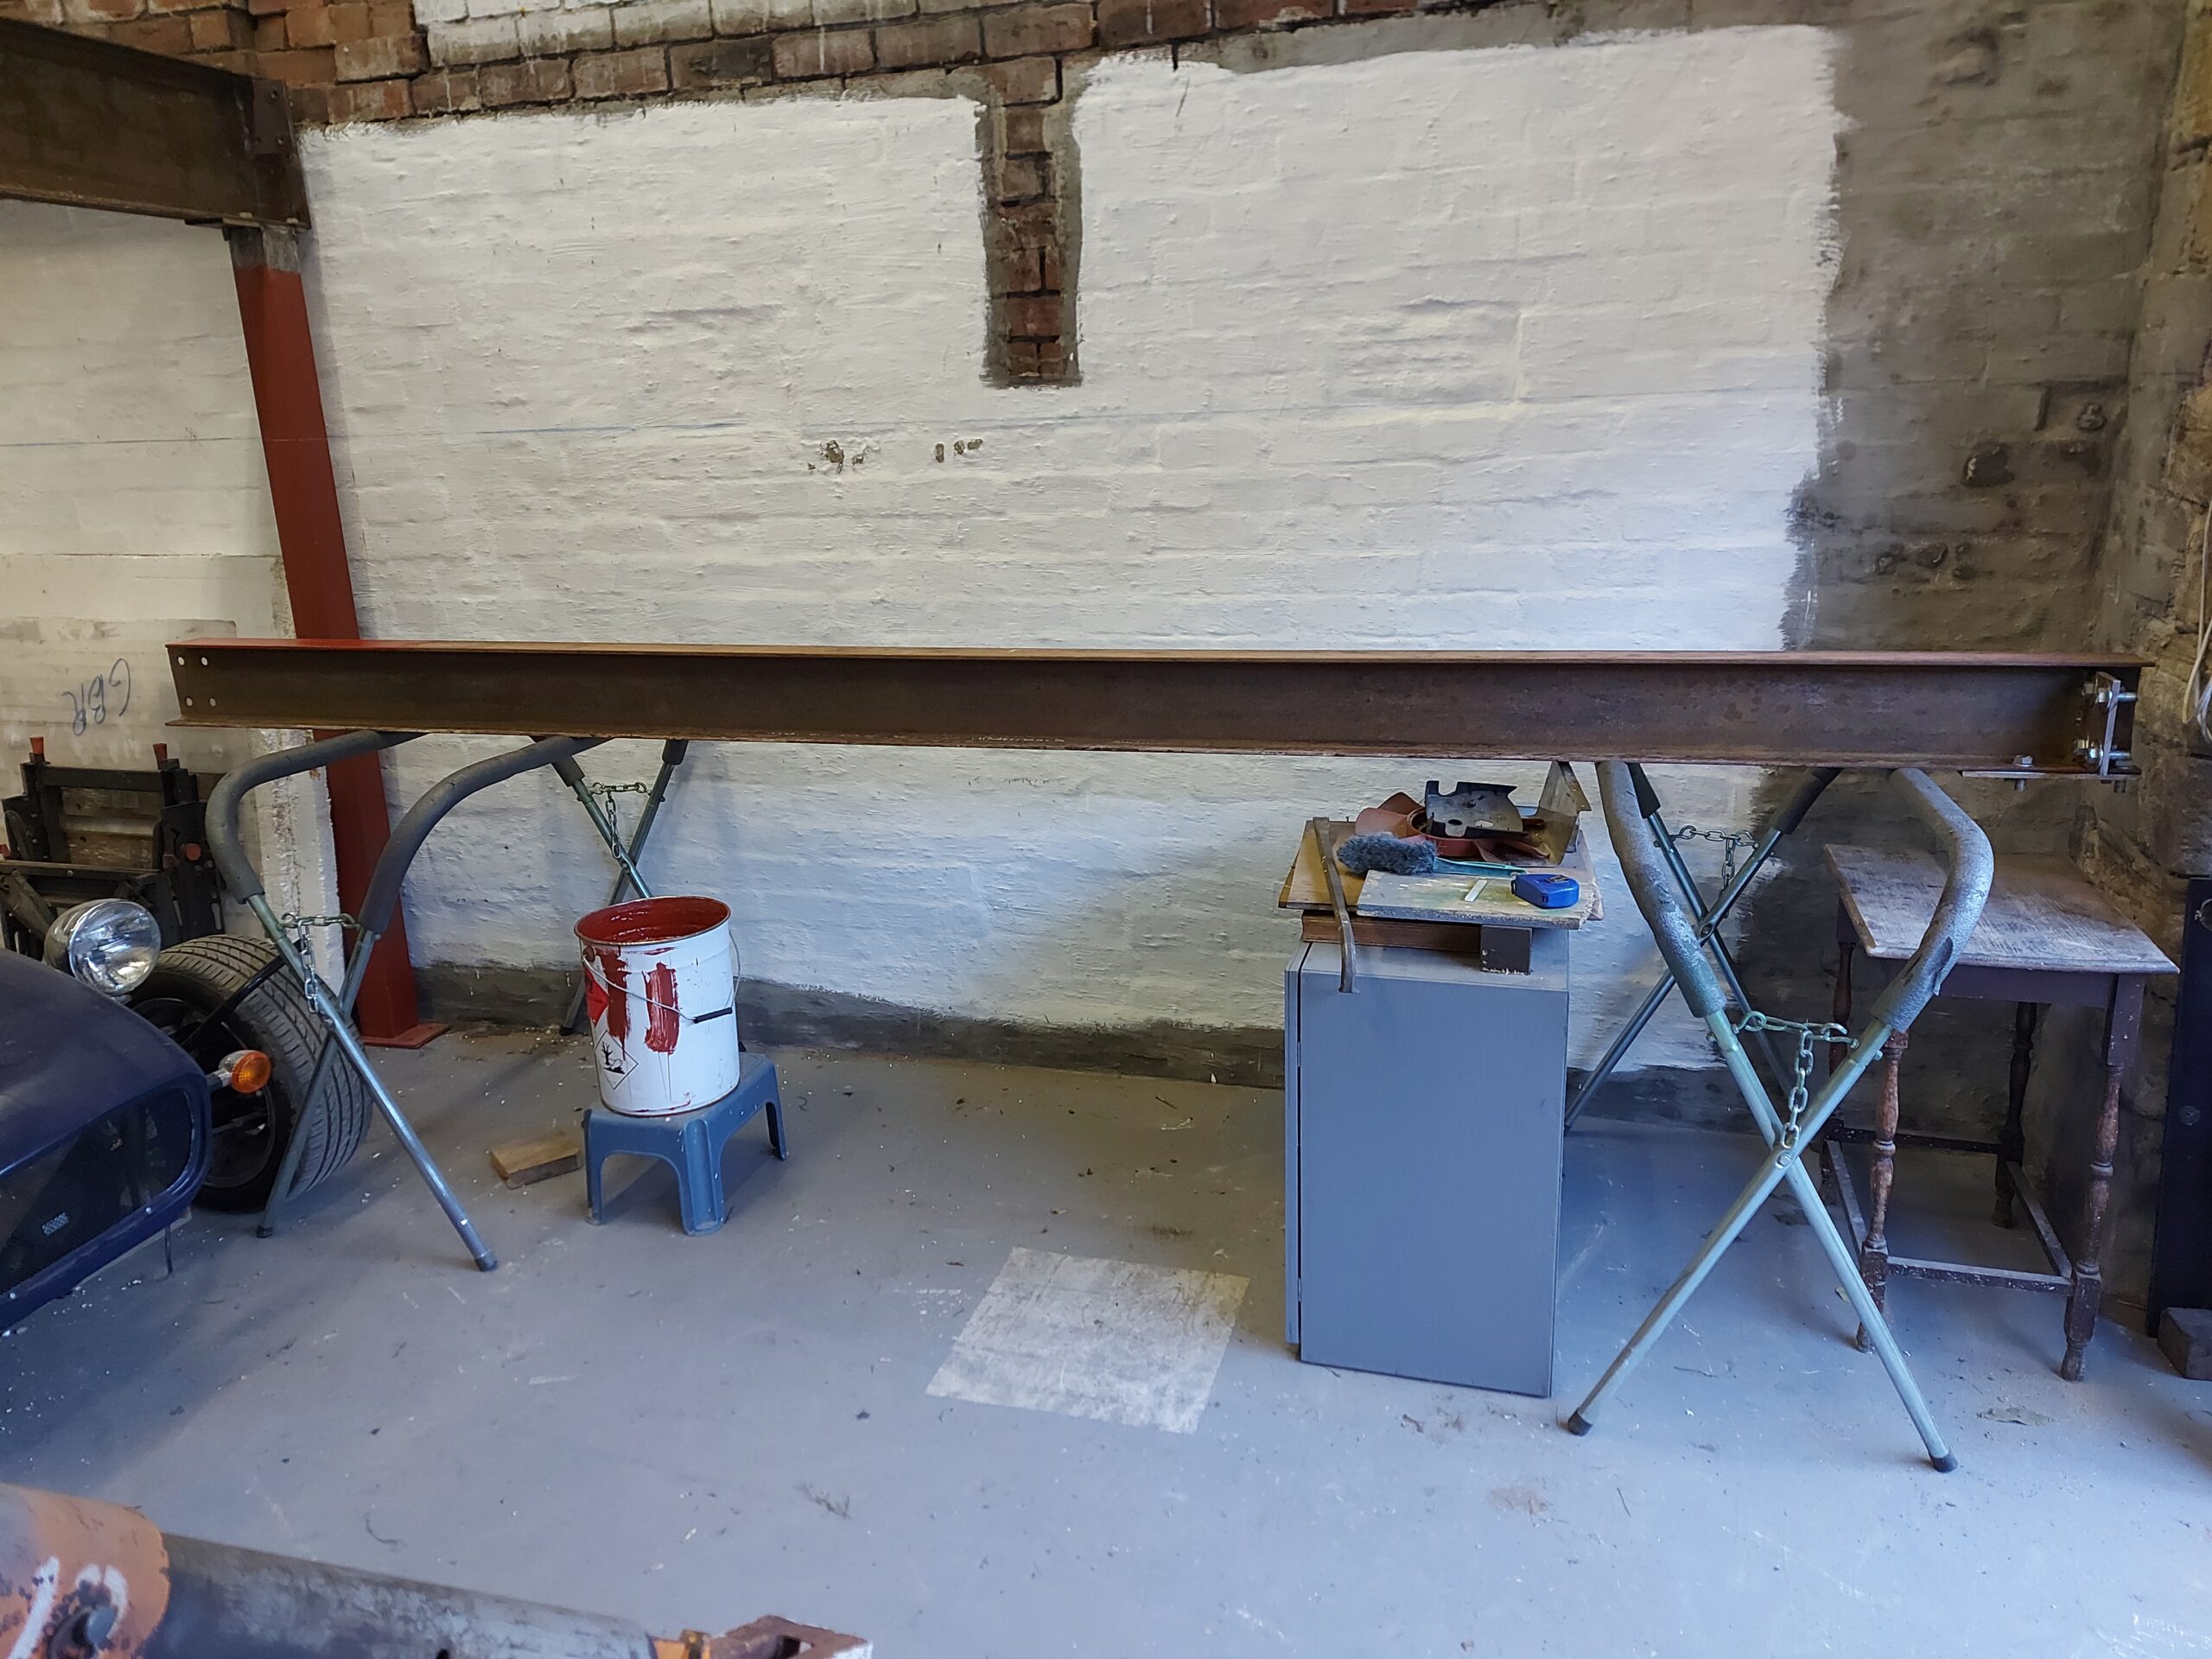
End steel made cleaned and fitted
Joists Fitted and floor just laid on top till later
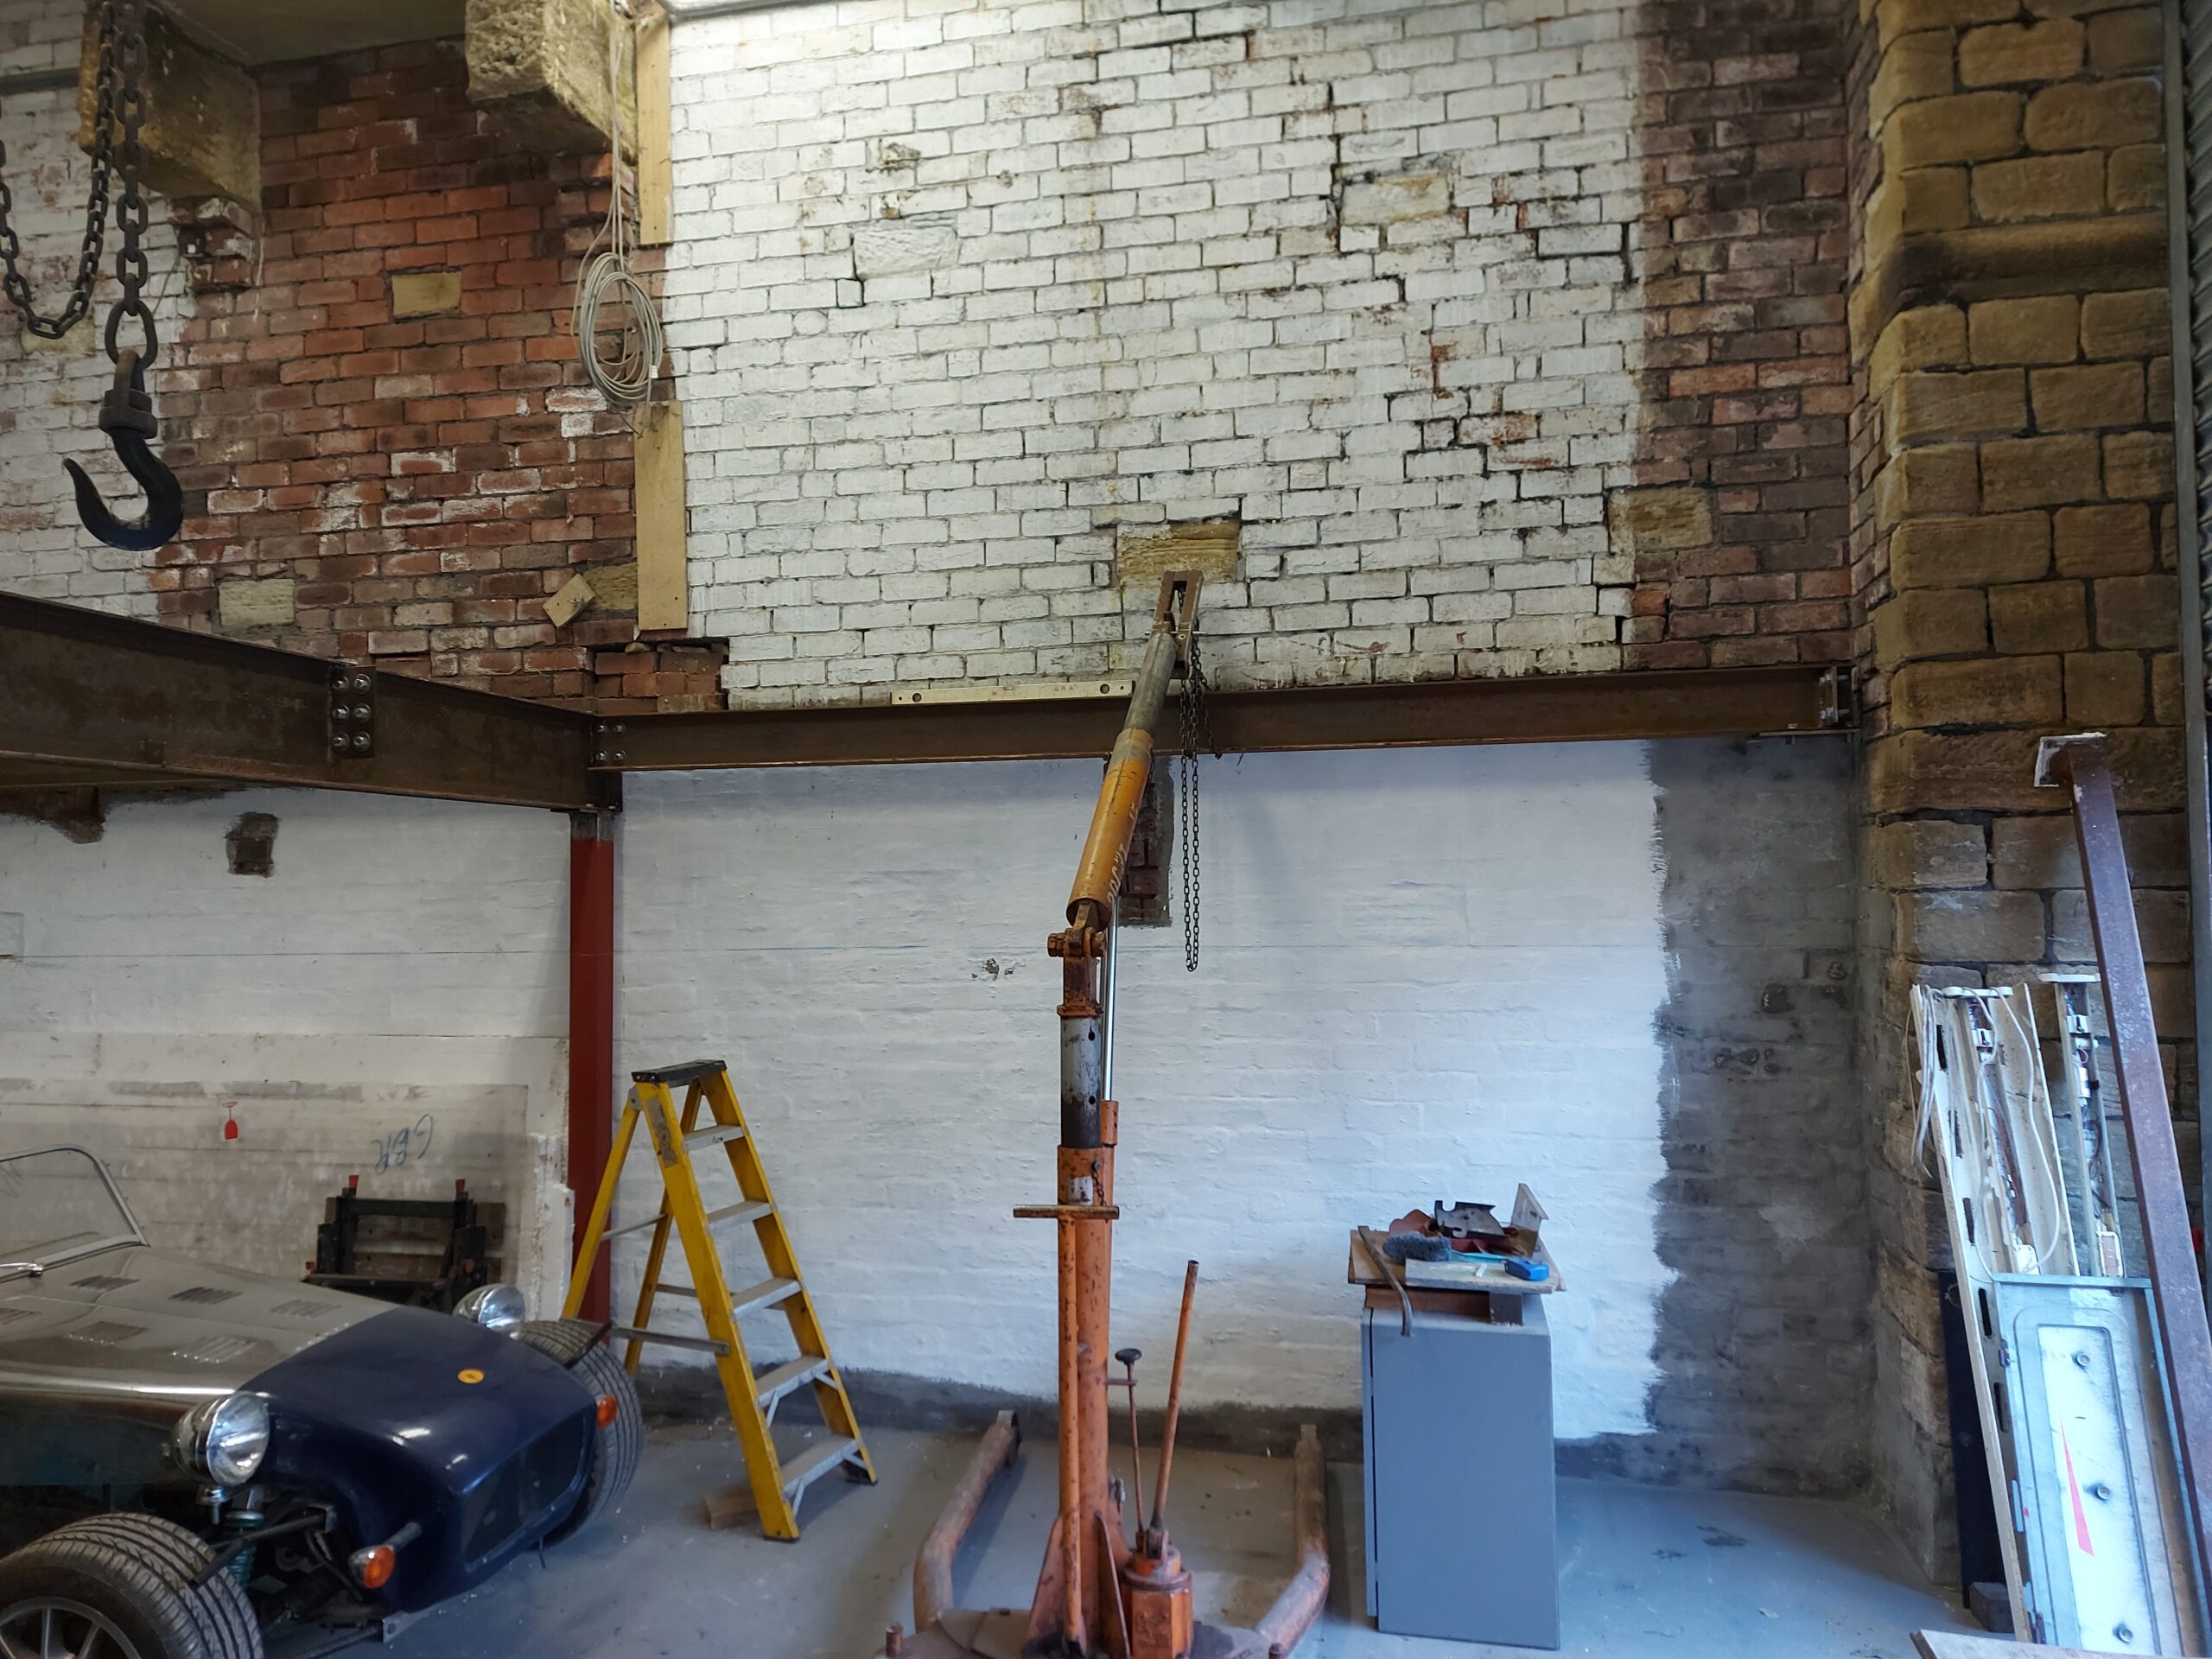
Yet another piece of steel mounted,
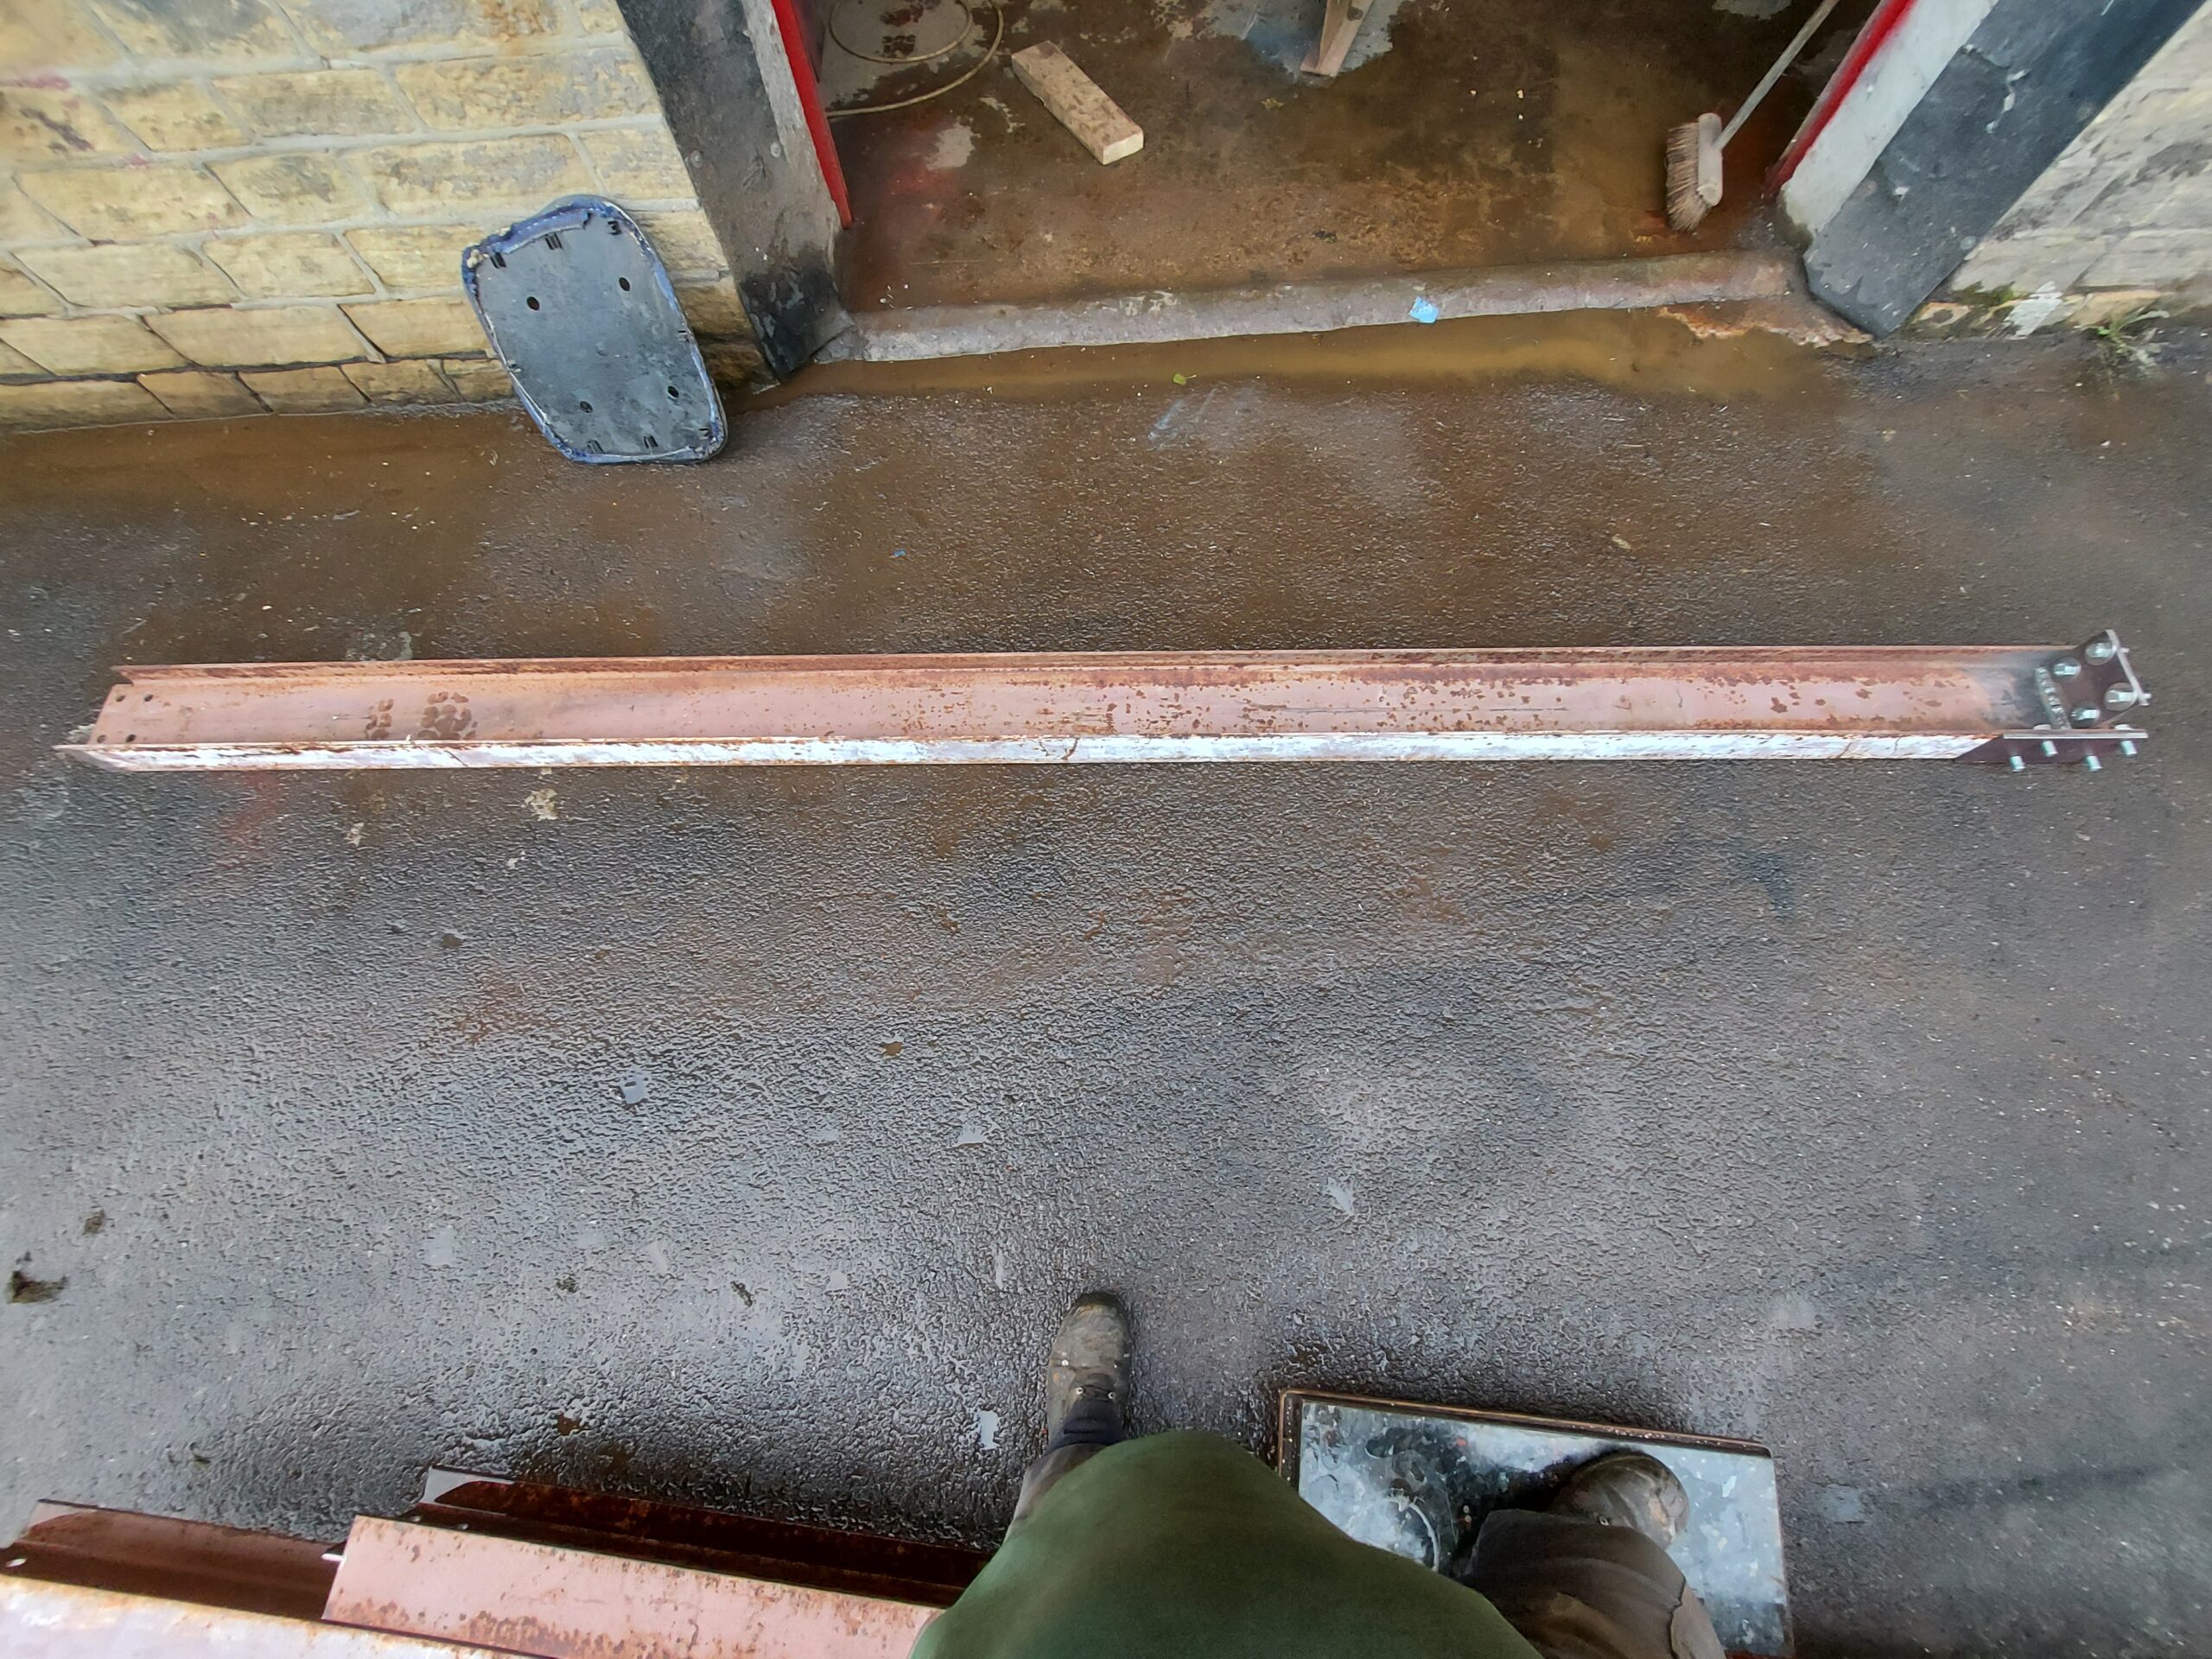
This short steel is one of the more complex ones, Also carries the staires, I wasen’t looking forward to doing this one but it fitted first time,
3 more cut just flanging to do,
Stock pile has gone down only one long and 4 short steels to get from this now, The end is getting near,
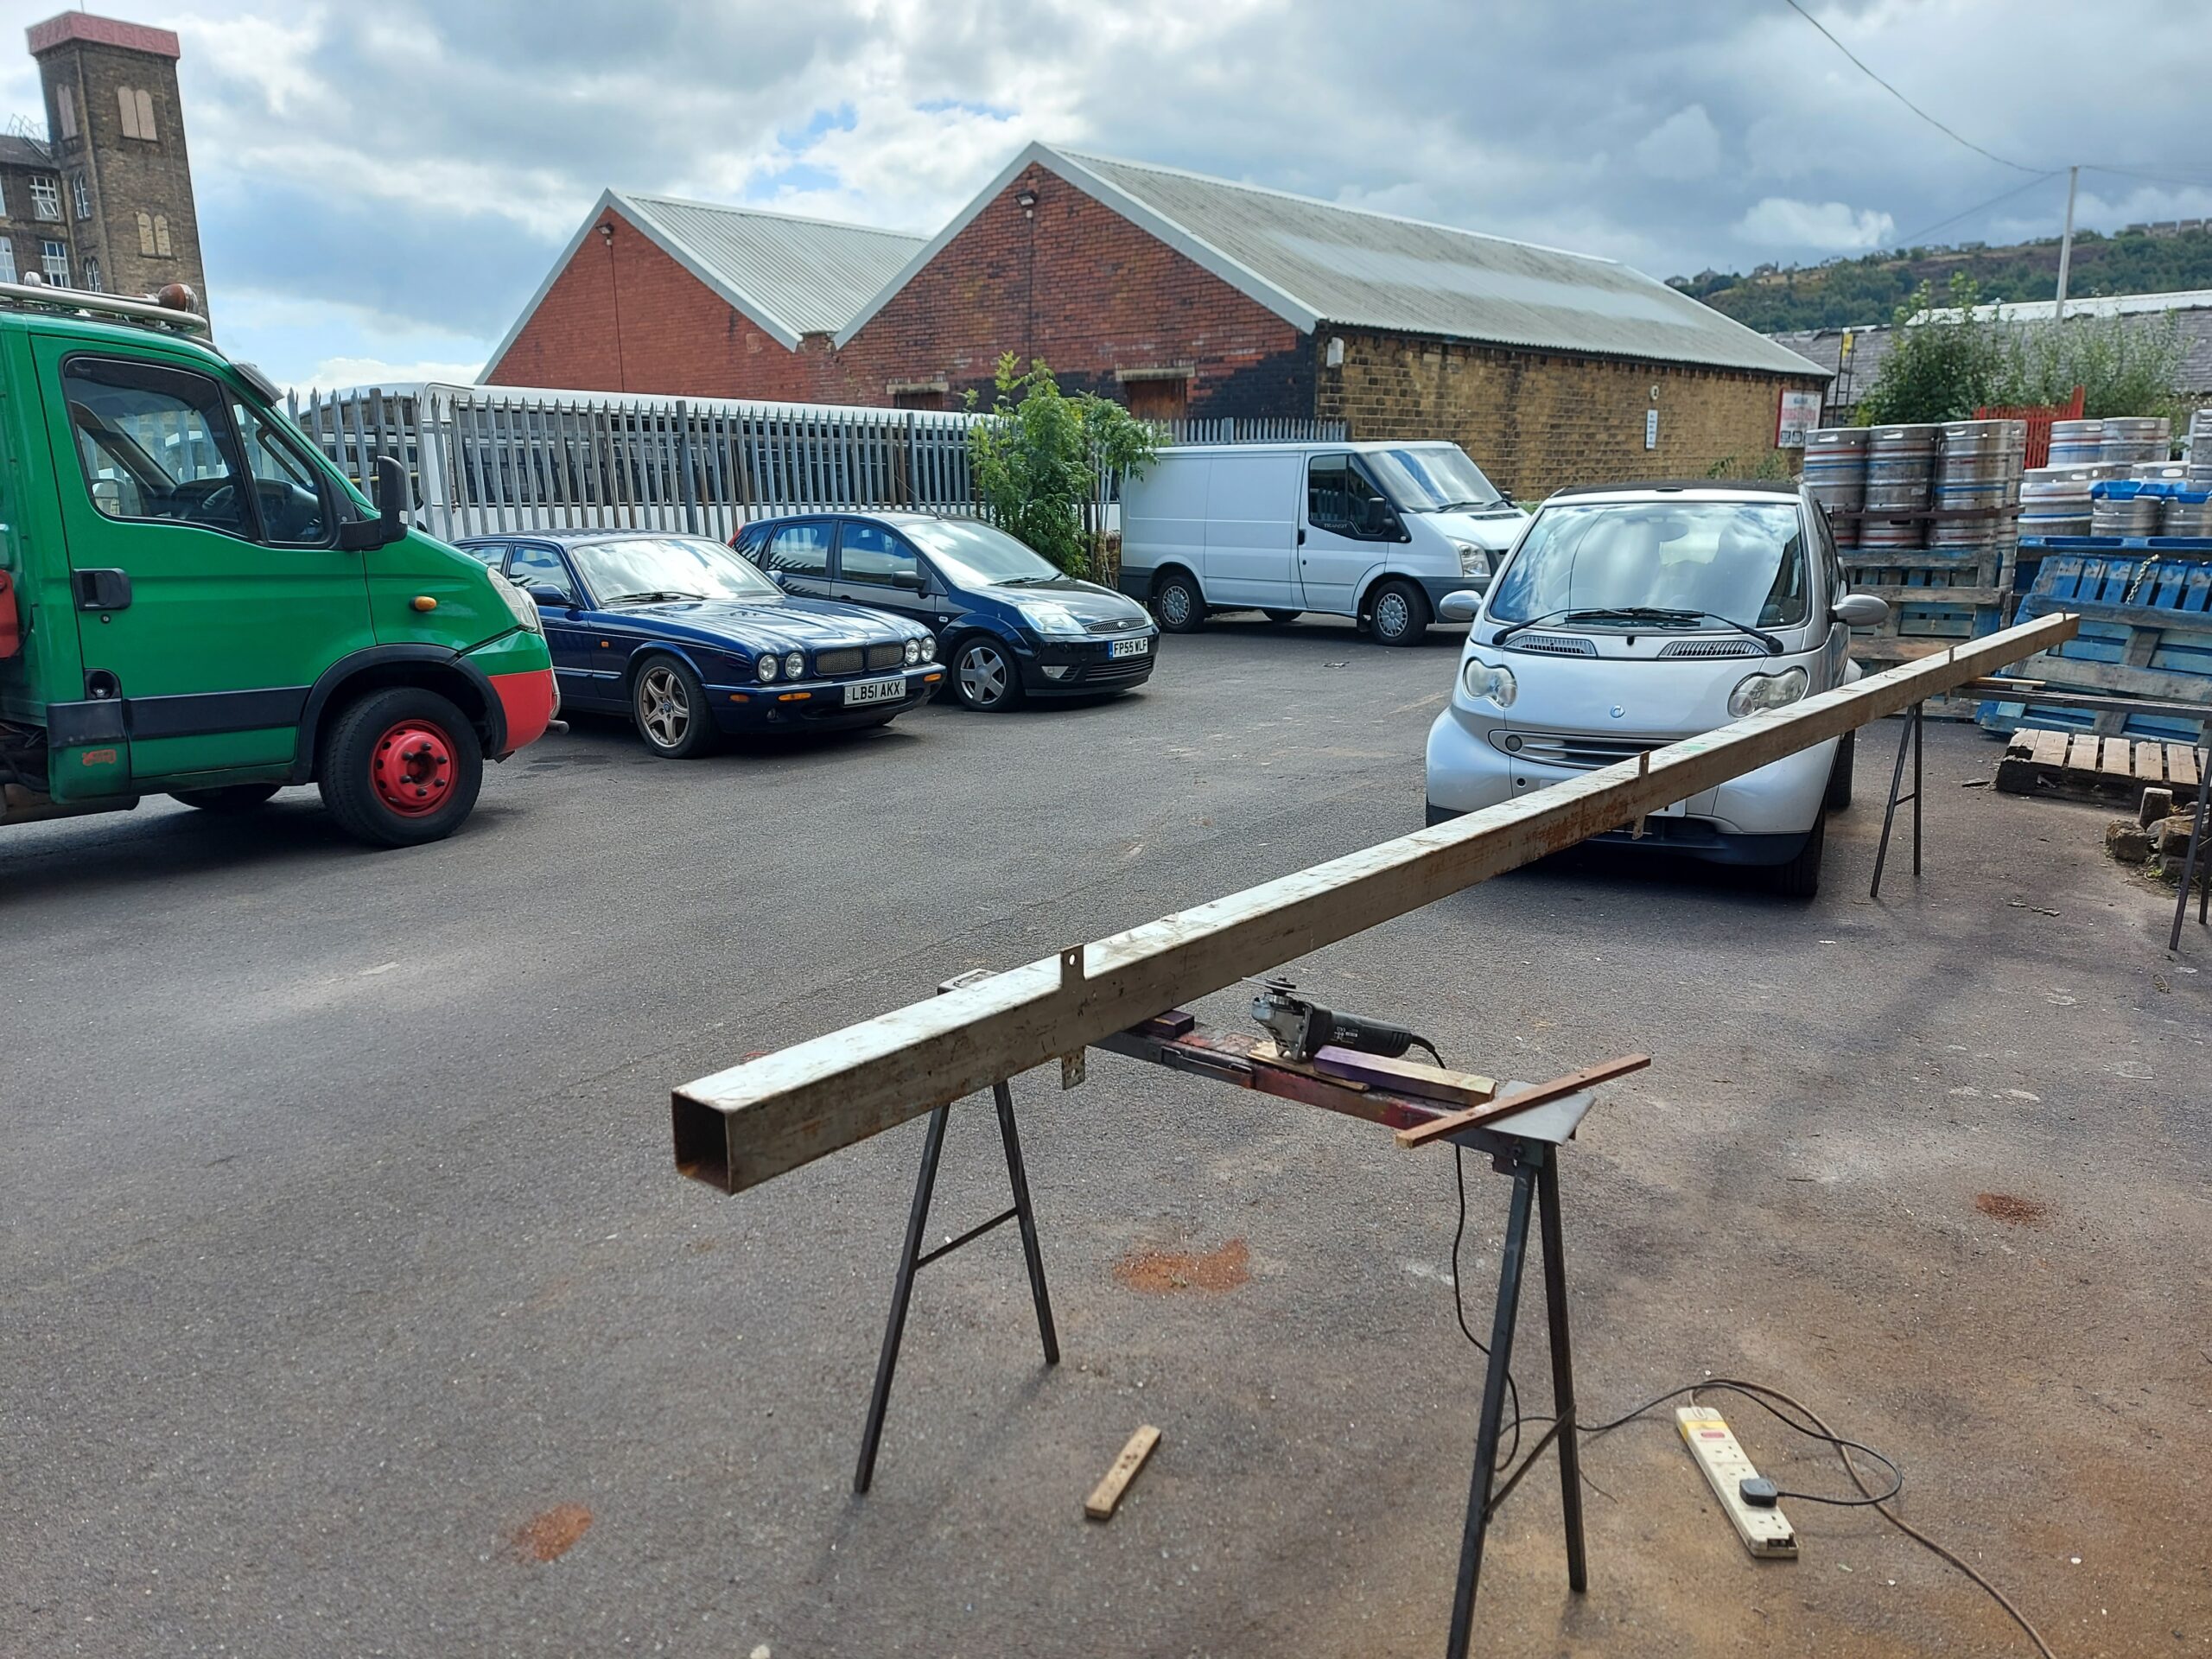
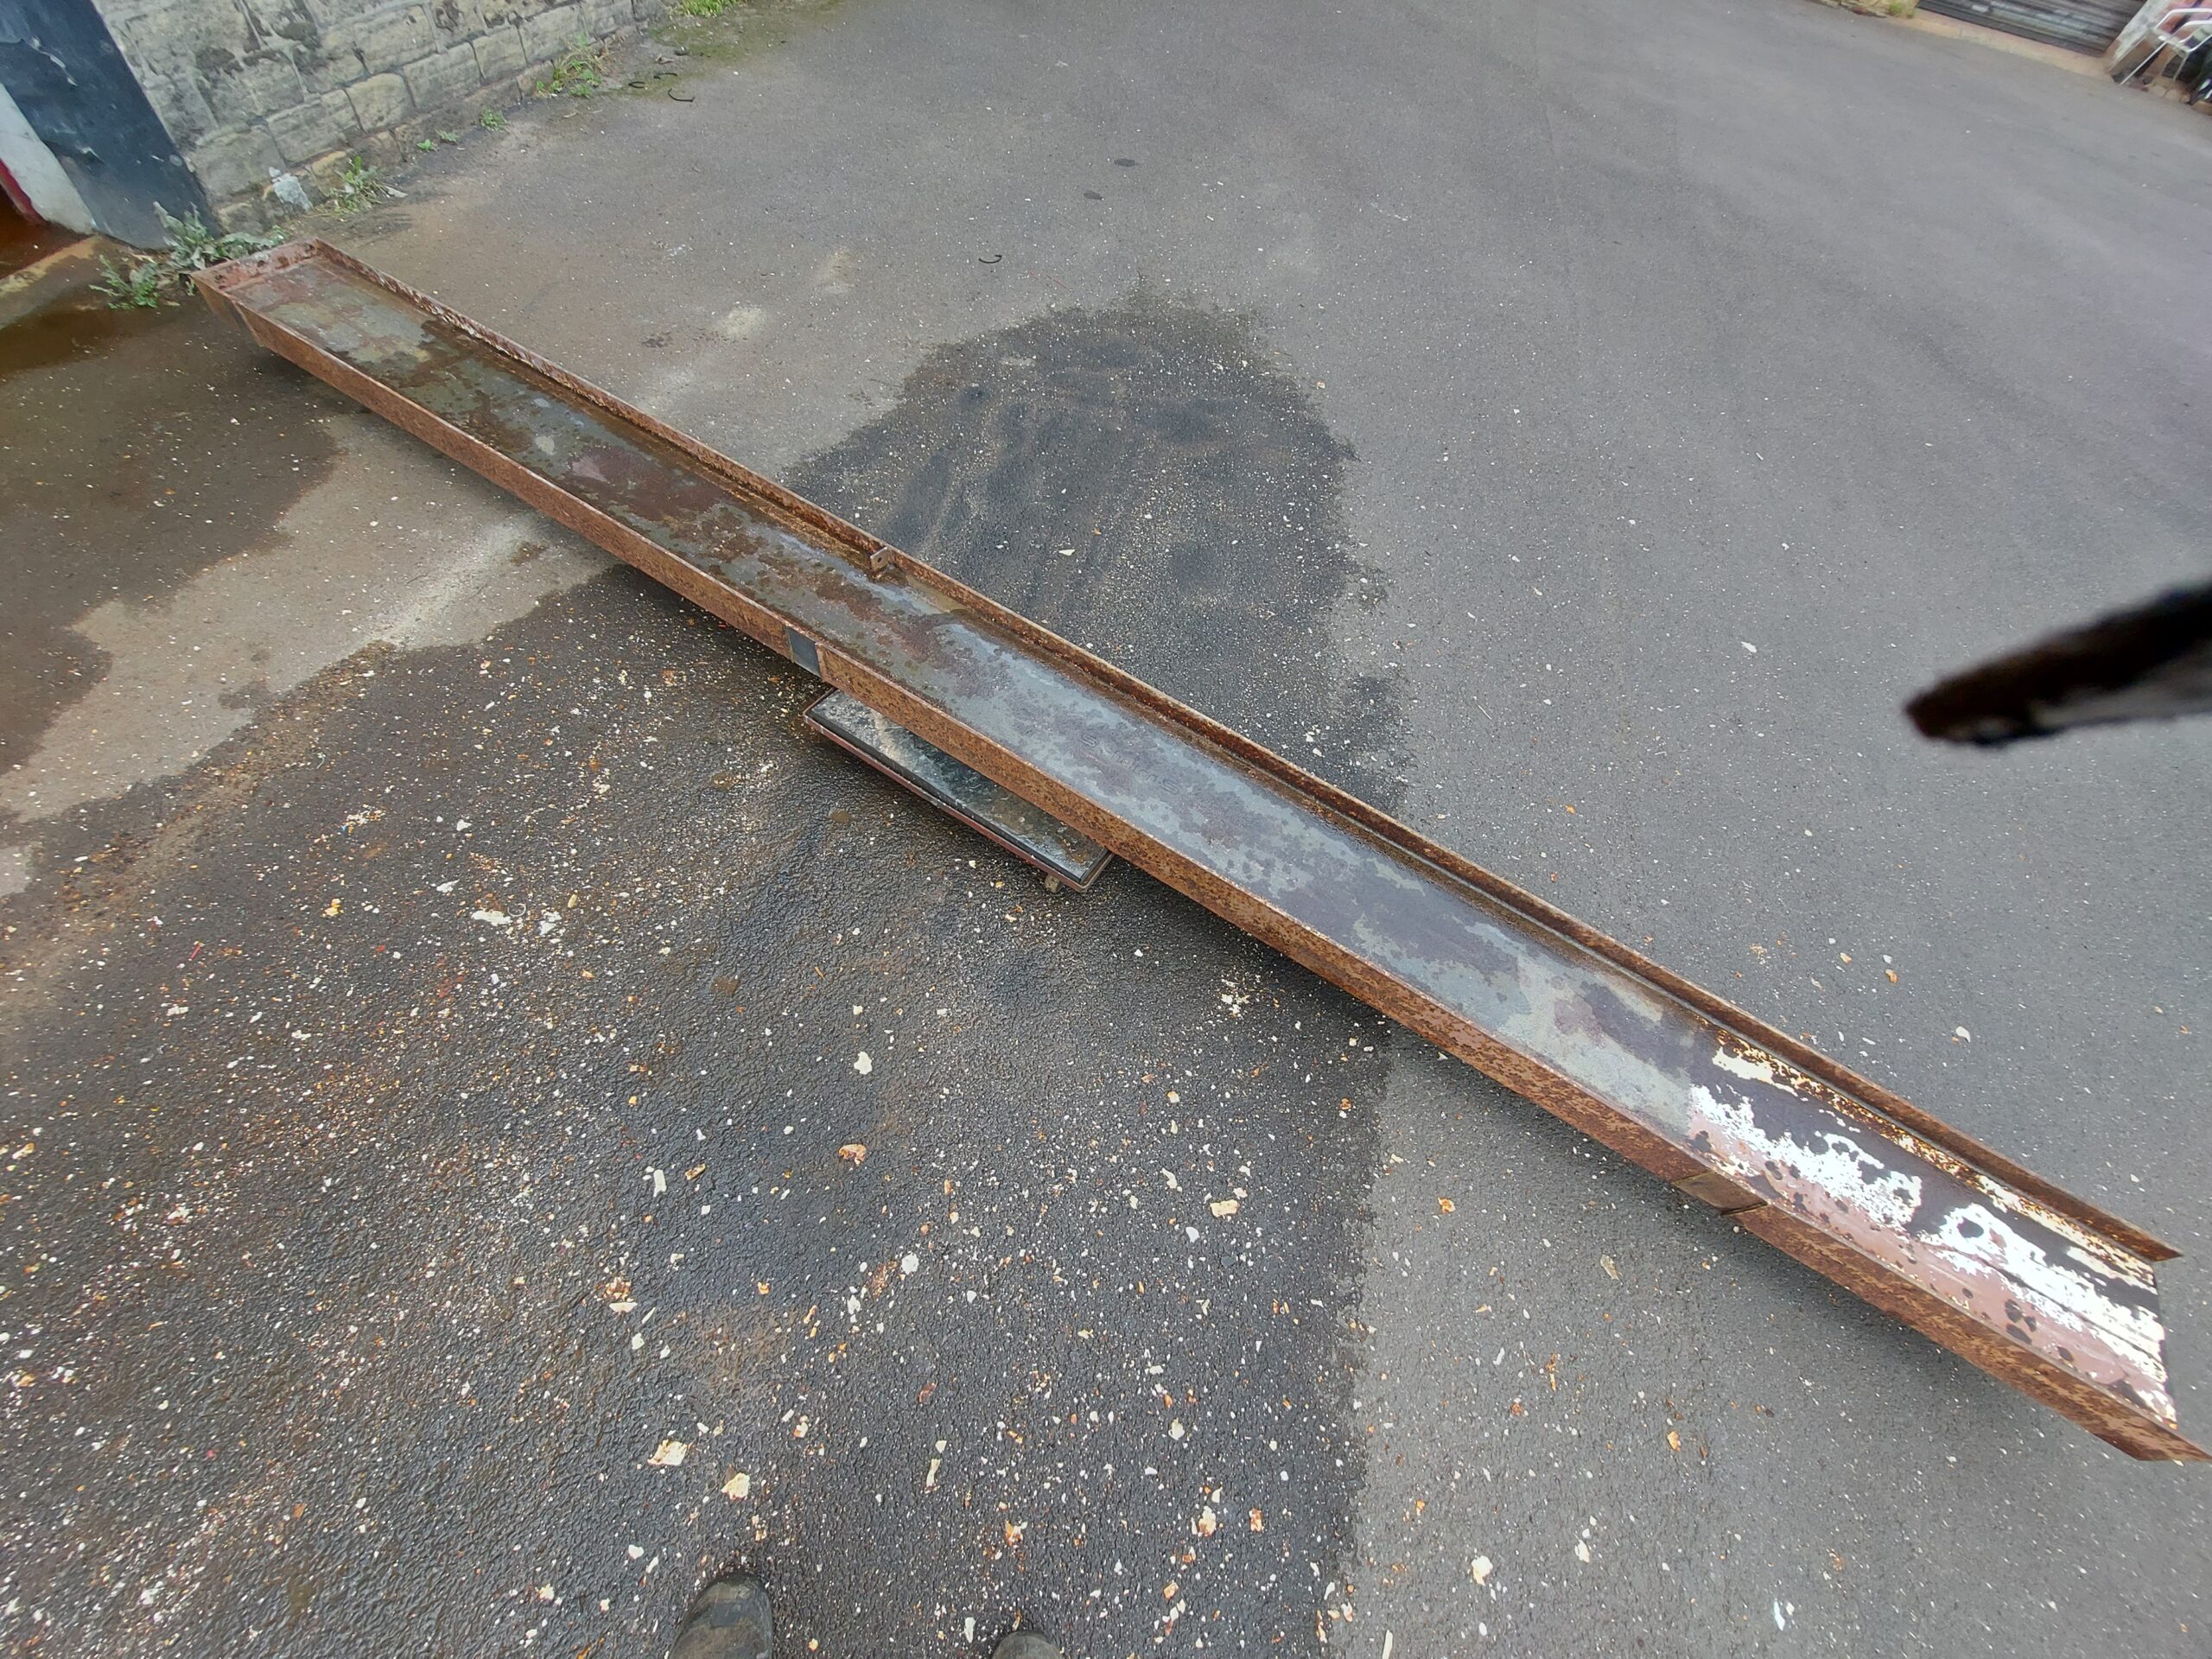
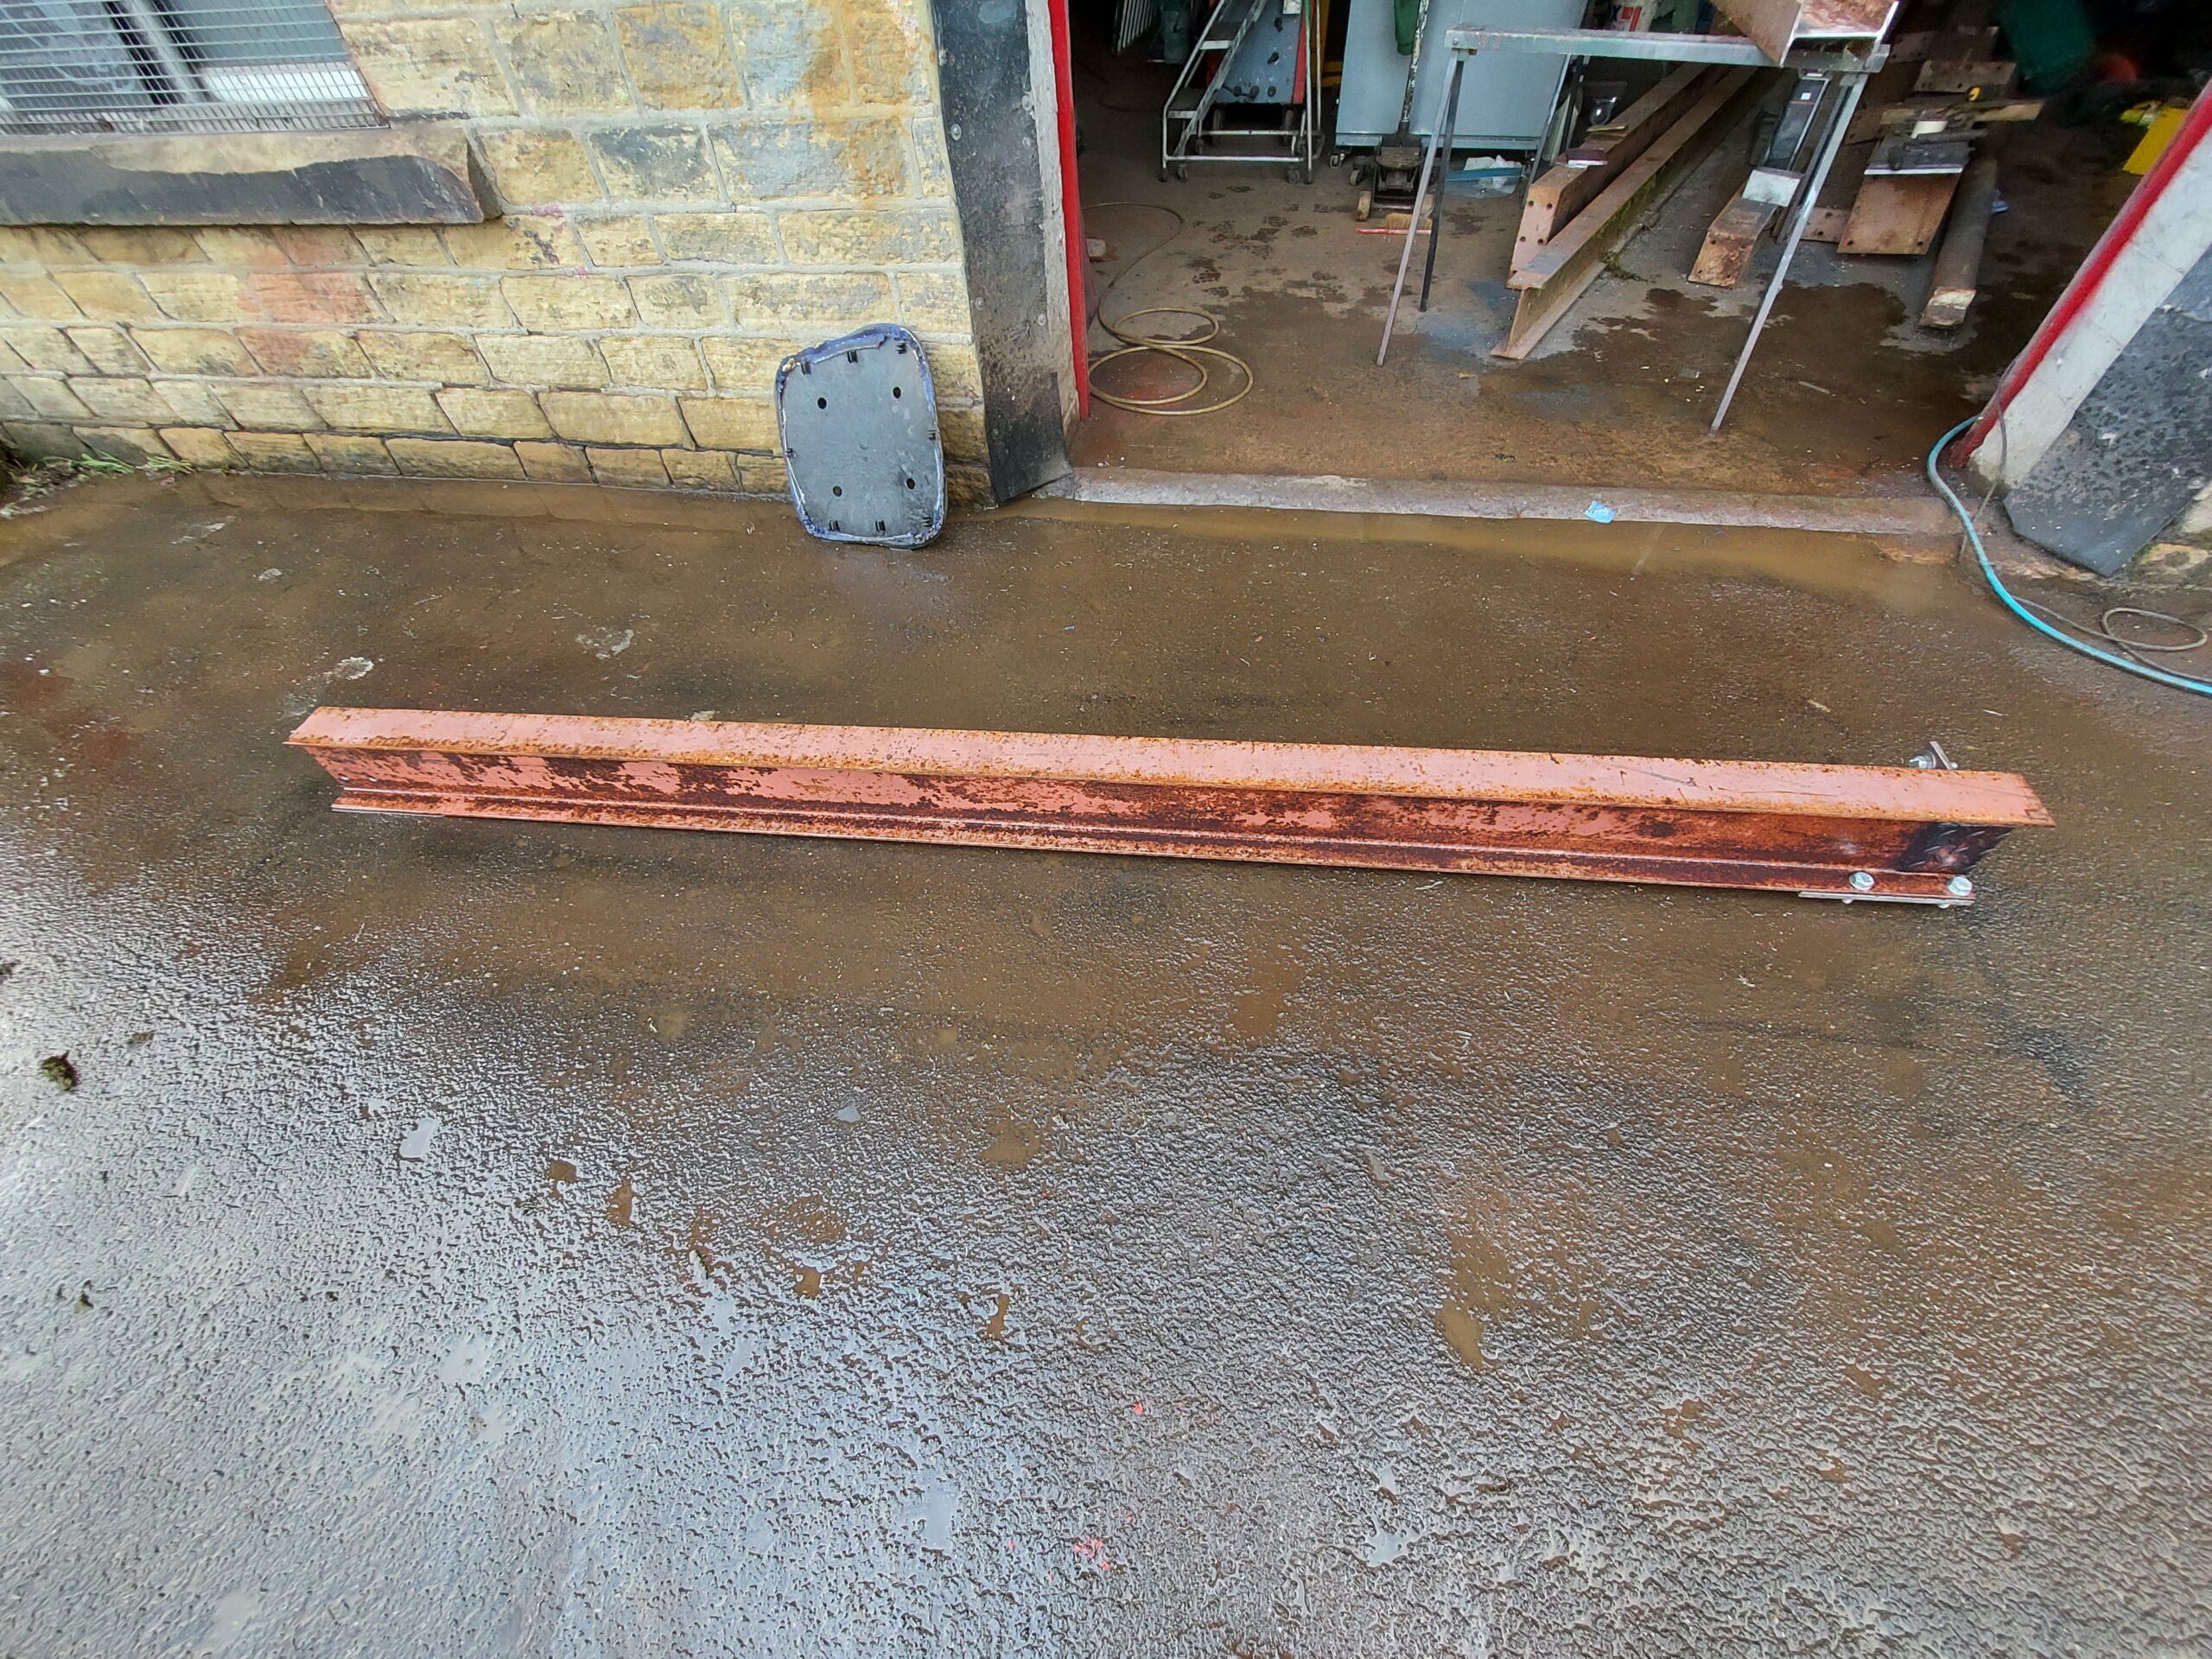
Need to bring Ramp home soon, Then I can cut the flooring and fix it all in place,
Nice to see the floor steels complete,
Joists all cut and a couple in,
More gray paint
A temporary platform to access the stairs again
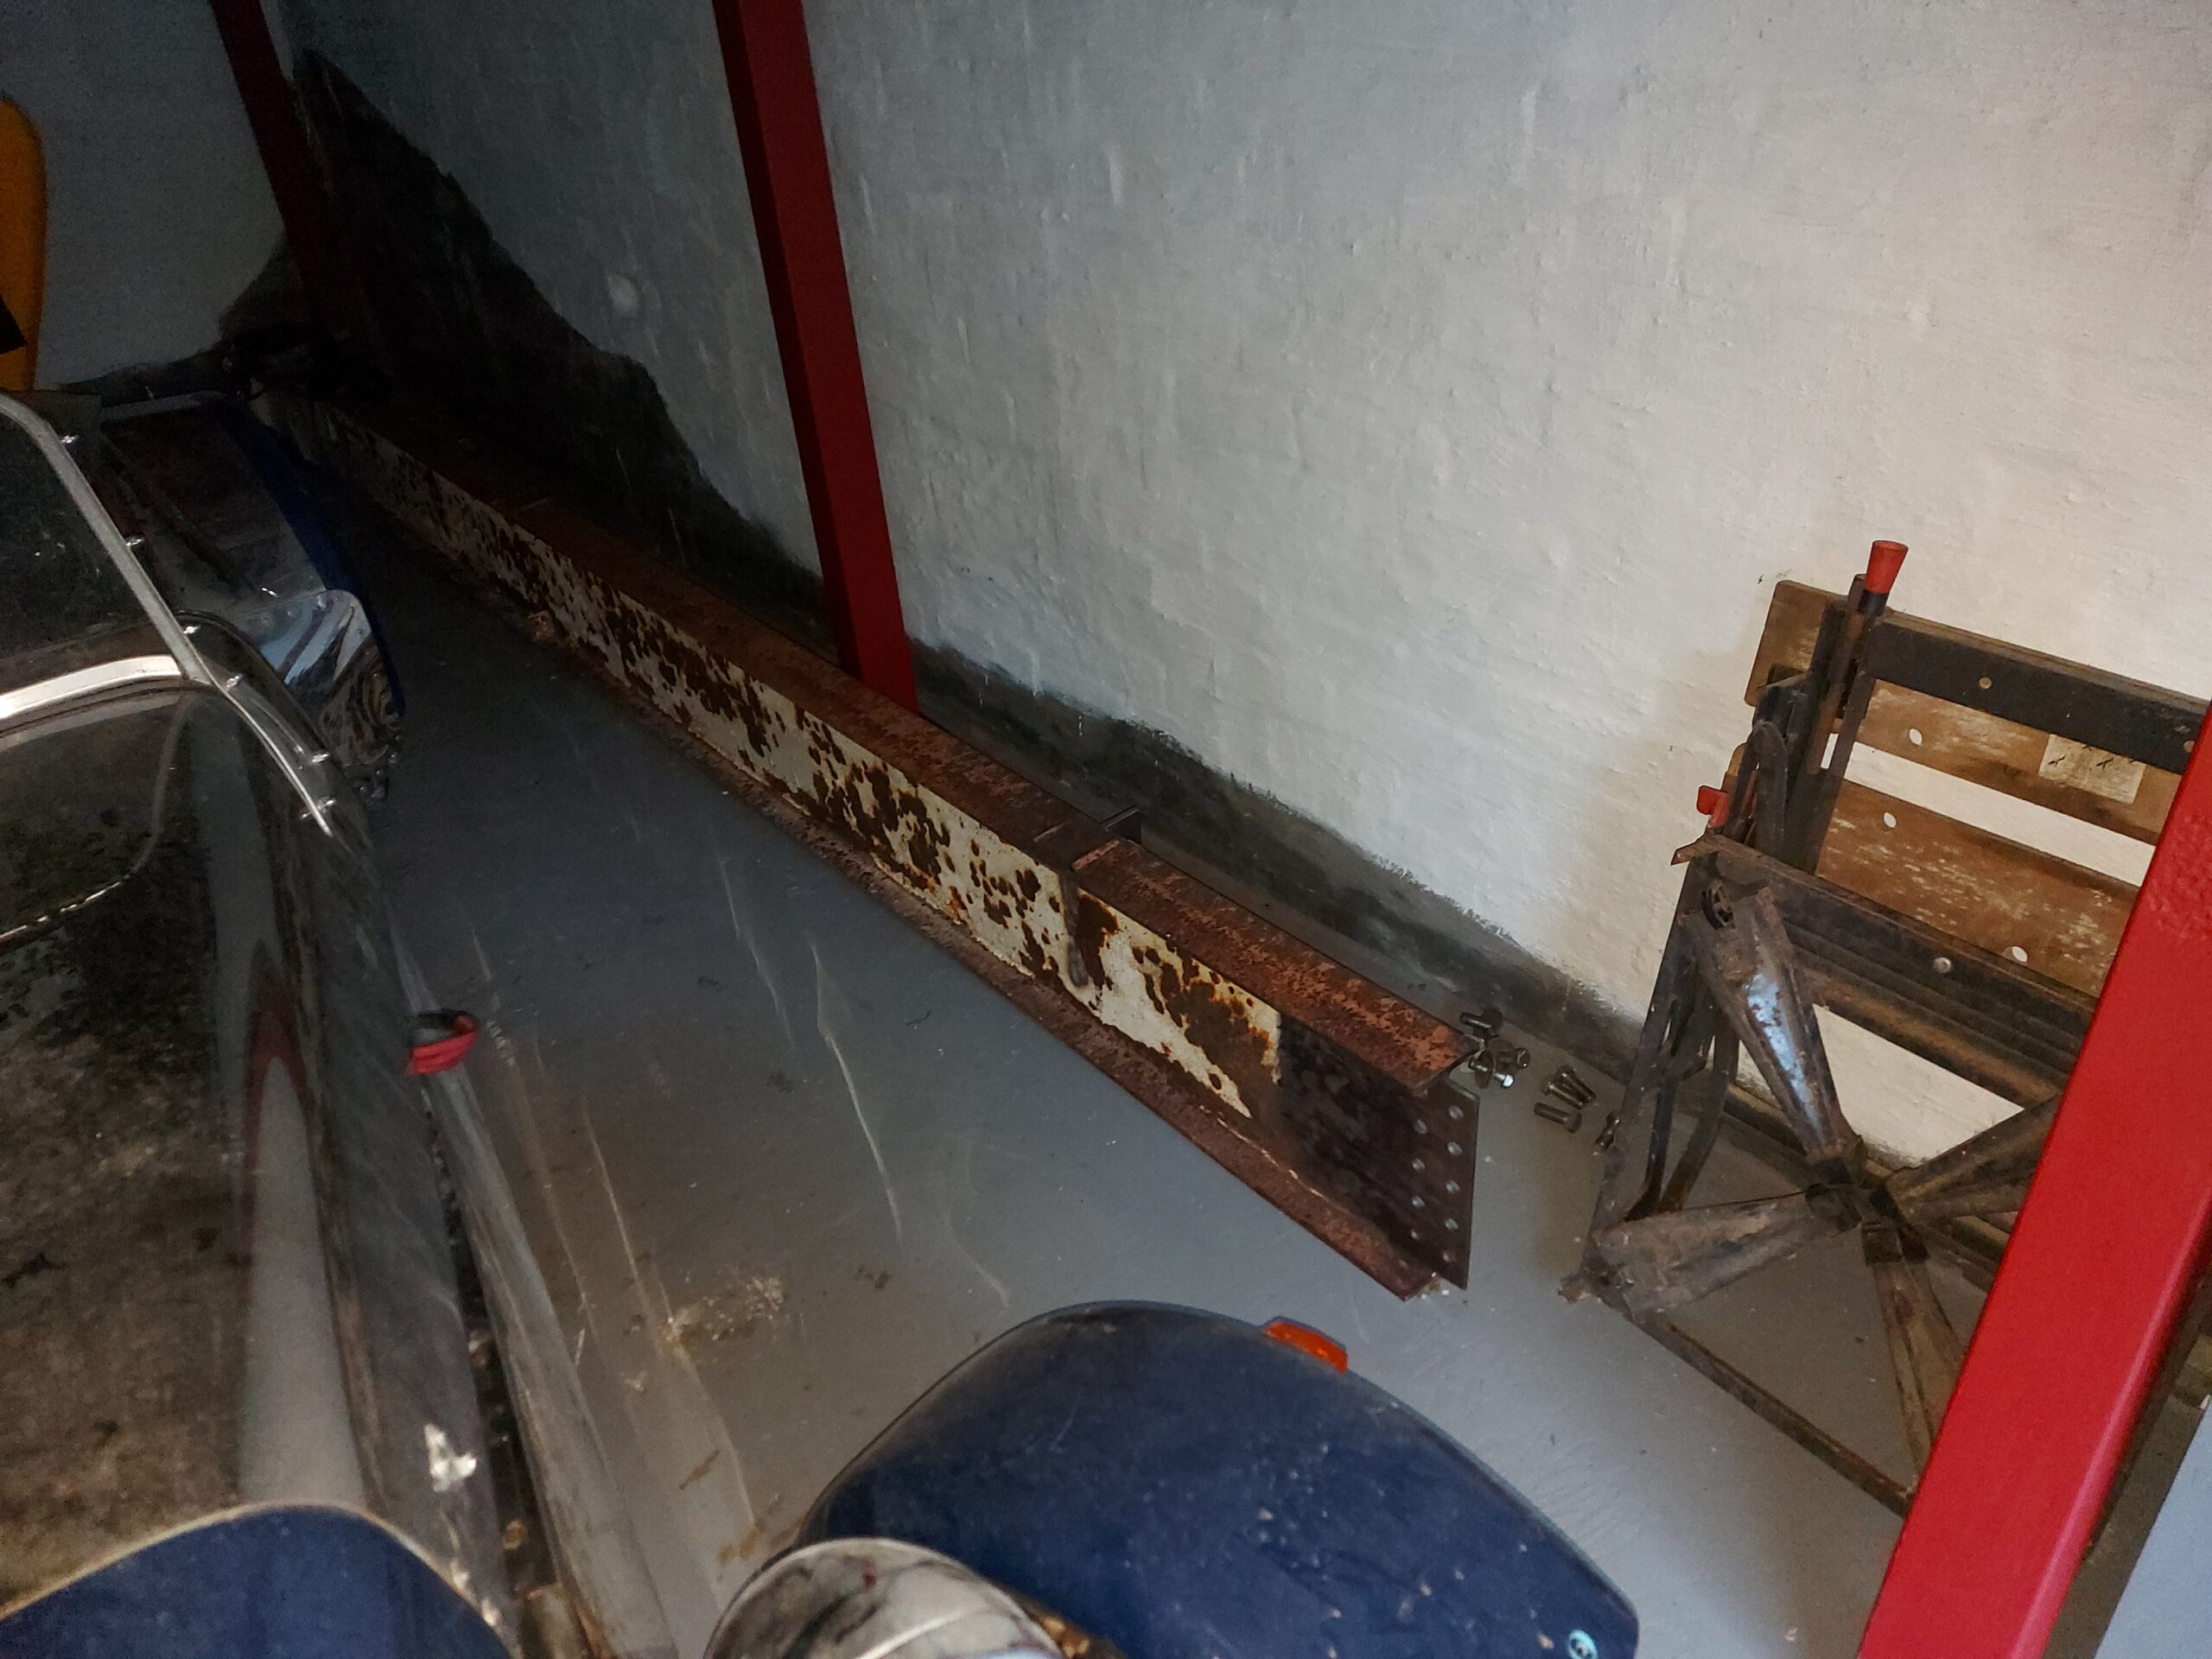
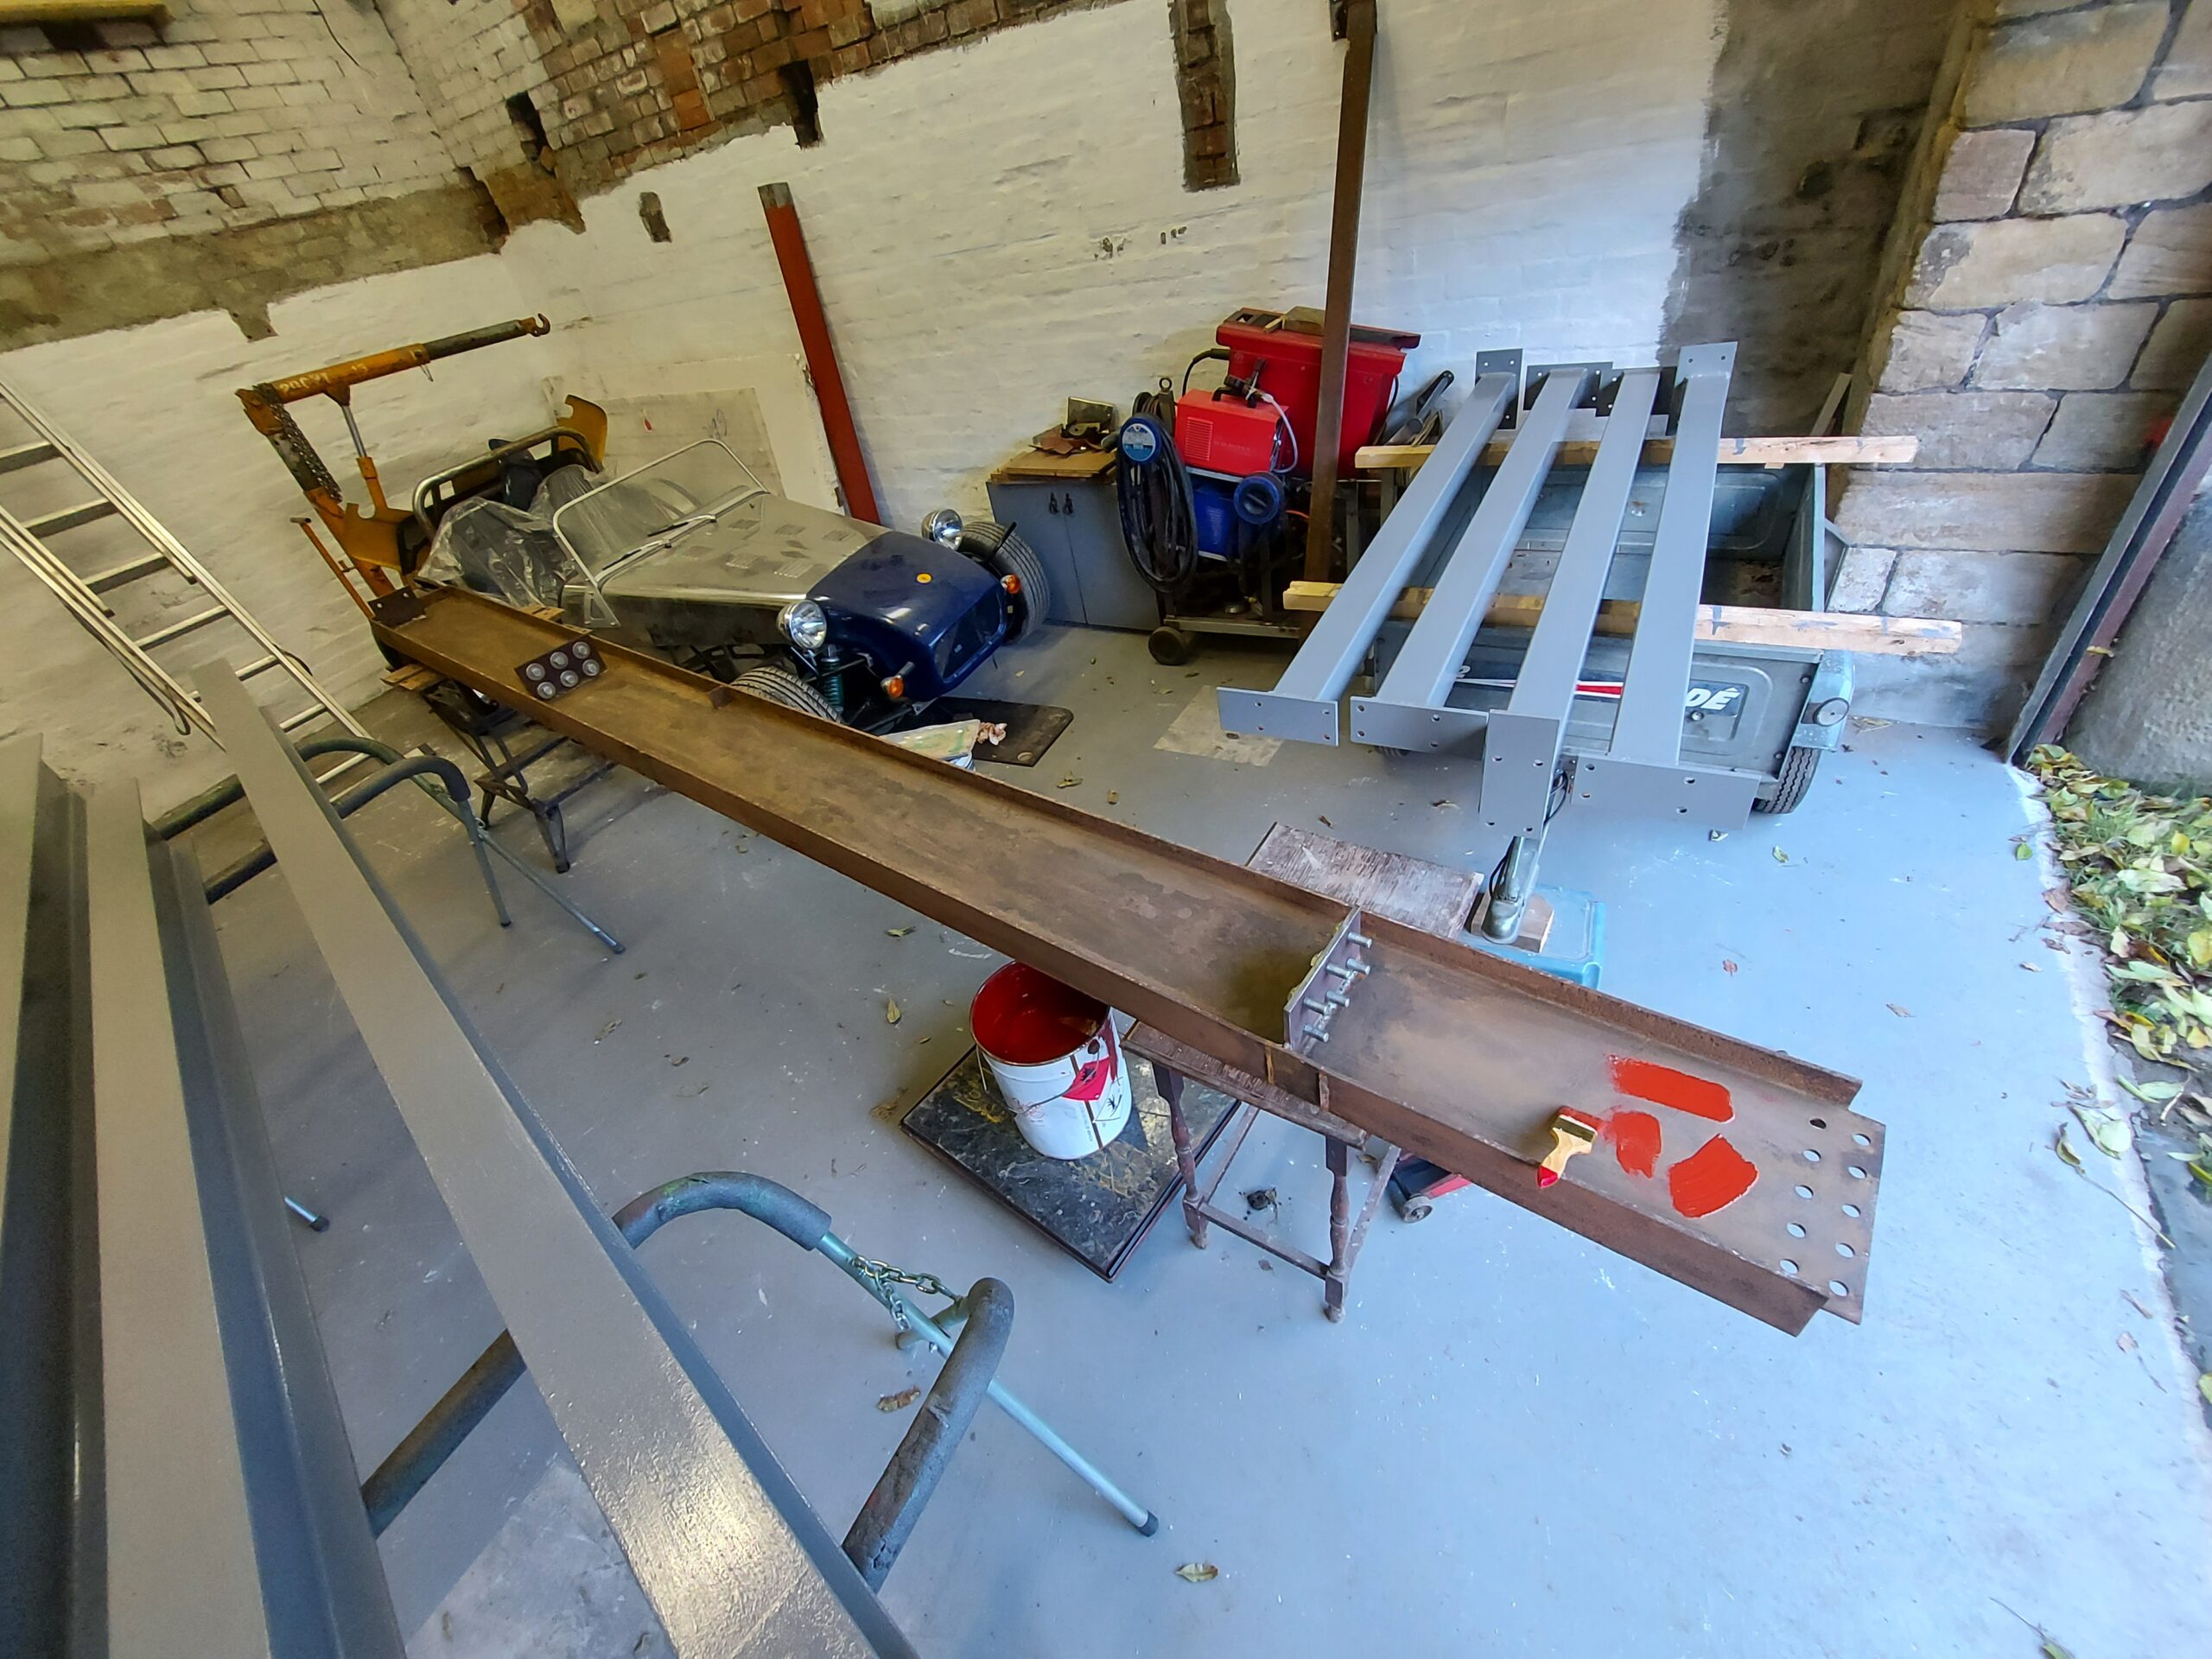
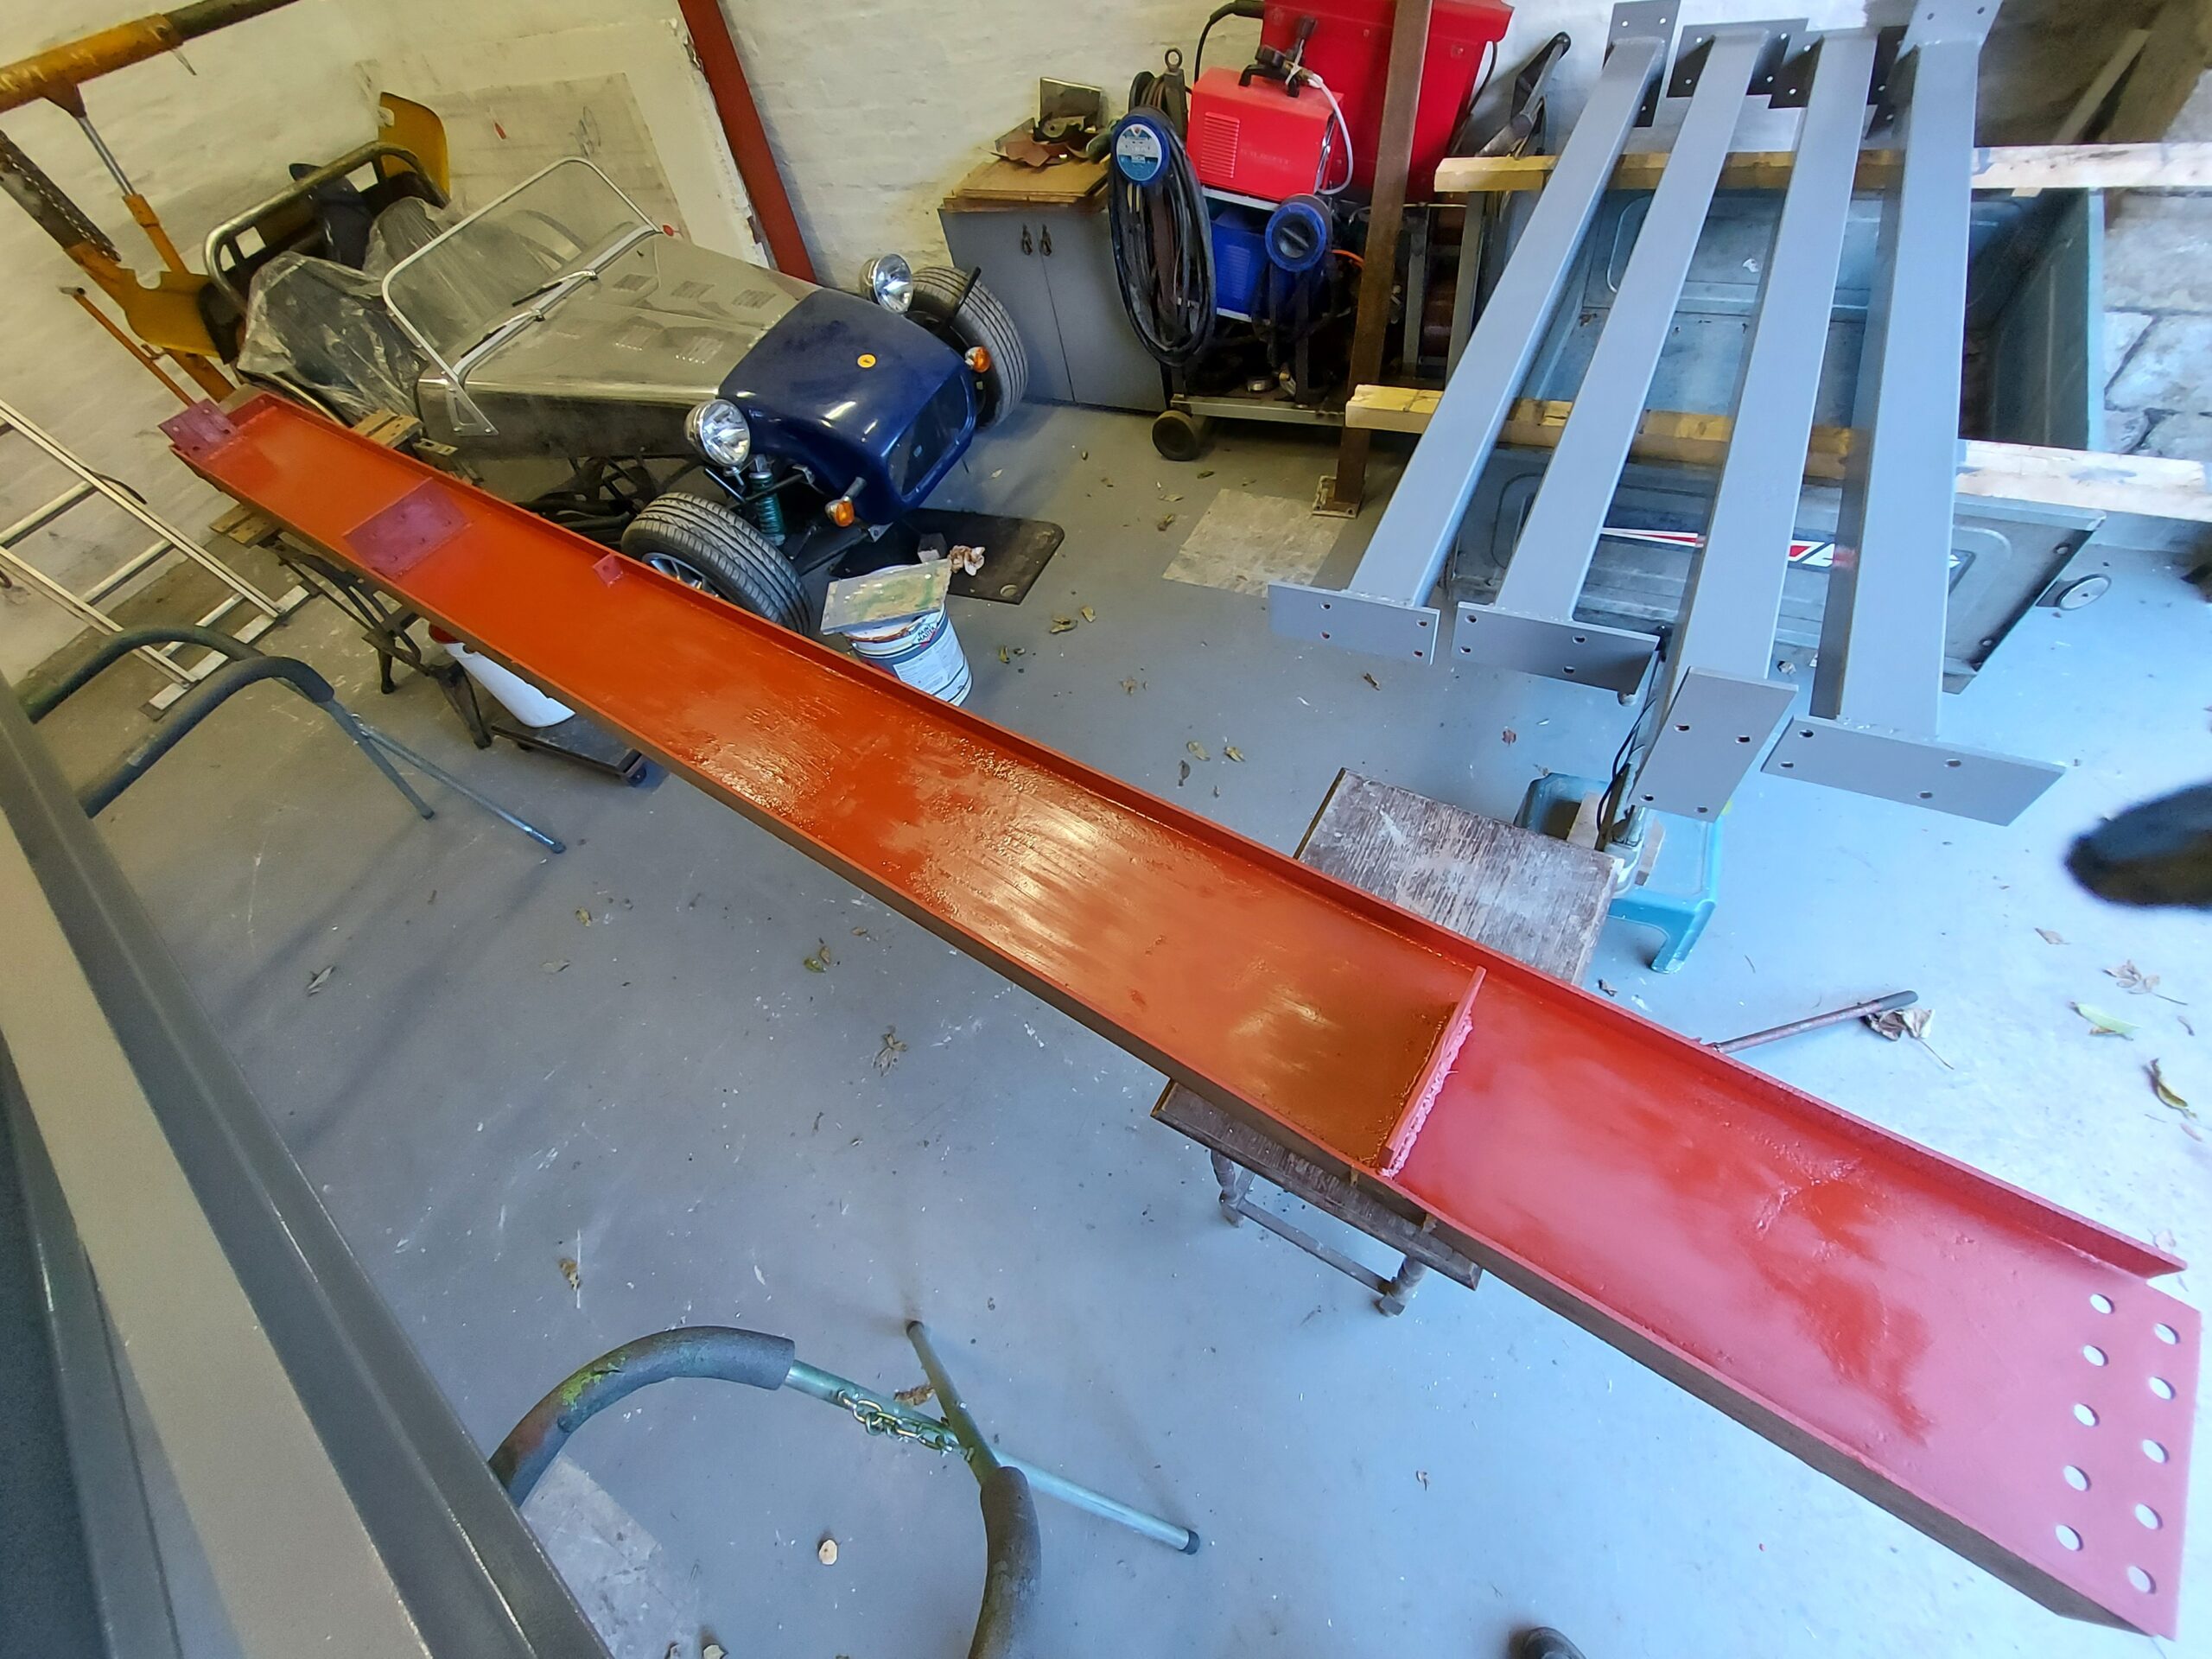
Ran out of CO2 so decided to bring these half done upwrights home and drill them into place, They need tops welding on cleaning and painting,
At last all the steels are cut, Welded & drilled
Get this little lot erected in the morning,
I can now cut the flooring
Floor finished at last, Time to start on fitting the place out, A bit more paint
Workshop W C approx latout
So that’s it all the steelwork & floor finished Time to start moveing in,
admin
12 November 2022 - 19:58
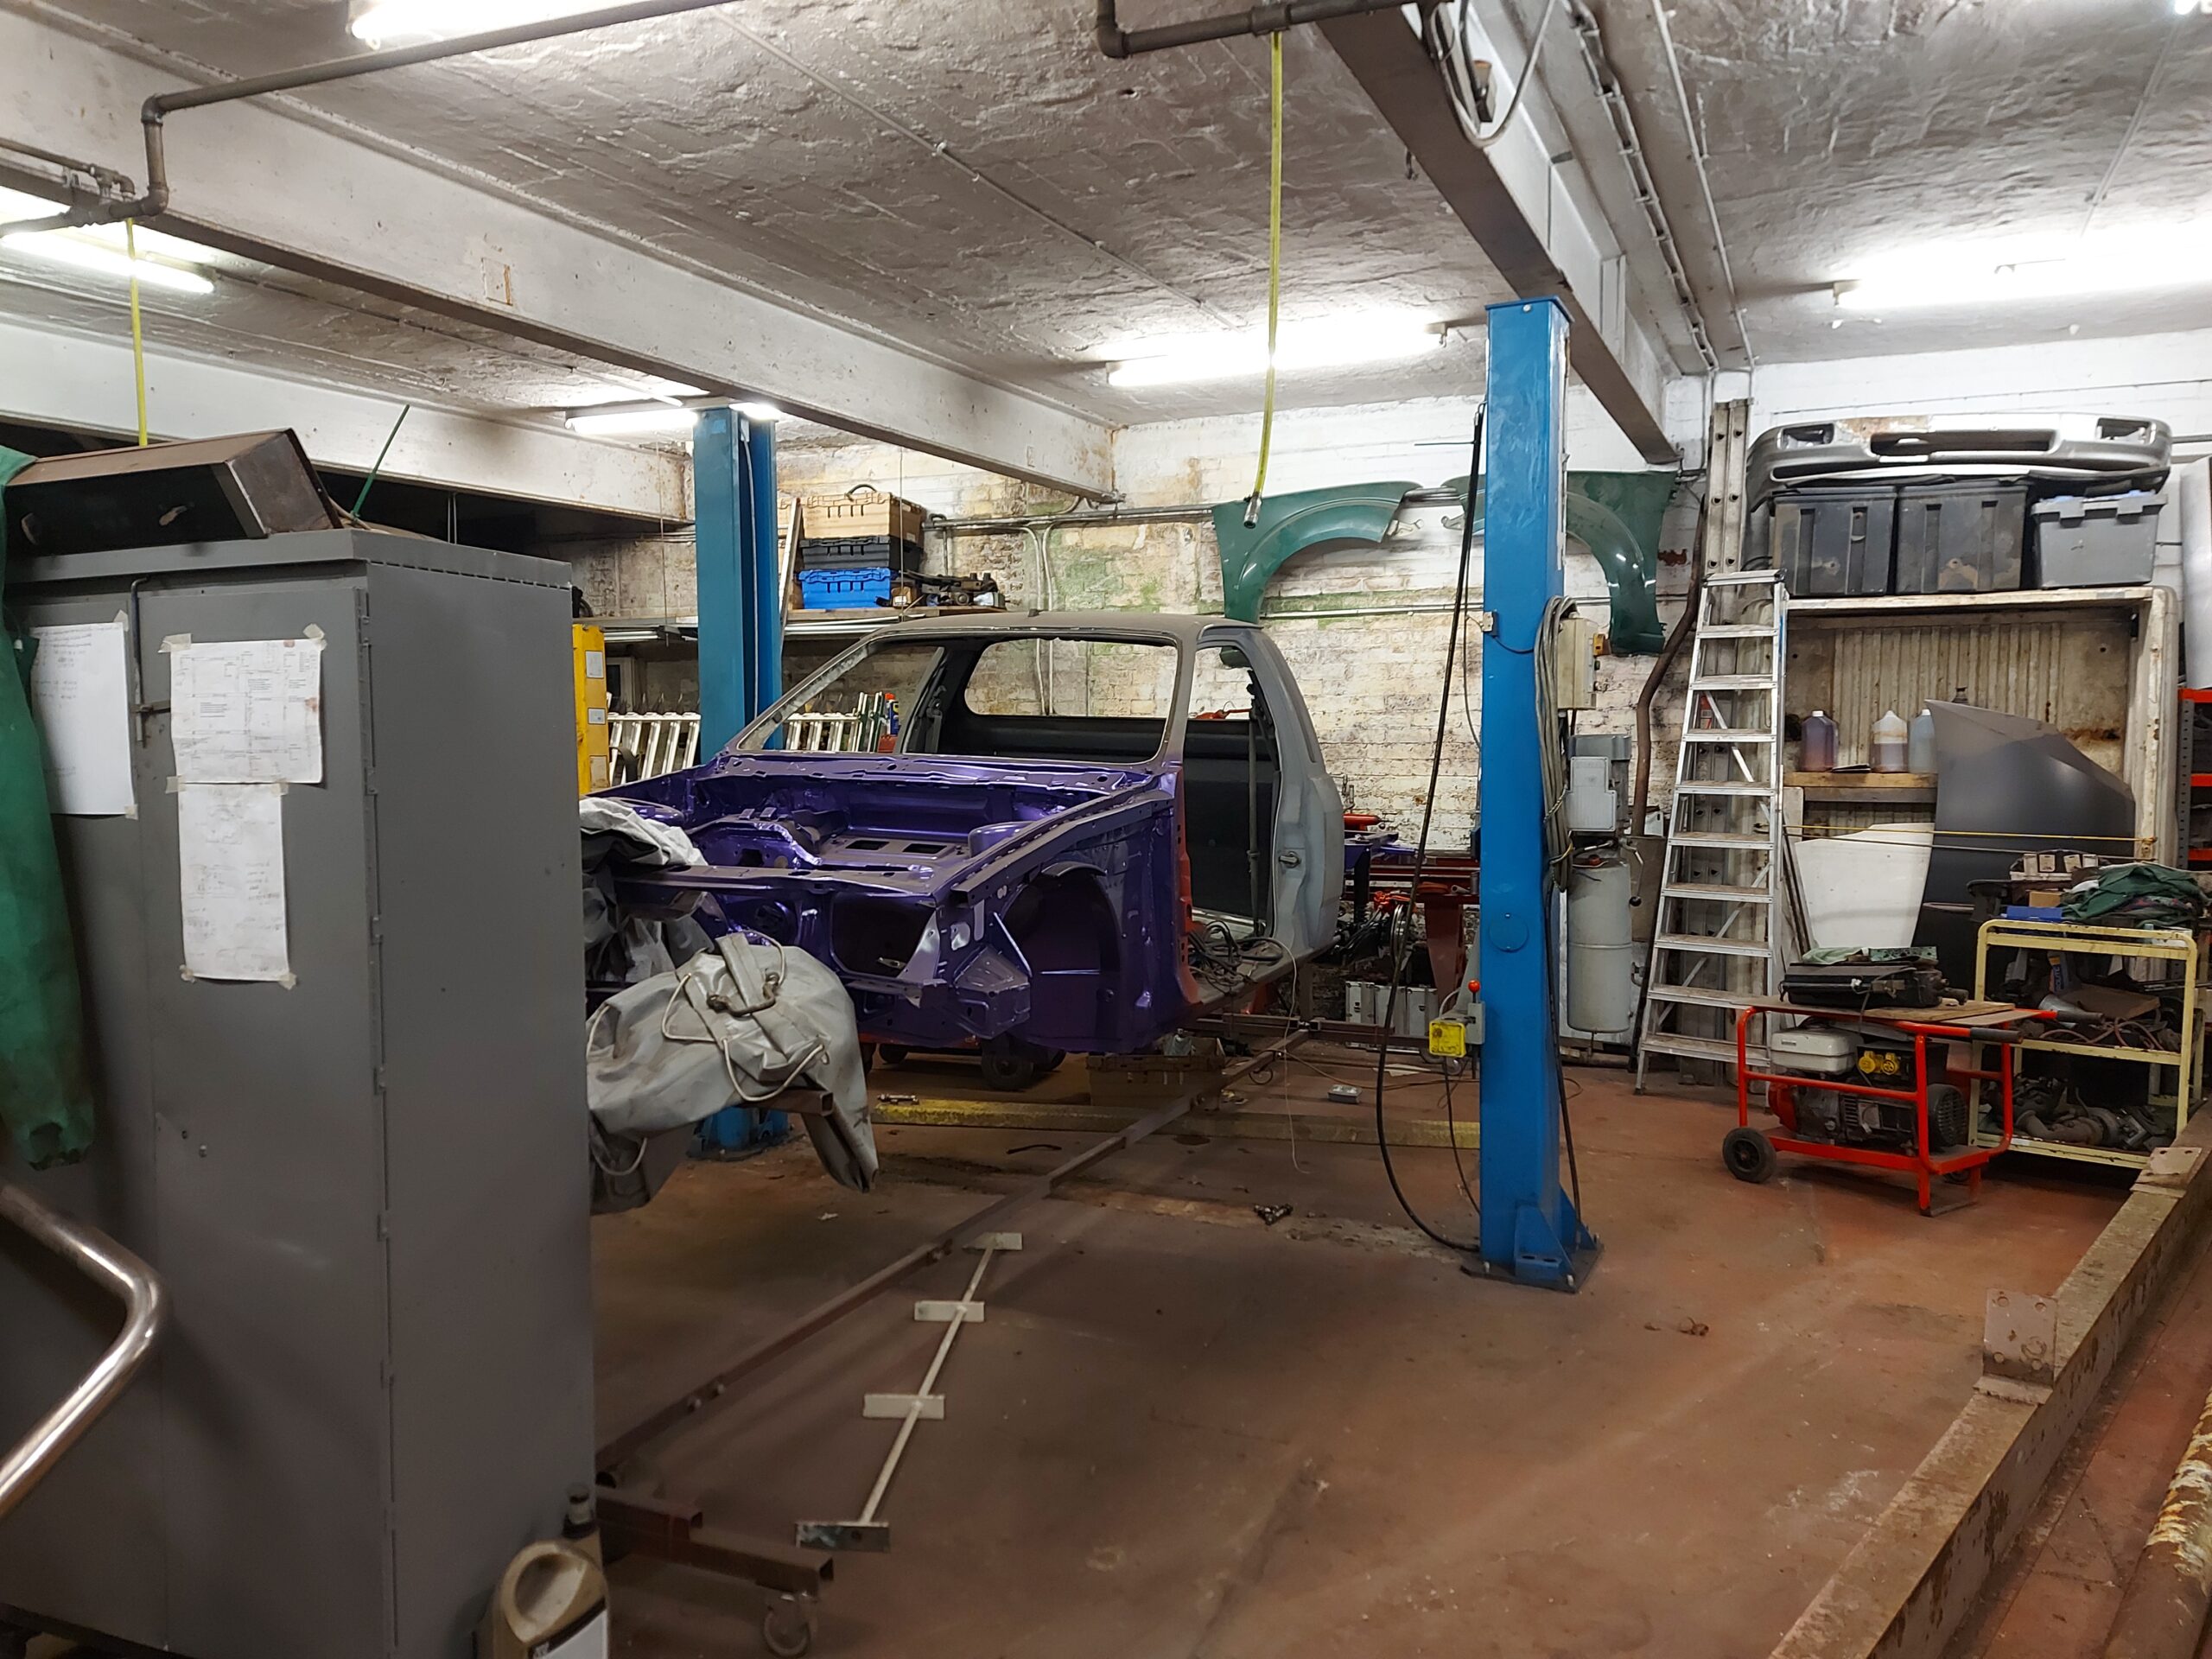
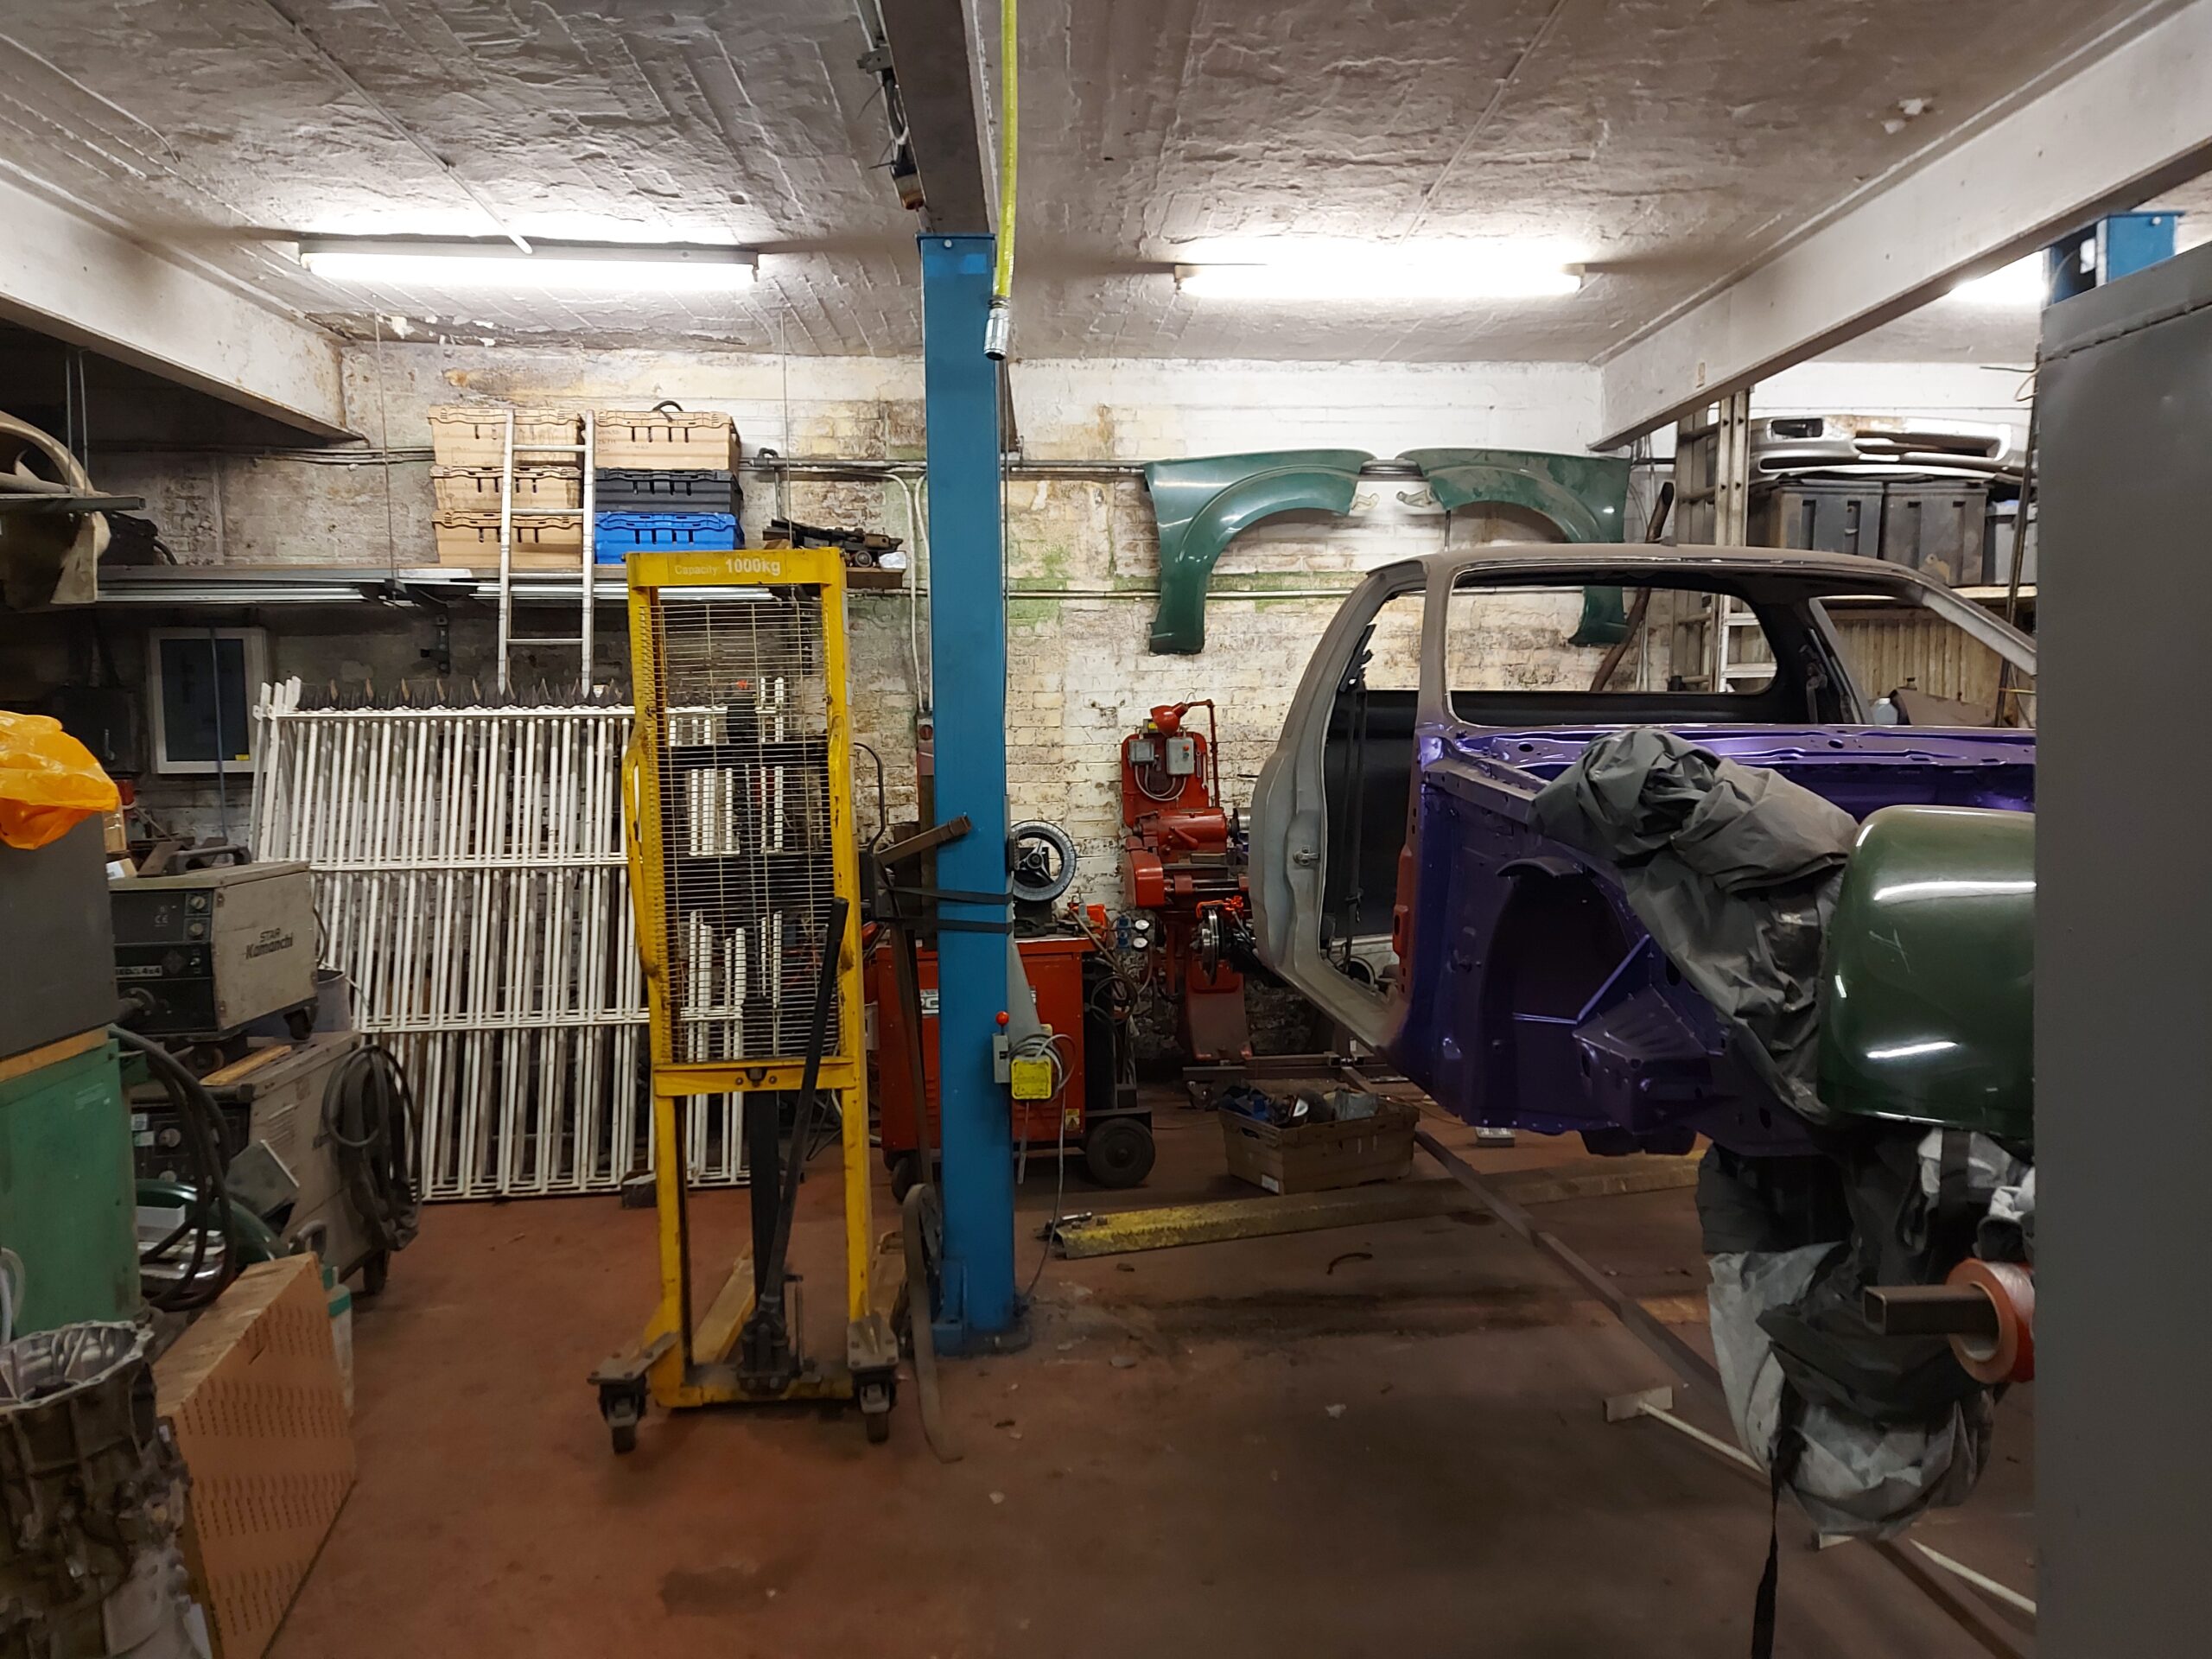
Ramp Time
Ramp in Old workshop
In Position
Recomissoned and tested to top limit,
Just needs bolting down now
admin
6 December 2022 - 22:08
Old workshop starting to empty
Had a bad day getting the Carrera down!
It came down and rolled my twin set compressor over a couple of times made a fare old mess of it,
After much trouble getting it out, It’s home,
A good friend of mine Richard came round helped me for the day still jet lagged from his Holiday in America, We got so much done it was fantastic, Got the Carrera onto to first floor, and we grabbed a load of gear from the old unit too
Getting the racking up
Some of the tools and high level storage shelving
Got to find some were for about ten time this little lot

8 Comments
admin
15 March 2021 - 19:28First plans done with a free CAD package
admin
28 March 2021 - 17:54So one of the previous owners of this house put up a really Crappy mezz level floor in the cellar (A real botch job) But we used it all the same,


 Nealy there


I’ve now started to remove the huge pillars they put in made from anything they could find ! All I can say is it looked crap but it was tough to break it down, Must have cost them a small fortune in sand/ cement to build these huge pillars, The beams don’t span the room so I had to make so Canter lever brackets to support the joists so I can remove everything including the original concrete floor “ Wish I’d done this 20 years back when I was younger,
Good Friday spent demolishing in new workshop
Looking tidy
Digging it out damed hard work in your 60s
More Digging later
Well another long couple of days spent digging meny thanks to janet my wife for her help digging all this out, Esemated about 12 tonnes in all
With a BIG thanks to my wife Janet for her help all the digging out and staires removed too, Just need the concrete in now then I can start the steel work,
Builder wasn’t happy with level so He sorted it out
Visqueen and reinforcement bars in ready for concrete pore
My mate said can you grab a piece of timber from my place on your way back we need it for shuttering OK I said but I’m in the Smart car!! So when I arrived with the timber he said look! a smart Lolly pop
I love to sit and watch others work
The plant room Under the greenhouse lol (this is were the compressor’s and blaster will live)
He wasen’t happy about the finish so he came back to flote it off
First coat of paint for main part of floor, Not done to edge as it still needs sealing to walls, But on the plus side walls be pressure washed when paint is dry,
Sealing the edges of the concrete, Also had some sort of reaction with floor paint and concrete sealer?
Started to fill the pointing with my own form of slurry Applied with a large brush, basic idear is won’t need as much Tanking as it’s expensive stuff to use as pointing
That’s the ground floor coated, ready for damp proof slurry next
Had to have a look with a motor in there? looking good nice space.
one coat of tanking at bottom of staires, Completed now
Two coats of tanking on both these walls next white paint
Basic plan for work bench
Had this old kitchen worktop hanging around so a white benchtop should be fun to keep clean LOL
Bisley drawer units fitted and first fix on big drawers
Little more done on bench
A little painting done
Little more painting and some work on bench
Painted Bench
Drawer fronts look a little crapy so more gray paint
Drawers all painted
Got the vice in place now looking like a proper bench lol
I built this bench about 20 years back, All the top are 500×500 inlet tool panels with switches on the front,
admin
23 April 2022 - 19:29The Stairs
I got a fire escape about 15 years back from a local Pub/Restaurant, They’ve sat at the bottom of the garden ever since, they was for an outdoor access but now getting used inside,
Got the steel stairs off for sand blasting today (Tuesday)hopefully painting it on Thursday,
Bugger the assembled unit is 12.5mm too wide for the opening so 4 long cuts have to be done,
The gap for the staircase is 31″ Staircase is 31.5″ So I’ve decided to take 1.25″ off each Side rails making it 31″ and I will need to weld all nuts into the channel so it can be erected in place from under the stairs,

The Last long cut to do,
All the nuts welded in place,
More red oxide,
Grey Floor pain first coat
Looks like this was built on a site! not in a factory had to mess around with every tread plate to find the only place it would fit on the side rails
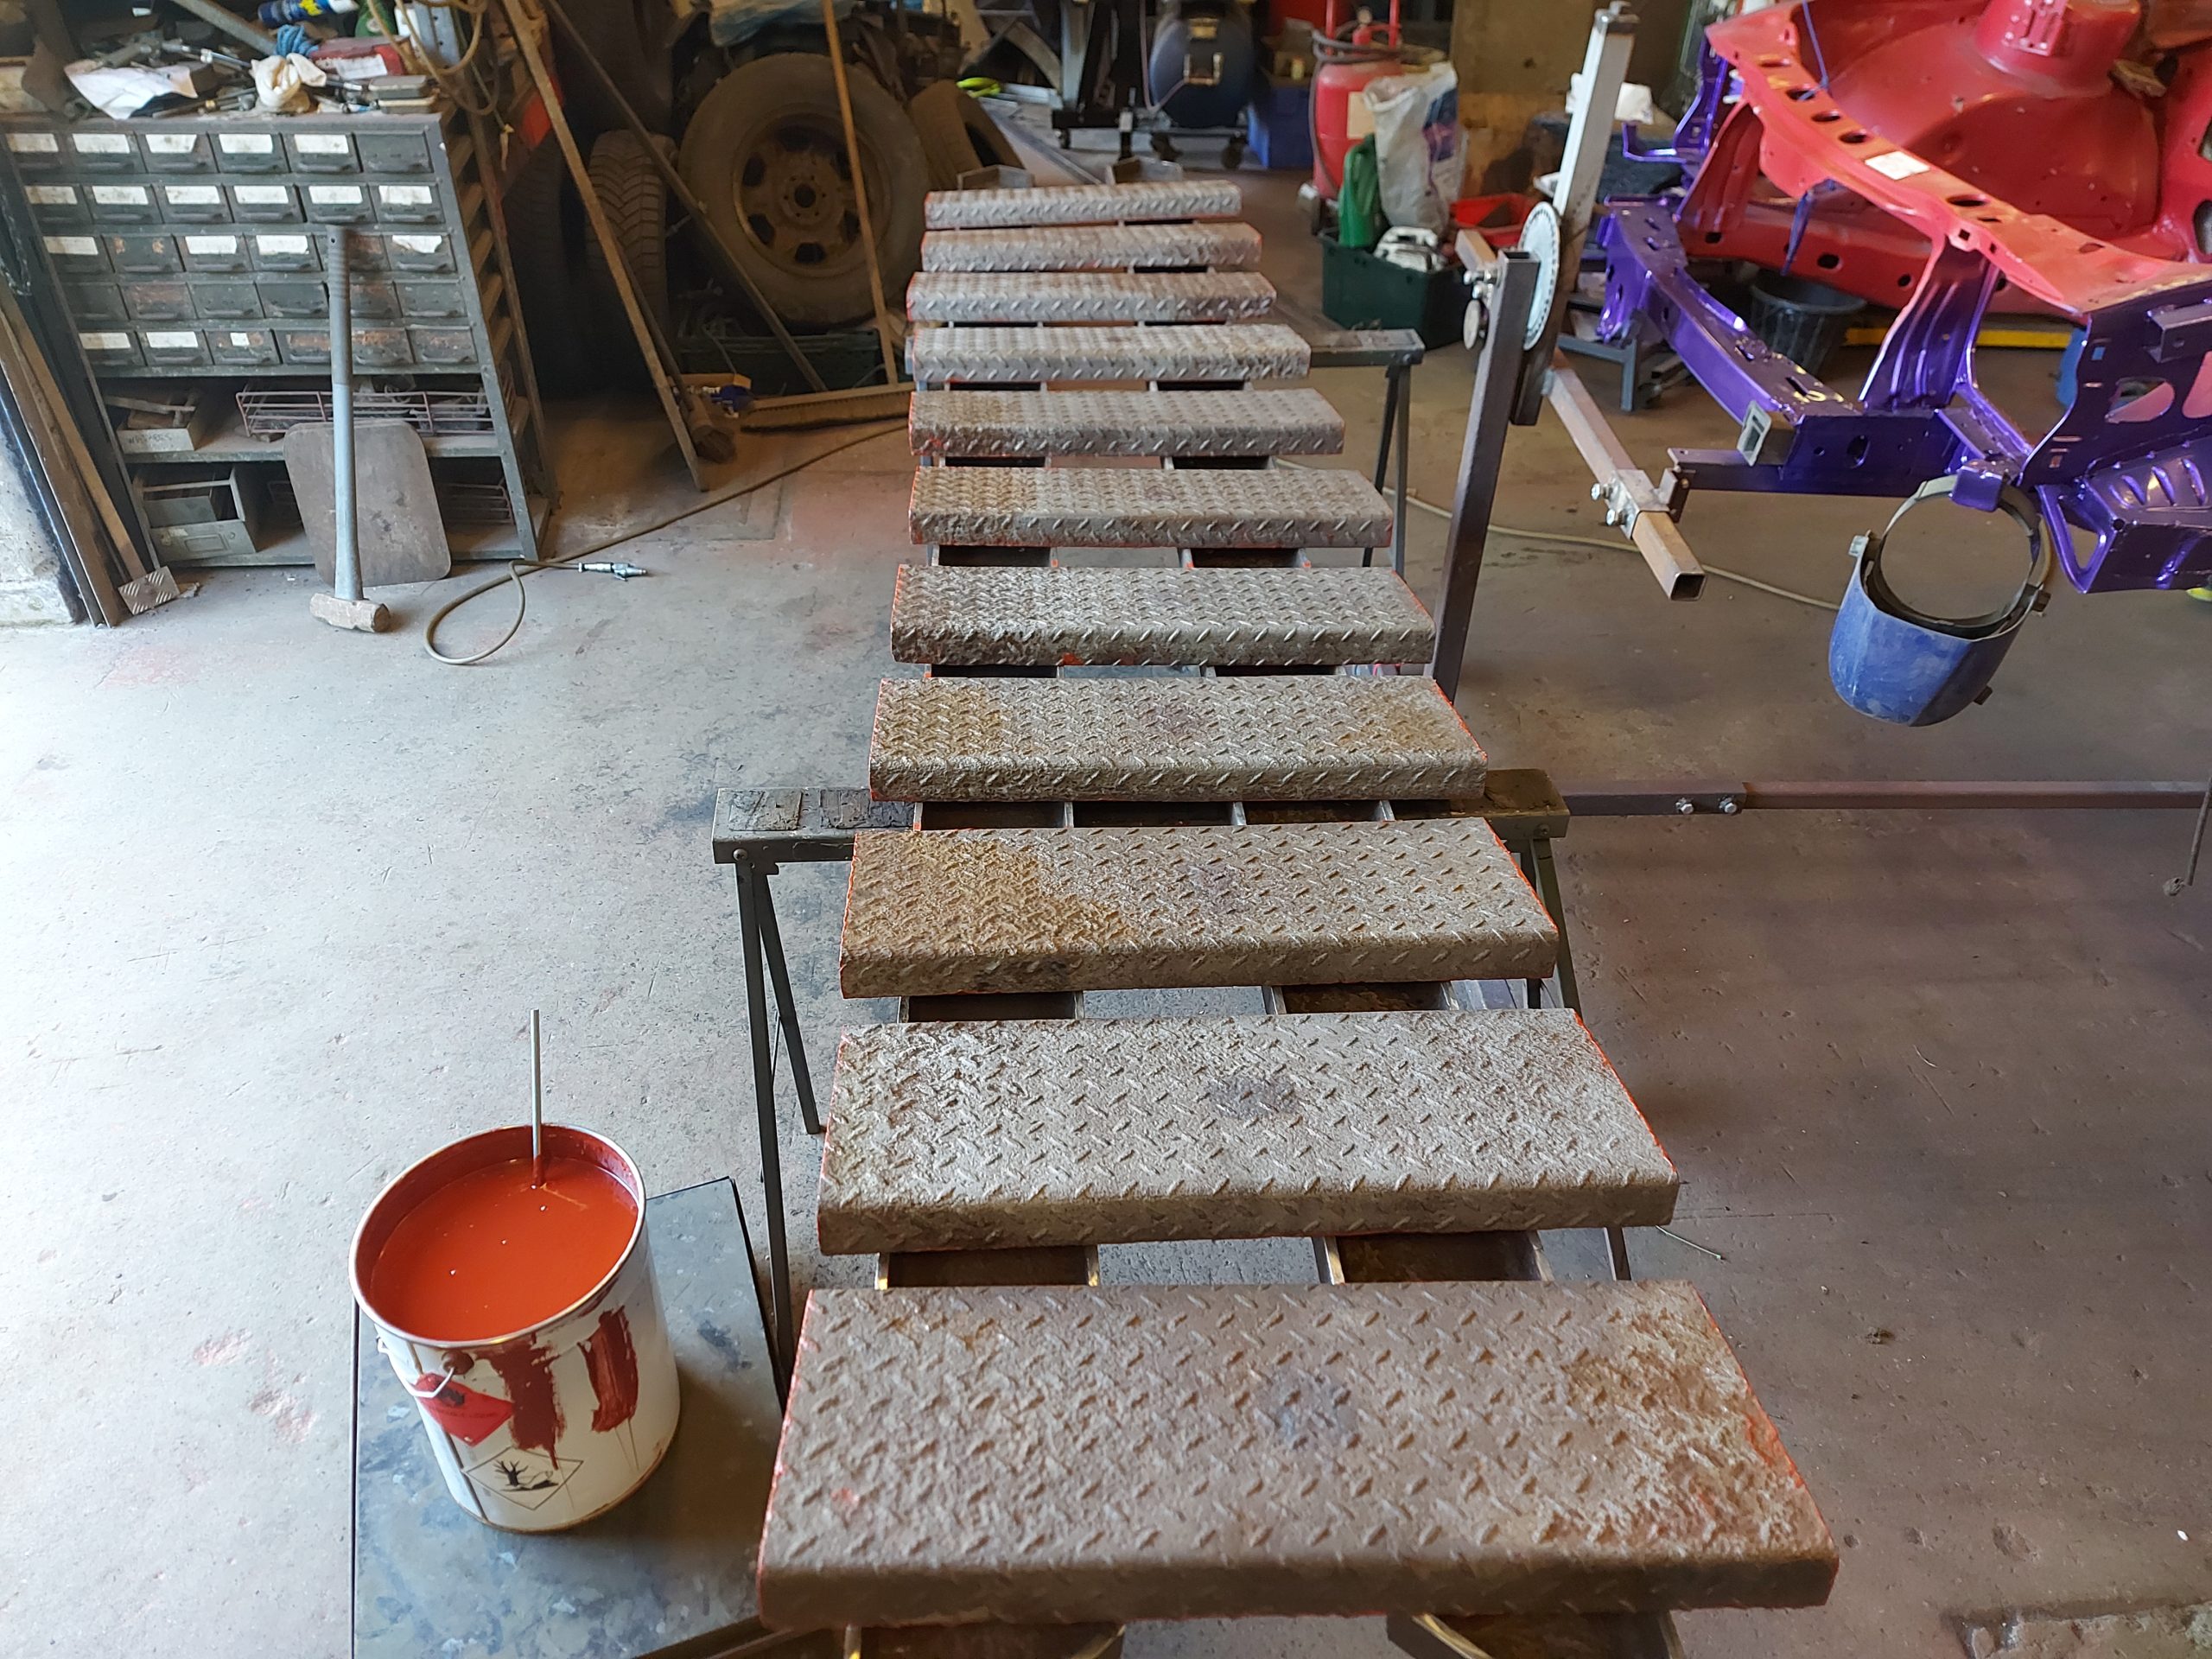

The under side
Maked all with a number welded into the under side
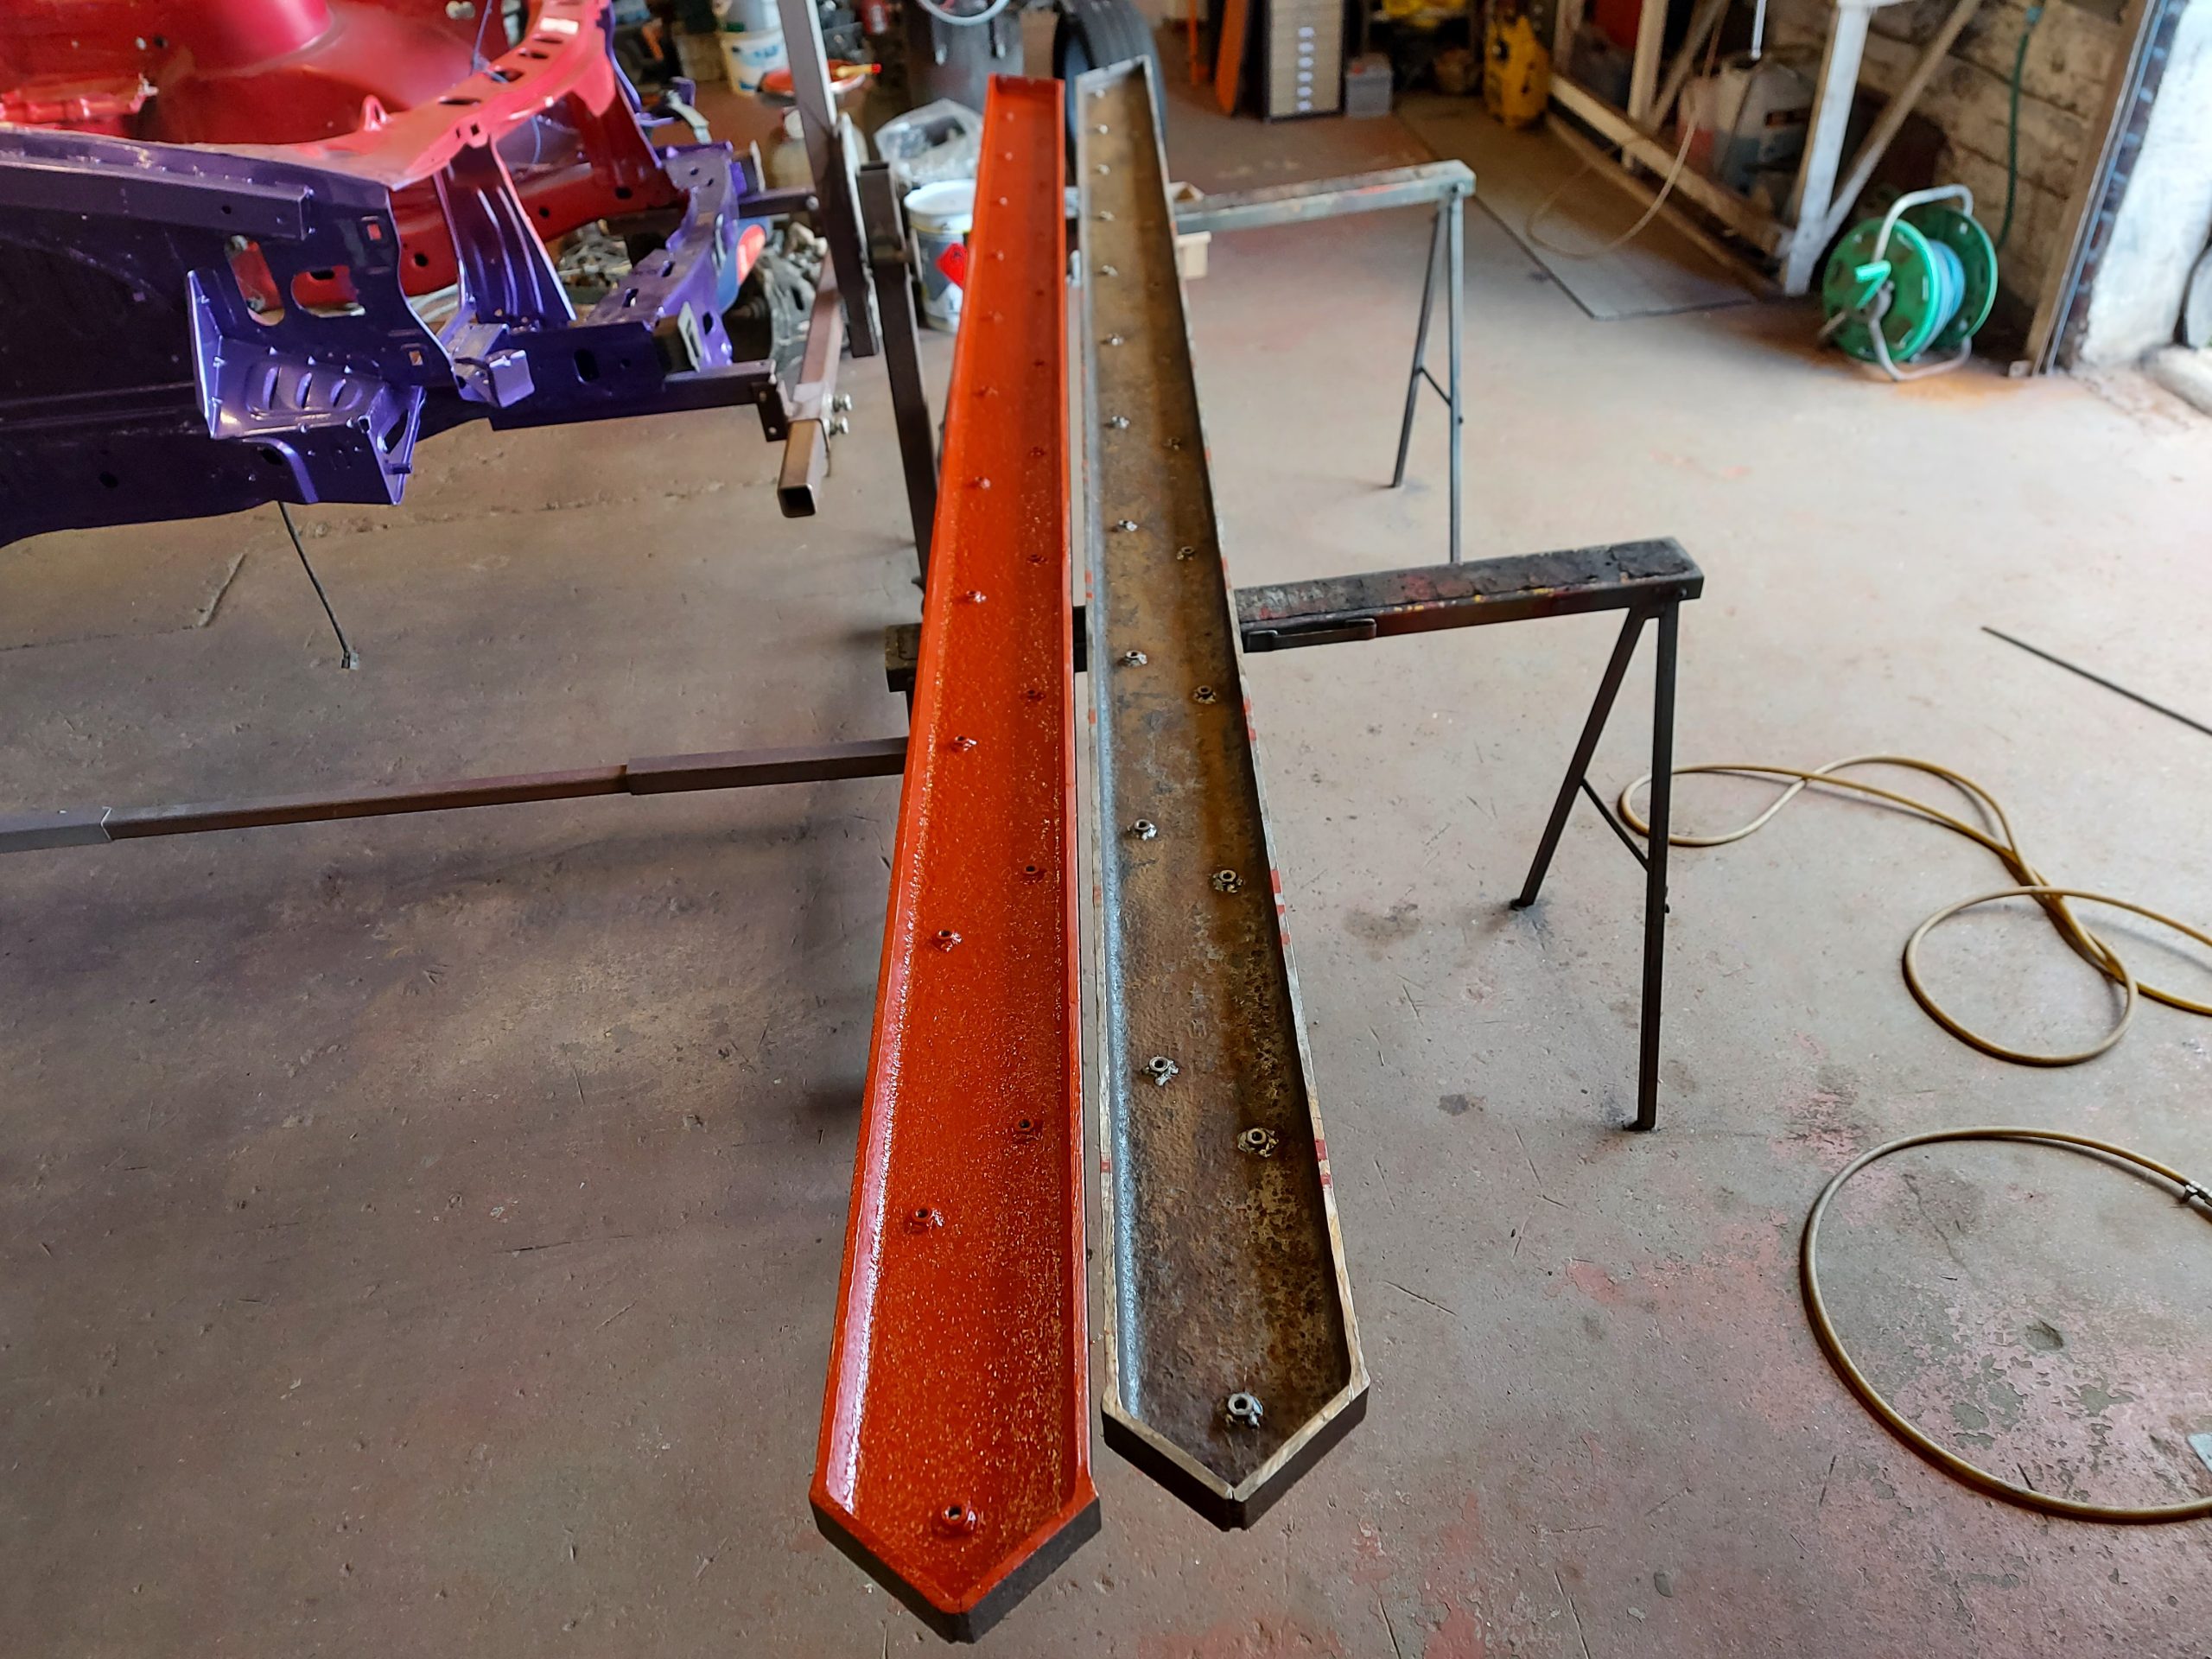
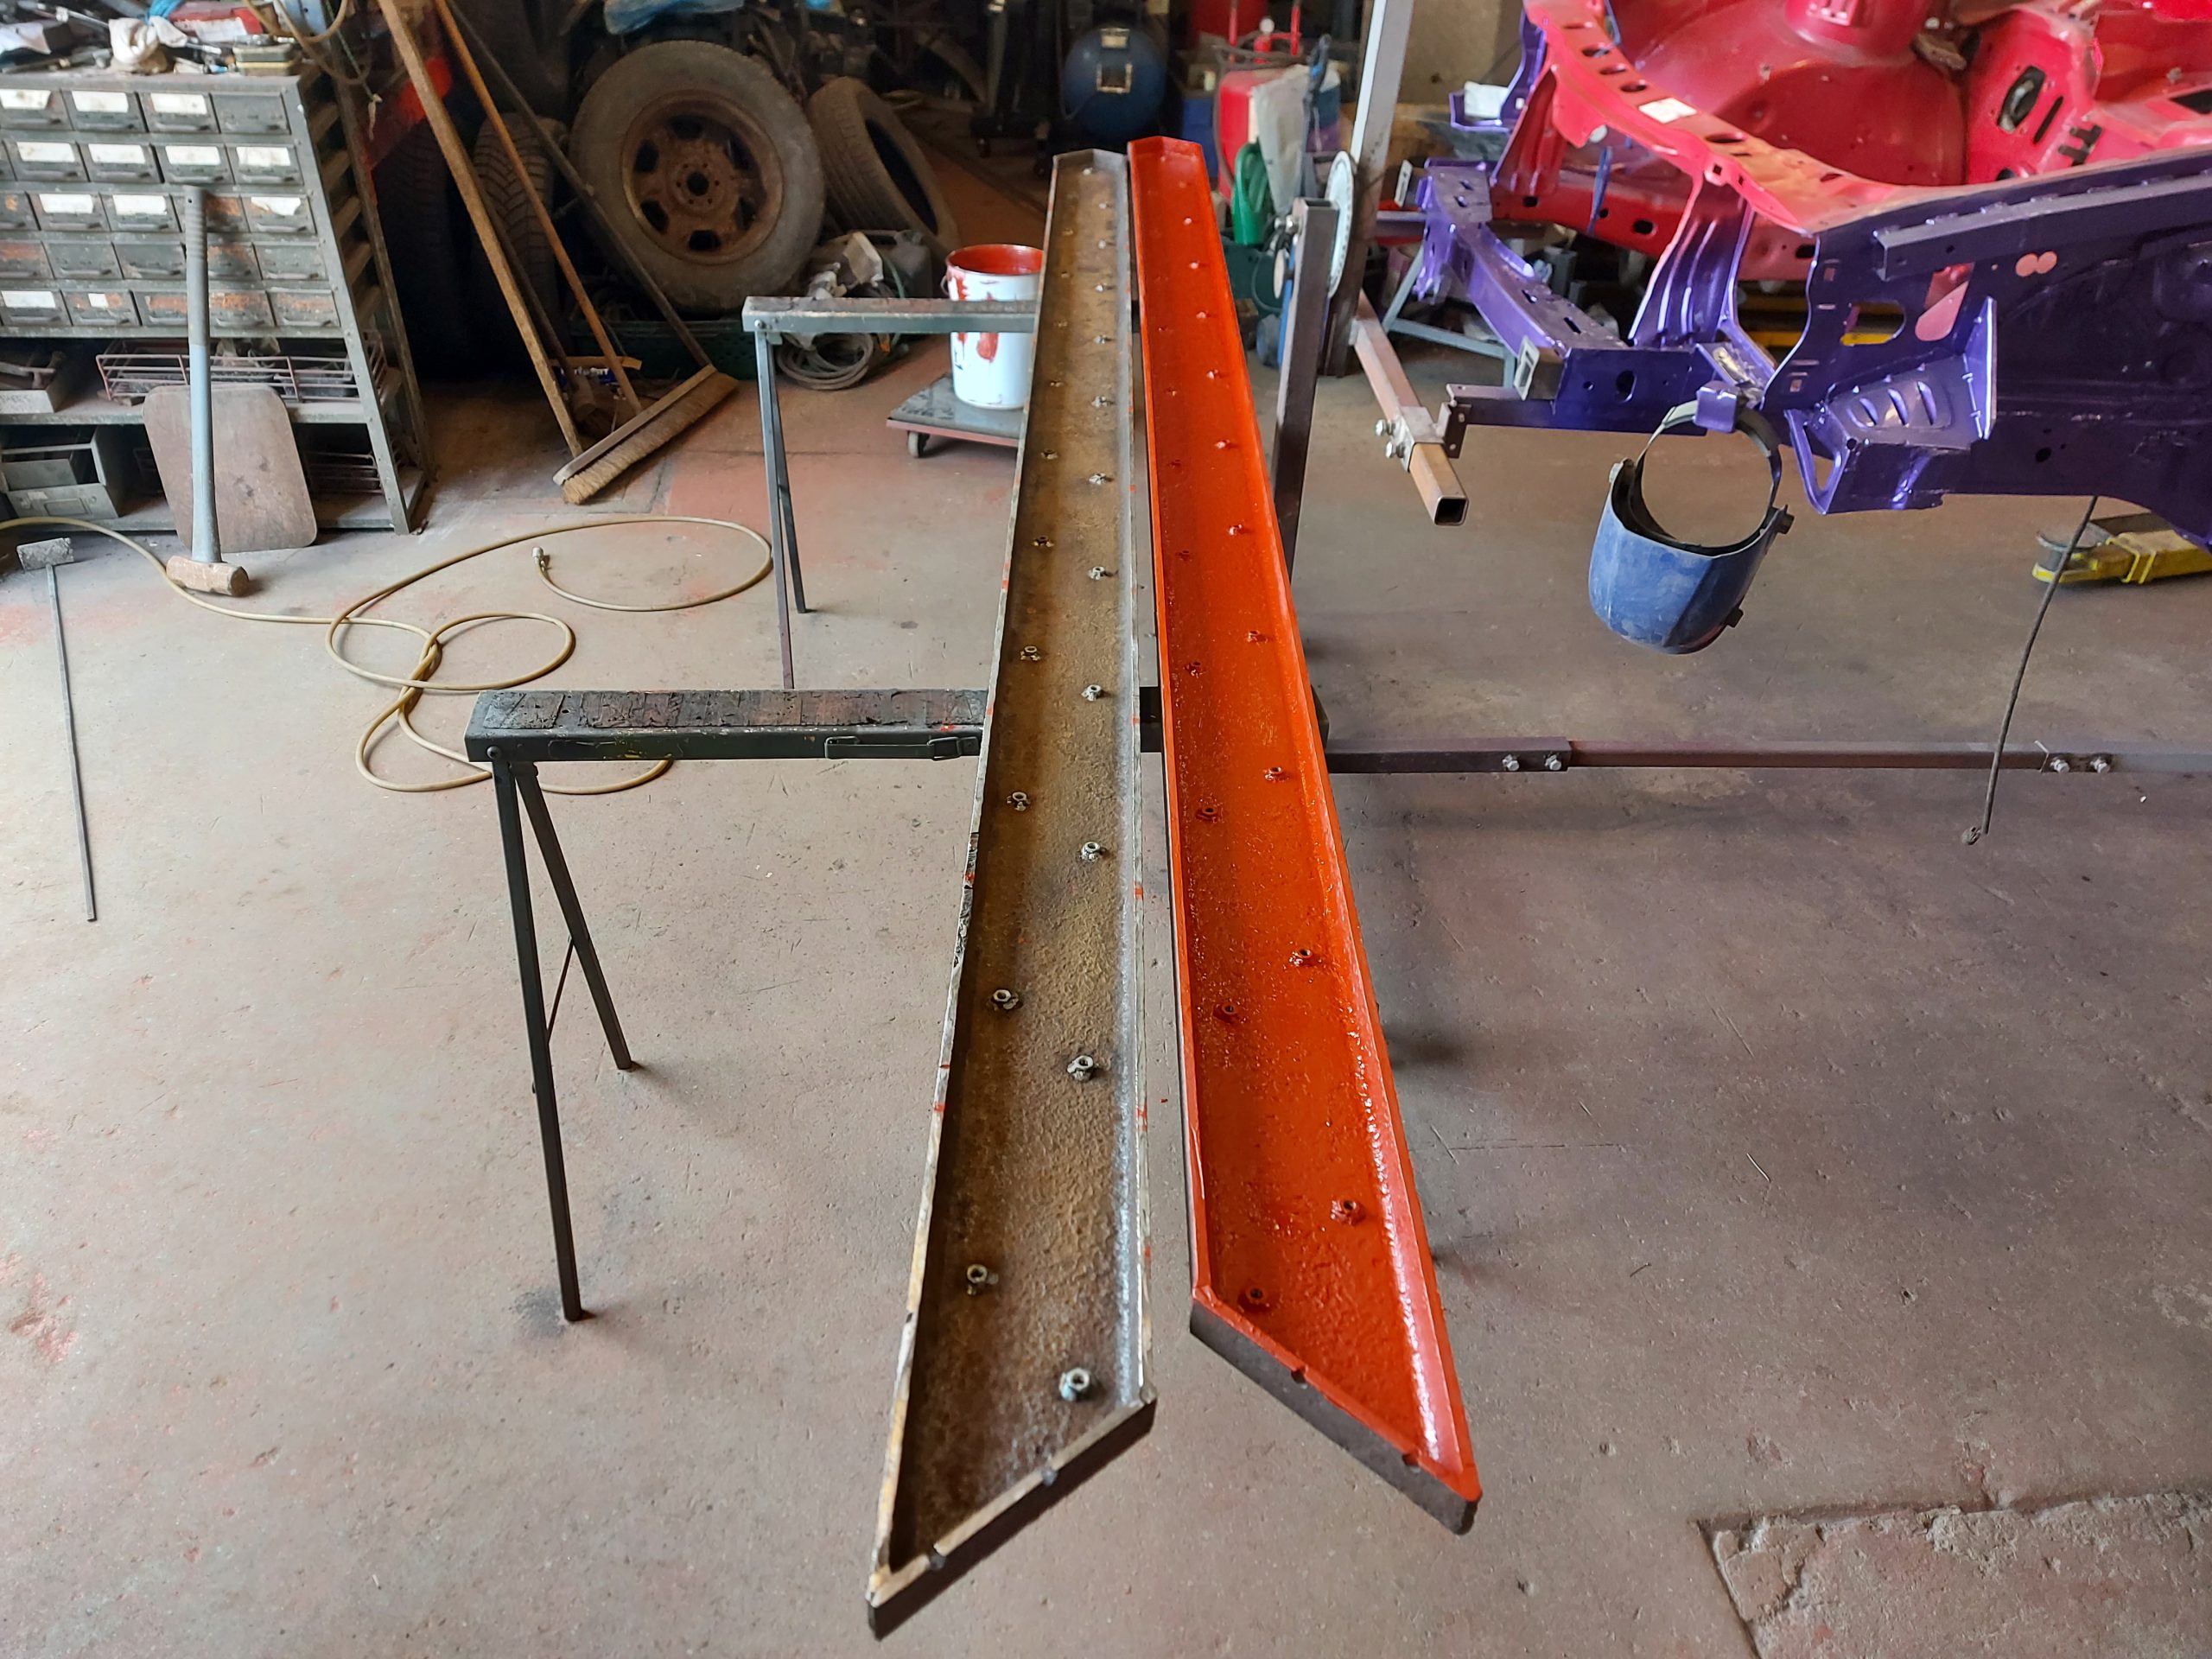
Getting the red-lead on
The under side only needs one coat looking nice and light
Next step is 2 coats of Gray floor paint on top sides
At last the staires are in we can now get up/down without a ladder lol
Temporary position till steel mezz level goes’ in but looking like it will be perfect
admin
17 August 2022 - 18:28At last the steel as arrived, Time to start fabricating & erecting it
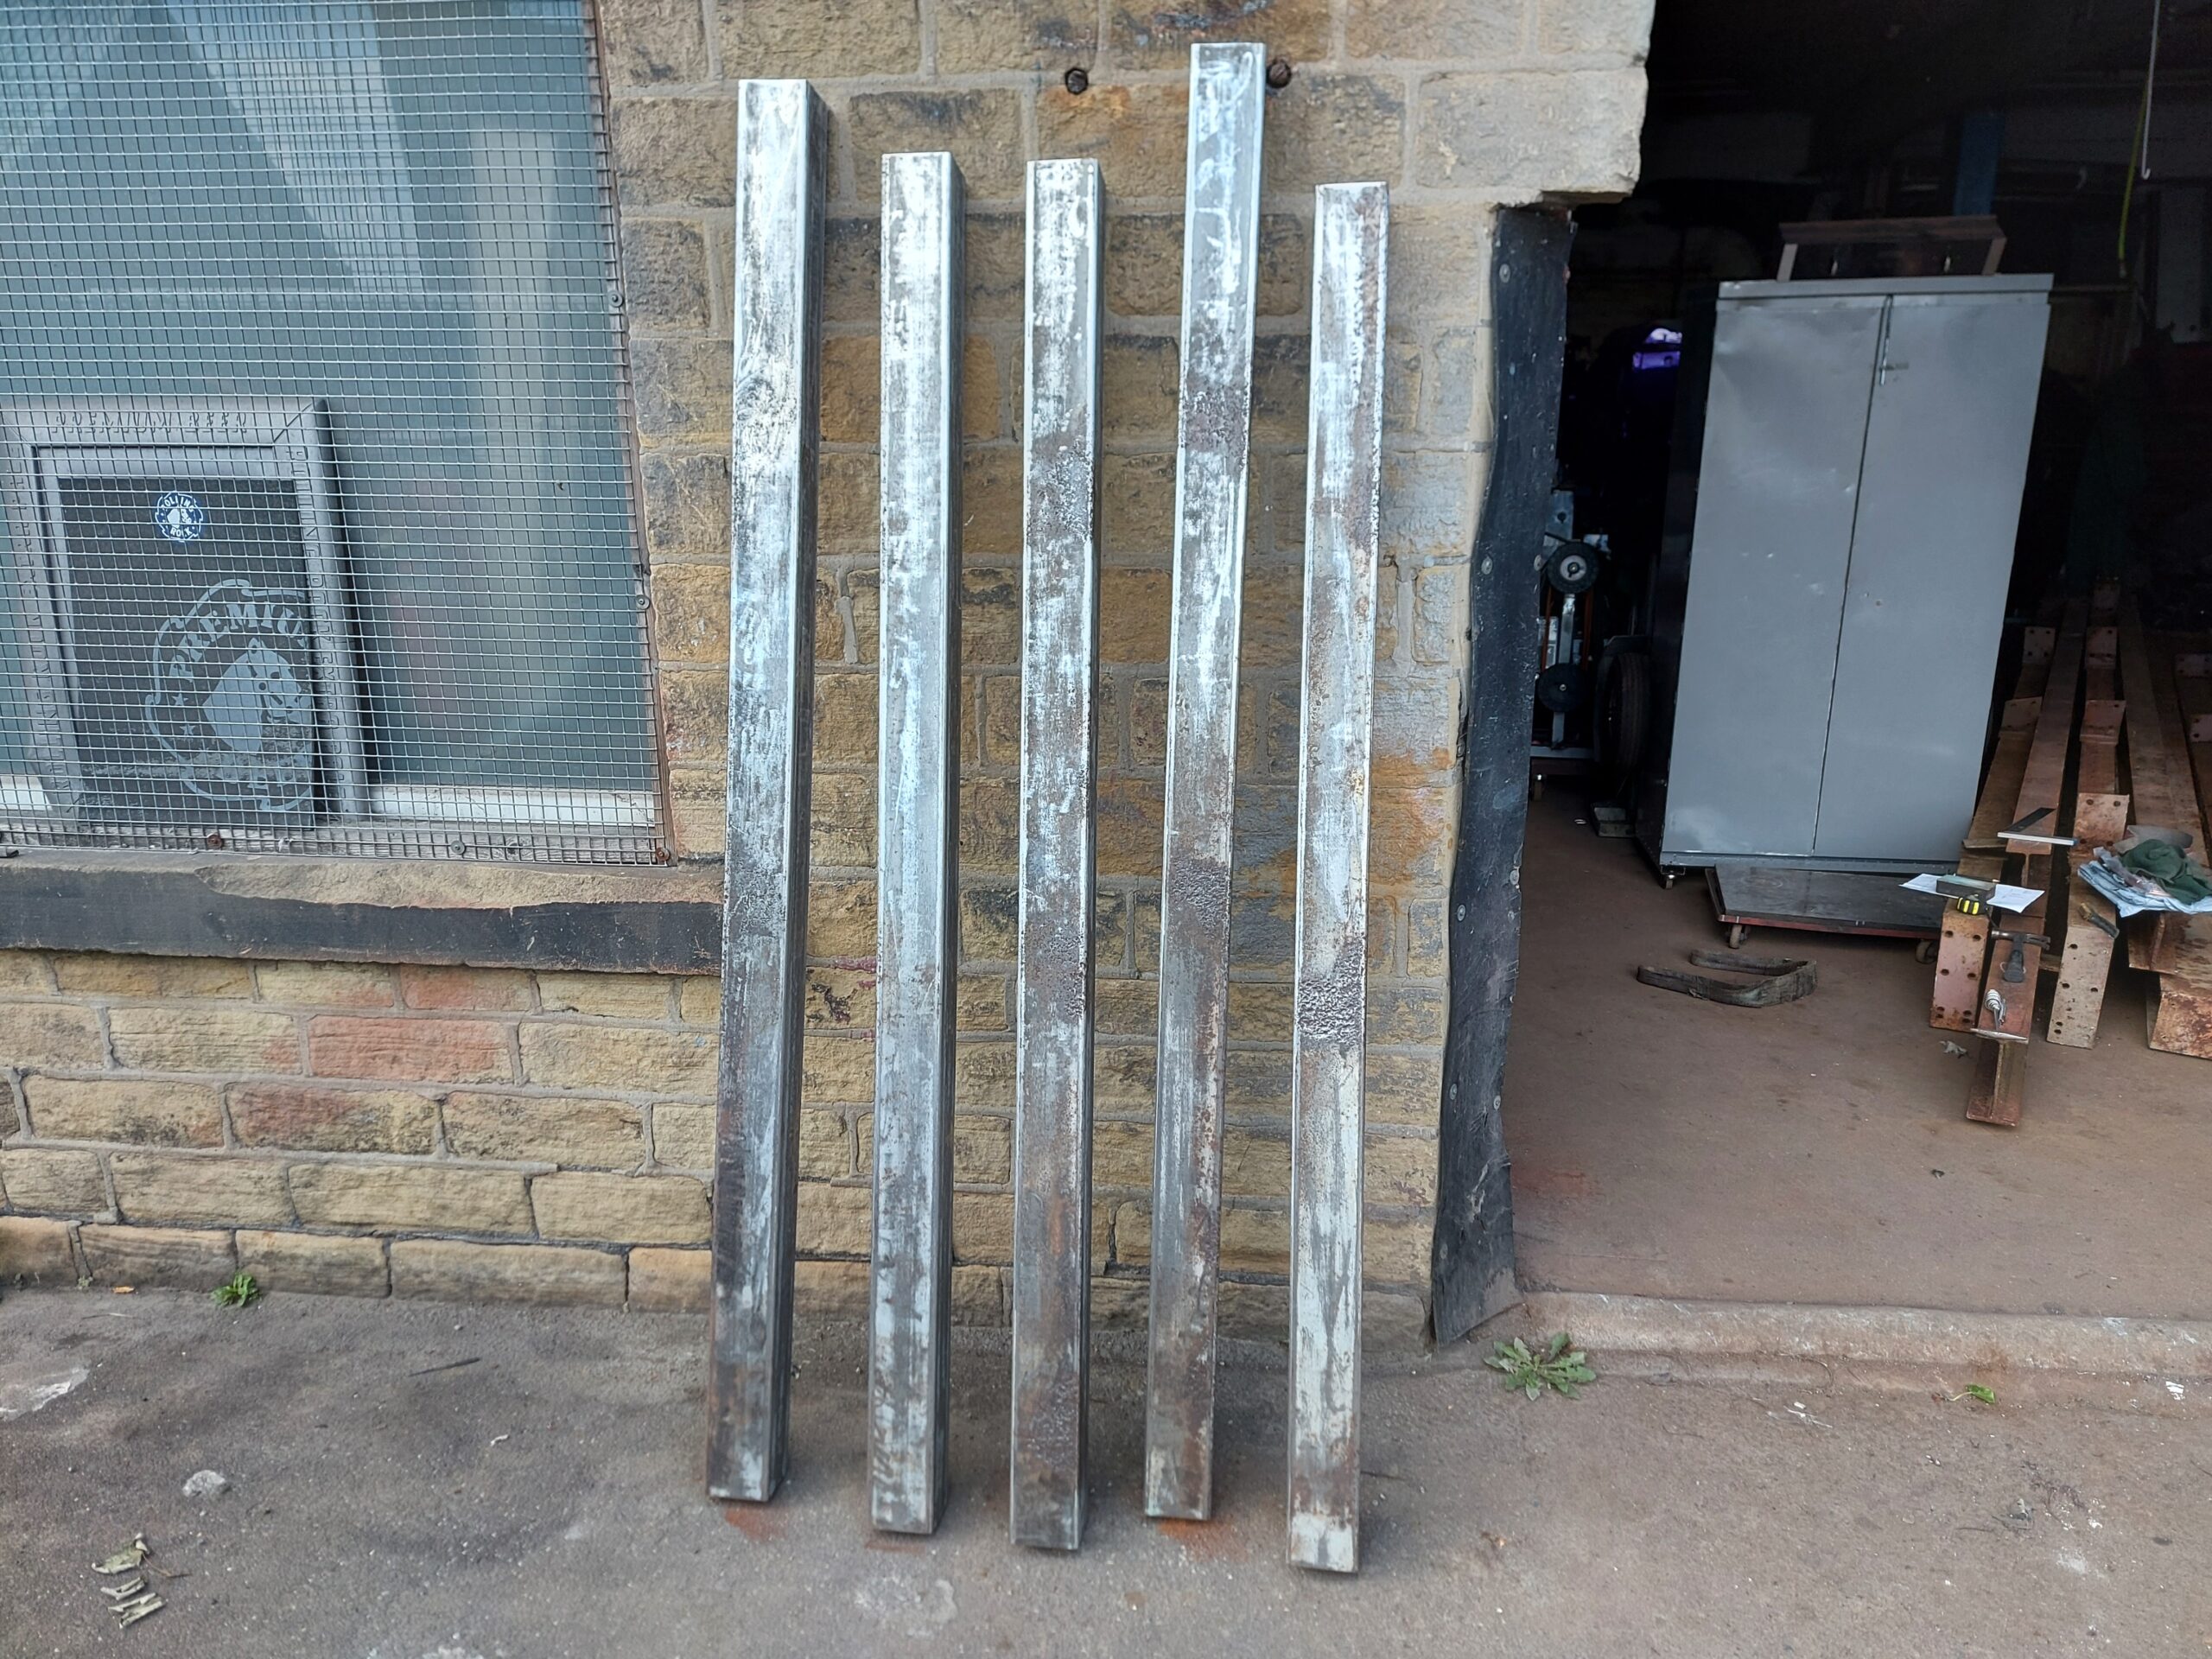

Got the Column steels out and cut to size
Cleaned up
Little red lead painted on
Set and Tacked on to base plates
You can fit 10m of 4×4 box in a smart car lol
Base plates fully welded on
I have a Portamig 350 I repaired this is the first time I’ve used it! it welds nice
Got some steel cut down and 10mm flanges welded holes driled and Taped out to 16mm
These steels are the backbone of the structure and need to be the first erected
admin
24 September 2022 - 20:49At last all the old Mez level is coming out


Looks like there’s some holes to brick up too,
The last joist had to be cut out,
At last it’s all out,
Tempory supports removed,
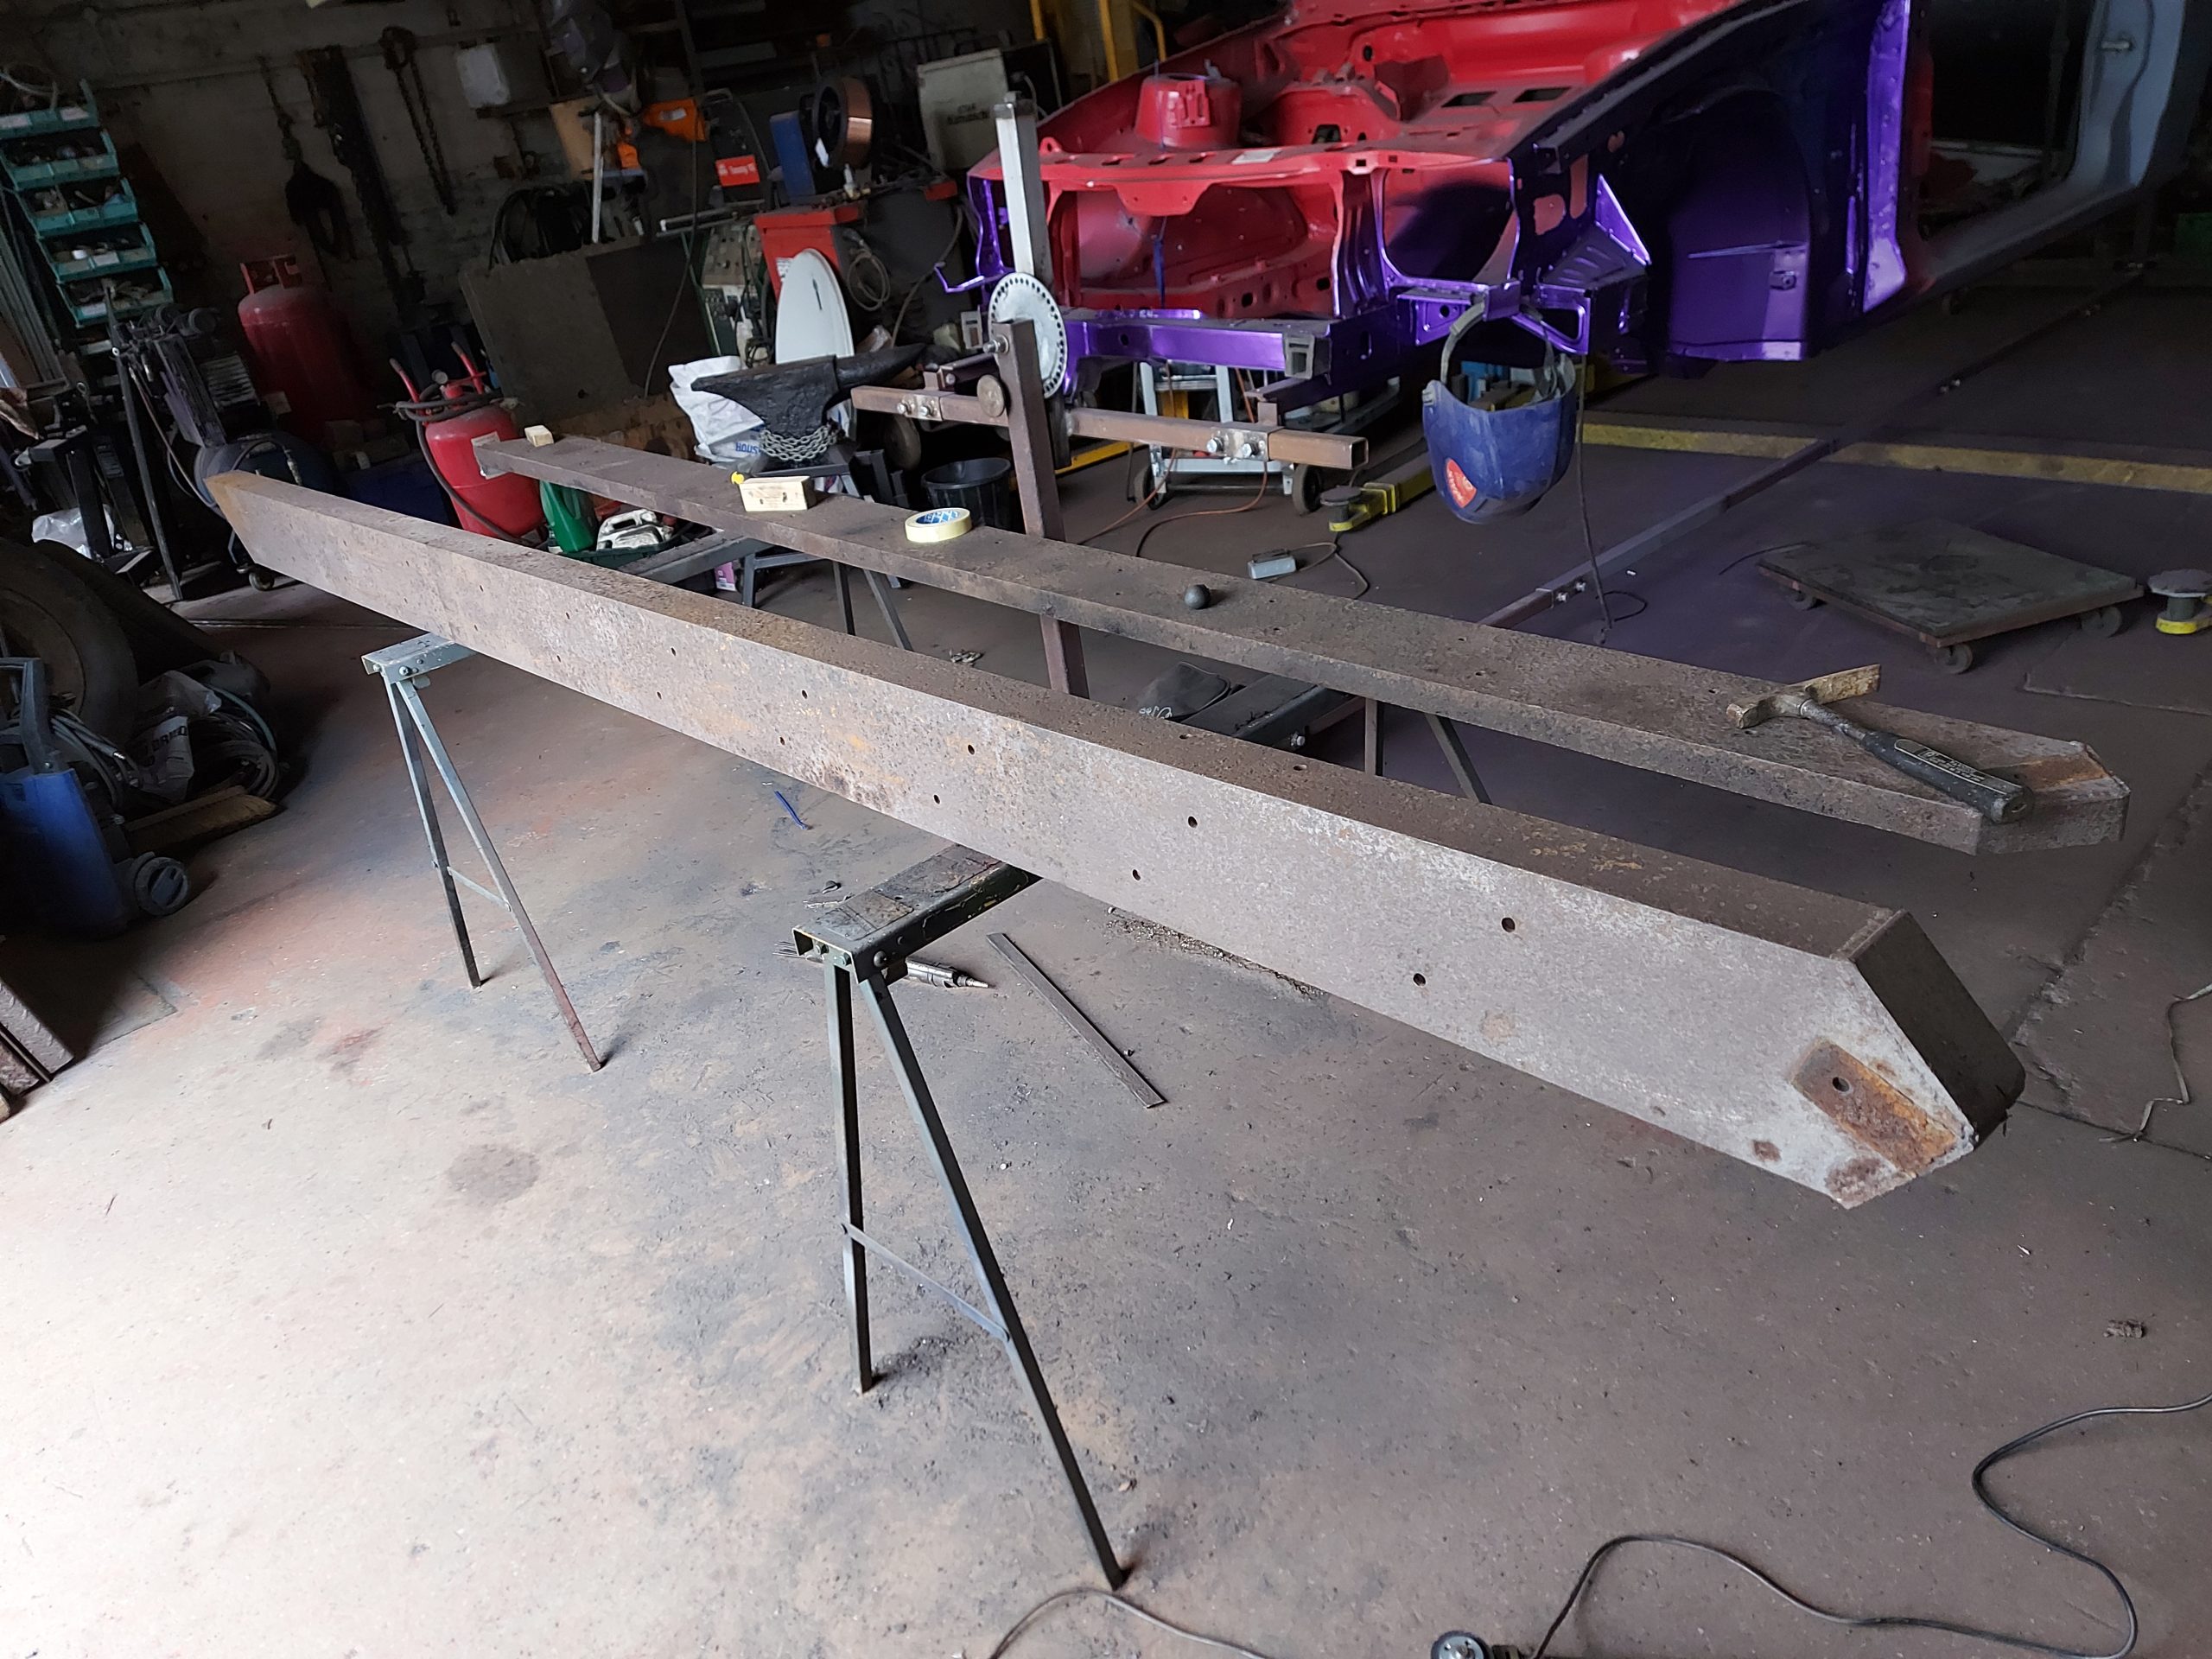
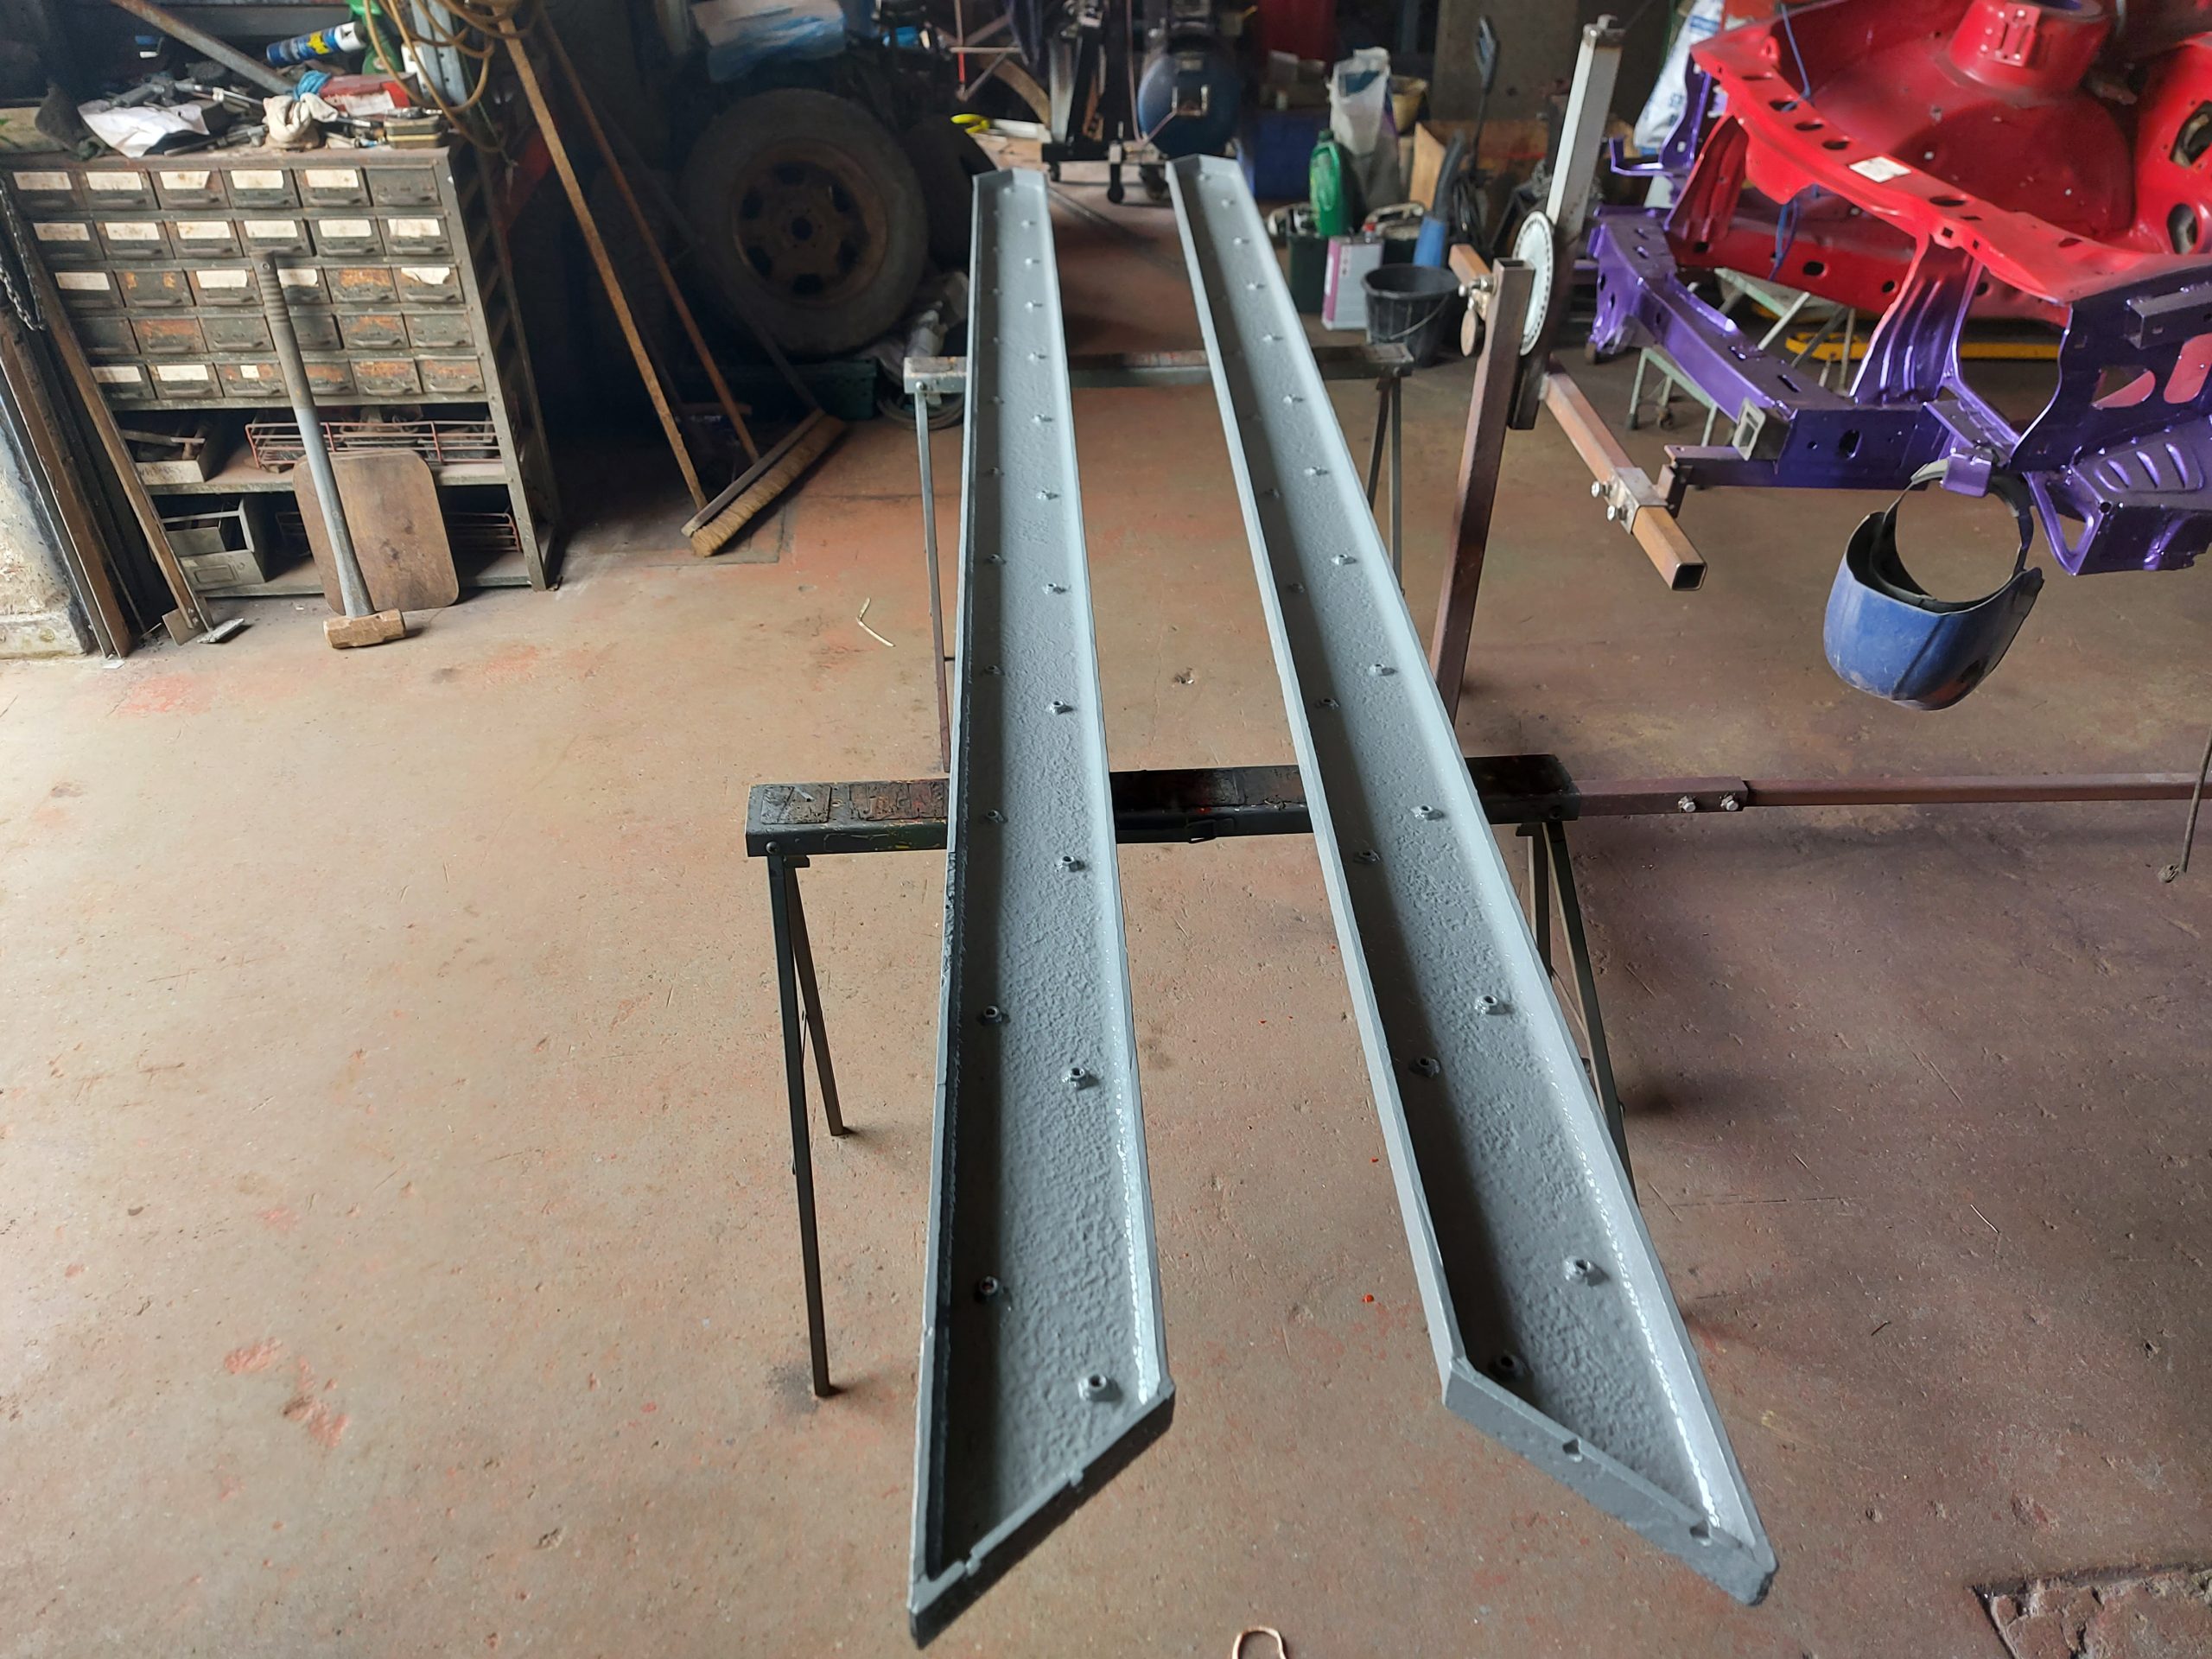
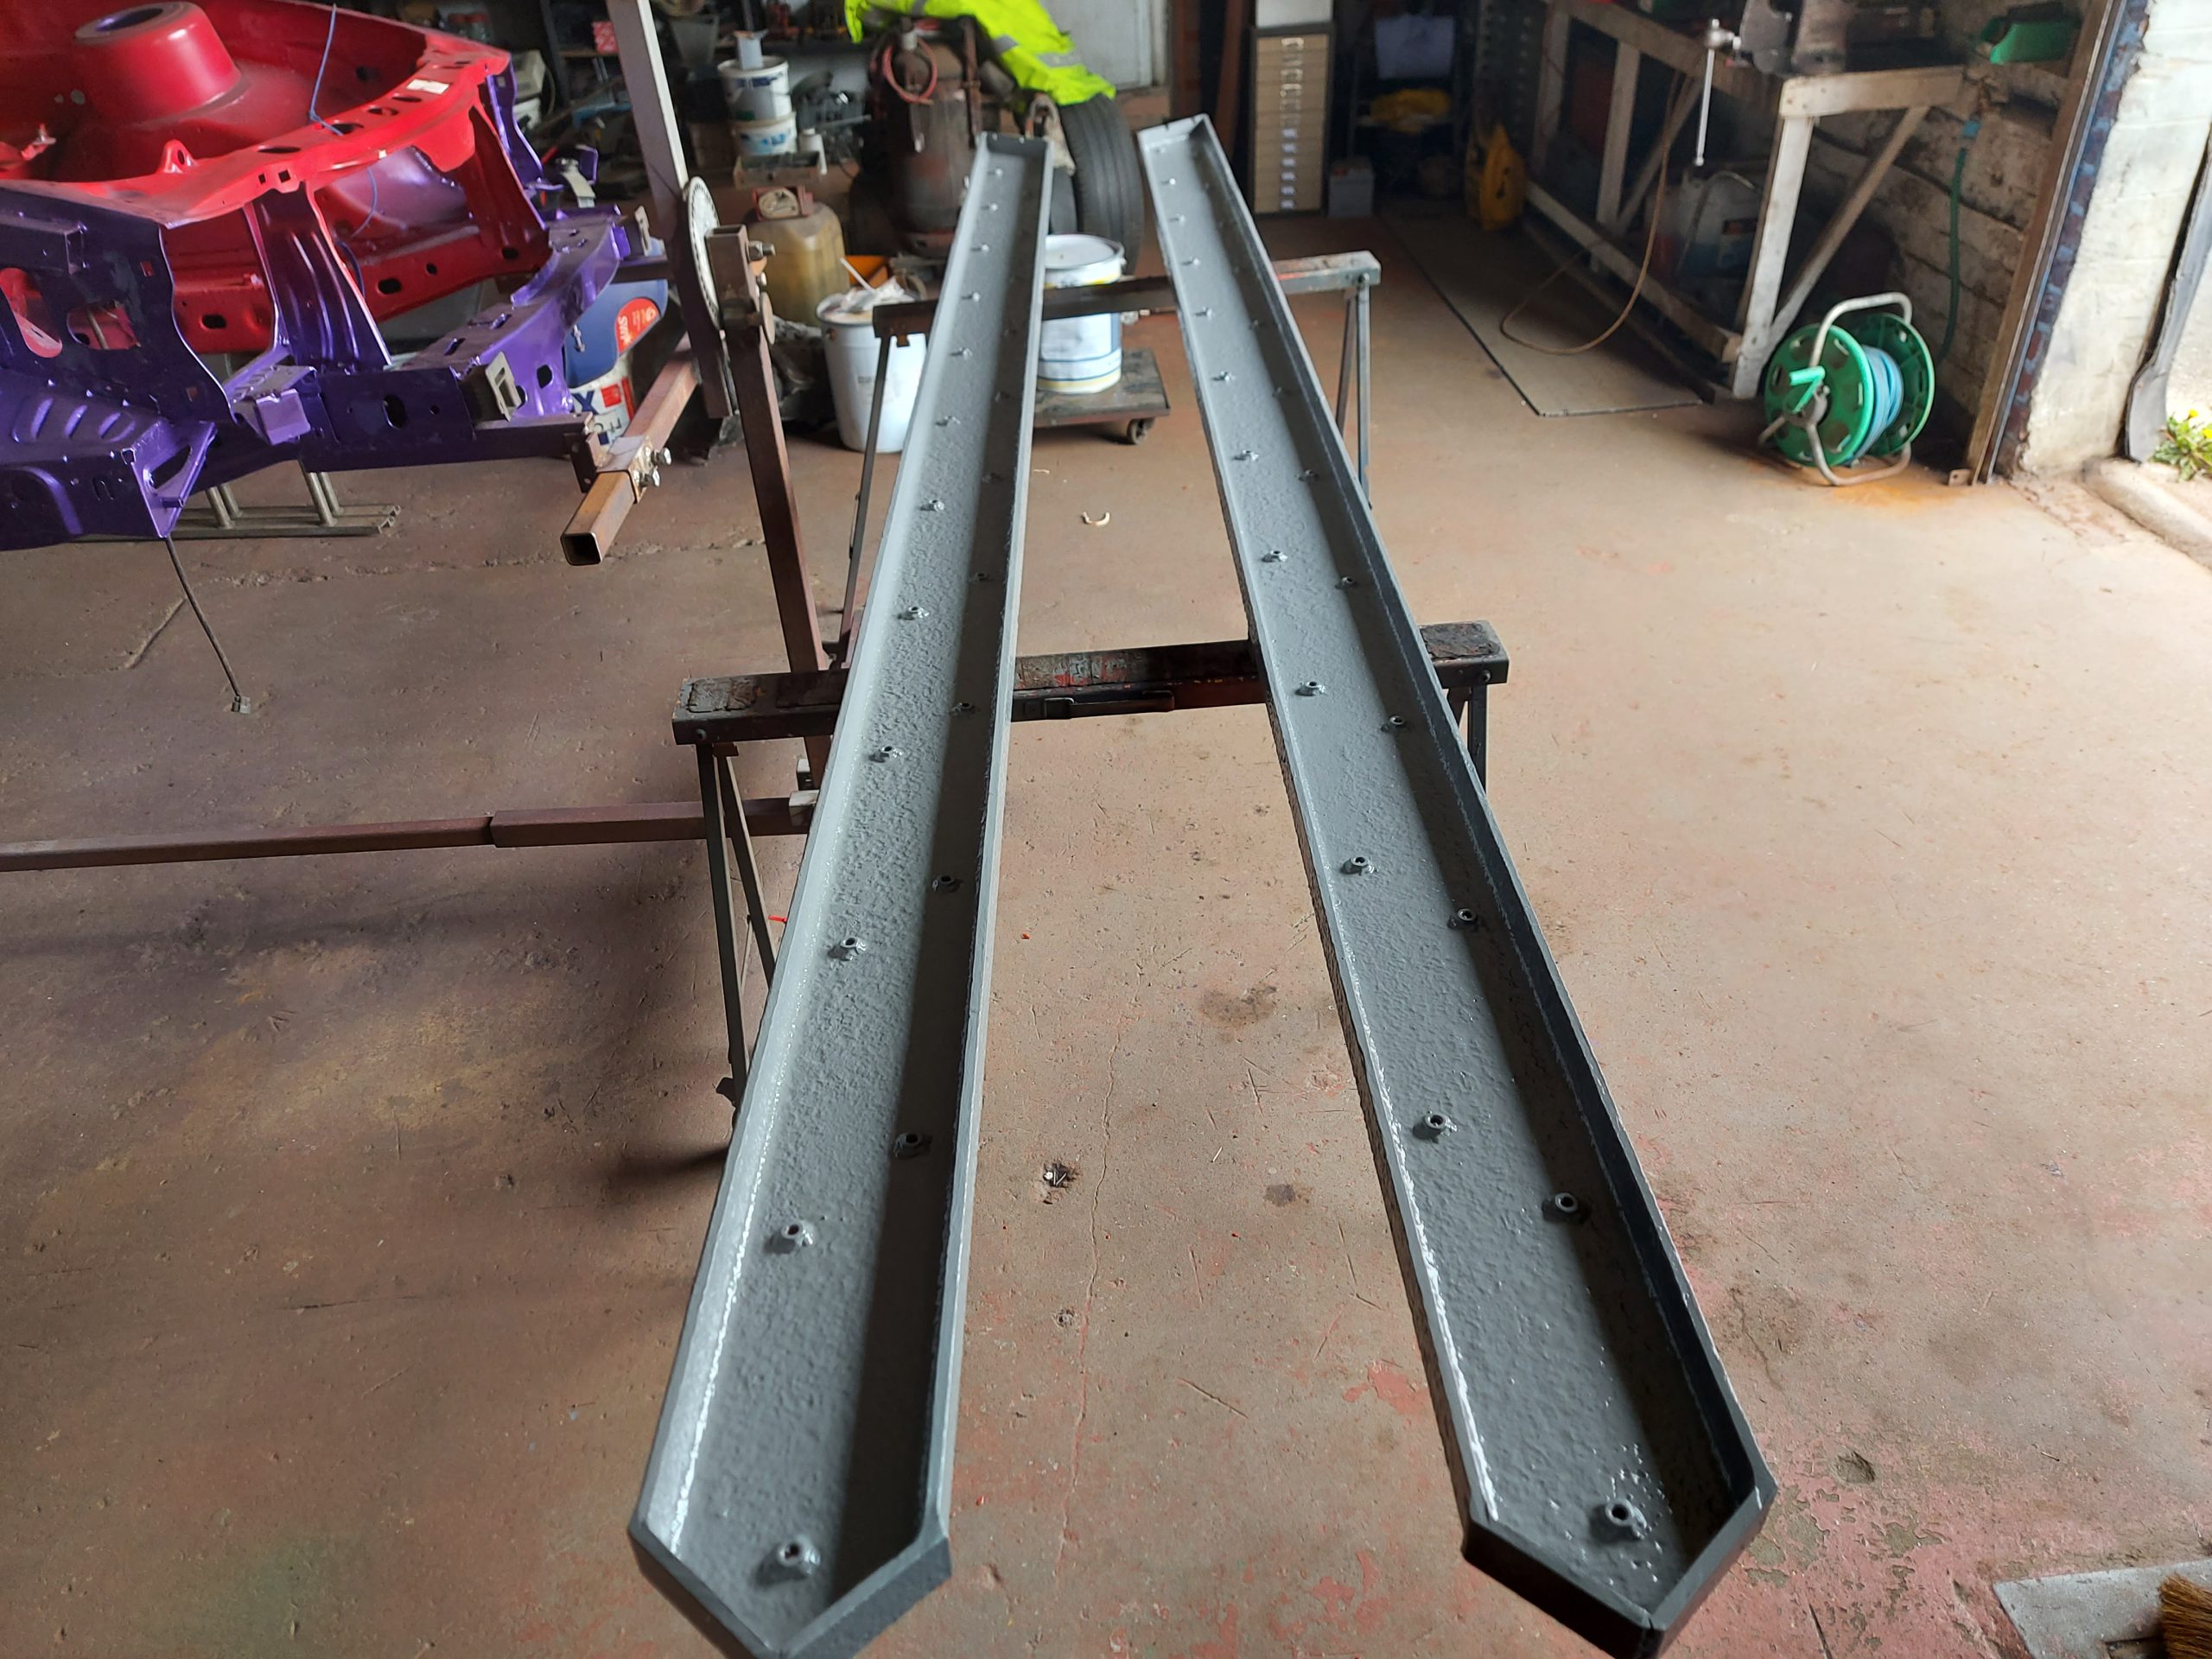
All cut Drilled and plates welded on just need cleaning & painting
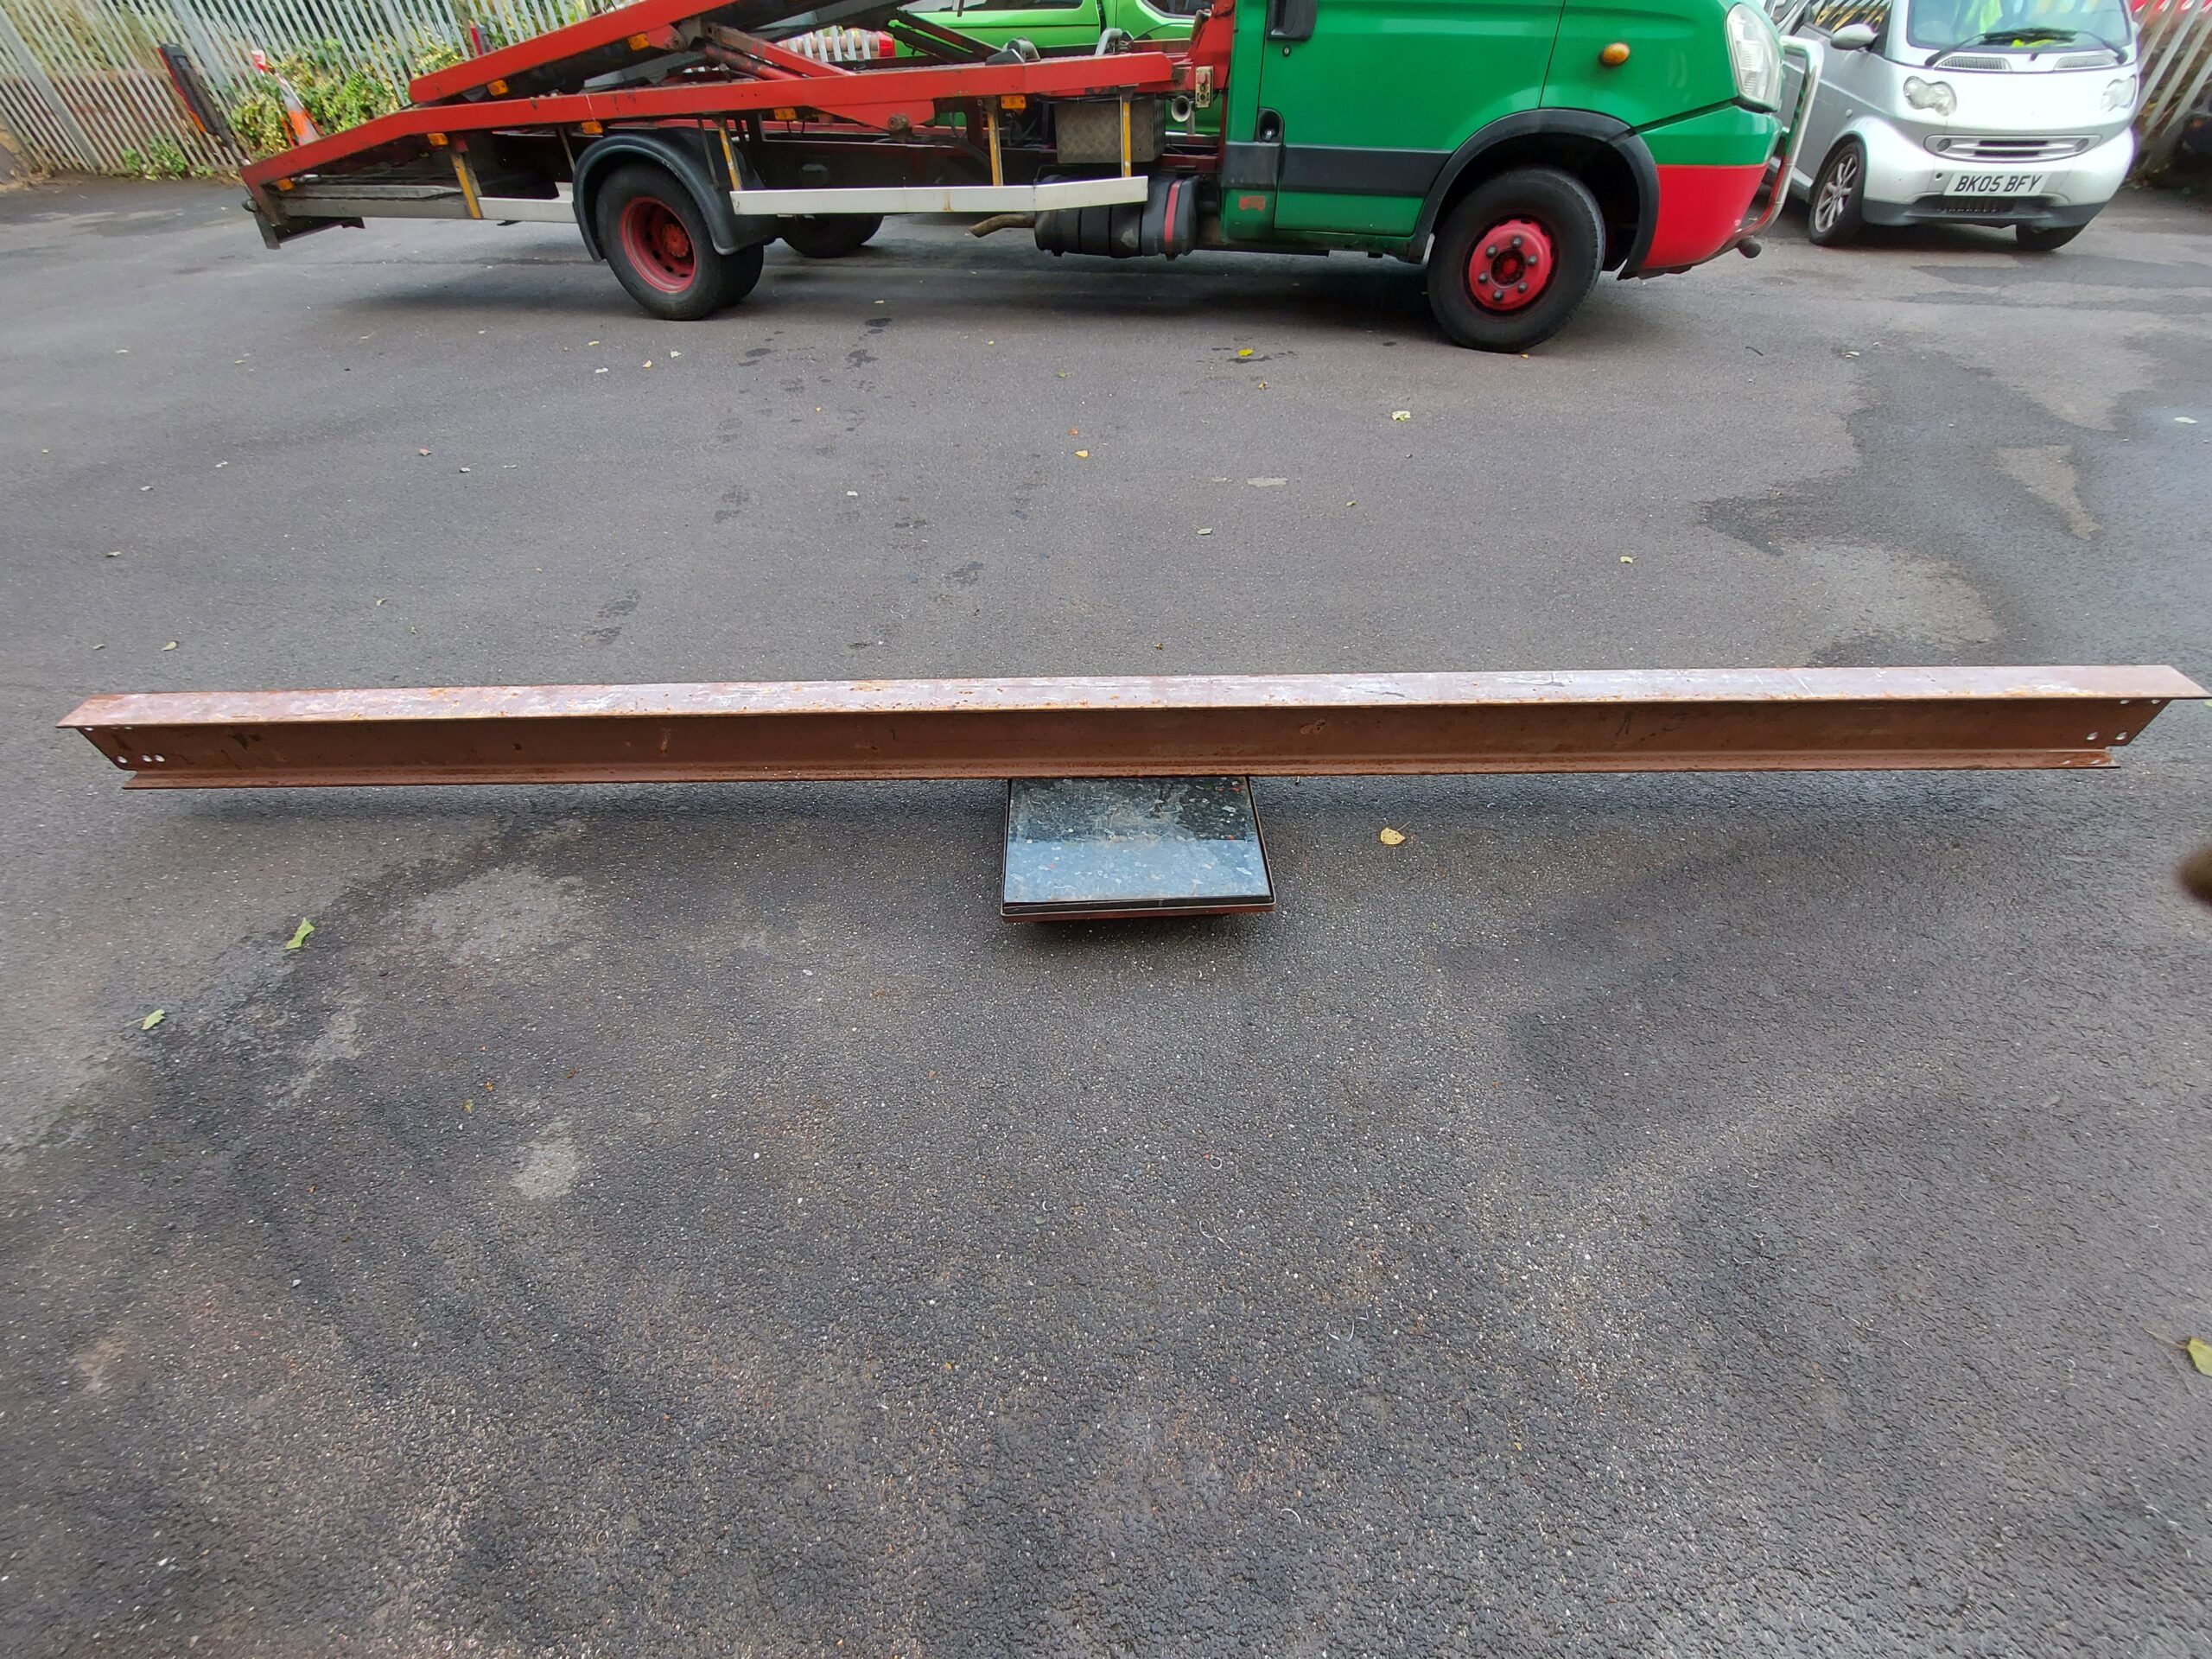


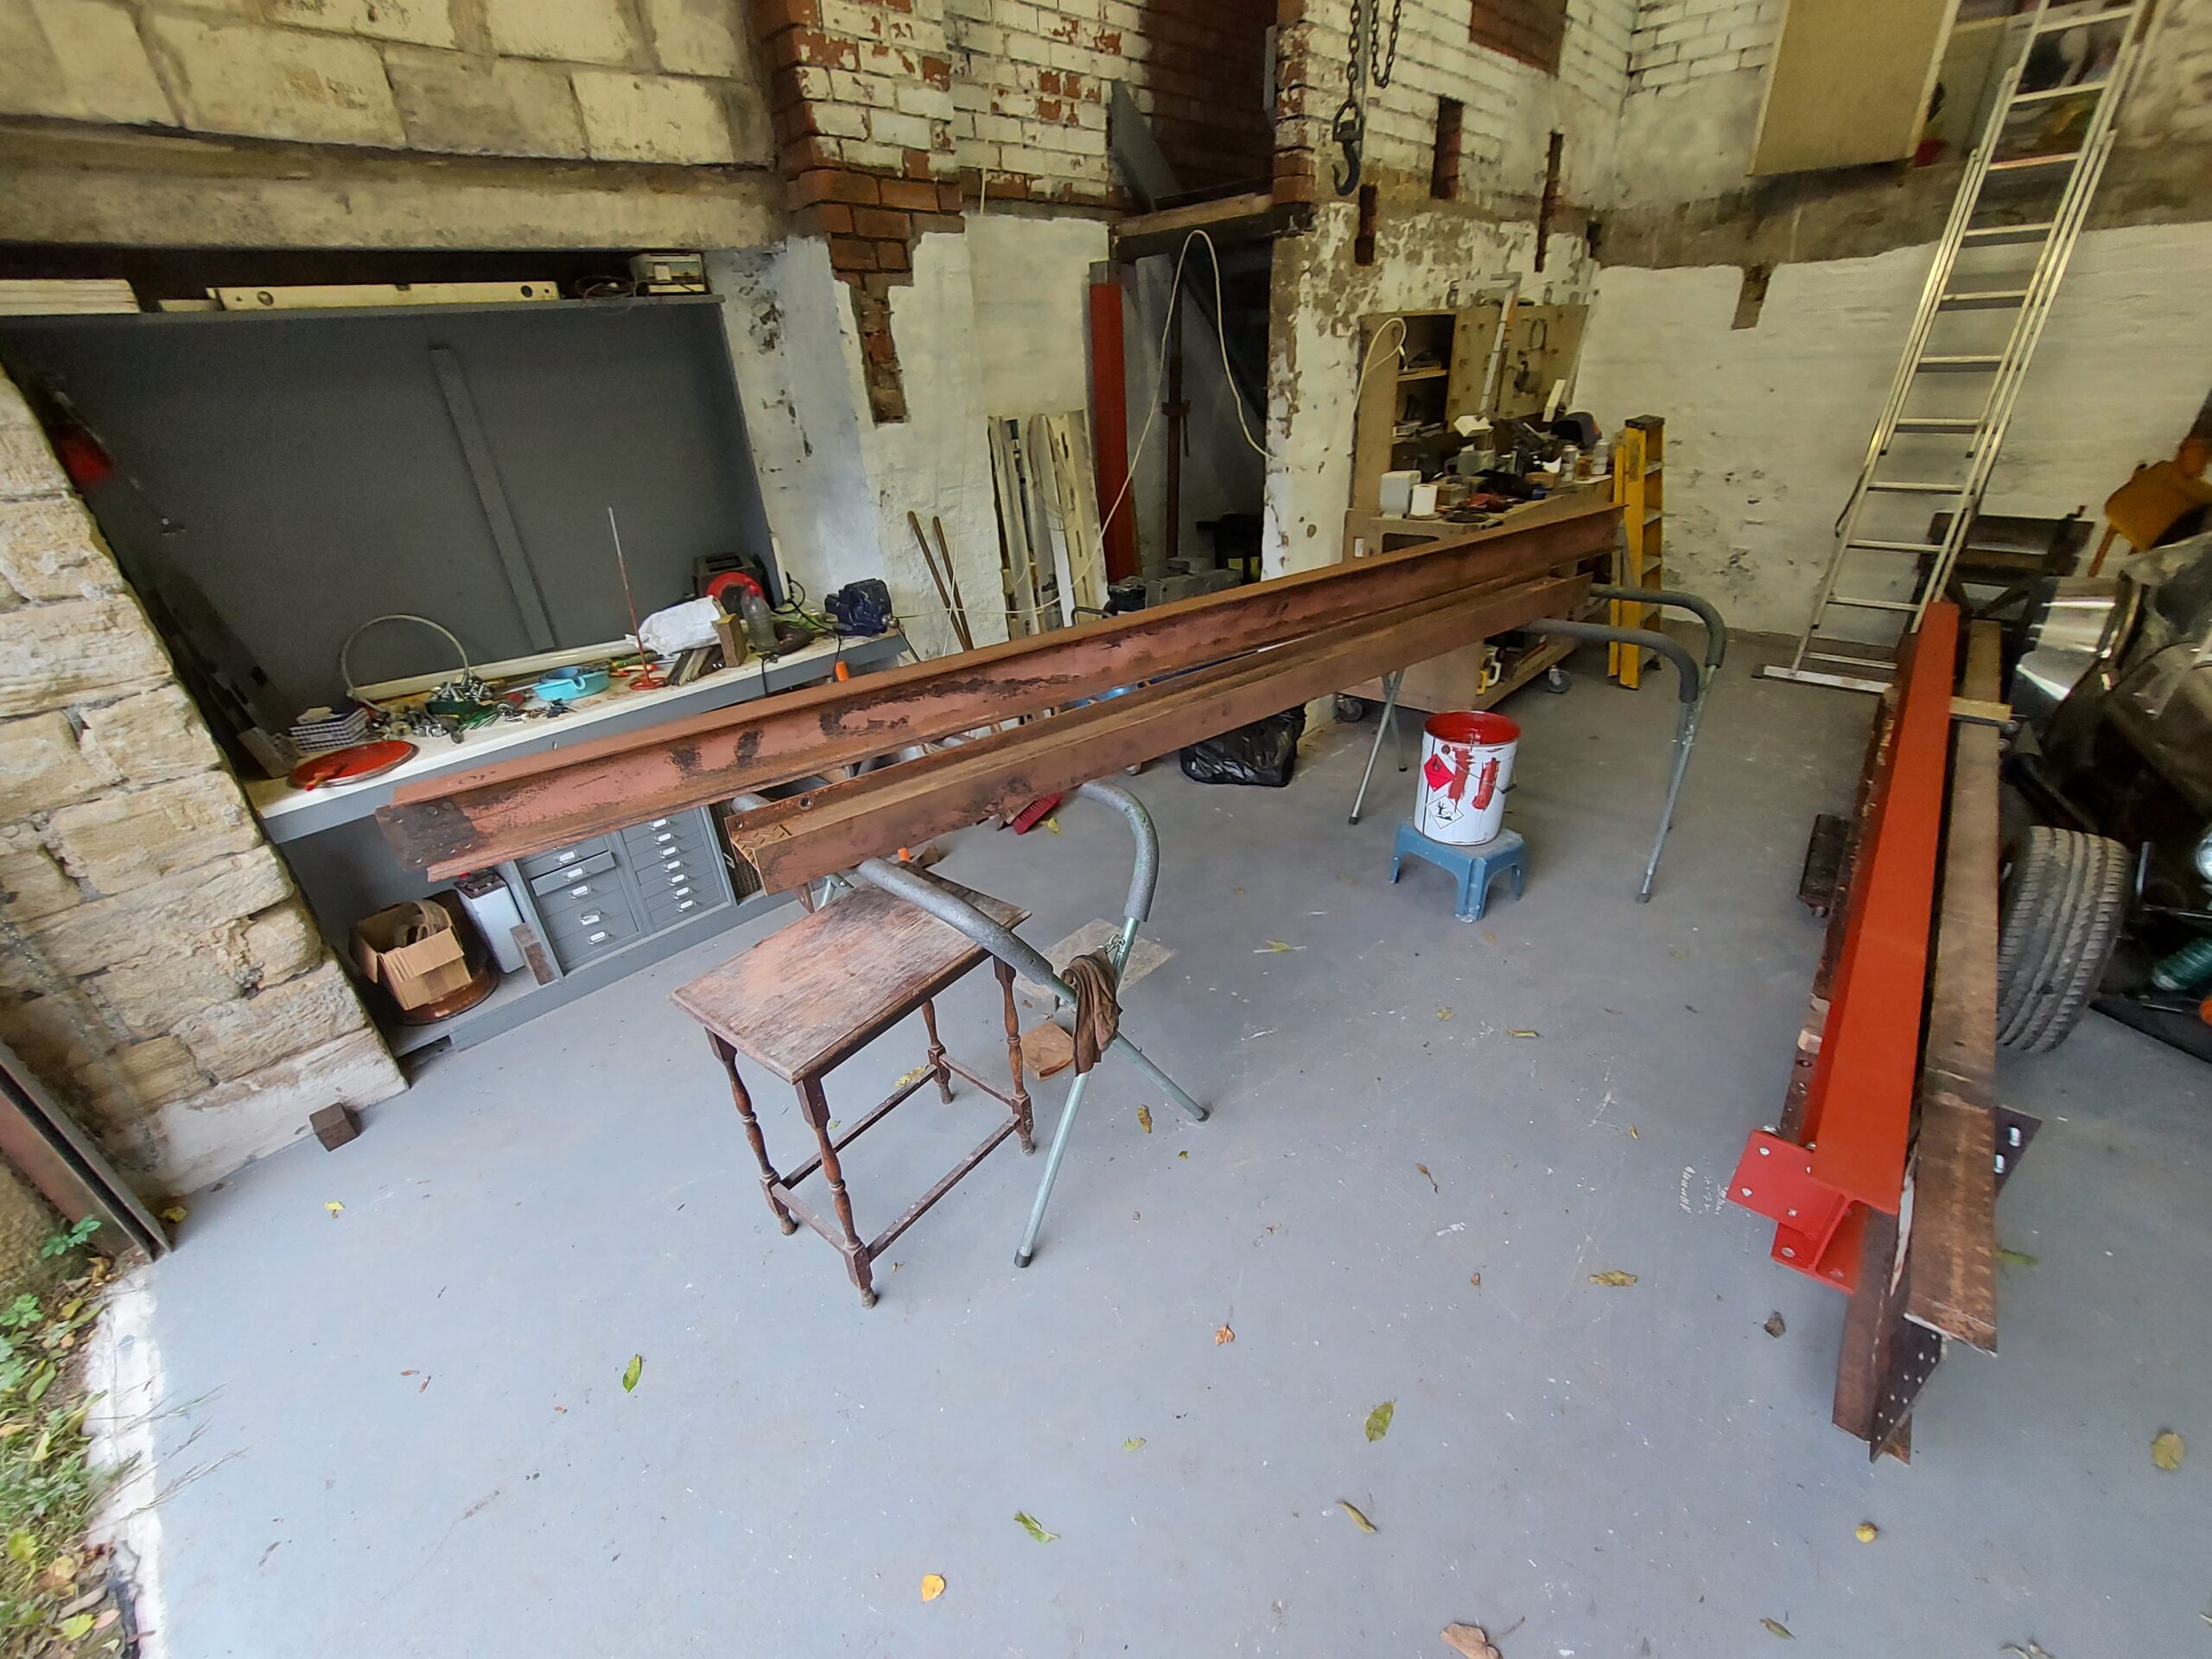
Steels B & D make the backbone of the framework both 305×102 12×4″ in old monies
Sutch a good feeling to see the Backbone of this project in place,
All test fitted and taken down for final welding and painting
More painted steels
The last of the main structure are back
Soon as this paint is dry i can start getting the main stricture up again
admin
19 October 2022 - 22:21Well my needle scaler broke again! so putting some flooring in the steel that’s already up,
It’s bean a long weekend & it realy feels like I’m getting somewere with it,
Some tempory lights till I get the LED’s
One more piece of steel up and painted, It’s definitely easier to paint them when there erected as the grey paint takes 3 days to dry,
End steel made cleaned and fitted
Joists Fitted and floor just laid on top till later
Yet another piece of steel mounted,
This short steel is one of the more complex ones, Also carries the staires, I wasen’t looking forward to doing this one but it fitted first time,
3 more cut just flanging to do,
Stock pile has gone down only one long and 4 short steels to get from this now, The end is getting near,
Need to bring Ramp home soon, Then I can cut the flooring and fix it all in place,
Nice to see the floor steels complete,
Joists all cut and a couple in,
More gray paint
A temporary platform to access the stairs again
Ran out of CO2 so decided to bring these half done upwrights home and drill them into place, They need tops welding on cleaning and painting,
At last all the steels are cut, Welded & drilled
Get this little lot erected in the morning,
I can now cut the flooring
Floor finished at last, Time to start on fitting the place out, A bit more paint
Workshop W C approx latout
So that’s it all the steelwork & floor finished Time to start moveing in,
admin
12 November 2022 - 19:58Ramp in Old workshop


In Position
Recomissoned and tested to top limit,
Just needs bolting down now
admin
6 December 2022 - 22:08Had a bad day getting the Carrera down!
It came down and rolled my twin set compressor over a couple of times made a fare old mess of it,
After much trouble getting it out, It’s home,
A good friend of mine Richard came round helped me for the day still jet lagged from his Holiday in America, We got so much done it was fantastic, Got the Carrera onto to first floor, and we grabbed a load of gear from the old unit too
Getting the racking up
Some of the tools and high level storage shelving
Got to find some were for about ten time this little lot